For better control and testing of our autonomous robots, we built wearable robot monitors to enable us to easily see what the robots were thinking and control the robots’ behavior wherever we are.
Please note, this material is provided for informational purposes only and is not a guide on how to create the designs. Please take a look at our disclaimer.
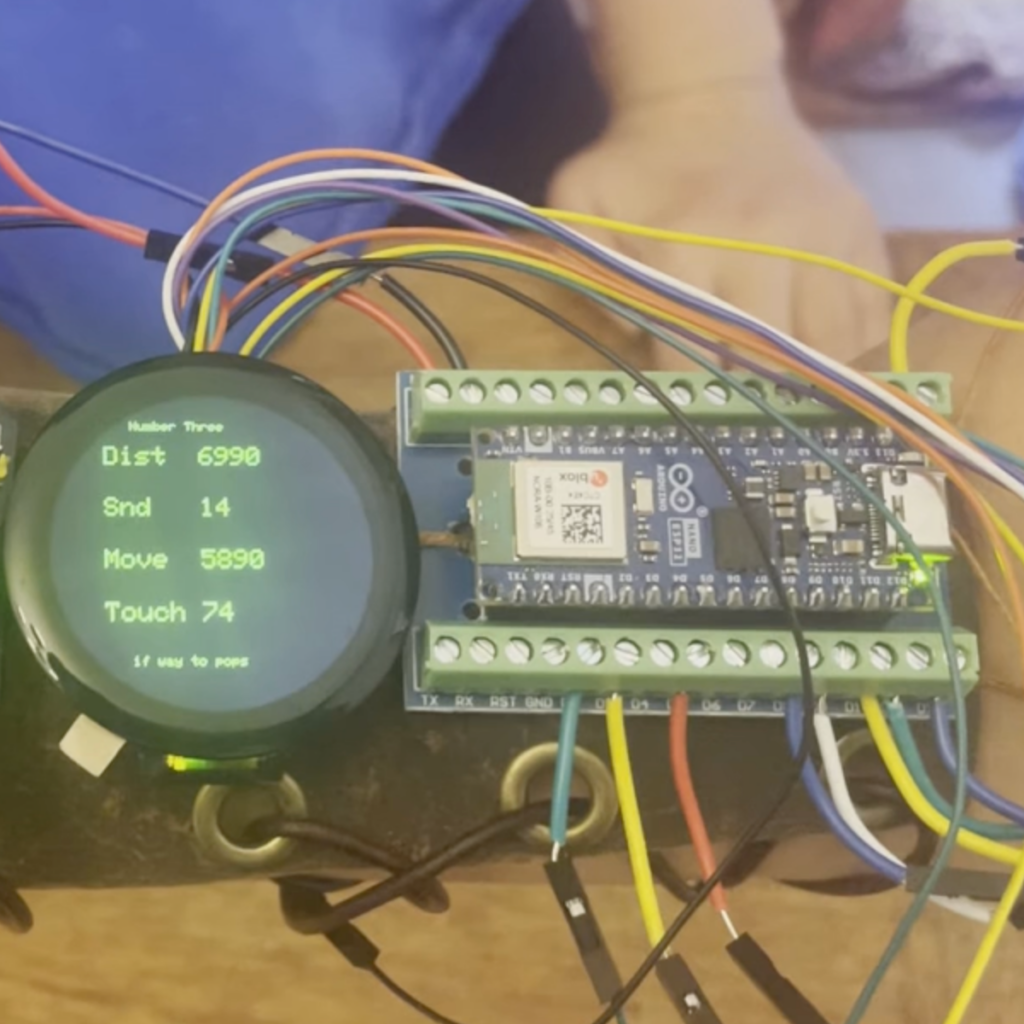
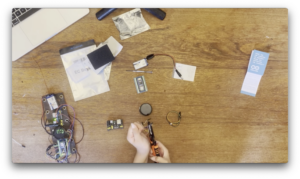
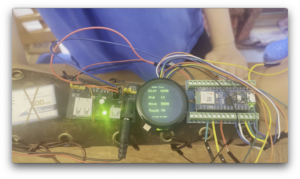
We designed the device around an Arduino Nano ESP32 and a 2-inch circular touchscreen display. The Aduino Nano ESP32 has built in Blue-Tooth (BLE) which enable it to communicate with our robots. It also has built in WiFi which will allow us to expand features in the future.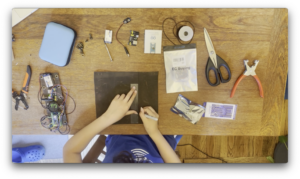
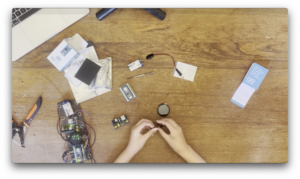
Sticking with our theme, we made a steampunk leather arm band to attach the device. Leather is ideal for quick DIY wearables because it is an insulator and tough to ignite. Flammable or conductive materials are not recommended.
We used 1/4-inch-thick leather so it would better mold to a user’s arm. To attach to the arm, we used leather laces that can be easily adjusted to different-sizes.
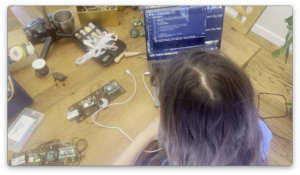
We loaded the software using the Arduino IDE. The Arduino IDE is free and can work with most of the popular microcontrollers. There are many online videos about how to use the Arduino IDE. The code was merged from two examples provided by the drivers for the LED screen and Arduino BLE.
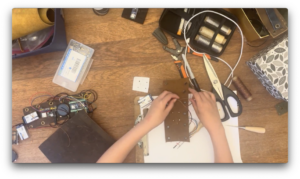
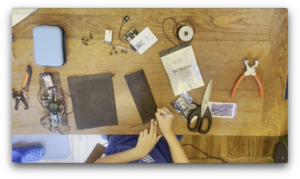
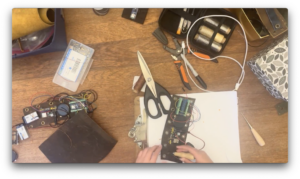
Next, we lay out the component and mark the attachment holes. Make sure to position the Arduino so the USB is accessible.
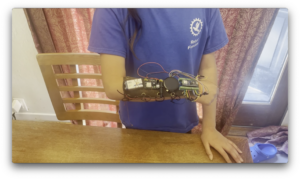
The wearable robot monitor is complete! The design is just right for a kid or and adult.The laces make it easy to adjust to any sized arm.
 Now we can keep track of our robots as they explore the world!
The robots use a Python script to poll for BLE devices. If the device is registered, the robot sends data about it sensor and reasoning, then checks for any commands. Since multiple people work with one robot, we do not pair the robot with one device but rather scan for all registered devices. The Python code is on our GitHub: HERE.
The Arduino code updates data when a server connects and sends any commands stored. The Arduino code on our GitHub: HERE
View the complete video on YouTube 
Happy Creating!