
This project is about how to build a ladder bookcase. This bookcase has less room because its sides slope in towards the top but fit well into small spaces and is very sturdy, a perfect place for books! This design was inspired by a model designed by Vico Magistretti.
Please note, this material is provided for informational purposes only and is not a guide on how to create the designs. Please read our disclaimer.
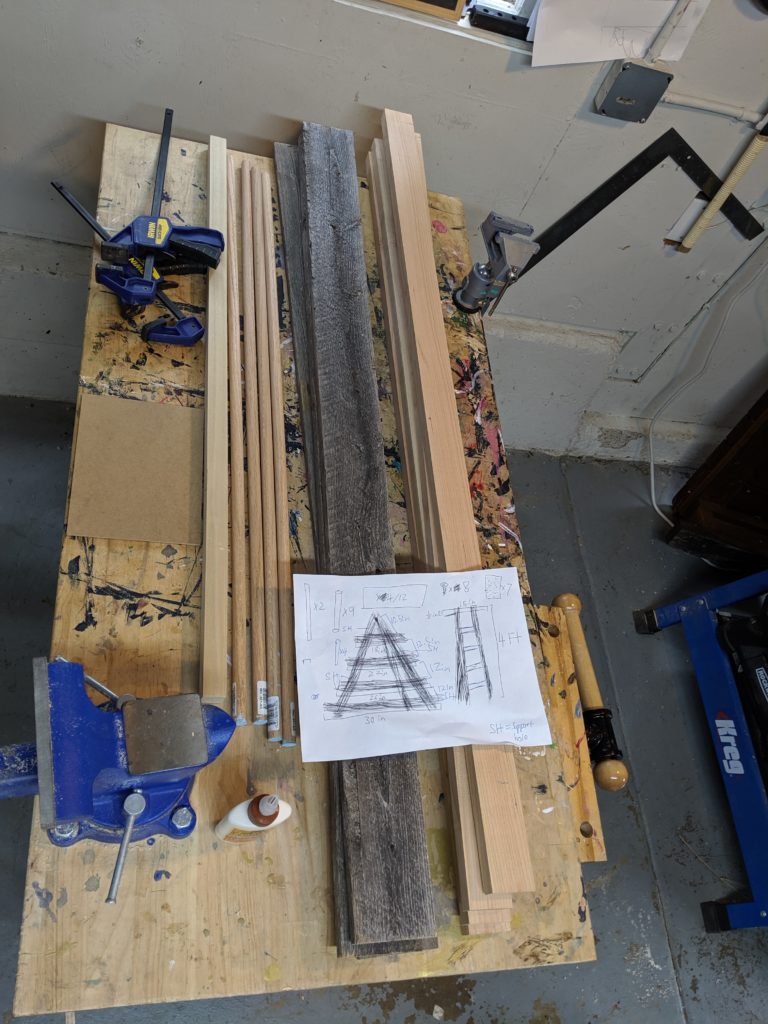
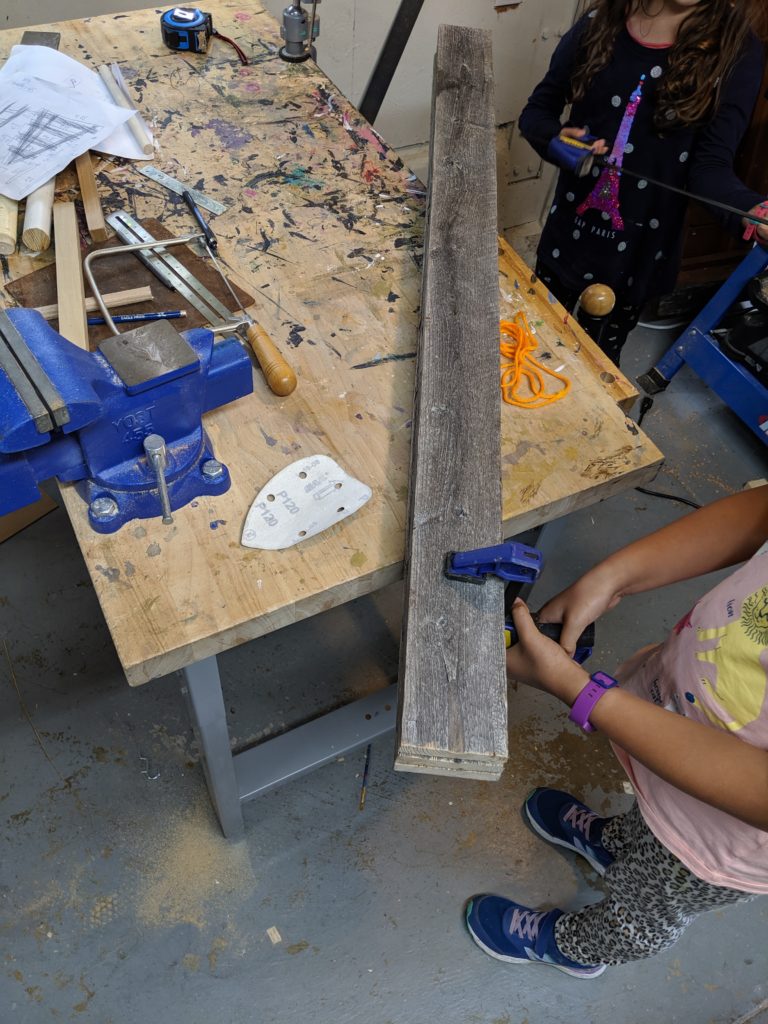
First, you get all the materials:
-
- 2 clamps
- a bottle of wood glue
- 5 48 X 3.5 X .5 inch wood planks (we used reclaimed wood)
- 4 36 X 5/8 inch Oak Dowel Rods
- 4 48X 2 X 3/4 inch cheery wooden boards
- a saw
- sandpaper (Course and fine grit)
- drill
- 3/4 inch bit
- 4 MDF Wood Board 6x8x.0785
- Wood Stapler
- No Screws or nails!
Now you can begin. First, on the 48X 2 X 3/4 inch cherry beam make a straight line one inch from the top. This you will line up with the edge of the circular saw.
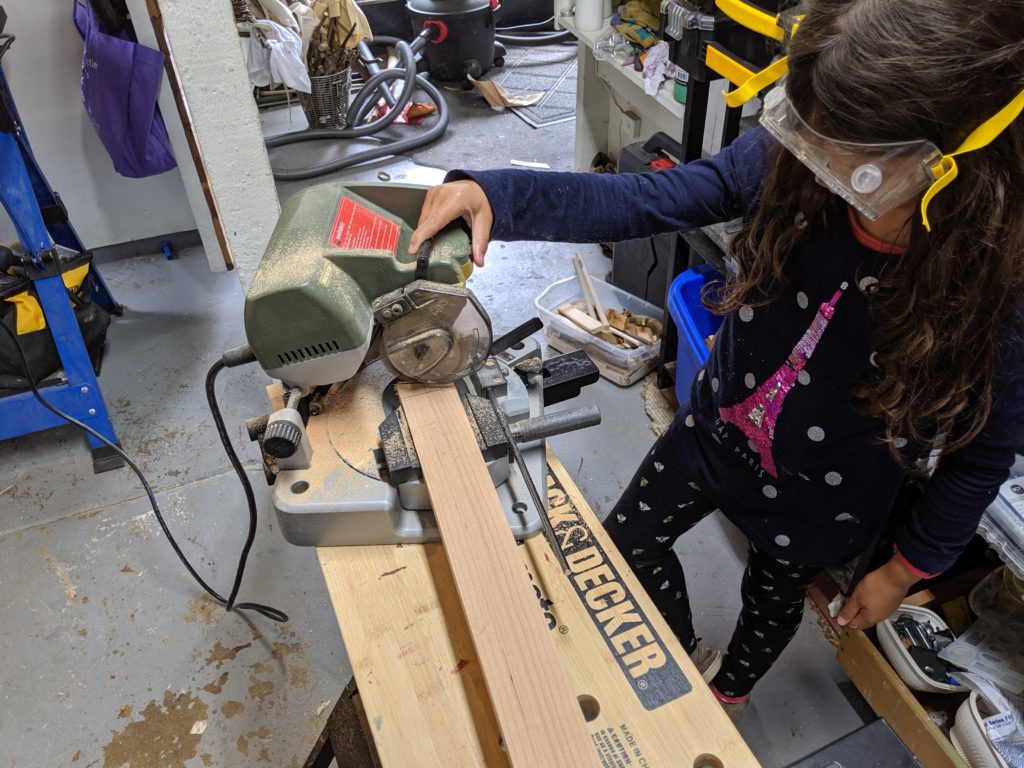
Next, you cut a twenty-degree angle so that the tip touches the corner.
Then, if there is access cut it off while not impacting the angle.
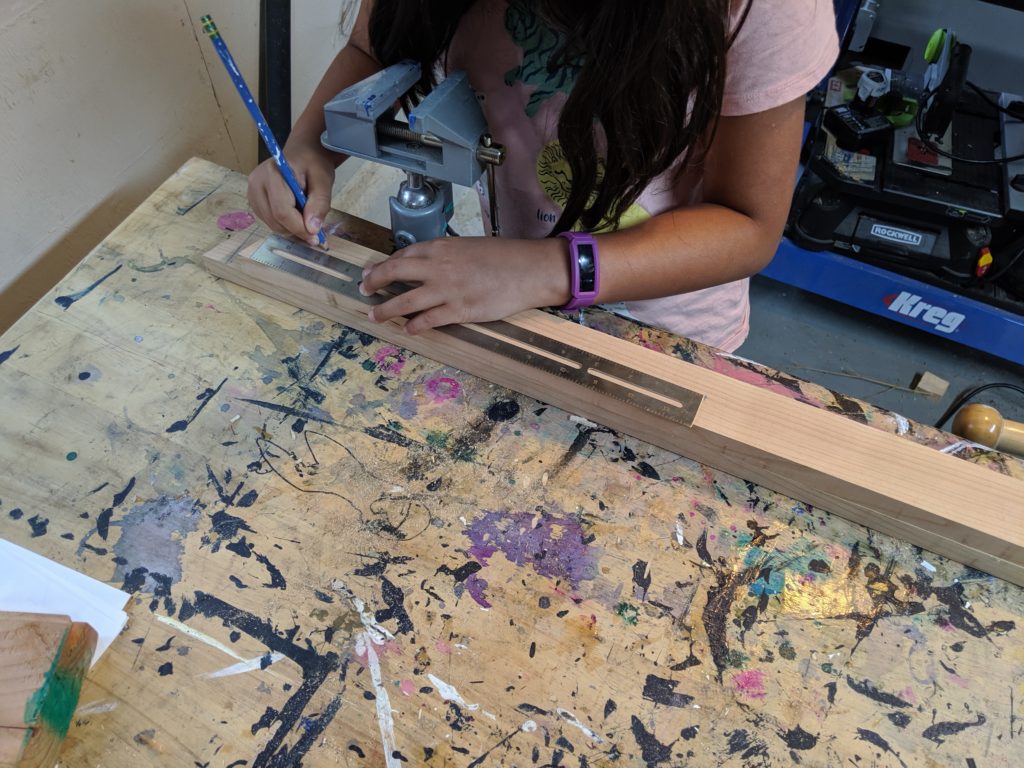
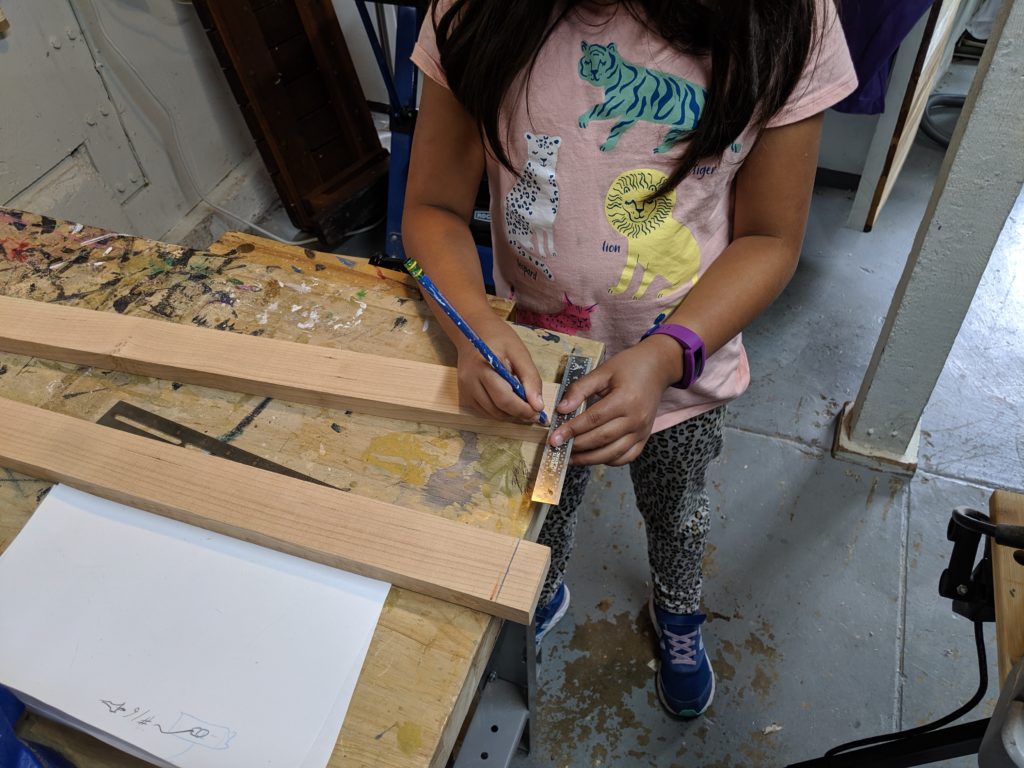
Then, you make dots 11 inches apart in the center of the 48X 2 X 3/4 inch cherry beams.
Next, you clamp both pieces of wood together, to make drilling more accurate.
Then, you drill a hole on all the dots while keeping the wood clamped together.
Put them aside to use later.

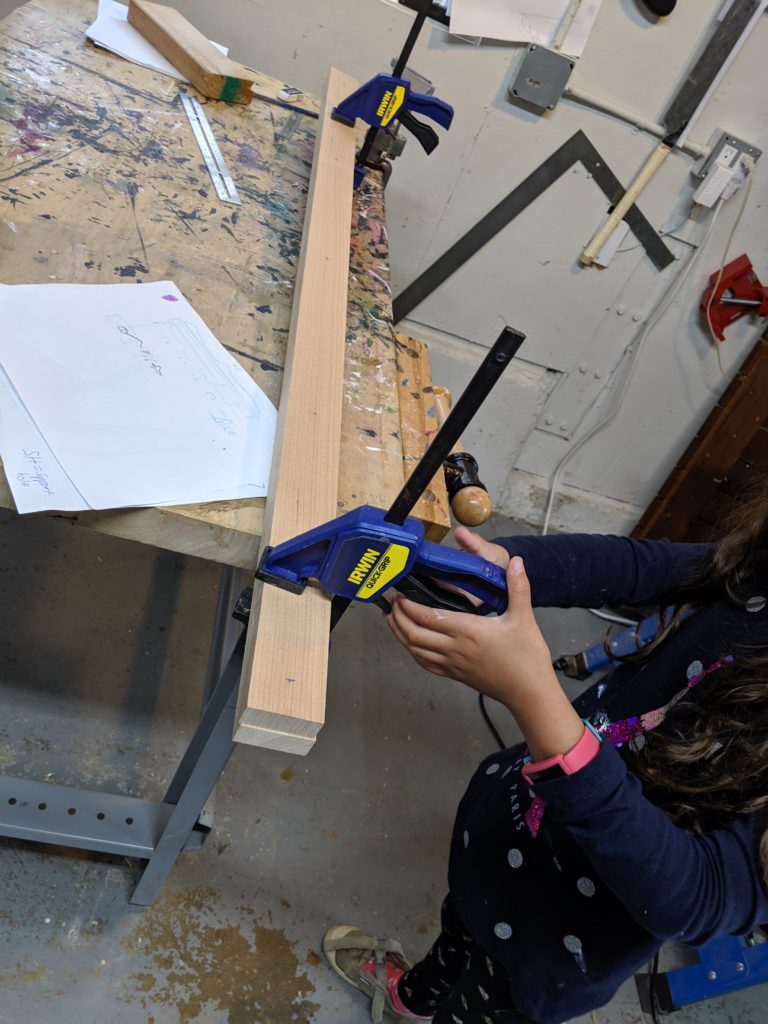
Then, mark 3 of the 48 by 3.5 by 0.5-inch wooden boards at 22 inches.
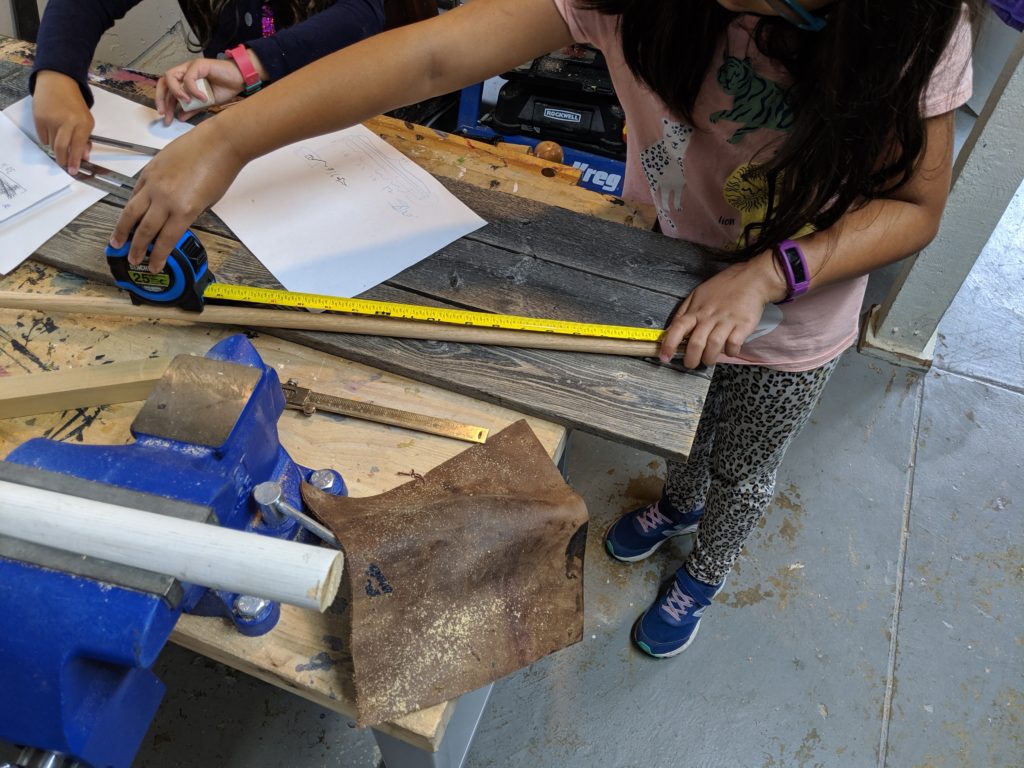
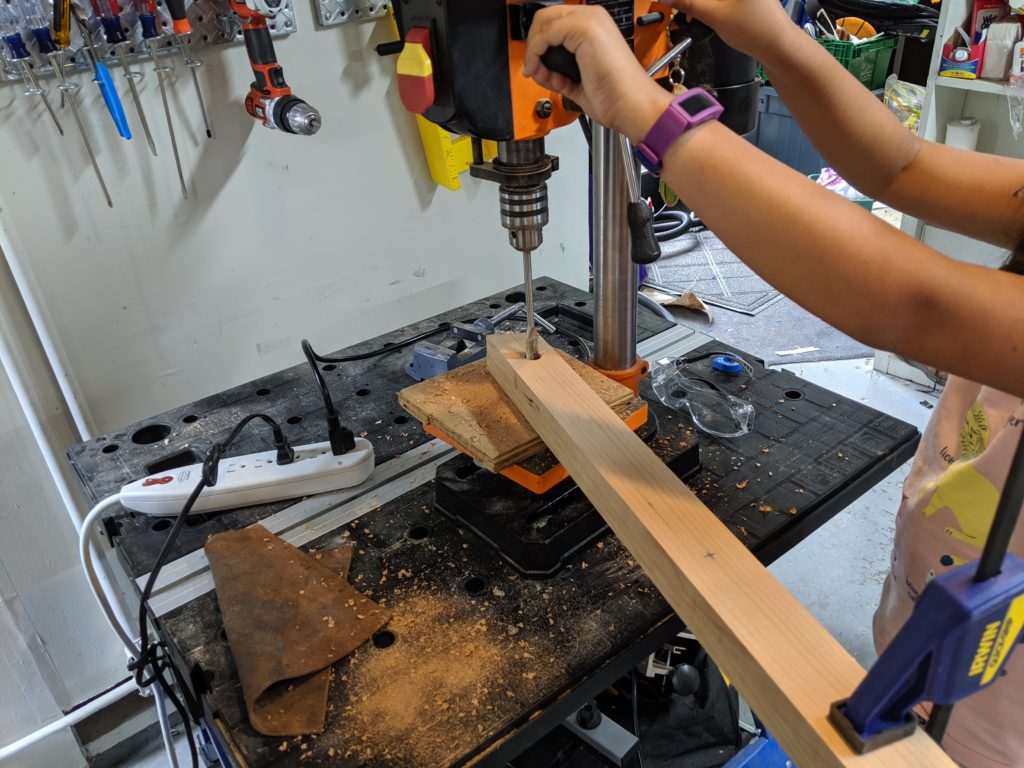
Next, measure a 36 X 5/8 inch pole and mark it at fifteen inches.
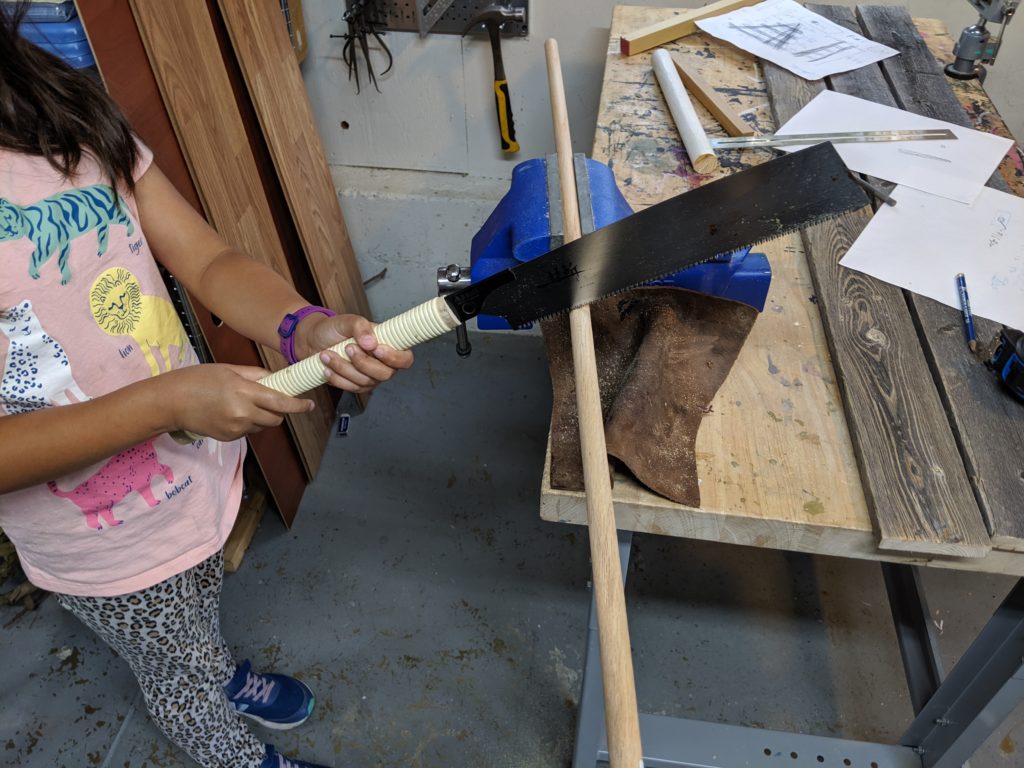
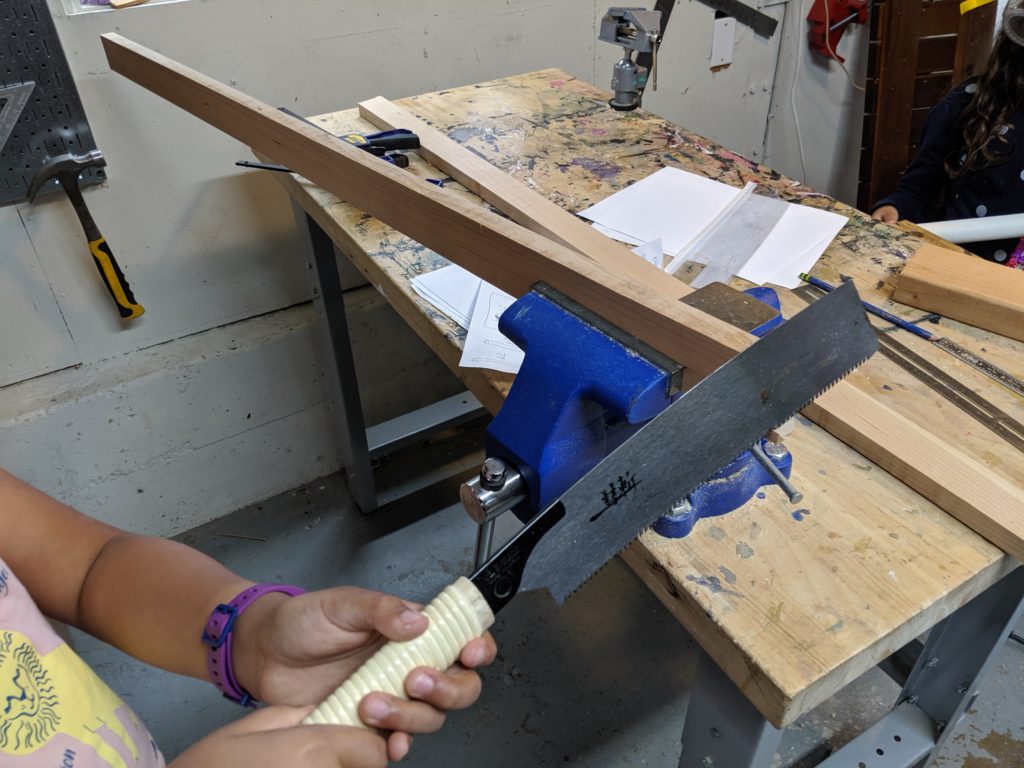
Then, cut the pole at your mark, repeat 9 times. if the pole is too wide for your hole, sand it, if it is too thin, then wedge some pieces of wood between the pole and the hole.
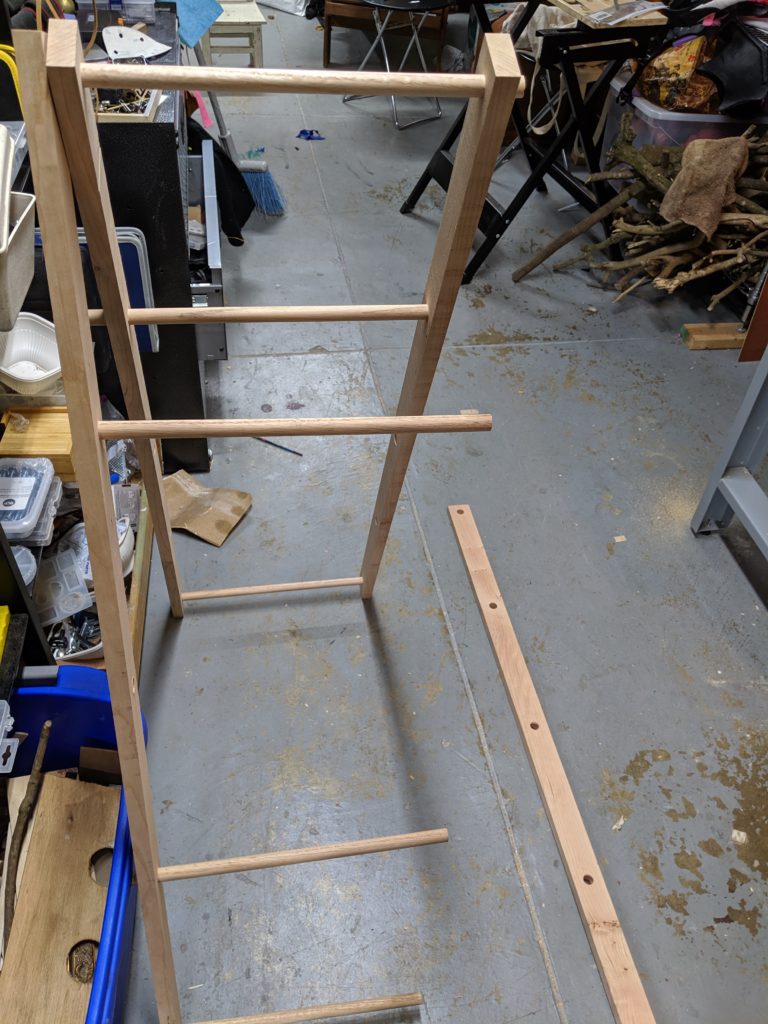
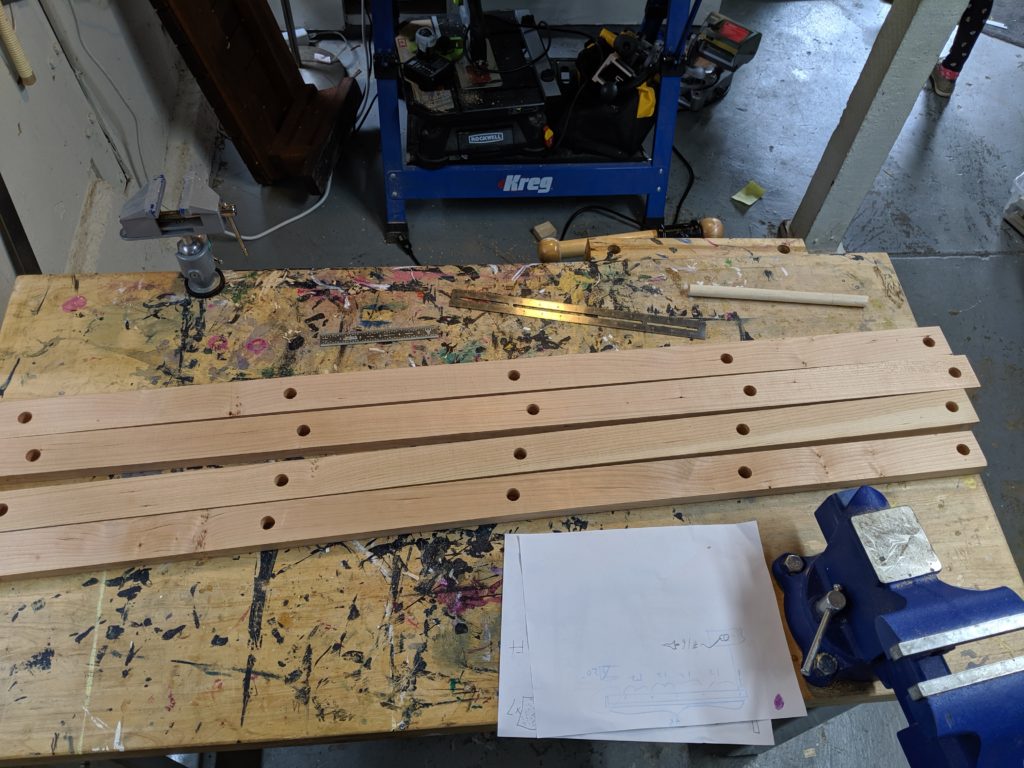
Next, stick the poles in the holes that you drilled so that it looks like this. After that, put the other two wood beams on the other side as well. Make sure not to alternate.
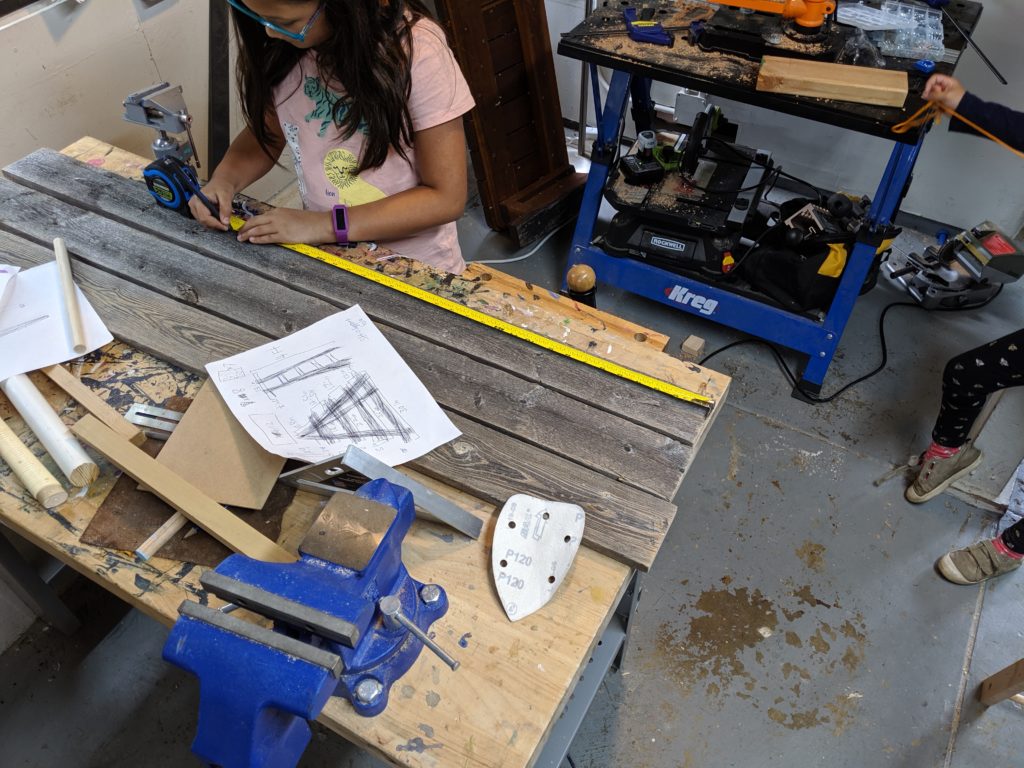
Nearly done, mark the other three 48 X 3.5 X .5 inch boards at 30 inches each.
Finally, clamp all three of the boards together. Then, cut them at 30 inches while keeping them clamped, and remember to use both sides for shelves.
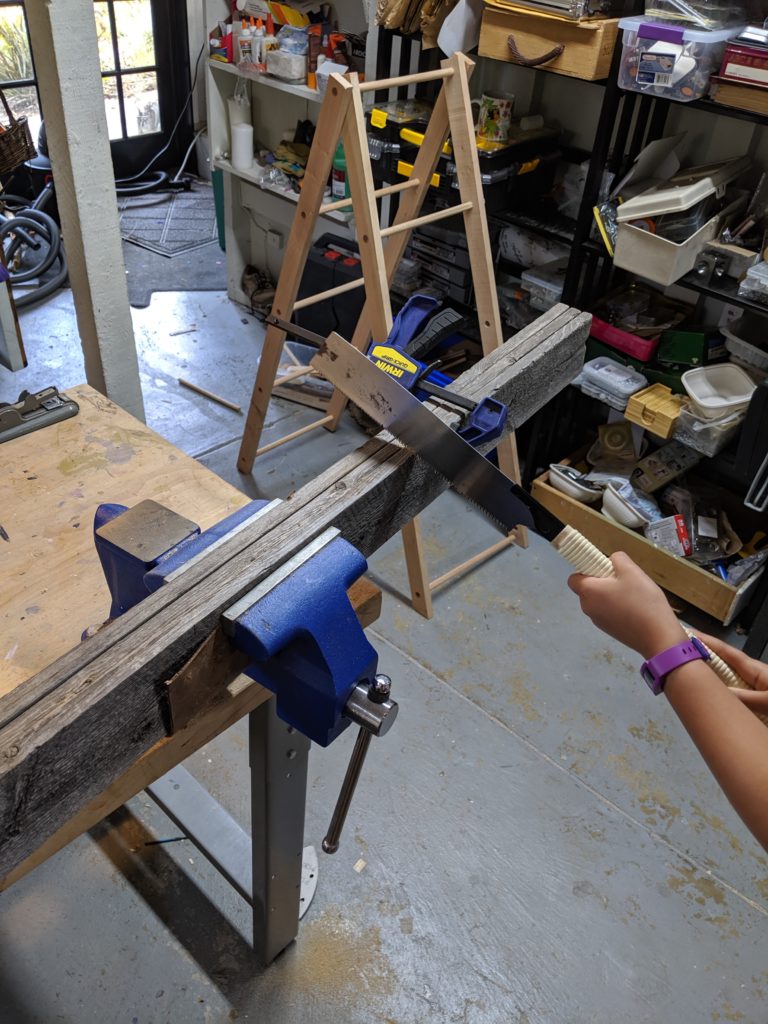
Clamp the shelves together while sawing to make it much easier.
Now you have a amazing ladder bookcase! The finished shelves was quickly put into use for storing our large StarTrek fiction and RPG book collection.
Happy Creating!