Cosplay Tail

Please note, this material is provided for informational purposes only and is not a guide on how to create the designs. Please read our disclaimer.

One thing we have always been jealous of is tails. Cats and dogs flaunt them as they strut around waving them in the air. So when making our dragon costume, we wanted a moving tail that seemed alive. Not a dead tail but one that had a personality of its own.

We searched through our past builds and thought the joint work on our little wooden robots would do the job. We also so some cool designs on the web like this one.

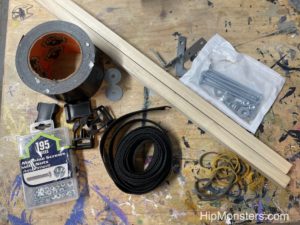
Parts needed to build a cosplay, wooden, flexible tail.

This build just needed some wood, bolts, wood glue, rubber bands and lots of duct tape.

sistering two wooden dowels

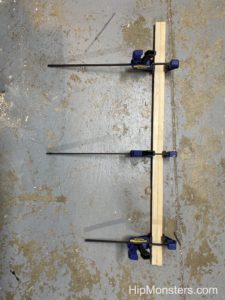
Since we wanted the tail segments to interlocked we glued two pieces of 2 X2 wooden dowels together. Be careful not to put too much wooden glue- it just needs a thin coat. Give it two days to dry; you don’t want it to come apart when you start cutting.

measuring wooded dowels

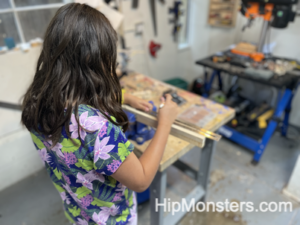
Measure out the segments carefully. You can vary the lengths depending one what look you are going for. We went with four inches length on the top part and one inch slots on the backside.

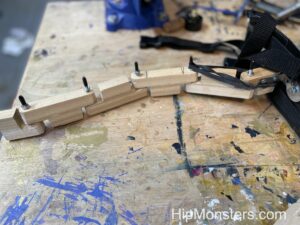
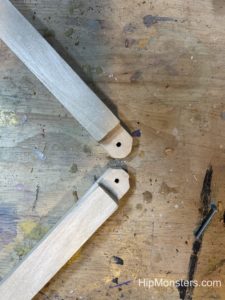
Here is a view of the final design. Each segment will have the same “hat” shape.

a cosplay, wooden, flexible tail.

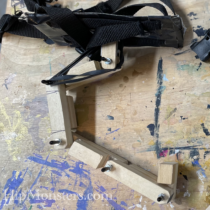
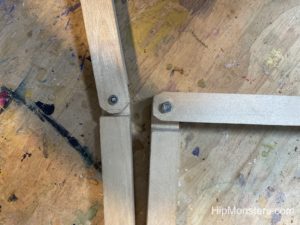
Each hat will fit together in an alternation pattern. We tried making the segment in “z-shape” but it did not move as organically as the “hat-shape”.


Drill press

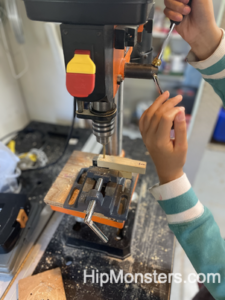
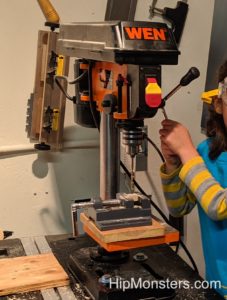
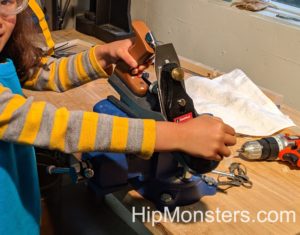
After carefully measuring, we used our trusty drill press to make the holes. Try to make a tight fit for the bolts. If the holes are too big the tail may stick over time as the bolt cuts into the wood.

Making a cosplay, wooden, flexible tail.

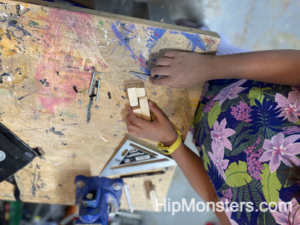
Now it is time to assemble! It fits together like puzzle pieces. Make sure to put bees wax on the segments to protect the wood.

Create a base for a tail

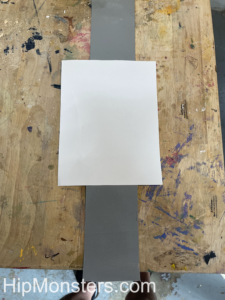
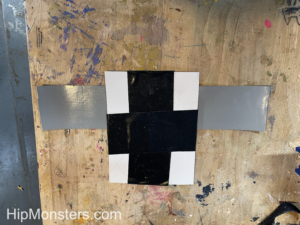
Now on to the belt for the tail. To create a base for the tail we used cardboard and high grade duct tape.  An earlier build with standard duct tape did not last very long.  First cut out a piece of cardboard about 5 by 8 to help guide you as you “weave” the duct tape.  The cardboard does not provide any real support but just helps you remember the shape.  The bigger the base, the more stable the tail will be.

creating a base for a tail

Weave strips of duct tape alternating between vertical and horizontal directions. You want to use several layer, enough that it can support the tail.

creating a base for a tail

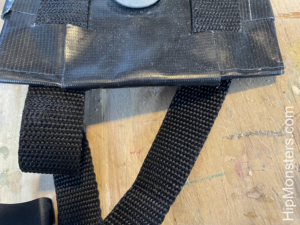
Next careful cut four slits in the base for the belts. We recommend two belts but one top belt can work depending on your custom. We used camping stapes for the belts with fast release clips to making taking the tail on and off easy.  Here is another design that we borrowed element from.

detail of a cosplay, wooden, flexible tail.

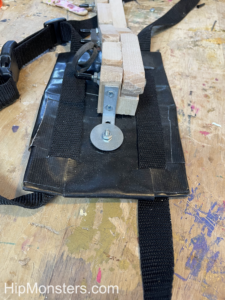
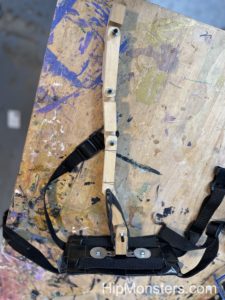
Next punch two holes in the base for the bolts to secure the L-braces. The L-braces will attach the tail to the belt. Use big washers when attaching the L-braces to prevent them from twisting into the duct-tape.

A cosplay, wooden, flexible tail being assembled.

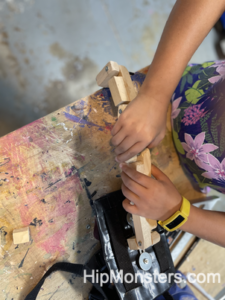
Now, attached the tail using four wood screws. Use small screw and drill guide holes; you do not want to split the wood.

Top view of a cosplay, wooden, flexible tail.

Finally, add two rubber bands at the base to give it some life and your tail is ready to be flaunted!

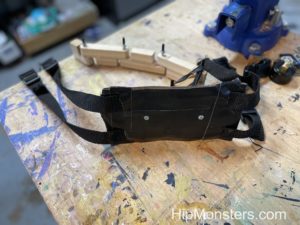
Back of a cosplay, wooden, flexible tail.

Here is a back view showing how the base looks when completed.


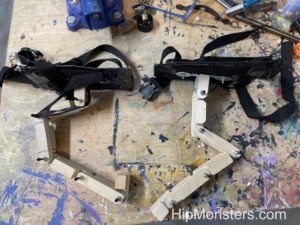
Two cosplay, wooden, flexible tails side by side.

Here are both tails completed!

Happy Creating!

Carved Wooden Seals

Please note, that this material is provided for informational purposes only and is not a guide on how to create the designs. Please read our disclaimer.

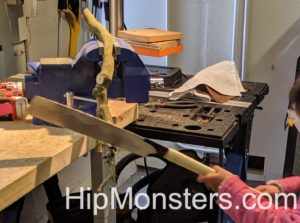
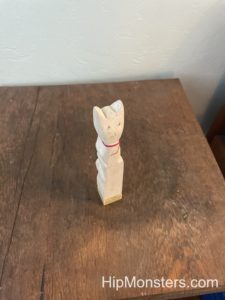
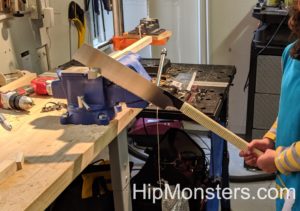
As presents for our teachers last year, we decided to make a series of stamps. we chose cats because we like cats  We prefer using a Japanese saw because it gives us a clean cut and is much easier to use.

Making Wooden Seals

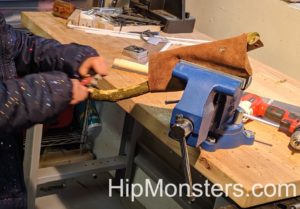
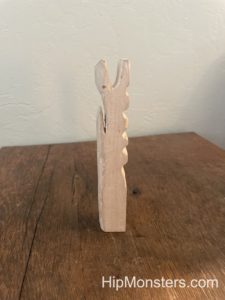
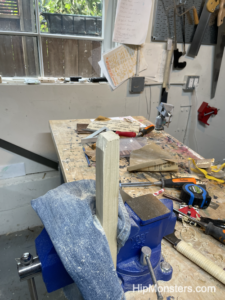
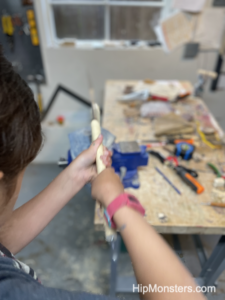
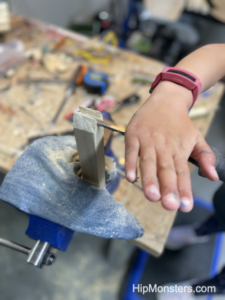
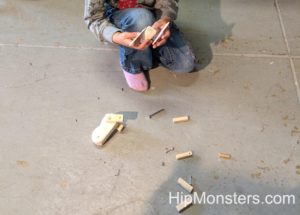
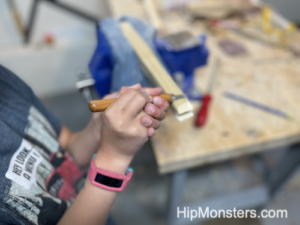
To get the basic cat shape we do rough cuts with the saw, then use a craving tool to  clean up the edges.  The make sure the vice does not cut into the wood we used scrape from an old pair of jeans.

Making Wooden Seals

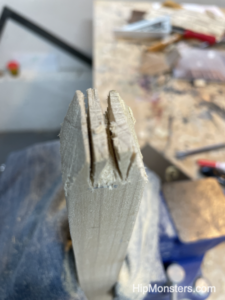
To get the ears we need to create a negative space between the slanted edges we just cut. The do this we first cut several slots making sure to stop just short of the end of the slanted edge. You do not want got beyond that point or the ears will more like bunny ears than cat ears.

Making Wooden Seals

You want to have several slots cut to to make removing them easy. If the slots are too thick when you try to pop them out (the next step you could instead break off the ears.

Making Wooden Seals

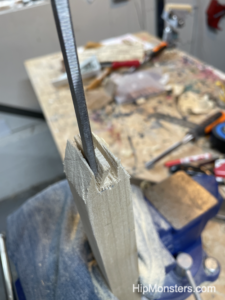
Once we have cut the slots we use a chisel to pop them off. Make sure to go slow and start with the center slot. When you pop off the ones next to the ears make sure to have the flat edge of the chisel pointed towards the ear. Most of the time this works like a charm but sometimes the wood refuse to cooperate. If this happens to you try you best then try using other tools like a flat head screw driver. Worst case use the chisel to cut the out and if nothing works just start over.

Making Wooden Seals

Then we used the chisel to clean up the rough parts between the ears. Two of the seals in this batch had slots that broke off half way making the clean up job a bit hard. Go slot and do not use force. If the chisel is sticking it is either at the wrong angle or you are trying to carve out too much in one go.

Making Wooden Seals

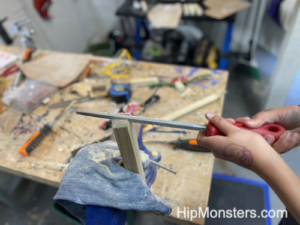
We use a rasp to finish it out.  You can use sand paper as well but we like how you can shape thing with a rasp.

Making Wooden Seals

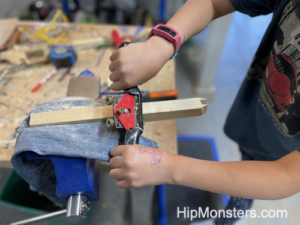
Next we used a spoke shave to round the edges of the square dowel to make it more cat-like. Again, do not force the tool. Just use a gentile motion while applied light pressure. If you use too much force you can cut into the wood.

Making Wooden Seals

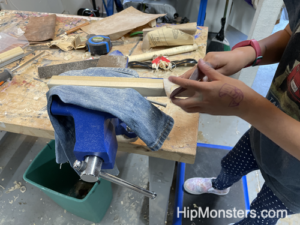
Then sand to get the finished look. And remember to take the time to sand it right.  After all the work it took to get here you do not want to spoil it by not having a clean surface for painting.

Making Wooden Seals

For a finishing touch we made a cut all the way around the seal to create a neck for the cat, We made sure the cut was not too deep and went evenly al the way around the body.

Making Wooden Seals

We then used a craving tool to widened the cur being careful not to cut too much out.

Making Wooden Seals

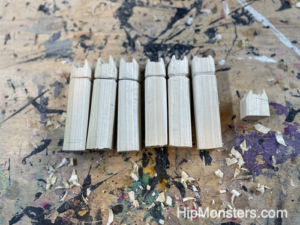
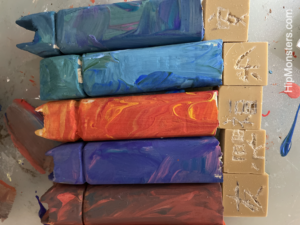
Here is a line up of all six seals ready for painting!

Making Wooden Seals

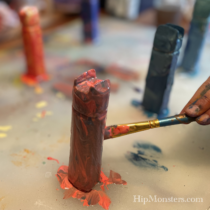
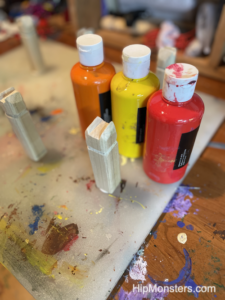
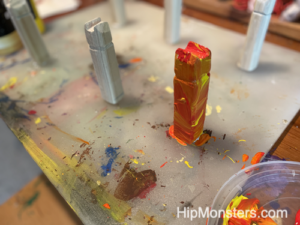
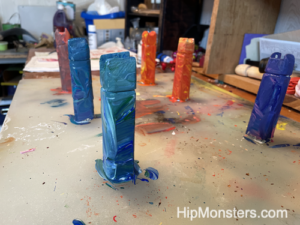
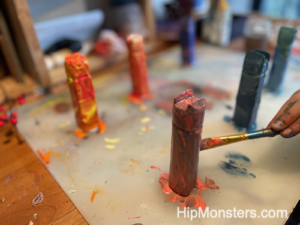
For each seal we picked three different colors to create a unique theme.  We used acrylic paint for these seals but you can us wood stain or oil paint if you prefer.

Making Wooden Seals

This one reminded us of lava!Making Wooden Seals

We painted the layers over time to make sure each color stood out and did not blend in with the rest too much.

Making Wooden Seals

All six seals with their paint jobs finished!

Making Wooden Seals

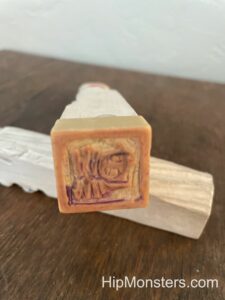
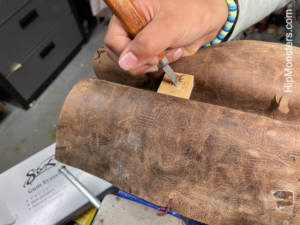
The seal for the seals was made of an eraser.  We used wood carving tools to engrave them. Make sure you do a reverse image of what you want printed!

Making Wooden Seals

Here are the seals with their seals.Making Wooden Seals

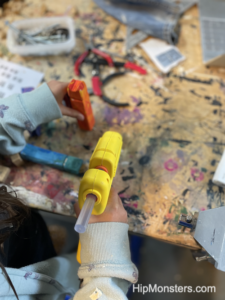
We attached the eraser to the seal using hot glue. Make sure to score the bottom of the wood seal and the eraser so you get a strong bound.


Happy Creating!

Color Splash Collection, Summer 2023

The Summer 2023 release of the Color Splash Collection is in!

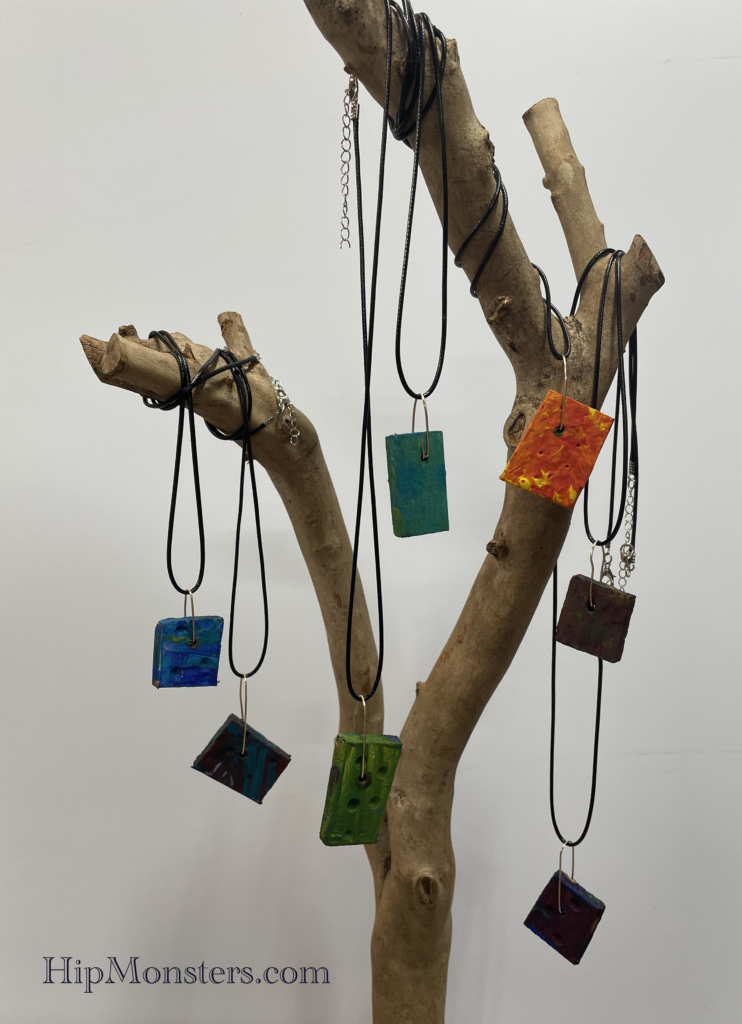
Wooden, colorful necklaces

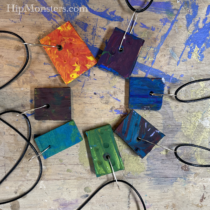
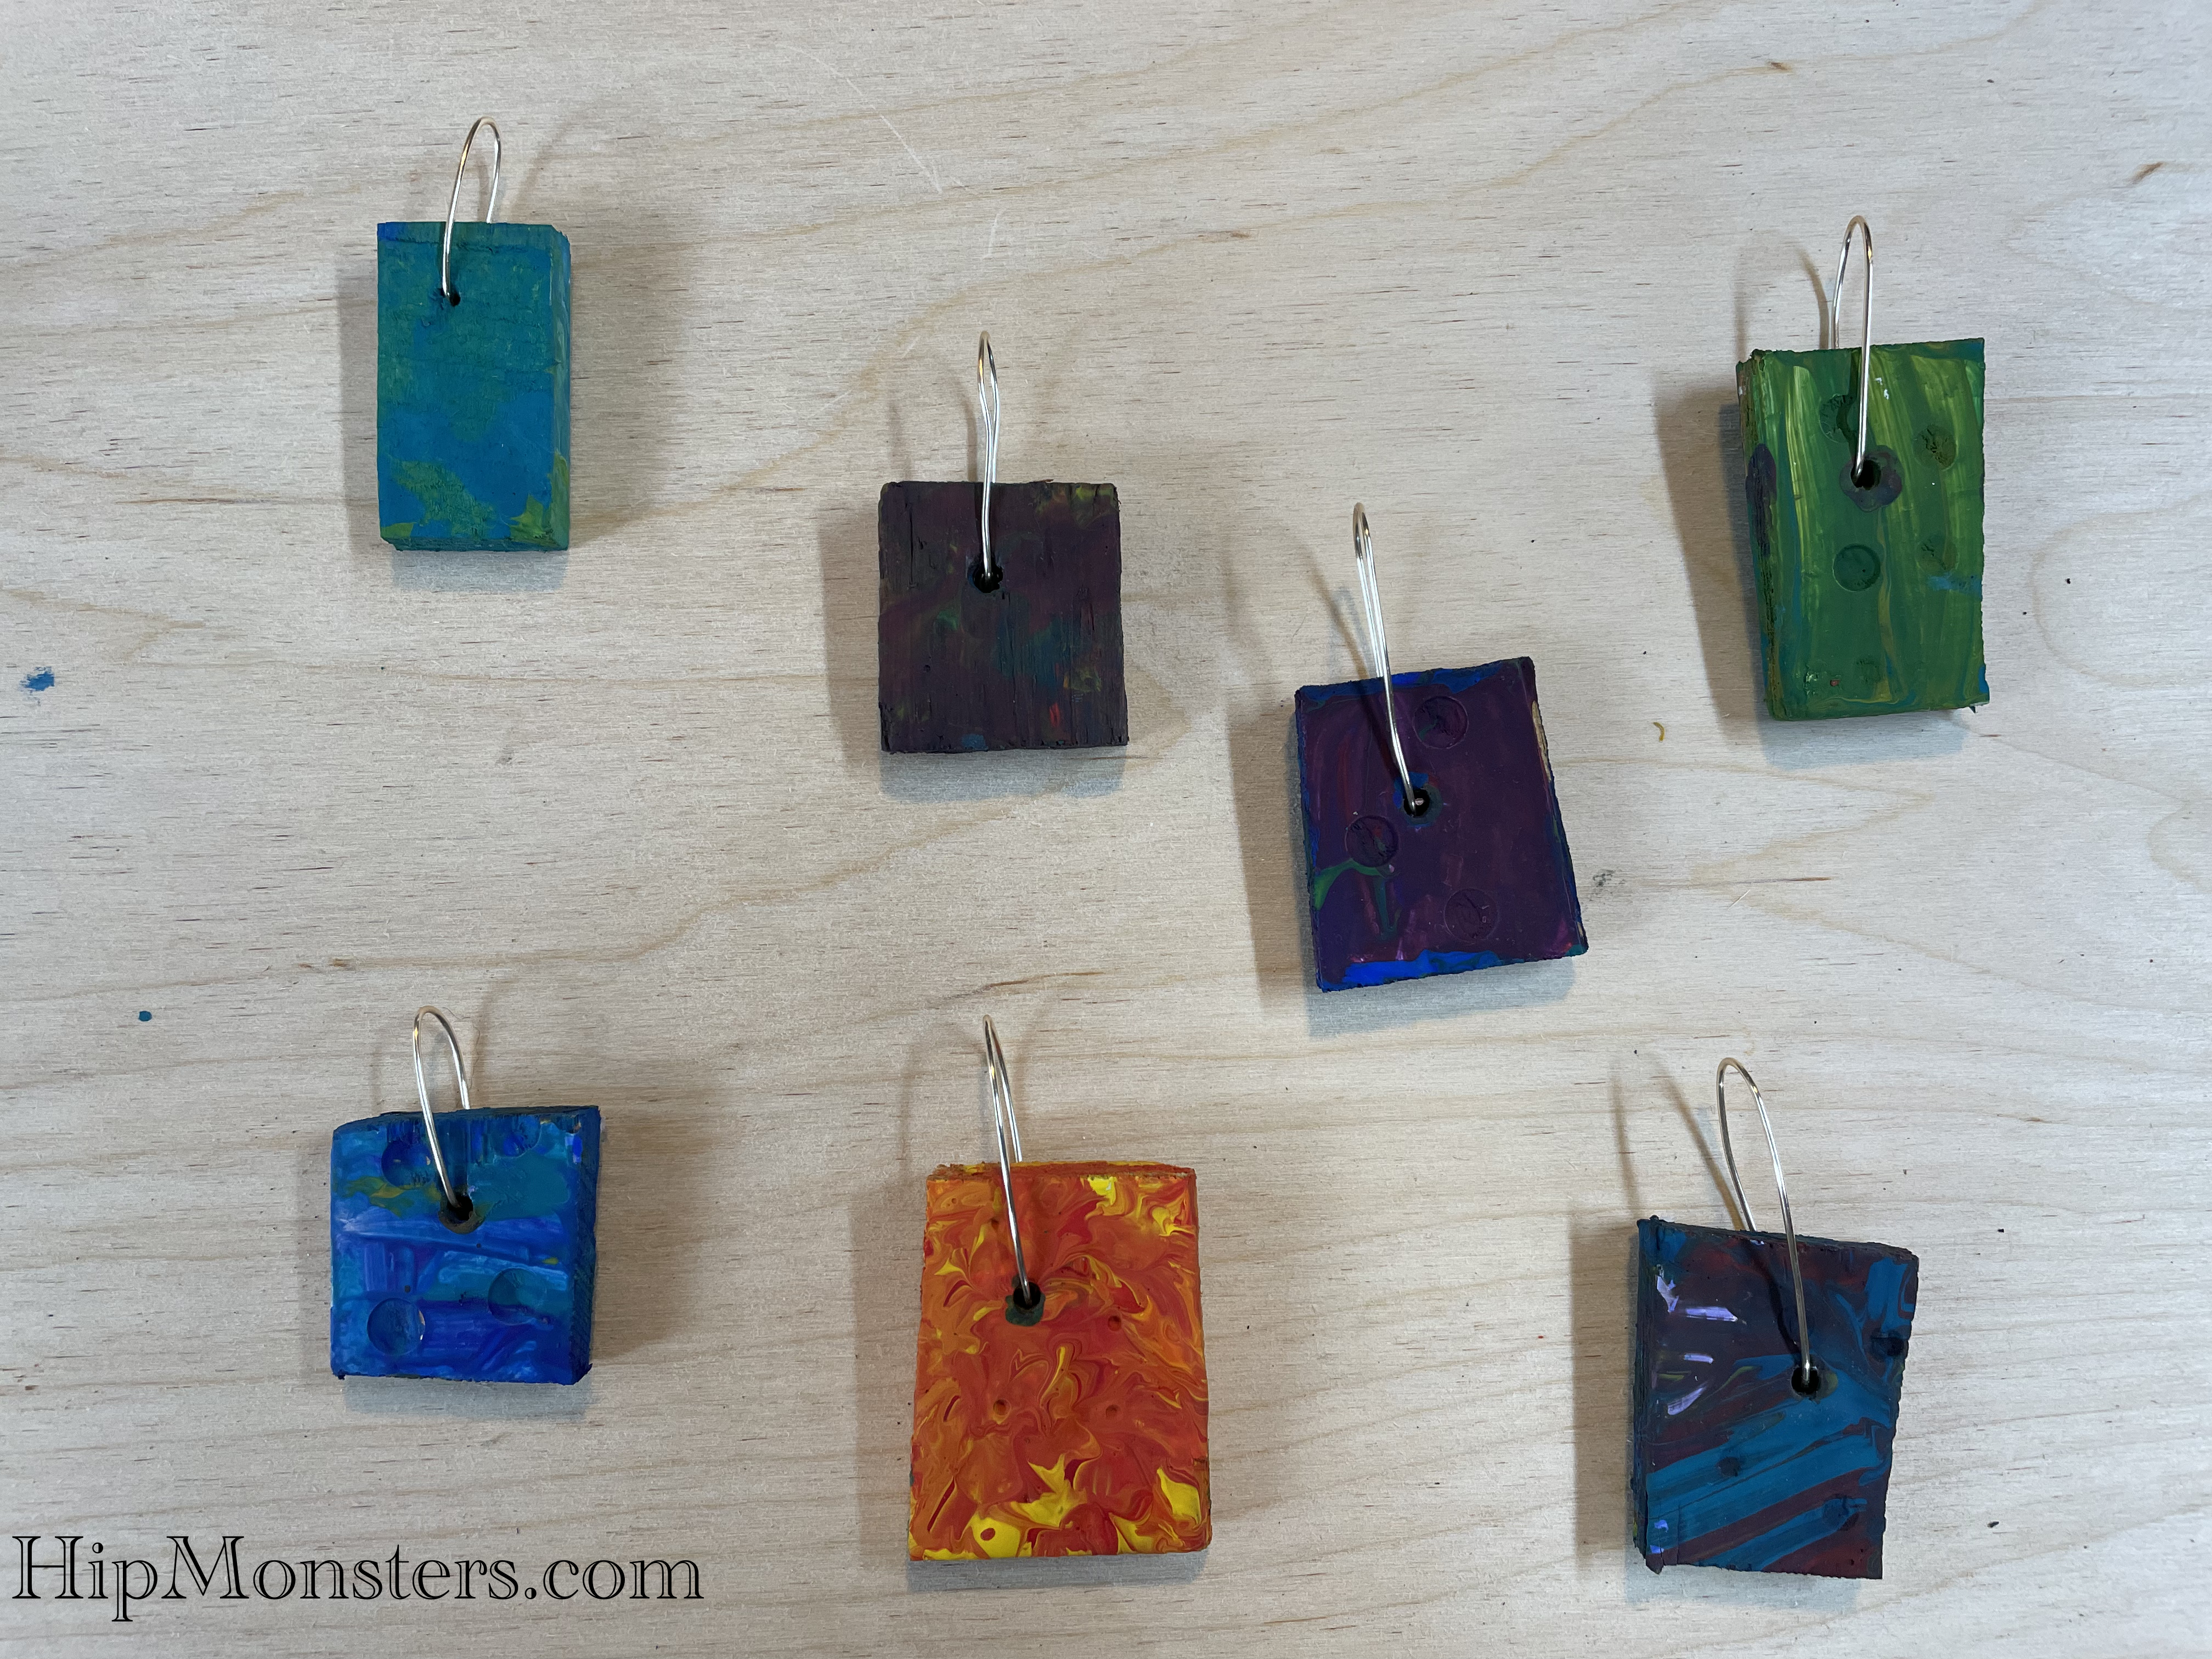
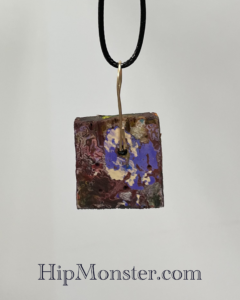
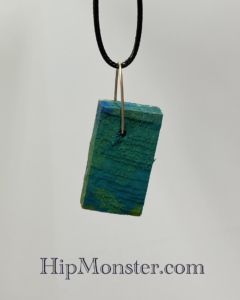
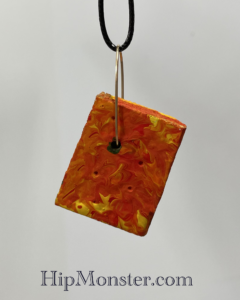
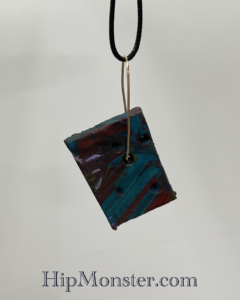
Made from wood and painted in acrylic paint, each necklace is uniquely painted and secured with a silver wire. The color pallet is rich and drawn from nature. The wood is rough cut to give a natural, unrestrained look and feel.  Look below to see each necklace in detail. 

wooden necklace

Sea Foam

wooden necklace

Lava Flow

Wooden Necklace

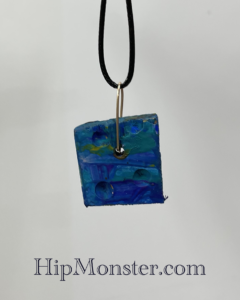
Night Ocean

wooden necklace

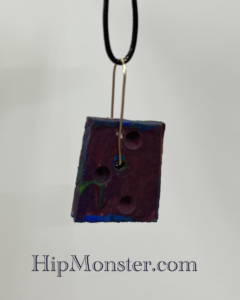
Red Night

wooden necklace

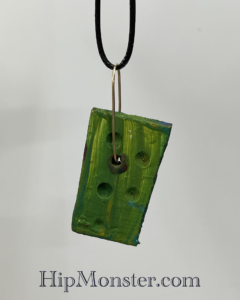
Summer Pond

wooden necklace

Orange Sunset

wooden necklace

Night Waves

All jewelry made at HipMonsters is crafted and designed by kids. Each is made with love and inspired by nature, science and a love of creating something new.
Happy creating, and wearing!

Wooden Deer Sculpture

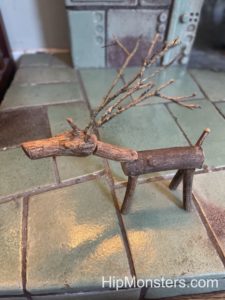
This is our wooden deer sculpture, made as a Christmas present. We only used wood from our yard to make it more meaningful. We always save leftover wood, so we can use it in our woodworking projects instead of wasting it.

DIY Wooden toy deer

This is the back view of the deer. As you can see, we attached the tail, limbs and antlers by drilling holes and fitting them into the holes, like a peg. We attached the head and the neck by drilling a smaller hole inside the neck and the body, then used a strong piece of aluminium wire to connect them together. To make the tail look more realistic, we rounded the end of it and drilled the hole at an angle instead of straight down.

DIY Wooden toy deer

The head was made from sanding part of a tree branch. We chose that branch because it already looked like a deer head, so we didn’t have to work on it very much. It even had little indents for the eyes! All we had to do was sand it, trim the ears, and drill two small holes for the antlers.

DIY wooden toy deerWe attached the antlers of the deer by taking small branches from our birch tree and putting them in the holes that we drilled on the head. The antlers were very important because it would help people recognize this as a deer. We had to find branches that were strong so they won’t break, but small enough to look realistic. Luckily, birch trees shed a lot of branches, so it wasn’t too hard to find perfect branches.

Happy Creating!

Making a Toy Bunny

It was the end of the school year and we want to make a toy for one of our teachers. She loved bunnies and Beatrice Potter, so we thought that we should make her a toy bunny.

First, we drew a design for the toy bunny. We wanted it to be able to move its legs and ears so the design had to have a lot of details. It make sure it could more we used balsa wood for most of the parts to the bunny put together with nuts and bolts.

Please note, this material is provided for informational purposes only and is not a guide on how to create the designs.  Please read our disclaimer.


Cutting wood, woodcrafting

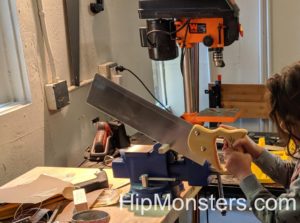
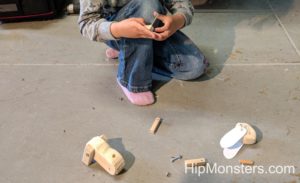
Here is a picture of us cutting the wood. We had to use a fine saw because the balsa wood split with the Japanese saw.

Assembling a wooden toy bunny

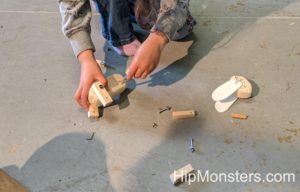
Next, we drilled holes for the nuts and bolts. We don’t use wood screws because over time they loosen and damage the wood if the toy is played with it. To drill the holes we used a bench press and a secured the wood carefully. Because Balsa wood is so soft, it couldn’t be hand drilled.

After all the parts were cut, drilled, and sanded it was time to assemble!

Assembling a wooden toy bunny

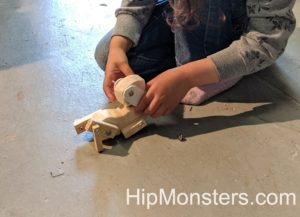
If the plans are good enough, once you have the pieces done, it is like assembling a puzzle!

Assembling a wooden toy bunny

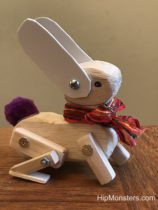
We made the ears out of plastic because the wooden ears broke too easily. We could also easily cut the plastic to be whatever shape we want.

Assembling a wooden toy bunny

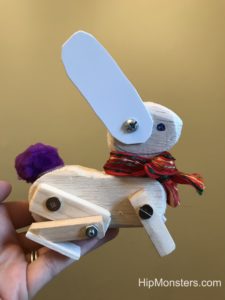
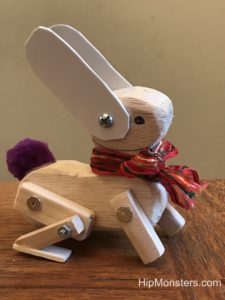
To finish it off we added a purple pompom for a tail. And here is the completed bunny with a scarf!

A wooden toy bunny

Because it is posable, you can change how it looks year round!

A wooden toy bunny

This is what it looks like when it’s finished!

Happy Creating!

Puzzle Box: Push My Button

After building a number of dovetail puzzle boxes the HipMonsters sister team set out to make their own unique design. We explored many designs and drew influence from creations like this one on YouTube. The sisters wanted something that looked deceptively simple and easy to make.  Thus was born Push My Button! 

Please note, this material is provided for entertainment and informational purposes only and is not a guide on how to create the designs.  Please read our disclaimer.

DIY Wooden Puzzle box
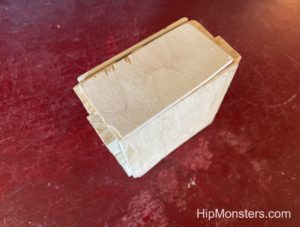
Side View

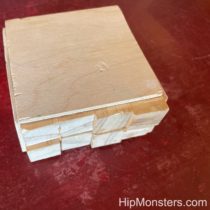
Here is Push My Button from side view.  The sides of the box are made from a several of 1/4 wooden square dowels. These are our go-to material for many of our designs.

DIY Wooden Puzzle box
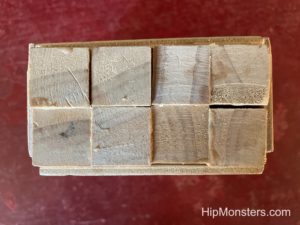
Top View

The top, sides and bottom are made from 1/8 inch plywood.

DIY wooden puzzle box
Corner view

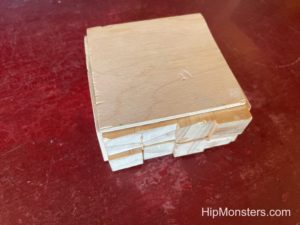
Here is a view of a corner. We purposely made it look slapped together to confuse people. The lopsided look makes it appear that the sides of bottom can be slipped off – which cannot be done.

DIY wooden puzzle box
Which button to press?

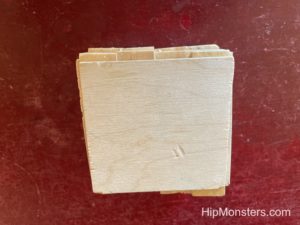
But the key to opening Push My Button to to press the correct button… but which one? We added spacers between some of the dowels and aligned them irregularly to make harder to tell which one is the key.

DIY Wooden Puzzle box
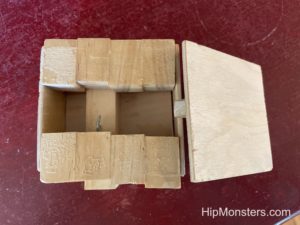
Opened!

When we give it as a gift, we usually leave earrings or chocolate inside to reward the receiver once them uncover the trick.

Happy Creating!

The Making of George the Mummy

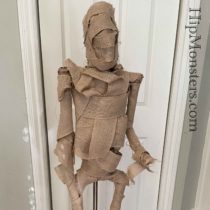
We wanted to give people a scare on Halloween and was inspired by a visit to Rosicrucian Egyptian Museum so we set out to make our own mummy, George the mummy (he got too curious).
Please note, this material is provided for informational purposes only and is not a guide on how to create the designs.  Please read our disclaimer.

DIY mummy
Materials 

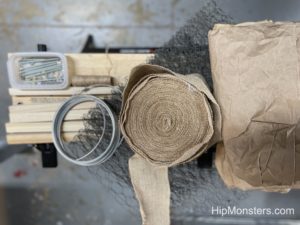
For the mummy, we used:

  • A roll of burlap fabric
  • Lots of brown shipping paper
  • Chicken wire
  • Aluminum fense wire
  • 5 1/4×1/4X 5 Wood
  • Twine
  • nuts and bolts.

We needed it to be pretty light so we didn’t use a lot of wood and padded the skeleton with lots of shipping paper.  We had been storing the shipping paper for years and had bags of it in a closet for just such a project.  It is perfect because it looks like old dried skin!

DIY mummy
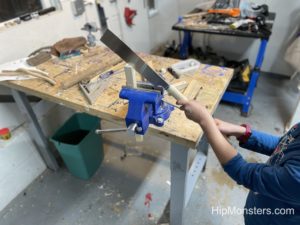
Cutting the joint

We wanted George to be flexible so we could place him through out the house and even take him on car trips.

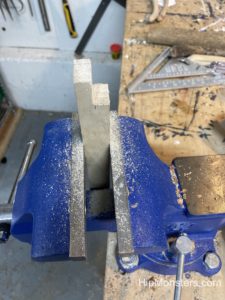
DIY mummy
Close-up of the joint

This is one of the joints that we made.  George is fully articulate but not powered like our robots.

DIY mummy
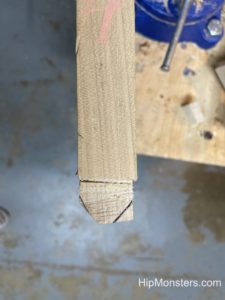
Trimming the sides

We cut small pieces of the wood off to make it more rounded then sanded the edges to get a clean joint. Since these joints would not be seen we used only rough grade sandpaper.

DIY mummy
The finished joint

We drilled holes in the joints so that we could put them together.  To drill the holes we clamped the two pieces together to assure the holes would align.

DIY mummy
Putting them together

We used a rubber washer between the two pieces so George would not be too wobbly.  After screwing the bolts down we crimped end to make sure they would not come undone after George was finished.

DIY mummy
Starting the head

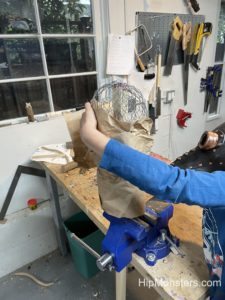
We used chicken wire to start making the shape of the head. The chicken wire was so sharp so we had to be extra careful not to cut ourselves. Best to let a parent do this part.  One trick we used was to warp the end pieces in duck tape to make them less pocky.

DIY mummy
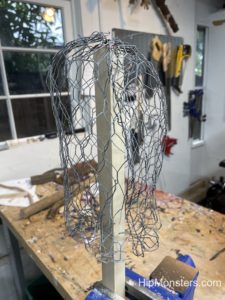
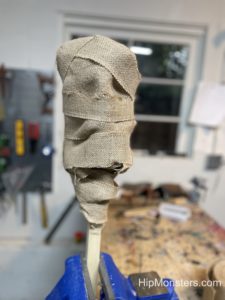
The basic shape of the head

We molded the head into shape. We recomend wearing thick gardening gloves because the chicken wire is very sharp.

DIY mummy
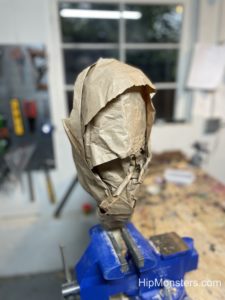
Wrapping it in paper

 We wrapped it in paper to make it less sharp and because the paper looks like dry skin. The paper alos helps makes the linbs more circlular.

DIY mummy
George’s head with the skin

The head fully wrapped in paper.

DIY mummy
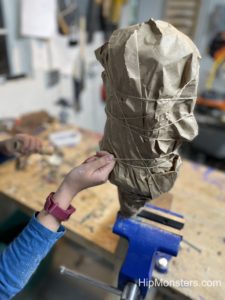
Securing the paper

We secured the paper by tightly wrapping it in twine. we used twine because it is strong, but also because it is the same color as the paper, so if a little shows it would blend in with the paper.

DIY mummy
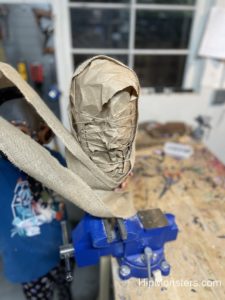
Wrapping it in burlap

We wrapped it up in burlap after we finished securing the paper. We did several layers so it wouldn’t come off and towards the end split the burlap into multiple strips

DIY mummy
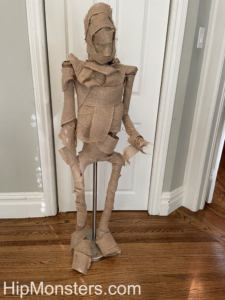
The completed head

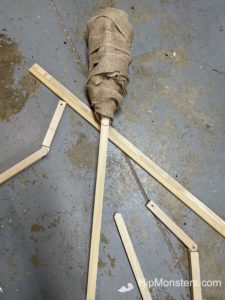
After the head was done it was on to the rest of the body.  The wooden skeleton we made as simple ae possible and used bolts and bolts with crimp washers to make sure it would not come loose after the wrapping for completed.

DIY mummy
Put it together!

Now assemble the skeleton and wrap the body in the same fashion as the head. Wrapping the hands and feet proved to be very hard, and we ended up not making wooden fingers, we just wrapped the arm and secured the ends.

DIY Mummy
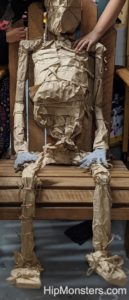
Waiting to be wrapped

Here is the completed skeleton fully covered in paper and tied together with twine. We needed to remove the final wrapping from the head in order to better integrate it to the body.  Also, we tried using left over hand from out Hand of Glory project but in the end, they did not look as real as we want.

DIY mummy
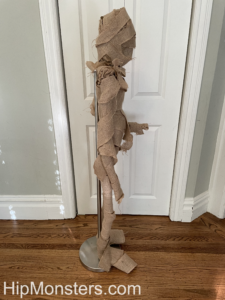
The side view

DIY Mummy on a stand
Front view

Now you can see George out of the workshop!  We originally tried to make him be able to stand up on his own, but that would mean either making the body weirdly small or making the feet gigantic. We ended up attaching him to a lamp post instead.

DIY mummy
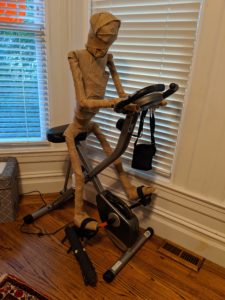
George the mummy exercising

In this photo, George is sitting on a stationary bicycle. This shows off how George’s limbs can move and that he can be detached from the lamppost. It also shows that George is about the same size as a normal human, which makes him more realistic and creepy.

DIY mummy
George taking down holiday decorations with Number Three

In this video, George is taking down Christmas decorations with Number Three, showing off how well he stands and how much he enjoys wearing hats. He is also sturdy enough to hold Christmas tree ornaments without his arm bending.

Happy Creating!

Wooden Toy – Alligator

We decided to make a special present for our teachers at school. One of the teachers really loved alligators, so we decided to make one for her out of wood.

Please note, this material is provided for informational purposes only and is not a guide on how to create the designs. Please read our disclaimer.

Cutting the wood for a toy wooden alligator

So we set out to make one out of wood. First we cut the wood into the rough shape of the toy.

Using a drill press to create a wooden toy alligator

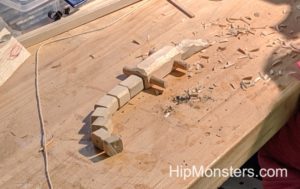
Next, We drilled the wood that we cut. We cut lots of little pieces so the tail could move. We also  drilled a small hole in the center of each small piece.Planing the wood for a toy wooden alligator

To smooth the edges we used a wood plane. Then we sanded each piece with fine grain sandpaper. For the details on the head we made rough cuts using an alligator saw then sanded repeated to get the shape we wanted.

A handcrafted wooden toy alligatorWe laid out the final design before threading the wire through the holes we drilled.

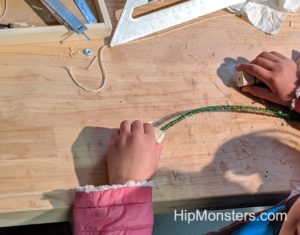
Threading a pipecleaner through pieces of wood for a handcrafted wooden toy alligator

Here we are threading the wire though the holes.  We used pipe cleaners to get a snug fit.  This will make the toy alligator flexible but will also hold its shape well.

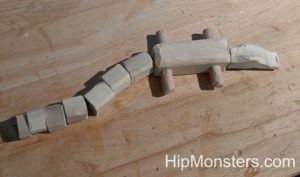
Finished toy wooden alligator

Here is the  completed alligator! We named him Claude after the alligator in the San Francisco Academy of Sciences.

Happy Creating!

Potion Cabinet

 With all the potion-making we have been doing recently, we found that we needed a place to put our potion supplies on the go, so we made a potion cabinet fit for the experts of potion-making. Professor Slughorn’s portable potions kit was the main inspiration for this creation.

Please note, this material is provided for informational purposes only and is not a guide on how to create the designs.  Please read our disclaimer.

Getting started on a DIY wood working project, a DIY wooden cabinet.
Getting started

We used the following supplies; a hammer, a saw, four 90-degree angle clamps, black paint, blue paint, mahogany-colored wood stain,

Clamping corners. DIY wooden cabinet.
Using clamps to get a tight fit

The core of the cabinet is the frames. These carry the weight of the bottles and hold the cabinet’s shape. To make the frames, we cut the beams into 12 inches and glued them together, using the 90-degree angle clamps for making a strong right angle.

DIY wooden cabinet making progress.
Getting the pieces ready for assembling.

All the sides and frames are ready for assembly. All pieces need to be cut out before you start assembling to make sure that you don’t forget a piece.

Assembling our DIY wooden cabinet.
Gluing the pieces together.

We ran a bead of glue on all the edges of the frames. We made sure to only put a little glue to prevent sliding.

Clamping our DIY wooden cabinet together.
Clamping the cabinet together.

Then we use clamps to firmly secure the sides to the frame.

Strengthening our DIY wooden cabinet.
Hammering in nails for support.

Once we were sure the glue had dried we went on to the next steps. For added strength, we put in a few thin nails on the bottom and sides.

DIY wooden cabinet is taking shape!
Measuring the box for the shelf.

We measured for the interior shelf after we put the cabinet together to make sure we have a snug fit.

Our DIY wooden cabinet now has a shelf.
Cutting the corners of the shelf.

Next we cut out slots on all the corners so the shelf following the outside of the line then sanded to fit the cabinet.

Our DIY wooden box can be transported.
Attaching the handle to the top.

Finally, we added a handle on top to make transportation easier. Since the outside plywood was thin to make the cabinet light, we added an extra piece of wood underneath to secure the handle. we used thin screws so we don’t split the extra piece of wood.

DIY wooden cabinet
The fully assembled cabinet.

Here is the assembled cabinet ready for staining and painting. We are looking for a vintage look so we need to do multiple layers and light distressing.

We used this video for Our Up Cycled Life to help us get started.

Staining our DIY wooden cabinet.
Staining the cabinet.

We stained the cabinet and left it outside to dry. The shelf and front were stained separately to make sure that we got the stain in all the nooks and crannies.

Making our DIY wooden cabinet's wood look distressed.
Adding wax circles on the top of the cabinet.

We used candles to make wax circles around the cabinet. We do this because when we paint it, the paint on the wax would peel off, creating a distressed look.

Painting our DIY wooden cabinet.
Painting the cabinet.

Giving our DIY wooden cabinet a vintage look.
Sanding some of the paint off.

Then, we mixed the black paint and the blue paint, creating a dark blue, and painted the cabinet. We used dark blue because when black paint gets old, it looks like dark blue.

We lightly sanded the painted wood, showing the stain underneath. We can repeat this process to get the aged look that we desired.  Here is a view of the completed potion cabinet with the vintage finish.

DIY wooden cabinet
Photo with the cabinet door.

Here is a view with the case close for safe transportation!

DIY wooden cabinet with the door.
The door closed.

Here is the completed potion cabinet with a vintage finish.

Happy Creating!

Ladder Bookcase

How to Make a Ladder Bookcase

This project is about how to build a ladder-like bookcase. This bookcase has less room because its sides slope in towards the top but fit well into small spaces and is very sturdy, a perfect place for books!  This design was inspired by a model designed by Vico Magistretti.
Please note, this material is provided for informational purposes only and is not a guide on how to create the designs.  Please read our disclaimer.

Supplies required to build a DIY Ladder bookcase
All the Supplies Laid Out

First, you get all the materials:

    • 2 clamps
    • a bottle of wood glue
    • 5  48 X 3.5 X .5 inch wood planks (we used reclaimed wood)
    • 4  36 X 5/8 inch Oak Dowel Rods
    • 4 48X 2 X 3/4 inch cheery wooden boards
    • a saw
    • sandpaper ( Course and fine grit)
    • drill
    • 3/4 inch bit
  • 4 MDF Wood Board 6x8x.0785
  • Wood Stapler
  • No Screws or nails!

Measuring for a DIY ladder bookcase
Measuring carefully

Now you can begin. First, on the 48X 2 X 3/4 inch cherry beam make a straight line one inch from the top. This you will line up with the edge of the circular saw.

Cutting wood for a DIY ladder bookcase
Cutting carefully

Next, you cut a twenty-degree angle so that the tip touches the corner.

Using Japanese saw to build for a DIY ladder bookcase
Our Japanese saw in good use

Then, if there is access cut it off while not impacting the angle.

Measuring agin for building a DIY ladder bookcase
Measuring again

Then, you make dots 11 inches apart in the center of the 48X 2 X 3/4 inch cherry beams.

Clamping wood to align drilling for a DIY ladder bookcase
Clamping wood to align drilling

Next, you clamp both pieces of wood together, to make drilling more accurate.

Drilling holes for a DIY wooden ladder bookcase
Drilling carefully

Then, you drill a hole on all the dots while keeping the wood clamped together.

All the holes align for our DIY wooden ladder bookcase
All the holes align!

Put them aside to use later.

Planning out next steps for a a DIY wooden ladder bookcase
Planning out the next steps

Then, mark 3 of the 48 by 3.5 by 0.5-inch wooden boards at 22 inches.
Measuring the support for a a DIY wooden ladder bookcase
Measuring the support

Next, measure a 36 X 5/8 inch pole and mark it at fifteen inches.

Cutting the support for a a DIY wooden ladder bookcase
Cutting the support poles

Then, cut the pole at your mark, repeat 9 times. if the pole is too wide for your hole, sand it, if it is too thin, then wedge some pieces of wood between the pole and the hole.

Partially asembled DIY wooden ladder bookcase
Almost assembled!

Next, stick the poles in the holes that you drilled so that it looks like this. After that, put the other two wood beams on the other side as well. Make sure not to alternate.

Measuring the shelves for the DIY wooden ladder bookcase
Measuring the shevles

Nearly done, mark the other three 48 X 3.5 X .5 inch boards at 30 inches each.

Cutting the shelves for the DIY wooden ladder bookcase
Clamping the shelves for cutting

Finally, clamp all three of the boards together. Then, cut them at 30 inches while keeping them clamped, and remember to use both sides for shelves.
Cutting the shelves for a DIY wooden ladder bookcase
Cutting the shelves

Clamp the shelves together while sawing to make it much easier.

Finished DIY wooden ladder bookcase
Finished!

Now you have a amazing ladder bookcase! The finished shelves was quickly put into use for storing our large StarTrek fiction and RPG book collection.

Happy Creating!