Inspired by our trips to Hawaii, the sisters team decided to make their own working DIY ukulele. We ended up making a whole lot of them because it is a good way to practice some woodworking skills. We advise using wood that isn’t to hard for the sides, because that makes drilling the center hole a lot easier.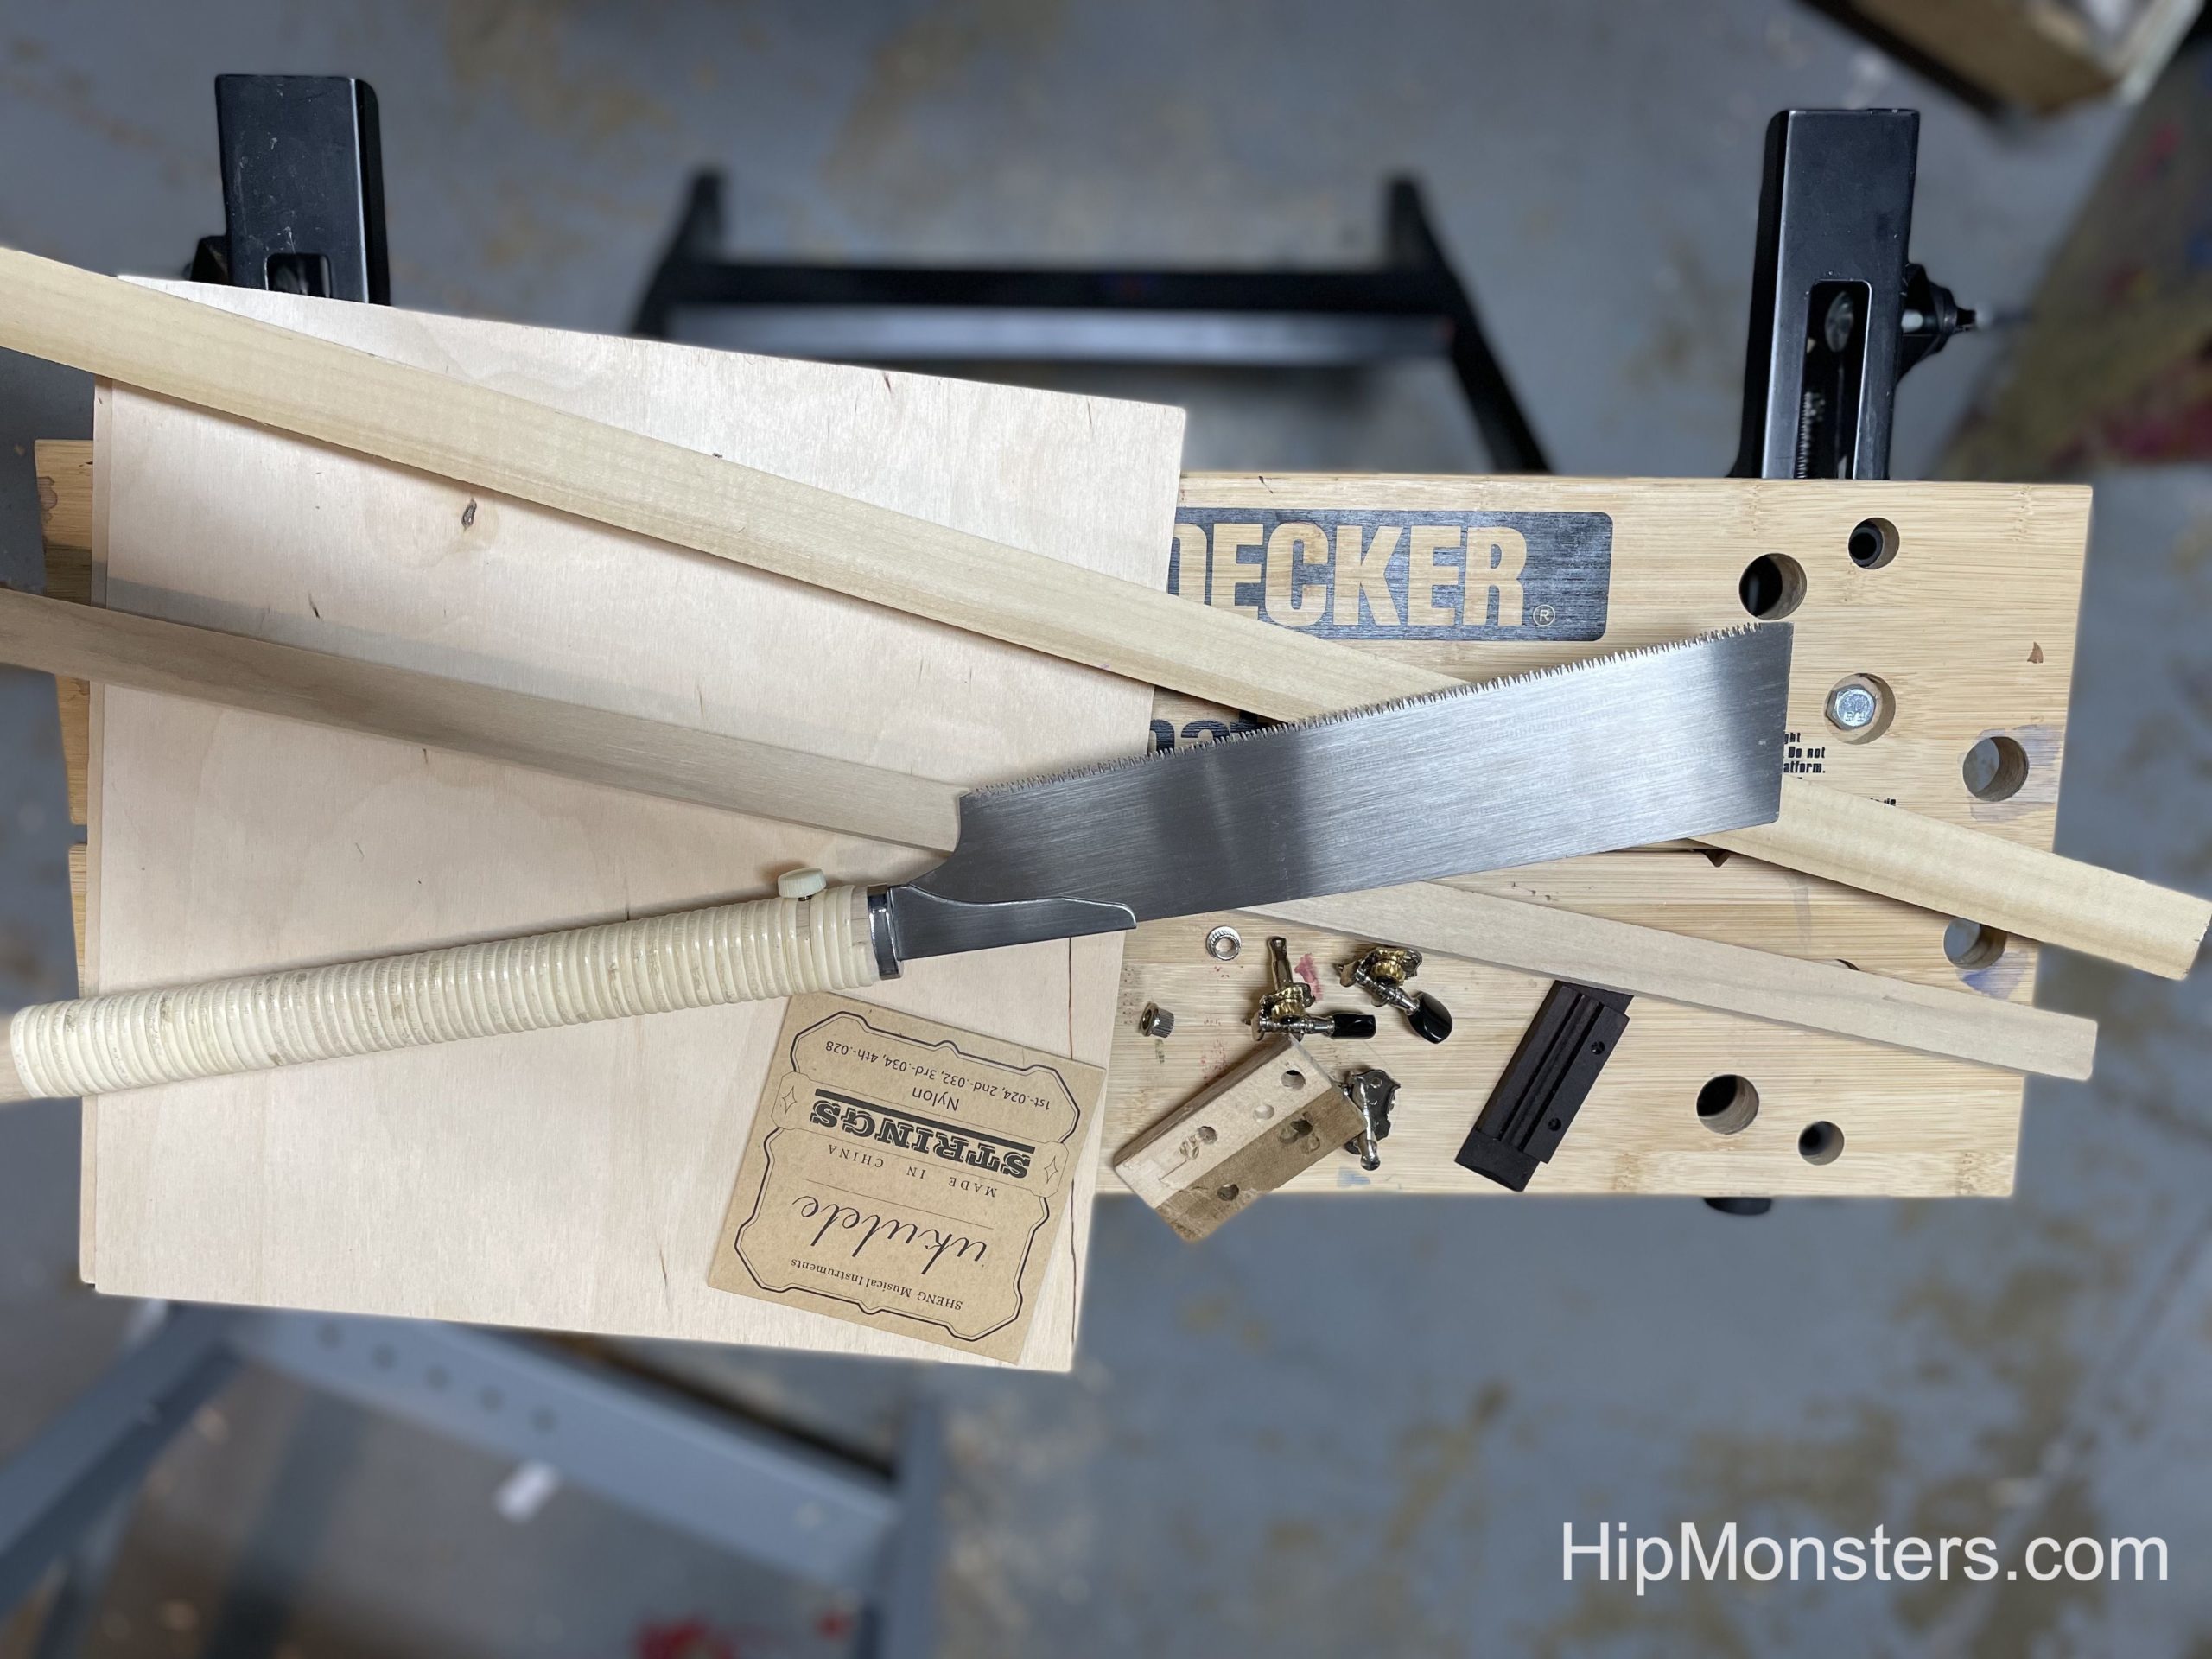
We are missing some photos between the required supplies and the final clamping – sorry.
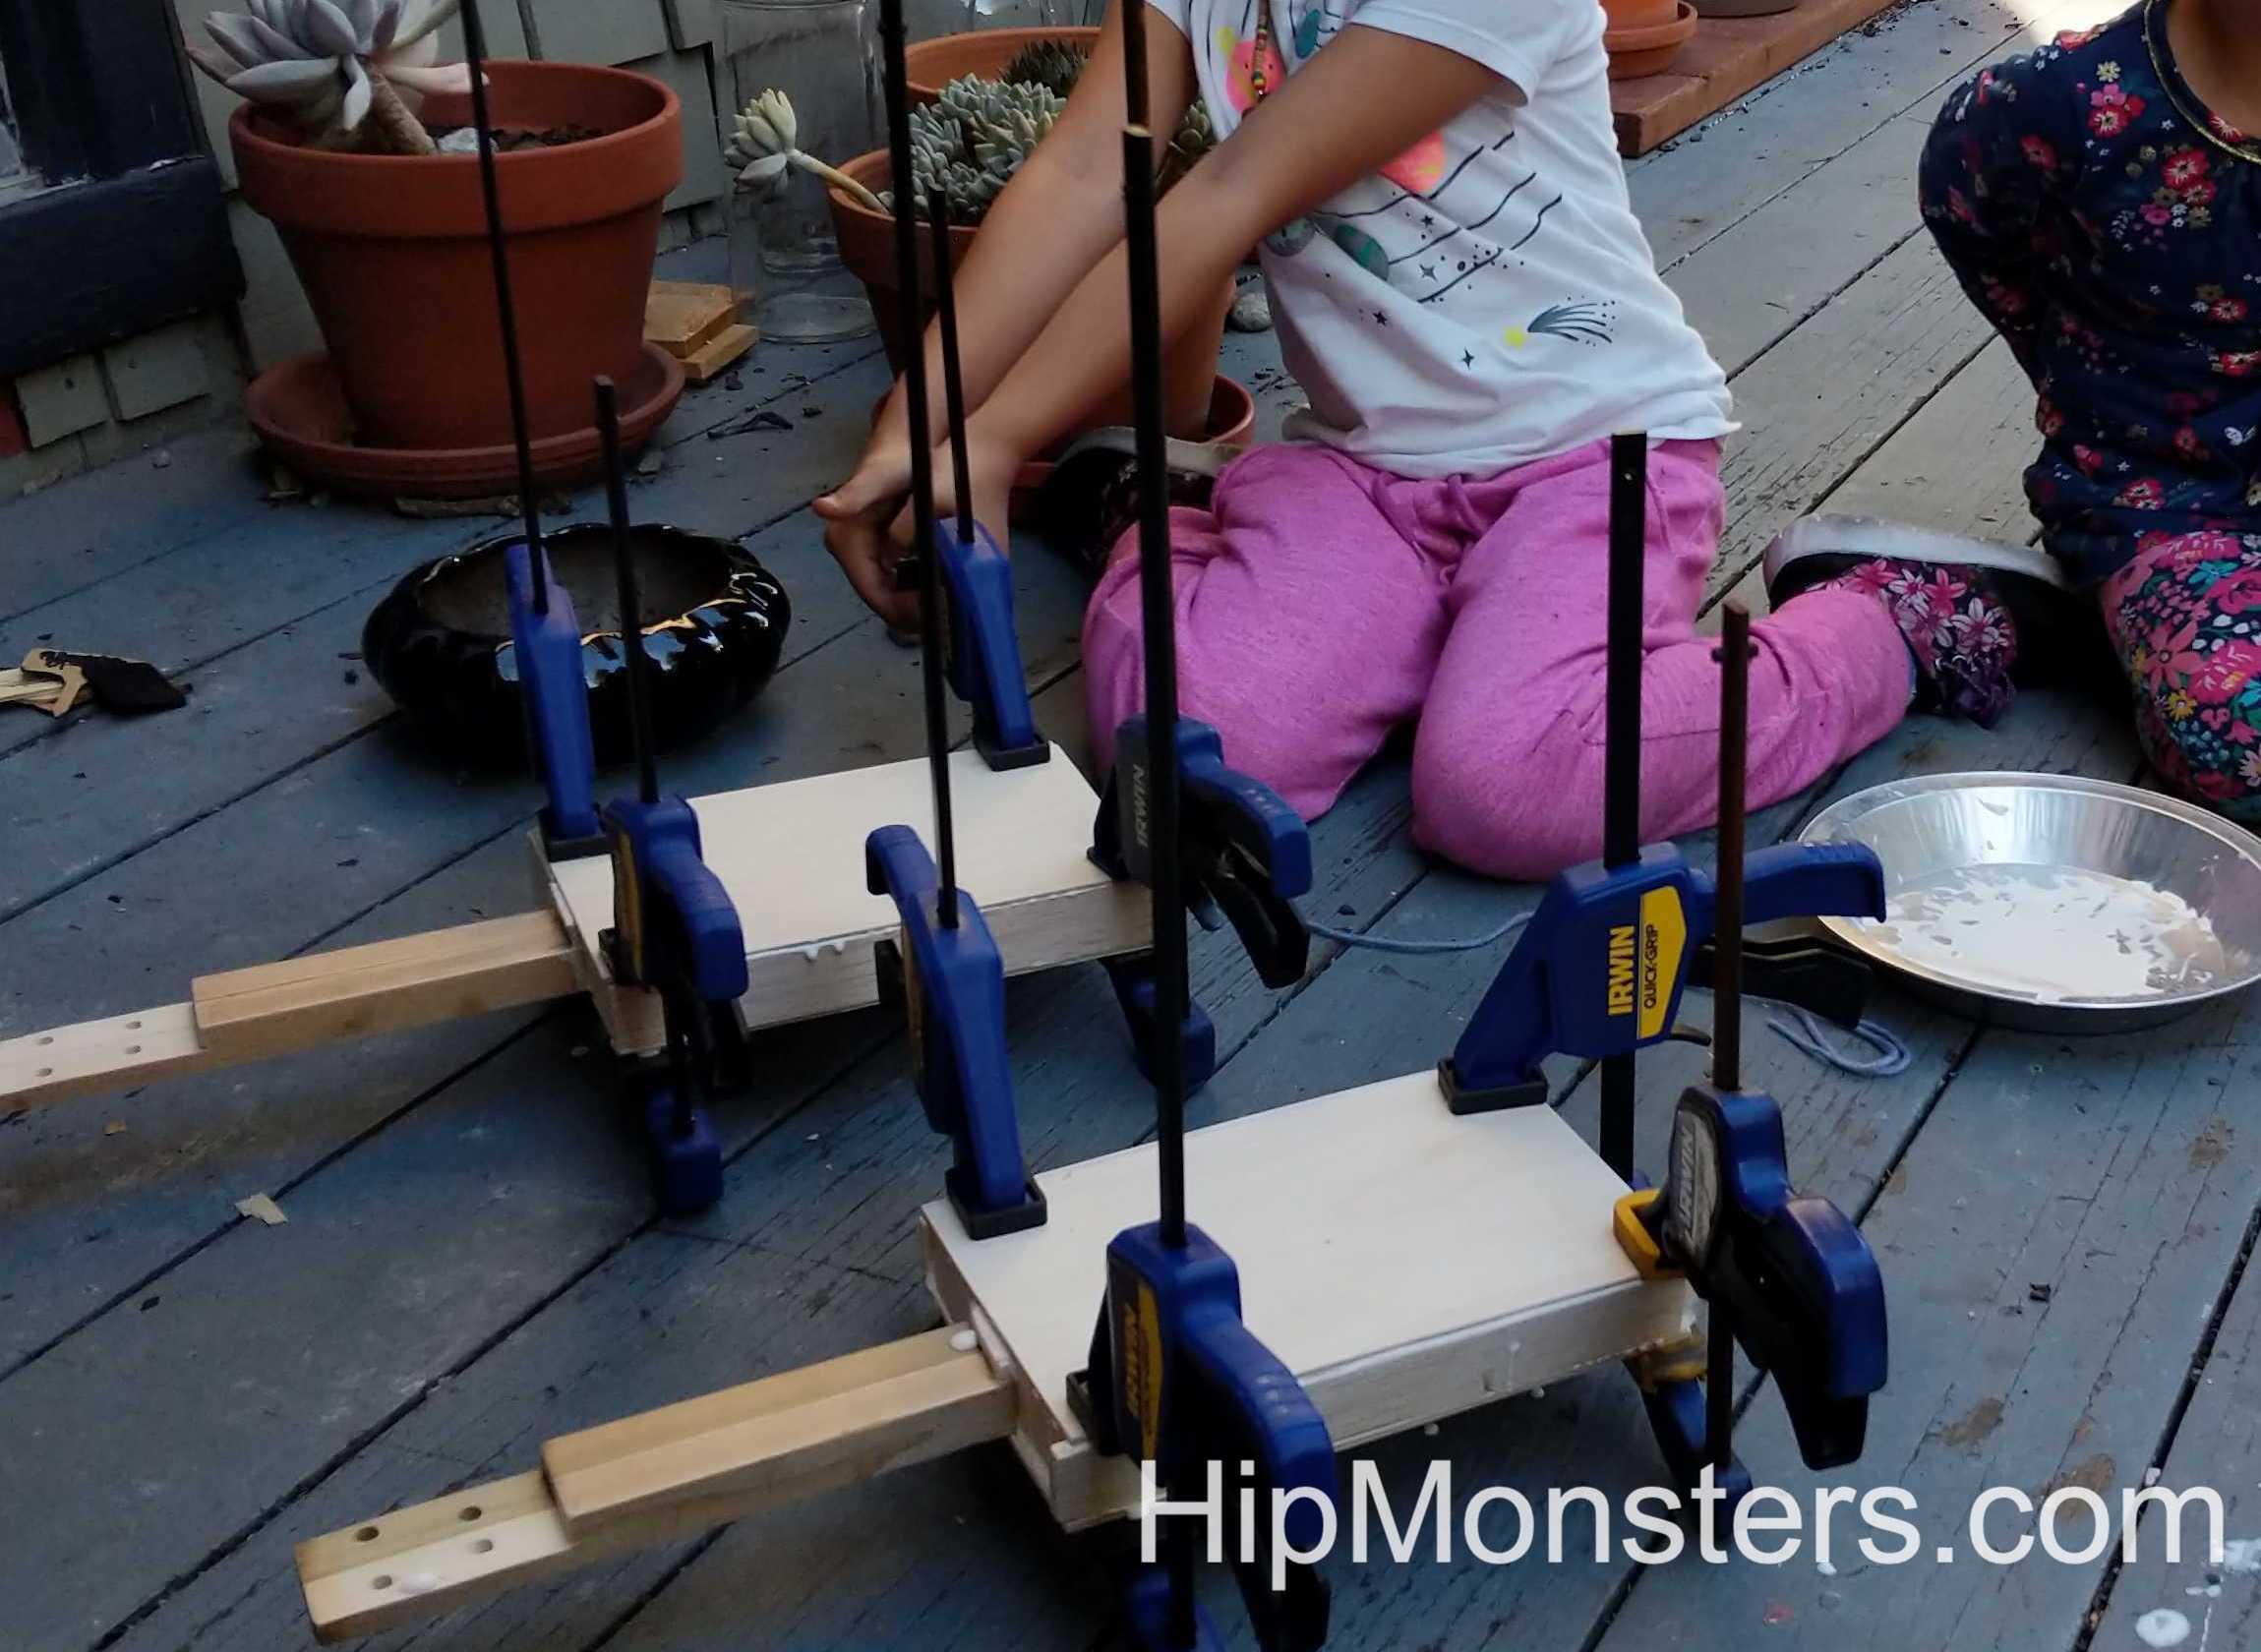
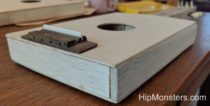
After lots of cutting and drilling, we clamped the front and back together. We used a big drill bit to drill the center hole after measuring for the right spot. Make sure that you don’t put two keyholes directly on top of each other, leave room for the strings to go down.
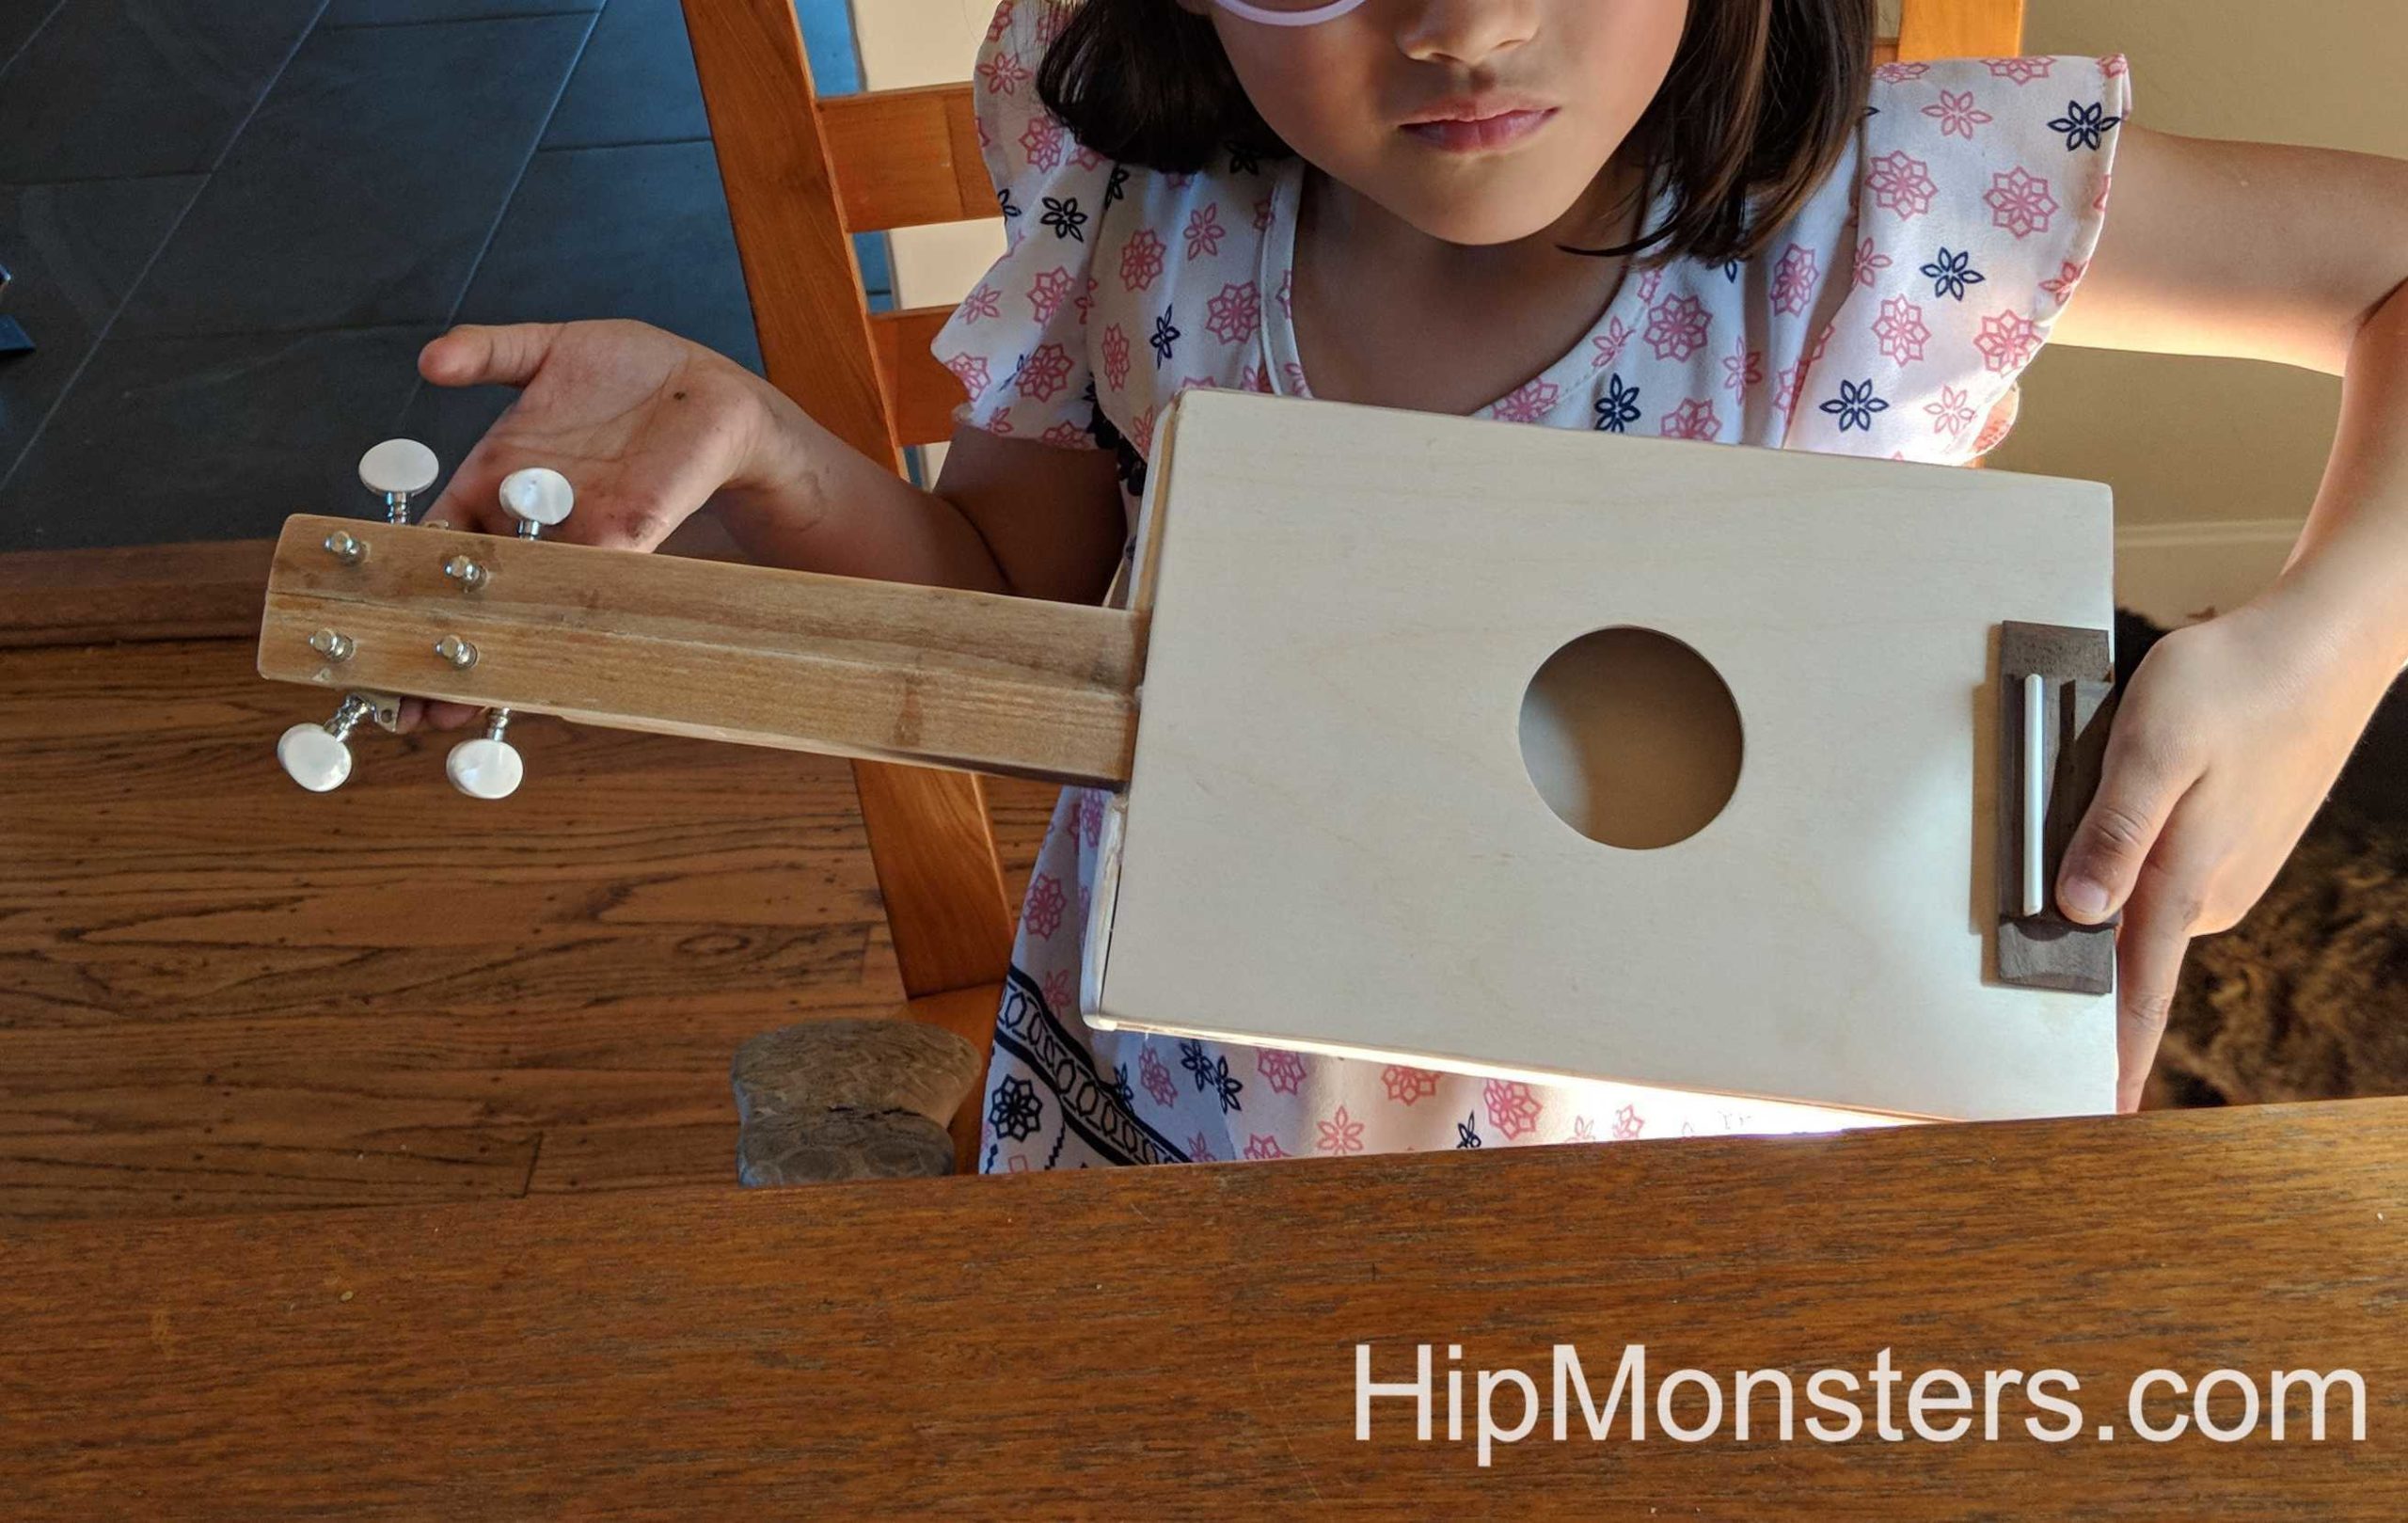
We put the keys in and glued the bridge on. We double-checked out measurements a lot so the strings would all align. We also made sure to sand it a lot, you don’t want to get a splinter while playing music.
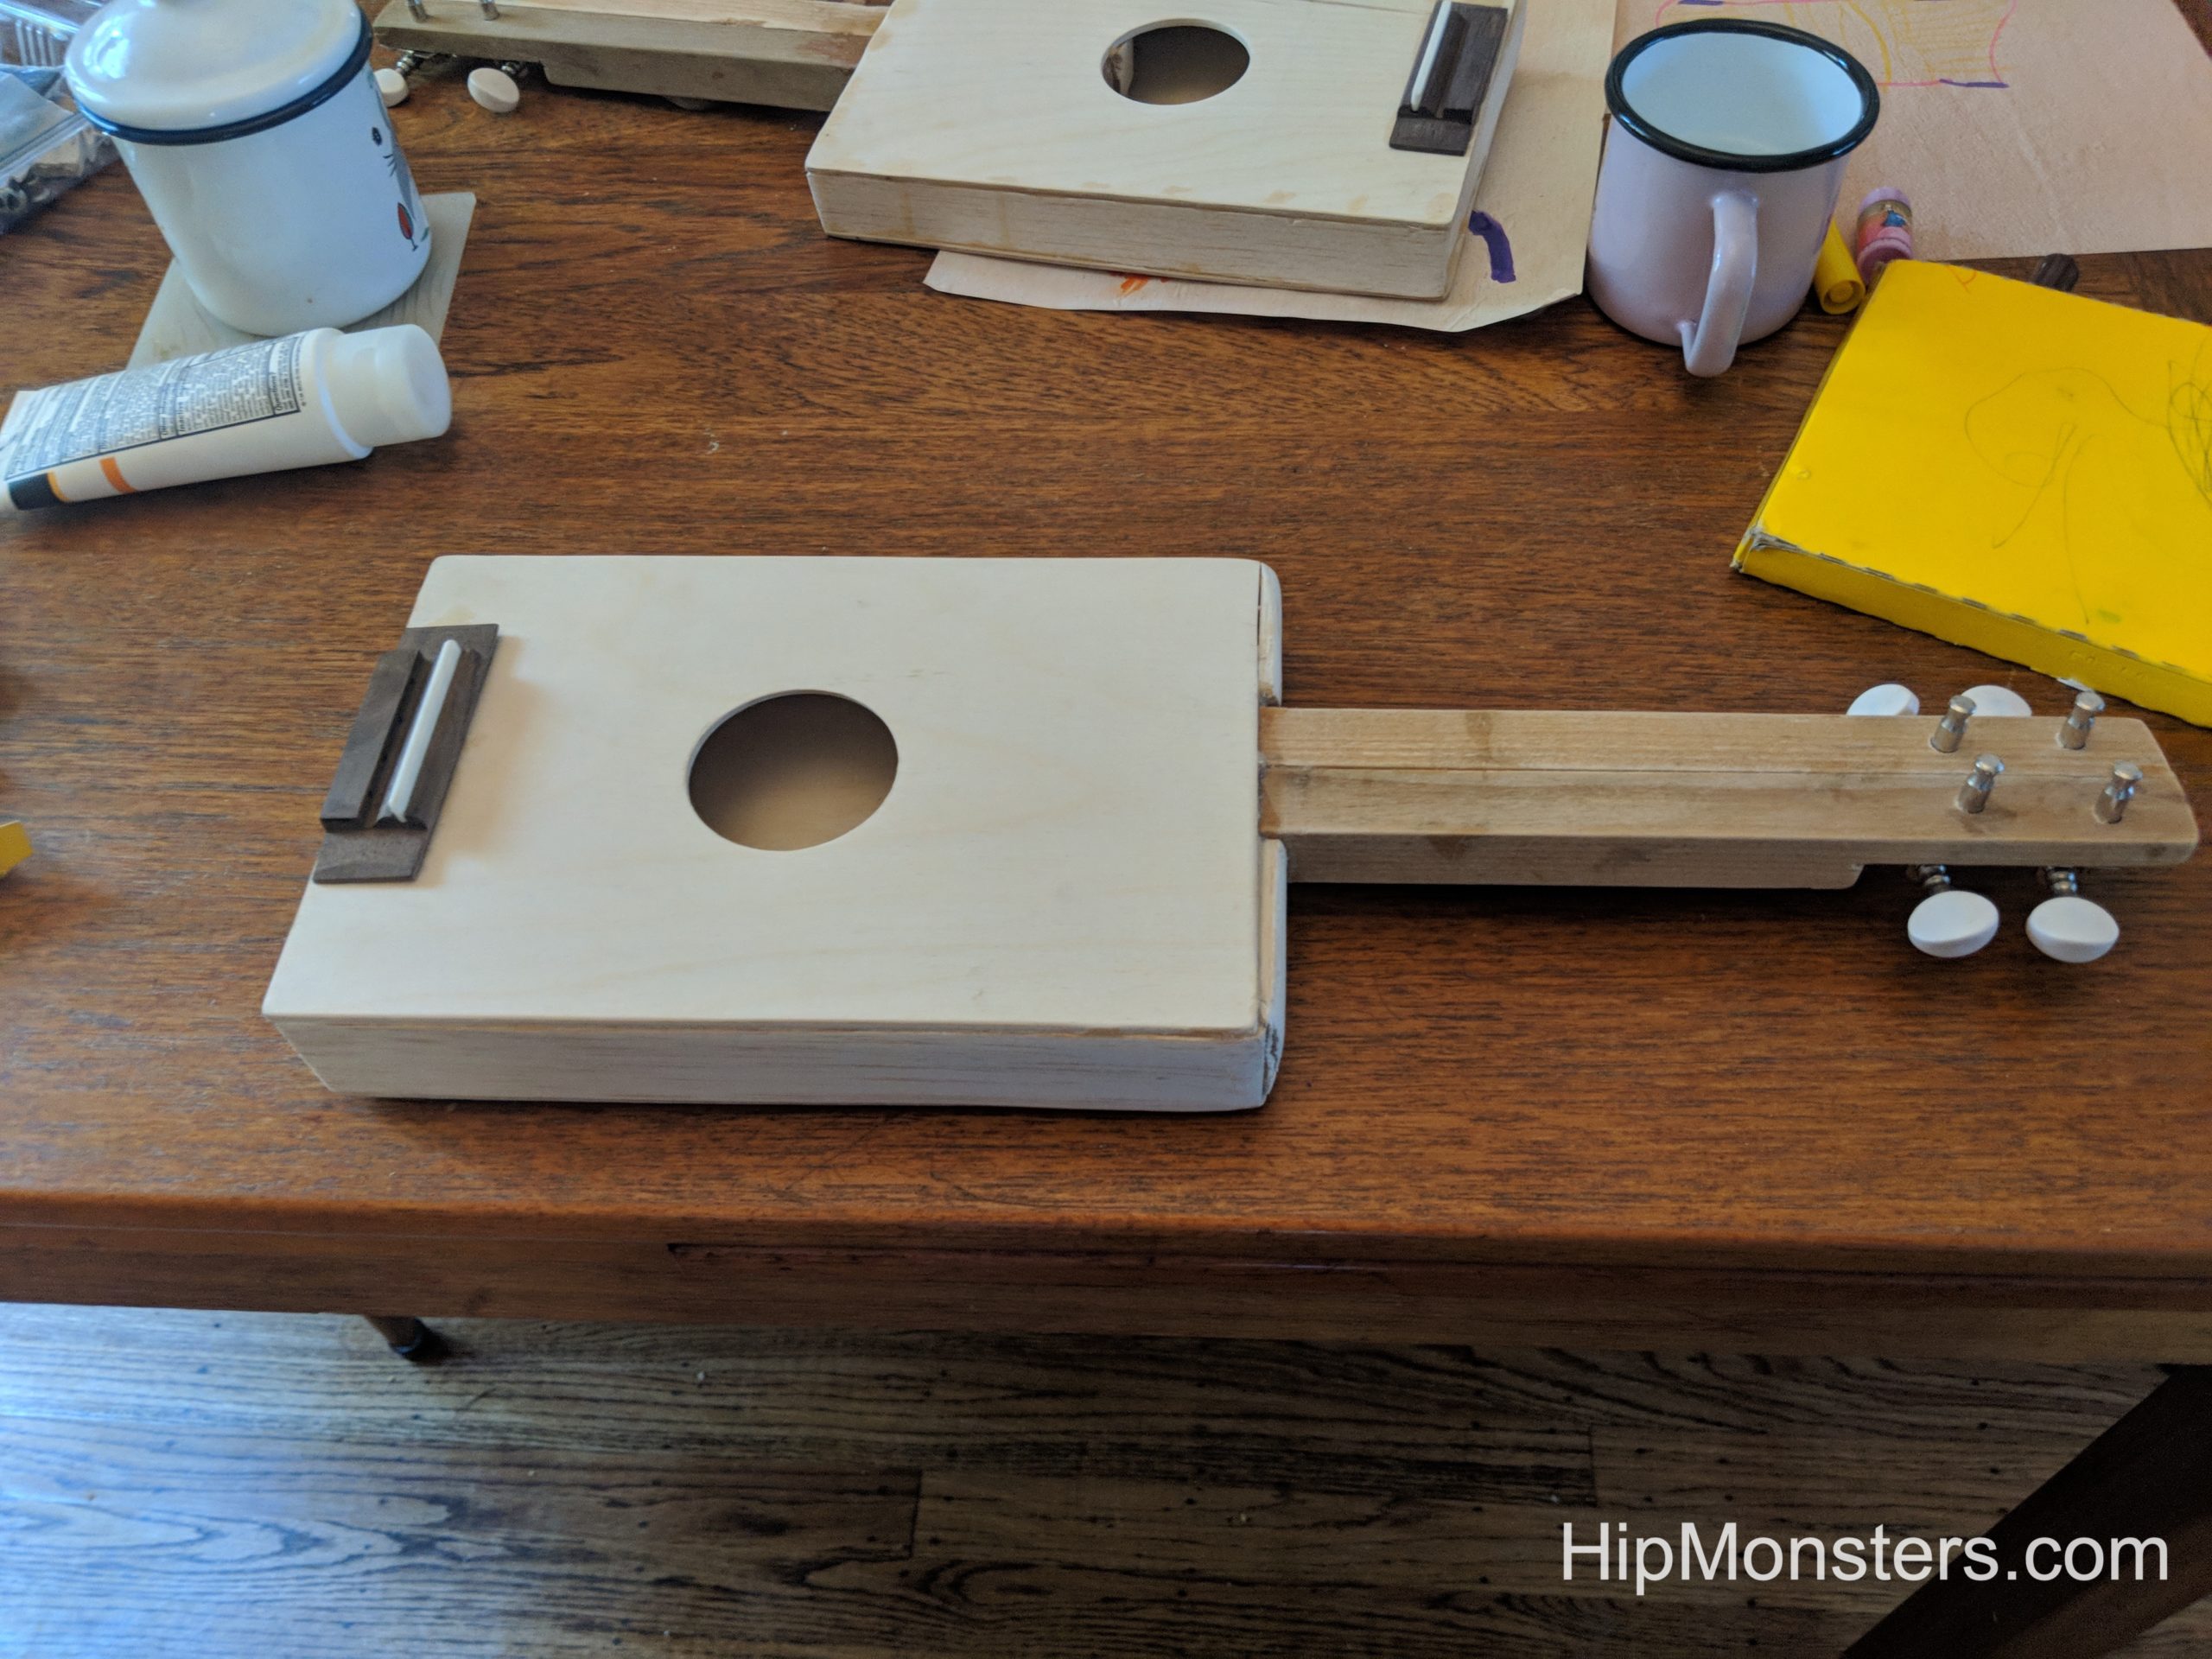

(The keys and bridge came from a set ordered online)
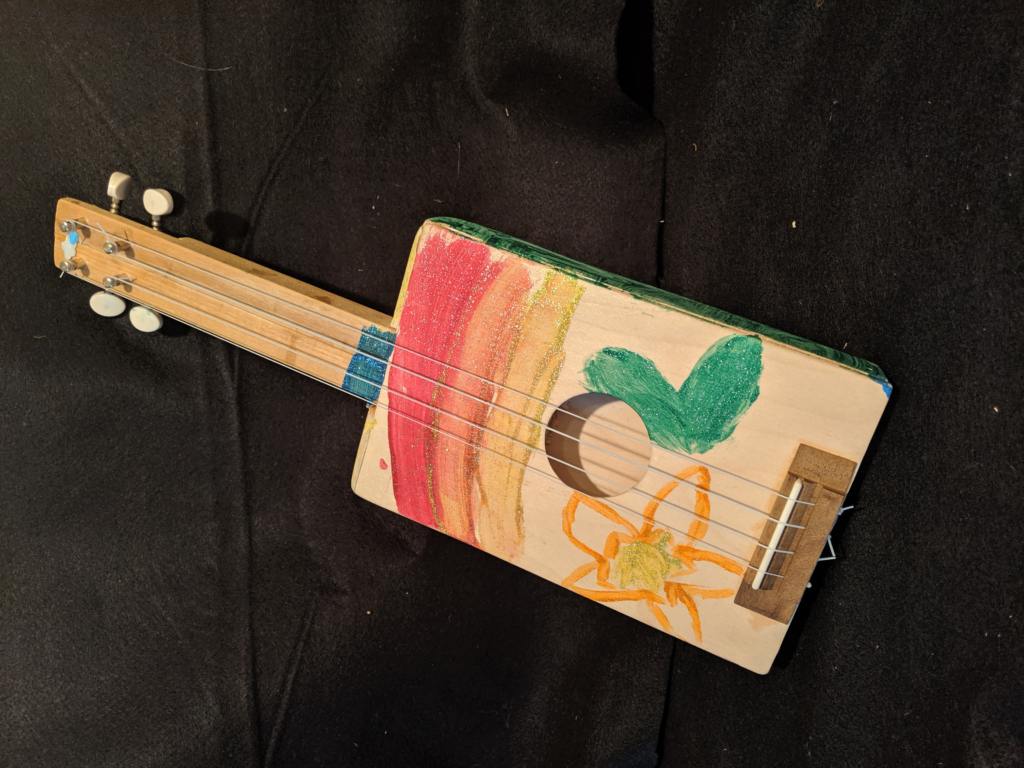
Here is an indestructible DIY ukulele capable of fending off a troll. Made from poplar and bound together with the magic of the ages, its music will impress even fairies.
Happy Creating!