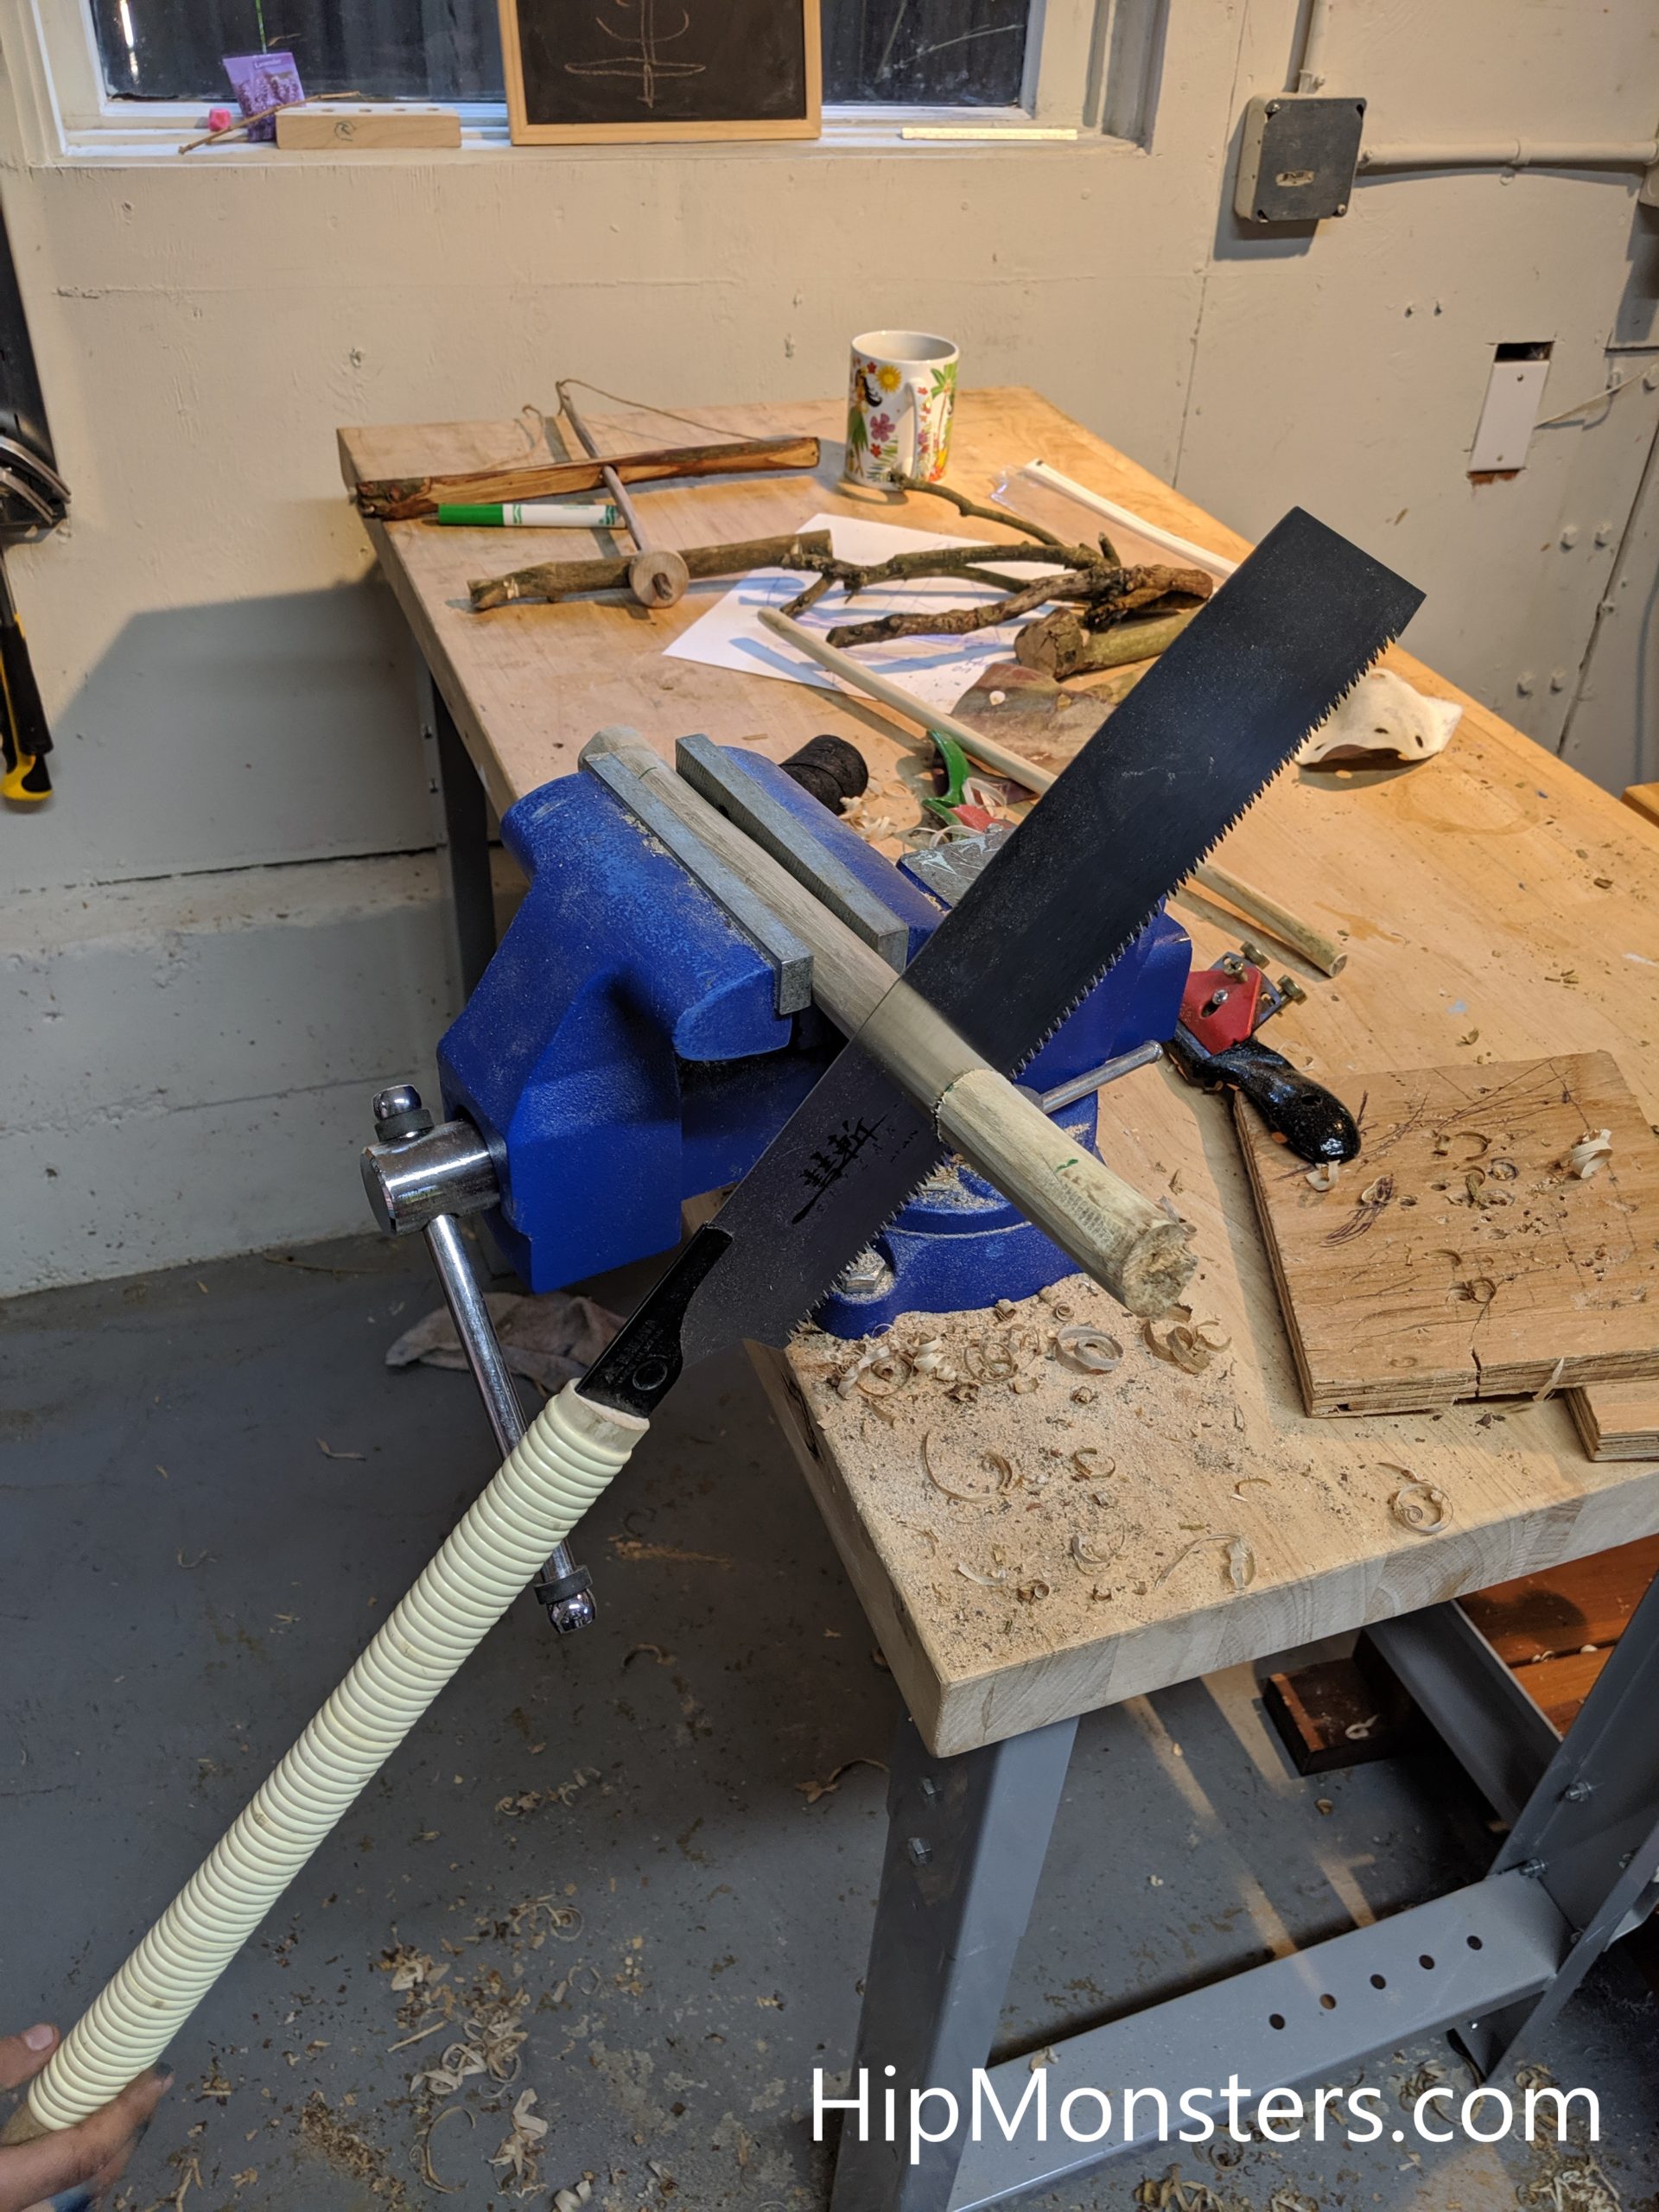
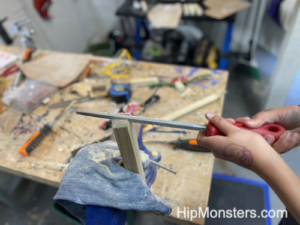
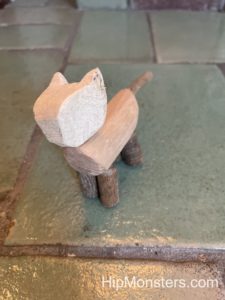
As presents for our teachers last year, we decided to make a series of wooden seals. We chose cats because of their iconic shape, and because of our own cat. We prefer using a Japanese saw because it gives us a clean cut and is much easier to use.
Please note, that this material is provided for informational purposes only and is not a guide on how to create the designs. Please read our disclaimer.
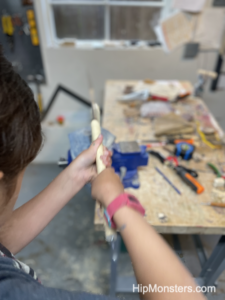
To get the basic cat shape we do rough cuts with the saw, then use a craving tool to clean up the edges. The make sure the vice does not cut into the wood we used scrape from an old pair of jeans.
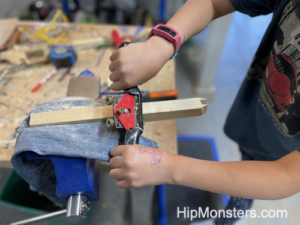
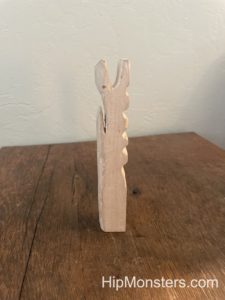
To get the ears we need to create a negative space between the slanted edges we just cut. The do this we first cut several slots making sure to stop just short of the end of the slanted edge. You do not want got beyond that point or the ears will more like bunny ears than cat ears.
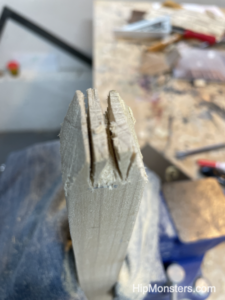
You want to have several slots cut to to make removing them easy. If the slots are too thick when you try to pop them out (the next step you could instead break off the ears.
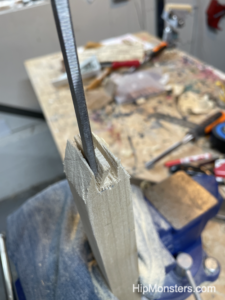
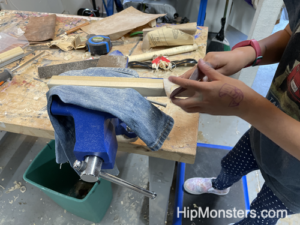
Once we have cut the slots we use a chisel to pop them off. Make sure to go slow and start with the center slot. When you pop off the ones next to the ears make sure to have the flat edge of the chisel pointed towards the ear. Most of the time this works like a charm but sometimes the wood refuse to cooperate. If this happens to you try you best then try using other tools like a flat head screw driver. Worst case use the chisel to cut the out and if nothing works just start over.
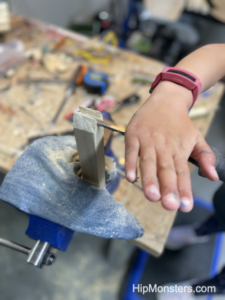
Then we used the chisel to clean up the rough parts between the ears. Two of the seals in this batch had slots that broke off half way making the clean up job a bit hard. Go slot and do not use force. If the chisel is sticking it is either at the wrong angle or you are trying to carve out too much in one go.
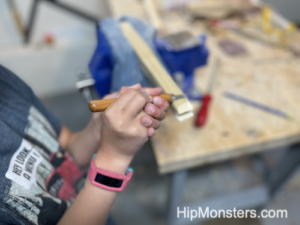
We use a rasp to finish it out. You can use sand paper as well but we like how you can shape thing with a rasp.
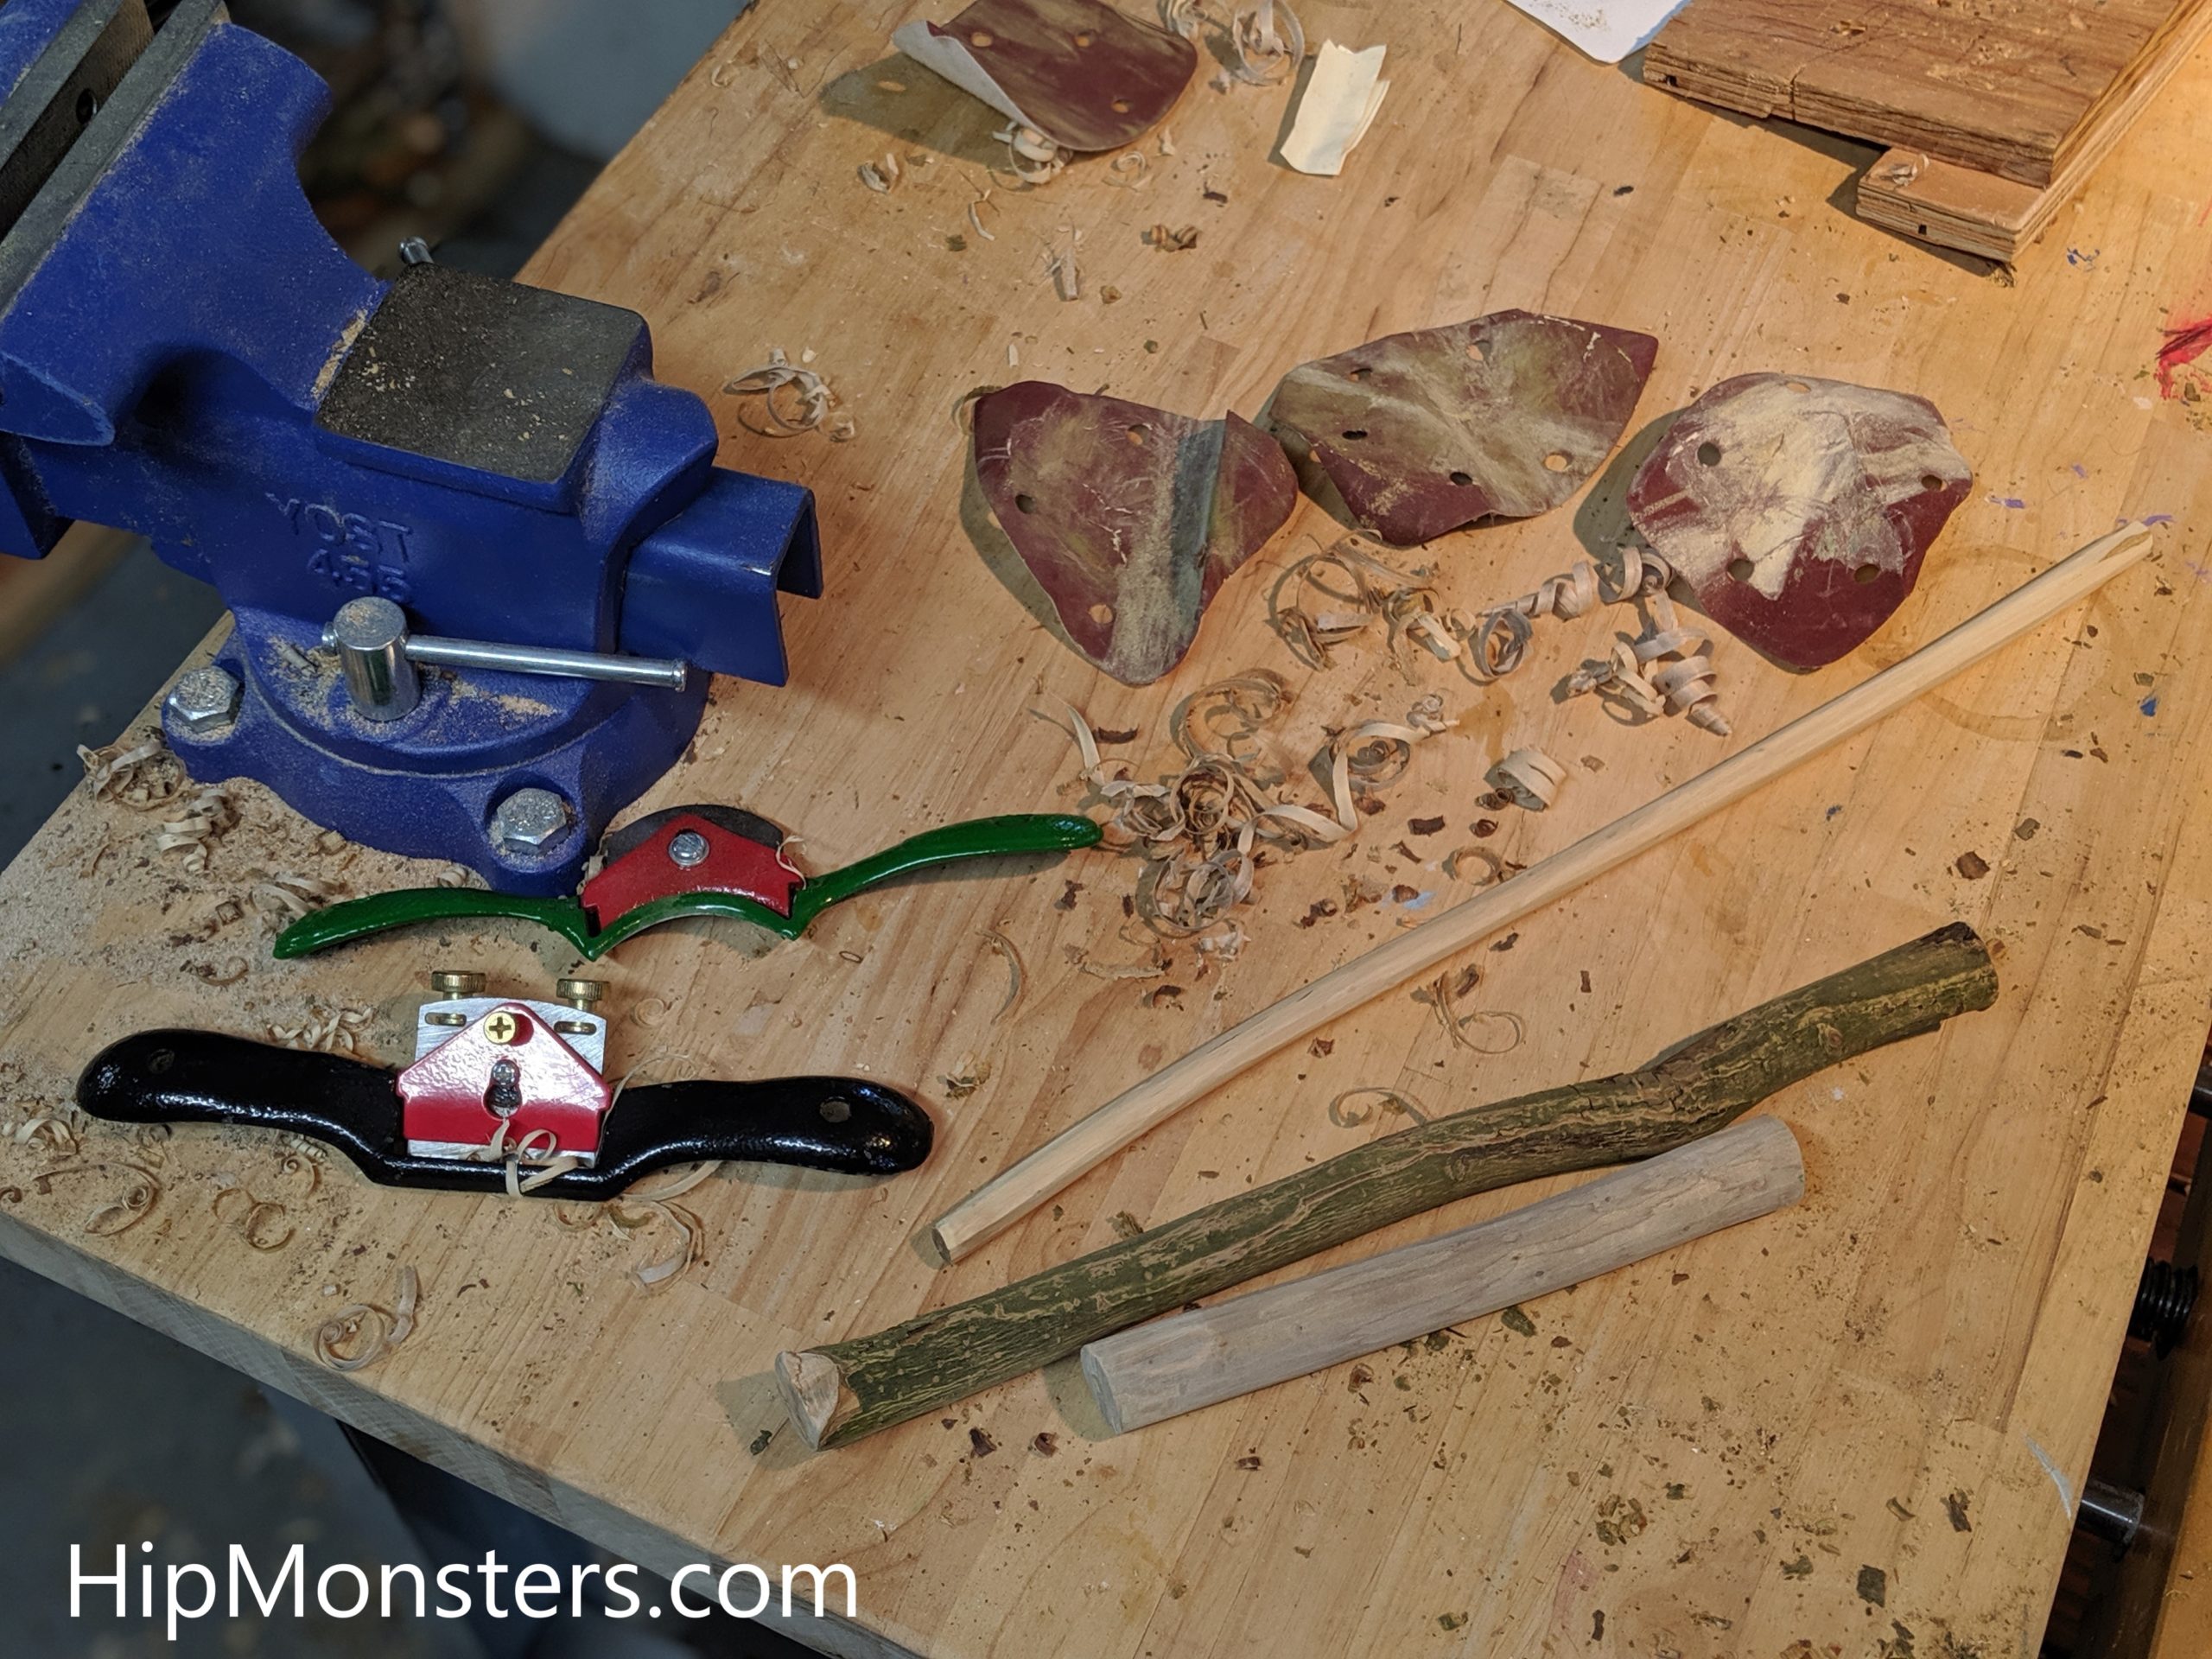
Next we used a spoke shave to round the edges of the square dowel to make it more cat-like. Again, do not force the tool. Just use a gentile motion while applied light pressure. If you use too much force you can cut into the wood.
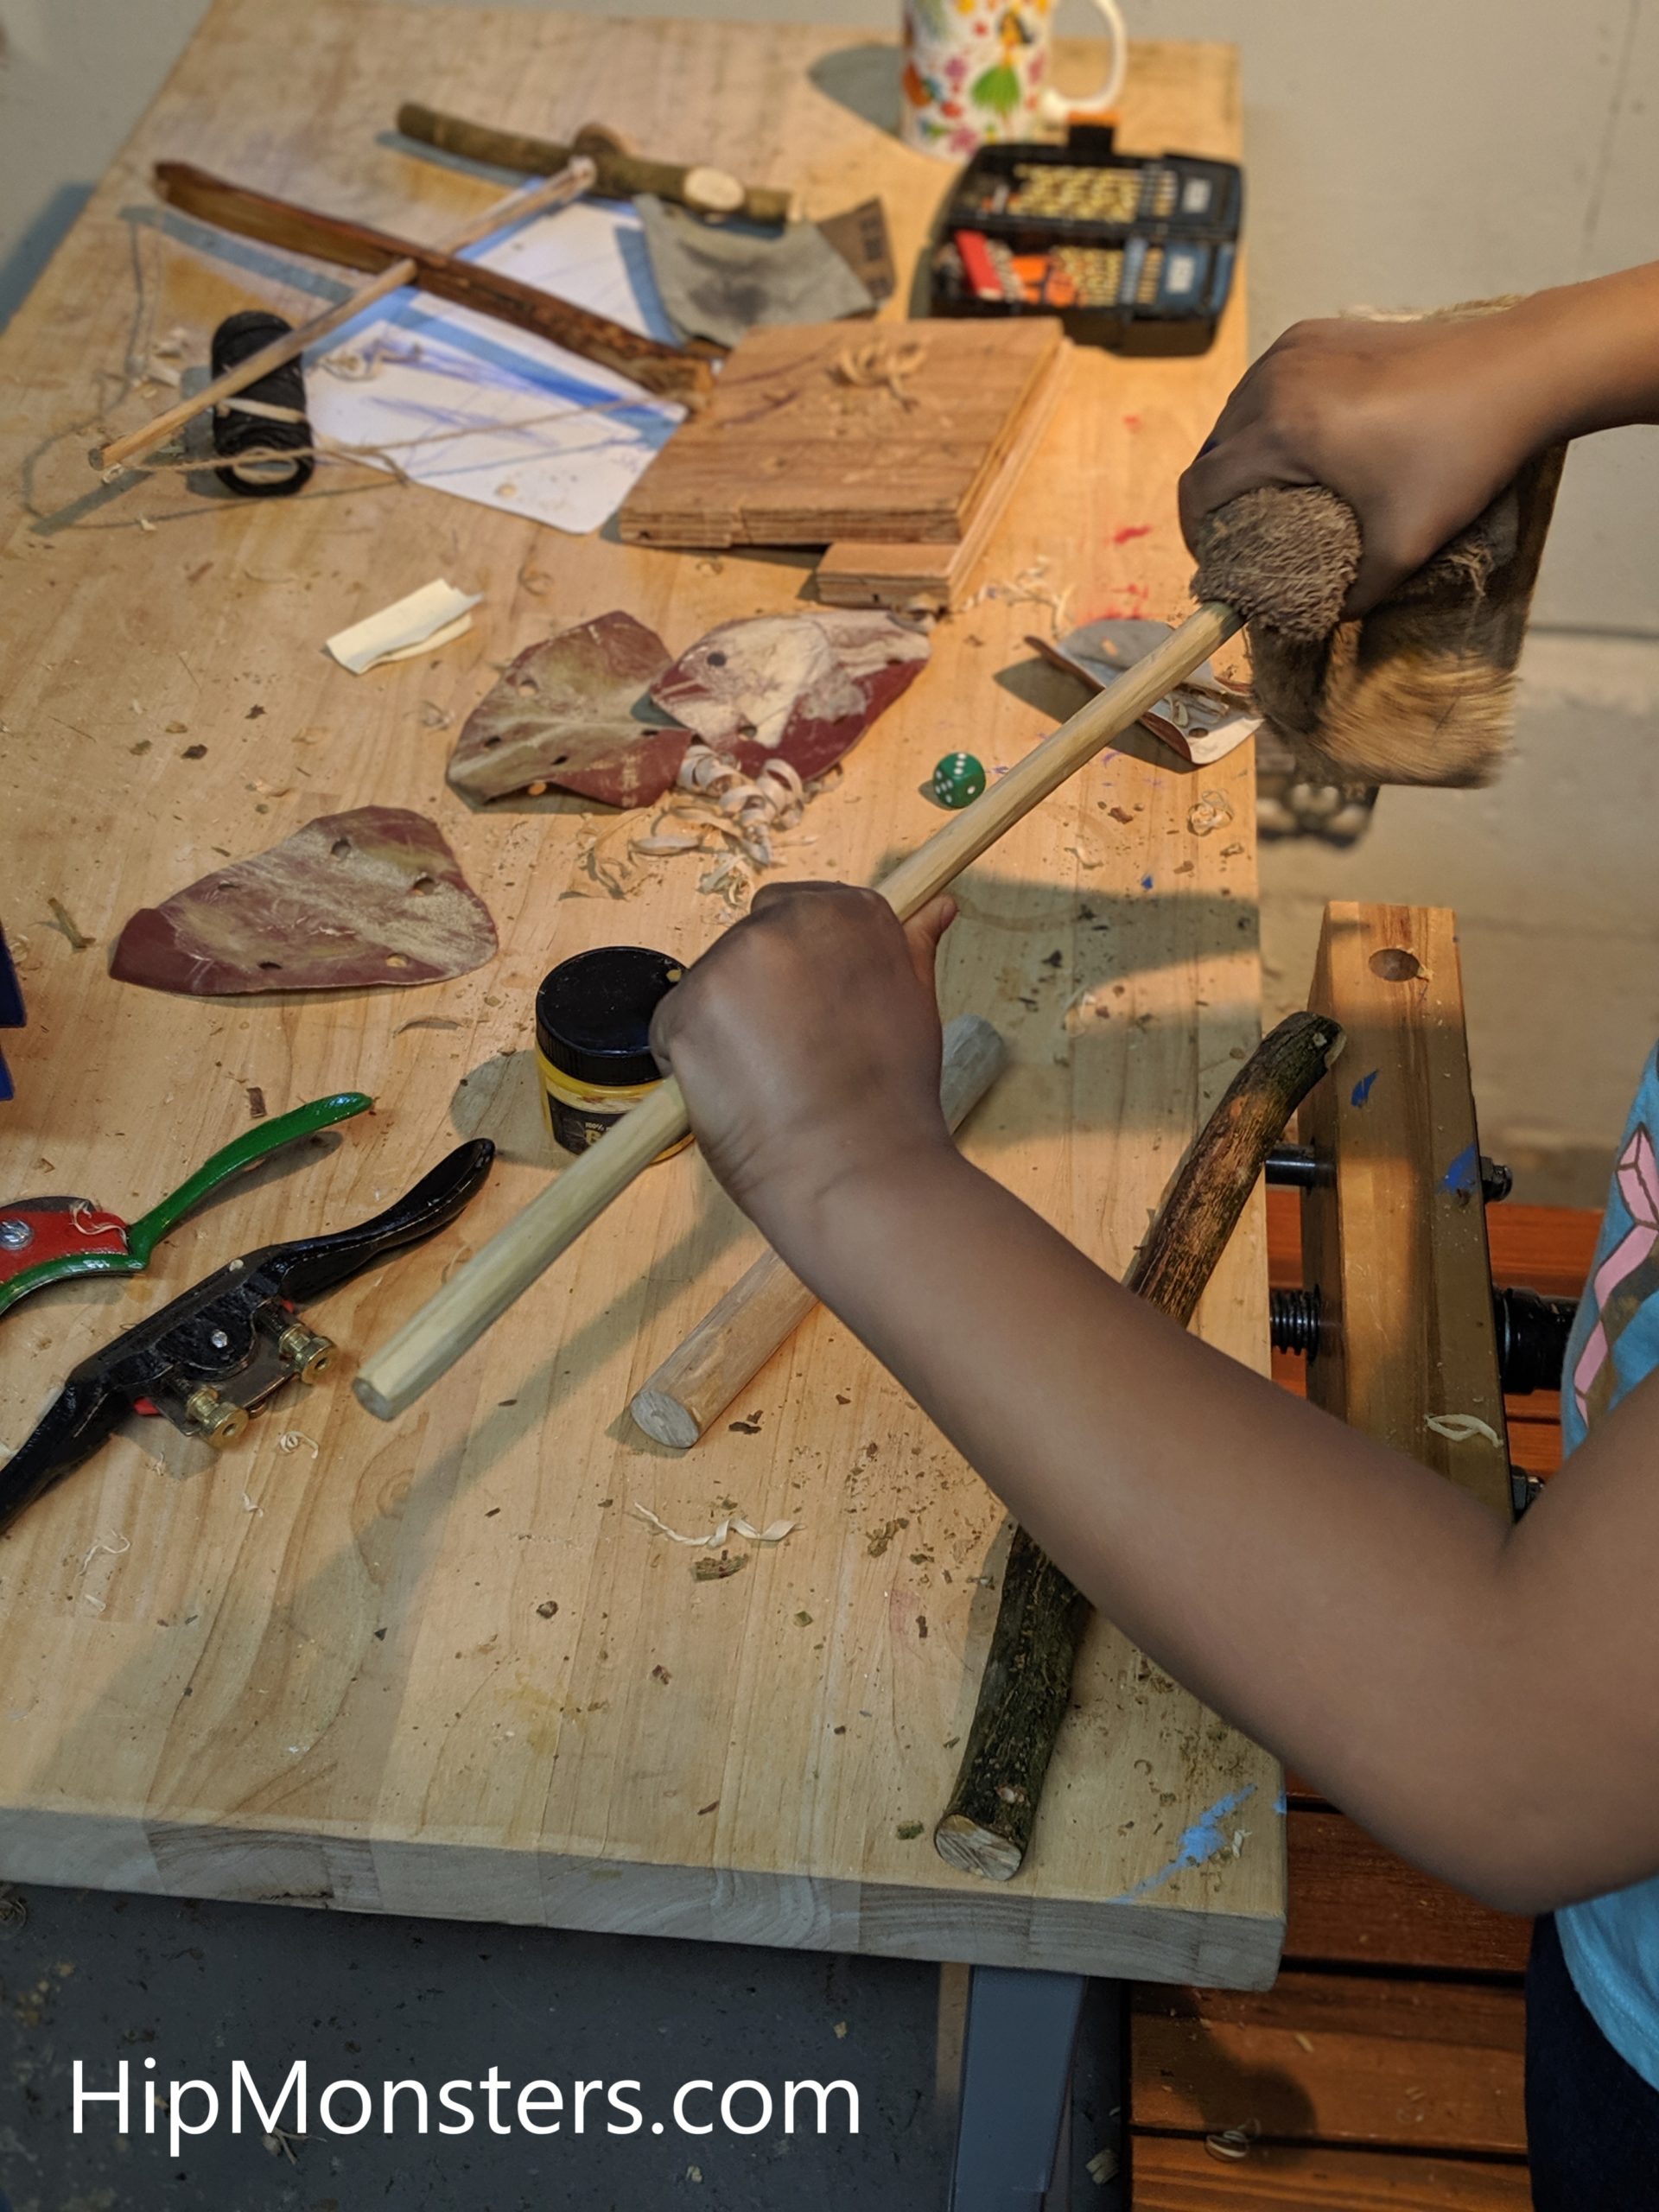
Then sand to get the finished look. Remember to take the time to sand it right. After all the work it took to get here you do not want to spoil it by not having a clean surface for painting.

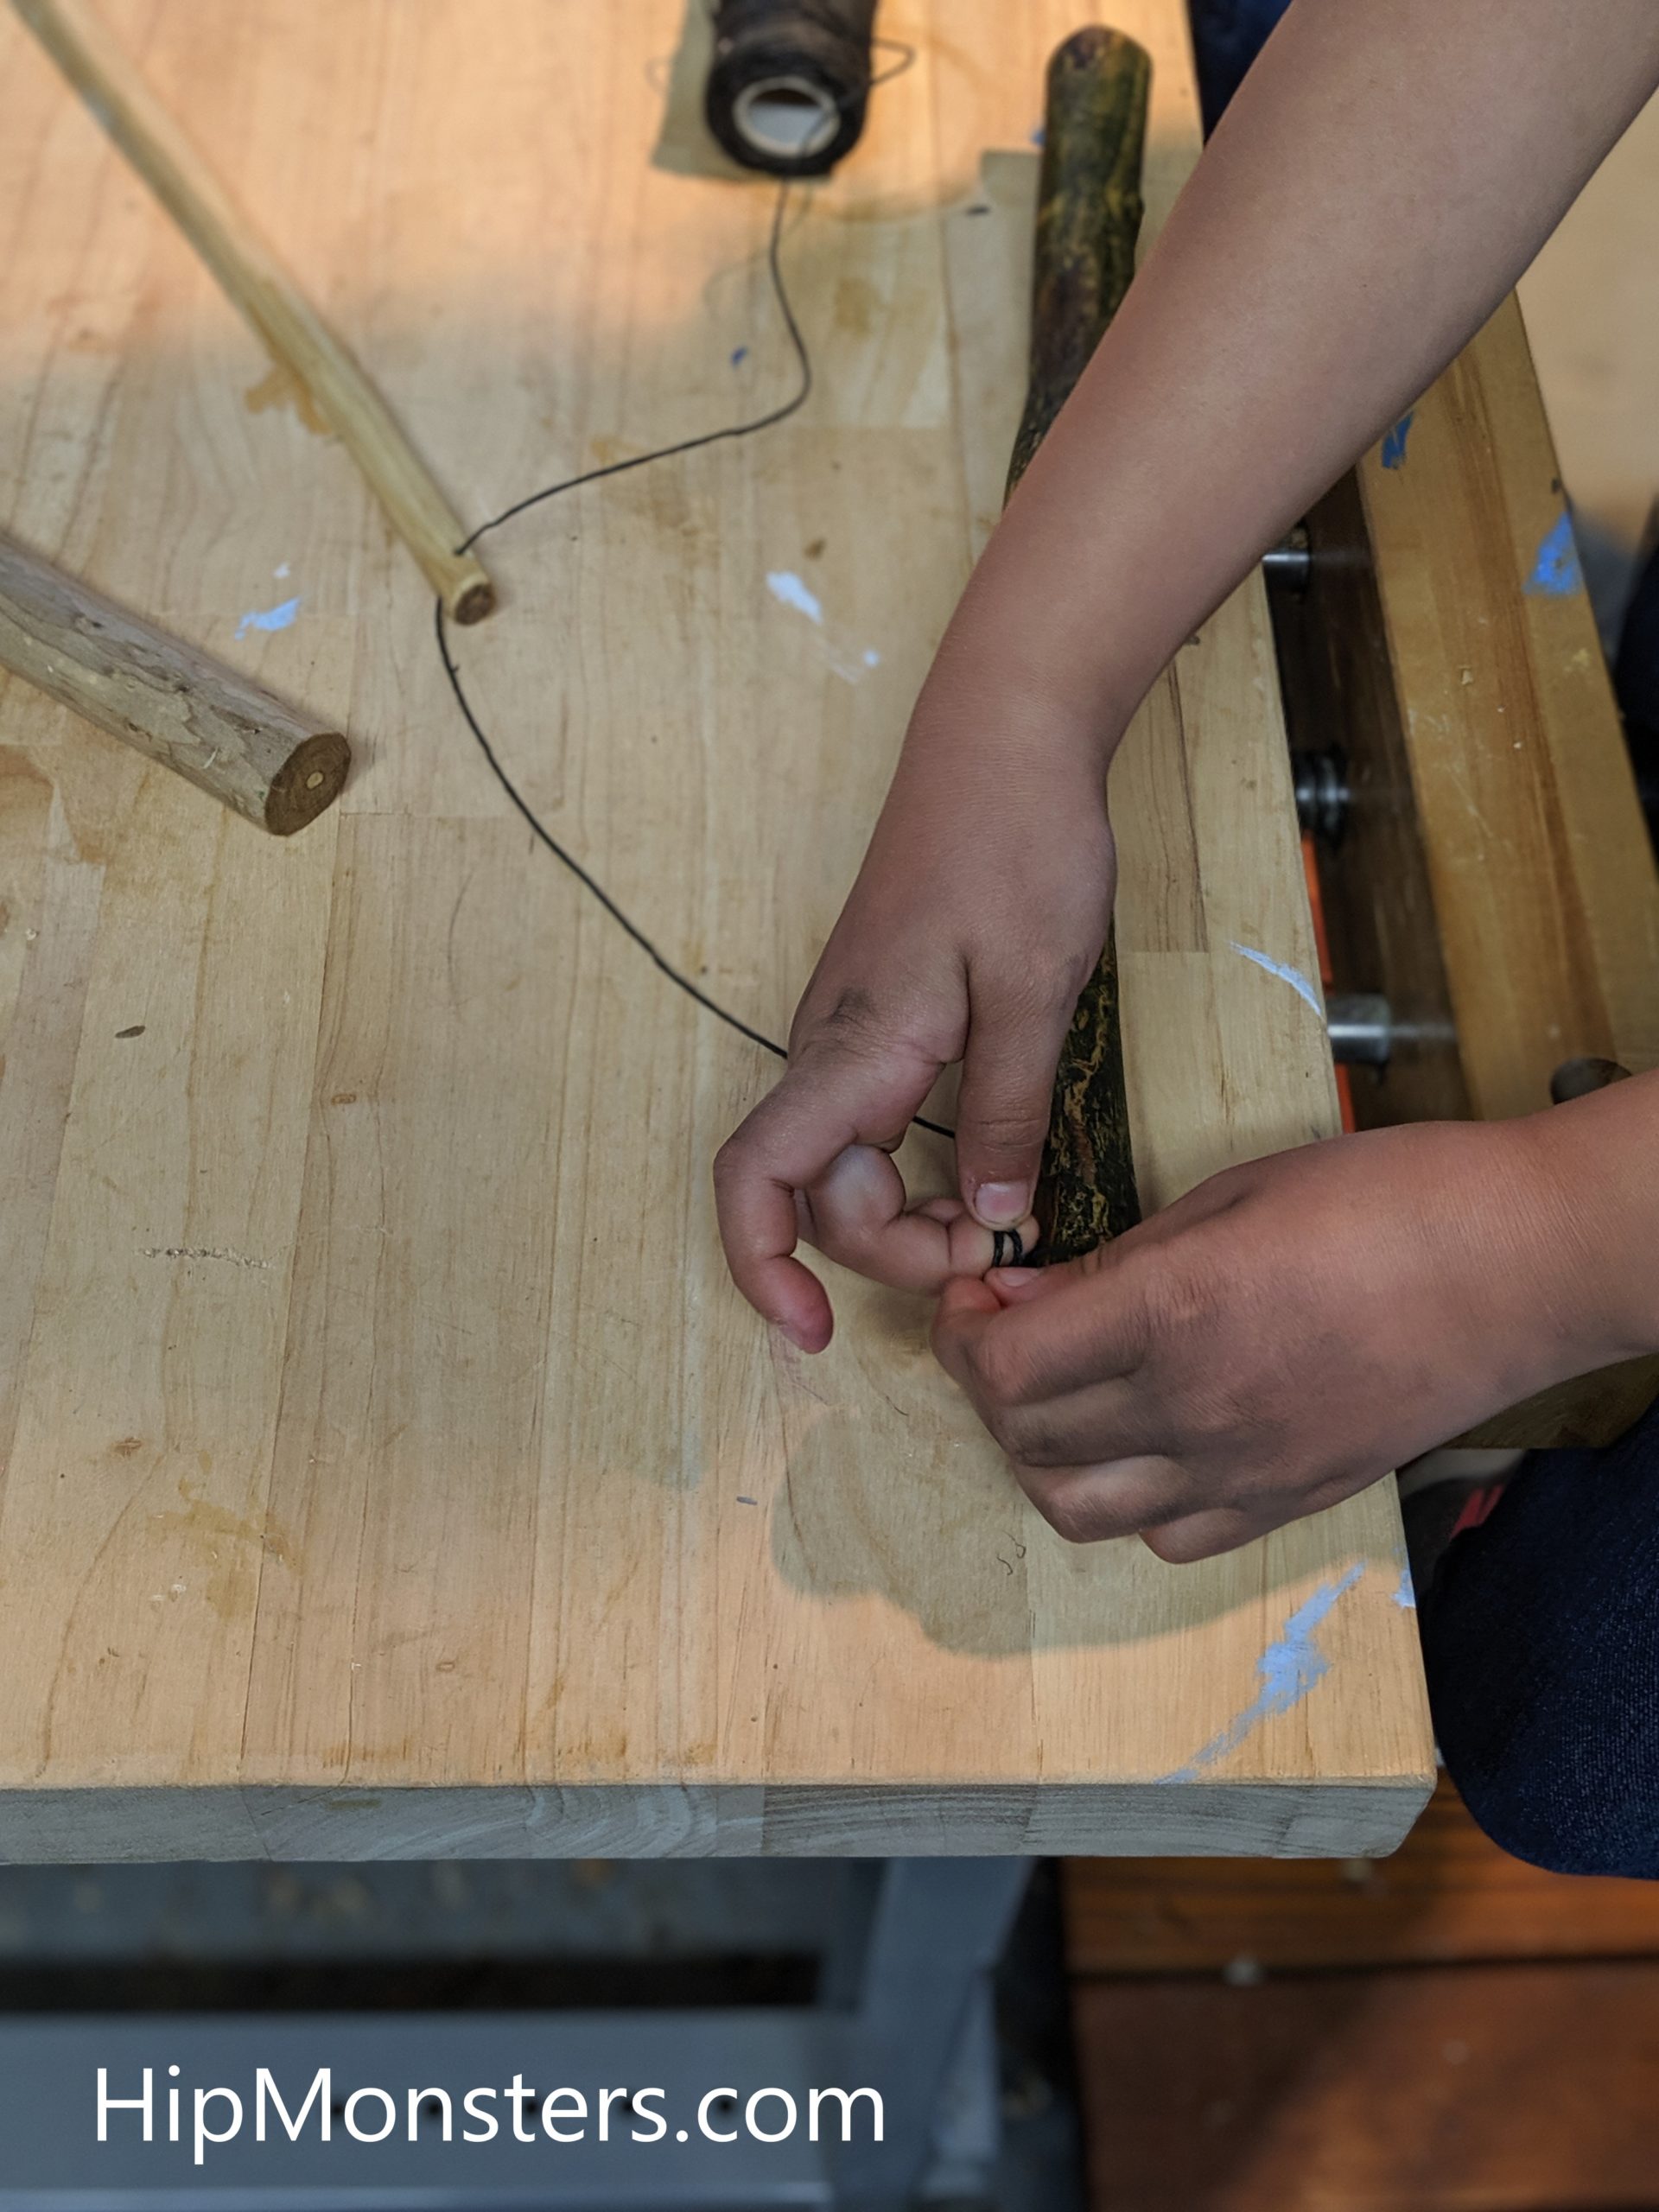
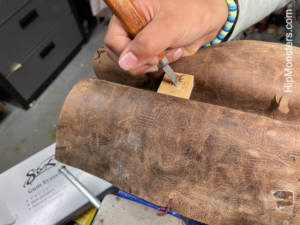
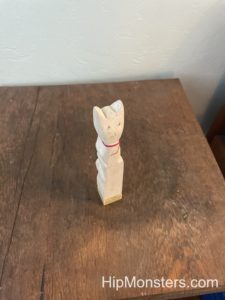
For a finishing touch we made a cut all the way around the seal to create a neck for the cat, We made sure the cut was not too deep and went evenly all the way around the body.
We then used a craving tool to widened the curve being careful not to cut too much out.
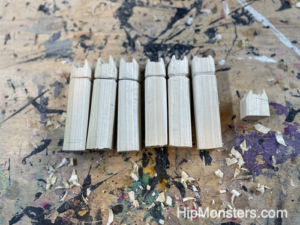
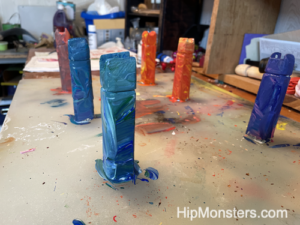
Here is a line up of all six seals ready for painting!
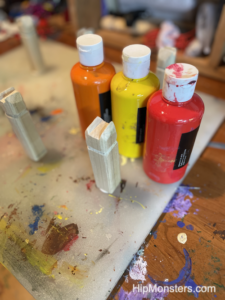
For each wooden seal we picked three different colors to create a unique theme. We used acrylic paint for these seals but you can us wood stain or oil paint if you prefer.
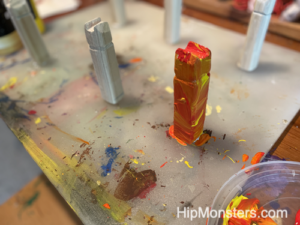
This one reminded us of lava!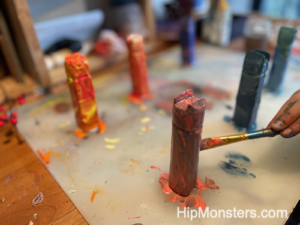
We painted the layers over time to make sure each color stood out and did not blend in with the rest too much.
All six seals with their paint jobs finished!
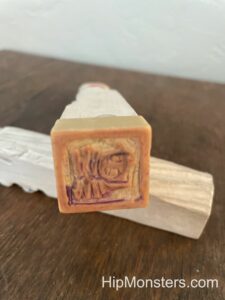
The seal for the wooden seals was made of an eraser. We used wood carving tools to engrave them. Make sure you do a reverse image of what you want printed!
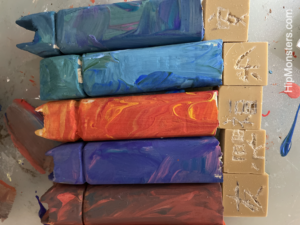
Here are the seals bases with their wooden carvings.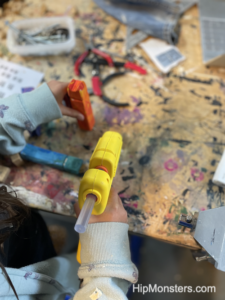
We attached the eraser to the wooden seal using hot glue. Make sure to score the bottom of the wood seal and the eraser so you get a strong bound.
Happy Creating!


 Inspired by


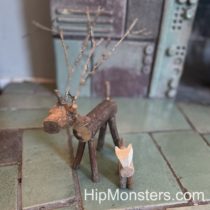
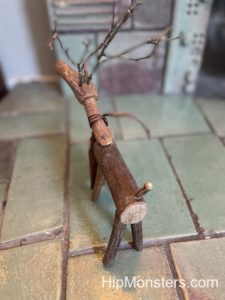
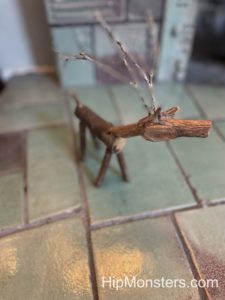
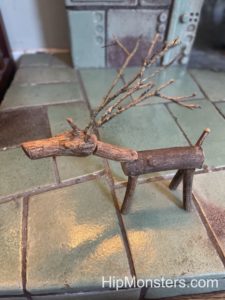 We attached the antlers of the deer by taking small branches from our birch tree and putting them in the holes that we drilled on the head. The antlers were very important because it would help people recognize this as a deer. We had to find branches that were strong so they won’t break, but small enough to look realistic. Luckily, birch trees shed a lot of branches, so it wasn’t too hard to find perfect branches.