Here is a very old project that we had a lot of fun on but forgot to post about. This is our wooden harp, made in 2019, that we made after our ukuleles. This project was very simple, but never worked correctly. Here is a description of the harp and some changes we would make if we were to do this same project today.
Please note, this material is provided for informational purposes only and is not a guide on how to create the designs. Please read our disclaimer.
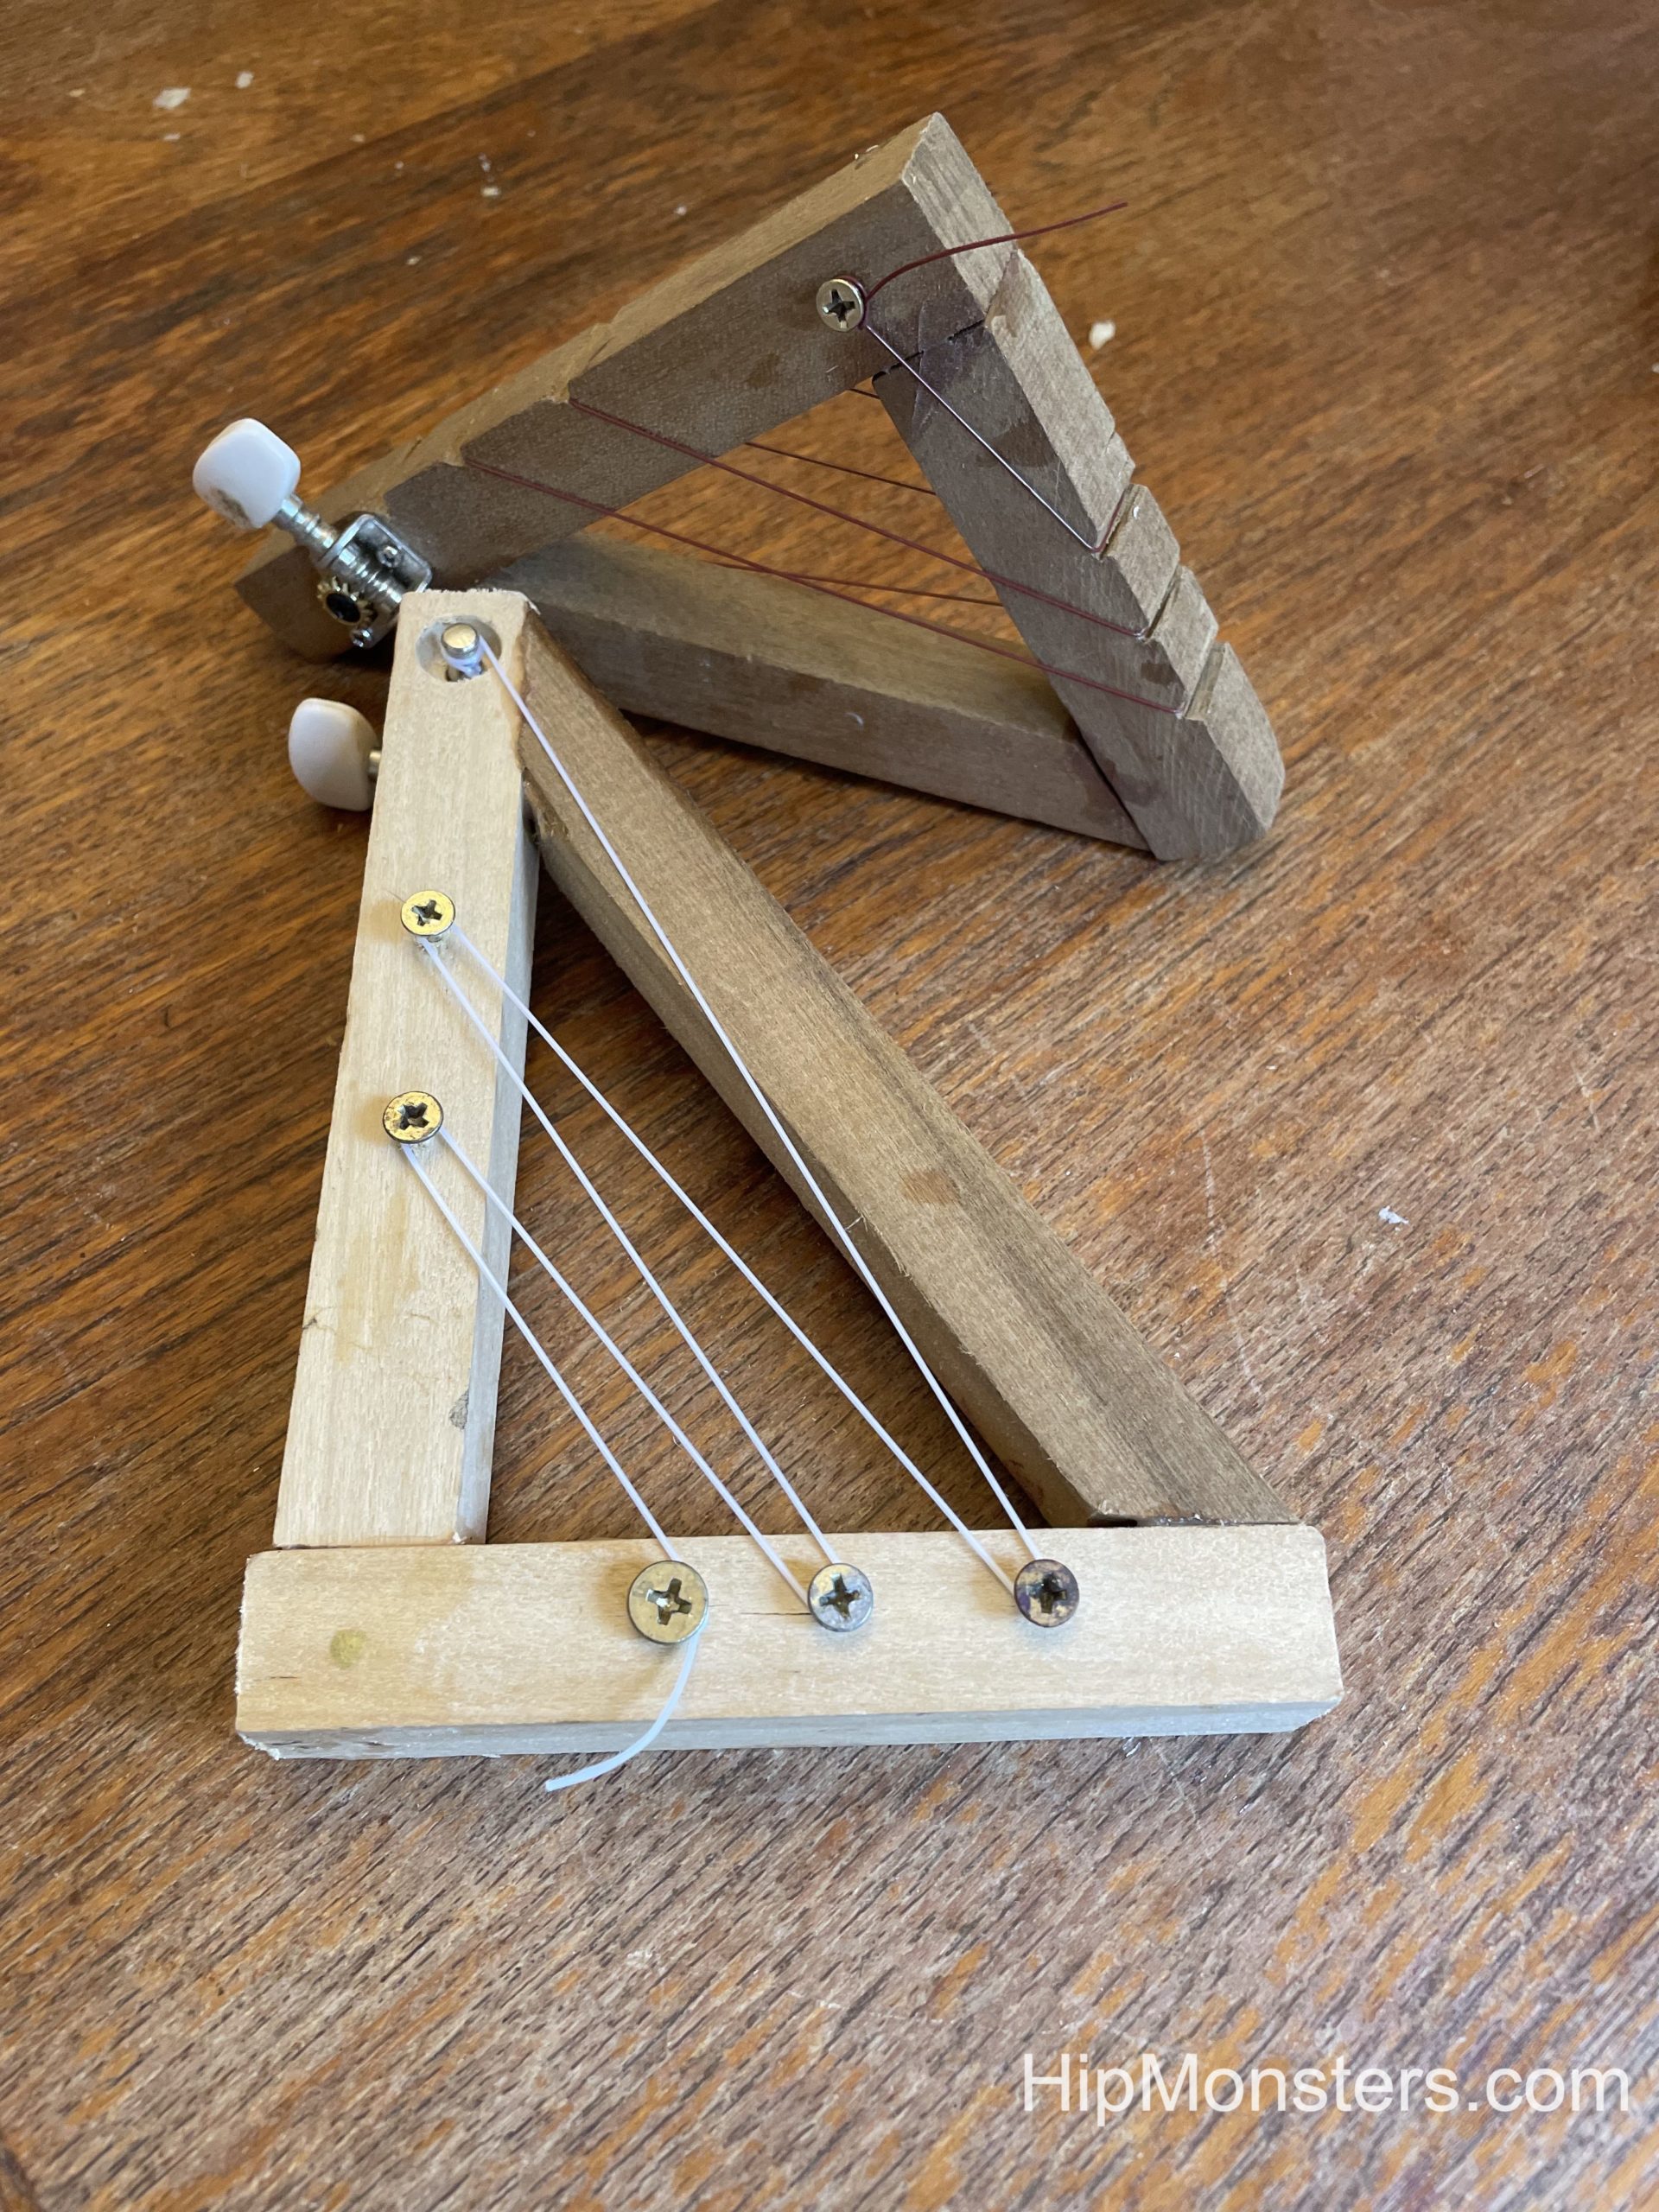
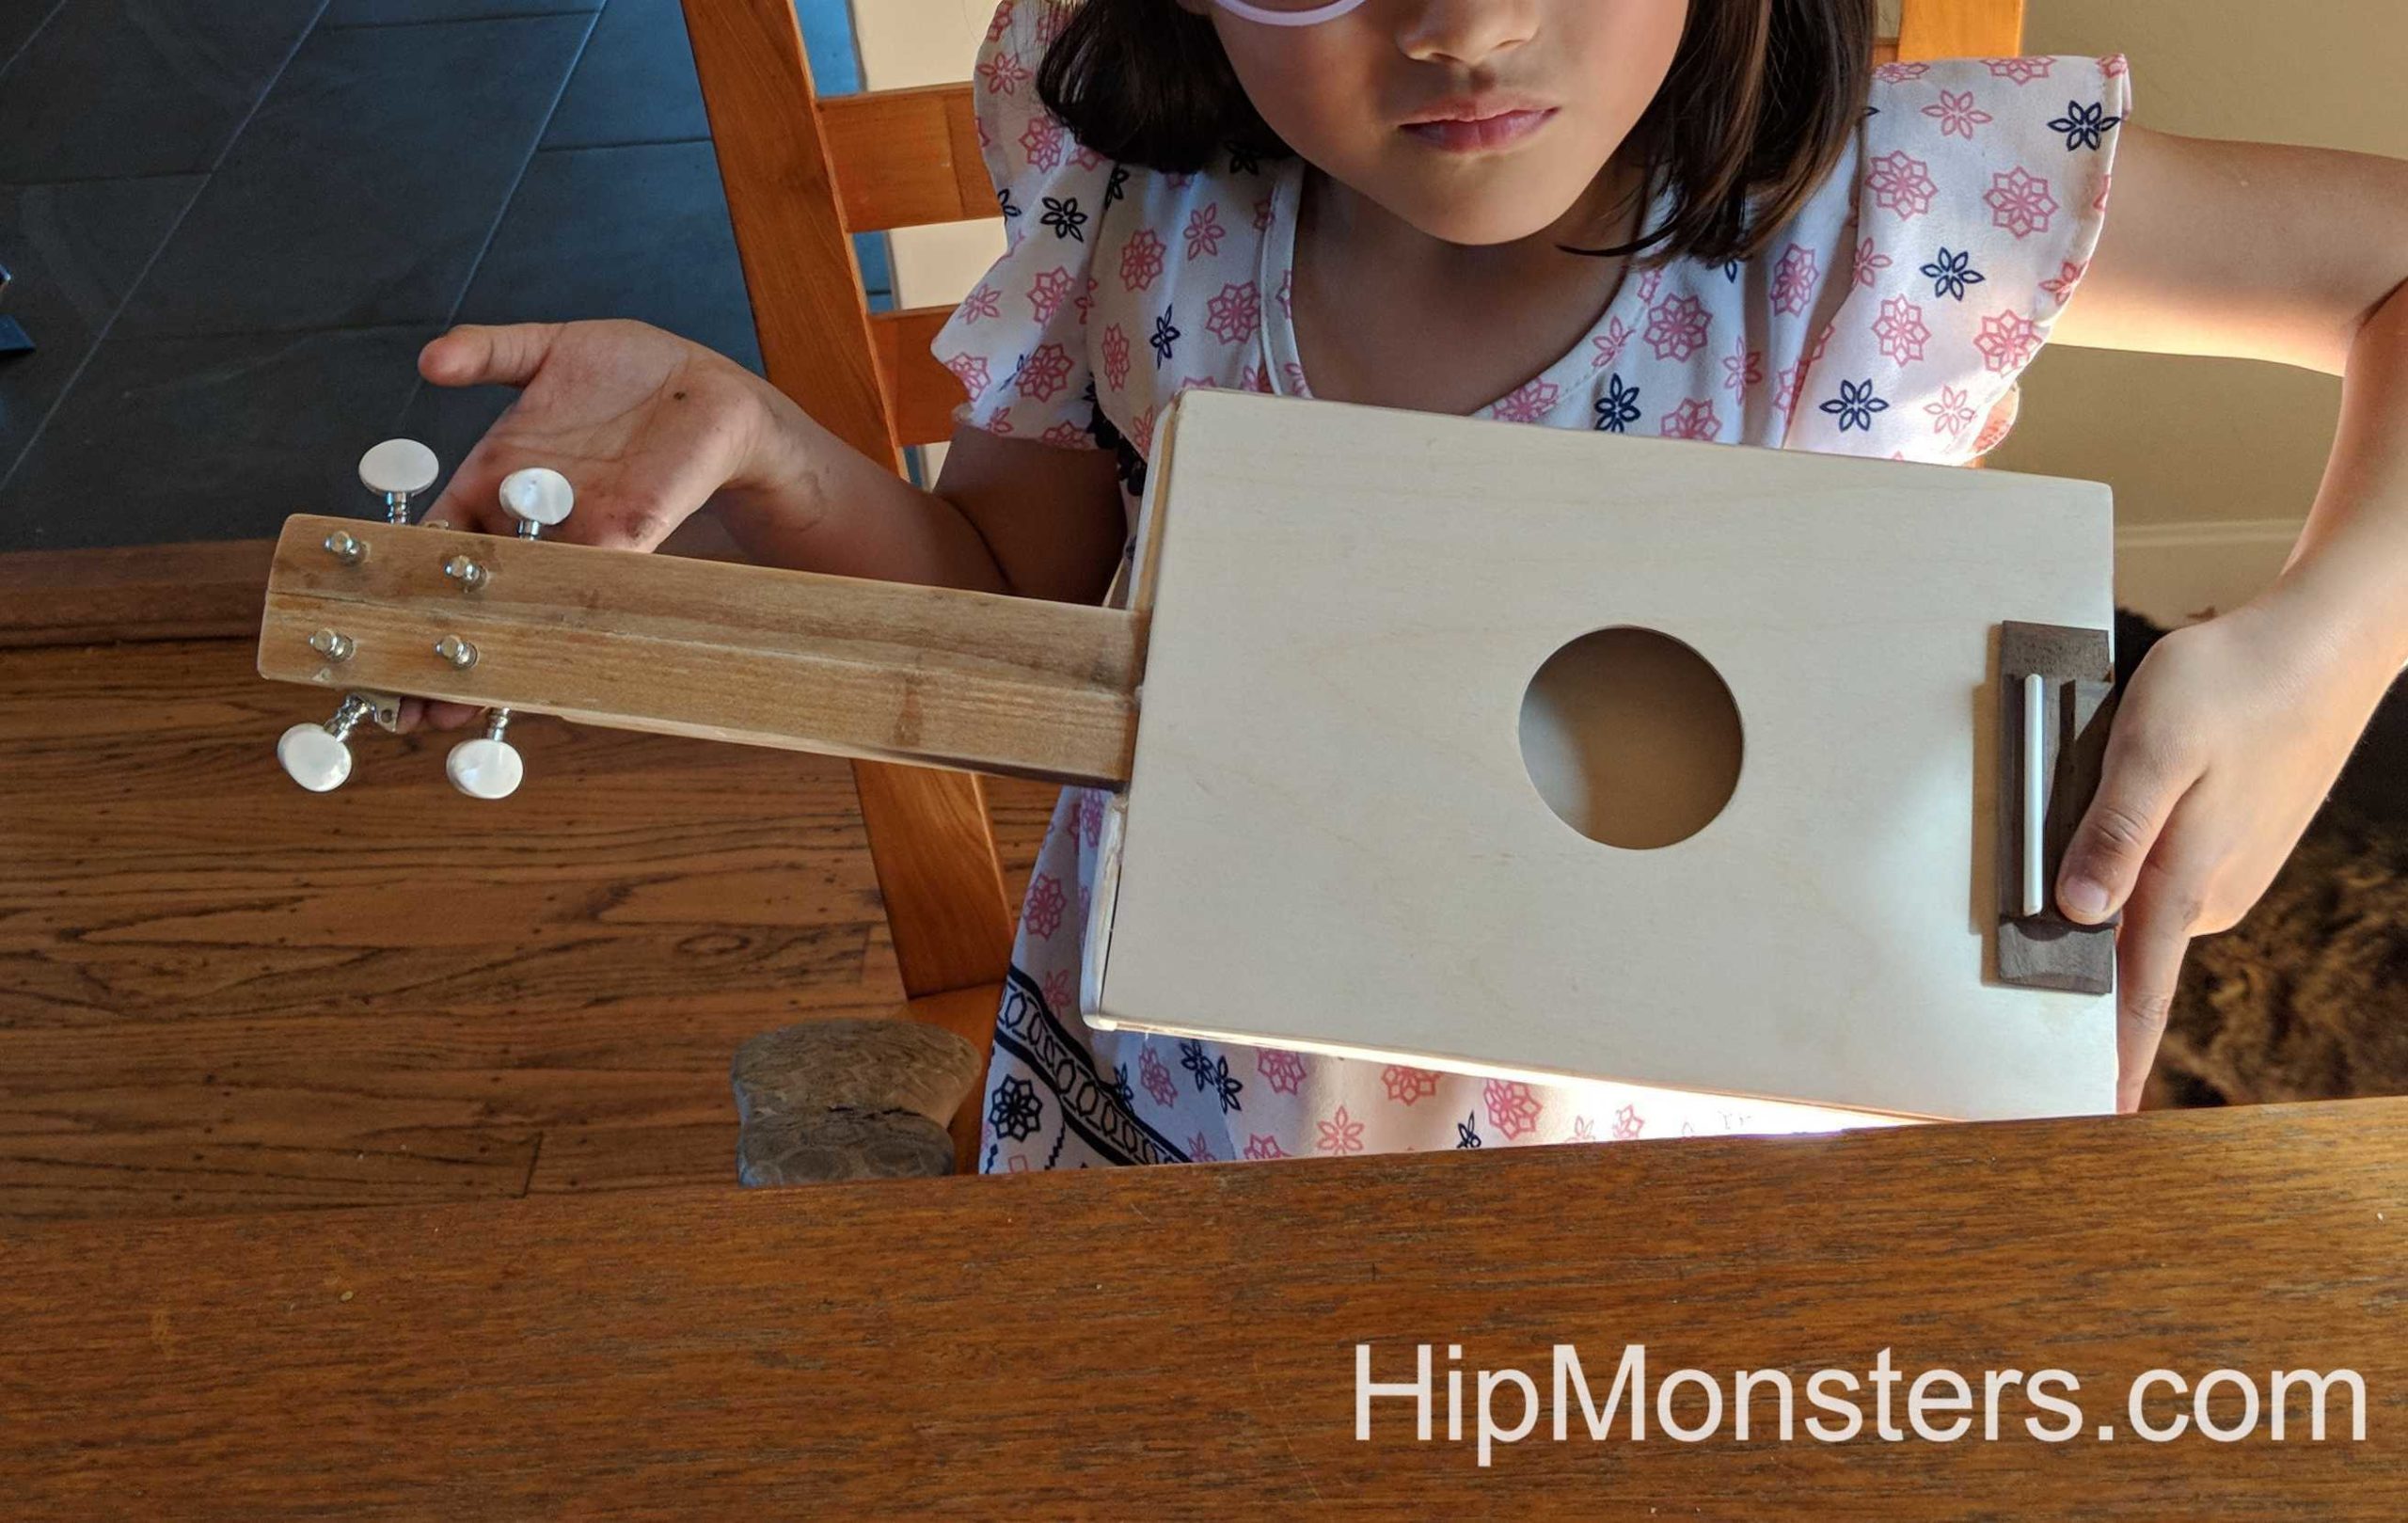
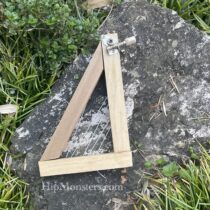
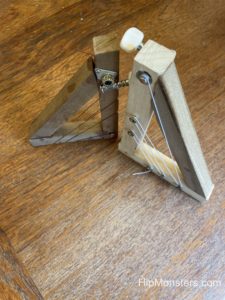
The harp has a classic triangular design, with one guitar tuner and one long string. The string is attached to the frame using screws. The whole thing is very small and light, you can hold it in one hand. A main problem was that there was not a big difference between the different notes on the harp. It was also hard to play the strings one by one because they were too cramped.
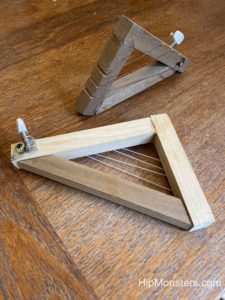
If the HipMonsters team were to make this project again, we would add more than one guitar tuner so you would have different sounds. After looking at pictures of smaller harps online, we noticed that many do not have the classic triangular design, but instead a more rectangular or ovular shape. By using that shape instead of the triangular one, the strings would be less cramped. The thick frame of the wooden harp also makes it look more messy and unwieldy, so we would either use thinner wood or make the harp larger.
Looking back on old projects is a great way to see growth. This harp was very creative, and it was impressive at the time, but there are many ways we would improve this.
Happy Creating!