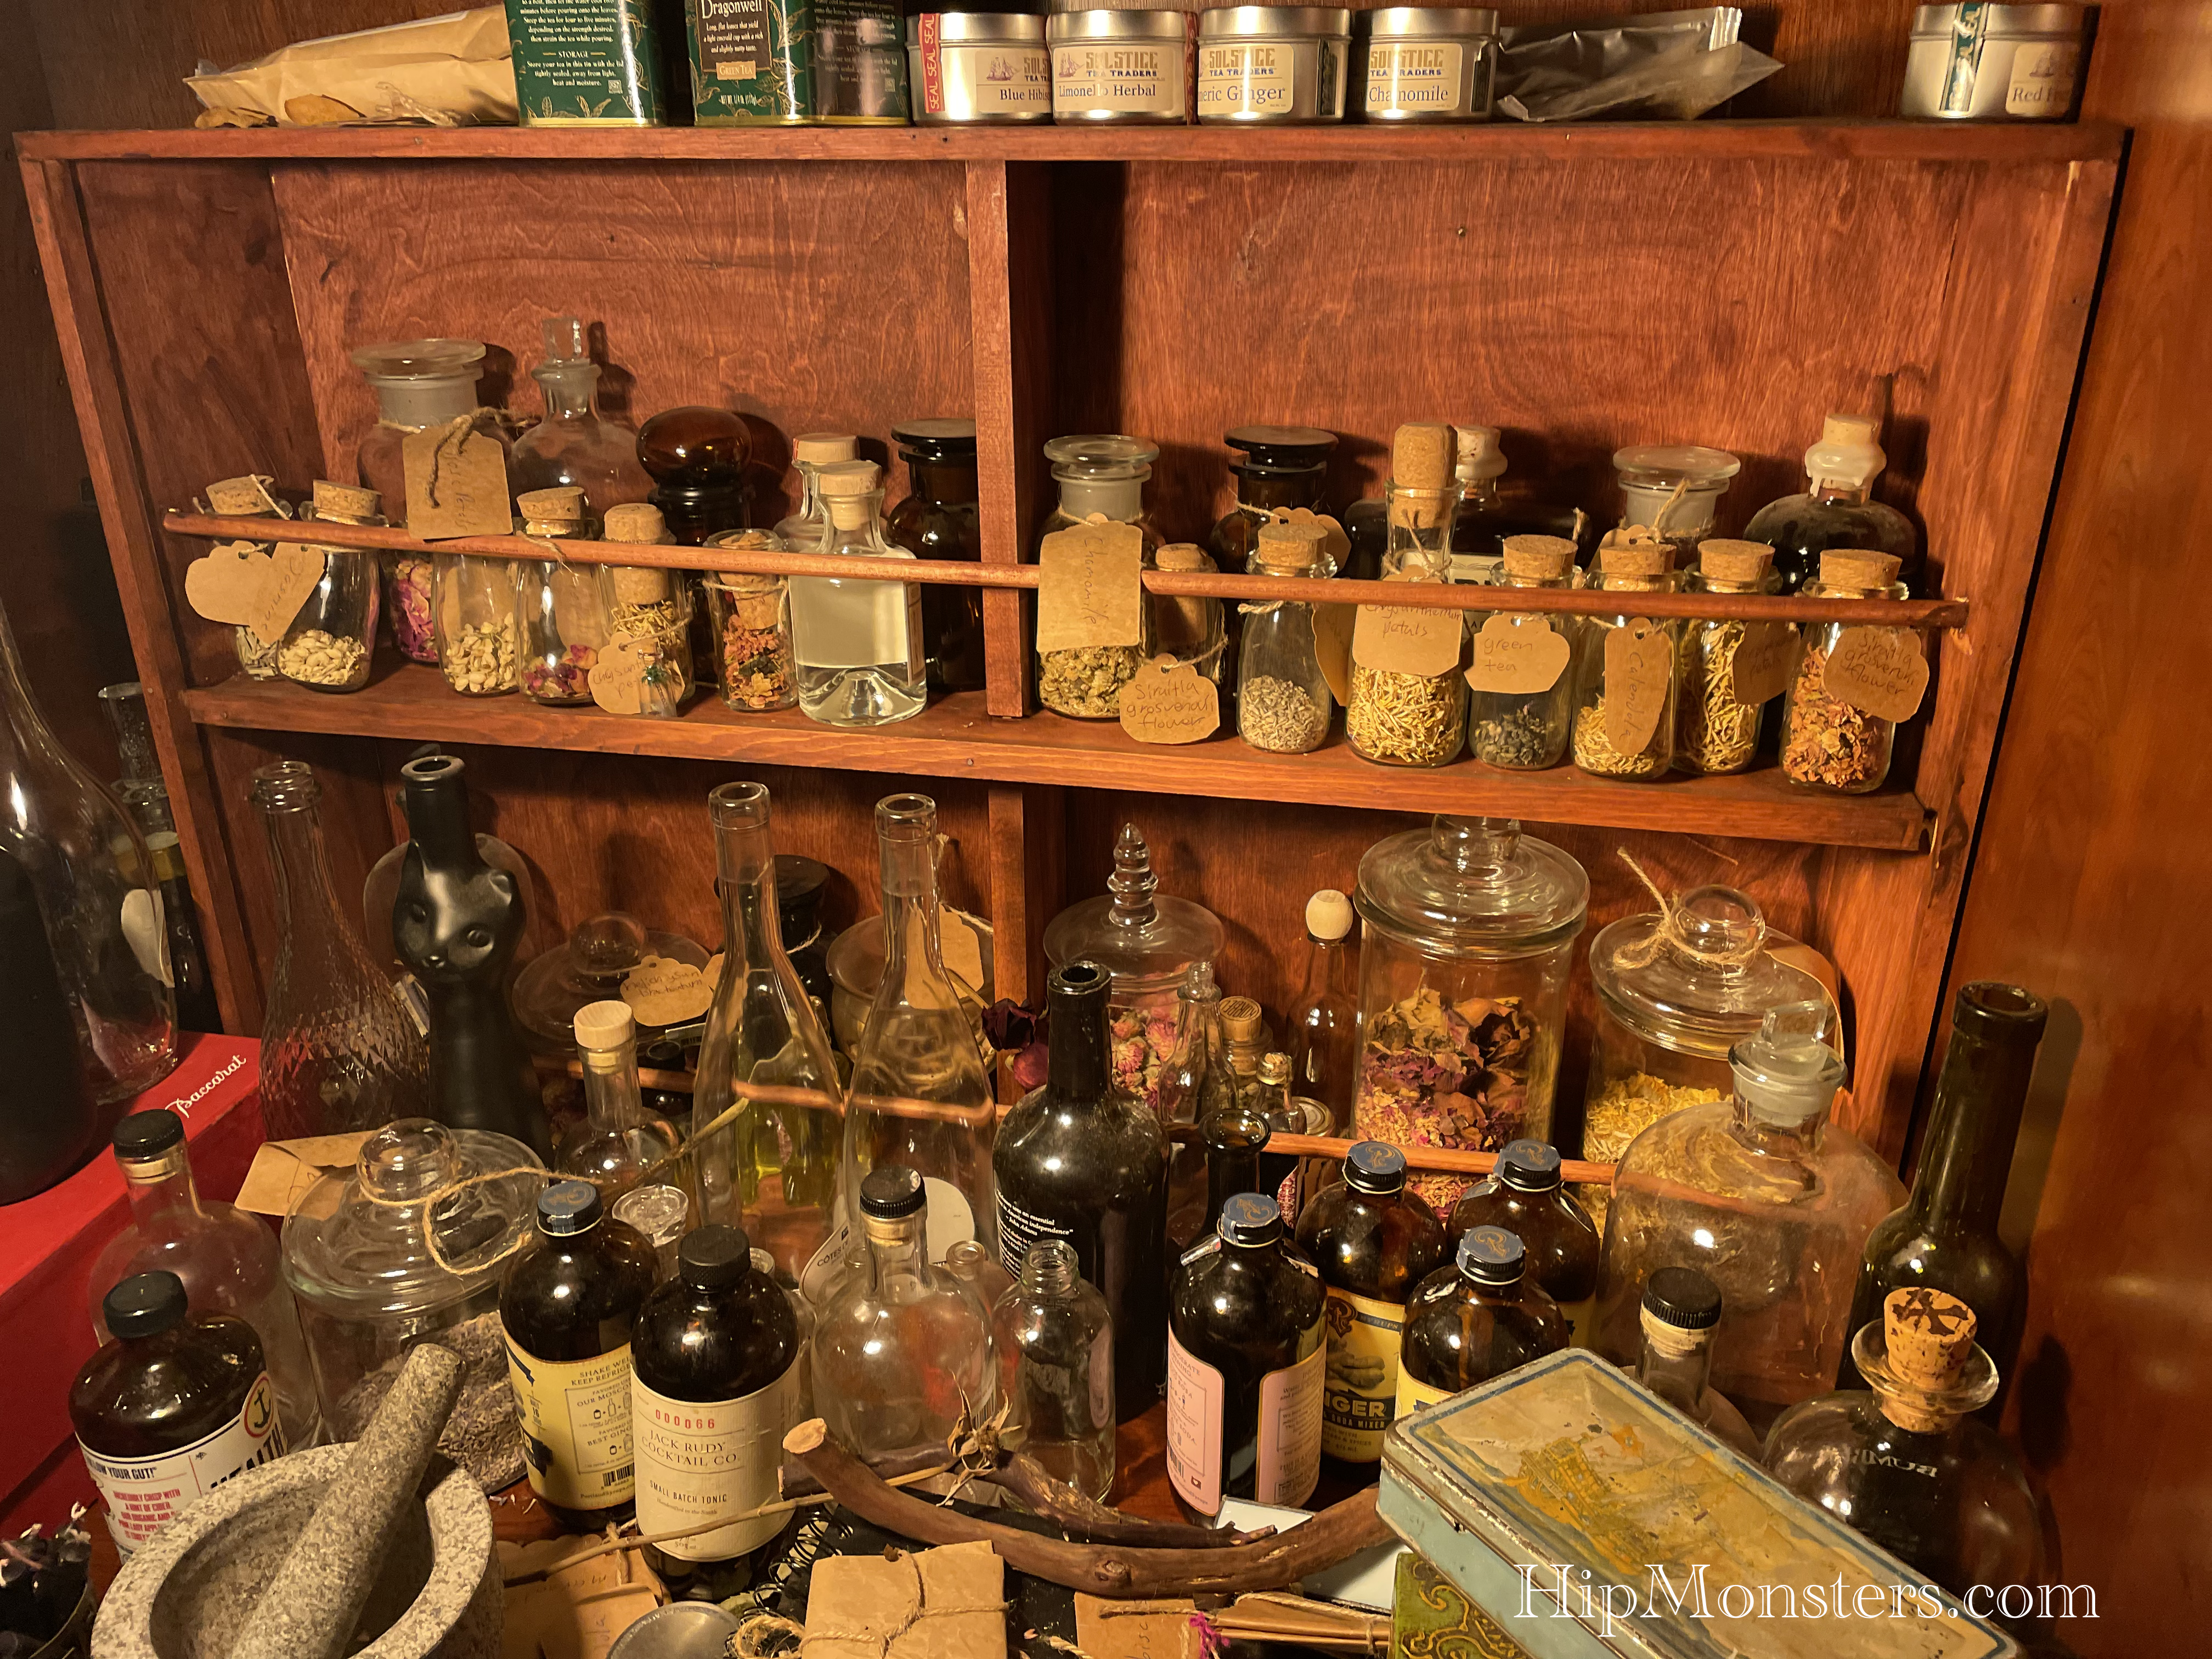
One of the small projects that we do is make herbal potions, tiny jars or pouches full of crushed up herbs and flowers from our herb garden. They keep away the spiders and smell very nice. We also use some of our dried herbs for cooking, to give the food more flavor.
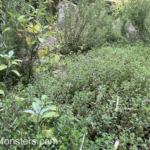
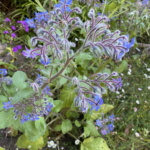
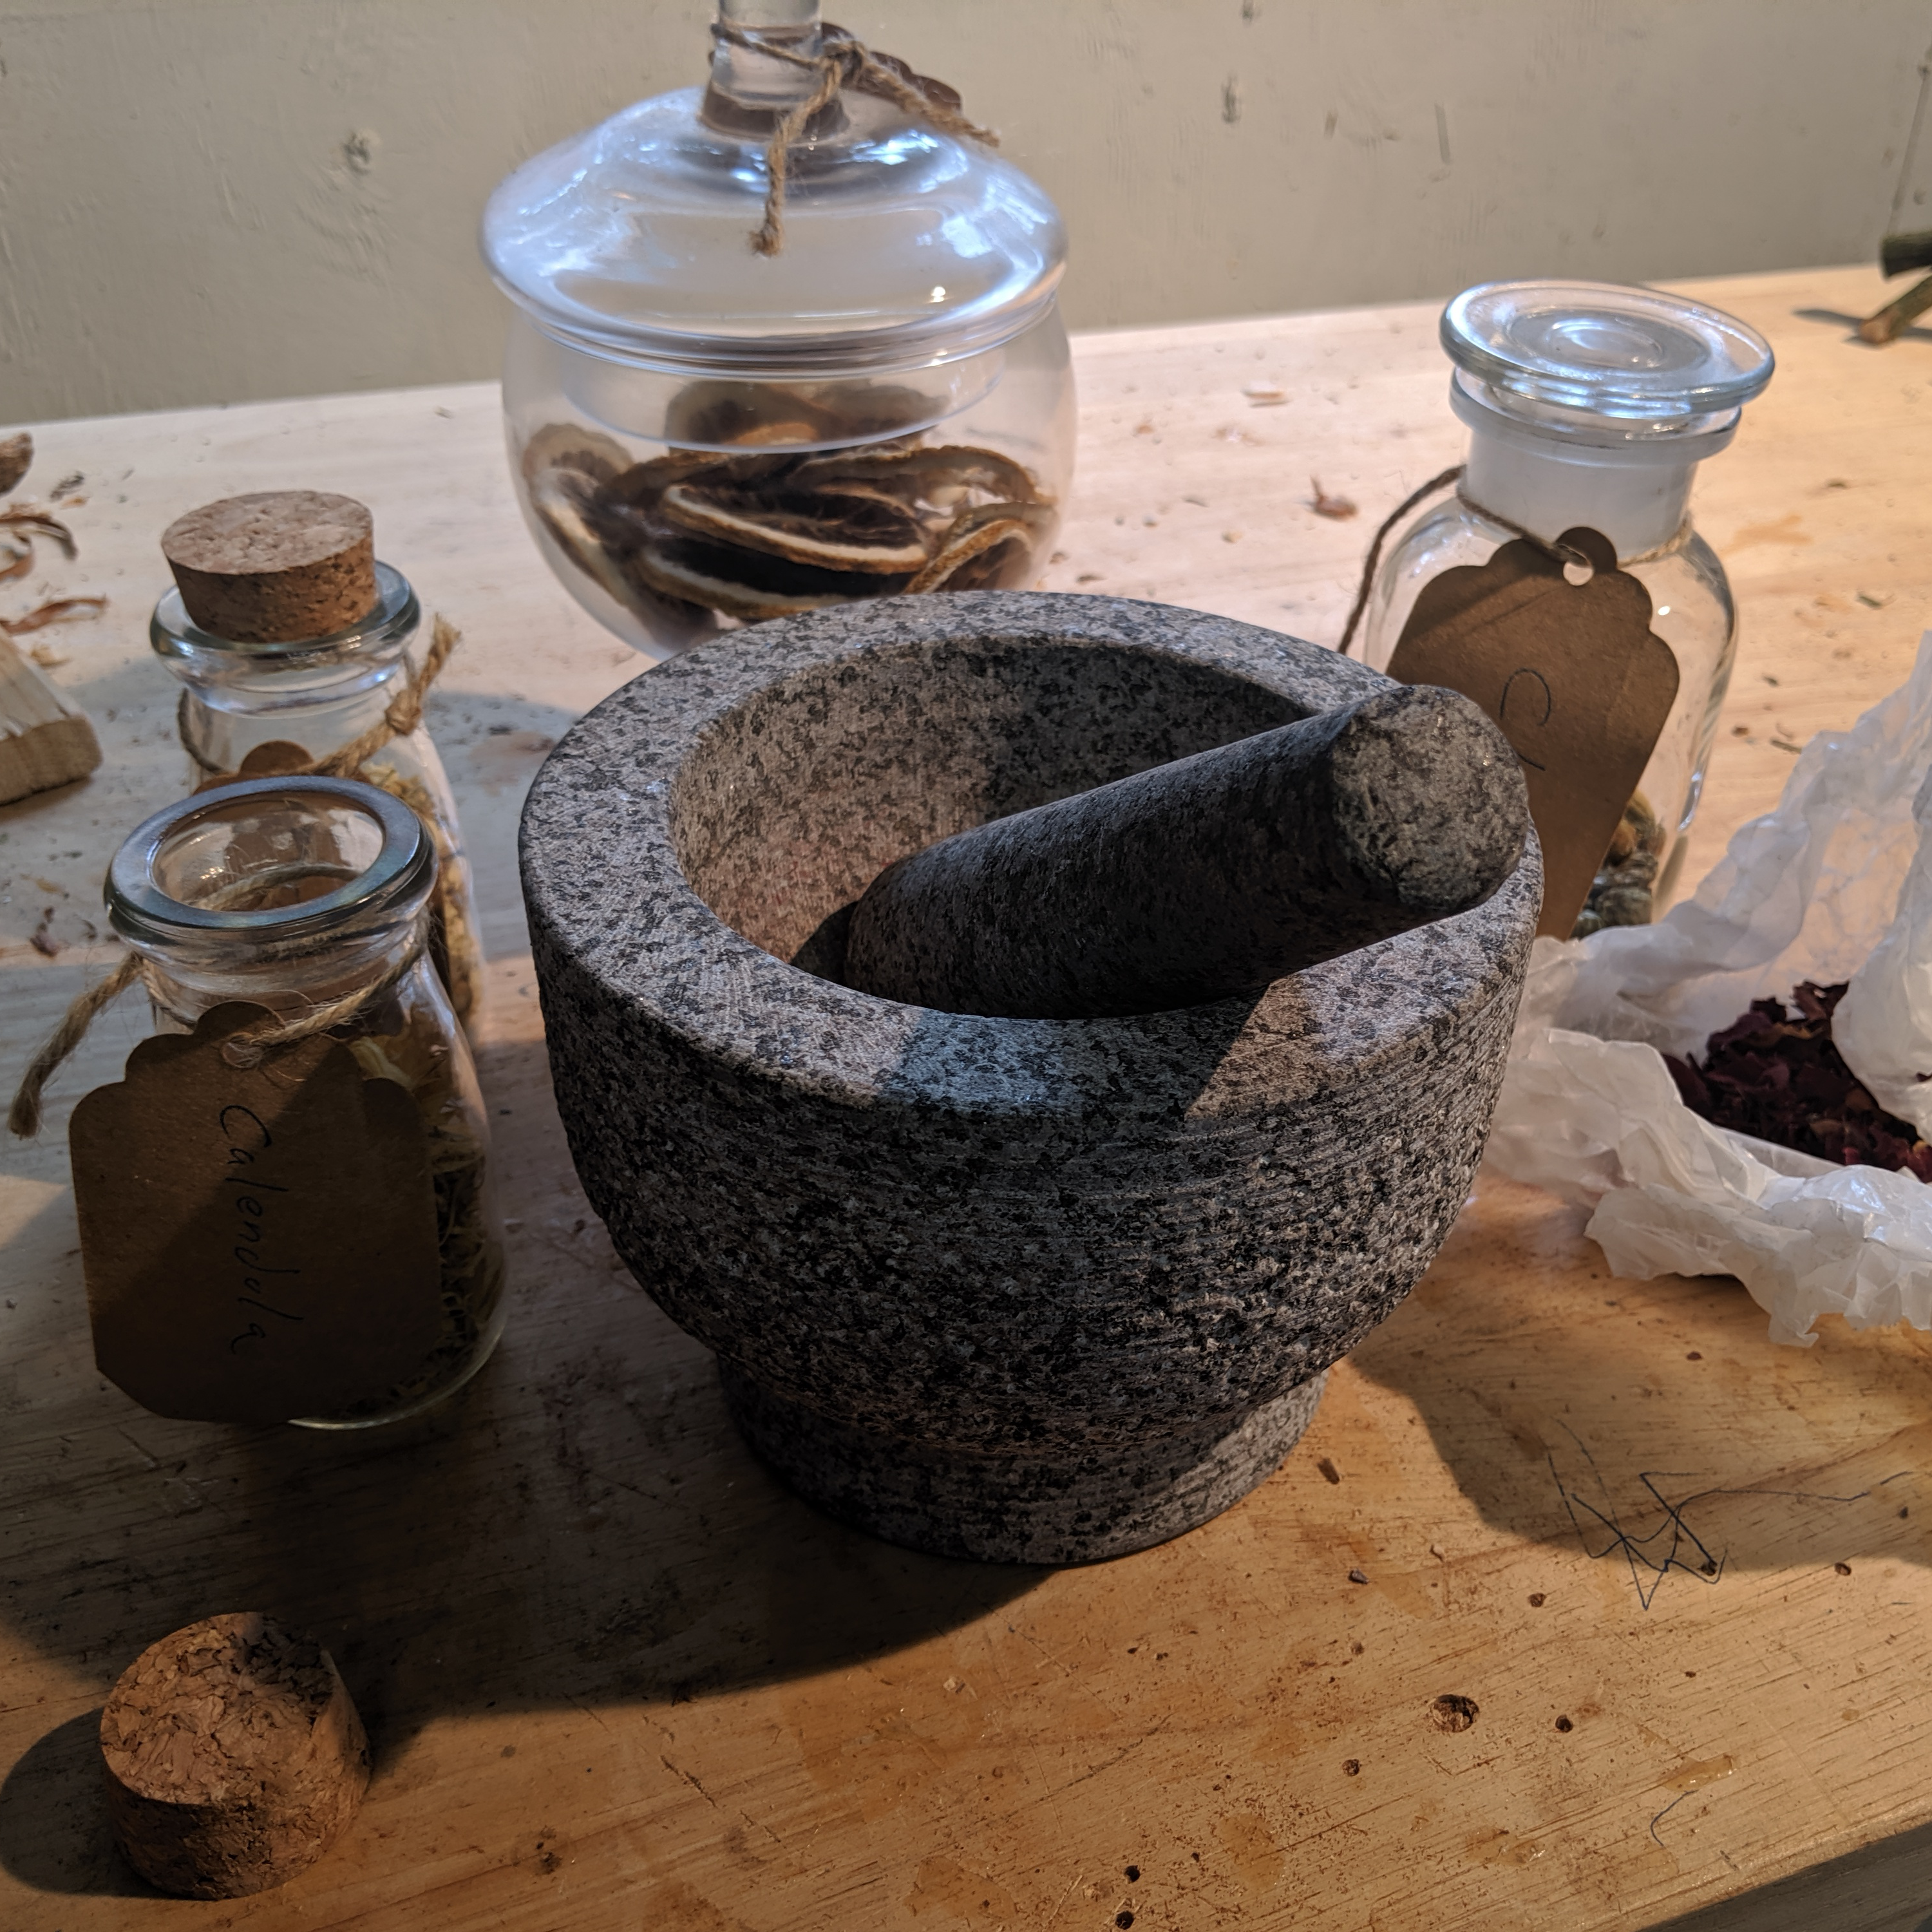
We grow lots of herbs in our yard, so when we trim the branches, we can dry them and put them in jars to be used for potion making. Make sure to label the jars so you don’t forget what they are filled with.
You don’t want to add lavender into your potions instead of rosemary! We also use some of the dried roses to make herbal potions because they smell very good, but they are much harder to crush.
herbs
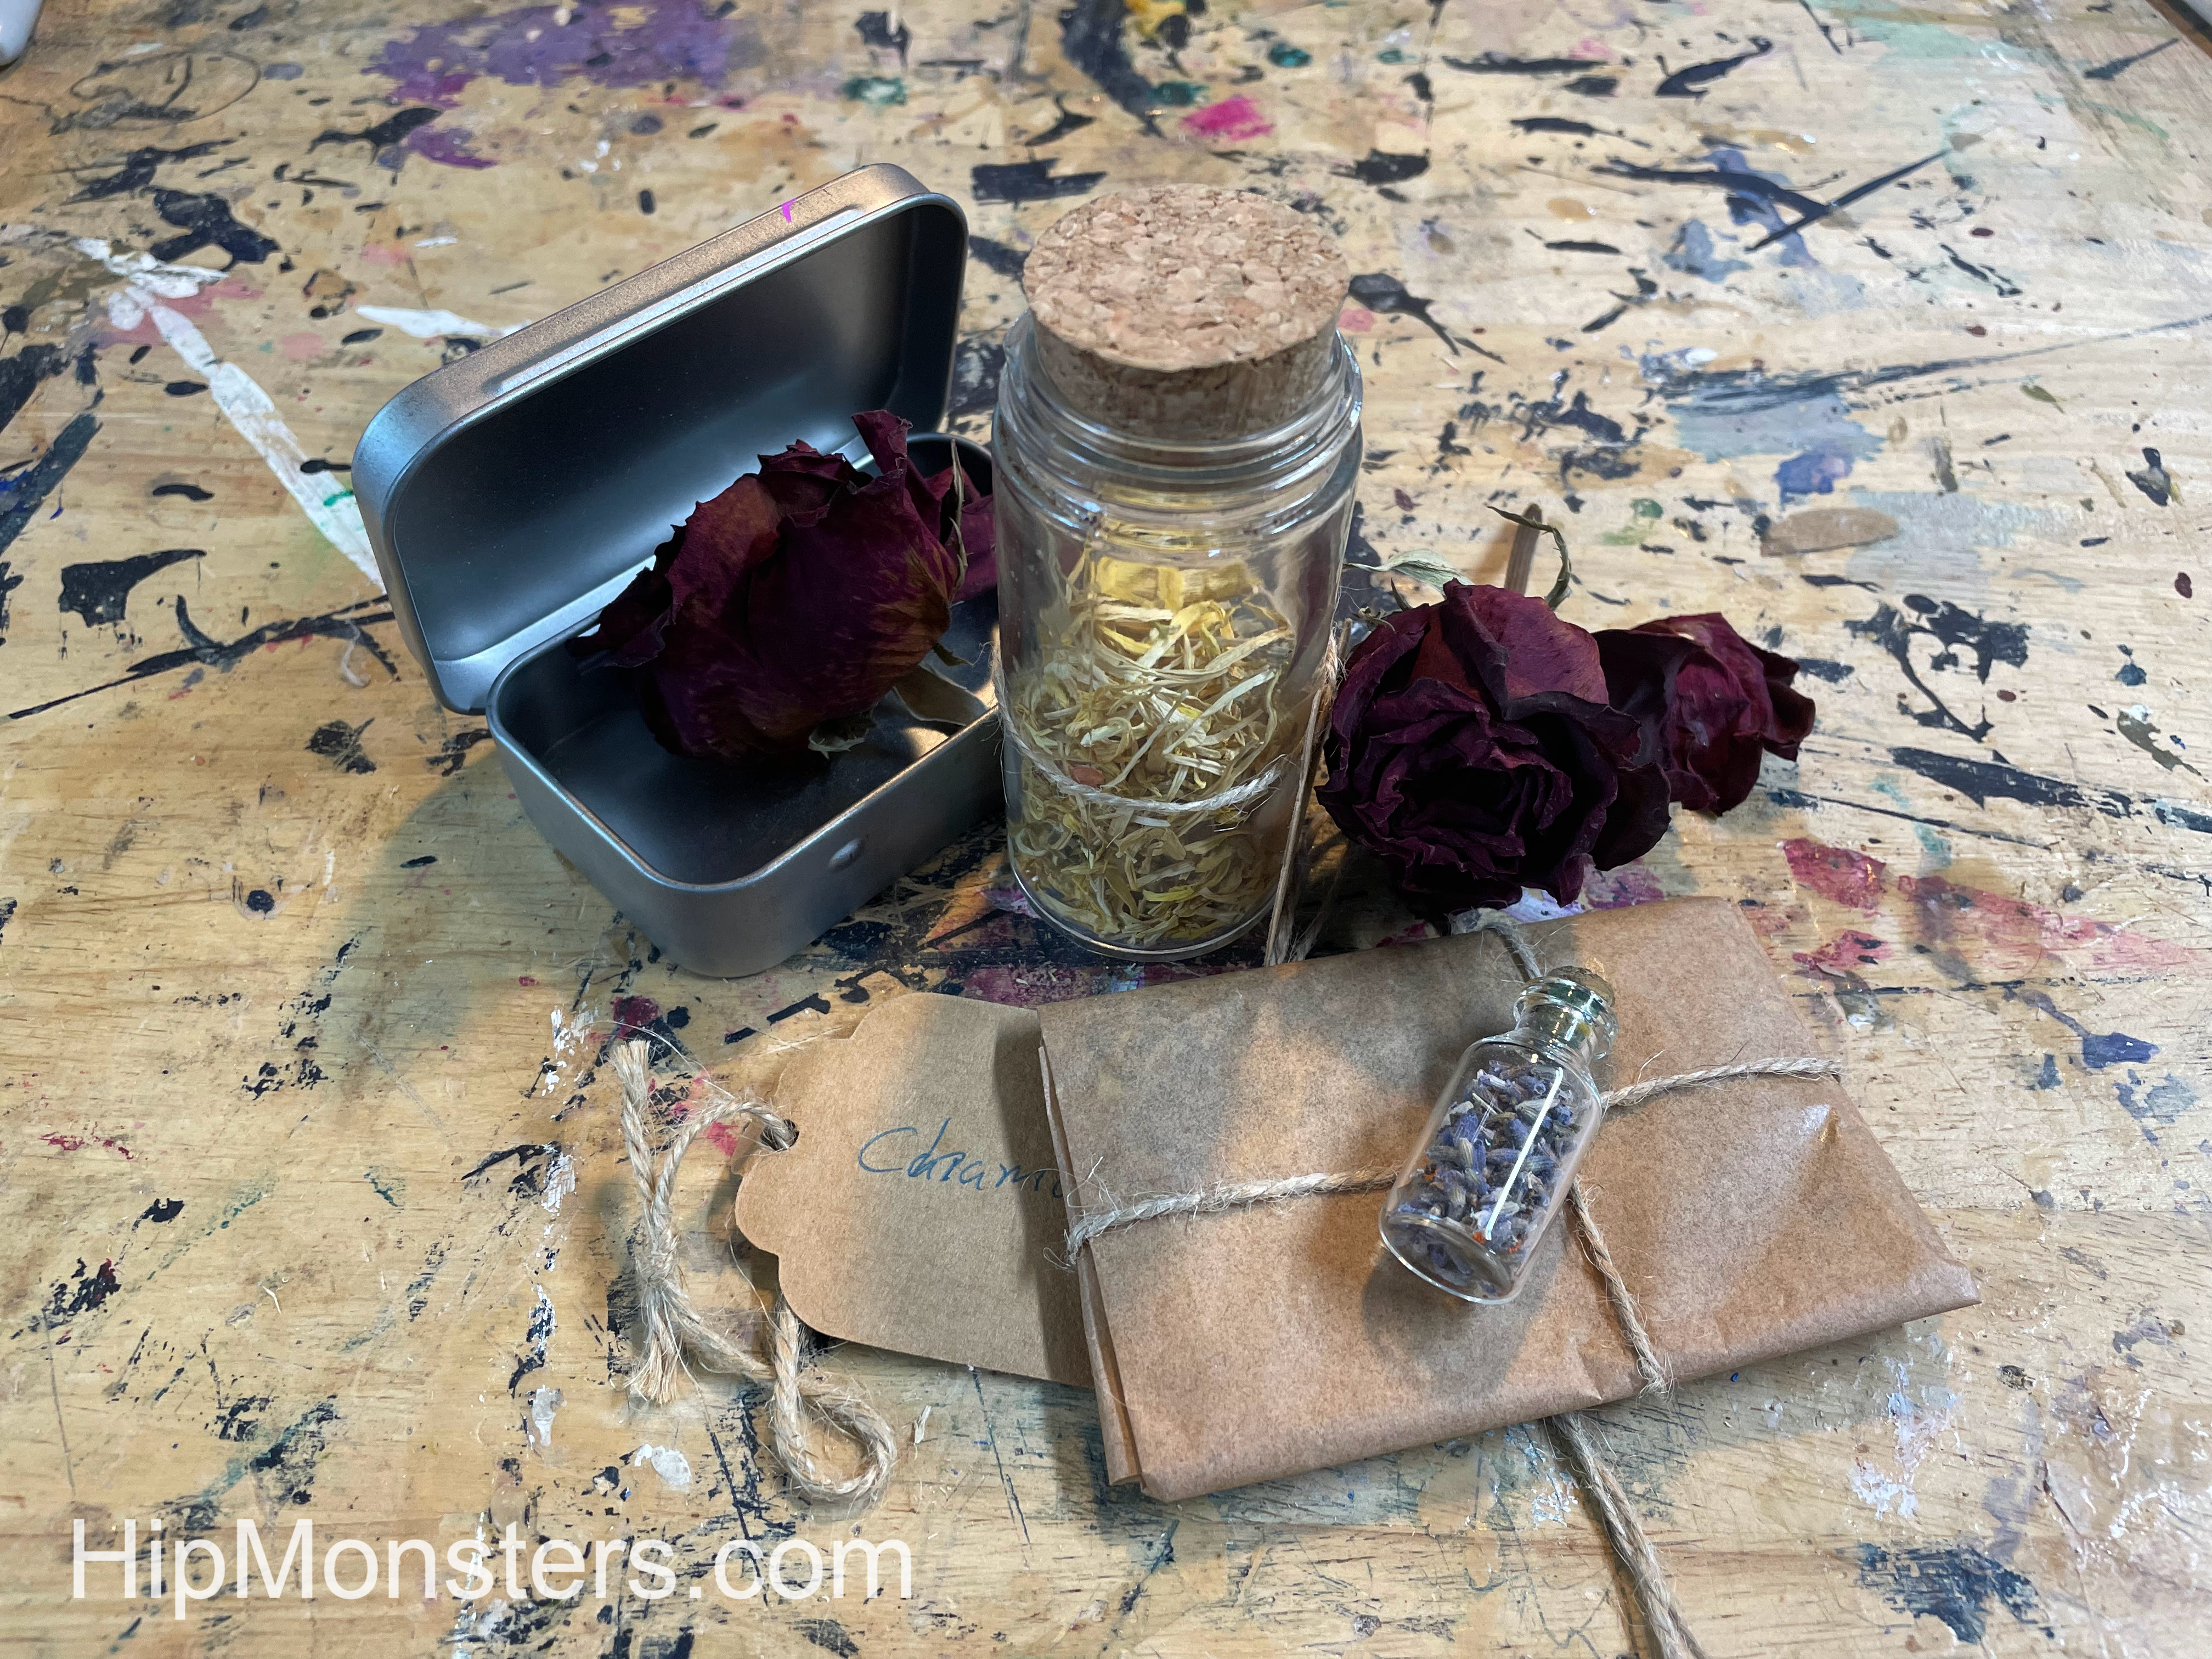
After we finish grinding them up, we carefully pour the herbs onto wax paper, or in a tiny jar. If you pour them on wax paper, make sure to fold it carefully so the herbs don’t fall out. We also tie them up securely in twine after folding them. If you put them in jars, use a funnel or a rolled up piece of paper to make sure that you are pouring into the jar, not onto the table
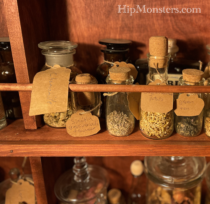
This it what they look like when completed. You can gift them to a friend, keep them, or use them for cooking.
With all the potion-making we have been doing recently, we found that we needed a place to put our potion supplies on the go, so we made a potion cabinet fit for the experts of potion-making. Professor Slughorn’s portable potions kit was the main inspiration for this creation.
Please note, this material is provided for informational purposes only and is not a guide on how to create the designs. Please read our disclaimer.
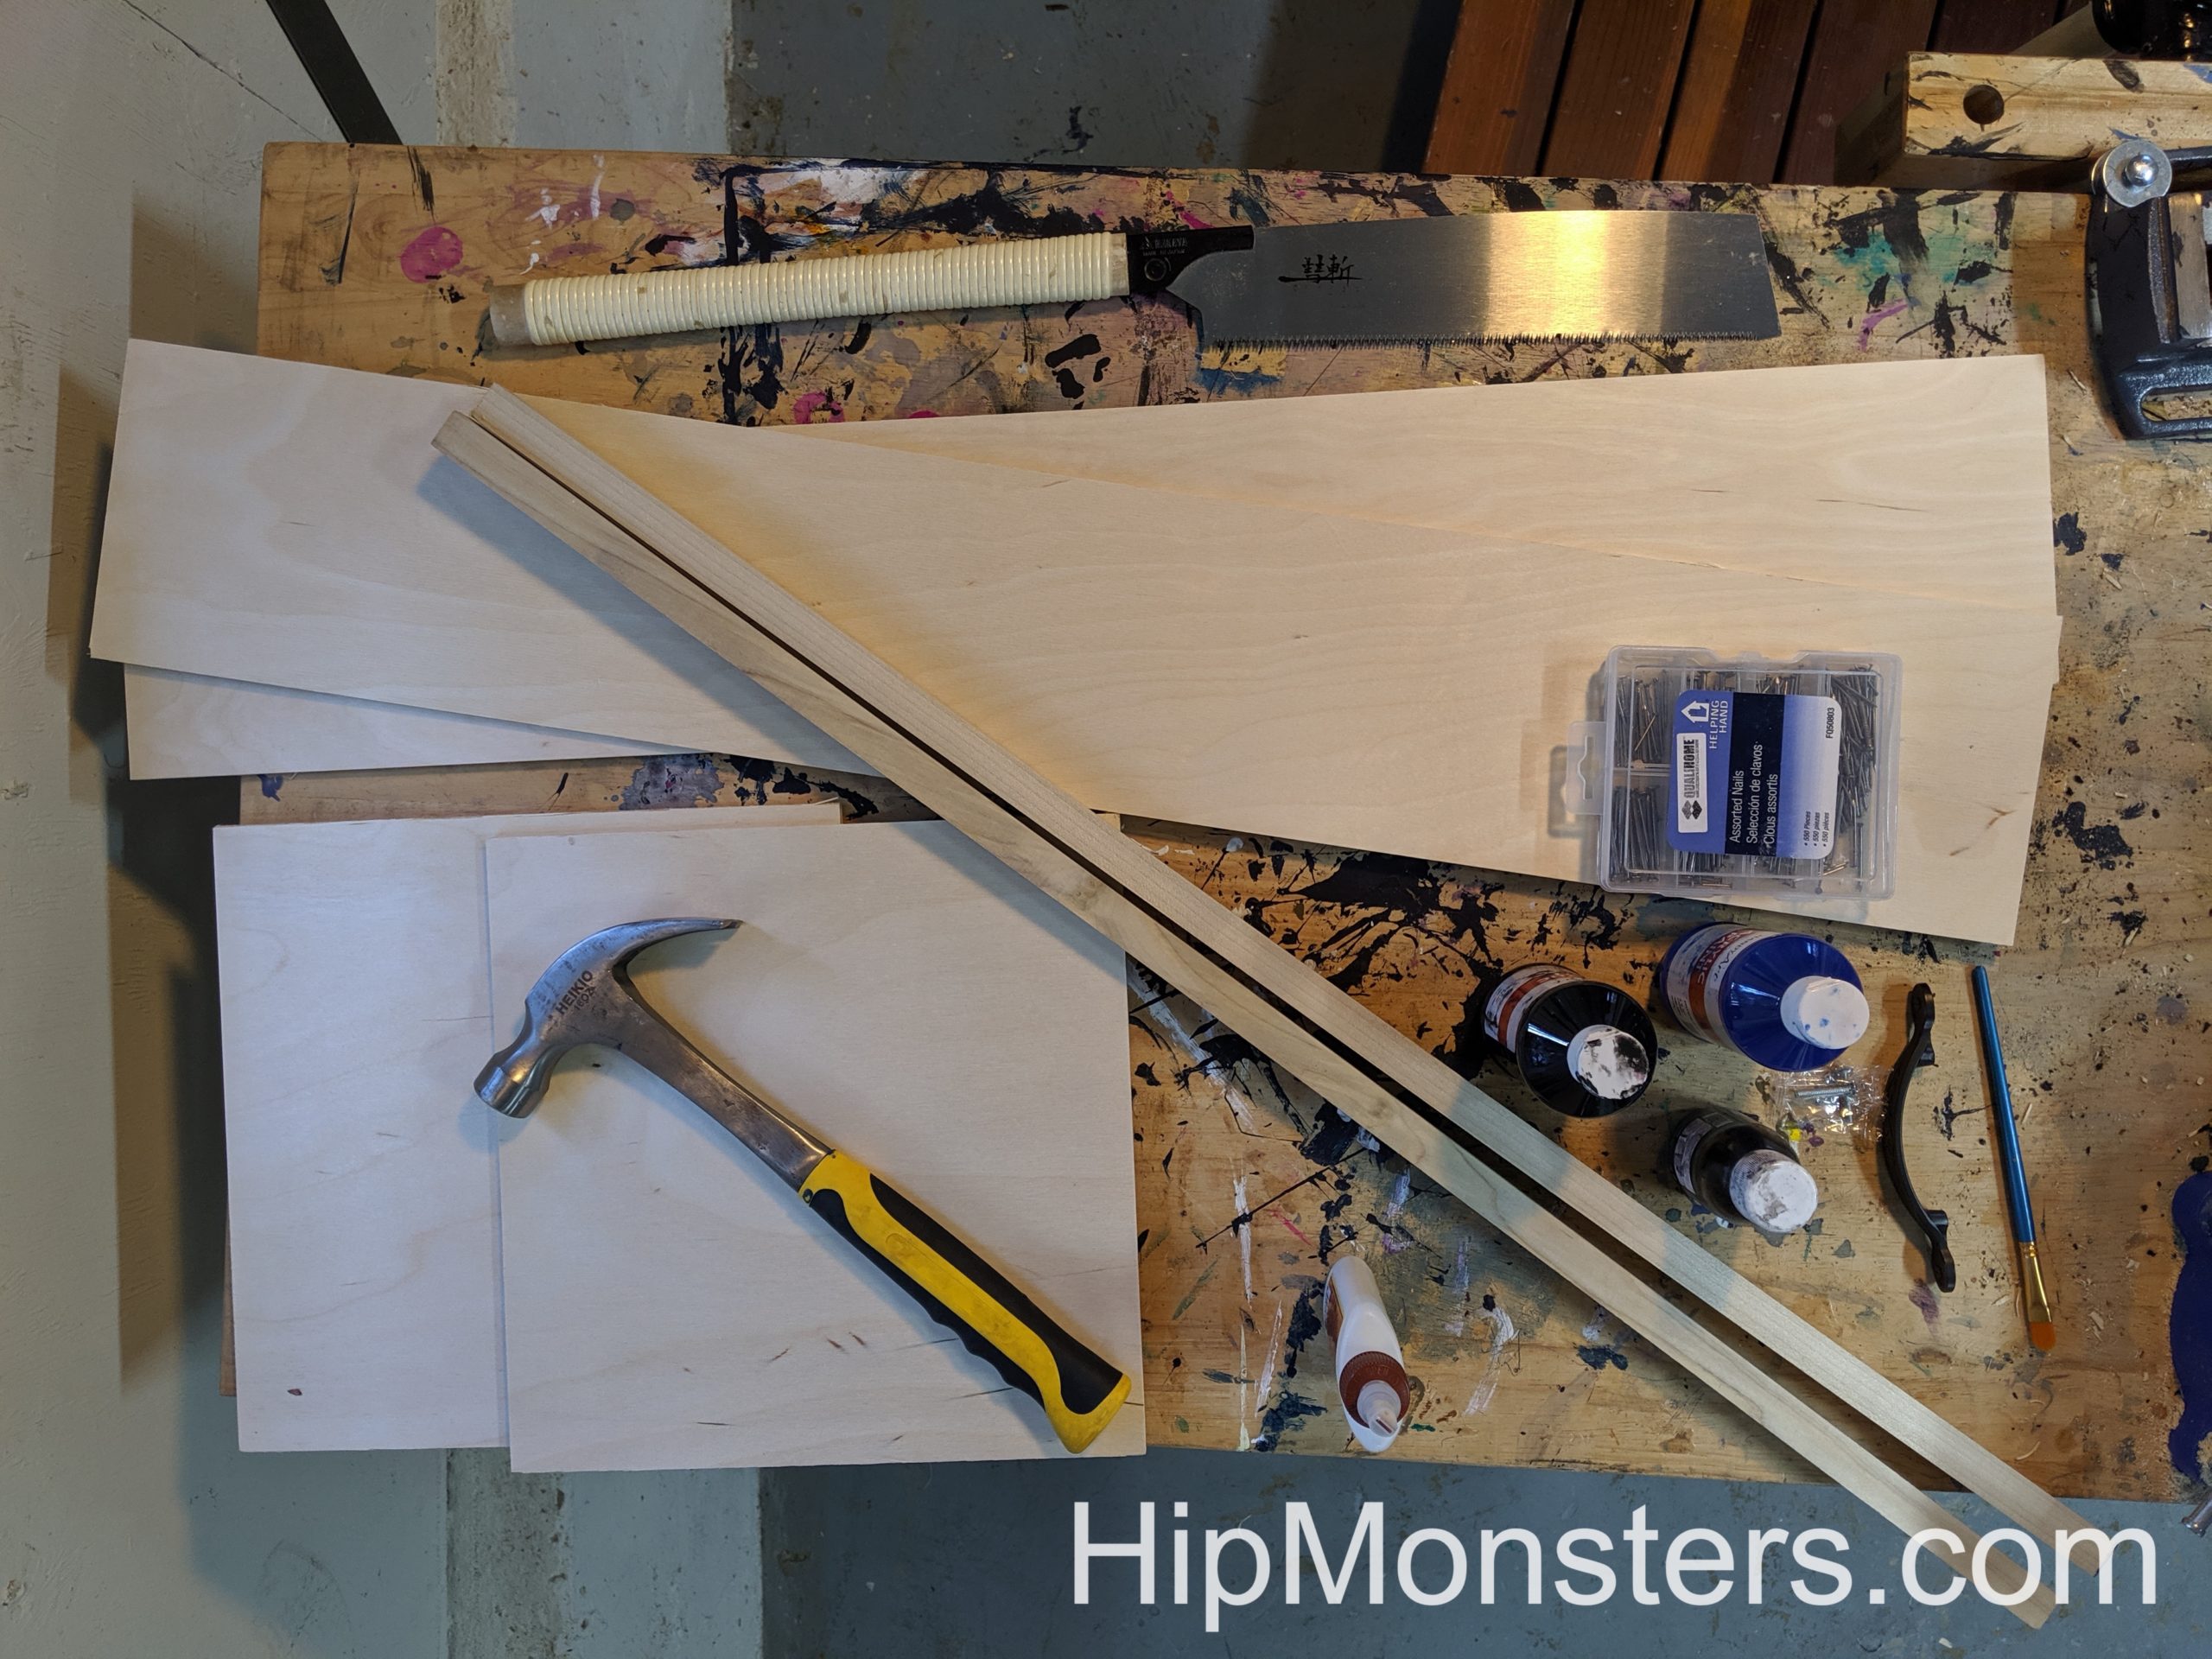
Getting started
We used the following supplies: a hammer, a saw, four 90-degree angle clamps, black paint, blue paint, mahogany-colored wood stain, a handle, paintbrushes, plywood, nails, small candles, wood glue, and long wooden beams.
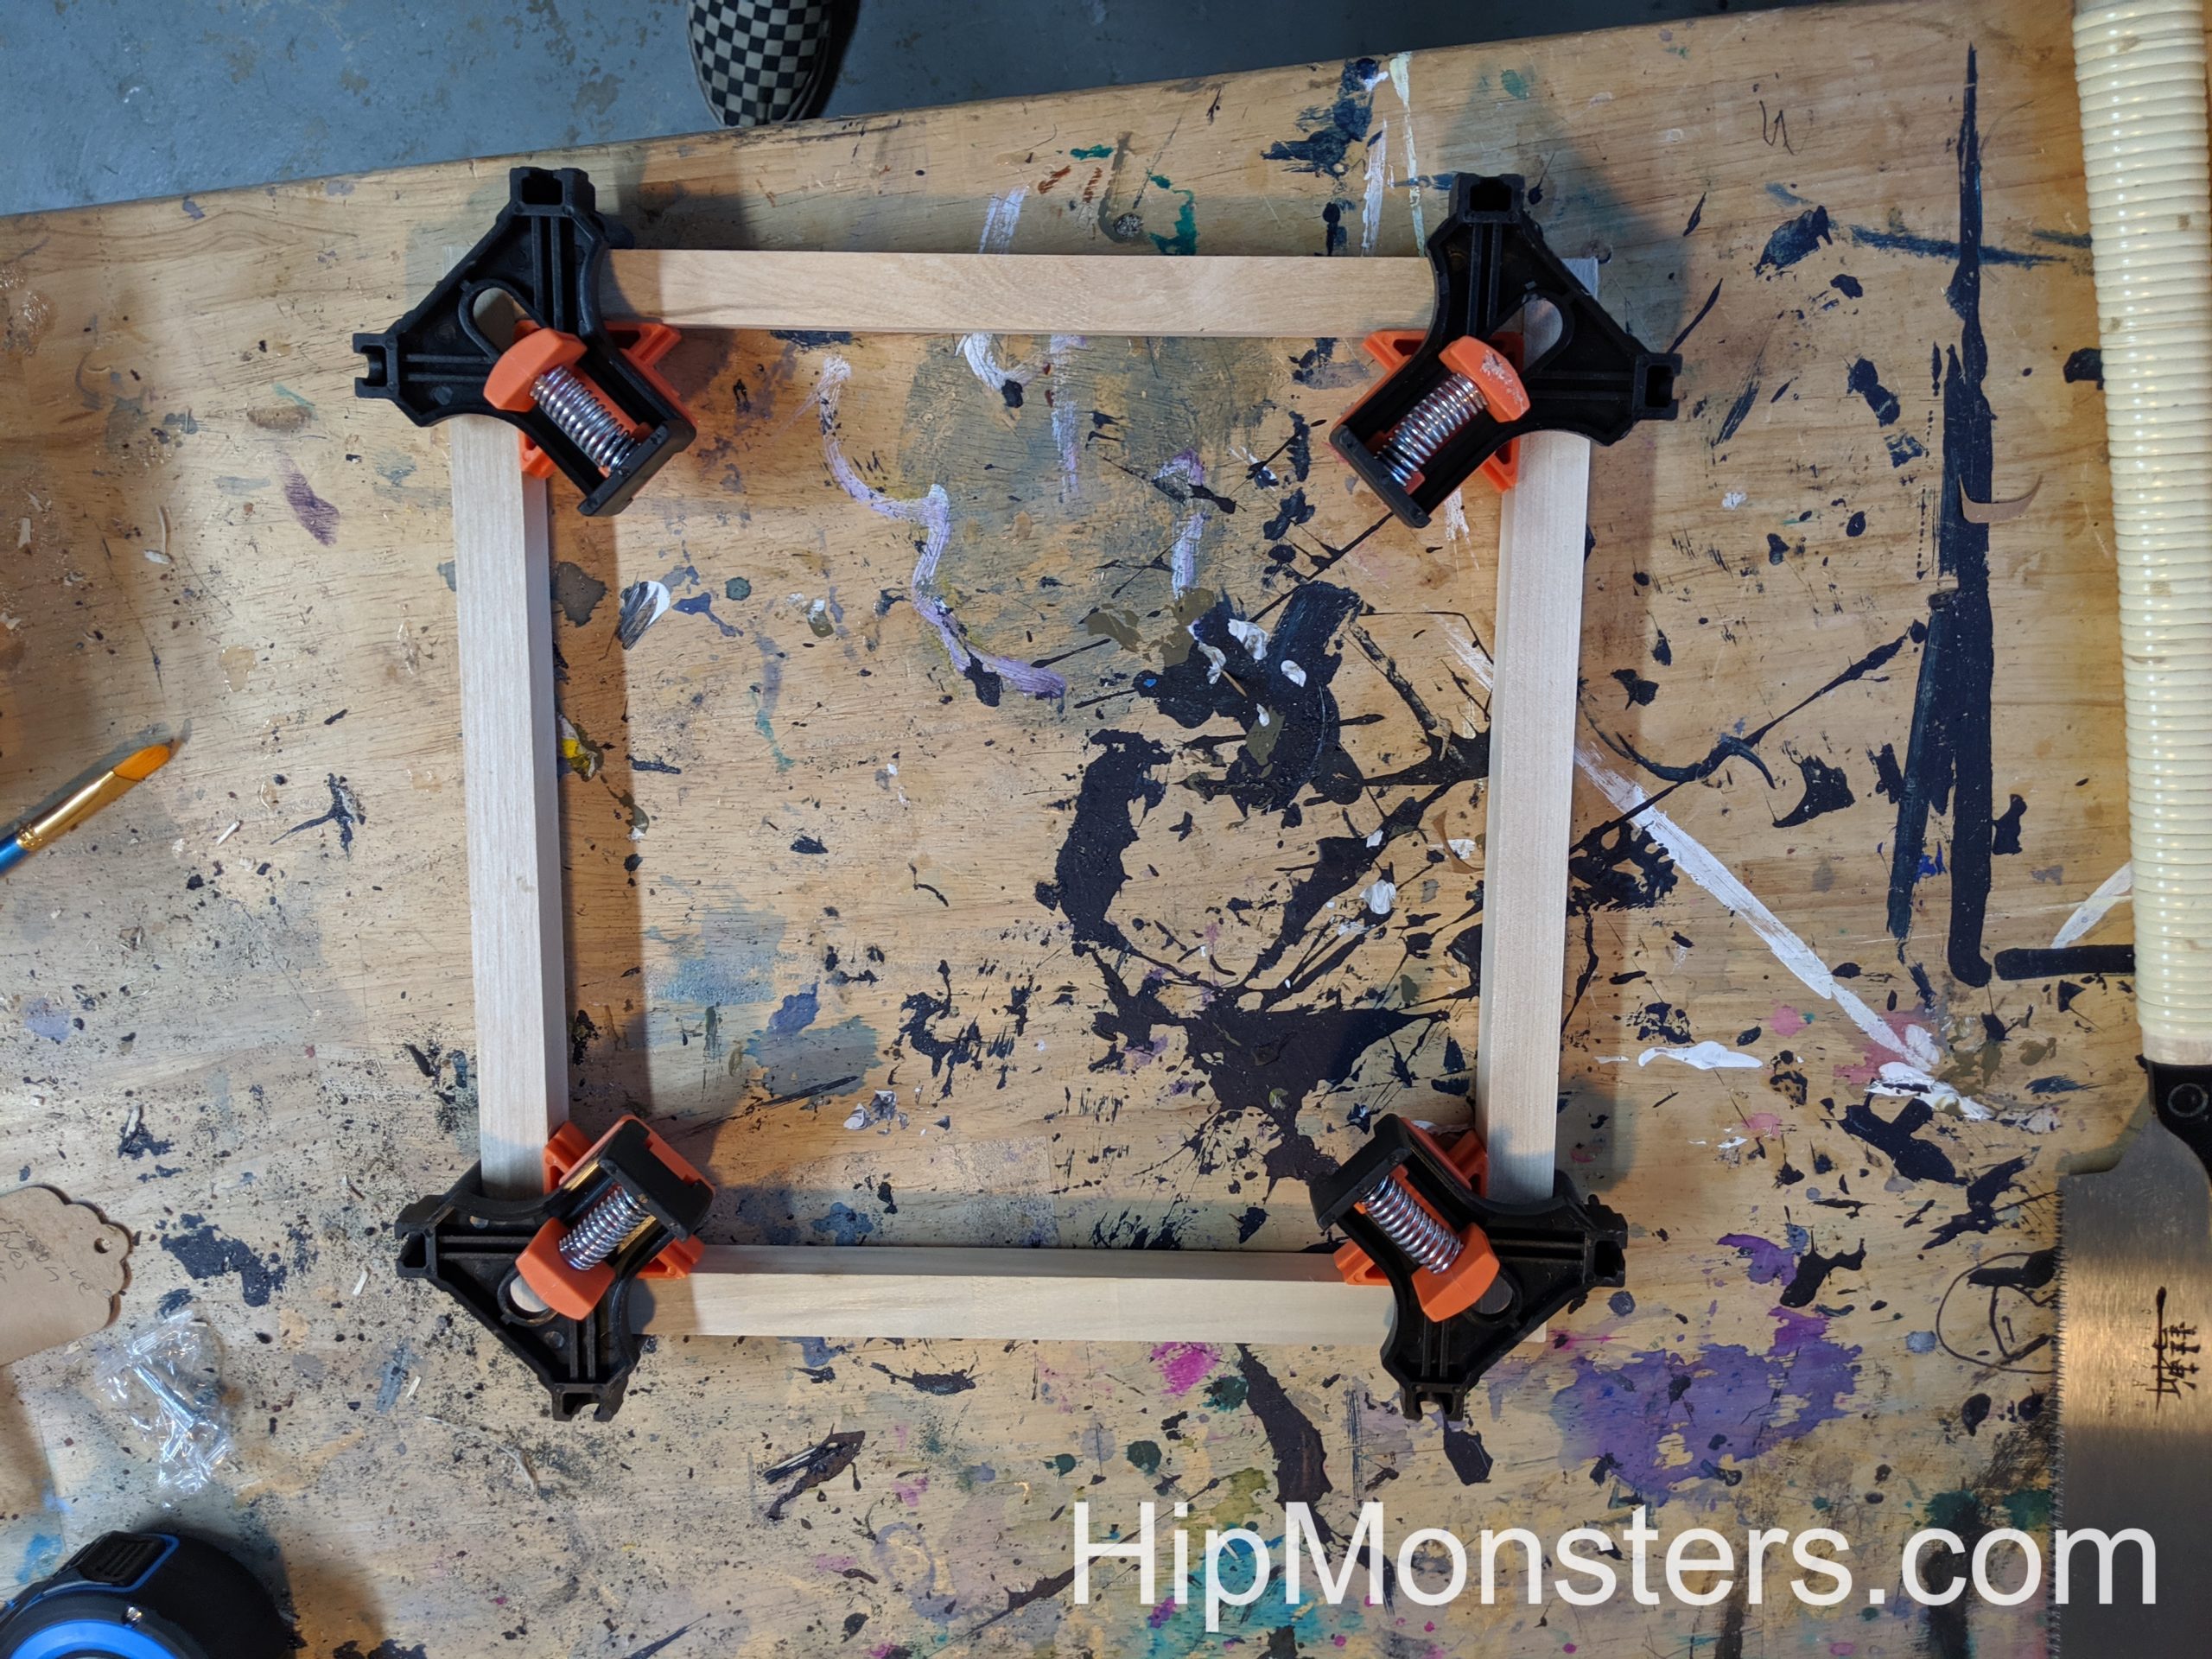
Using clamps to get a tight fit
The core of the cabinet is the frames. These carry the weight of the bottles and hold the cabinet’s shape. To make the frames, we cut the beams into 12 inches and glued them together, using the 90-degree angle clamps for making a strong right angle.
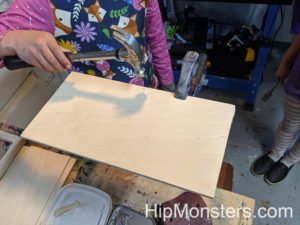
Getting the pieces ready for assembling.
All the sides and frames are ready for assembly. All pieces need to be cut out before you start assembling to make sure that you don’t forget a piece.
Gluing the pieces together.
We ran a bead of glue on all the edges of the frames. We made sure to only put a little glue to prevent sliding.
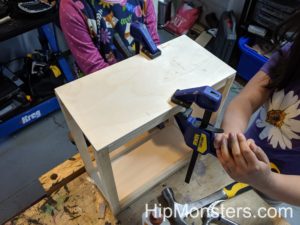
Clamping the cabinet together.
Then we use clamps to firmly secure the sides to the frame.
Hammering in nails for support.
Once we were sure the glue had dried we went on to the next steps. For added strength, we put in a few thin nails on the bottom and sides.
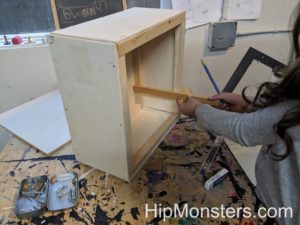
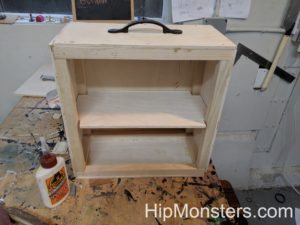
Measuring the box for the shelf.
We measured for the interior shelf after we put the cabinet together to make sure we have a snug fit.
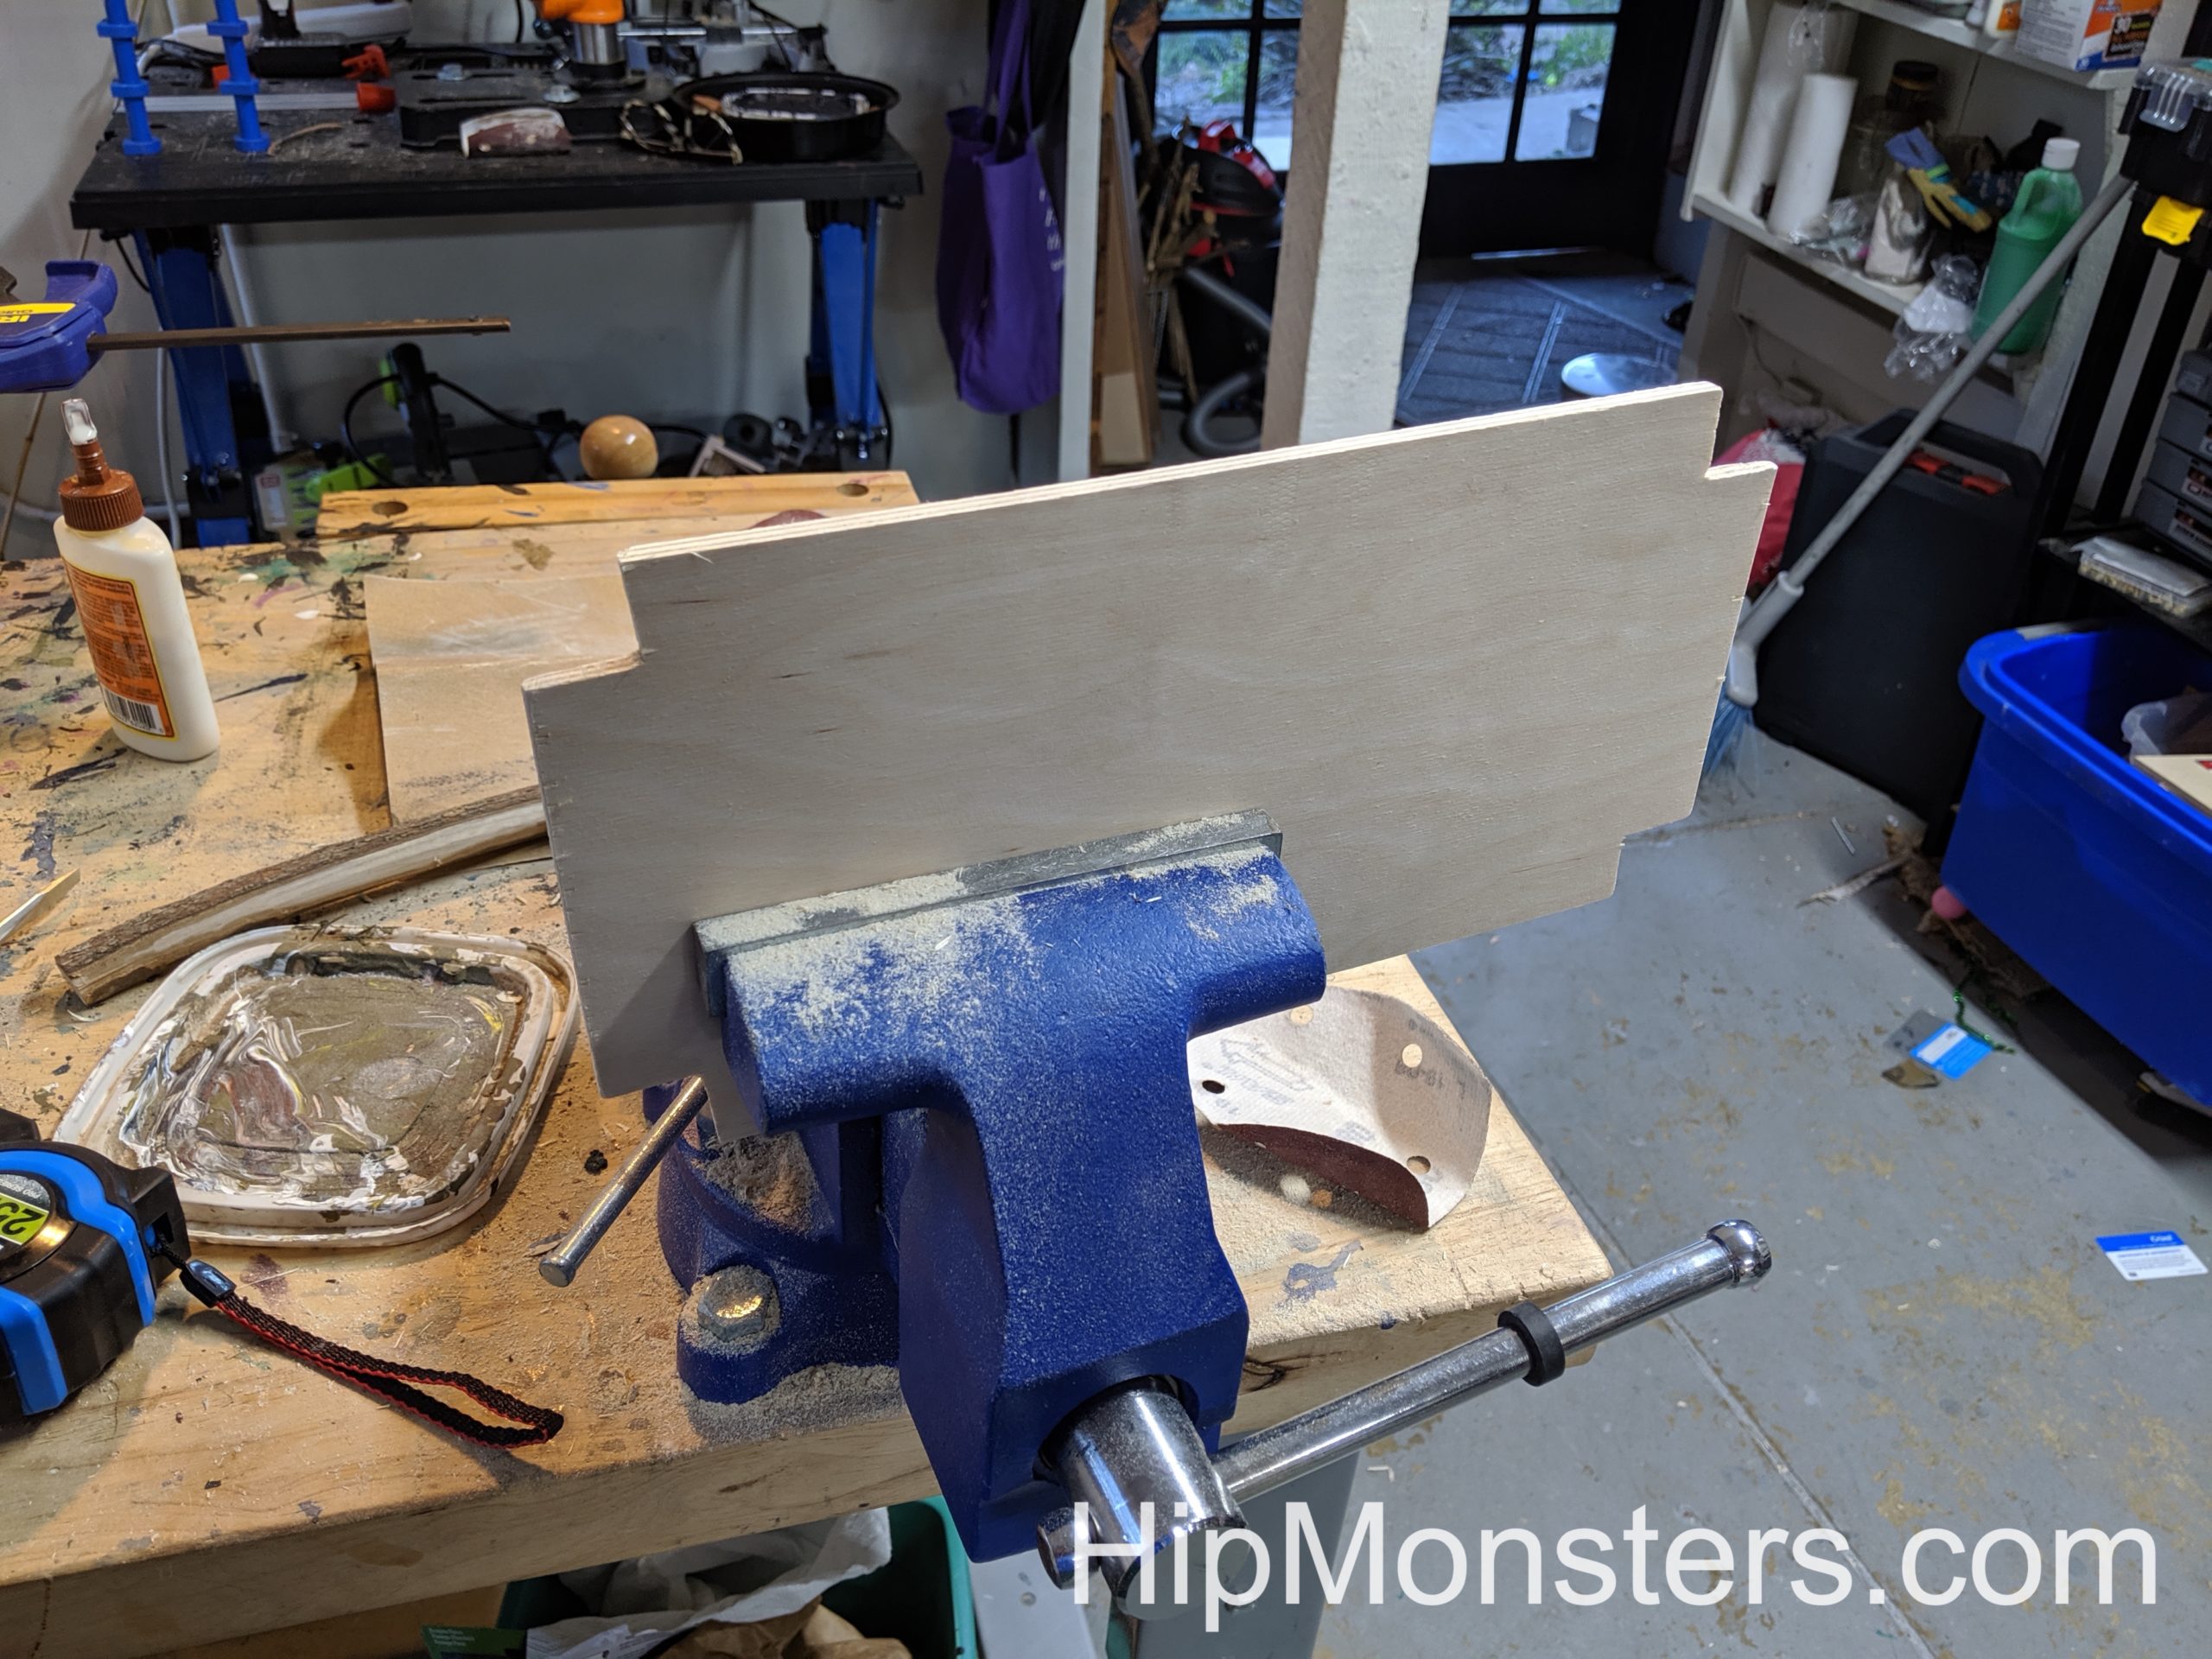
Cutting the corners of the shelf.
Next we cut out slots on all the corners so the shelf following the outside of the line then sanded to fit the cabinet.
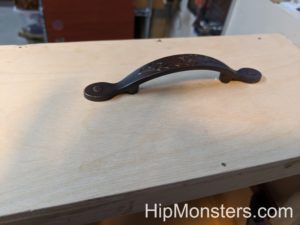
Attaching the handle to the top.
Finally, we added a handle on top to make transportation easier. Since the outside plywood was thin to make the cabinet light, we added an extra piece of wood underneath to secure the handle. we used thin screws so we don’t split the extra piece of wood.
The fully assembled cabinet.
Here is the assembled cabinet ready for staining and painting. We are looking for a vintage look so we need to do multiple layers and light distressing.
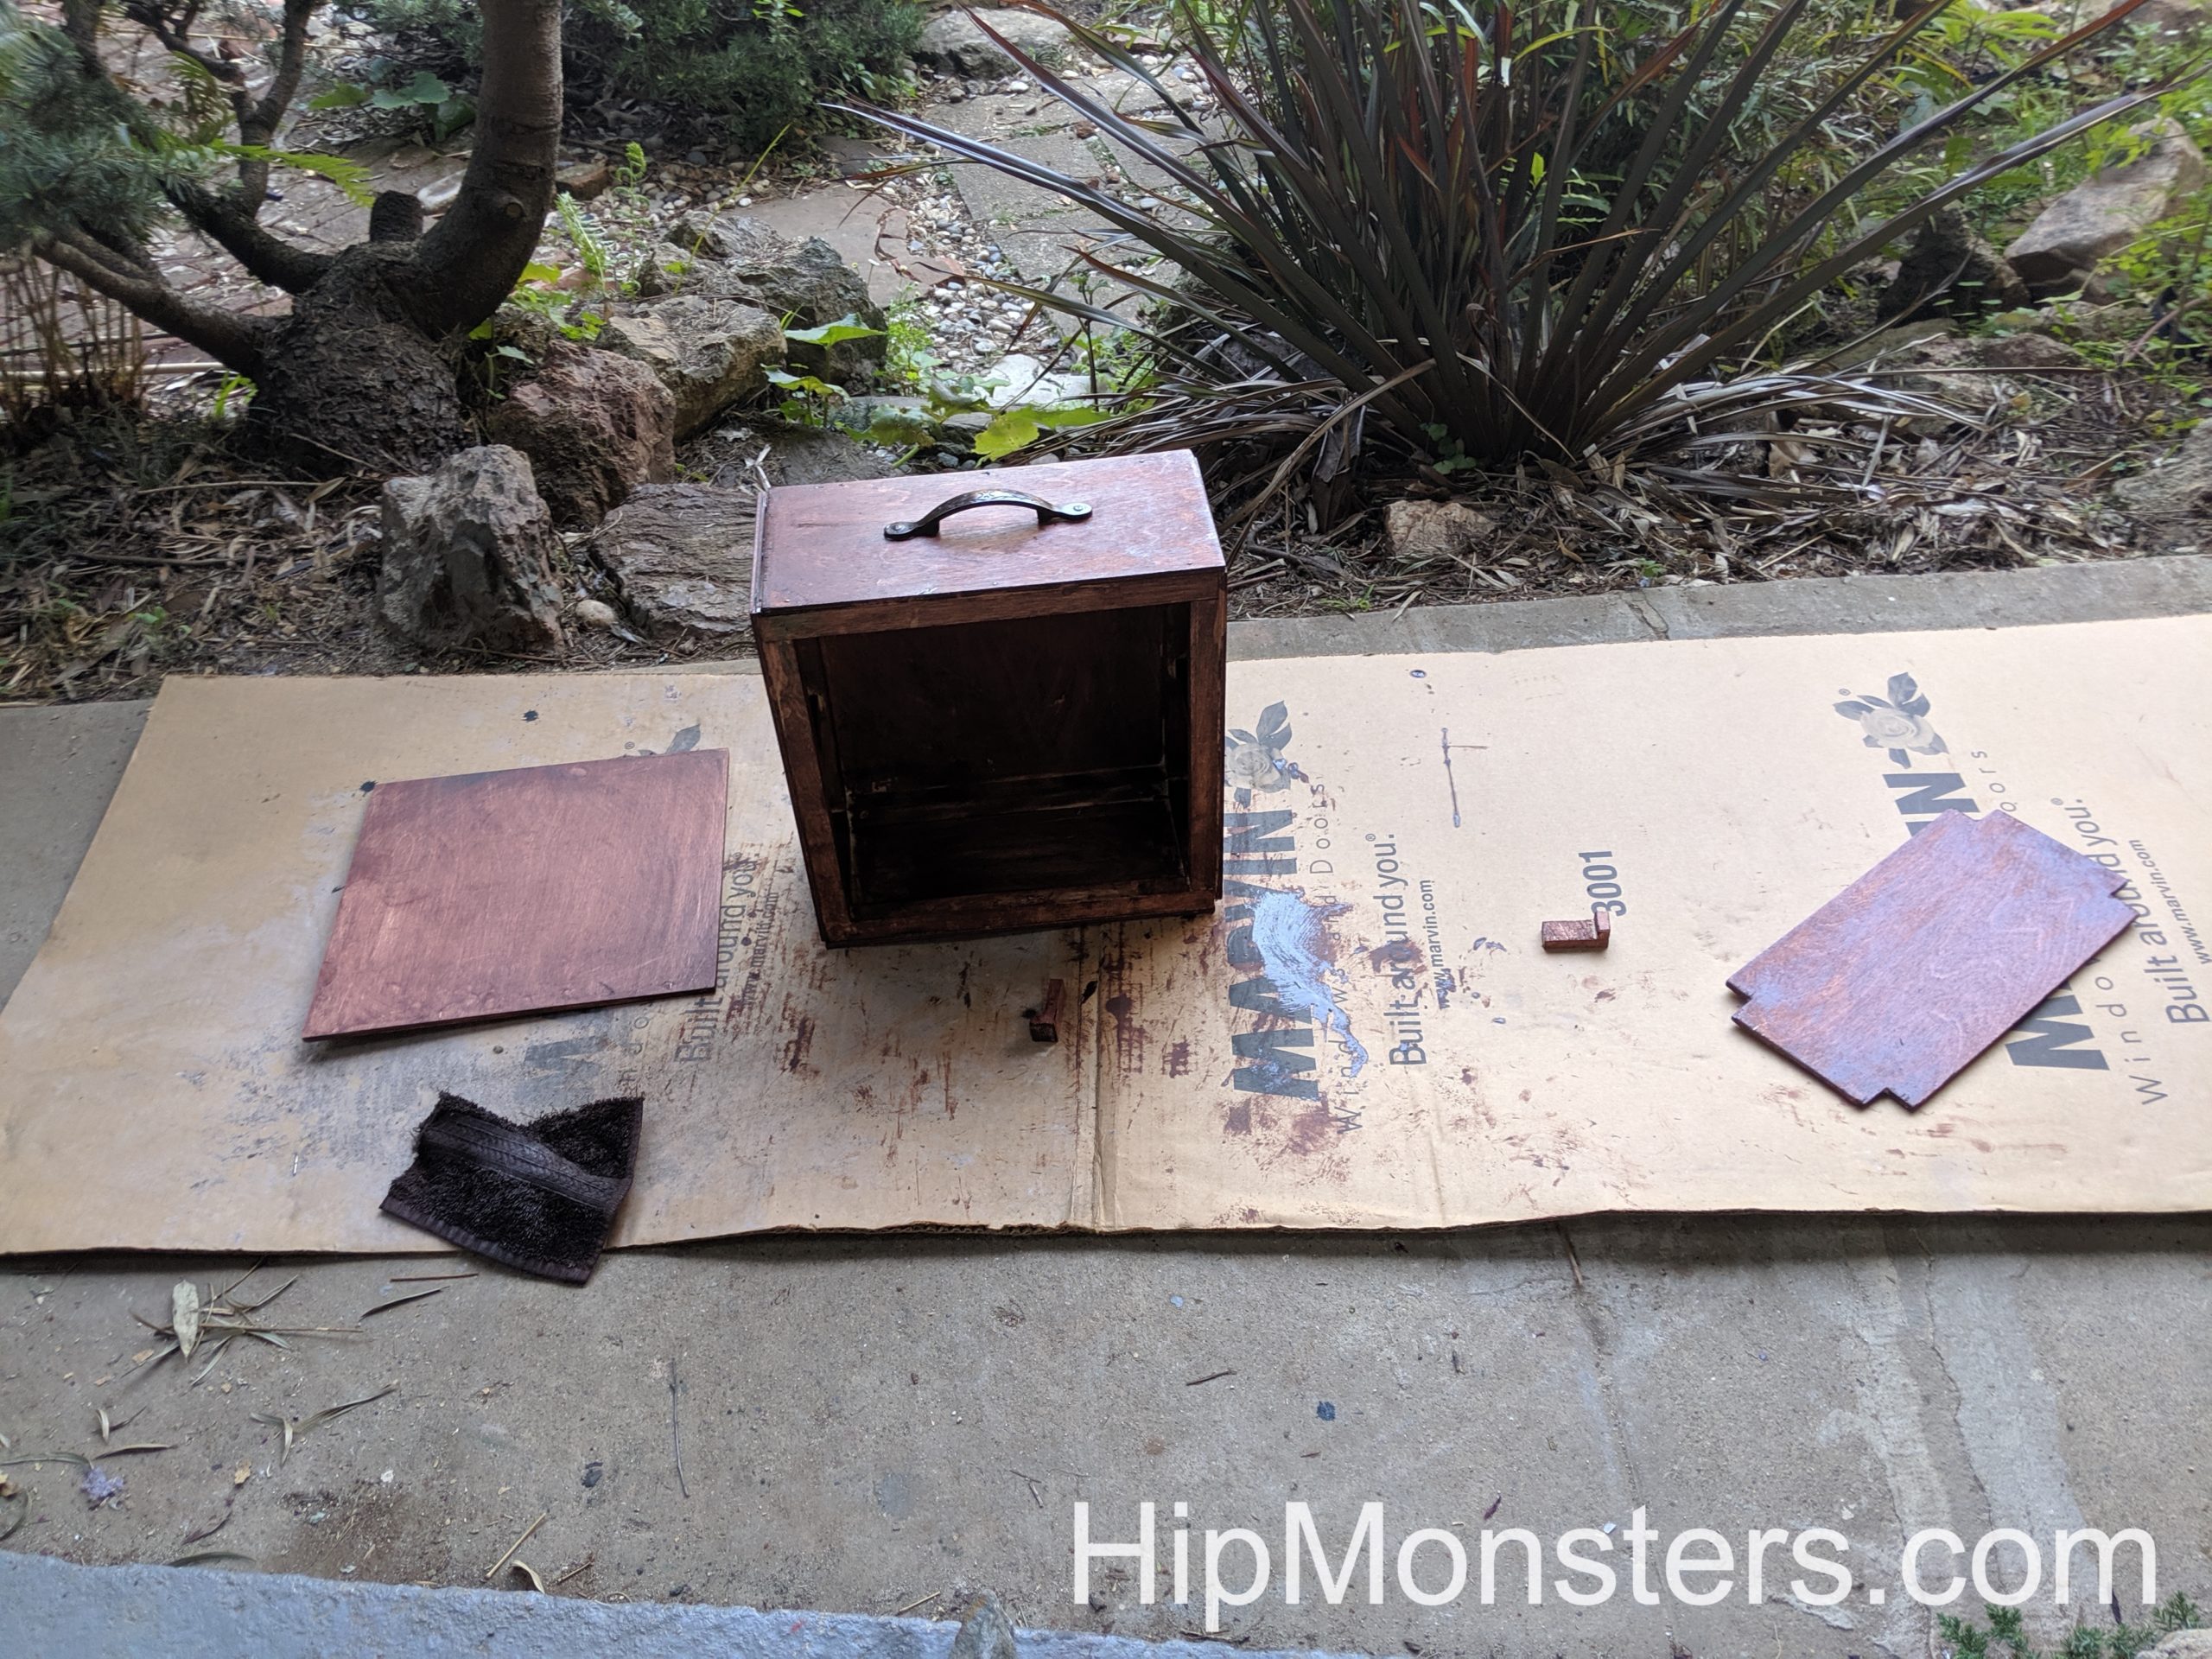
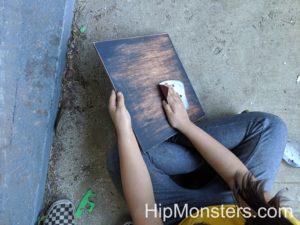
We stained the cabinet and left it outside to dry. The shelf and front were stained separately to make sure that we got the stain in all the nooks and crannies.
Adding wax circles on the top of the cabinet.
We used candles to make wax circles around the cabinet. We do this because when we paint it, the paint on the wax would peel off, creating a distressed look.
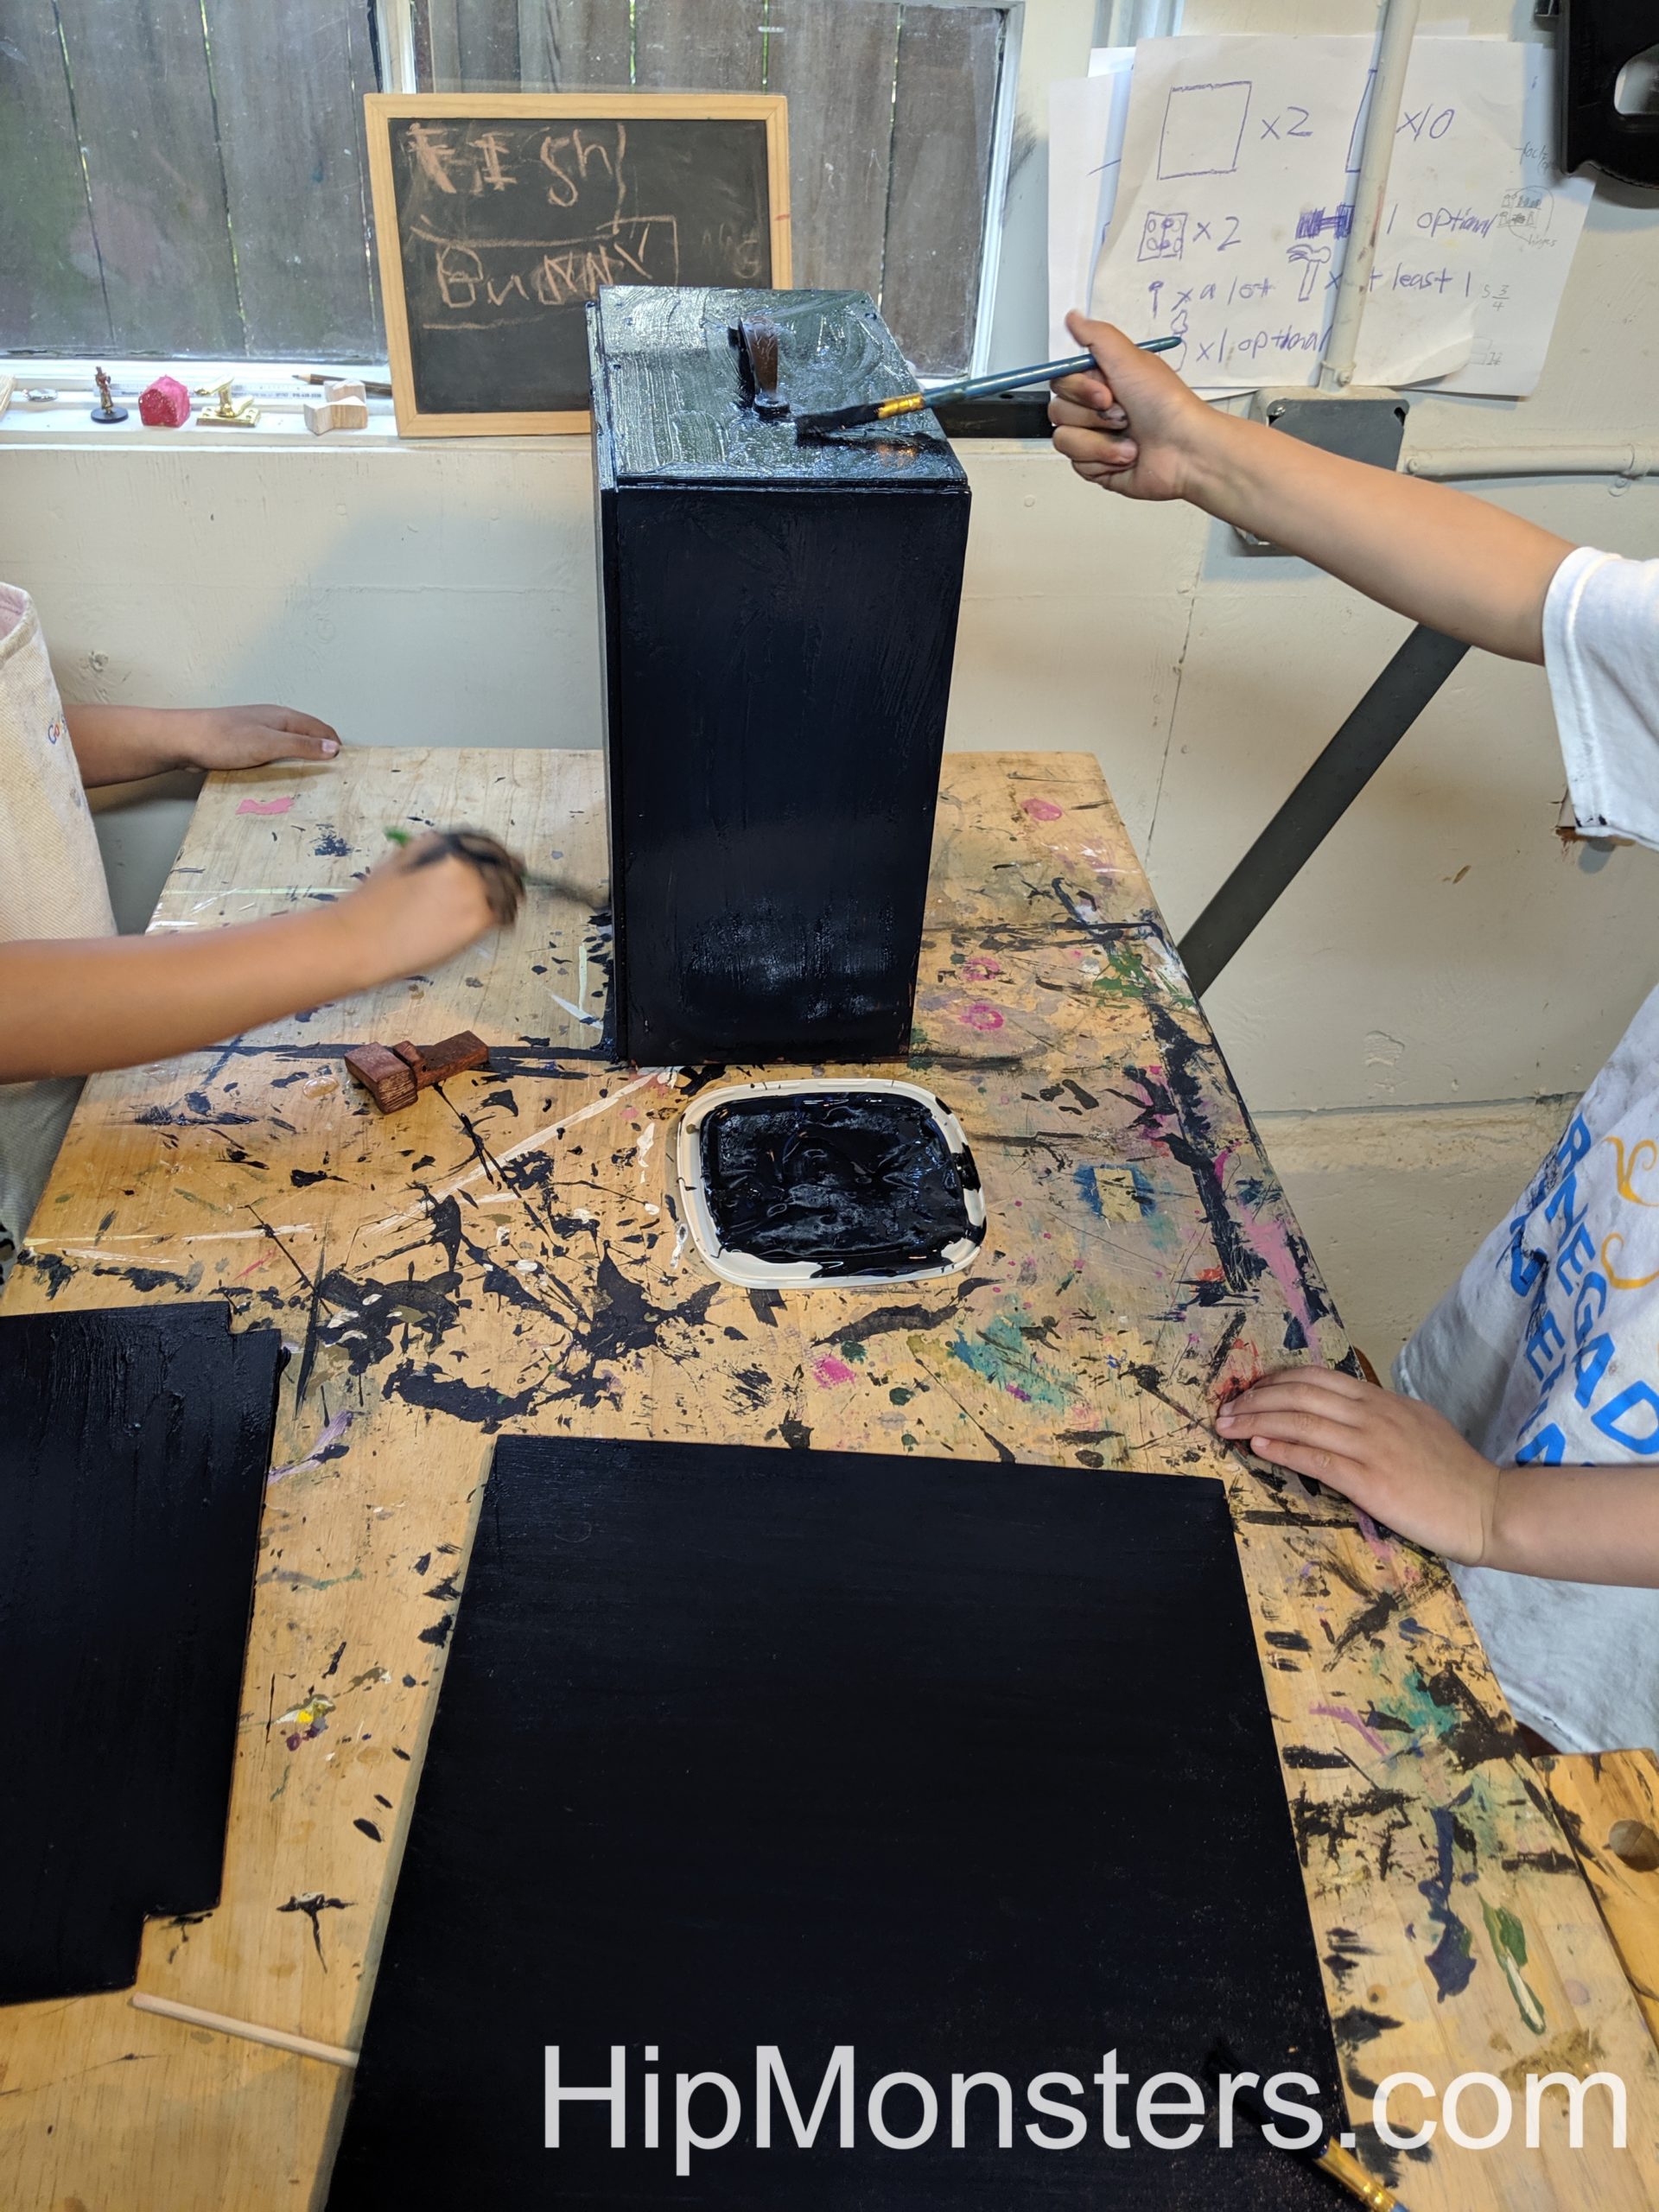
Painting the cabinet.
Sanding some of the paint off.
Then, we mixed the black paint and the blue paint, creating a dark blue, and painted the cabinet. We used dark blue because when black paint gets old, it looks like dark blue.
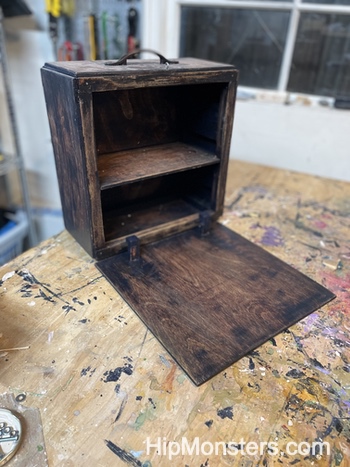
We lightly sanded the painted wood, showing the stain underneath. We can repeat this process to get the aged look that we desired. Here is a view of the completed potion cabinet with the vintage finish.
Photo with the cabinet door.
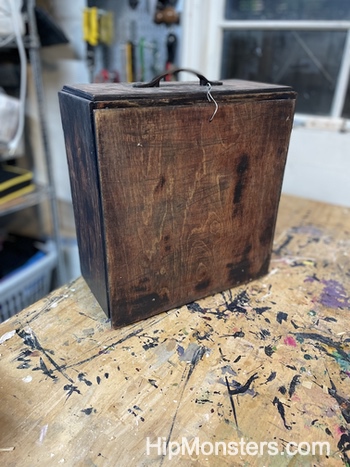
Here is a view with the case close for safe transportation!
The door closed.
Here is the completed potion cabinet with a vintage finish.