It was the end of the school year and we want to make a toy for one of our teachers. She loved bunnies and Beatrice Potter, so we thought that we should make her a toy bunny.
First, we drew a design for the toy bunny. We wanted it to be able to move its legs and ears so the design had to have a lot of details. It make sure it could more we used balsa wood for most of the parts to the bunny put together with nuts and bolts.
Please note, this material is provided for informational purposes only and is not a guide on how to create the designs. Please read our disclaimer.
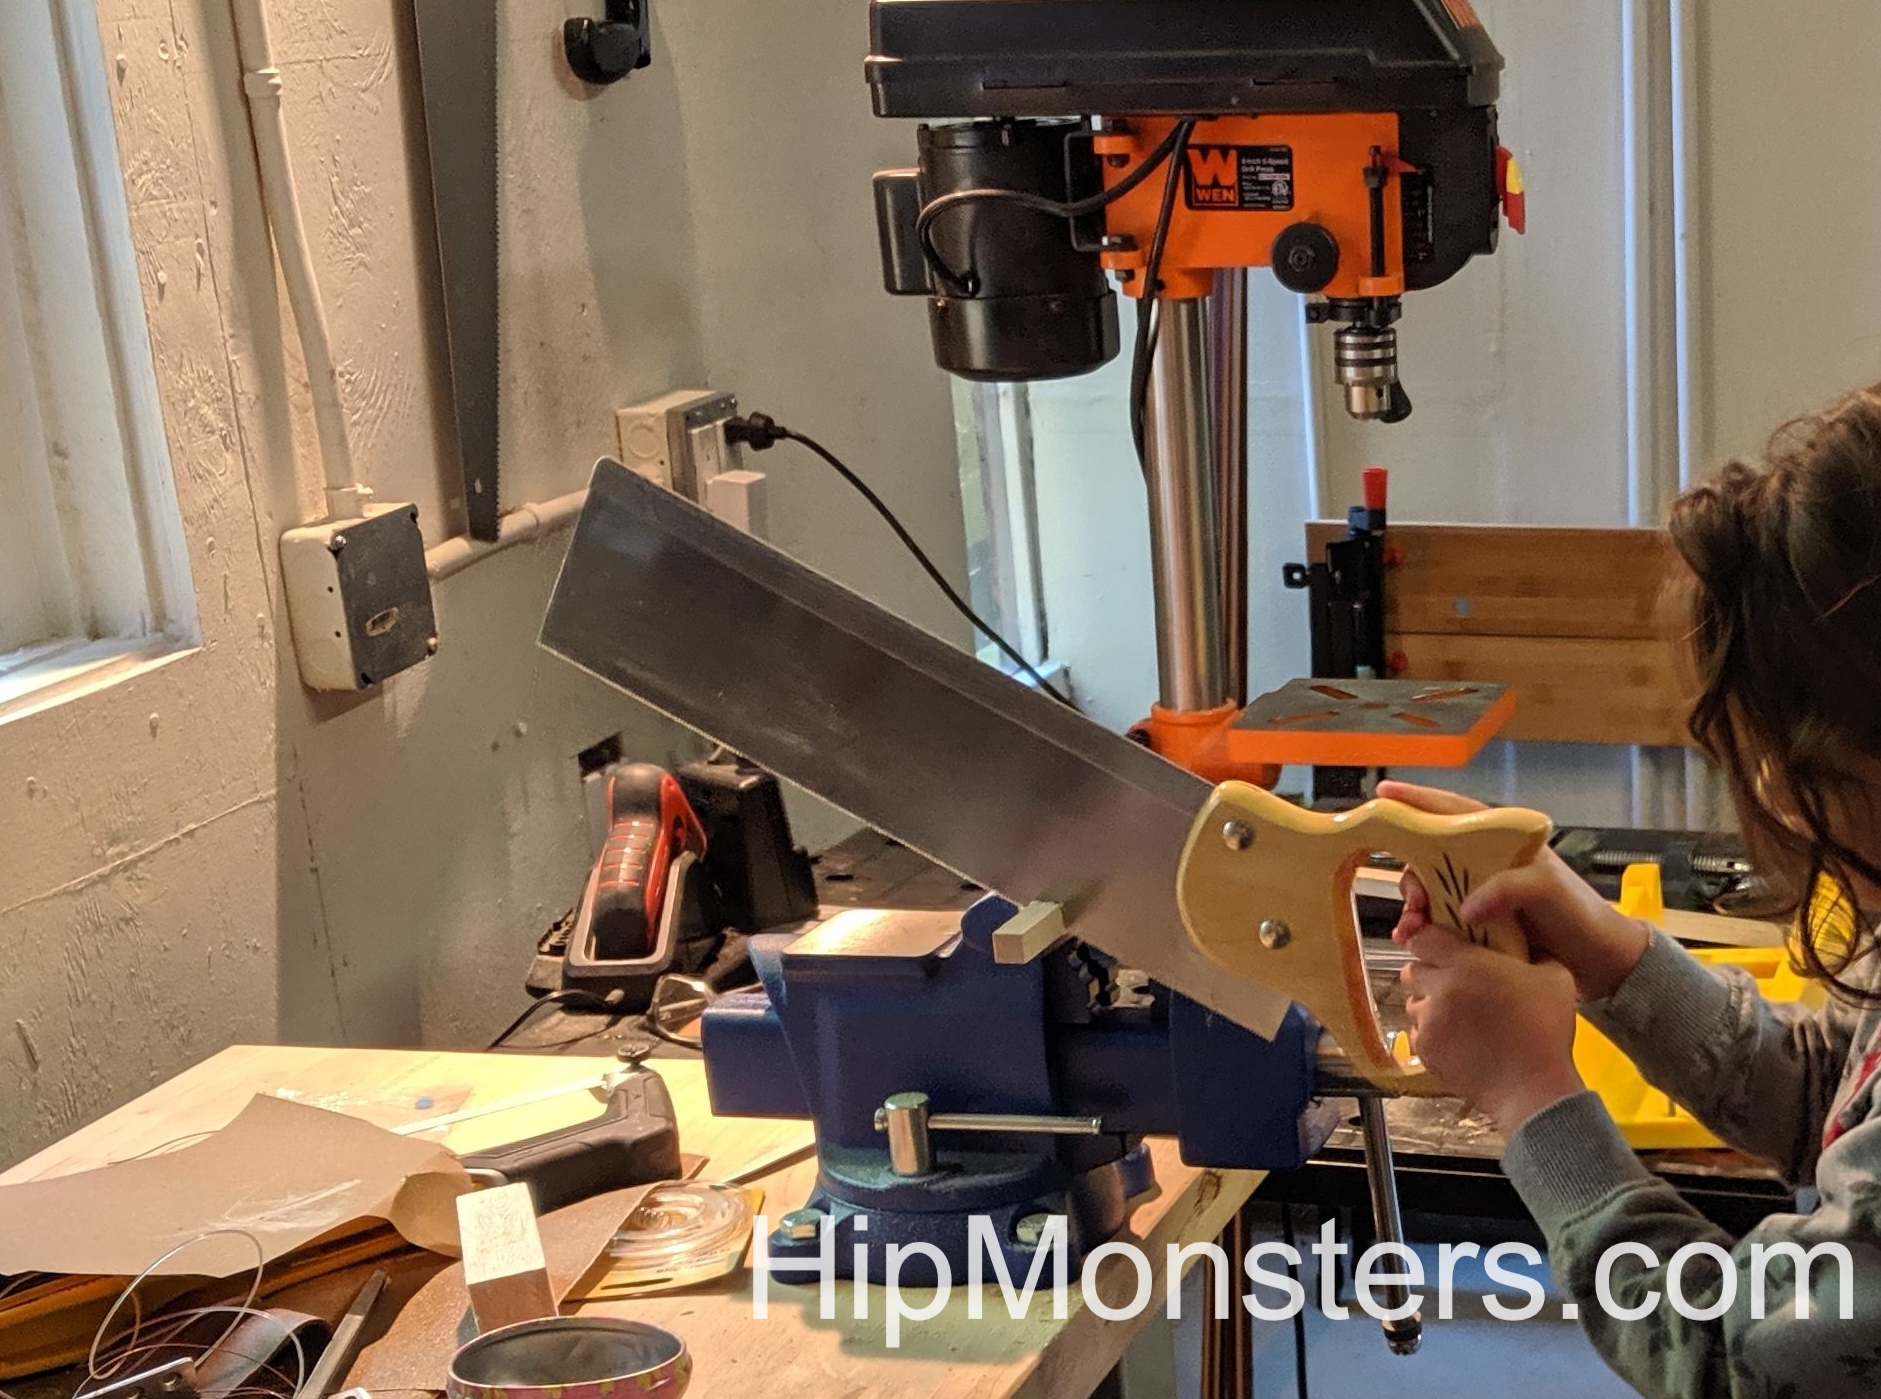
Here is a picture of us cutting the wood. We had to use a fine saw because the balsa wood split with the Japanese saw.
Next, we drilled holes for the nuts and bolts. We don’t use wood screws because over time they loosen and damage the wood if the toy is played with it. To drill the holes we used a bench press and a secured the wood carefully. Because Balsa wood is so soft, it couldn’t be hand drilled.
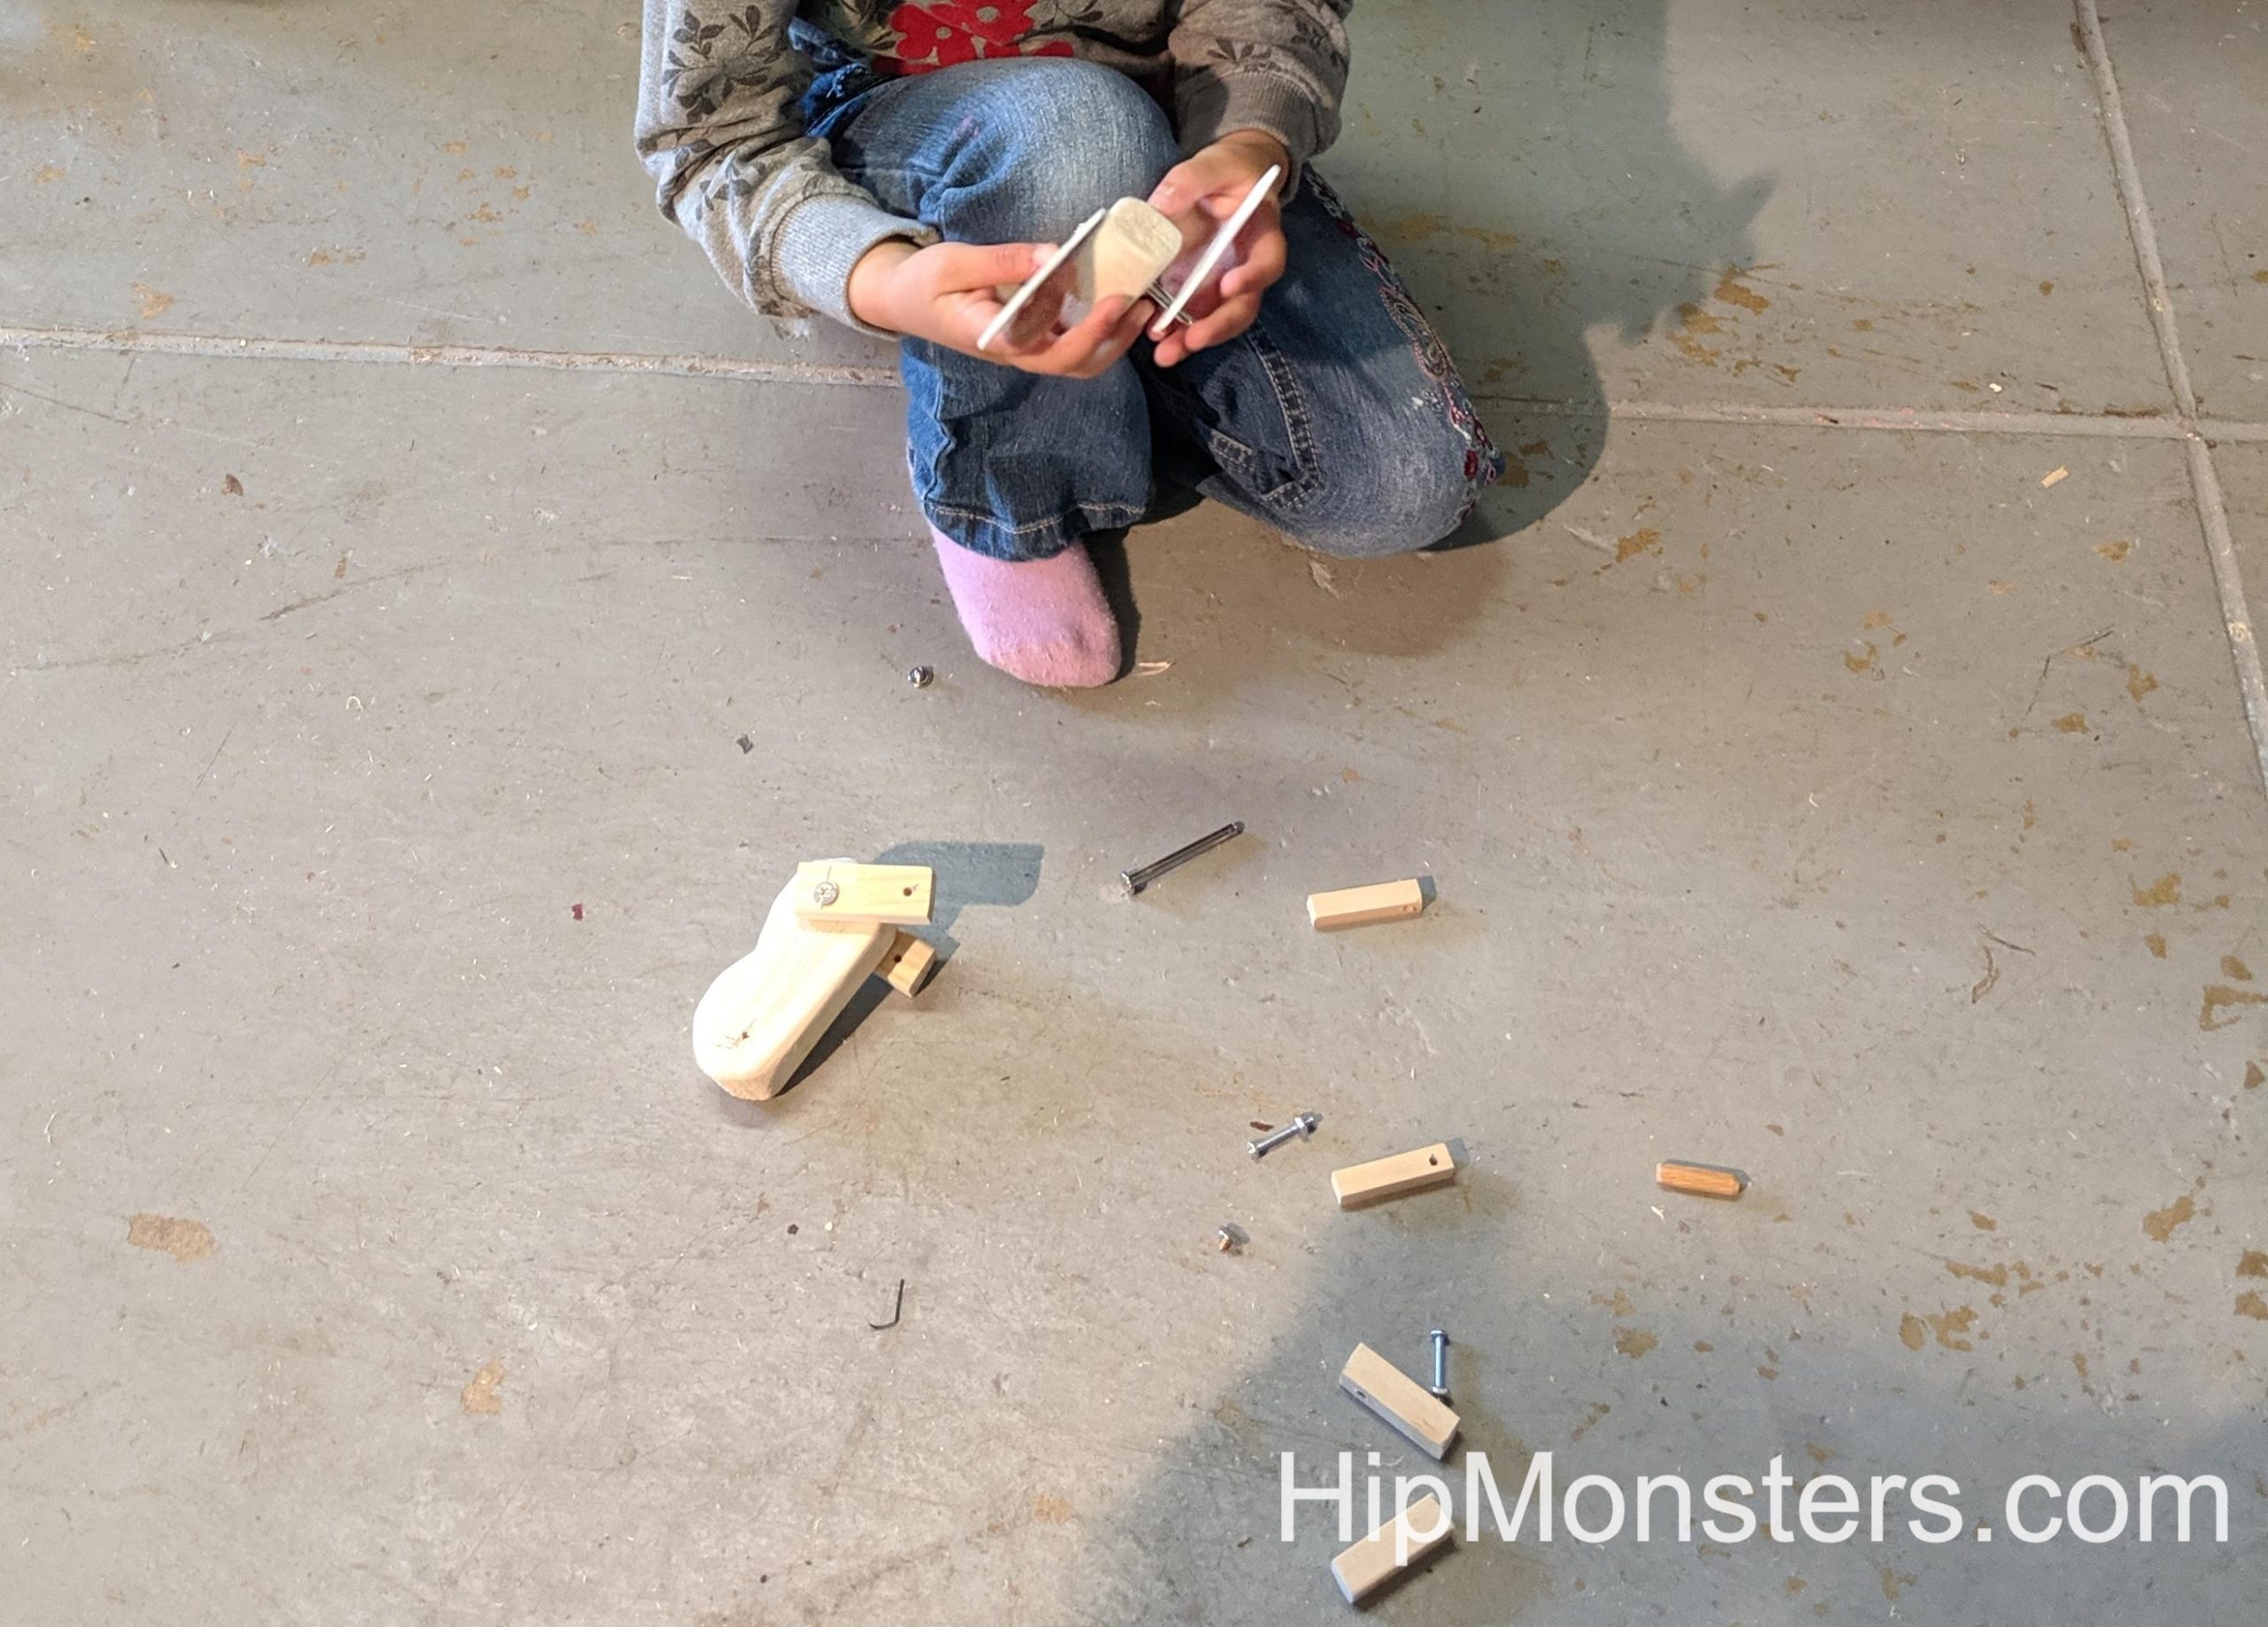
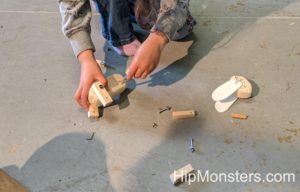
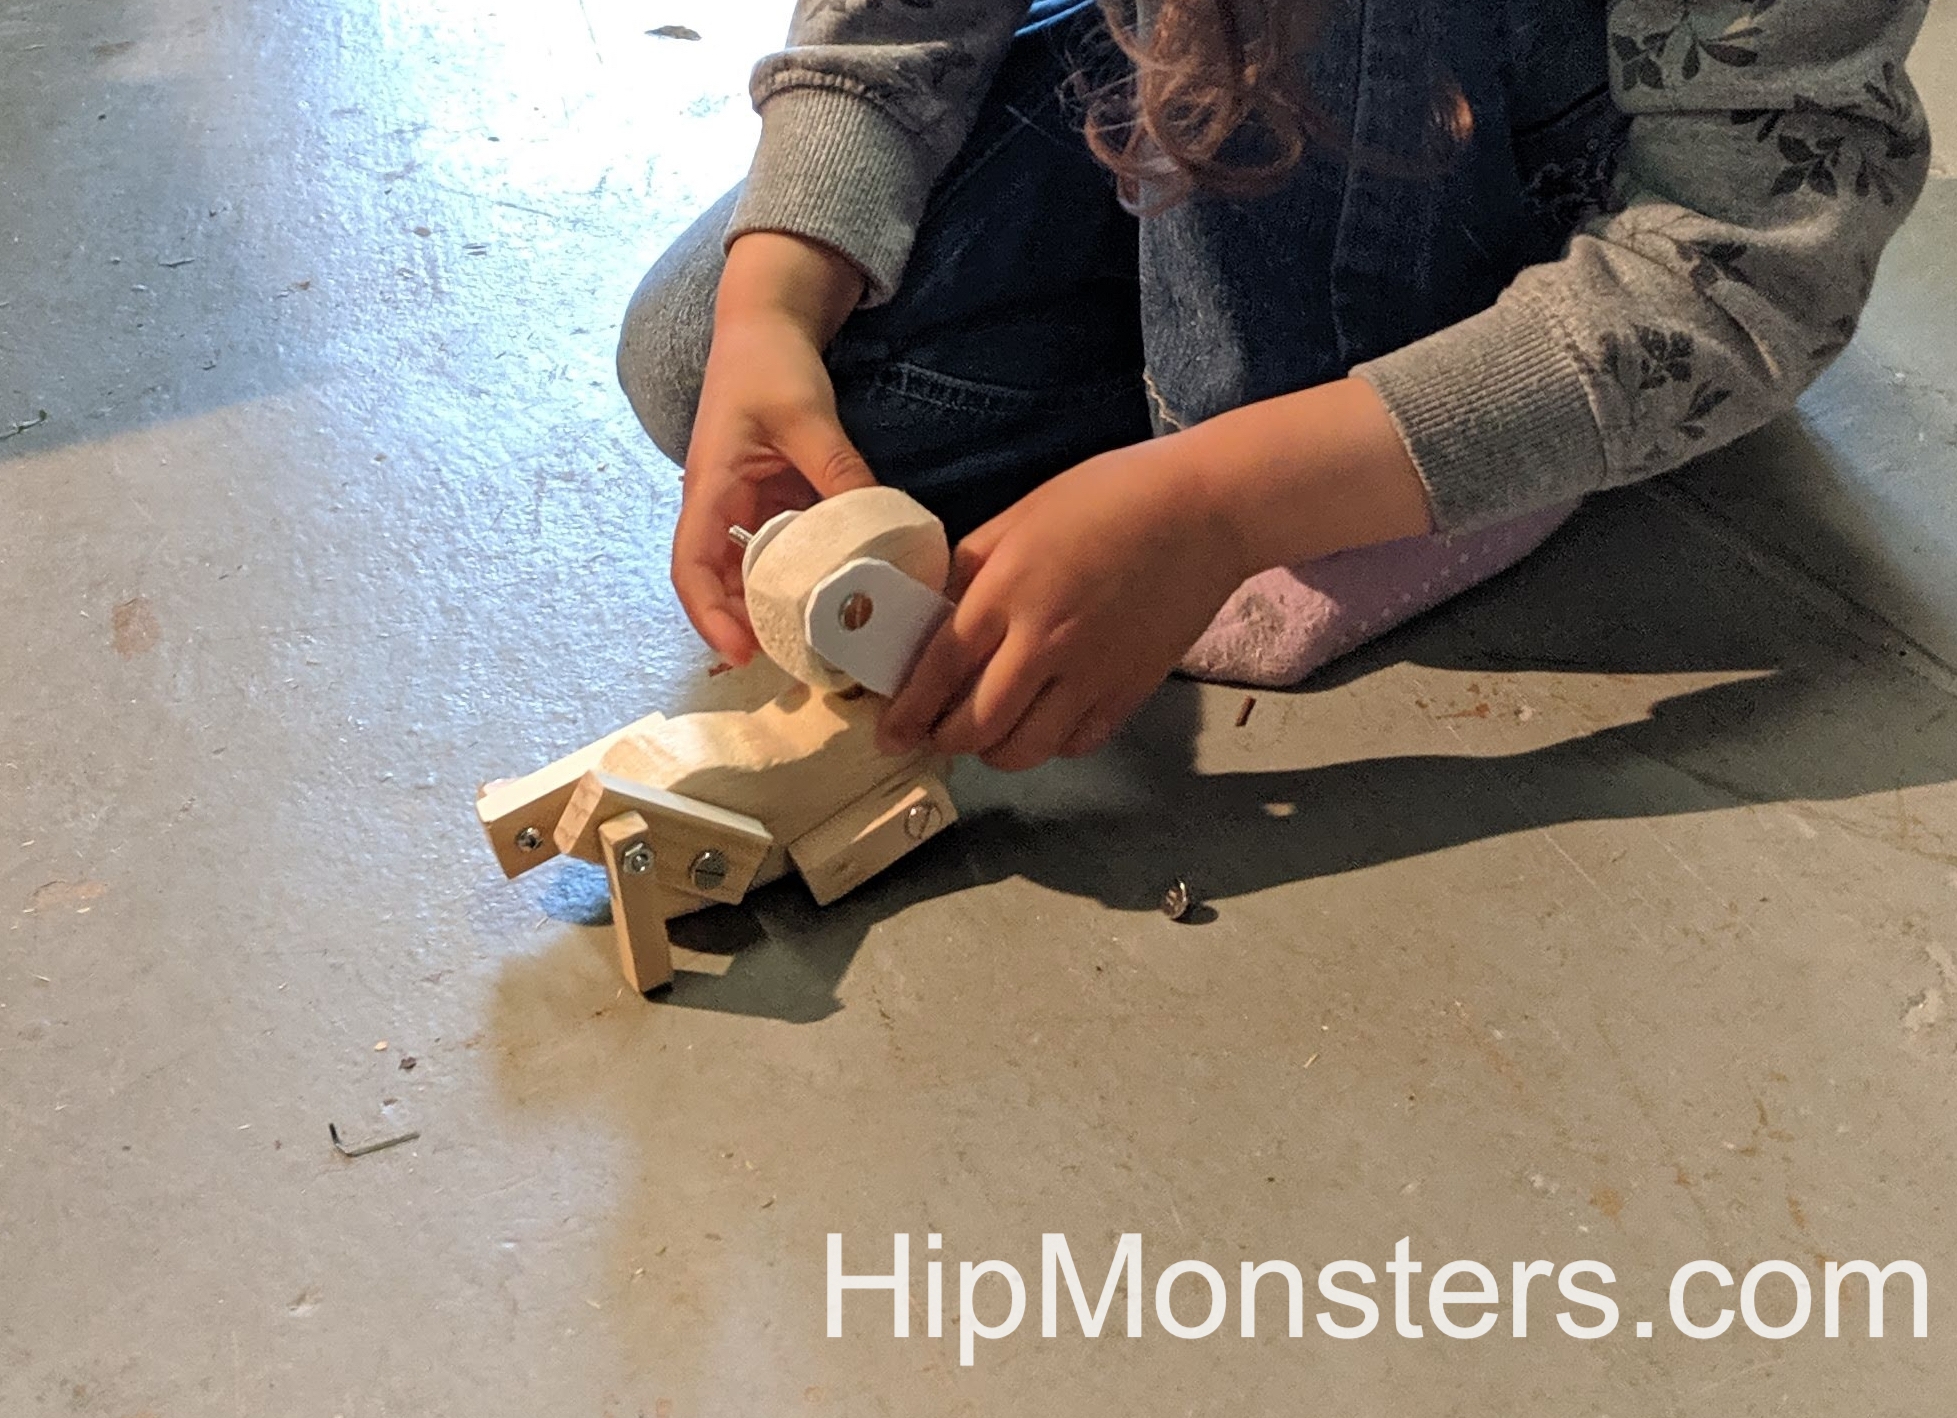
After all the parts were cut, drilled, and sanded it was time to assemble!
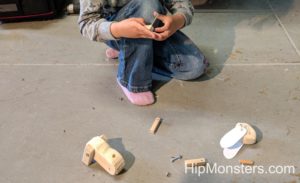
If the plans are good enough, once you have the pieces done, it is like assembling a puzzle!
We made the ears out of plastic because the wooden ears broke too easily. We could also easily cut the plastic to be whatever shape we want.
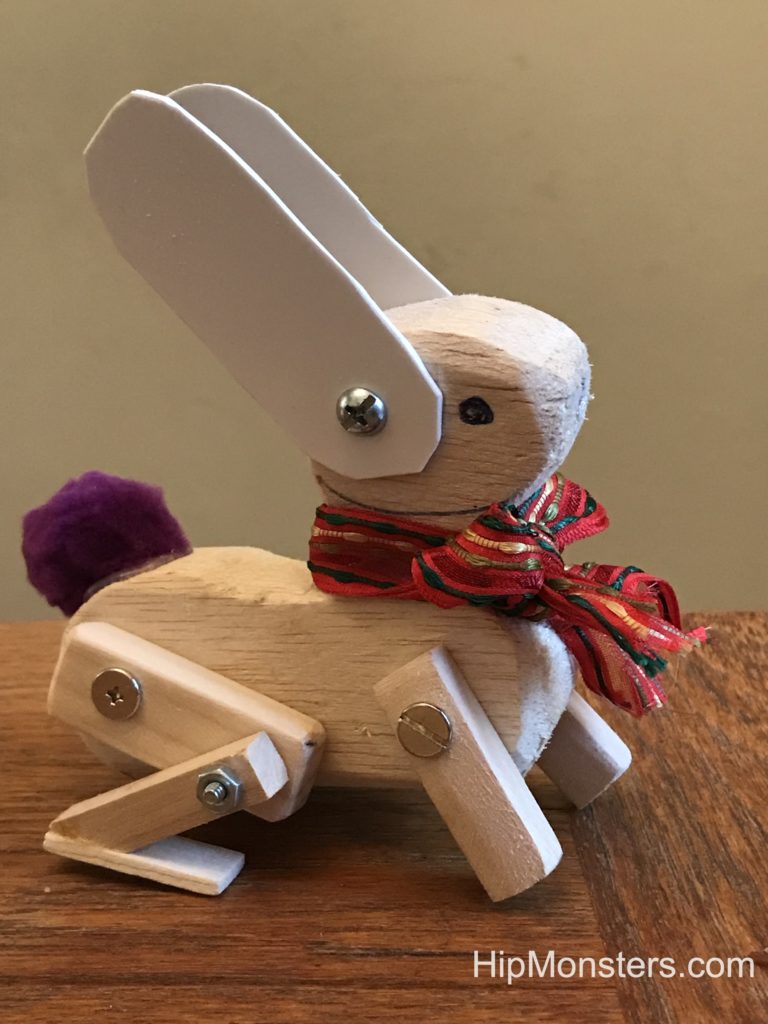
To finish it off we added a purple pompom for a tail. And here is the completed bunny with a scarf!
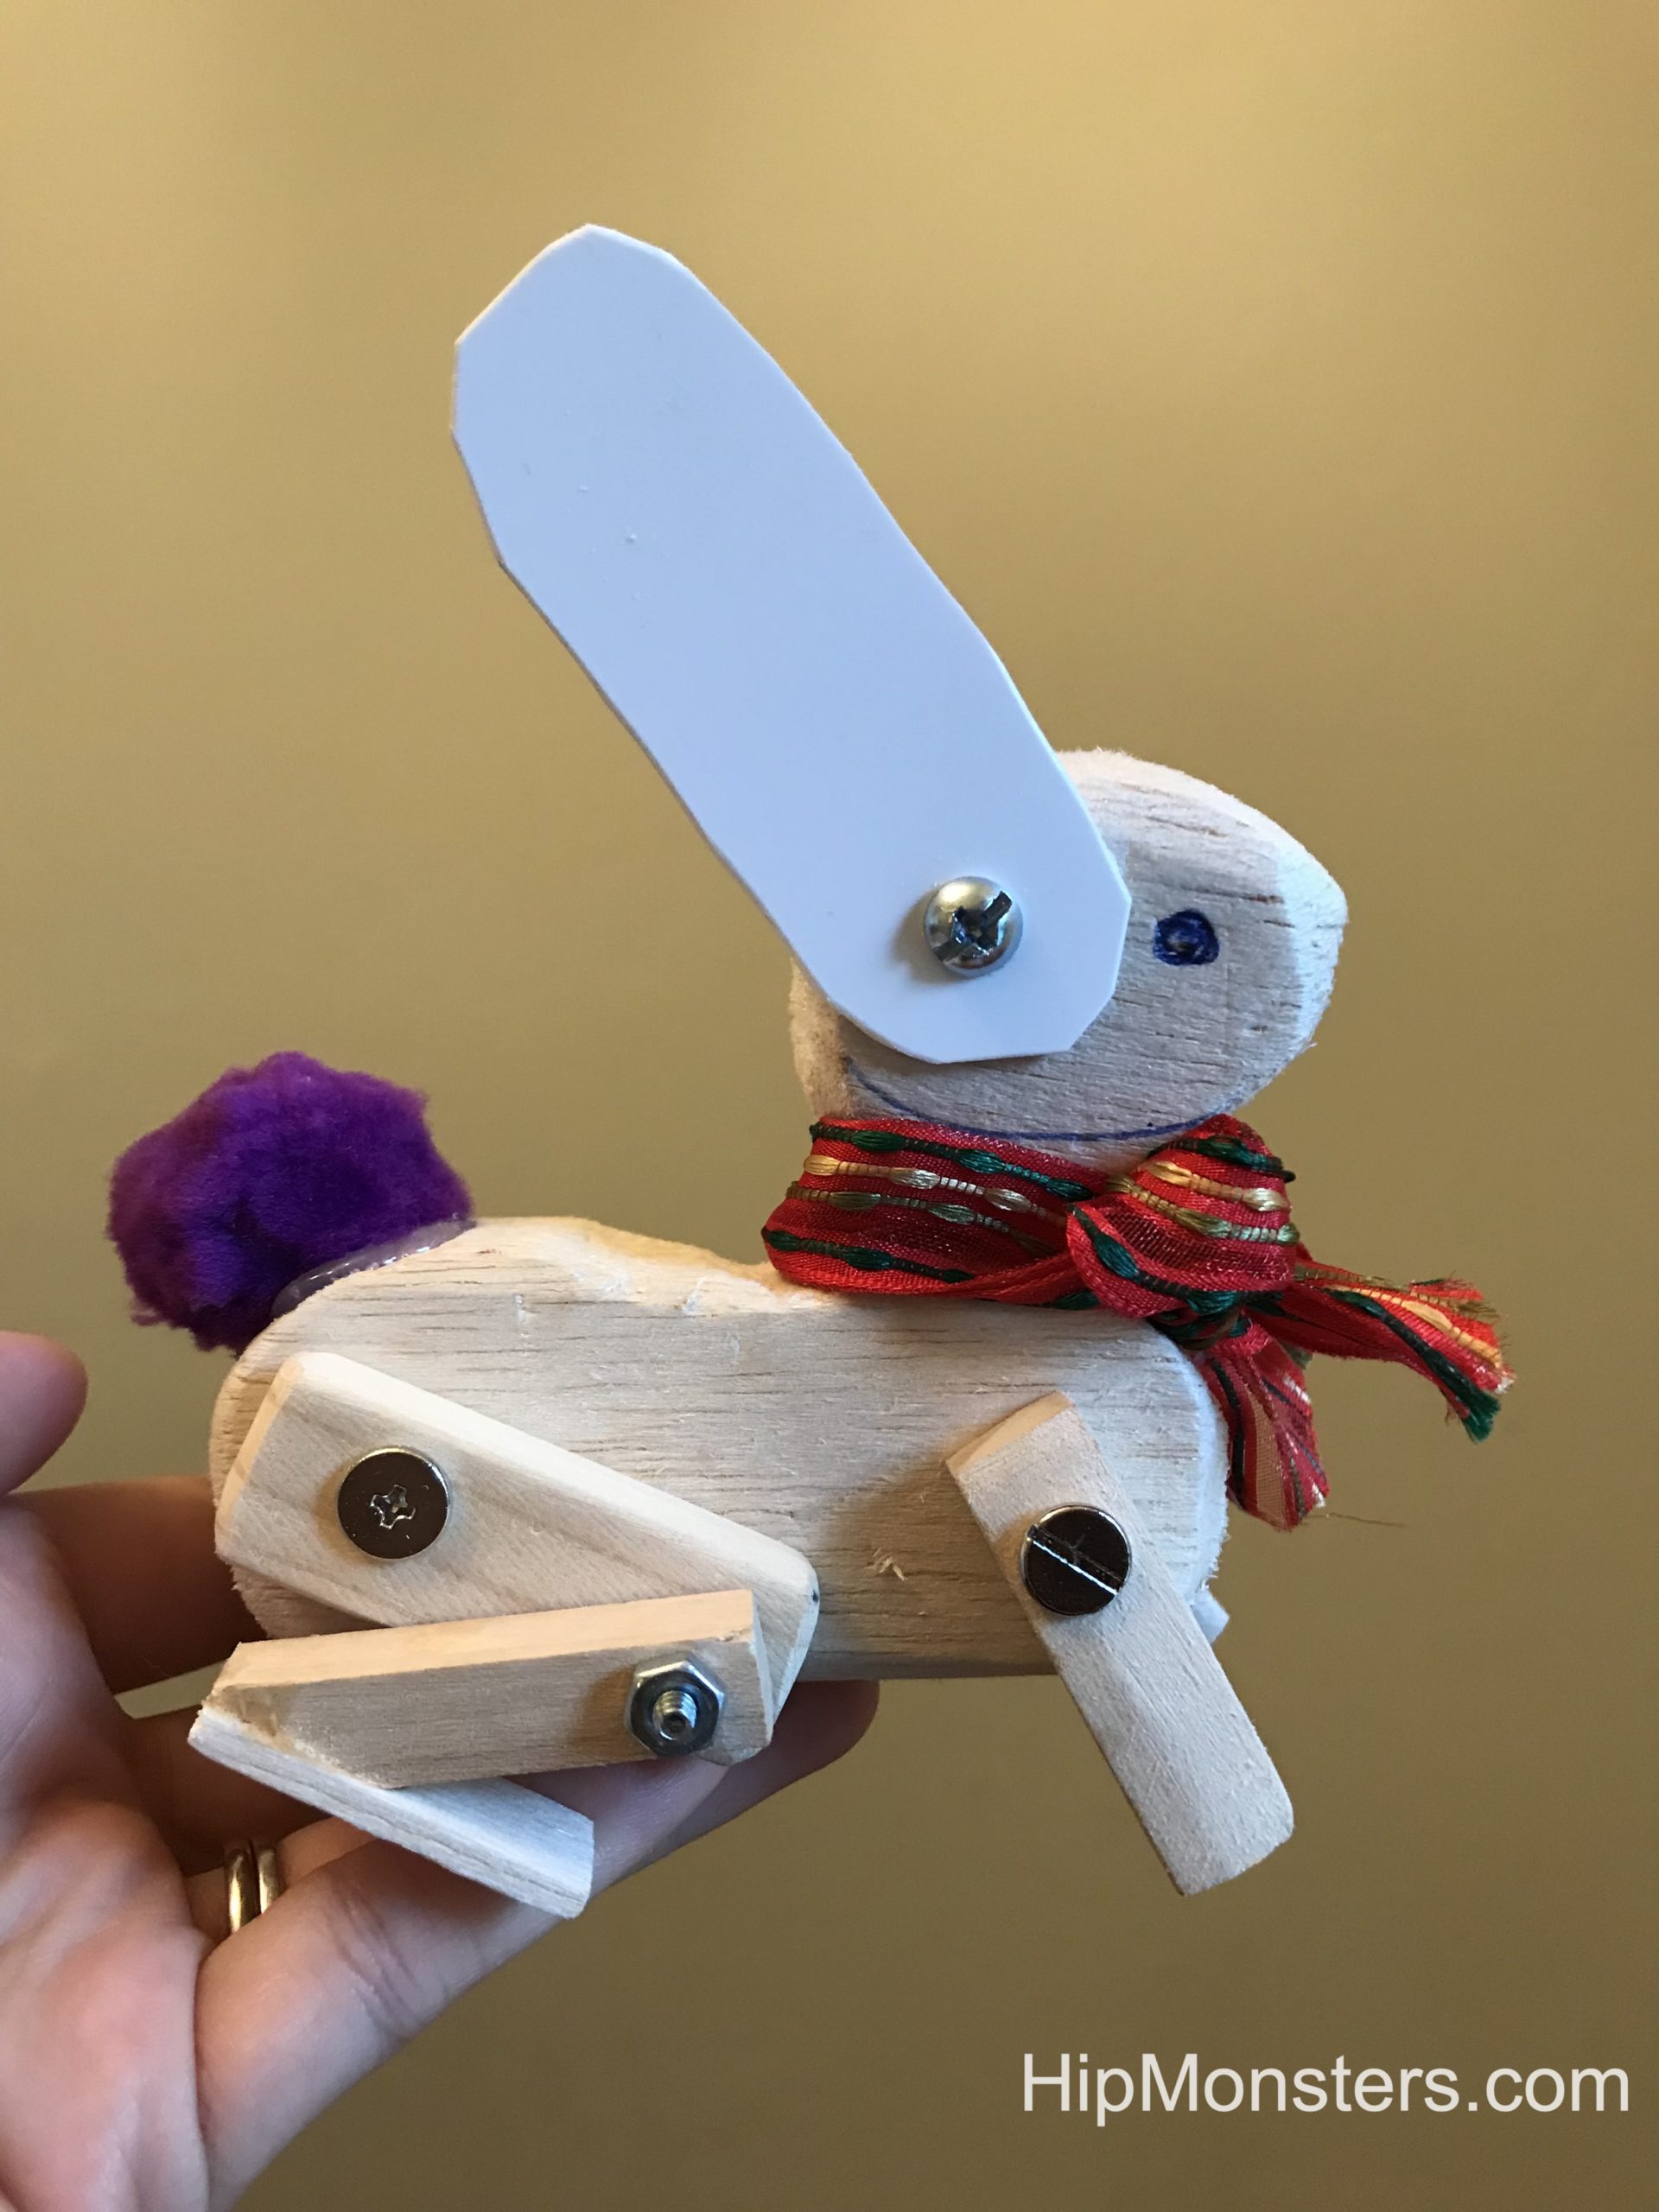
Because it is posable, you can change how it looks year round!

This is what it looks like when it’s finished!
Happy Creating!