Wood Carvings: Pony

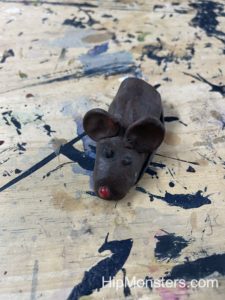
Please note, that this material is provided for informational purposes only and is not a guide on how to create the designs. Please read our disclaimer.

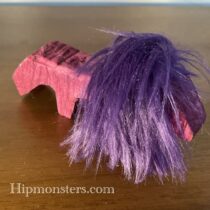
This quick creation was inspired by Pinkie Pie from My Little Pony. We love Pinkie Pie’s bright outlook and humor!  When we found a scrape of bright colored faux fur in our recycled fabric box we all thought of her right away.

Carved toy pony
This is a side view

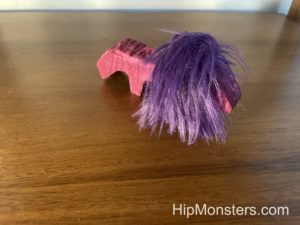
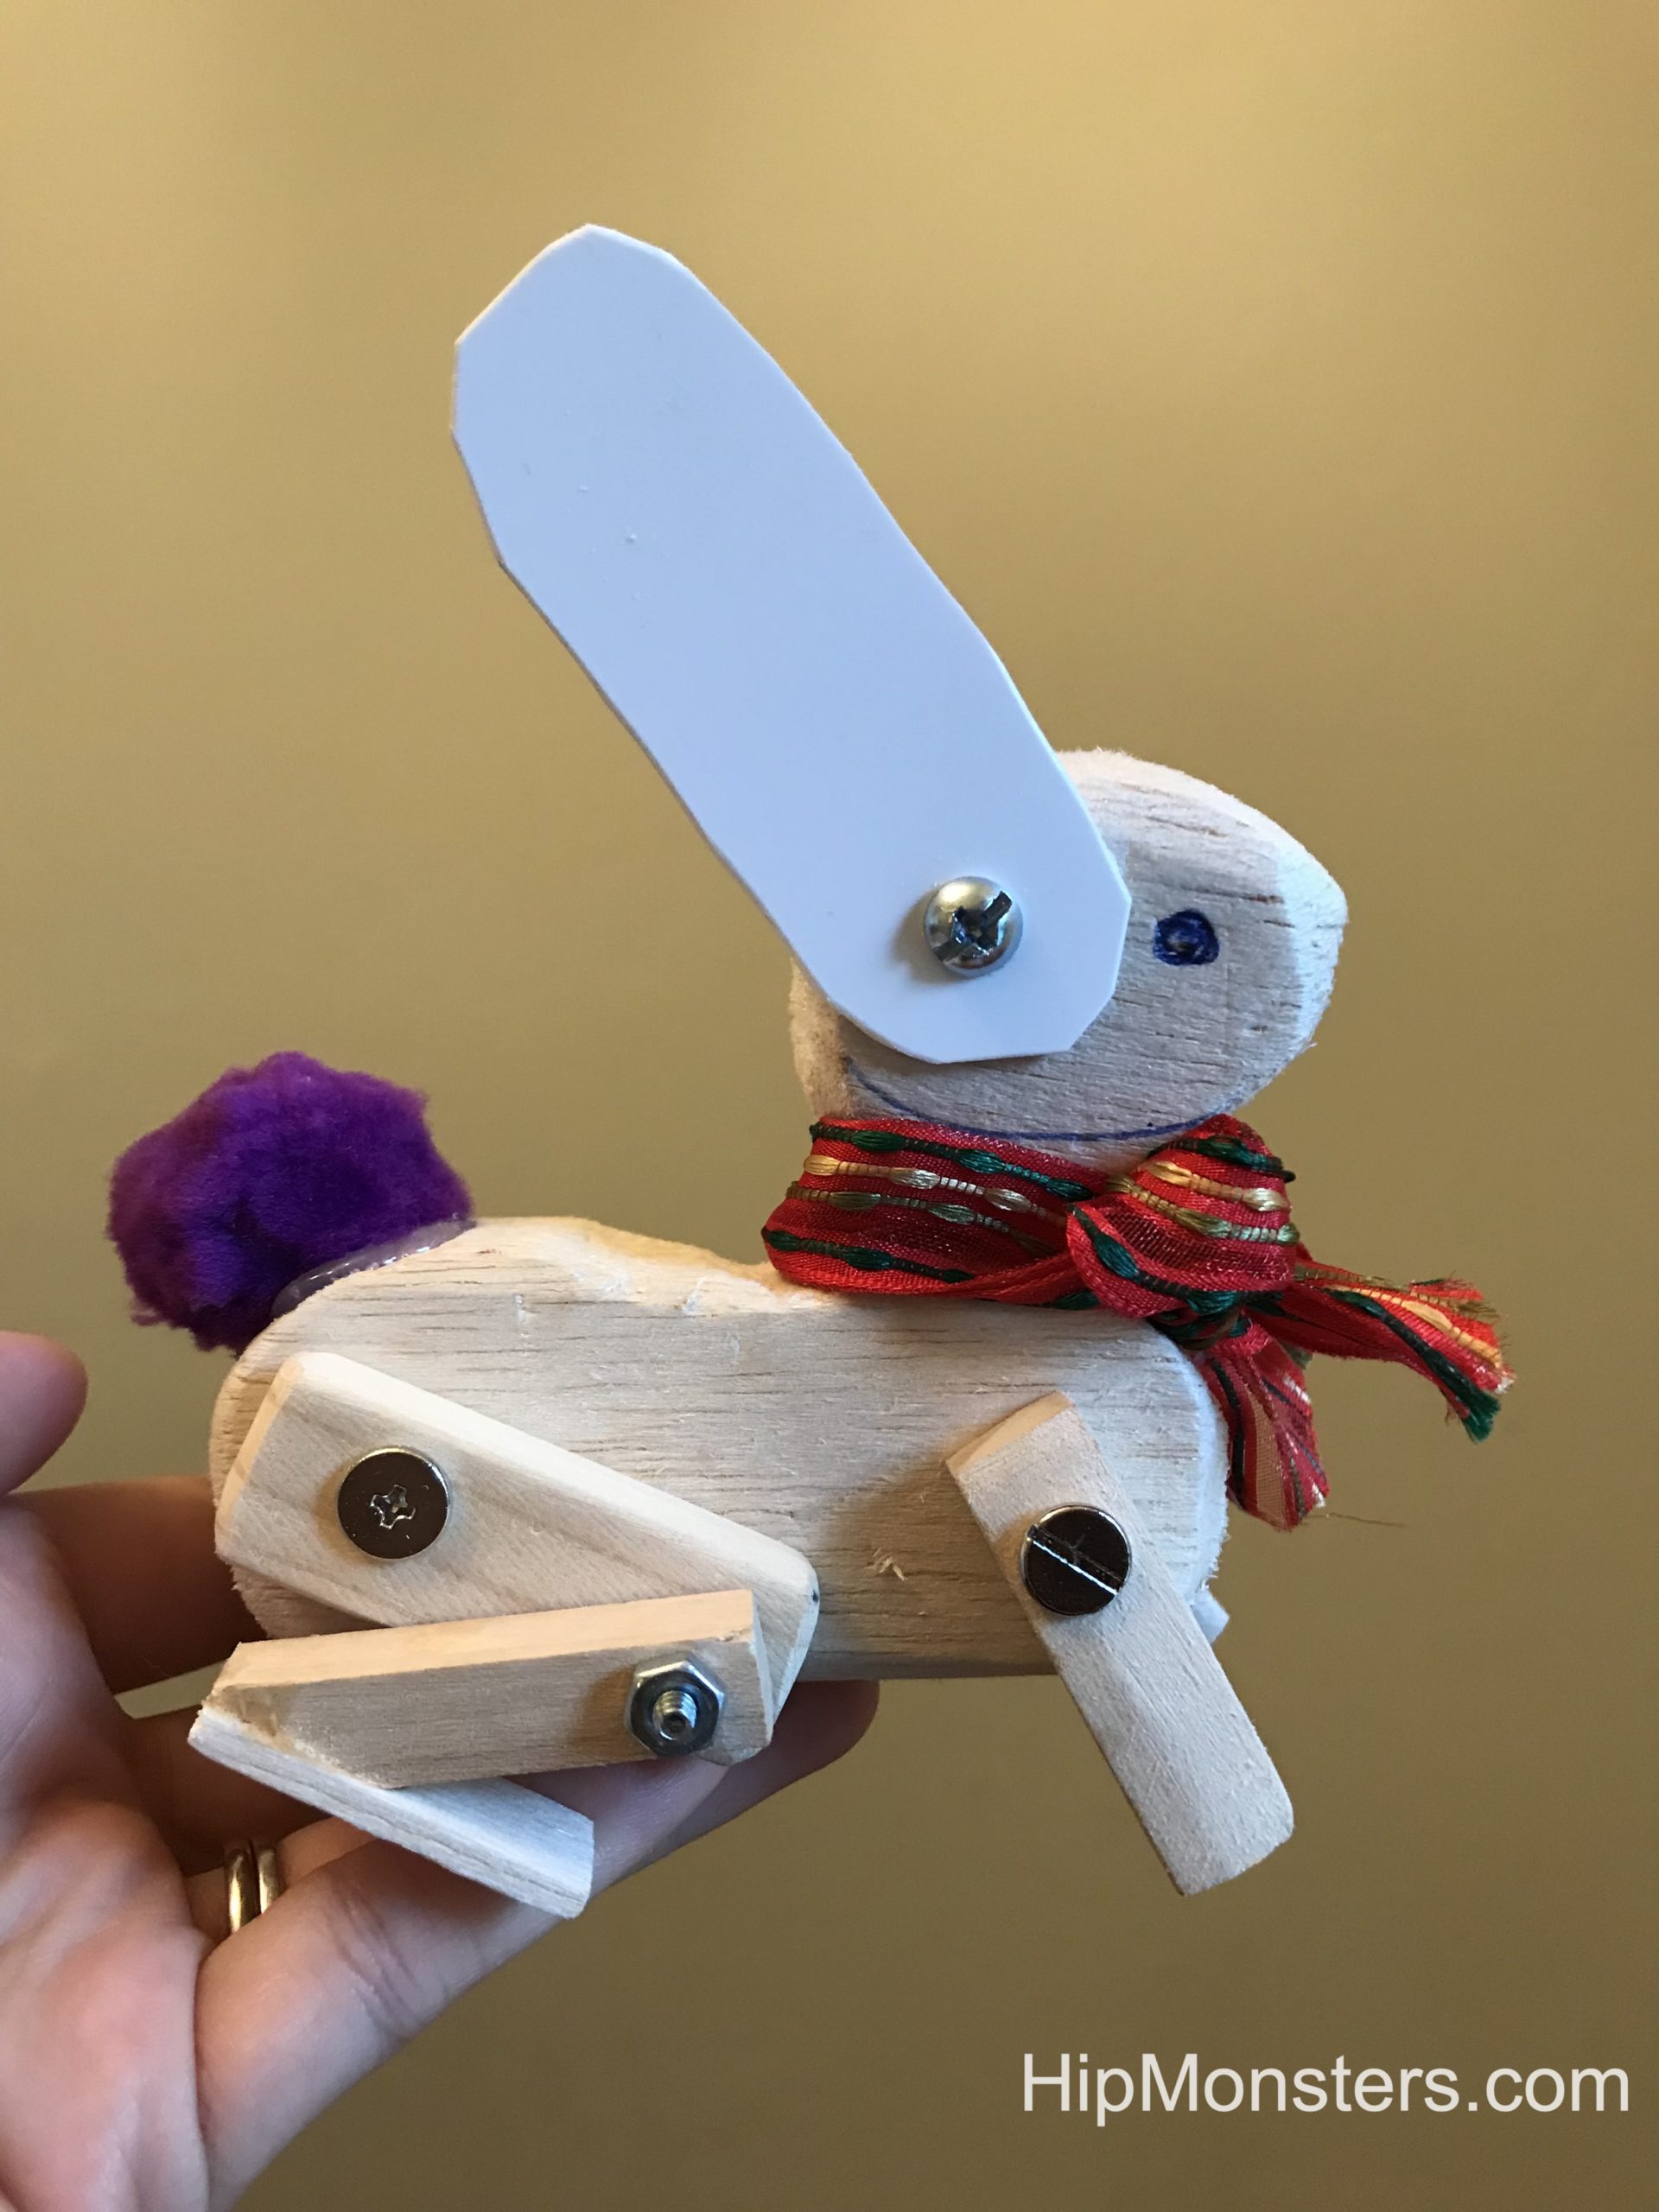
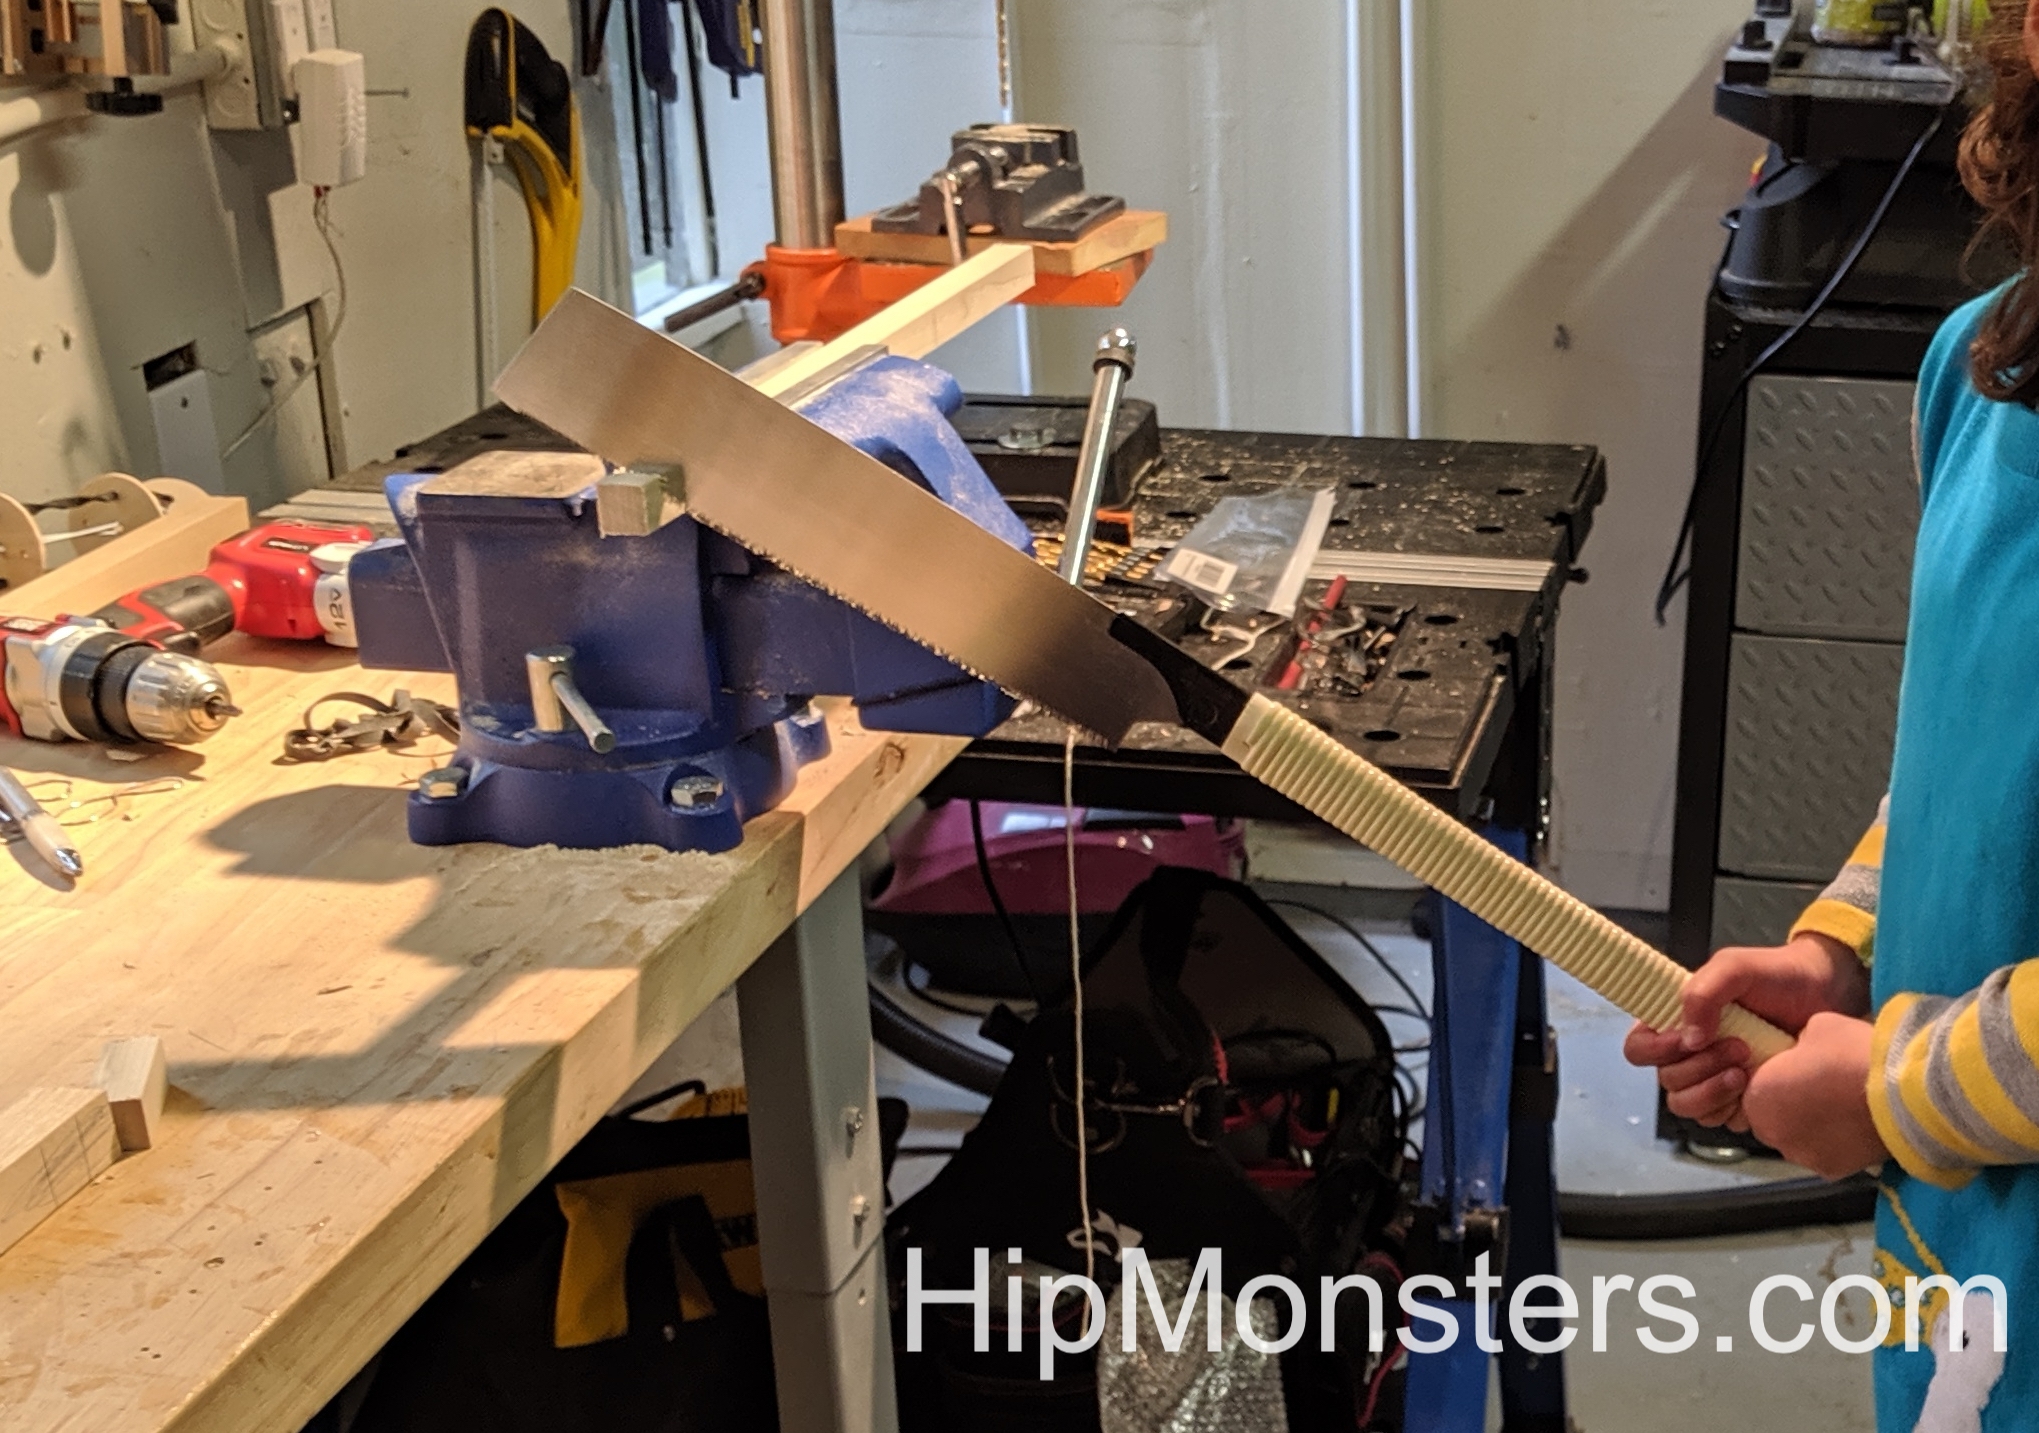
We used balsa wood for the body and faux fur for the mane. It took a while to carve since ponies have a specific body shape. We first drew the basic outline on the balsa wood then cut out the rough shape with a saw. To make sure we did not damage the wood we wrapped it in leather when it was in the vice. Then we used wood carving tools and sand paper to finish the shape. The head was the hardest part to get right. Ponies have a very specific look to them. We used a wood carving tool with a groove to get the fur just right.

Carved toy pony

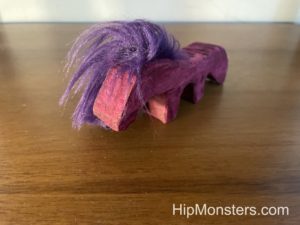
The mane was stapled on to the body then pulled over to cover up the staples. To give it a bright color we used a red wood dye. The dye also showed off the pony’s carved fur.

Wooden little pony

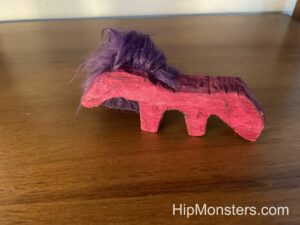
After a quick comb our little pony was ready to roam the world!

Happy creating!

Foam-Mo Fun

This is an introduction to one of our favorite making materials, Foam-Mo. Foam-Mo is really great for making models of organic stuff, such as plants and animals, whereas regular air-dry clay has the wrong texture. The Hand of Glory, from one of our other posts, was also made out of Foam-Mo.

This is an introduction to one of our favorite making materials, Foam-Mo. Foam-Mo is really great for making models of organic stuff, such as plants and animals, whereas regular air-dry clay has the wrong texture. The Hand of Glory, from one of our other posts, was also made out of Foam-Mo.

Please note, this material is provided for informational purposes only and is not a guide on how to create the designs. Please take a look at our disclaimer.

Foam-Mo

This is what Foam-Mo looks like when it’s packaged. If you want to work with Foam-Mo, you should also get some plastic spray, because without the plastic spray Foam-Mo can disintegrate over time.

Foam-Mo creationFoam-Mo creation

Here are some of the small designs that we made. Like we said earlier, Foam-Mo works well with organic stuff. Foam-Mo is really soft, and moldable, and not sticky at all. You should not need to add water, because water can damage the Foam-Mo. While working with Foam-Mo, we used some of the same techniques that you would use for regular clay to mold it.
Foam-Mo creation

Here are some more animals that we did, two small snakes. Foam-mo can be rolled really thin, but it holds the same risk as air-dry clay when it it thin. As it is very soft, it also might need supports while it is drying. For this project, we had to prop up the heads to prevent drooping.

Foam-Mo creation

This is what it looks like after is is sprayed with plastic. Make sure to do multiple layers, and get every part of the clay. Make sure to spray it AFTER the clay has finished drying.

Foam-Mo creation

Here is a cat that we sprayed and painted next to one that we didn’t. The cat that didn’t get sprayed looks droopy, and has the wrong texture, due to the fact that we left it unsprayed for over a year, and it started disintegrating.

Foam-Mo creation Foam-Mo creation

Here are two projects that we finished spraying and painting. The colors show up pretty bright, even though the plastic spray was black. We did multiple layers for some of them, but I think that the paint worked pretty well. We used acrylic paint, but you can research and find your own paint.

Happy creating!

Wooden Deer Sculpture

This is our wooden deer sculpture, made as a Christmas present. We only used wood from our yard to make it more meaningful. We always save leftover wood, so we can use it in our woodworking projects instead of wasting it.

DIY Wooden toy deer

This is the back view of the deer. As you can see, we attached the tail, limbs and antlers by drilling holes and fitting them into the holes, like a peg. We attached the head and the neck by drilling a smaller hole inside the neck and the body, then used a strong piece of aluminium wire to connect them together. To make the tail look more realistic, we rounded the end of it and drilled the hole at an angle instead of straight down.

DIY Wooden toy deer

The head was made from sanding part of a tree branch. We chose that branch because it already looked like a deer head, so we didn’t have to work on it very much. It even had little indents for the eyes! All we had to do was sand it, trim the ears, and drill two small holes for the antlers.

DIY wooden toy deer
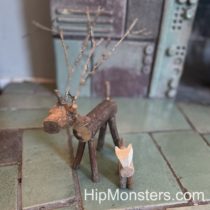
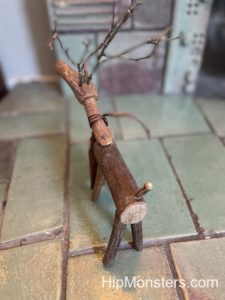
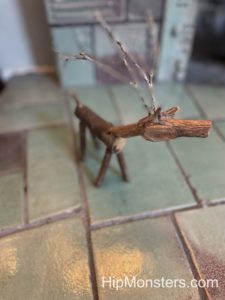
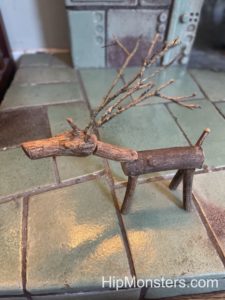
We attached the antlers of the deer by taking small branches from our birch tree and putting them in the holes that we drilled on the head. The antlers were very important because it would help people recognize this as a deer. We had to find branches that were strong so they won’t break, but small enough to look realistic. Luckily, birch trees shed a lot of branches, so it wasn’t too hard to find perfect branches.

Happy Creating!

Making a Toy Bunny

It was the end of the school year and we want to make a toy for one of our teachers. She loved bunnies and Beatrice Potter, so we thought that we should make her a toy bunny.

First, we drew a design for the toy bunny. We wanted it to be able to move its legs and ears so the design had to have a lot of details. It make sure it could more we used balsa wood for most of the parts to the bunny put together with nuts and bolts.

Please note, this material is provided for informational purposes only and is not a guide on how to create the designs.  Please read our disclaimer.


Cutting wood, woodcrafting

Here is a picture of us cutting the wood. We had to use a fine saw because the balsa wood split with the Japanese saw.

Assembling a wooden toy bunny

Next, we drilled holes for the nuts and bolts. We don’t use wood screws because over time they loosen and damage the wood if the toy is played with it. To drill the holes we used a bench press and a secured the wood carefully. Because Balsa wood is so soft, it couldn’t be hand drilled.

After all the parts were cut, drilled, and sanded it was time to assemble!

Assembling a wooden toy bunny

If the plans are good enough, once you have the pieces done, it is like assembling a puzzle!

Assembling a wooden toy bunny

We made the ears out of plastic because the wooden ears broke too easily. We could also easily cut the plastic to be whatever shape we want.

Assembling a wooden toy bunny

To finish it off we added a purple pompom for a tail. And here is the completed bunny with a scarf!

A wooden toy bunny

Because it is posable, you can change how it looks year round!

A wooden toy bunny

This is what it looks like when it’s finished!

Happy Creating!

Wooden Toy – Alligator

We decided to make a special present for our teachers at school. One of the teachers really loved alligators, so we decided to make one for her out of wood.

Please note, this material is provided for informational purposes only and is not a guide on how to create the designs. Please read our disclaimer.

Cutting the wood for a toy wooden alligator

So we set out to make one out of wood. First we cut the wood into the rough shape of the toy.

Using a drill press to create a wooden toy alligator

Next, We drilled the wood that we cut. We cut lots of little pieces so the tail could move. We also  drilled a small hole in the center of each small piece.Planing the wood for a toy wooden alligator

To smooth the edges we used a wood plane. Then we sanded each piece with fine grain sandpaper. For the details on the head we made rough cuts using an alligator saw then sanded repeated to get the shape we wanted.

A handcrafted wooden toy alligator
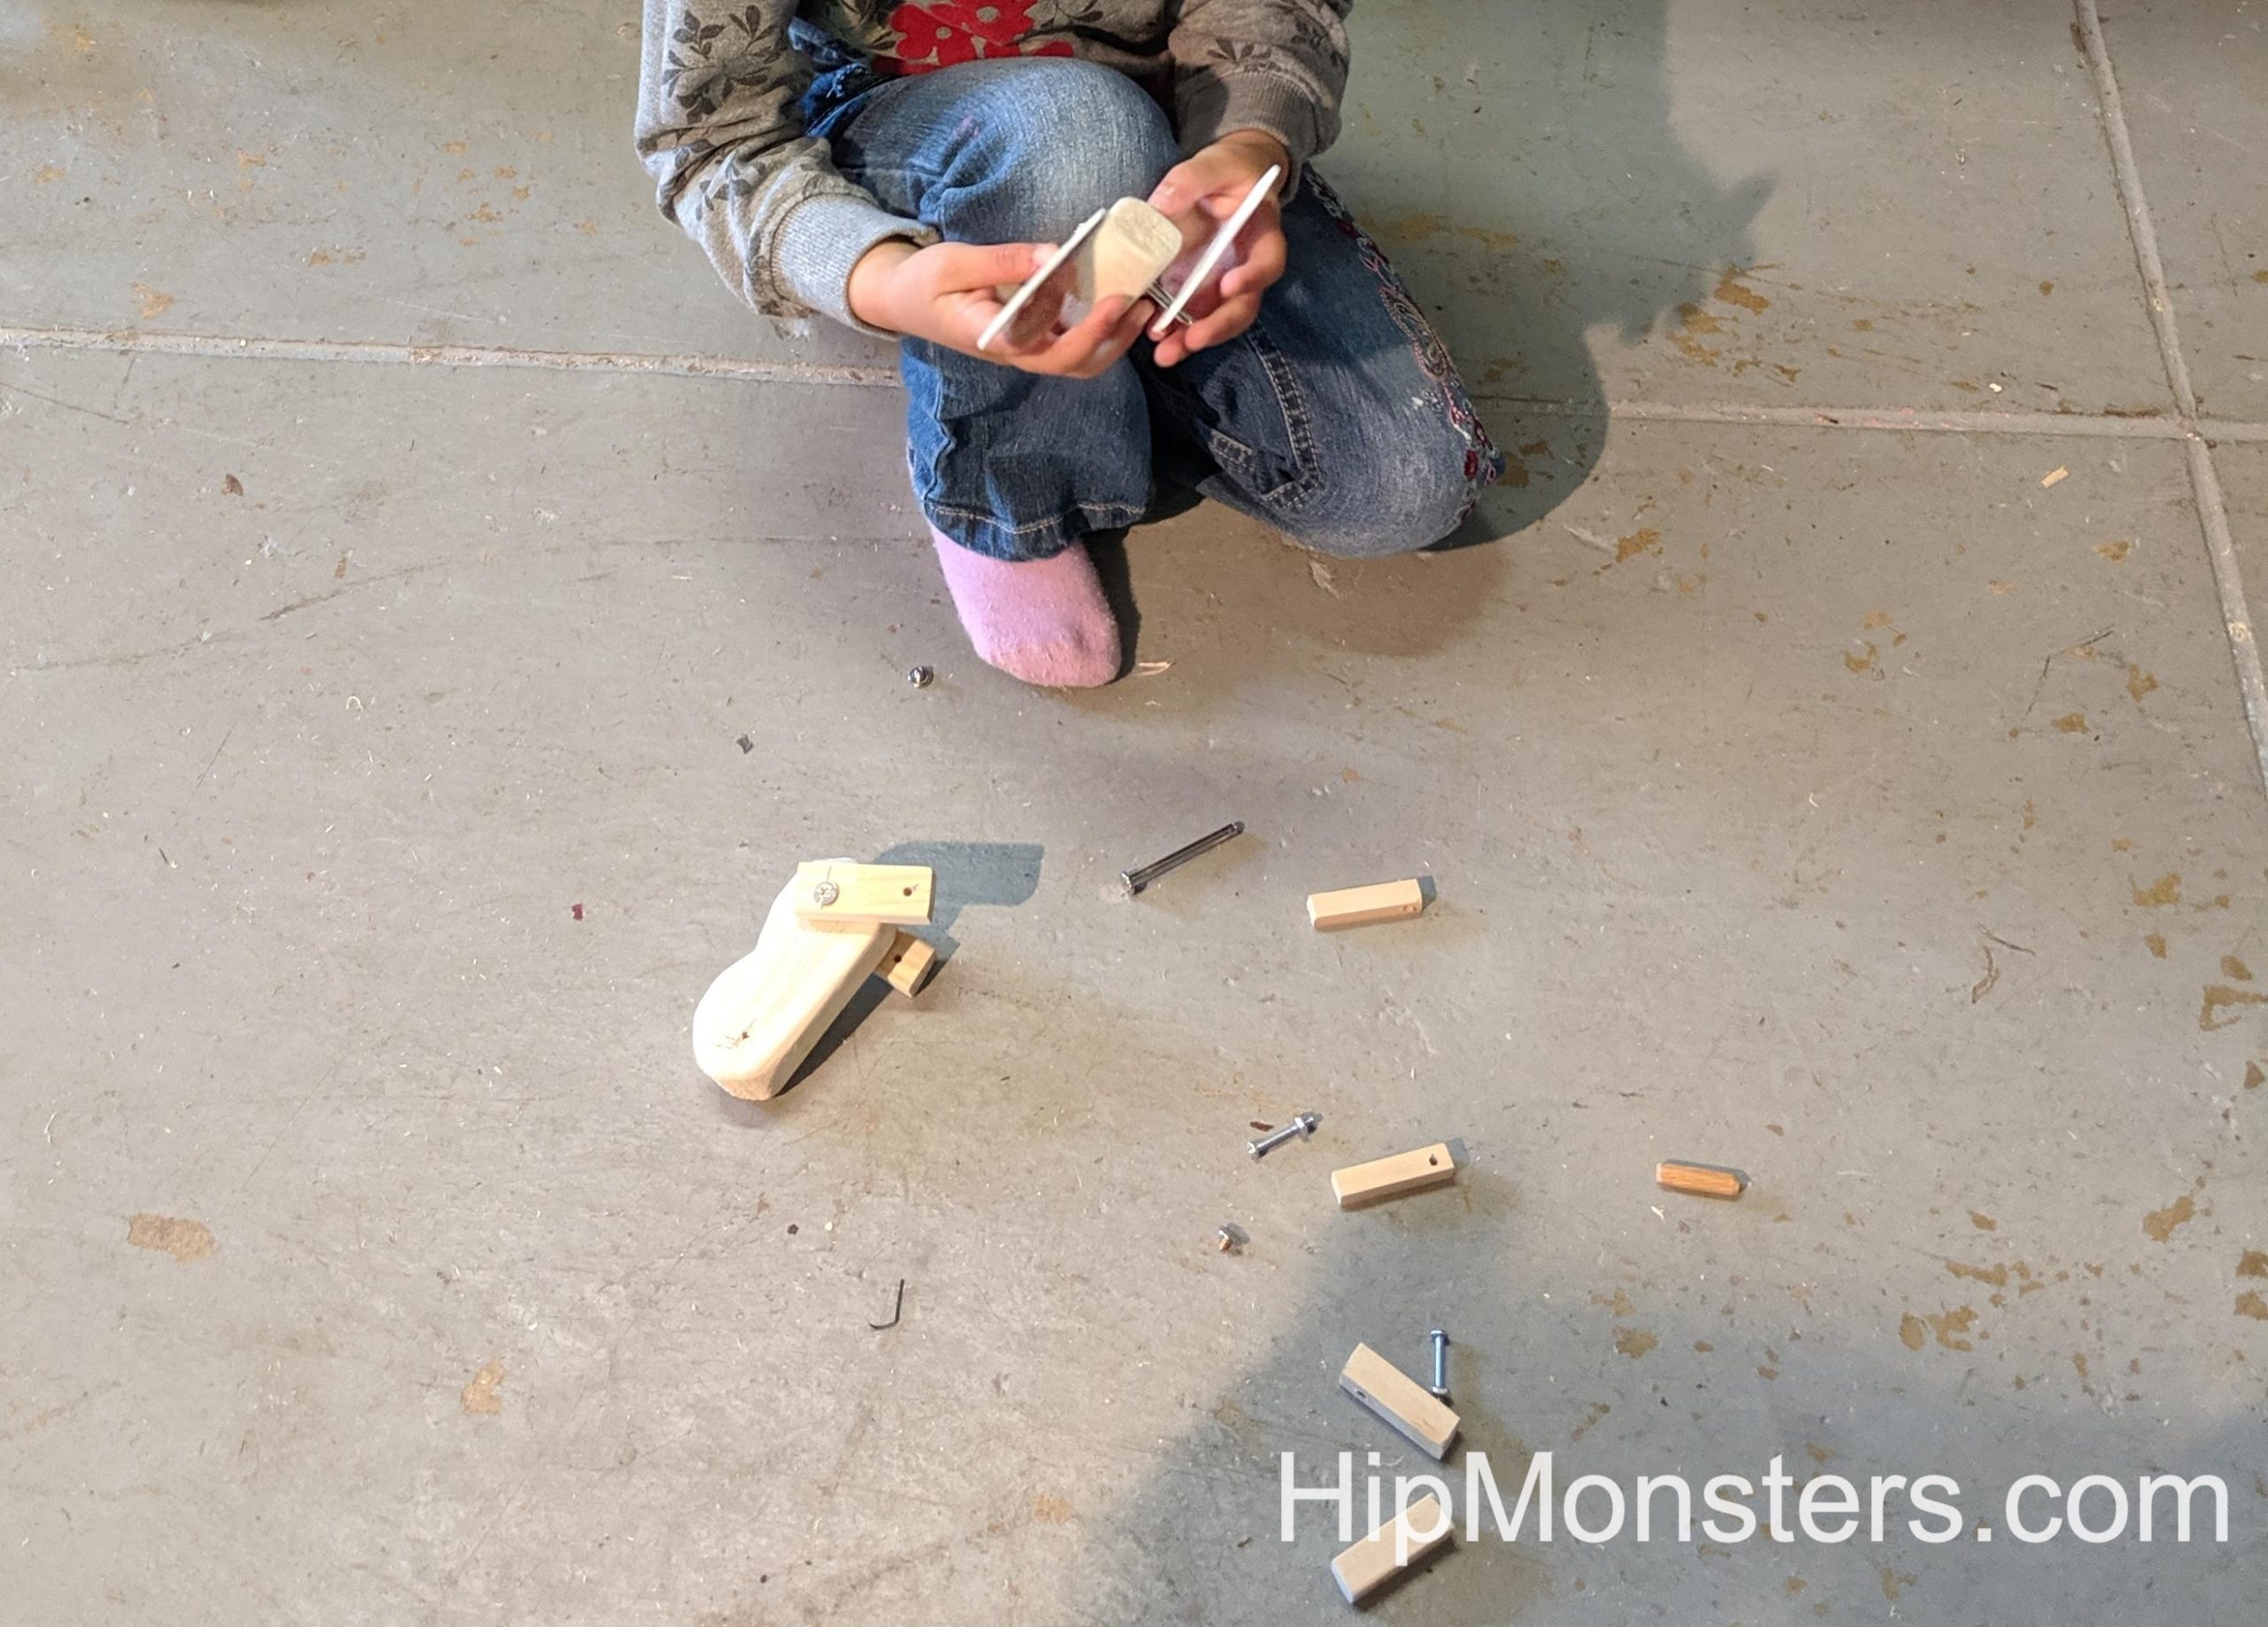
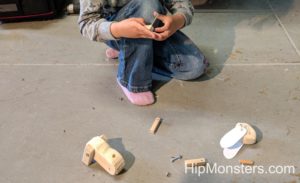
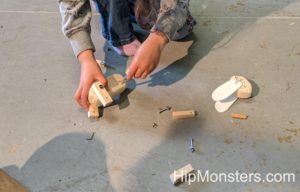
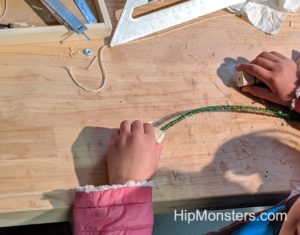
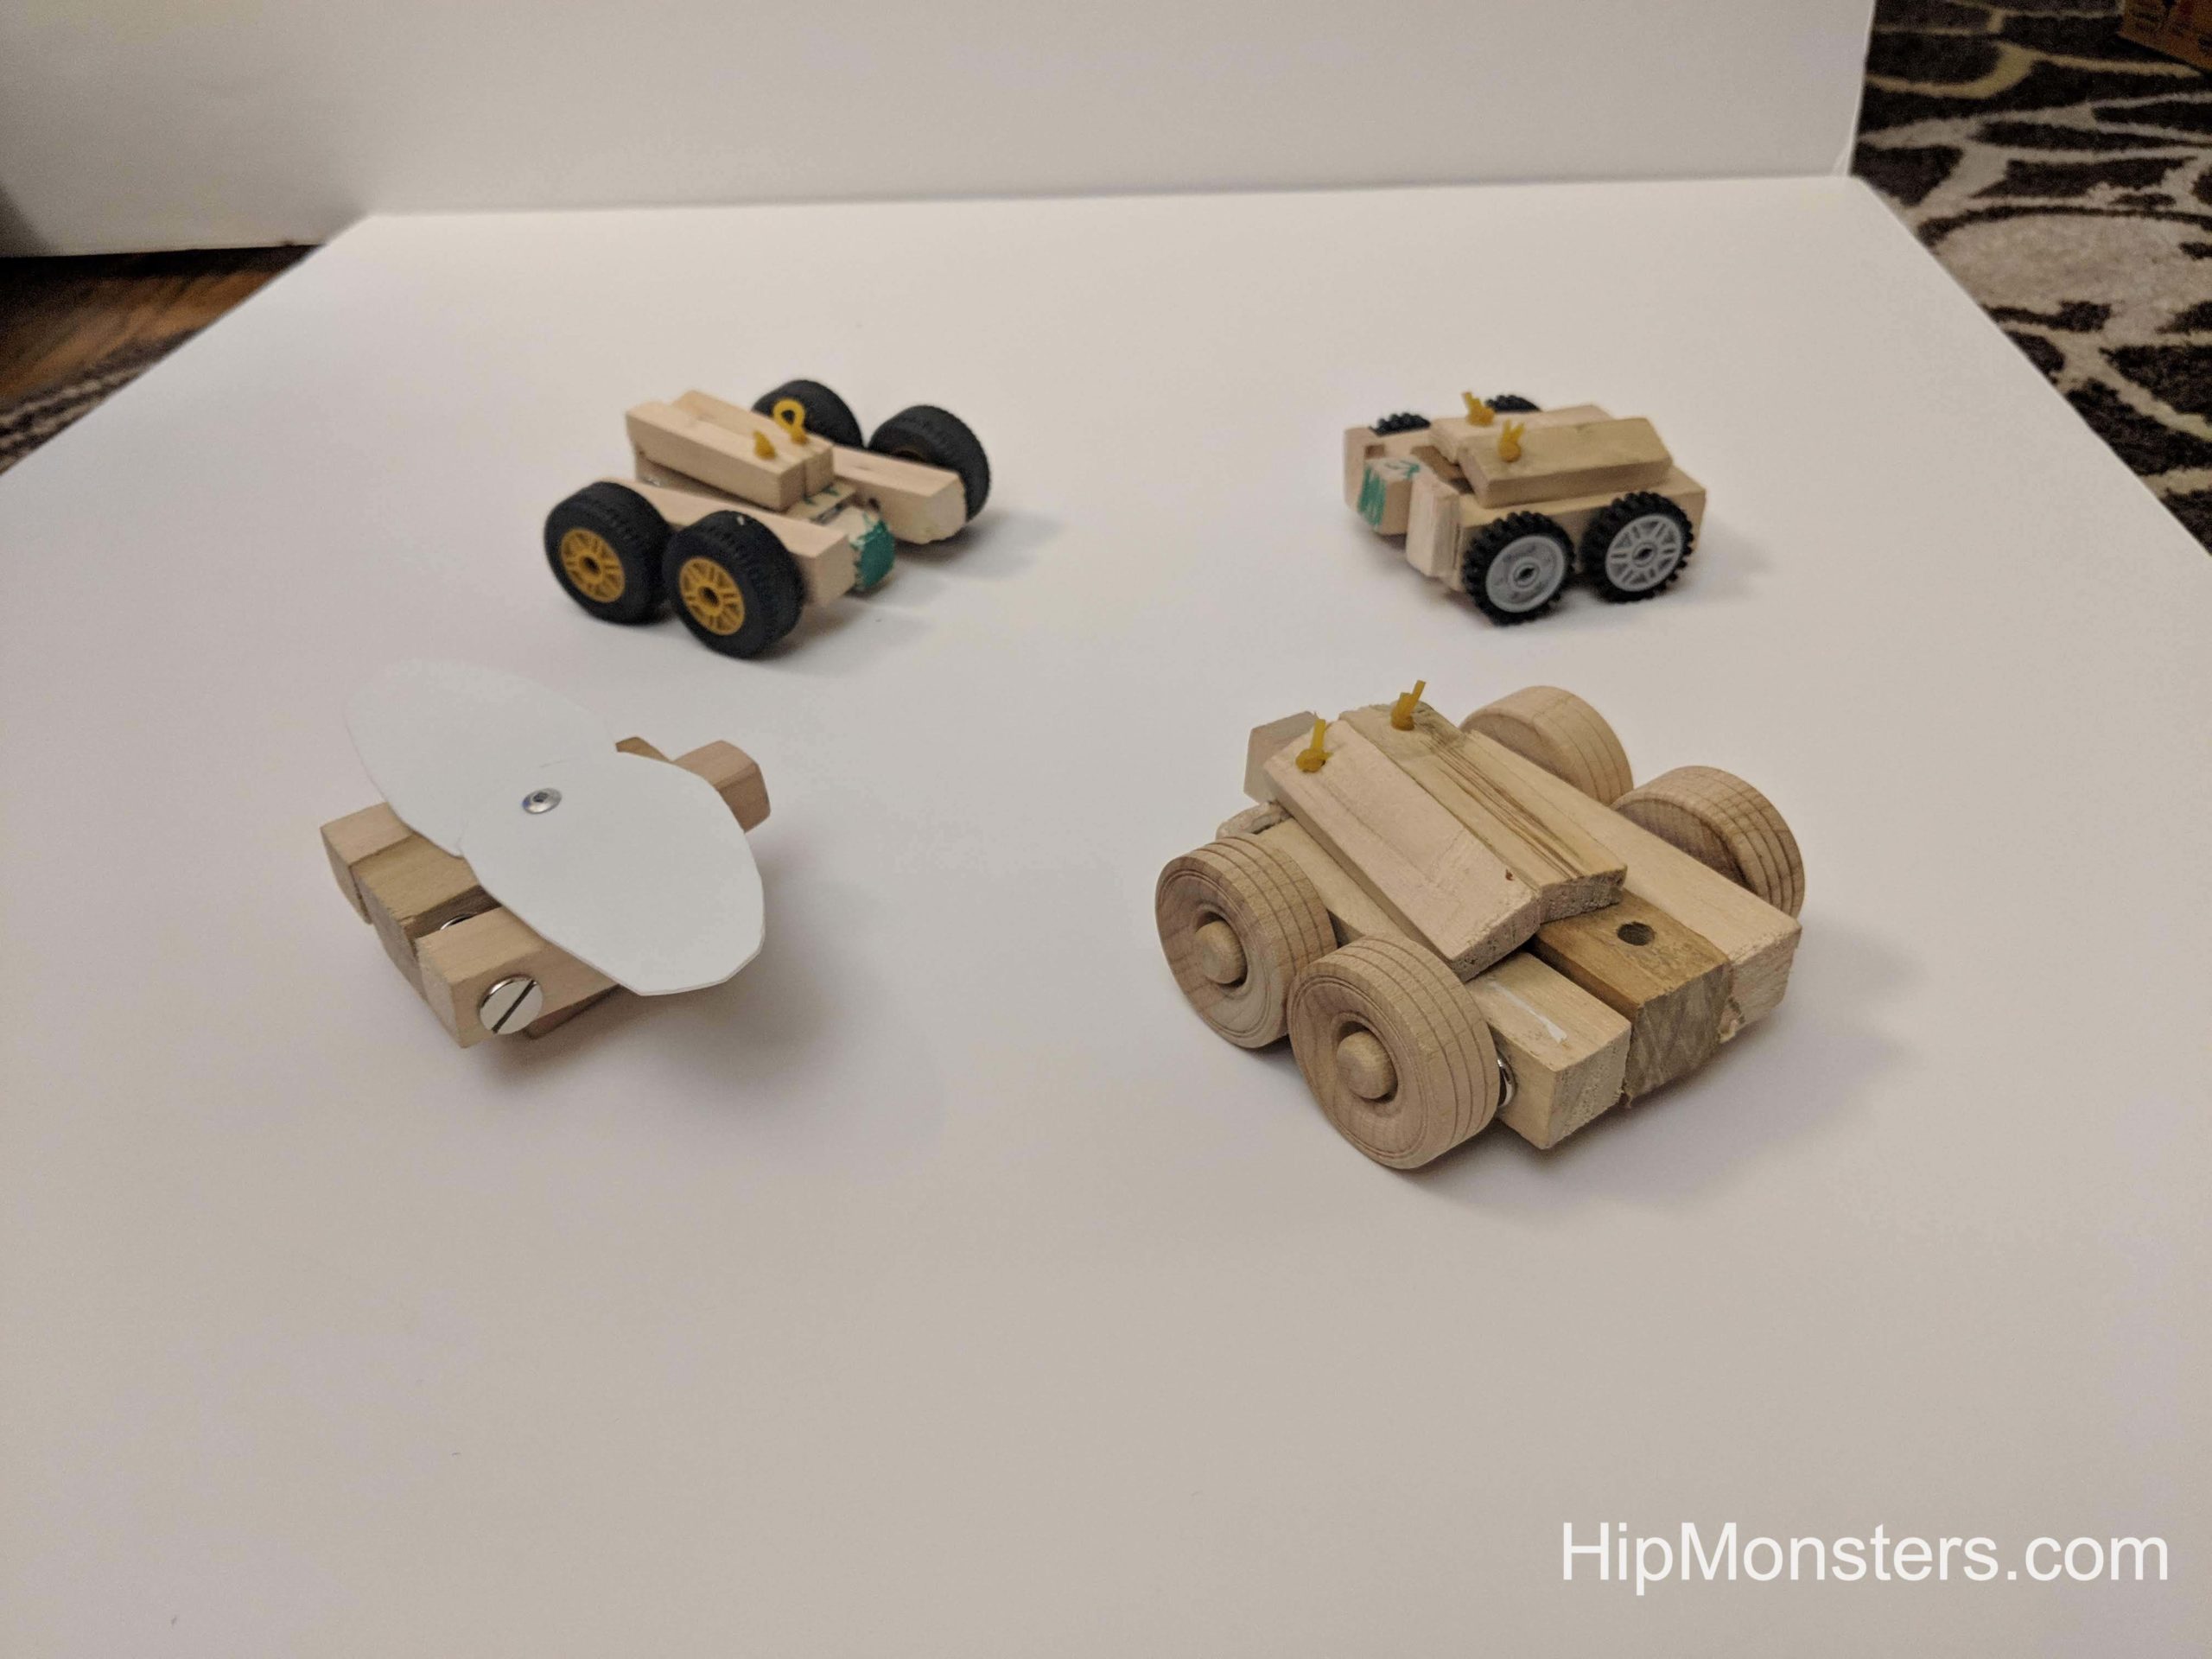
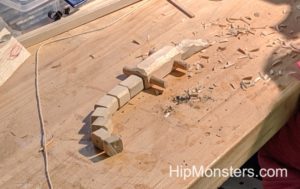
We laid out the final design before threading the wire through the holes we drilled.

Threading a pipecleaner through pieces of wood for a handcrafted wooden toy alligator

Here we are threading the wire though the holes.  We used pipe cleaners to get a snug fit.  This will make the toy alligator flexible but will also hold its shape well.

Finished toy wooden alligator

Here is the  completed alligator! We named him Claude after the alligator in the San Francisco Academy of Sciences.

Happy Creating!

Shape Shifting Toy Robots

When the sisters team discovered Transformer comics (Go WindBlade!) they wanted a whole city of Transformers to play with. While that was way too expensive, they could build their own Shape-shifting Robots out of wood.

Supplies for a hand crafted DIY robot that transforms
Getting Started

Borrowing from wooden dolls, we settled on a design with rubber bands attaching the arms and head to the body and a bolt to attached the legs enabling the robot to shift forms.

Making DIY wooden transfromjng robots
Drilling to holes

First we cut and drilled all the wood based on a working design.

Assembling a hand crafted DIY robot that transforms
Assembling Begins!

We used lego wheels for the robots that transformed into cars.

Fitting rubberband a hand crafted DIY robot that transforms
Fitting the rubber bands

Attaching the rubber bands proved difficult.  We used a jewelry tool to thread the rubber bands through the holes in the wood (many broke in the process).

Assembling a hand crafted DIY robot that transforms
Final Touches

A few more adjustments.

A hand crafted DIY robot that transforms
The Robot is complete!

By using springs in the legs the robot can hold a standing position.

DIY wooden transfroming robots
The assembly line

After we perfect a design, it was just a matter of creating a assembly line to crank out droids! We did some that turned into cars, some that turned into bugs, and some that turned in to other forms!

DIY Wooden Transfroming Robots.
Transformed

The robots in alt form.

DIY Wooden Transfroming Robots.
Robot form

The robots transformed!

Happy Creating!