Please note, that this material is provided for informational purposes only and is not a guide on how to create the designs. Please read our disclaimer.
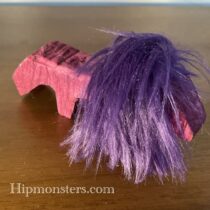
This quick creation was inspired by Pinkie Pie from My Little Pony. We love Pinkie Pie’s bright outlook and humor! When we found a scrape of bright colored faux fur in our recycled fabric box we all thought of her right away.
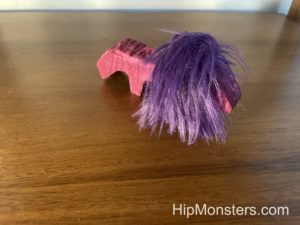
This is a side view
We used balsa wood for the body and faux fur for the mane. It took a while to carve since ponies have a specific body shape. We first drew the basic outline on the balsa wood then cut out the rough shape with a saw. To make sure we did not damage the wood we wrapped it in leather when it was in the vice. Then we used wood carving tools and sand paper to finish the shape. The head was the hardest part to get right. Ponies have a very specific look to them. We used a wood carving tool with a groove to get the fur just right.
The mane was stapled on to the body then pulled over to cover up the staples. To give it a bright color we used a red wood dye. The dye also showed off the pony’s carved fur.
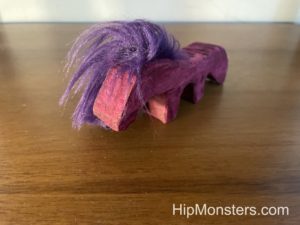
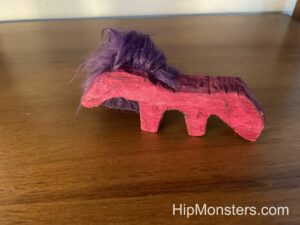
After a quick comb our little pony was ready to roam the world!
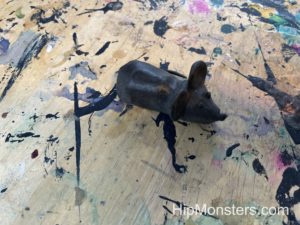
This is an introduction to one of our favorite making materials, Foam-Mo. Foam-Mo is really great for making models of organic stuff, such as plants and animals, whereas regular air-dry clay has the wrong texture. The Hand of Glory, from one of our other posts, was also made out of Foam-Mo.
This is an introduction to one of our favorite making materials, Foam-Mo. Foam-Mo is really great for making models of organic stuff, such as plants and animals, whereas regular air-dry clay has the wrong texture. The Hand of Glory, from one of our other posts, was also made out of Foam-Mo.
Please note, this material is provided for informational purposes only and is not a guide on how to create the designs. Please take a look at our disclaimer.
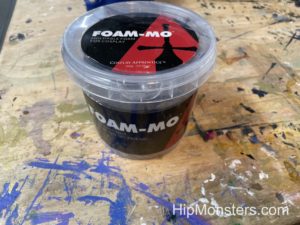
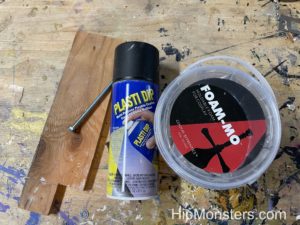
This is what Foam-Mo looks like when it’s packaged. If you want to work with Foam-Mo, you should also get some plastic spray, because without the plastic spray Foam-Mo can disintegrate over time.
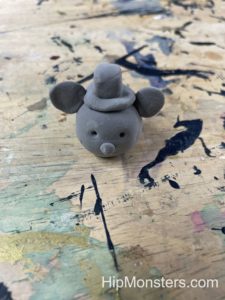
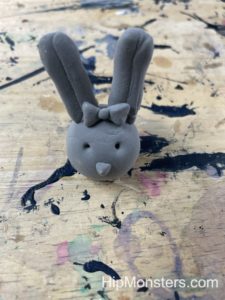
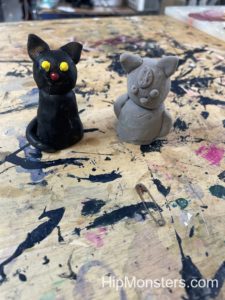
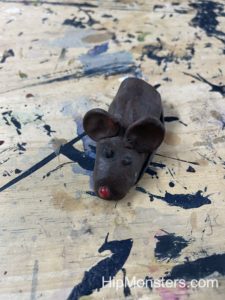
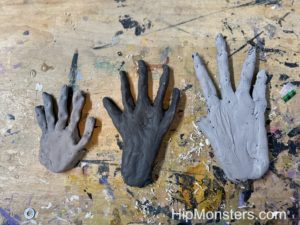
Here are some of the small designs that we made. Like we said earlier, Foam-Mo works well with organic stuff. Foam-Mo is really soft, and moldable, and not sticky at all. You should not need to add water, because water can damage the Foam-Mo. While working with Foam-Mo, we used some of the same techniques that you would use for regular clay to mold it.
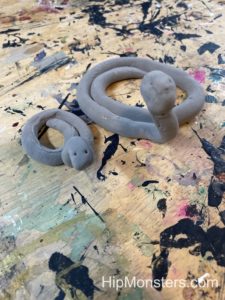
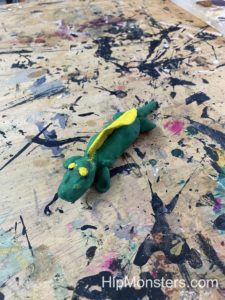
Here are some more animals that we did, two small snakes. Foam-mo can be rolled really thin, but it holds the same risk as air-dry clay when it it thin. As it is very soft, it also might need supports while it is drying. For this project, we had to prop up the heads to prevent drooping.
This is what it looks like after is is sprayed with plastic. Make sure to do multiple layers, and get every part of the clay. Make sure to spray it AFTER the clay has finished drying.
Here is a cat that we sprayed and painted next to one that we didn’t. The cat that didn’t get sprayed looks droopy, and has the wrong texture, due to the fact that we left it unsprayed for over a year, and it started disintegrating.
Here are two projects that we finished spraying and painting. The colors show up pretty bright, even though the plastic spray was black. We did multiple layers for some of them, but I think that the paint worked pretty well. We used acrylic paint, but you can research and find your own paint.
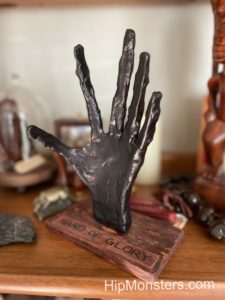
Inspired by Harry Potter, we made our own Hand of Glory out of Foam-Mo and paint for Halloween.
Please note, this material is provided for informational purposes only and is not a guide on how to create the designs. Please read our disclaimer.
Foam-Mo is a foamy clay that we use for many of our projects. It is great for making organic stuff like plants and animals. After it dries, you spray it with a plastic coating to make it last longer. You can paint over the plastic coating.
For our first attempts, We used our own hands as a model to make them, but we felt like they didn’t look very much like magical objects. They were also very flat and 2d looking, not like the real hand of glory at all.
For our final hand of glory, we made the fingers more long and skinny to make it both more realistic and creepy. To get the shape, we rested it over a bowl to dry. We also added more texture to make it look more like dry skin instead of making it smooth. We also defined the knuckles more to make it more creepy. like it is trying to grab you. We also added more of a wrist to make it more like it is in the movie, and so we could easily mount it.
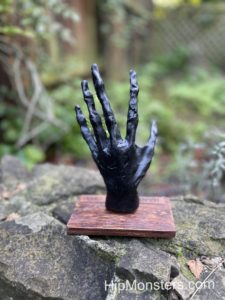
Once we finished the hand, we made a wooden stand for it to be mounted on. We stained it and sanded it to make it look distressed, and made a wooden plaque. We attached the Hand of Glory to the stand by screwing it in.
The completed Hand of Glory
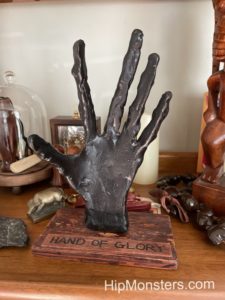
This is it completed! It is a great addition to our Halloween decoration cabinet, just don’t touch it, unless you want it to grab you.
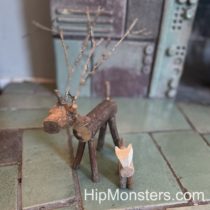
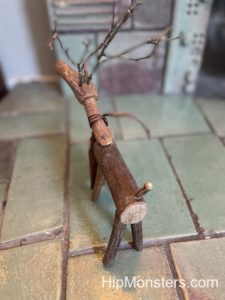
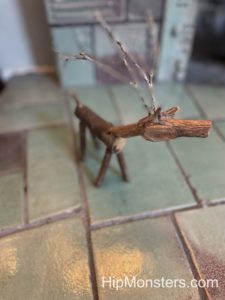
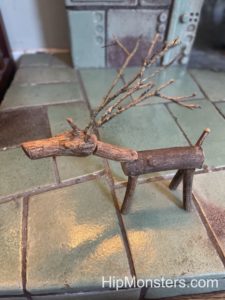
This is our wooden deer sculpture, made as a Christmas present. We only used wood from our yard to make it more meaningful. We always save leftover wood, so we can use it in our woodworking projects instead of wasting it.
This is the back view of the deer. As you can see, we attached the tail, limbs and antlers by drilling holes and fitting them into the holes, like a peg. We attached the head and the neck by drilling a smaller hole inside the neck and the body, then used a strong piece of aluminium wire to connect them together. To make the tail look more realistic, we rounded the end of it and drilled the hole at an angle instead of straight down.
The head was made from sanding part of a tree branch. We chose that branch because it already looked like a deer head, so we didn’t have to work on it very much. It even had little indents for the eyes! All we had to do was sand it, trim the ears, and drill two small holes for the antlers.
We attached the antlers of the deer by taking small branches from our birch tree and putting them in the holes that we drilled on the head. The antlers were very important because it would help people recognize this as a deer. We had to find branches that were strong so they won’t break, but small enough to look realistic. Luckily, birch trees shed a lot of branches, so it wasn’t too hard to find perfect branches.
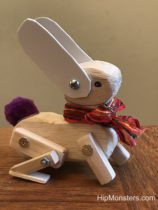
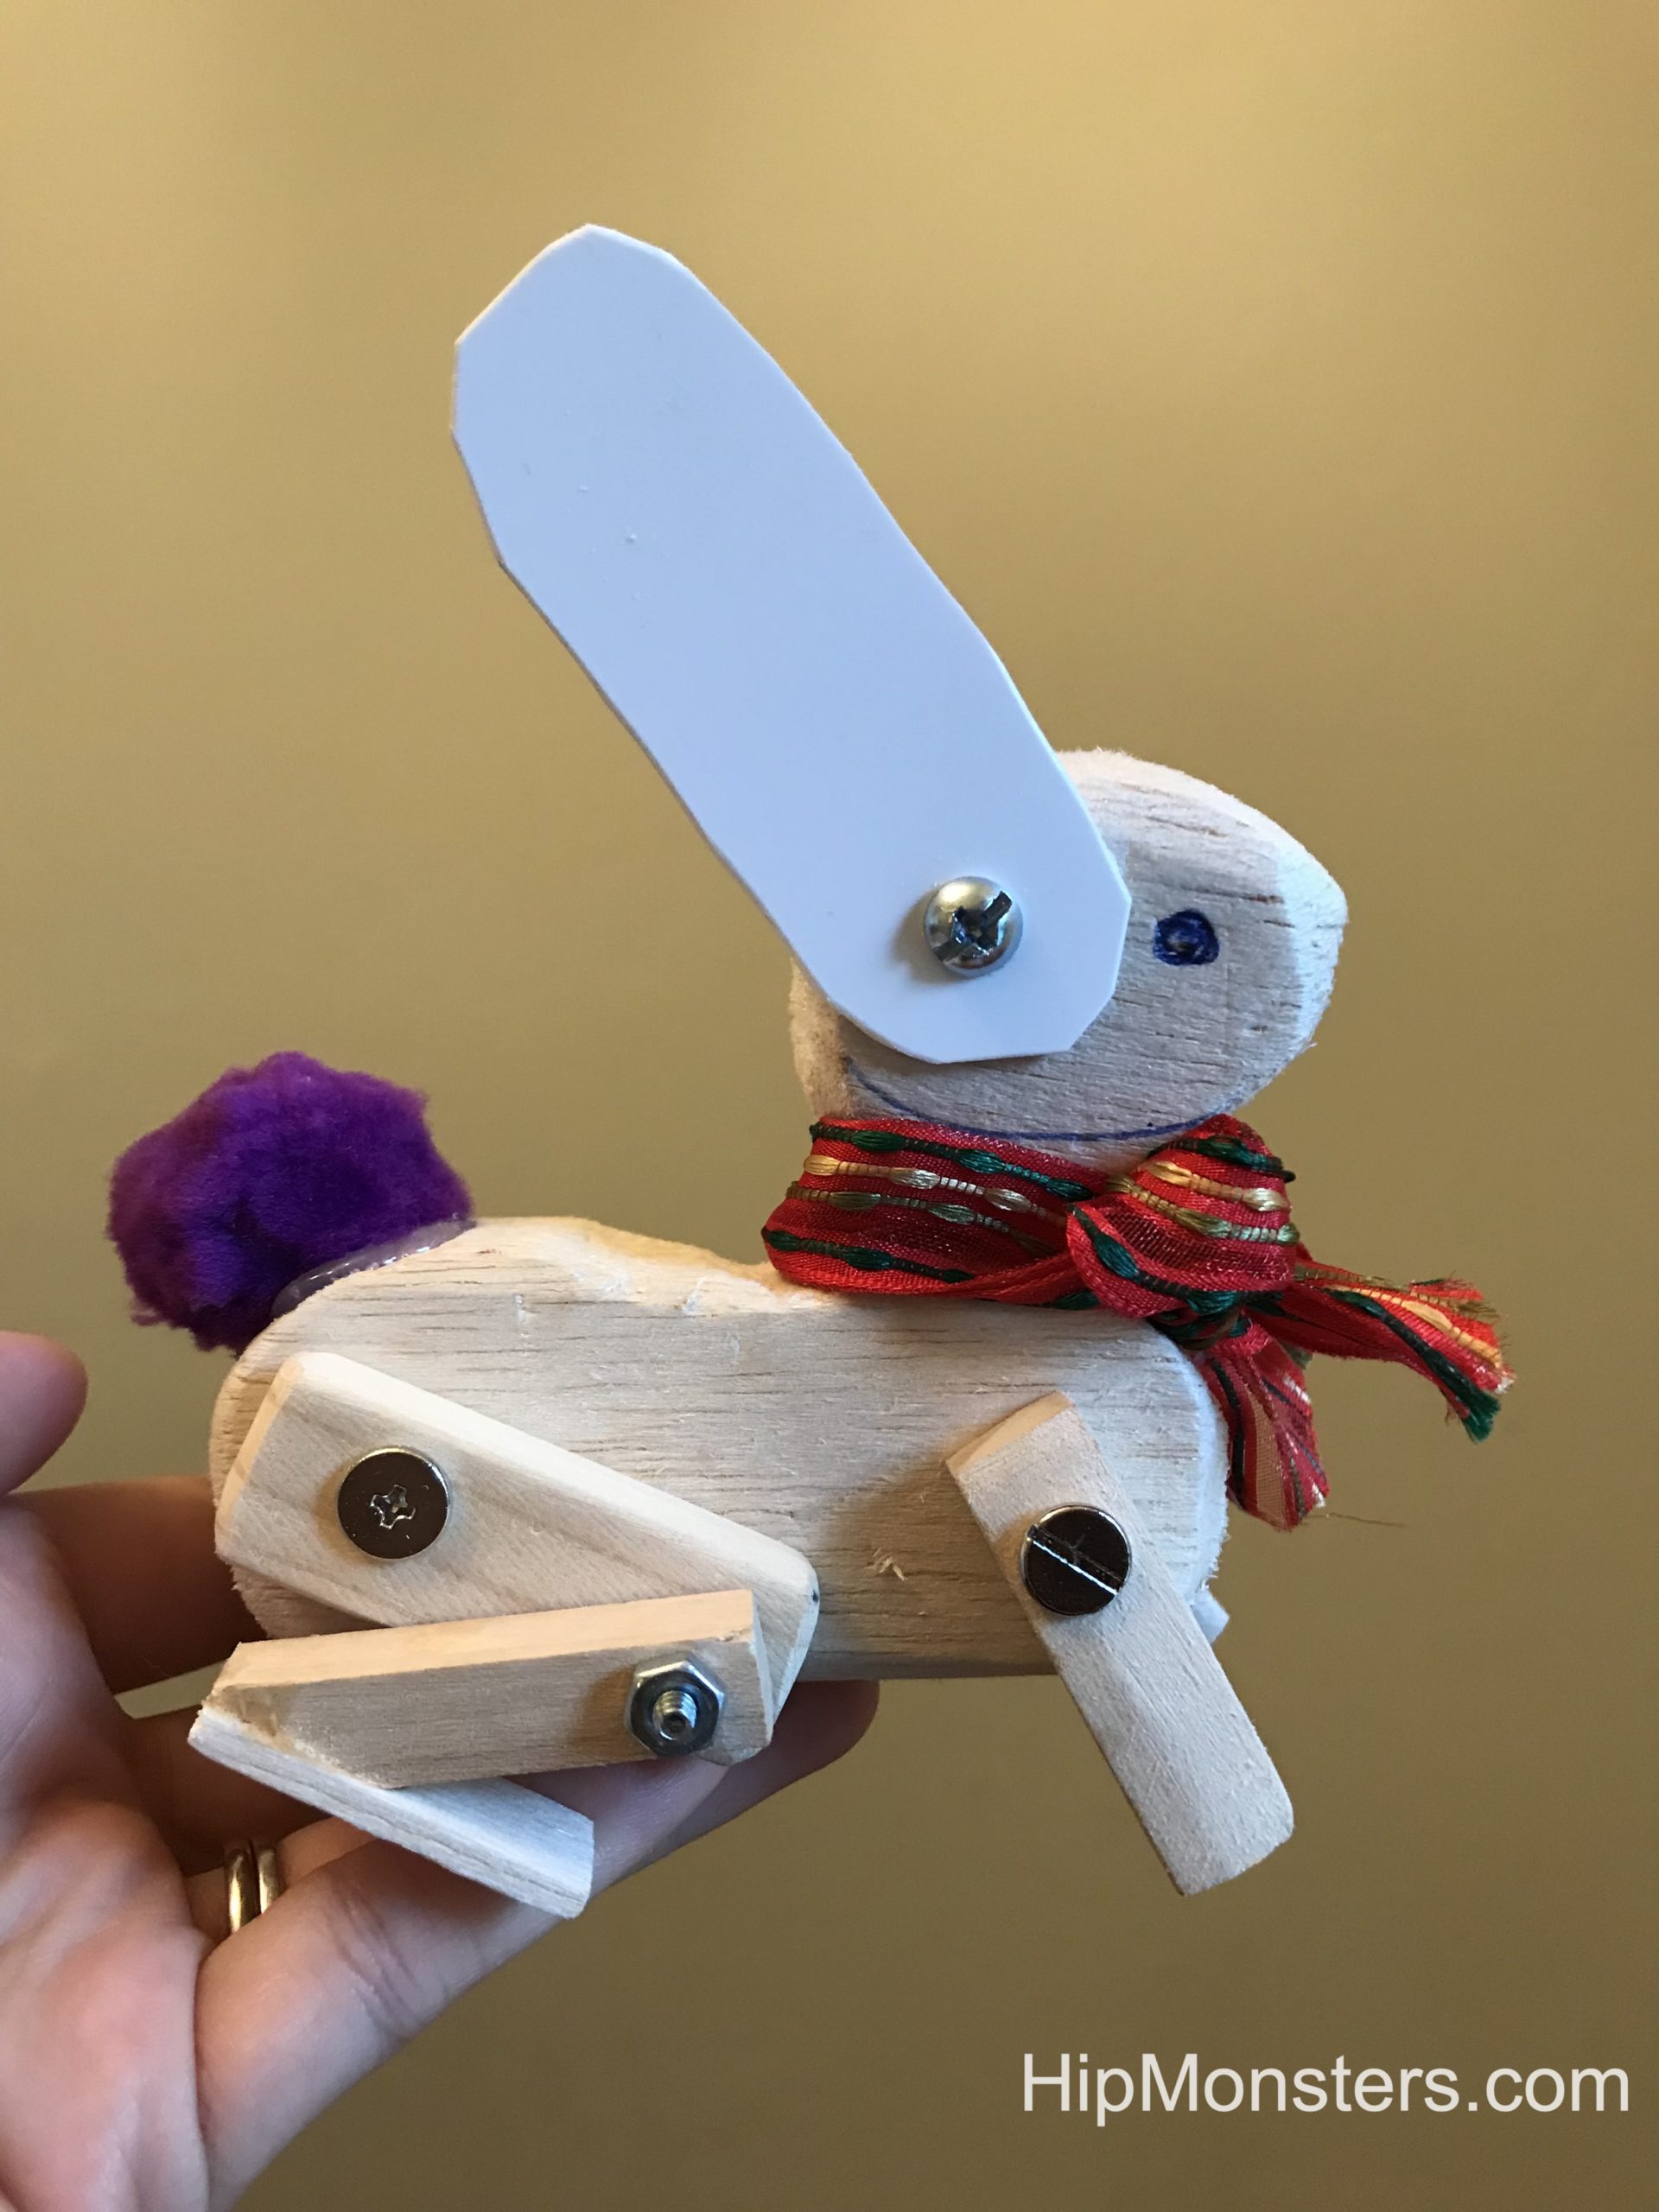
It was the end of the school year and we want to make a toy for one of our teachers. She loved bunnies and Beatrice Potter, so we thought that we should make her a toy bunny.
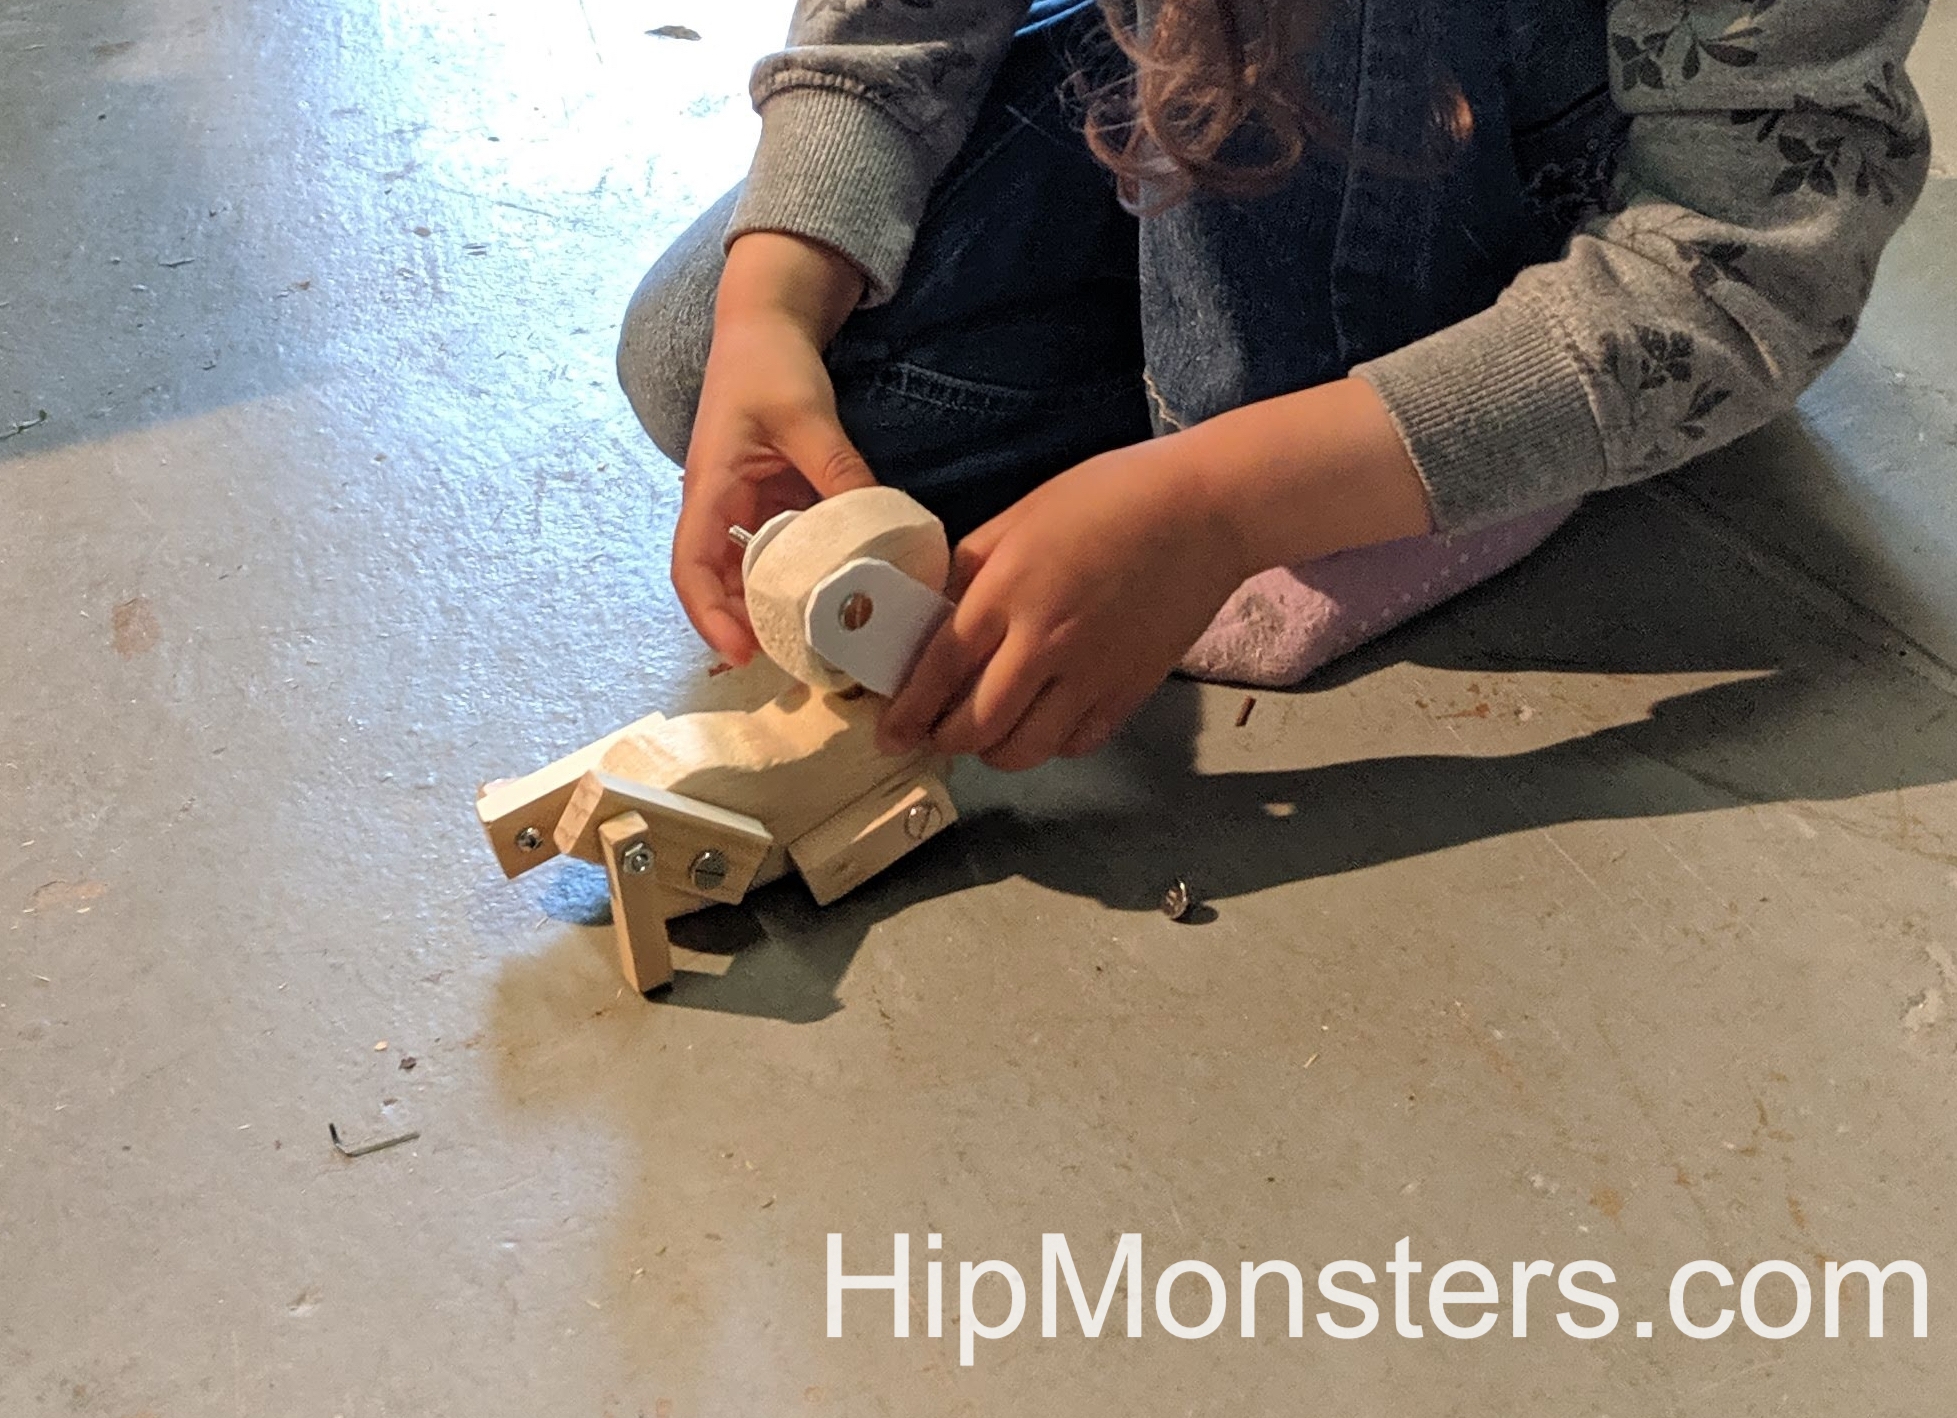
First, we drew a design for the toy bunny. We wanted it to be able to move its legs and ears so the design had to have a lot of details. It make sure it could more we used balsa wood for most of the parts to the bunny put together with nuts and bolts.
Please note, this material is provided for informational purposes only and is not a guide on how to create the designs. Please read our disclaimer.
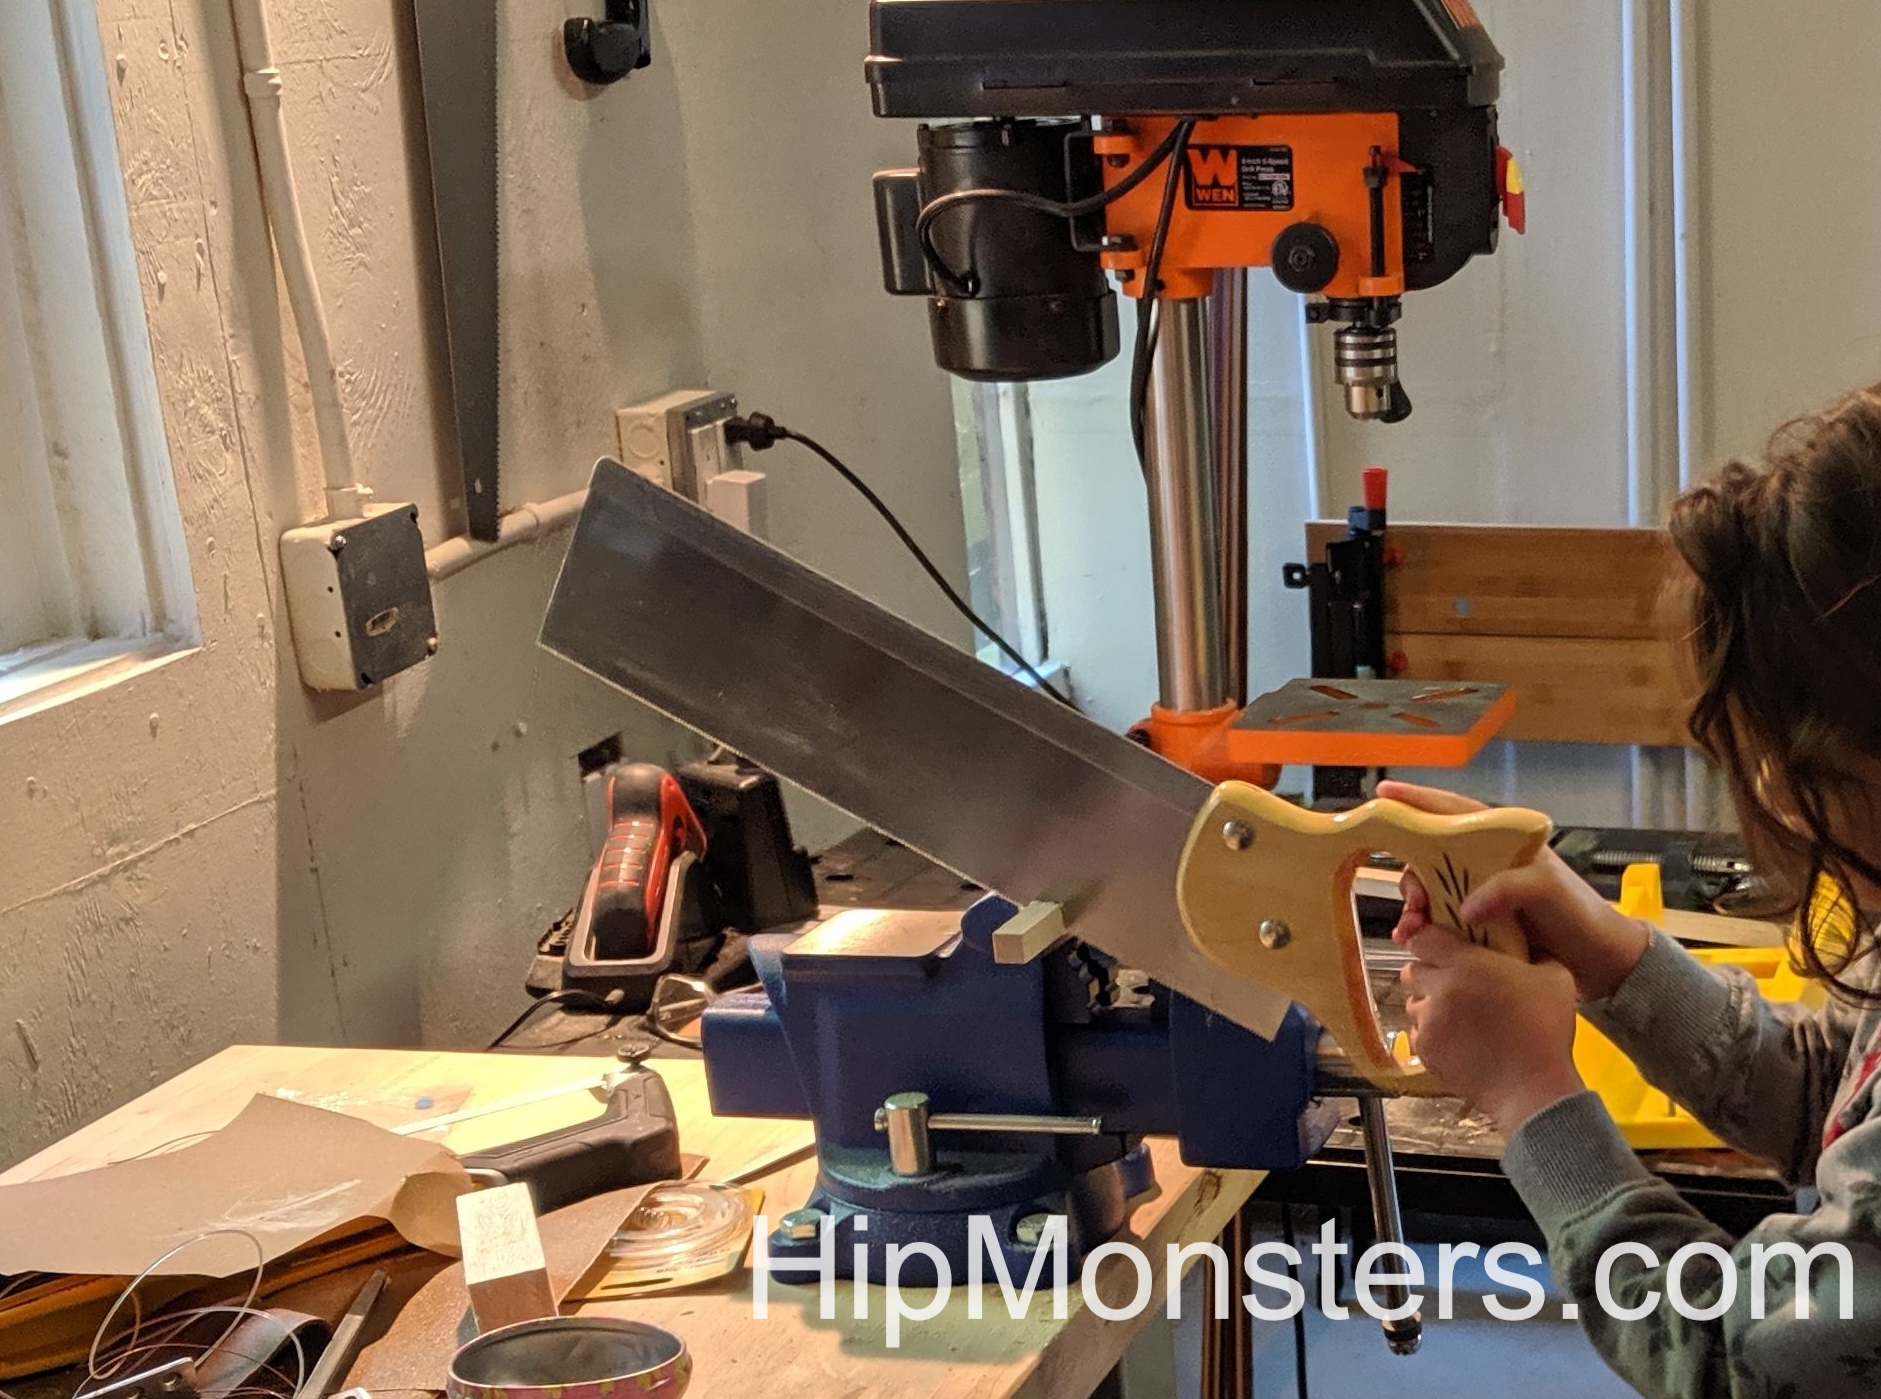
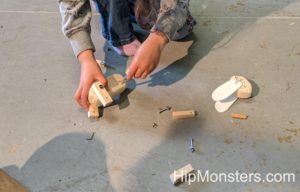
Here is a picture of us cutting the wood. We had to use a fine saw because the balsa wood split with the Japanese saw.
Next, we drilled holes for the nuts and bolts. We don’t use wood screws because over time they loosen and damage the wood if the toy is played with it. To drill the holes we used a bench press and a secured the wood carefully. Because Balsa wood is so soft, it couldn’t be hand drilled.
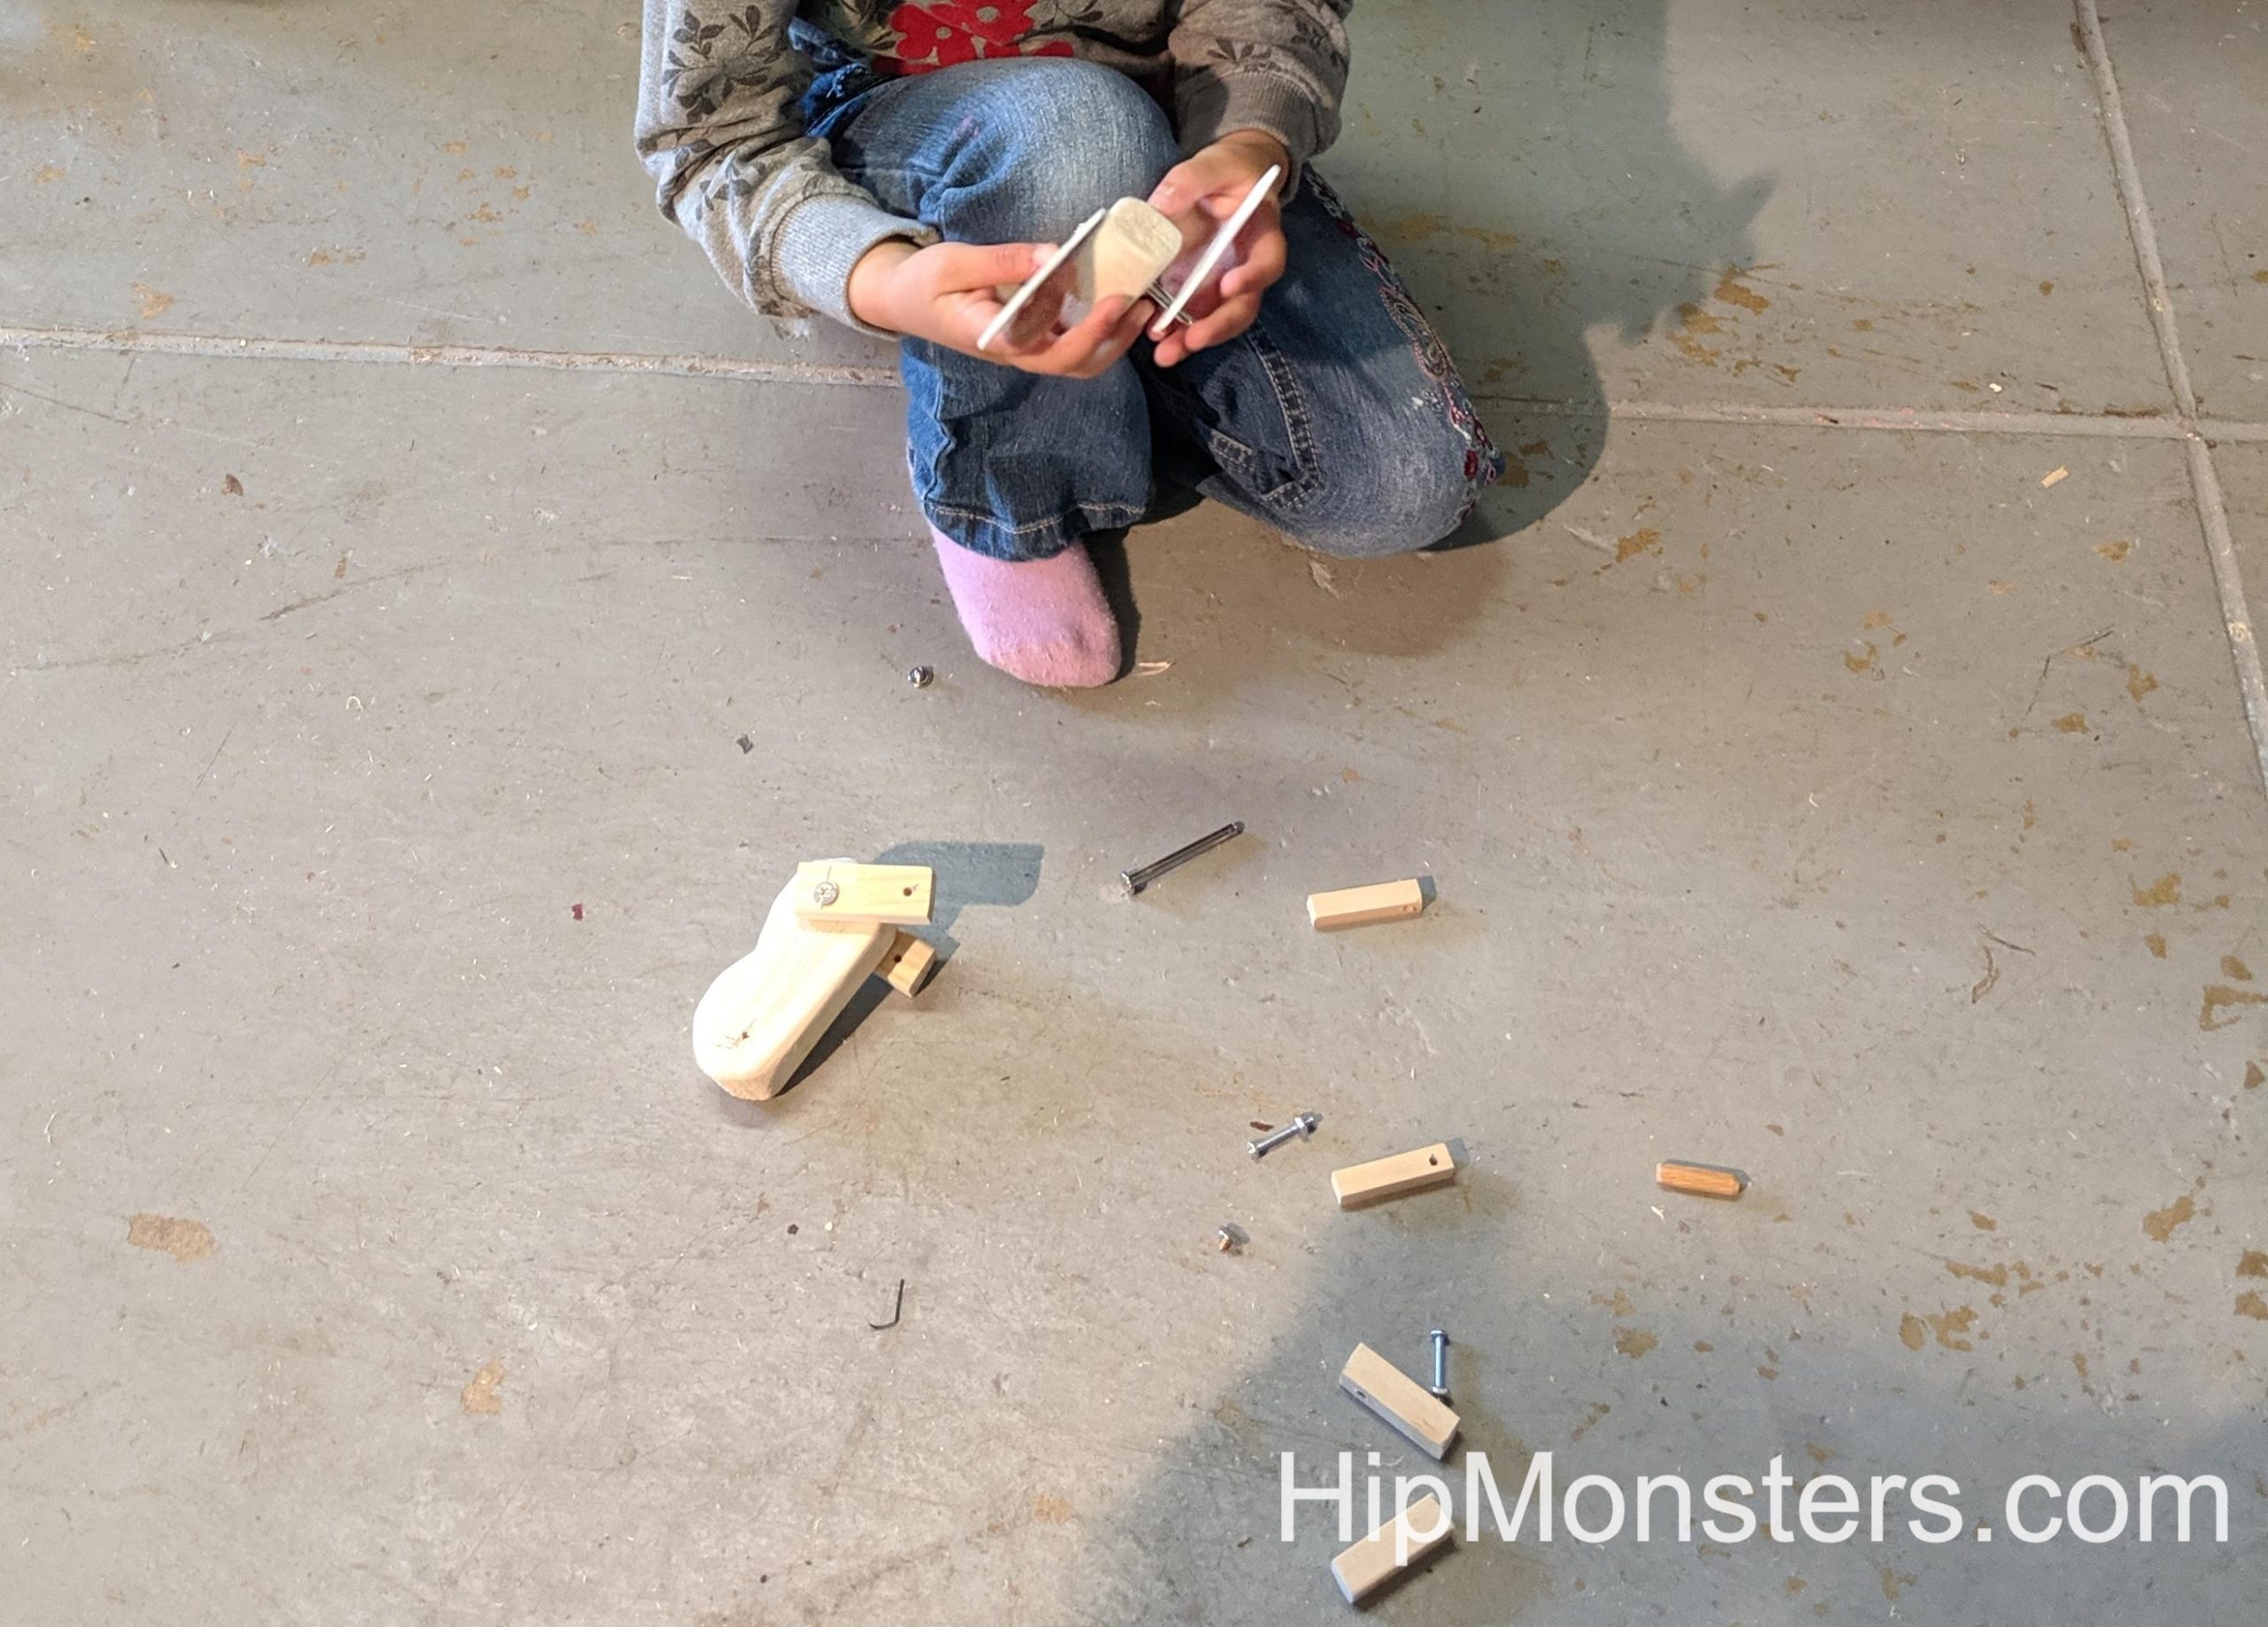
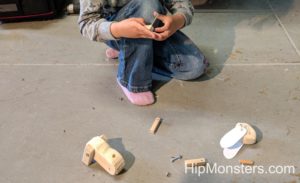
After all the parts were cut, drilled, and sanded it was time to assemble!
If the plans are good enough, once you have the pieces done, it is like assembling a puzzle!
We made the ears out of plastic because the wooden ears broke too easily. We could also easily cut the plastic to be whatever shape we want.
To finish it off we added a purple pompom for a tail. And here is the completed bunny with a scarf!
Because it is posable, you can change how it looks year round!
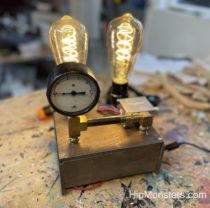
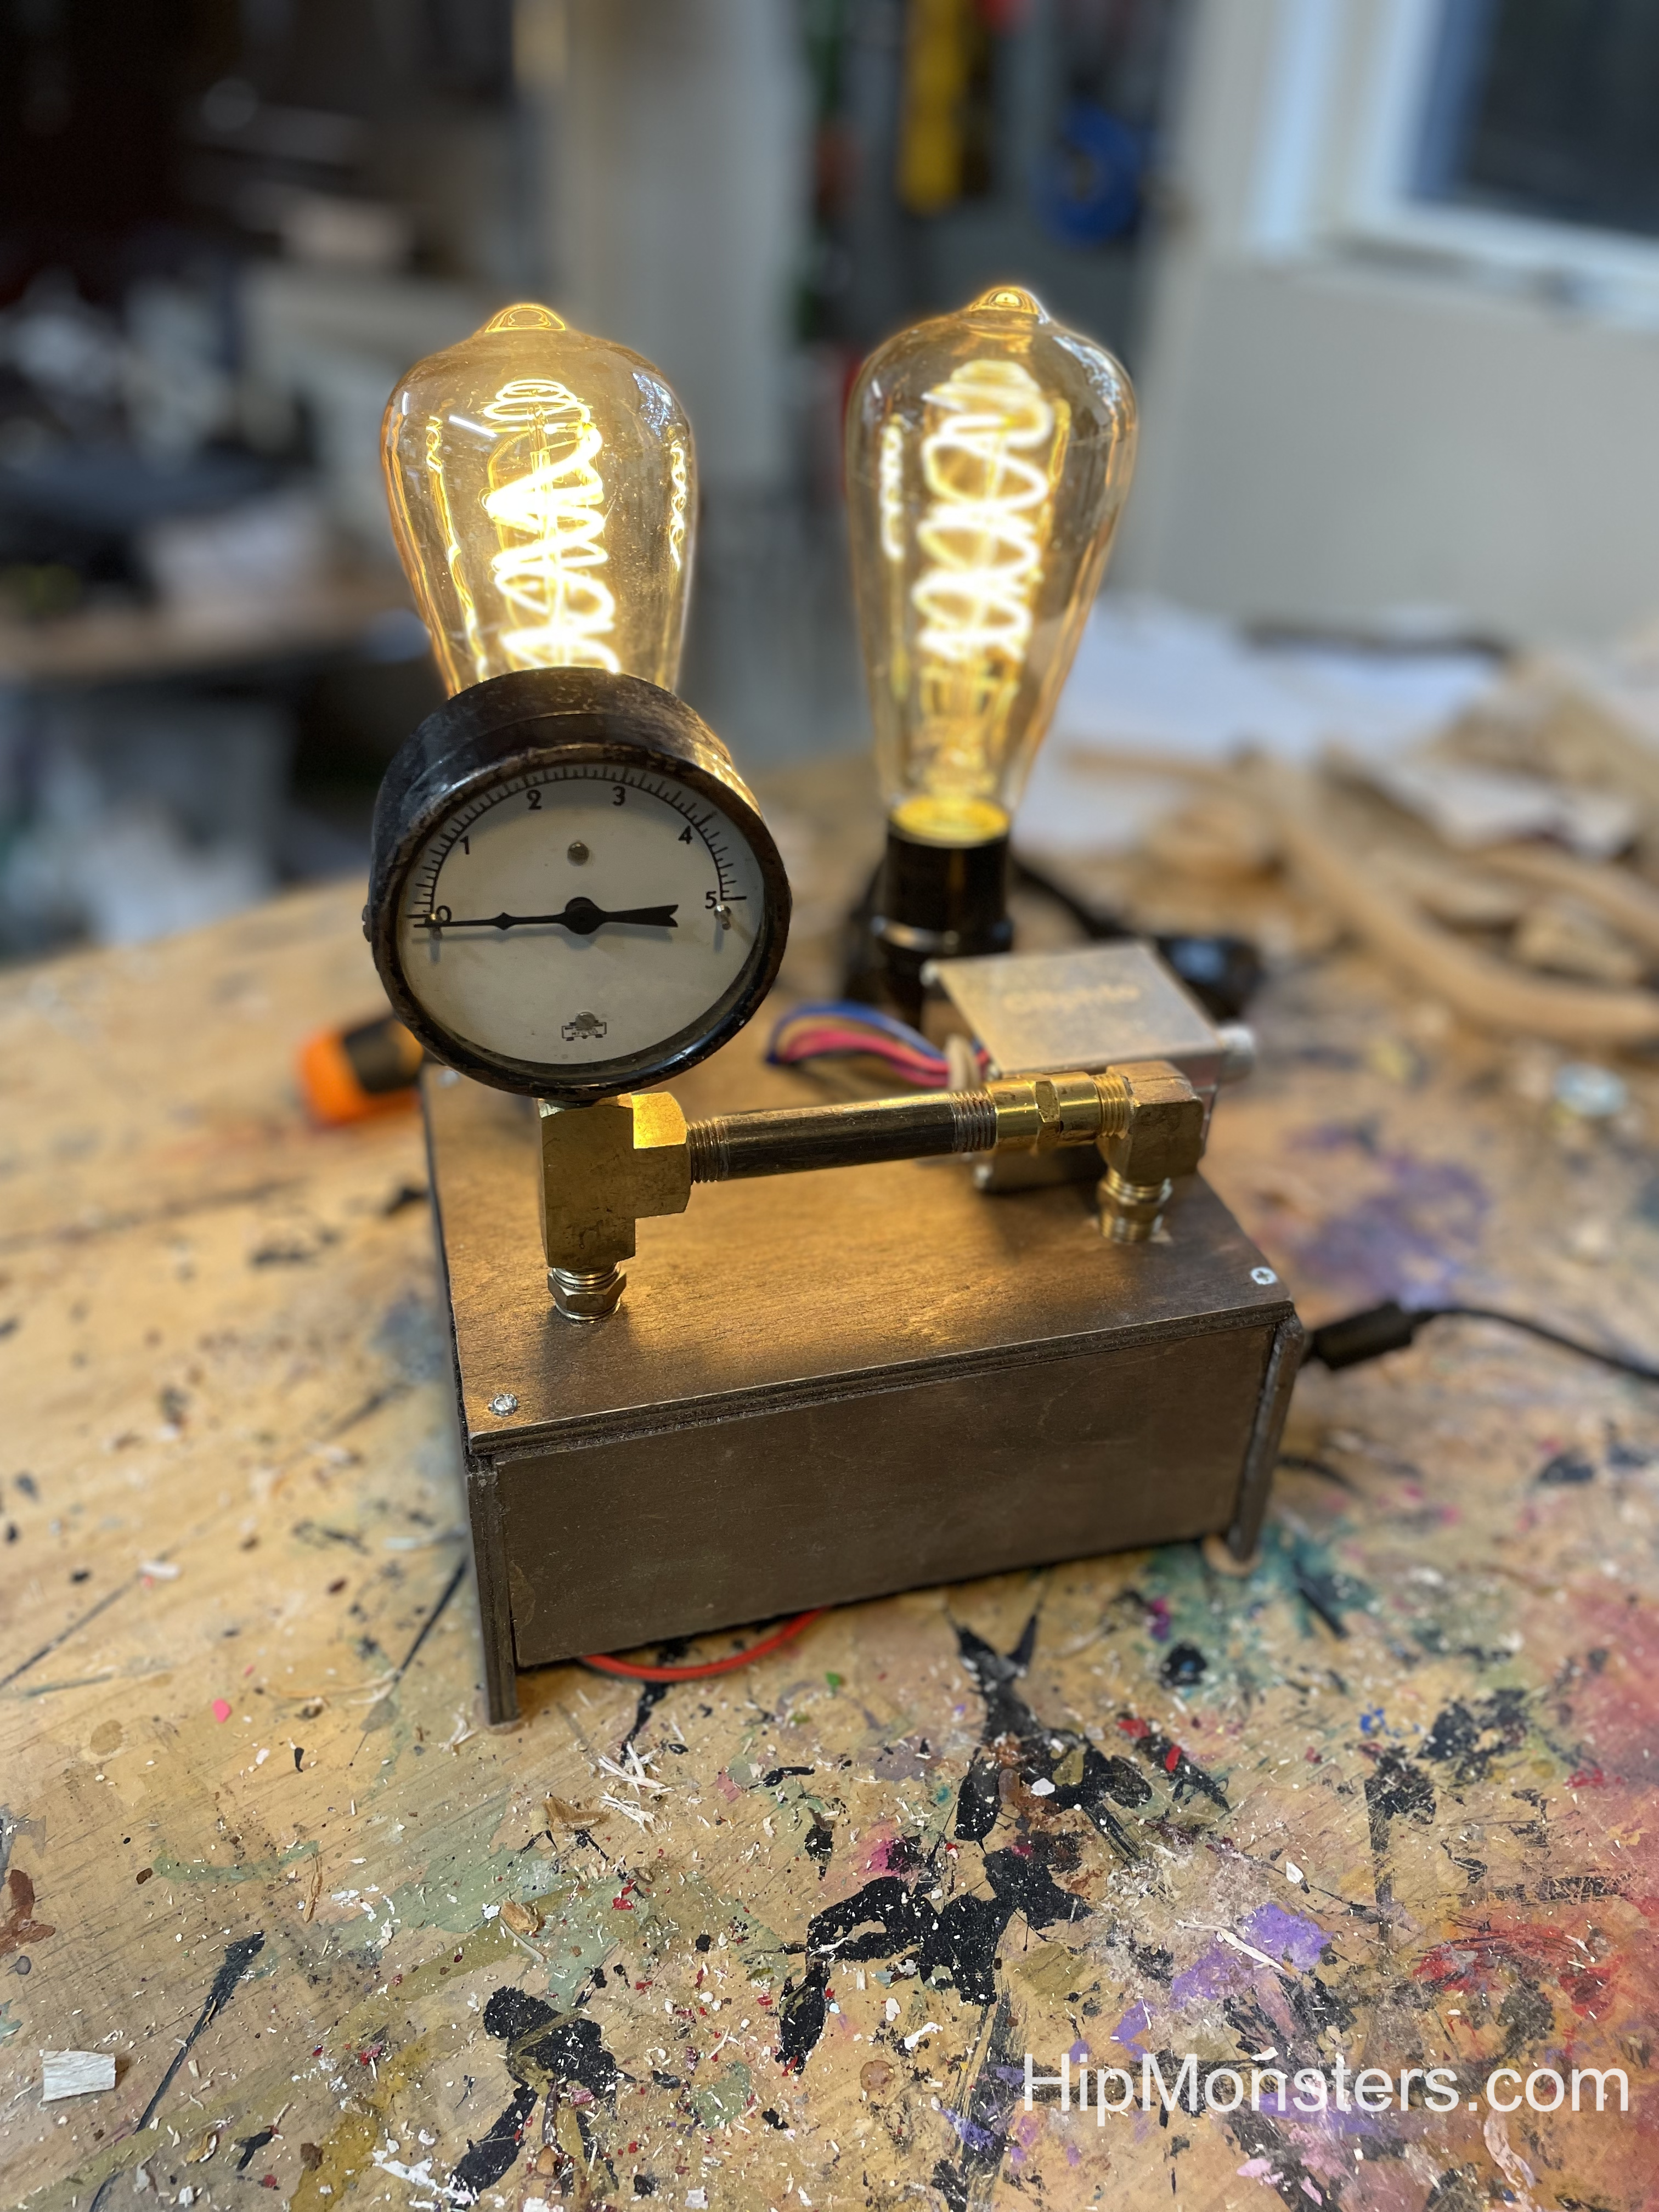
The Hip Monsters team decided to make something that interests people when they walk into the room. Inspired by Girl Genius. and this SteamPunk creation, we made a mysterious steampunk device that only we know the use of.
Our amazing steampunk device.
This is our steampunk creation. It has two light bulbs, a pressure gauge, and some metal pipes. The light bulbs’ brightness is adjustable.
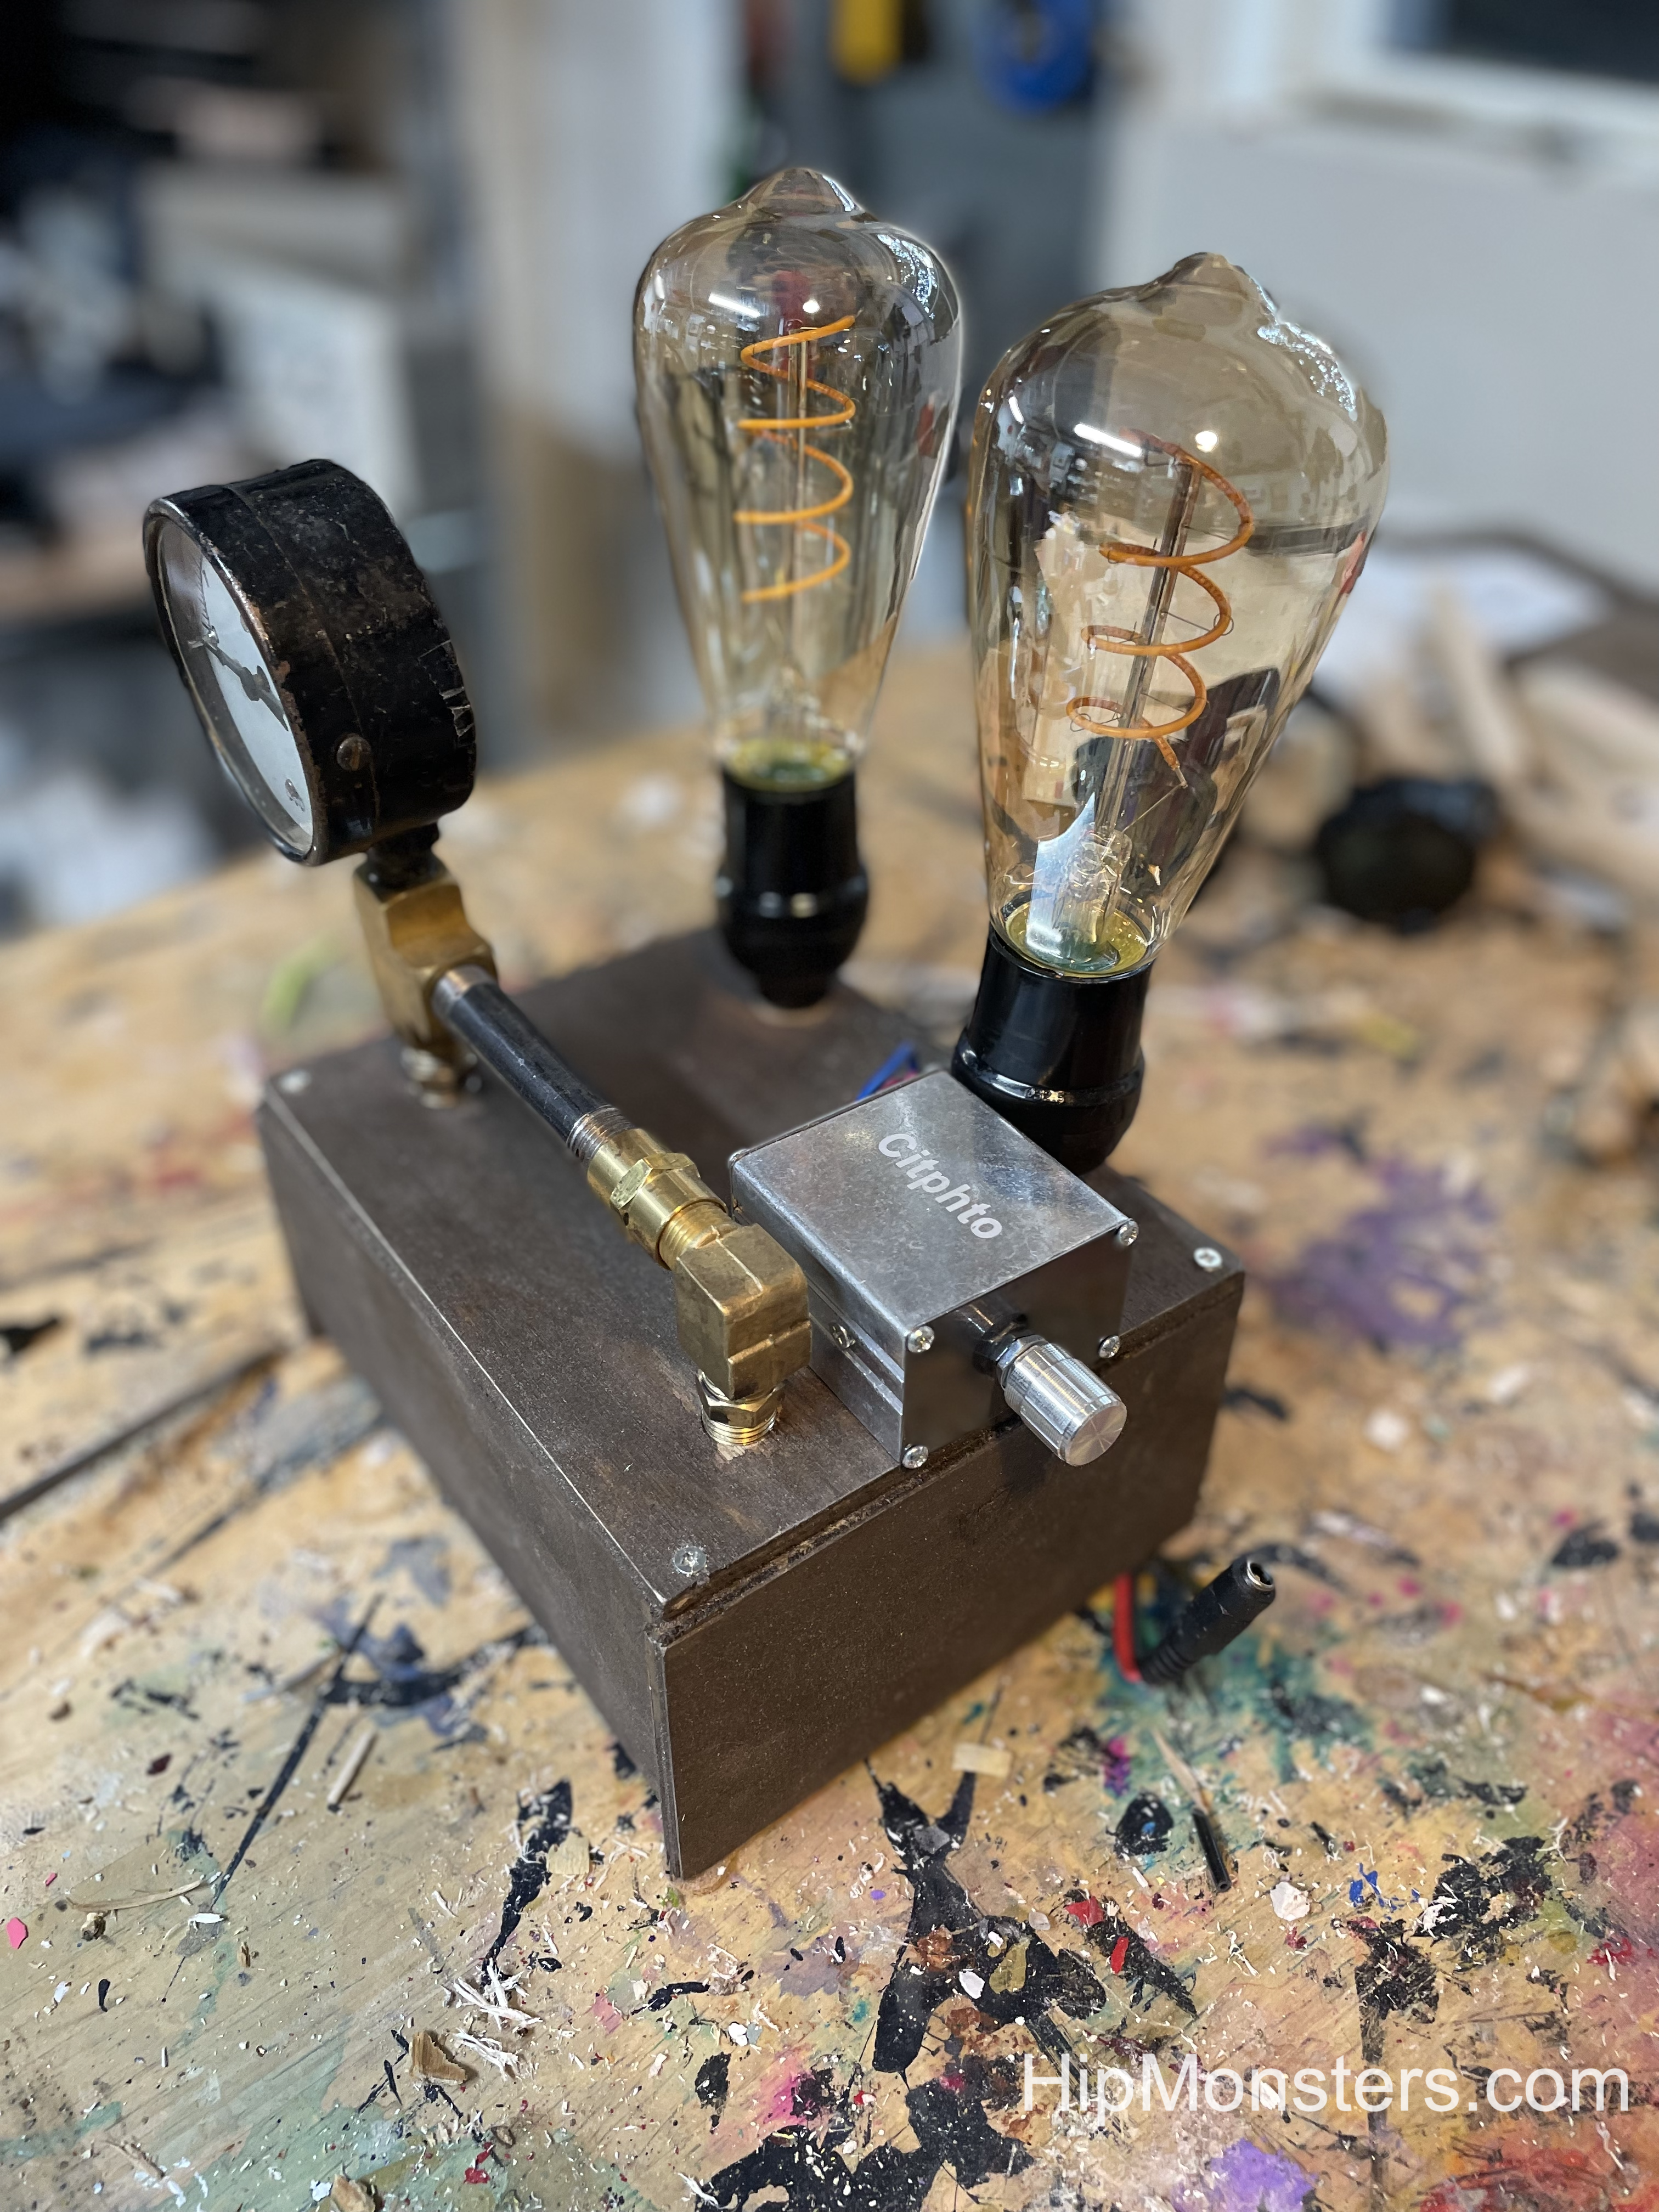
The side view
This is the side view of our device. You can see that on the side of the creation, there is a silver metal box. That controls the brightness of the lightbulbs.
The back view
On the back, you can see that there is a wire going from the silver box away from the device. that is where you plug in the device to the outlet. From the front it is barely noticeable, you can only see it from certain angles.
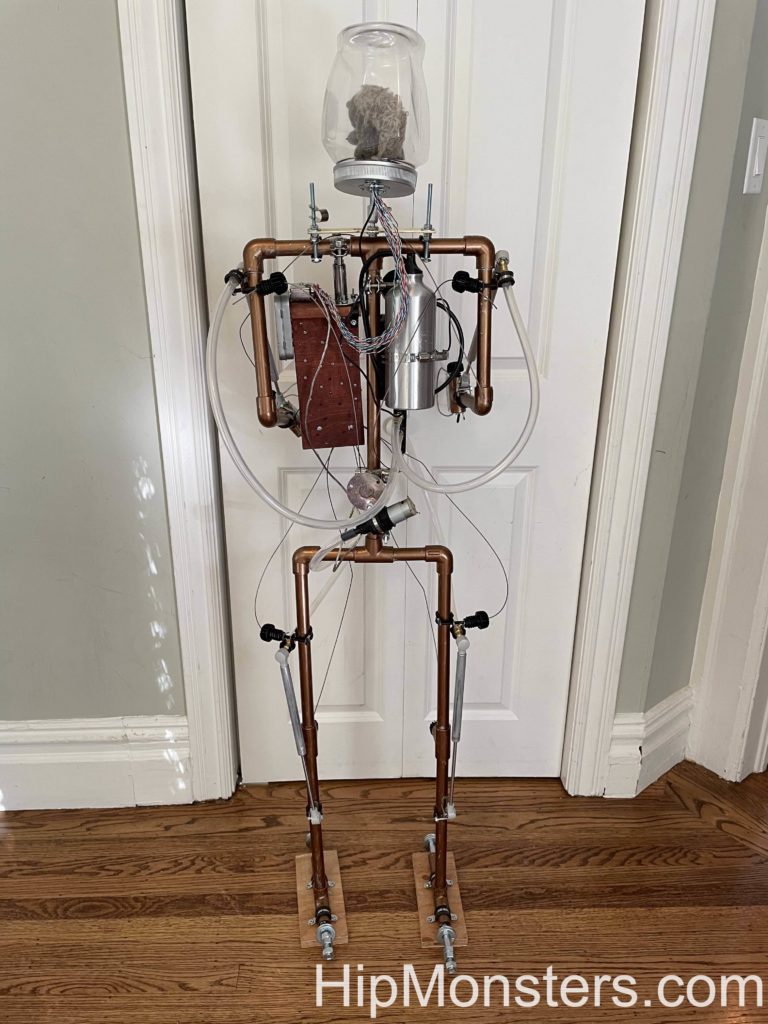
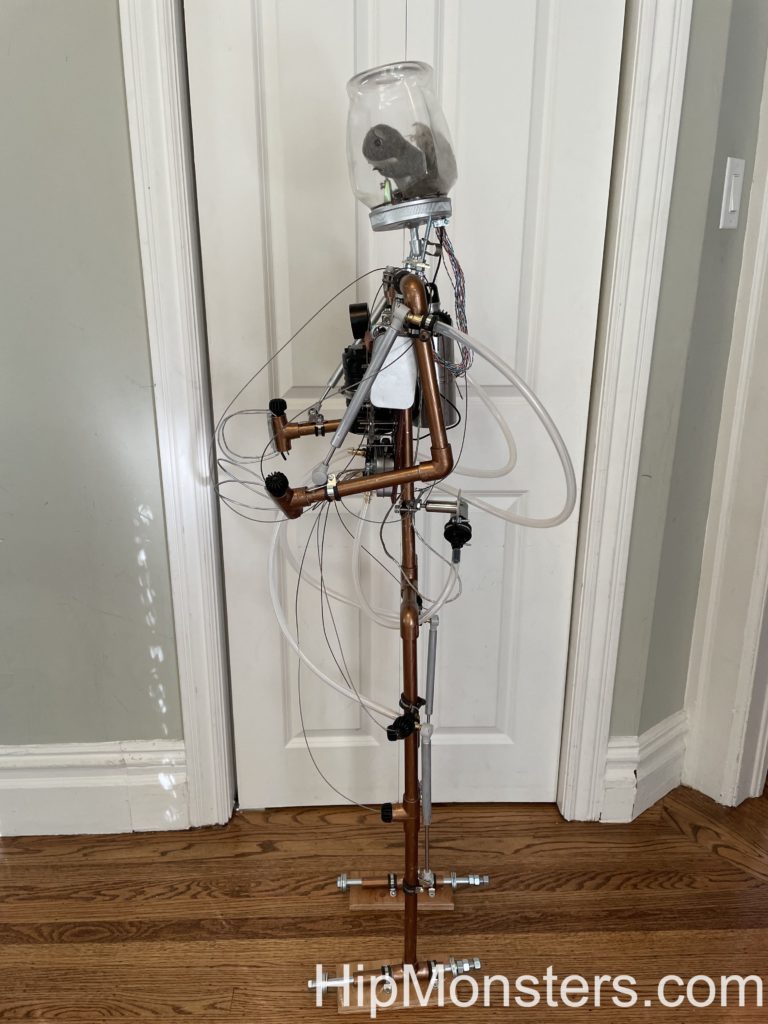
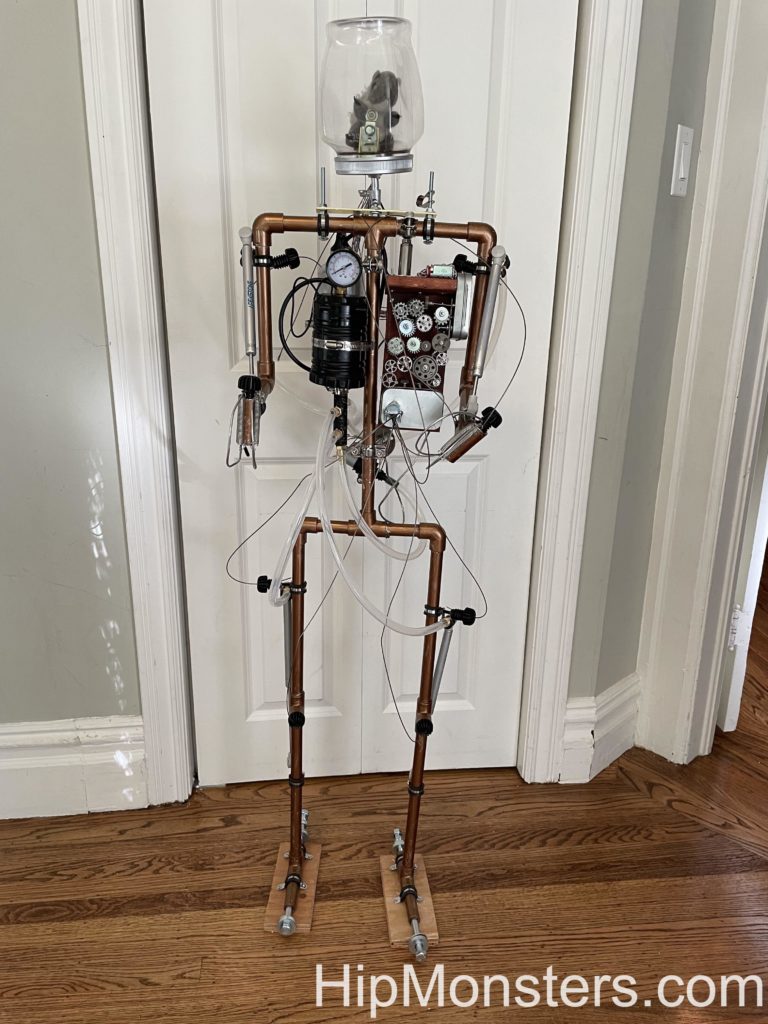
We saw the need for a new robot for halloween, so we made one. This is our steampunk squirrel powered robot Number 3. We wanted it to be as big as a kid to help with our Halloween decorations. Our other robots were small and not easy to see. Our plan was for a big robot with lights and room to grow as we came up with new ideas.
Please note, this material is provided for informational purposes only and is not a guide on how to create the designs. Please read our disclaimer.
Getting started
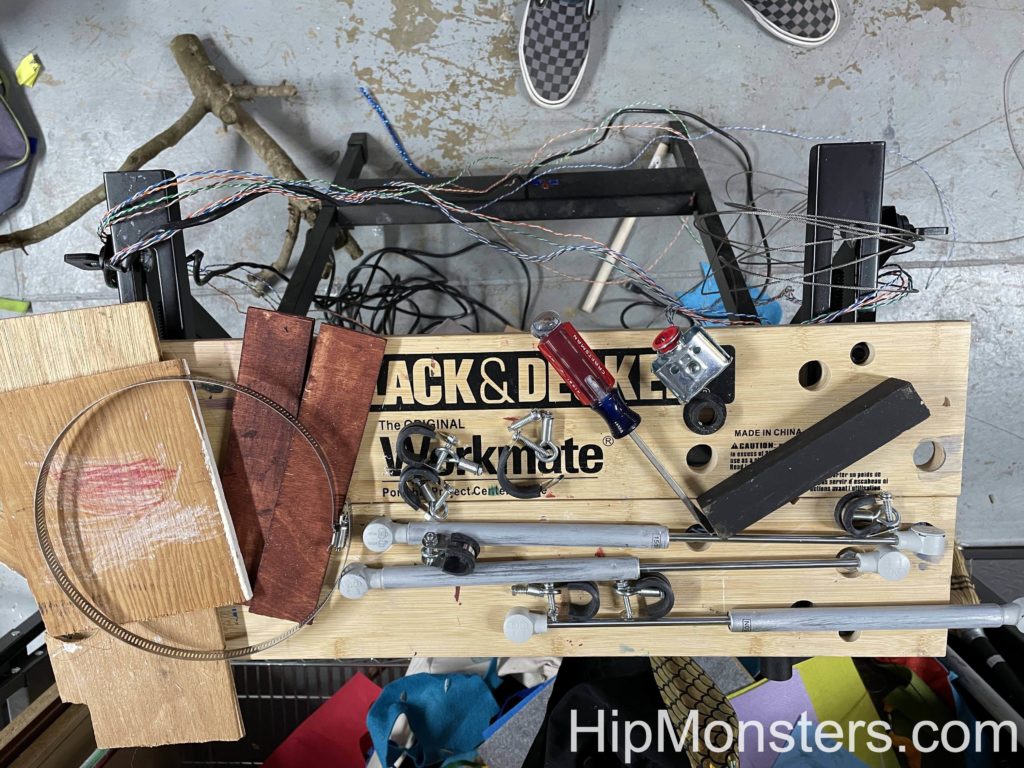
These are some of the parts that we used. We gathered most of it from unused parts from other projects. This project ended up being a great way to recycle old parts and scapes and it made it look even more steam-punky.
Scrape parts
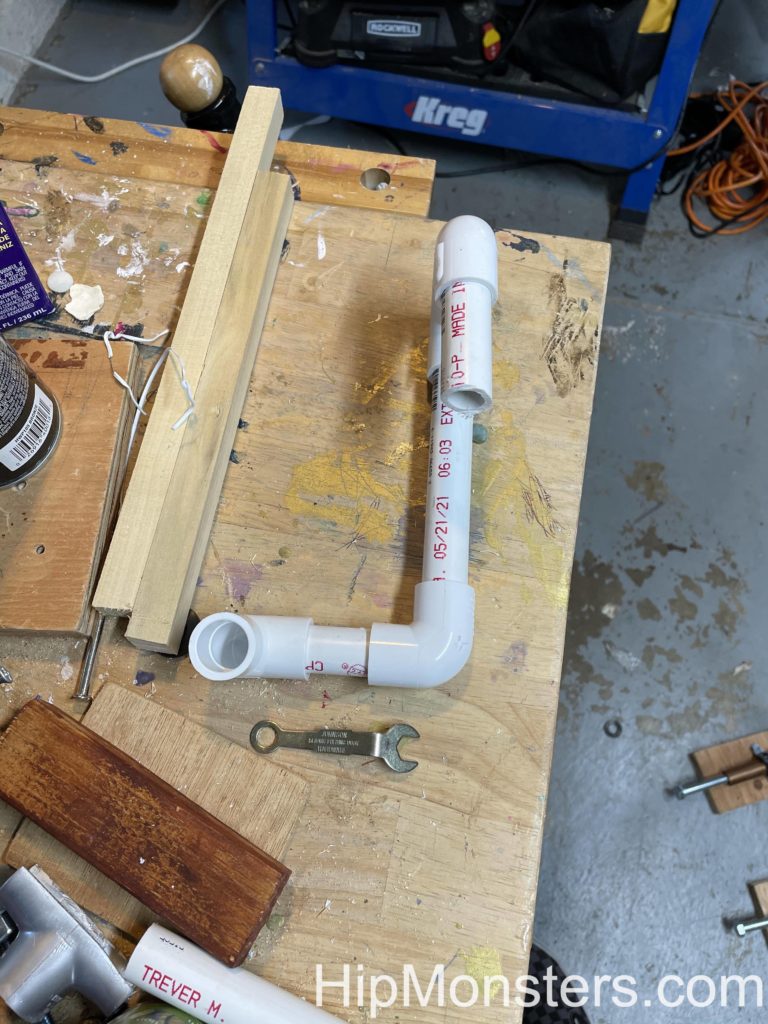
We used PVC pipes for the skeleton of our robot because its strong and lightweight. Also we had fitting from remodeling that would attach to the pipes and let us hangs details. The pipes are standard so if we did need to buy anything it would be easy.
Completed Robot
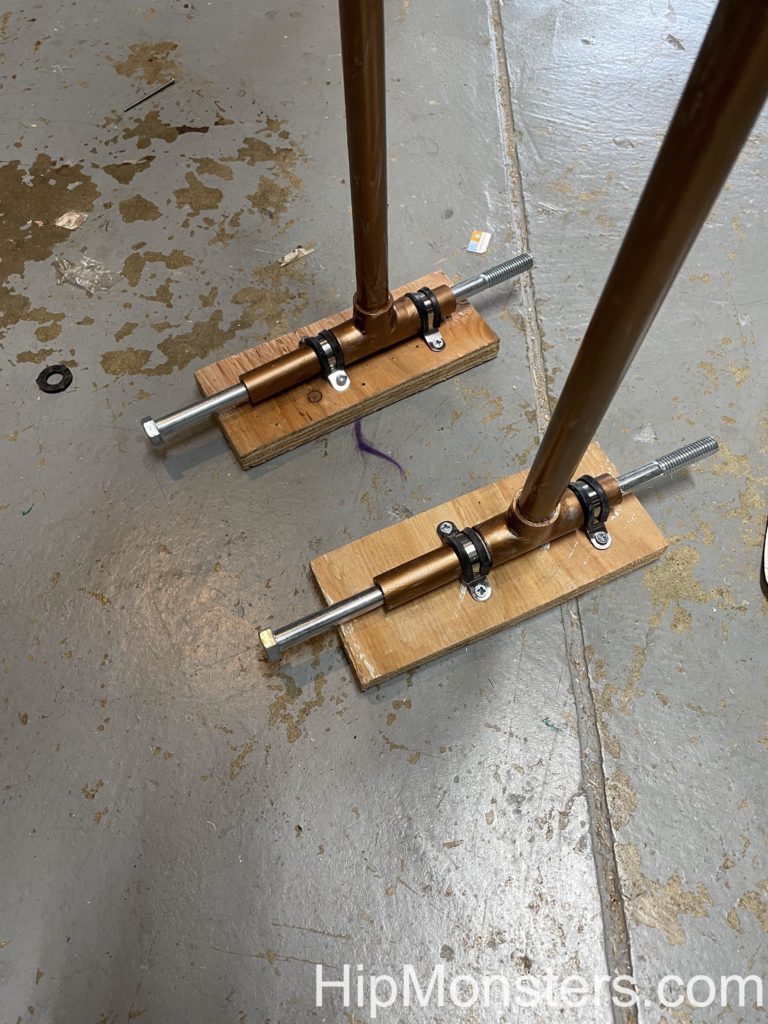
The image to the right is the completed robot. The starting images ended up not as good as we expected so the final image was the best to show how the tubing was used. First, we cut the pipes to the right size using one of us to figure out lengths arms, legs and spine. Then we assembled it and added feet to keep it stable as we worked. The feet were harder than expected to get the right balance and weight. We used concrete bolts with extra washers as needed.
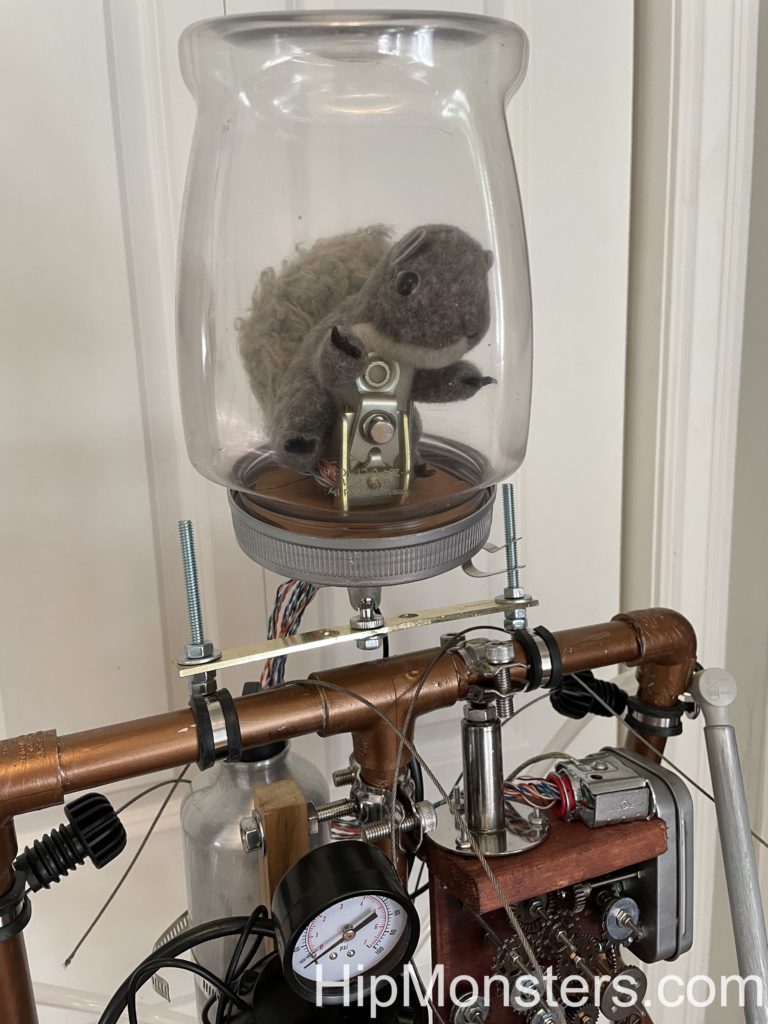
Then we assembled the PVC pipes and painted it with two coats. The first was sliver; the second was bronze. Next, we used an old security camera mount and attached a plastic jar on the neck. We added a toy squirrel inside and a few parts that looked like little controls for it. We named the squirrel Professor Brookenhoff.
For a fake engine core we used an old battery powered lantern connected to an old water bottle.
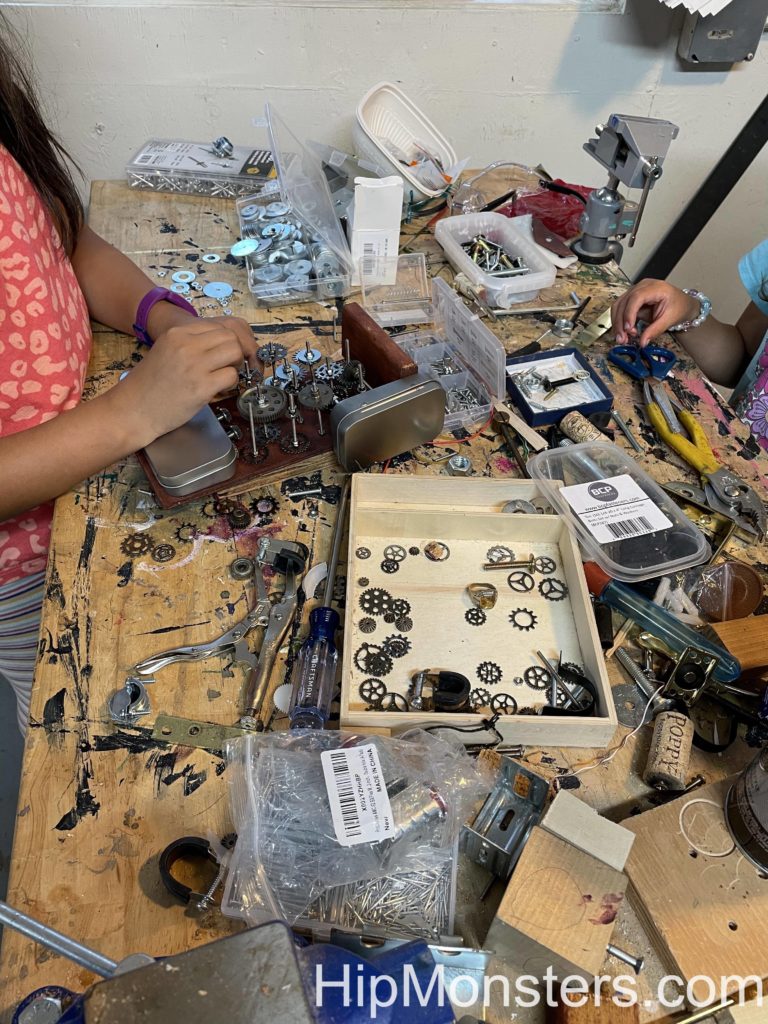
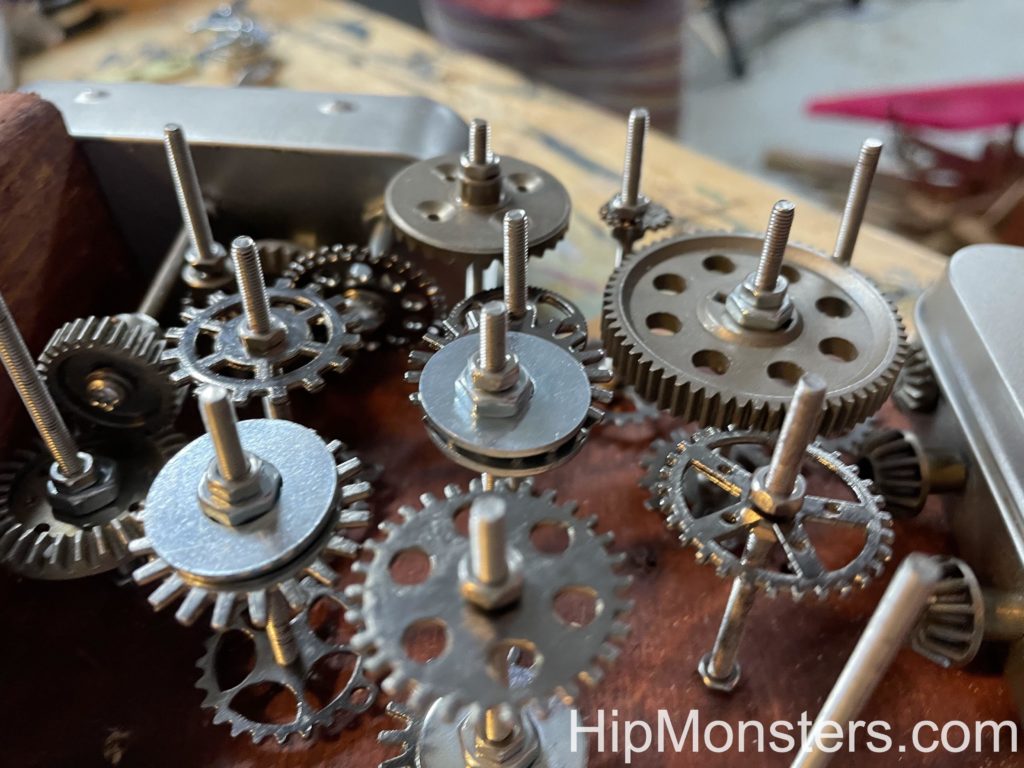
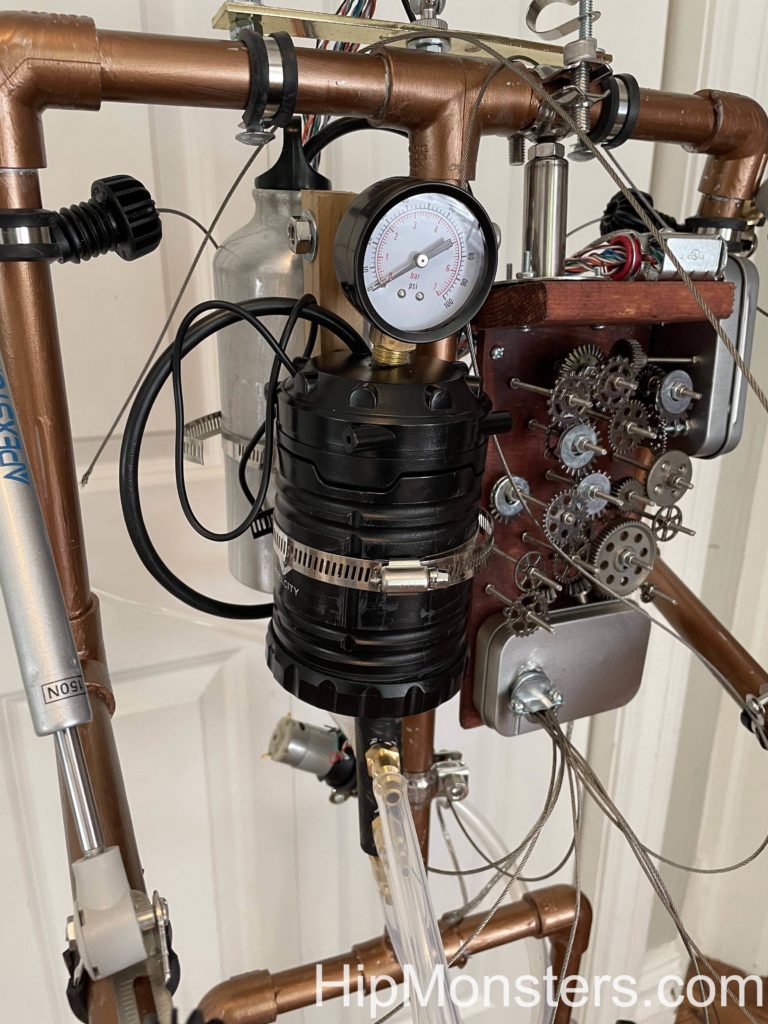
Assembling the gear box
Now we started on the fake control box. To make is steampunk we used gears and only a few wires. Then we assembled the gears to control the robot. We used old wood as a base and stain and distressed it by hitting it with a hammer.
After that, we drilled a bunch of holes on the back and put thin, long bolts through them to create a framework for the gears. Before we assembled it we laid out the gears on the table in the pattern we wanted then transferred the gears to the rig. You must remember to lay out the gears in the opposite way you want them in the rig.
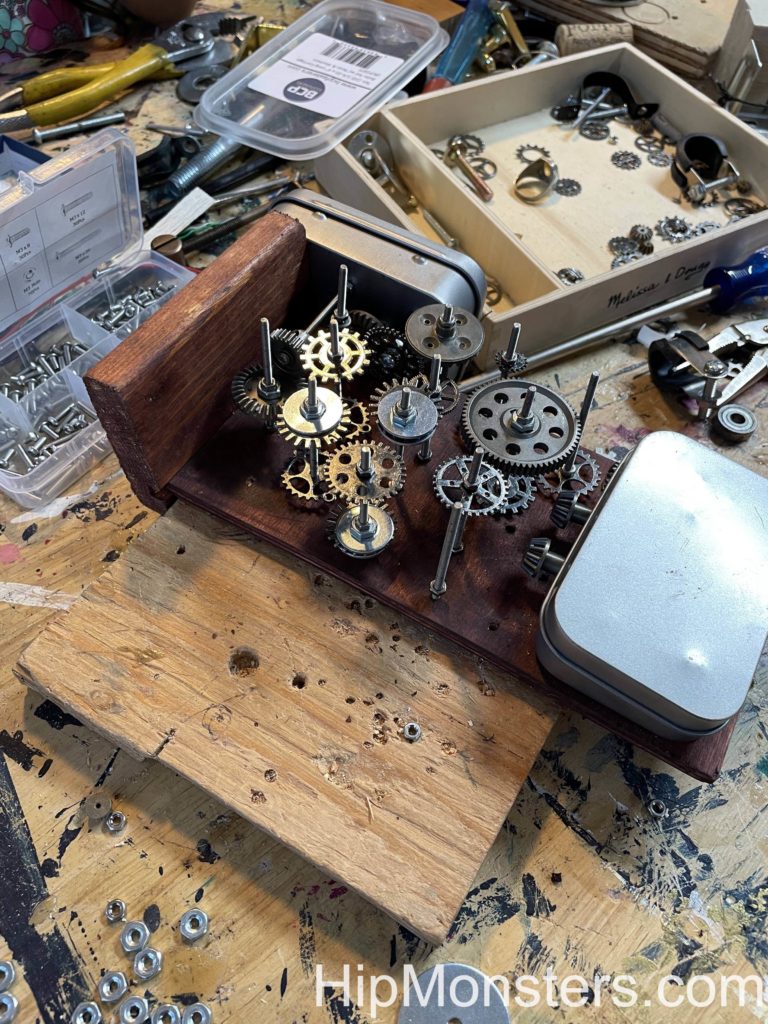
Side view of the gear box
Here is a view of gears completed with the control boxes on each side.
The gears took the most time and ended up being a lot harder than we imagined. It was difficult to screw the tiny nuts into place to give it a 3d look. Also, the bolts proved to be sharp. We attached some gears to the side of the control boxes so it would look like they actually controlled the gears.
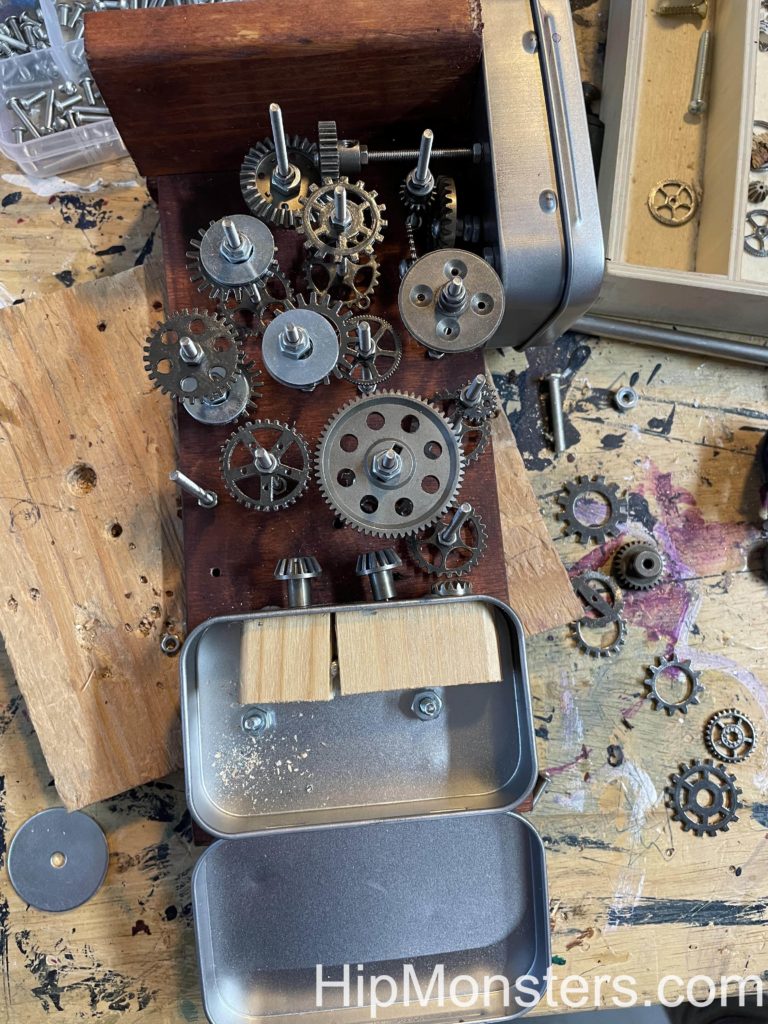
Close up of the gear box
Then we attached a box to run the wirer through. We had a plan on the gears, engine, wire, pistons that we made before we started work that was our best attempt at design an honest working robot. The things we added is what Number 3 would have needed if it was real.
Side view
We then added a second box next to the gears for attaching the control wires.
Close up
Here is a close up of the gears. Getting a 3-D design is important to make it look real. Each gear needs two bolts. One on top and one on the bottom. Make sure they are tightly screwed together.
Back view
Now we focused on putting on details that would make it look like Number 3 could move. Since it was supposed to be steam powered we used four left over pistons. We attached pneumatic tubing to the pistons then attached the other end to the engine. The idea is the power from the engine would create steam, and Professor Brookenhoff would give commands to the gears which would send the steam to the right piston to make it move. The idea of the head came from Carmichael from The Umbrella Academy.
Close up of the feet
As we added more details to Number 3, we also needed to add more heavy things to the feet for stability.
Close up of the head
A close up of Professor Brookenhoff piloting Number 3.
Close up of the chest
A close up of the tubing from the engine to the joints.
Side View
Number 3 from side view. Here you can see the hands which also ended up being hard to make. Finally we made the hands out of wires and springs so it can hold things.
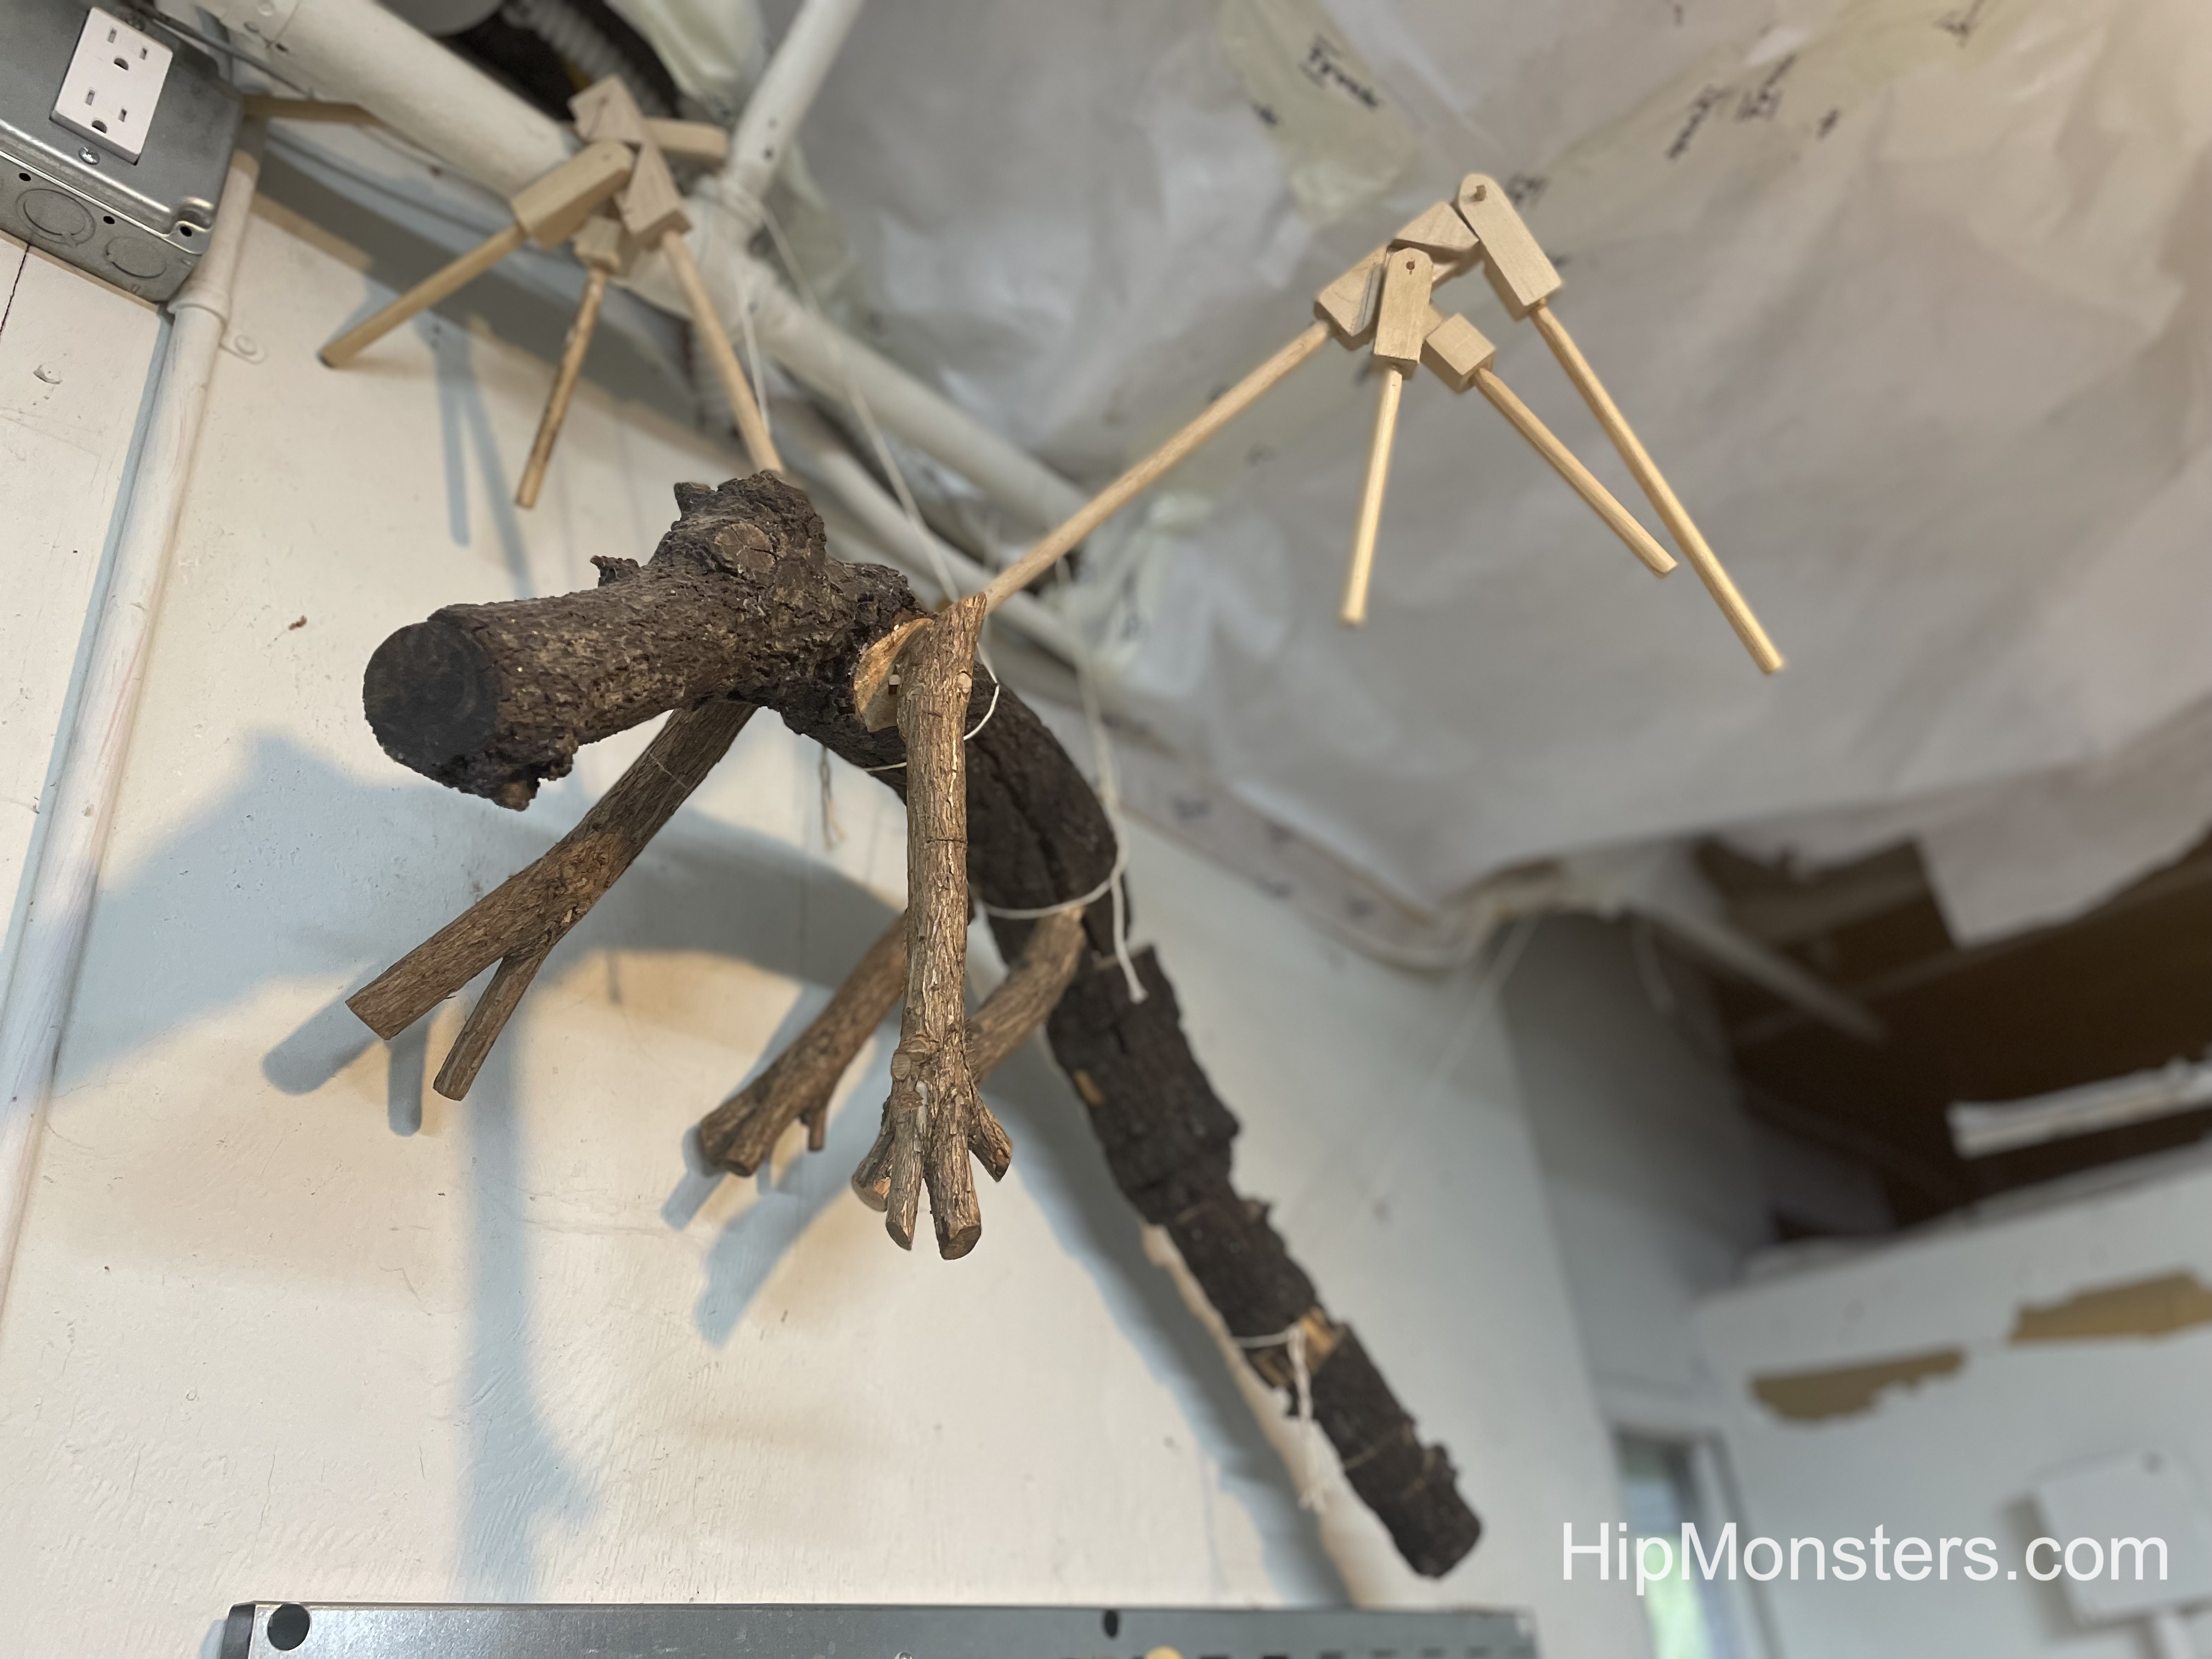
Born from one of our favorite bushes and a failed costume, Lin the dragon was our most complex monster at that time.
Flying free!
Lin has posable legs, tail and wings. The legs can barely support her so we decided to hang her from the ceiling to watch over us as we craft.
Side viewClose up of a wing joint
The wings are from a dragon costume we were building that proved to be too heavy. The tail is made by repeatedly cutting the log and threading a steal wire through them to secure it.
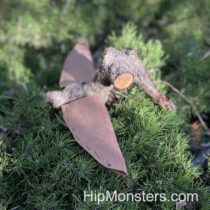
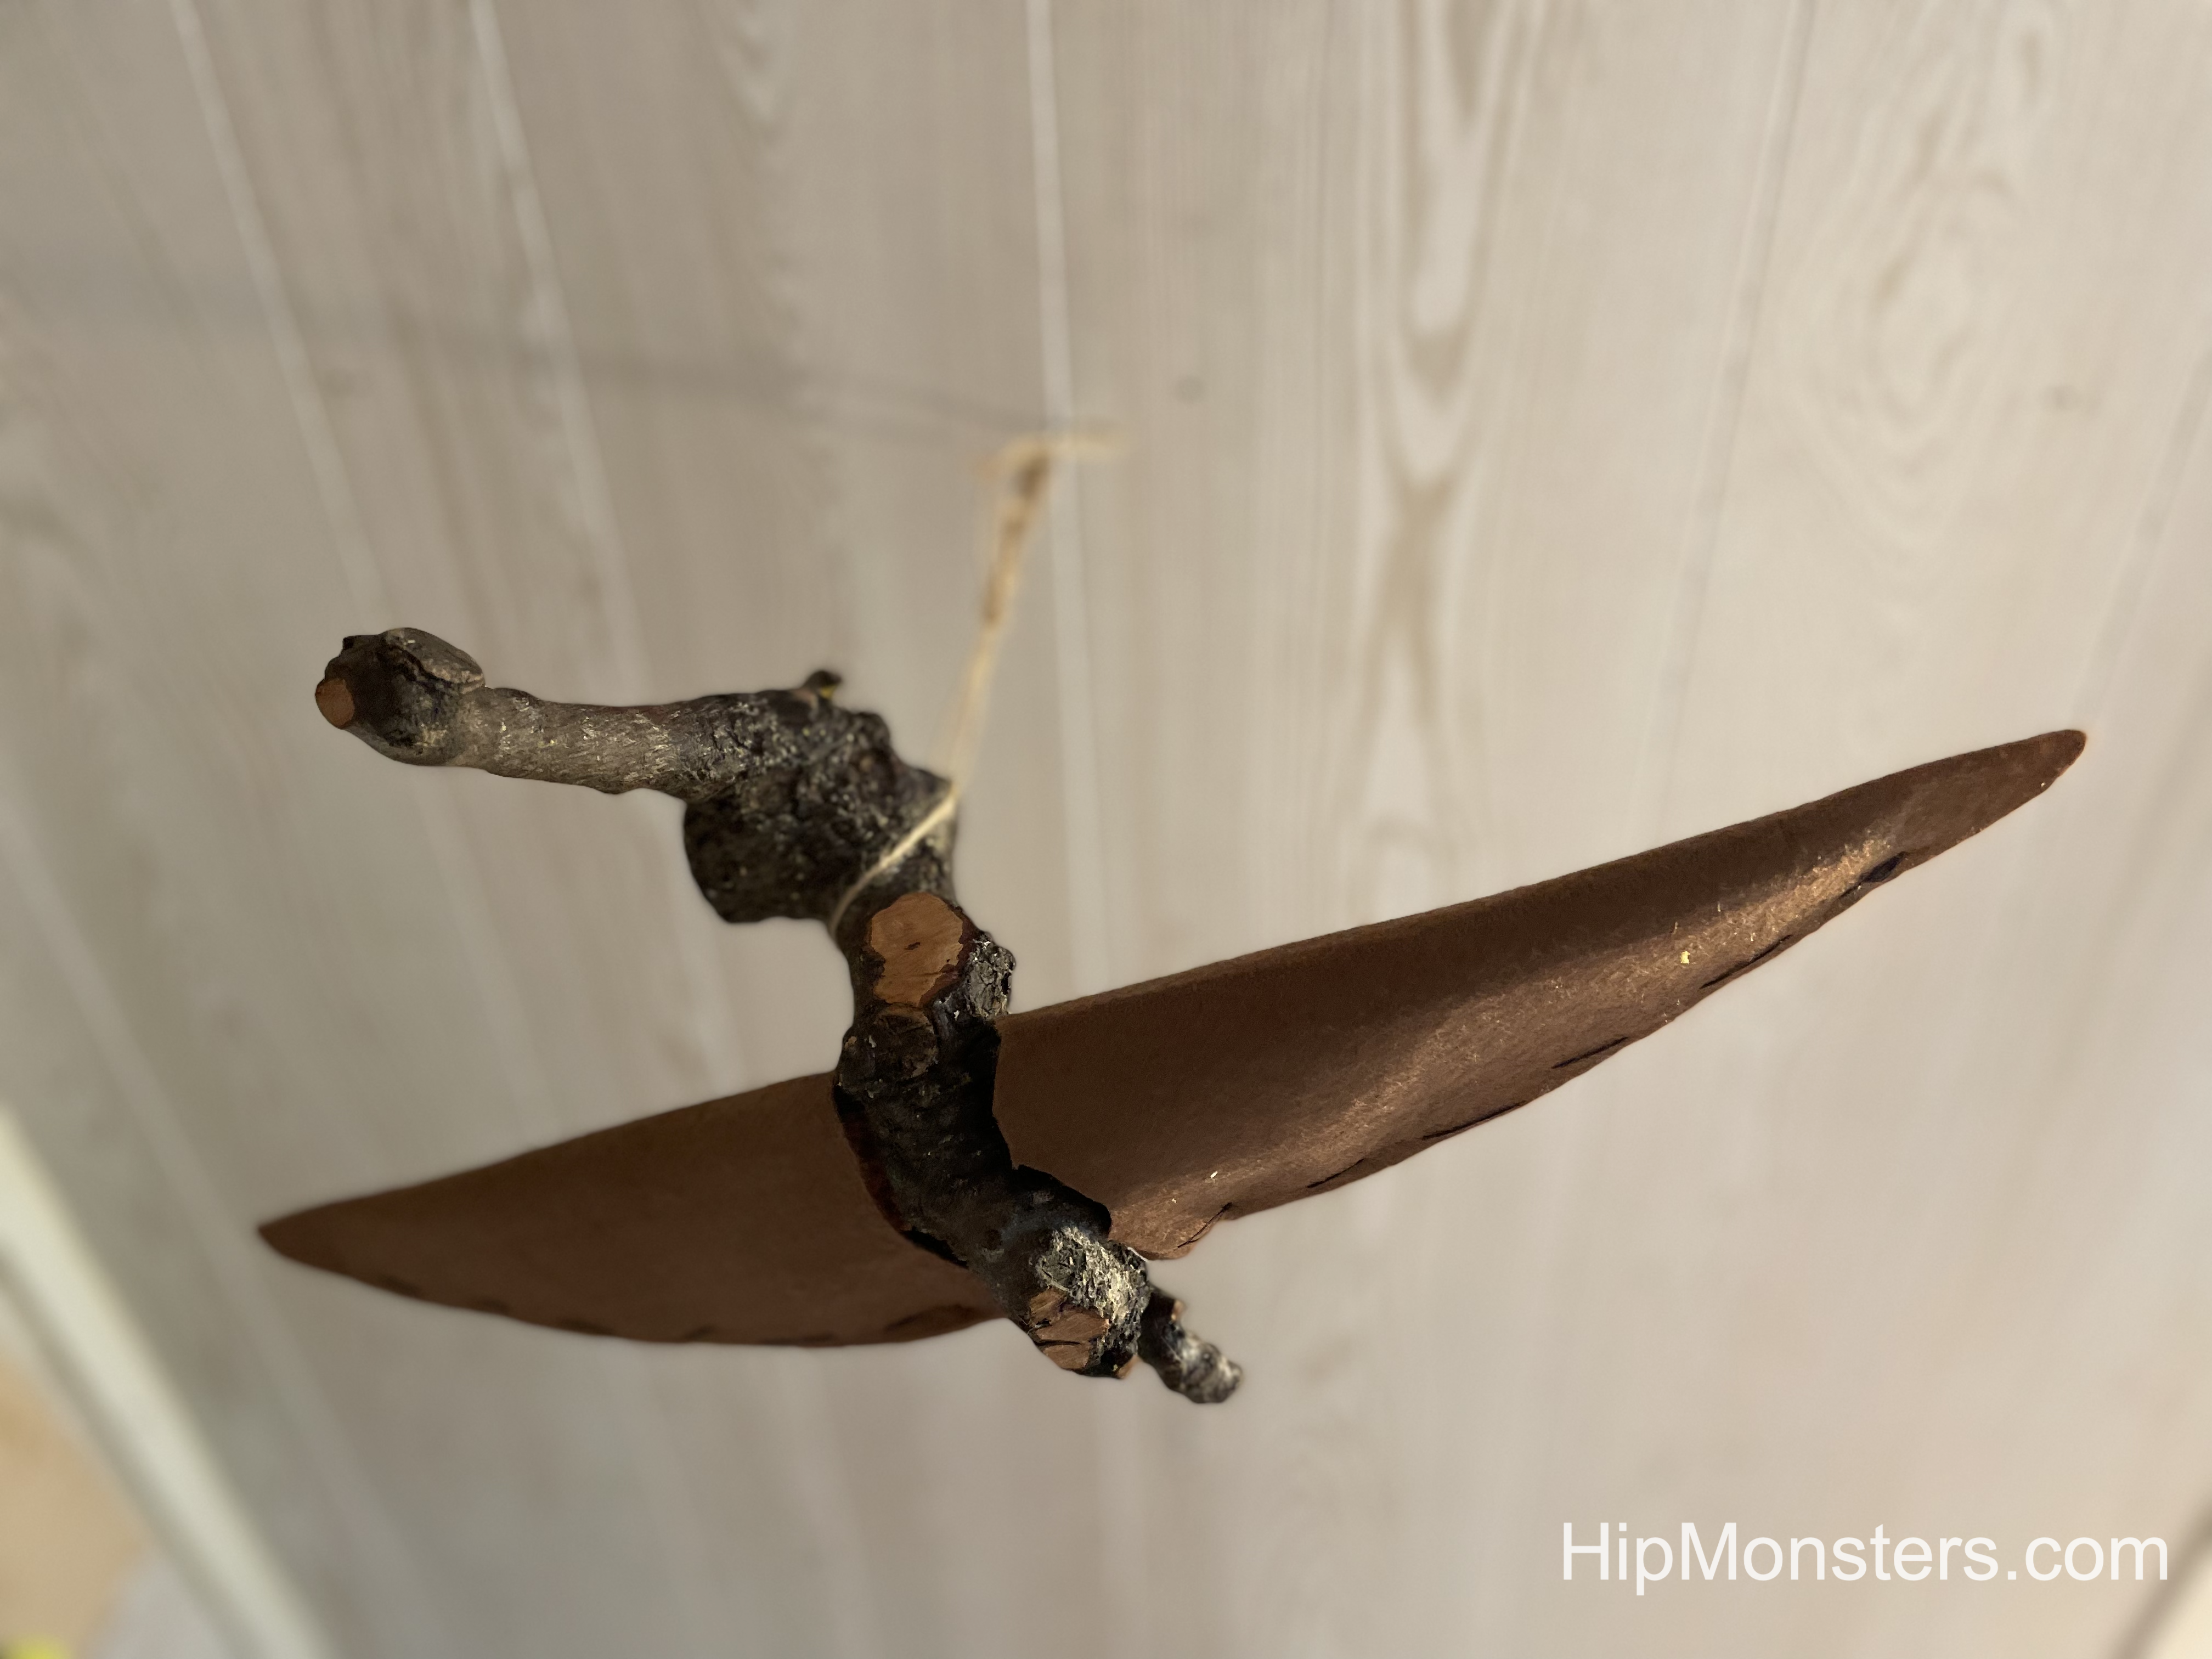
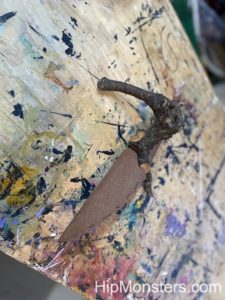
The hummingbird monster was made from a branch too weak to be used for other projects. We decided to make it into a hummingbird because it already had a long beak, and the body was already shaped like a bird. After lots of trimming, sanding, and bees wax, we added felt and wire wings.
Bottom view
Hung from the ceiling, the humming bird monster comes to life.
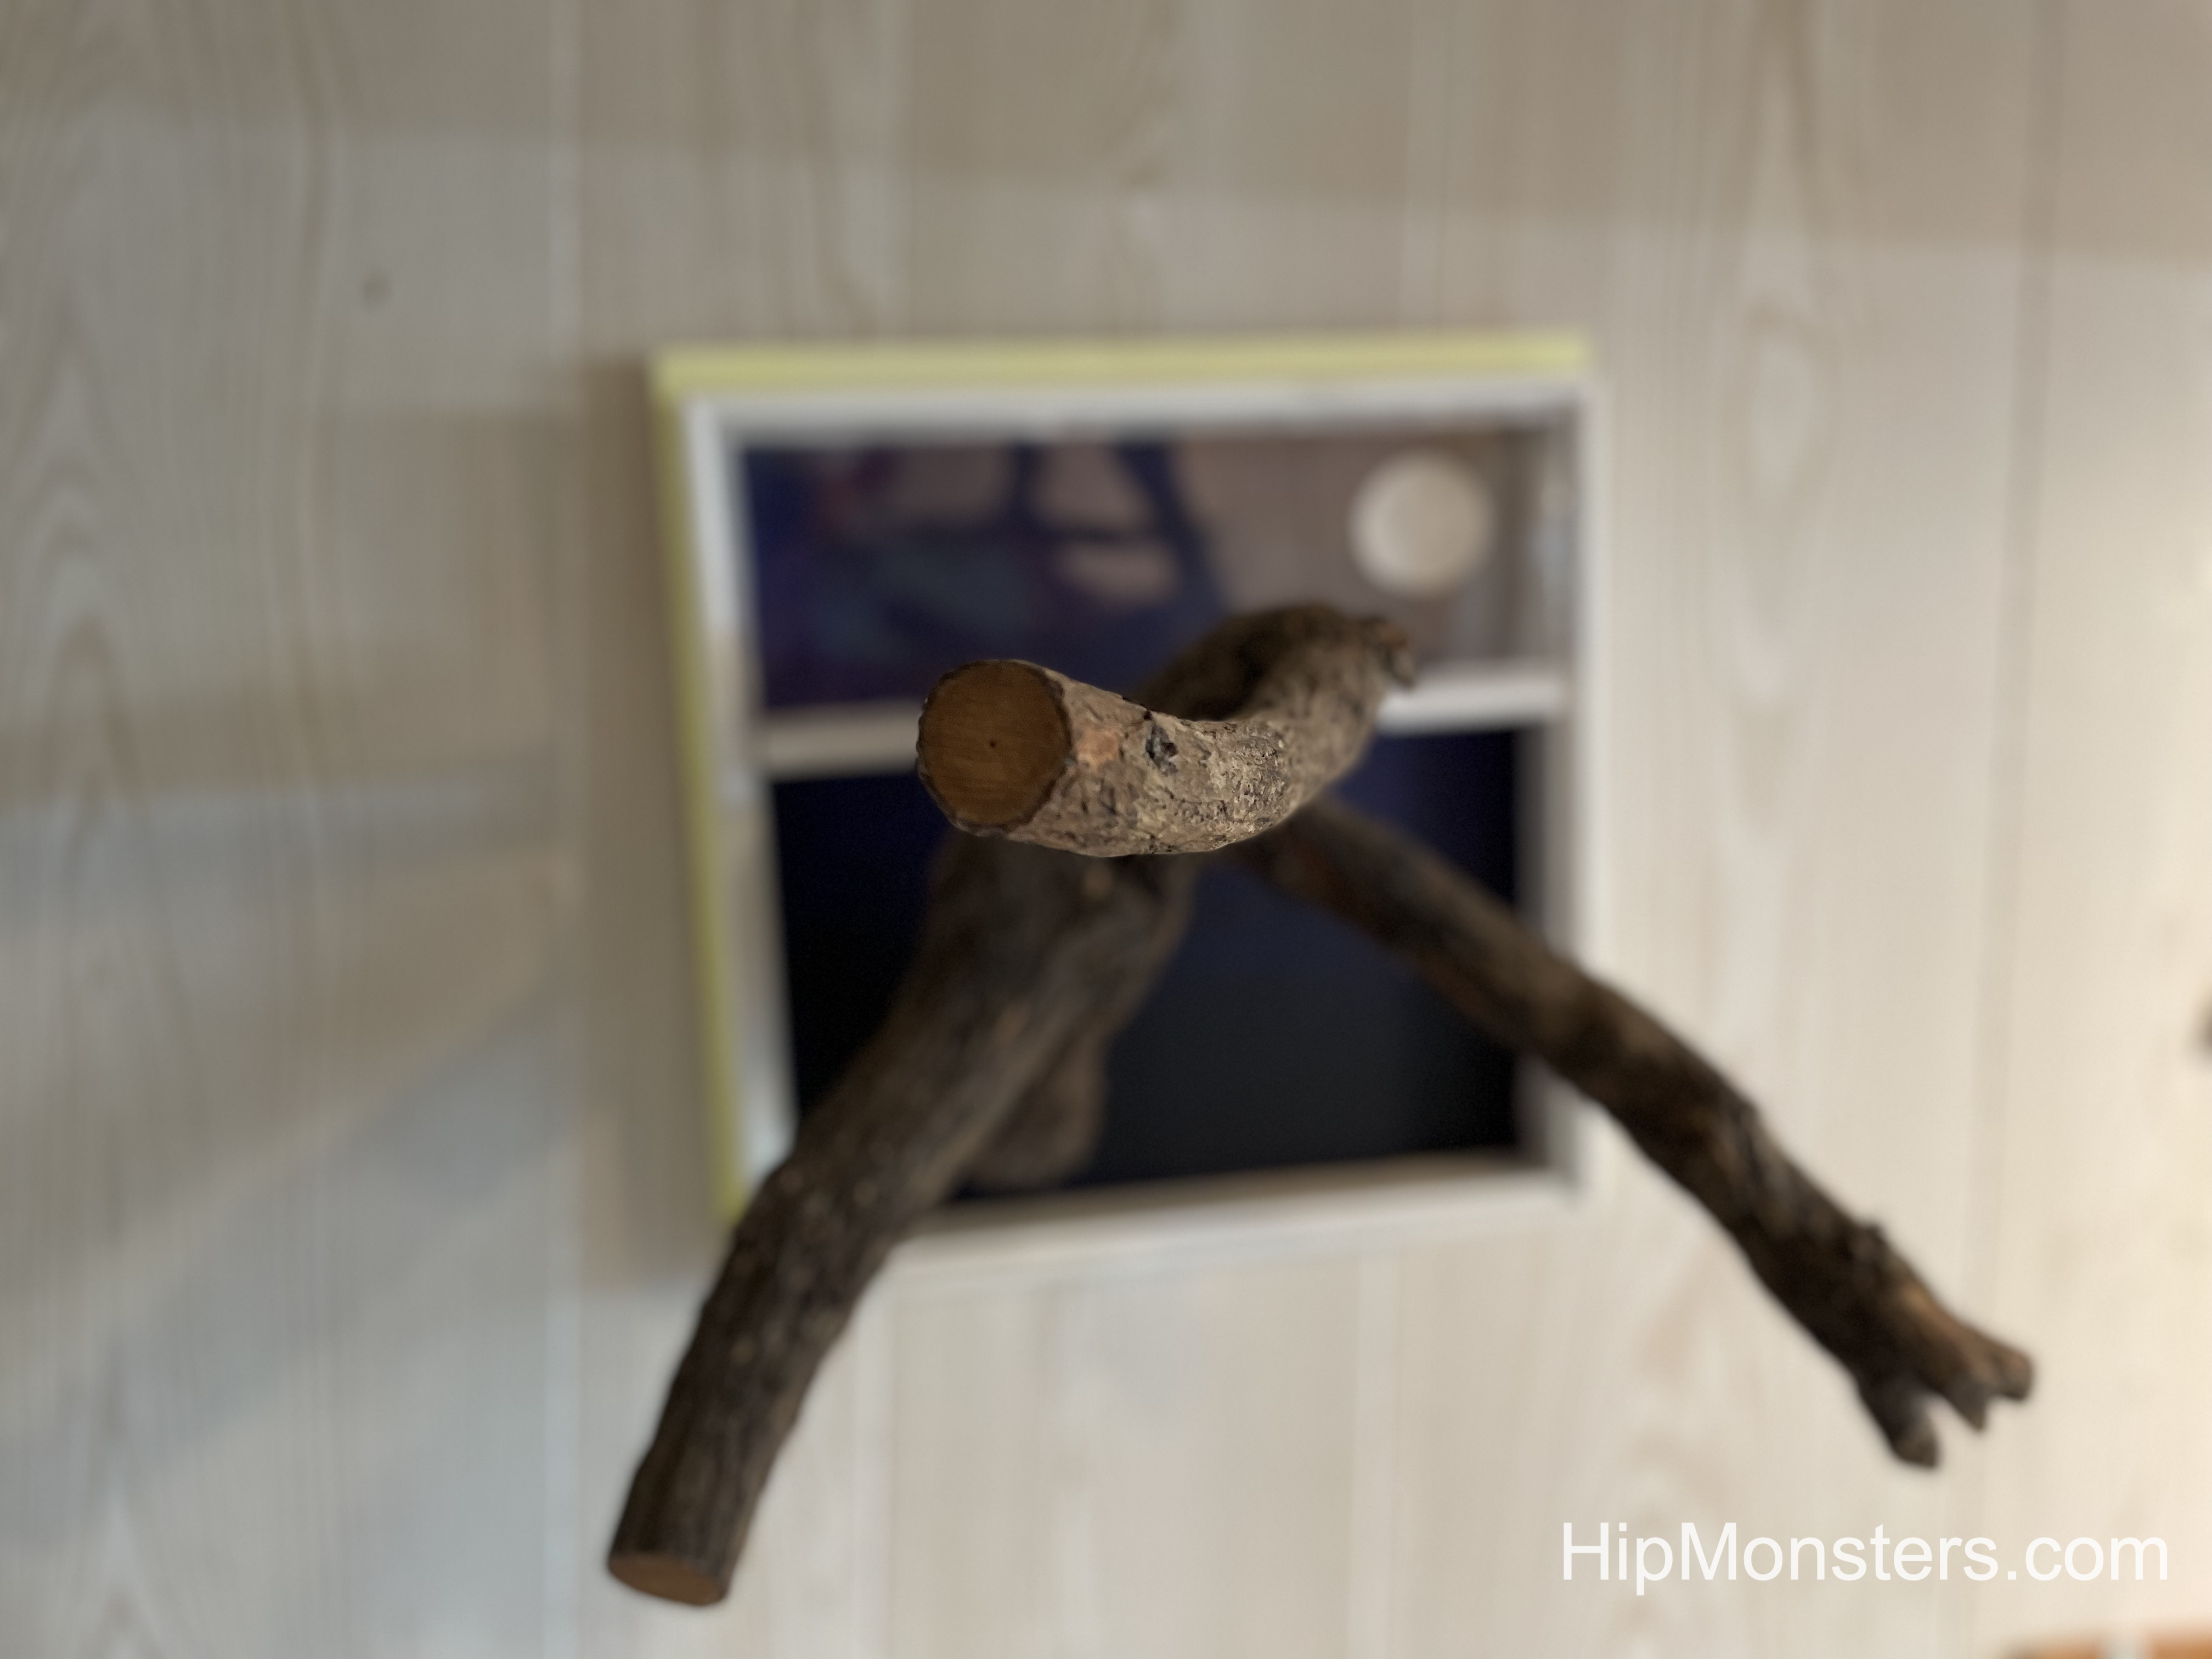
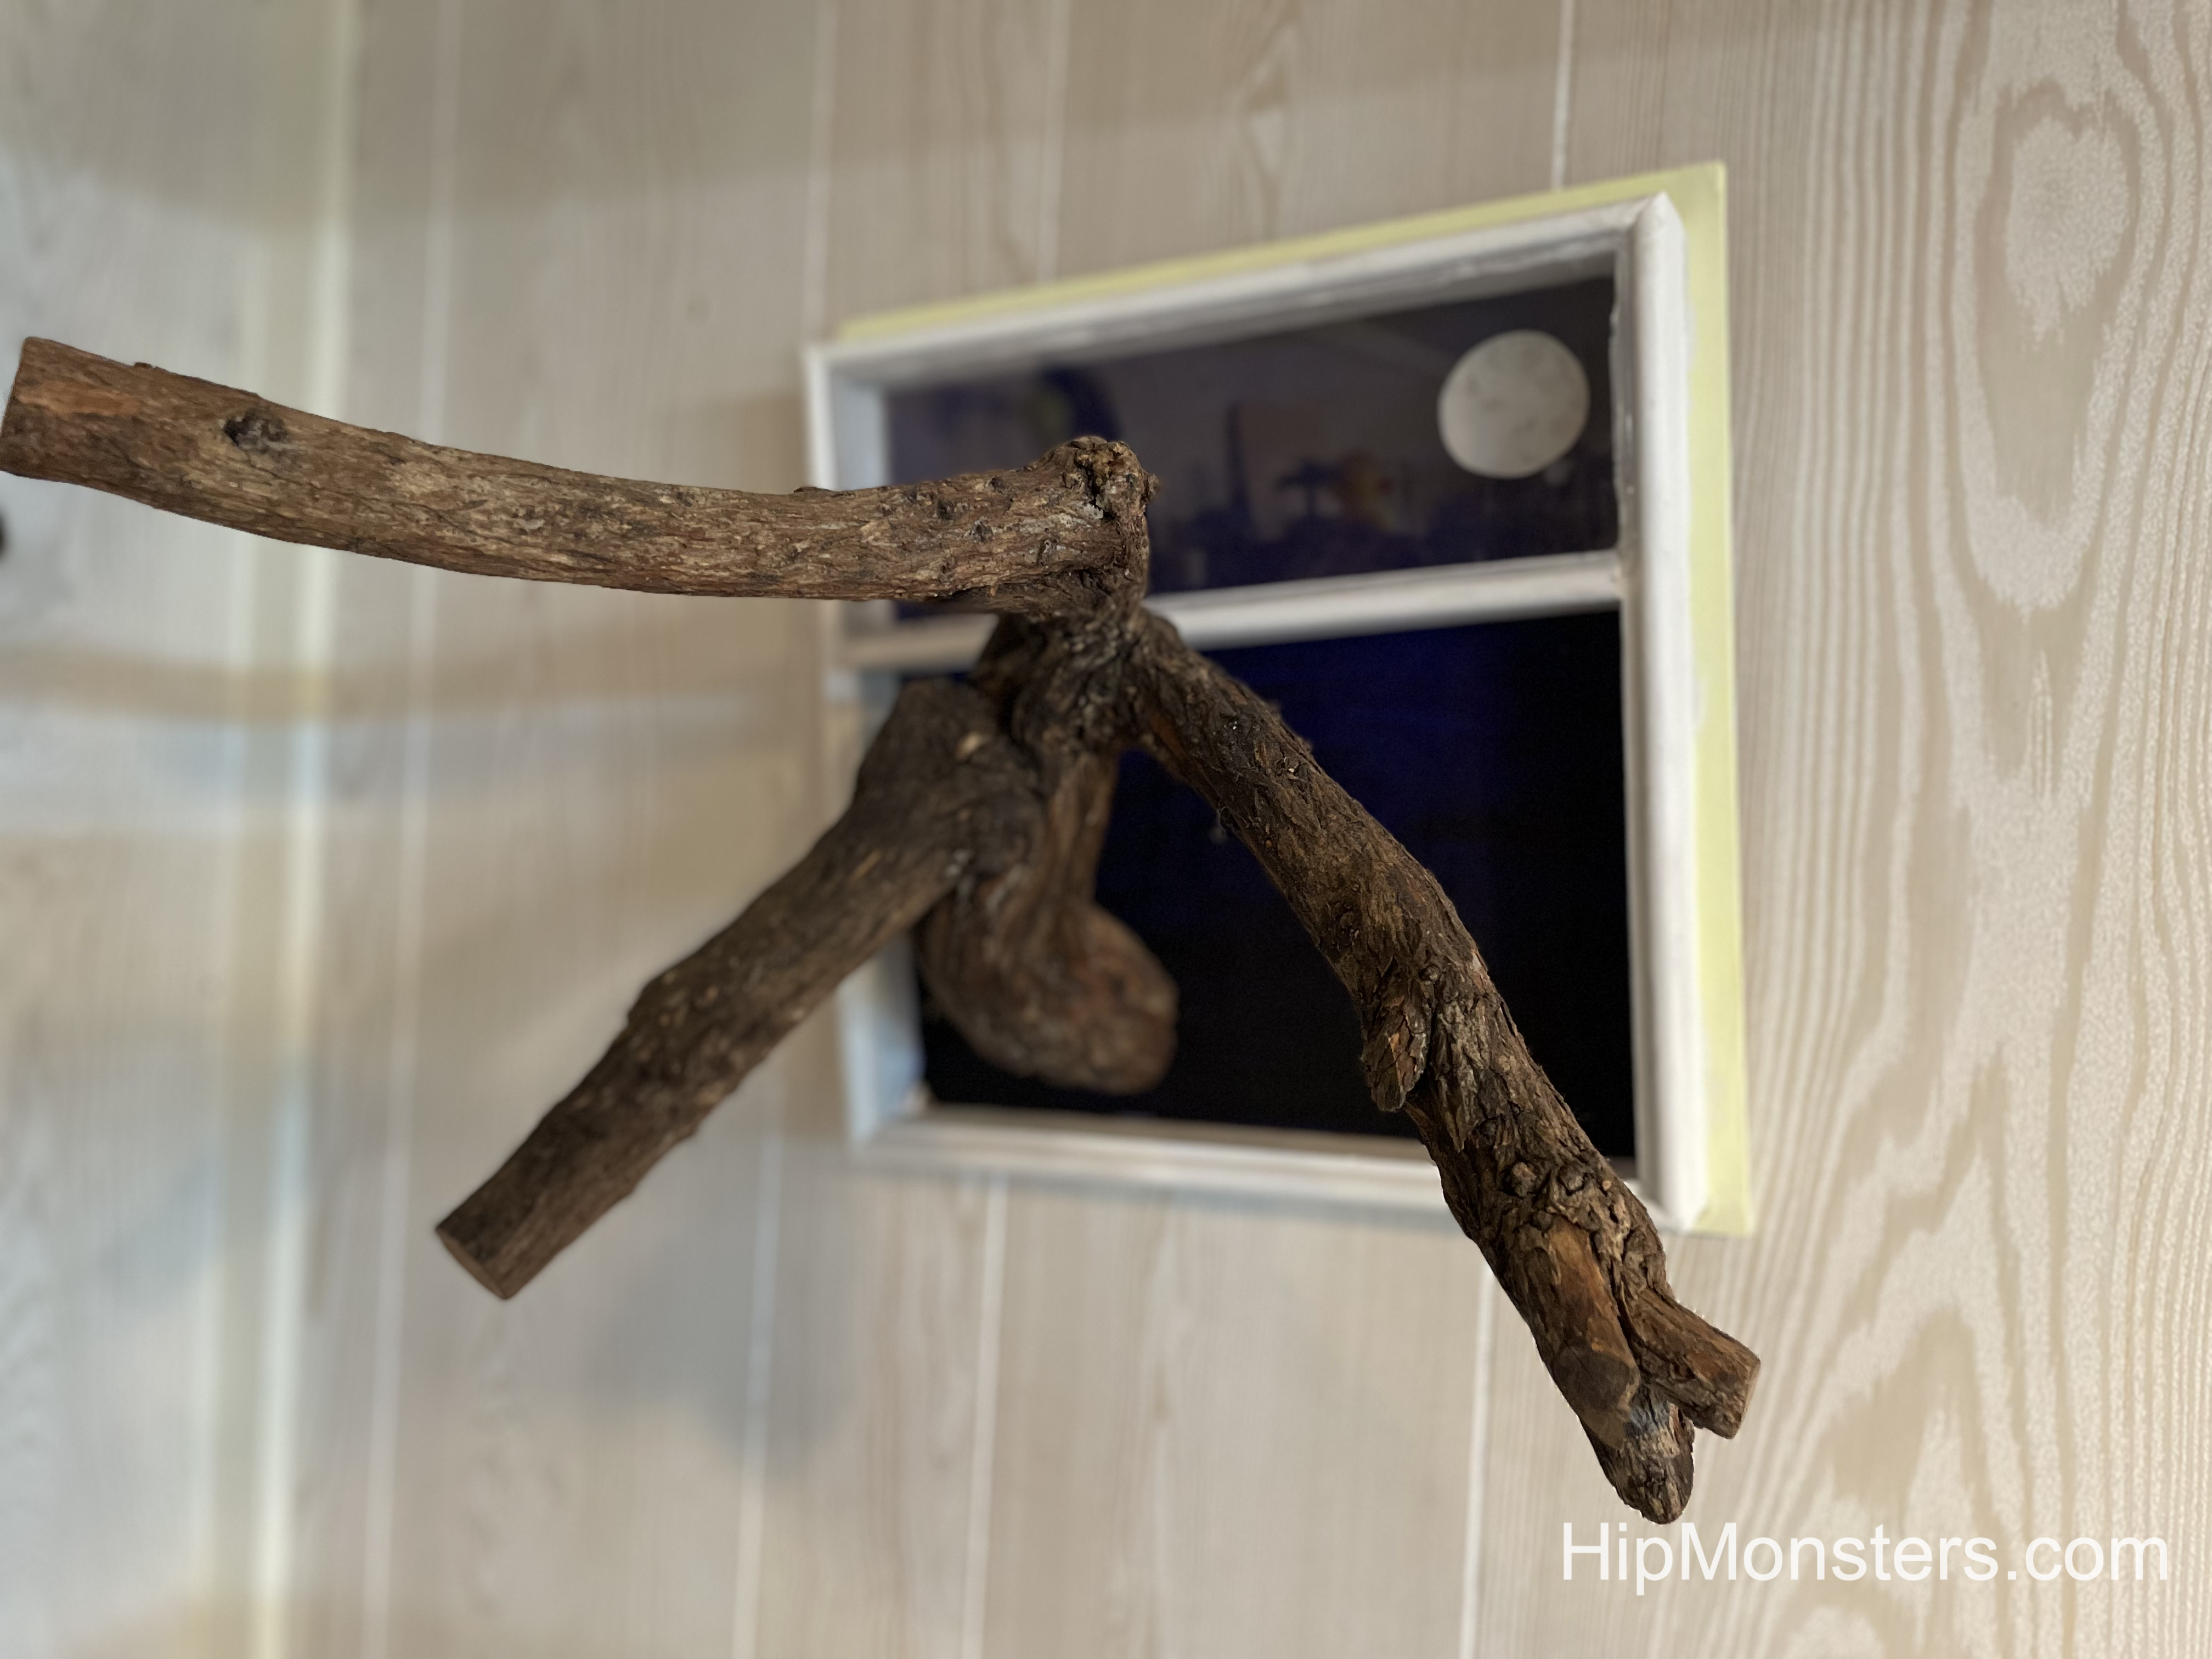
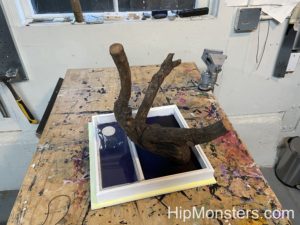
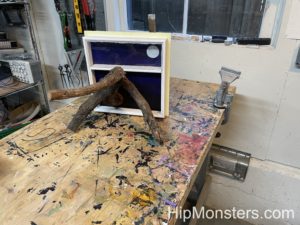
We call this monster the Anteater. The Anteater monster was a wonderful branch that was too split to make a good wand or use in other projects. After we stabilized the splitting and cut out all the rotted wood, we sanded her and coated her heavily in bees wax.
Side view
At first we thought of mounting Anteater on the wall as if she was a trophy, but then the Sister’s team thought of having her appear to climb out of the wall. We then used a picture frame we were working on and created a fake window using the picture frame, paint, and plexiglass for her to climb out of. With a window as a mount, she made a great addition to our living room.


 We attached the antlers of the deer by taking small branches from our birch tree and putting them in the holes that we drilled on the head. The antlers were very important because it would help people recognize this as a deer. We had to find branches that were strong so they won’t break, but small enough to look realistic. Luckily, birch trees shed a lot of branches, so it wasn’t too hard to find perfect branches.