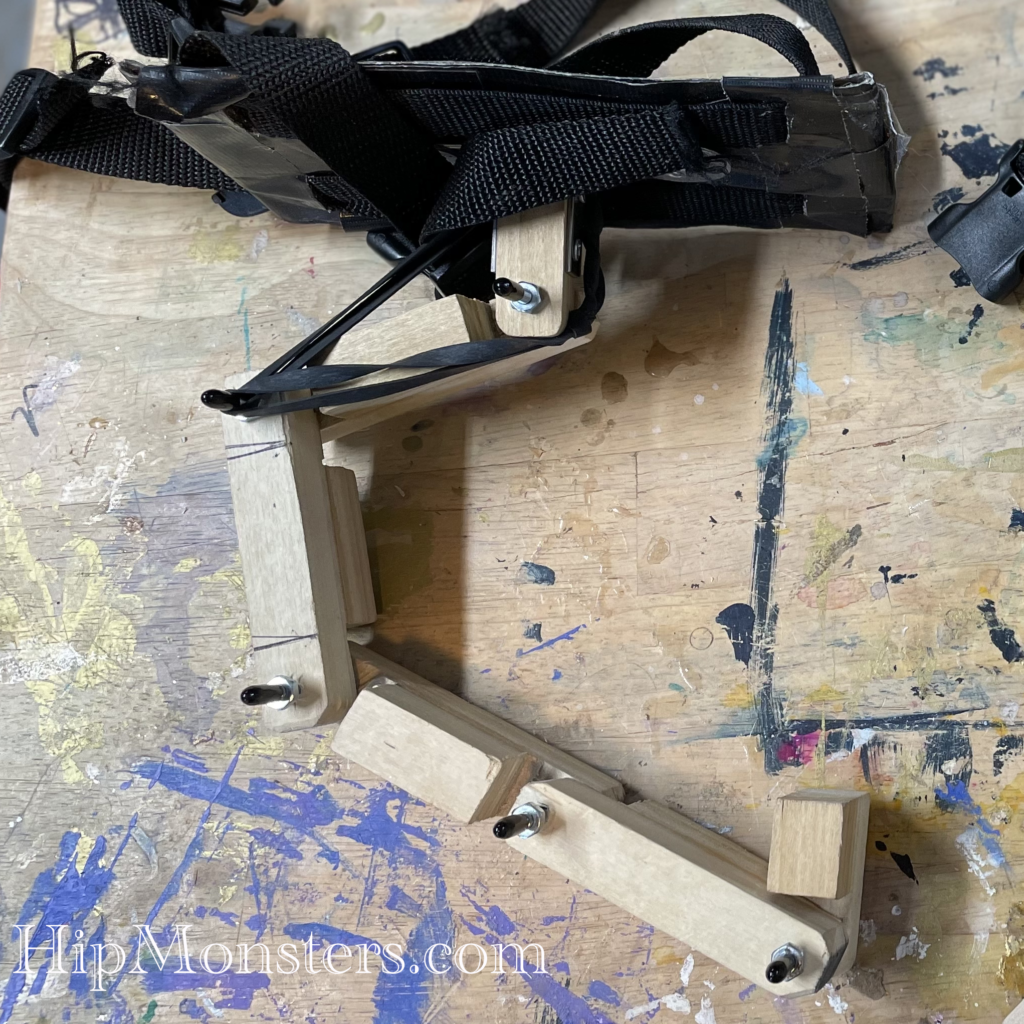
One thing we have always been jealous of is tails. Cats and dogs flaunt them as they strut around waving them in the air. So when making our dragon costume, we wanted a moving dragon tail that seemed alive. Not a dead tail, but one that had a personality of its own.
We searched through our past builds and thought the joint work on our little wooden robots would do the job. We also so some cool designs on the web like this one.
Please note, this material is provided for informational purposes only and is not a guide on how to create the designs. Please read our disclaimer.
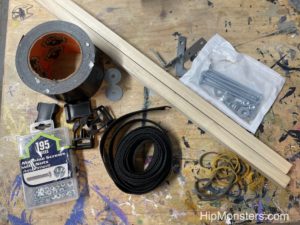
This build just needed some wood, bolts, wood glue, rubber bands and lots of duct tape.
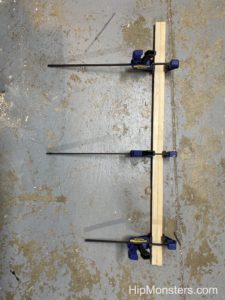
Since we wanted the tail segments to interlocked we glued two pieces of 2X2 wooden dowels together. Be careful not to put too much wooden glue, it just needs a thin coat. Make sure to give it two days to dry, you don’t want it to come apart when you start cutting.
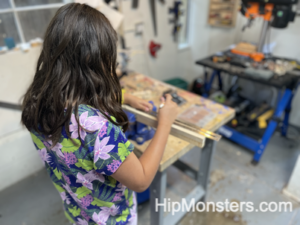
Measure out the segments carefully. You can vary the lengths depending one what look you are going for. We went with four inches length on the top part and one inch slots on the backside.
Here is a view of the final design. Each segment will have the same “hat” shape.
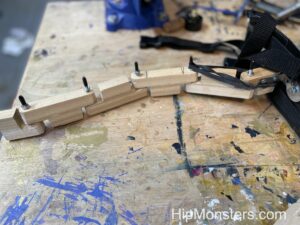
Each hat will fit together in an alternation pattern. We tried making the segment in “z-shape” but it did not move as organically as the “hat-shape”.
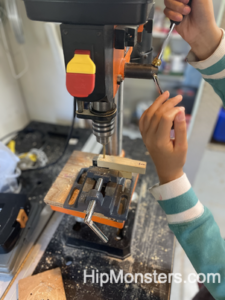
After carefully measuring, we used our trusty drill press to make the holes. Try to make a tight fit for the bolts. If the holes are too big the tail, may stick over time as the bolt cuts into the wood.
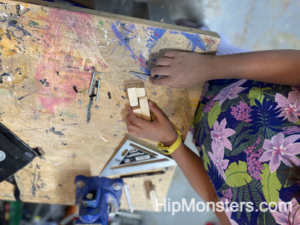
Now it is time to assemble! It fits together like puzzle pieces. Make sure to put bees wax on the segments to protect the wood.
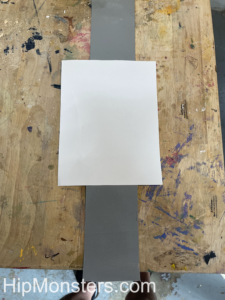
Now on to the belt for the dragon tail. To create a base for the tail, we used cardboard and high grade duct tape. An earlier build with standard duct tape did not last very long. First cut out a piece of cardboard about 5 by 8 to help guide you as you “weave” the duct tape. The cardboard does not provide any real support but just helps you remember the shape. The bigger the base, the more stable the tail will be.
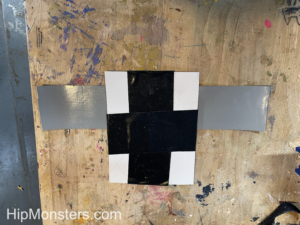
Weave strips of duct tape alternating between vertical and horizontal directions. You want to use several layer, enough that it can support the tail.
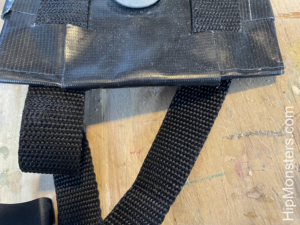
Next careful cut four slits in the base for the belts. We recommend two belts but one top belt can work depending on your custom. We used camping stapes for the belts with fast release clips to making taking the tail on and off easy. Here is another design that we borrowed element from.
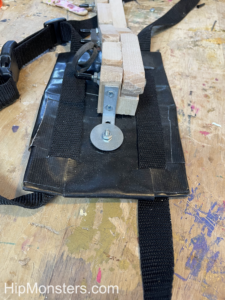
Next punch two holes in the base for the bolts to secure the L-braces. The L-braces will attach the tail to the belt. Use big washers when attaching the L-braces to prevent them from twisting into the duct-tape.
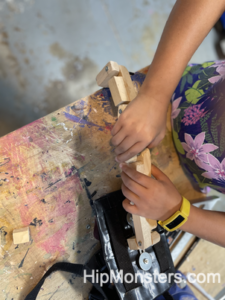
Now, attached the tail using four wood screws. Use small screw and drill guide holes; you do not want to split the wood.
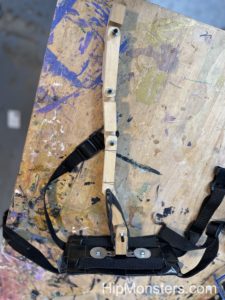
Finally, add two rubber bands at the base to give it some life and your tail is ready to be flaunted!
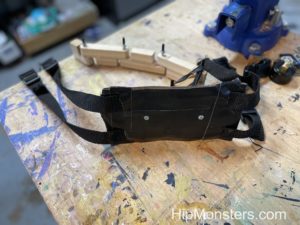
Here is a back view showing how the base looks when completed.
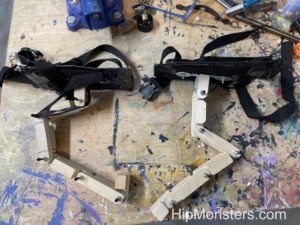
Here are both dragon tails completed!
Happy Creating!
