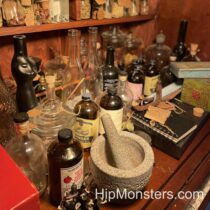
As well as working with technology, the Hip Monsters team also works with magic. This is our handmade apothecary cabinet, which we use to store all of our apothecary supplies and extra bottles.
Please note, this material is provided for informational purposes only and is not a guide on how to create the designs. Please take a look at our disclaimer.
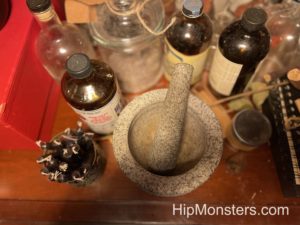
The mortar and pestle is a very useful tool for making potions. It helps us grind up our herbs into smaller pieces to make smoother potions. Grinding up the ingredients will also help release more of the juices and flavors.
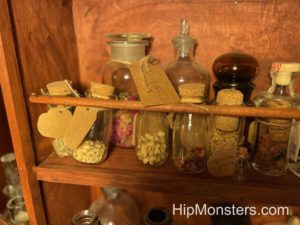
Here are some of our bottles. Whenever we get food in interesting jars, we keep the jars to store herbs and potions in. Many of our herbs are from our herb garden, including lavender, roses, and thyme.
We like to use a variety of different styles of jars to give the collection an organic feel. We also like to store some of our potions in paper packages that releases more of the smell. It also makes the apothecary cabinet look more interesting.
One of the most important additions to our apothecary cabinet was a wooden beam to go across the shelves. This makes sure that the jars won’t fall out very easily.
We used three different layers of stain to try and create a older look. After each layer of stain, we would sand the wood before adding the next one. Another technique to make wood look older is to use candle wax to create circles before adding the next layer of stain. The stain will not stick to the wax, which will make it look like there are stains from bottles on the wood.
For labels we used an unbleached present label then cut them to size. This helps us identify all of our different ingredients and also makes the bottles look more interesting.
One thing we have always been jealous of is tails. Cats and dogs flaunt them as they strut around waving them in the air. So when making our dragon costume, we wanted a moving dragon tail that seemed alive. Not a dead tail, but one that had a personality of its own.
We searched through our past builds and thought the joint work on our little wooden robots would do the job. We also so some cool designs on the web like this one.
Please note, this material is provided for informational purposes only and is not a guide on how to create the designs. Please read our disclaimer.
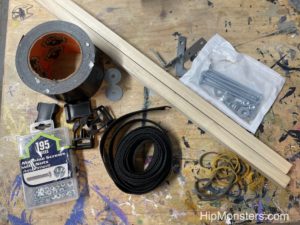
This build just needed some wood, bolts, wood glue, rubber bands and lots of duct tape.
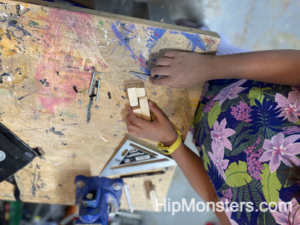
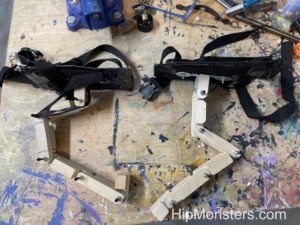
Since we wanted the tail segments to interlocked, we glued two pieces of 2X2 wooden dowels together. Be careful not to put too much wooden glue, it just needs a thin coat. Make sure to give it two days to dry, you don’t want it to come apart when you start cutting.
Measure out the segments carefully. You can vary the lengths depending on what look you are going for. We went with four inches length on the top part and one inch slots on the backside.
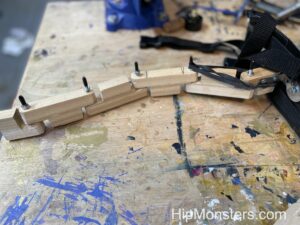
Here is a view of the final design. Each segment will have the same “hat” shape.
Each hat will fit together in an alternation pattern. We tried making the segment in “z-shape” but it did not move as organically as the “hat-shape”.
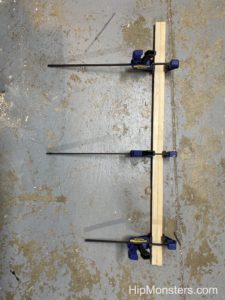
After carefully measuring, we used our drill press to drill the holes. Try to make a tight fit for the bolts. If the holes are too big, the tail may stick over time as the bolt cuts into the wood.
Now it is time to assemble! It fits together like puzzle pieces. Make sure to put bees wax on the segments to protect the wood.
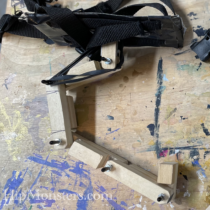
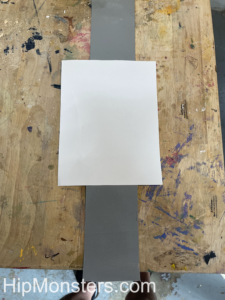
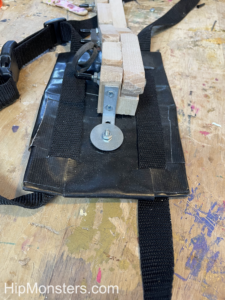
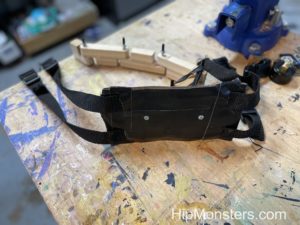
Now on to the belt for the dragon tail. To create a base for the tail, we used cardboard and high grade duct tape. An earlier build with standard duct tape did not last very long. First cut out a piece of cardboard about 5 by 8 to help guide you as you “weave” the duct tape. The cardboard does not provide any real support but just helps you remember the shape. The bigger the base, the more stable the tail will be.
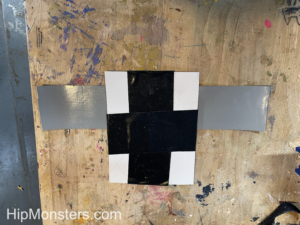
Weave strips of duct tape alternating between vertical and horizontal directions. You want to use several layer, enough that it can support the tail.
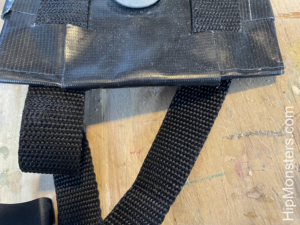
Next careful cut four slits in the base for the belts. We recommend two belts but one top belt can work too. We used camping stapes for the belts with fast release clips to making taking the tail on and off easy. Here is another design that we borrowed elements from.
Next punch two holes in the base for the bolts to secure the L-braces. The L-braces will attach the tail to the belt. Use big washers when attaching the L-braces to prevent them from twisting into the duct-tape.
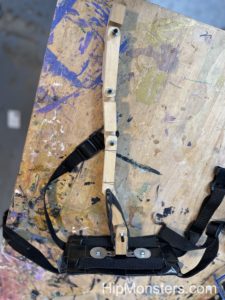
Now, attach the tail using four wood screws. Use small screws and drill guide holes, you do not want to split the wood.
Finally, add two rubber bands at the base to give it some life, and your tail is ready!
Here is a back view showing how the base looks when completed.
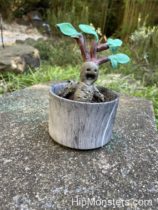
Inspired by the character Professor Sprout (from Harry Potter) and this wonderful article, we set out to make our mandrake root for Halloween.
Please note, this material is provided for informational purposes only and is not a guide on how to create the designs. Please read our disclaimer.
Mandrake roots are a mythical plant that has a root that looks like a person. They scream when they get pulled out of the ground, and hearing the screams can knock you out, or even kill you. They are featured in Harry Potter, but were invented before that. For more information, go to the article above.
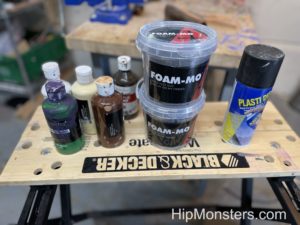
The Supplies
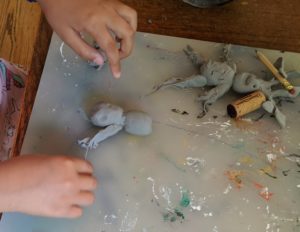
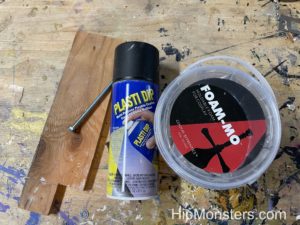
For our mandrake roots, we used a type of foam-like clay called Foam-Mo. Foam-mo is really useful for making organic details like plants and animals. It air-drys and can be painted, but has to be sprayed with a plastic spray, or else it will disintegrate. We recommend using several layers of the under-coat spray for maximum protection. We painted the mandrakes with acrylic paint.
Make sure to use a nonporous surface for a build table or the Foam-Mo will stick to it once it dries. We used old cutting boards.
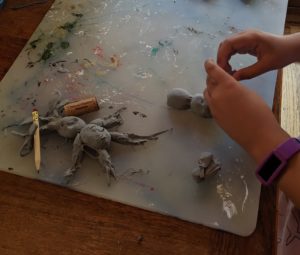
Making the arm
To make the mandrakes, we made ovals for the head and body, and tubes for the legs. We also rolled out thinner tubes for the tree branches and flattened small diamond shapes for the leaves. We used a pencil to made the lines in the leaves and to make the eyes, lines on the body, and the mouth. Remember, no two mandrakes are the same, so make them all slightly different.
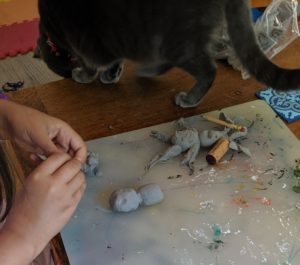
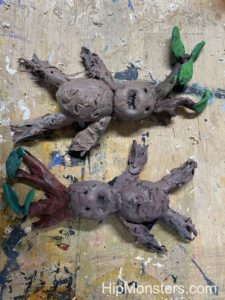
Attaching the arm
Foam-mo is pretty delicate, so we needed to be careful when attaching stuff. To make it hold it’s shape, we used stuff to prop up the mandrake roots while they were drying. to make the edged look like roots, we gently pulled out thin strands of Foam-Mo at the end of all of the limbs.
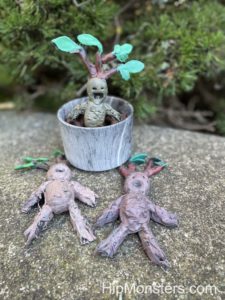
After painting
After the Foam-Mo dries, we sprayed it with a plastic spray and painted it with acrylic paint. We painted them all slightly different shades of brown and green.
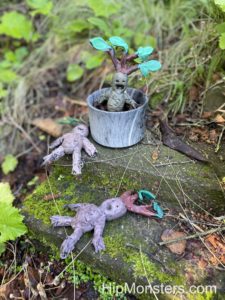
A potted mandrake!
Please DO NOT water your mandrake, even if they tell you to! They are definitely not waterproof.
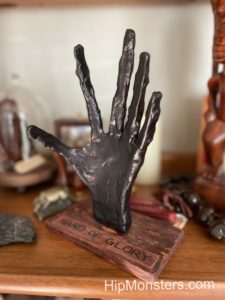
Inspired by Harry Potter, the HipMonsters team made our own Hand of Glory out of Foam-Mo. The Hand of Glory is a mix of realistic and creepy, making it the perfect Halloween decoration.
Please note, this material is provided for informational purposes only and is not a guide on how to create the designs. Please read our disclaimer.
Foam-Mo is a foamy clay that we use for many of our projects. It is great for making organic stuff like plants and animals. After it dries, you spray it with a plastic coating to make it last longer. You can paint over the plastic coating.
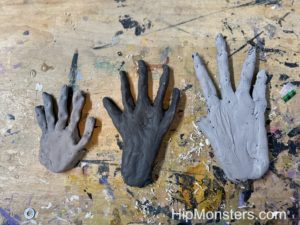
For our first attempts, we used our own hands as a model to make them, but we felt like they didn’t look very much like magical objects. They were also very flat and 2d looking, not like the real hand of glory at all.
For our final hand of glory, we made the fingers more long and skinny to make it both more realistic and creepy. To get the shape, we rested it over a bowl to dry. We also added more texture to make it look more like dry skin instead of making it smooth. We also defined the knuckles more to make it more creepy. like it is trying to grab you. We also added more of a wrist to make it more like it is in the movie, and so we could easily mount it.
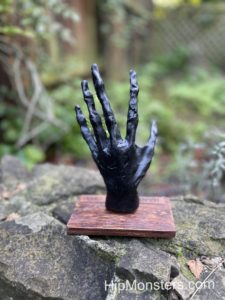
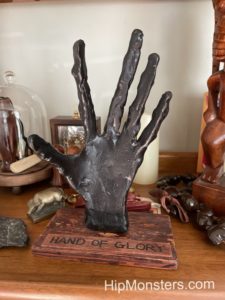
Once we finished the hand, we made a wooden stand for it to be mounted on. We stained it and sanded it to make it look distressed, and made a wooden plaque. We attached the Hand of Glory to the stand by screwing it in.
The completed Hand of Glory
This is it completed! It is a great addition to our Halloween decoration cabinet, just don’t touch it, unless you want it to grab you.
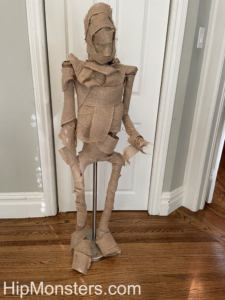
We wanted to give people a scare on Halloween and was inspired by a visit to Rosicrucian Egyptian Museum so we set out to make our own mummy, George the mummy (he got too curious).
Please note, this material is provided for informational purposes only and is not a guide on how to create the designs. Please read our disclaimer.
Materials
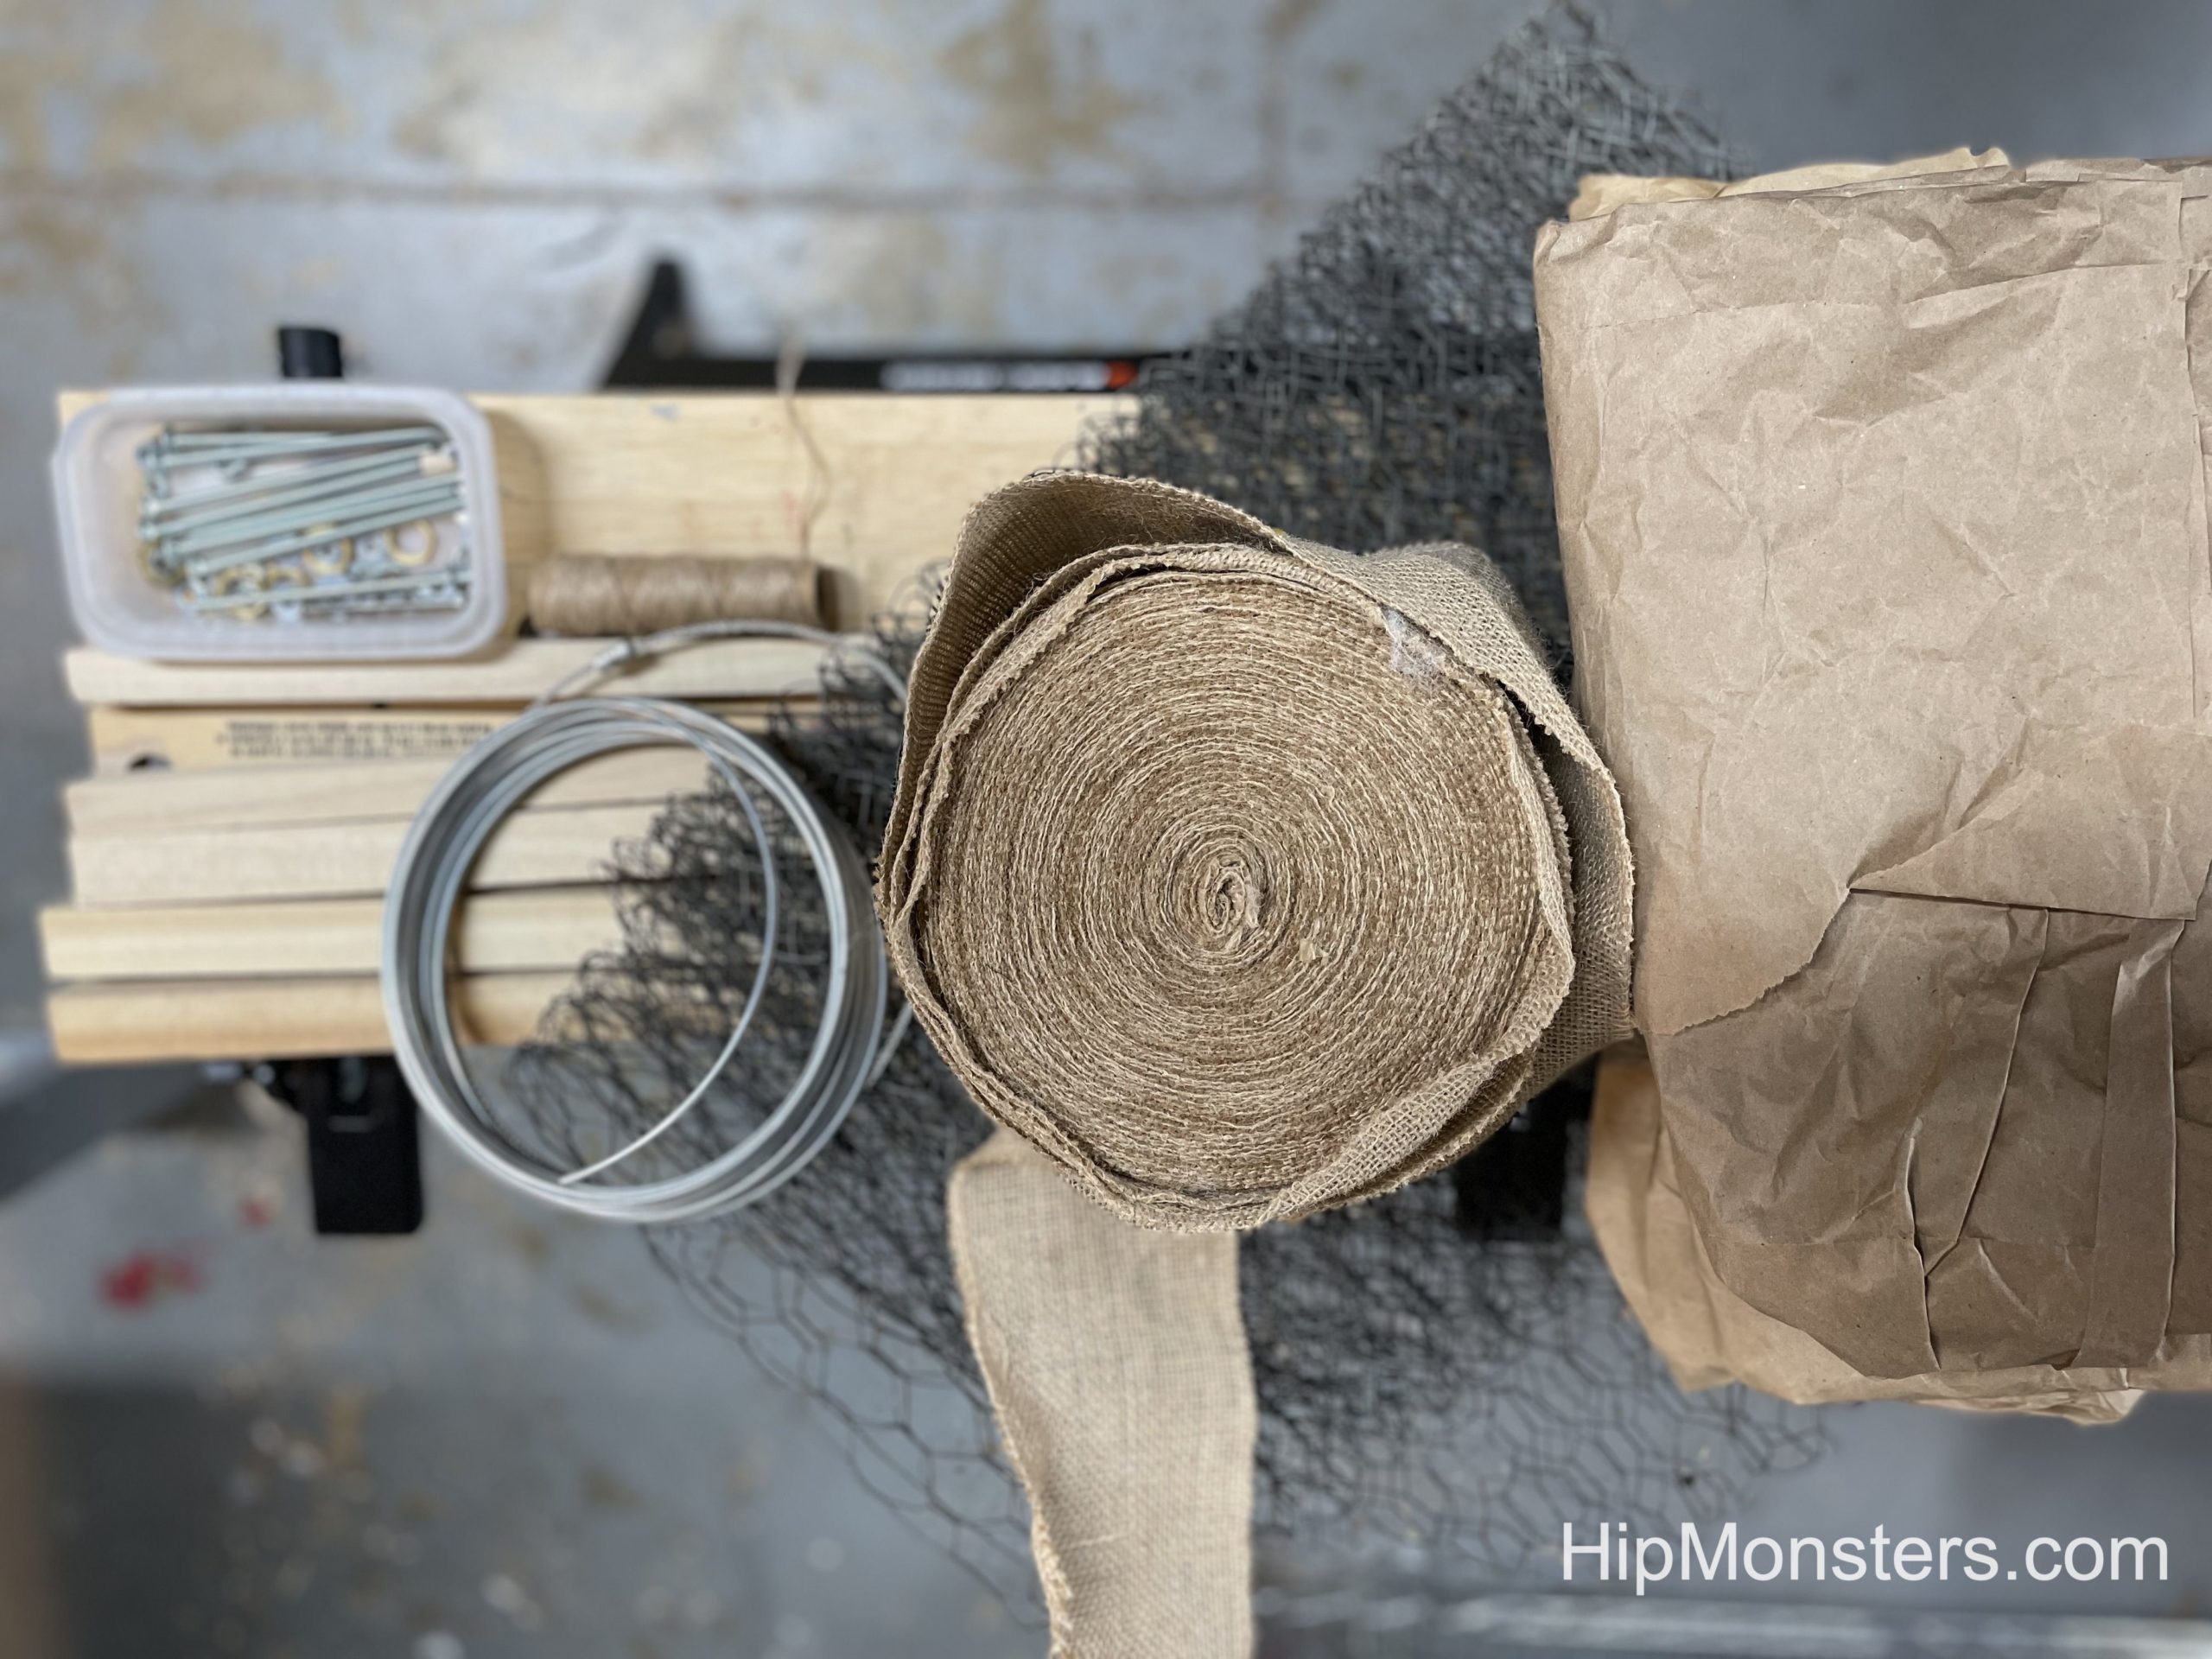
For the mummy, we used:
A roll of burlap fabric
Lots of brown shipping paper
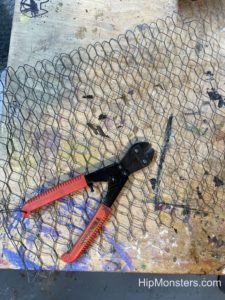
Chicken wire
Aluminum fence wire
5 1/4×1/4X 5 Wood
Twine
Nuts and bolts
We needed it to be pretty light so we didn’t use a lot of wood and padded the skeleton with lots of shipping paper. We had been storing the shipping paper for years and had bags of it in a closet for a project just like this. It is perfect because it looks like old dried skin!
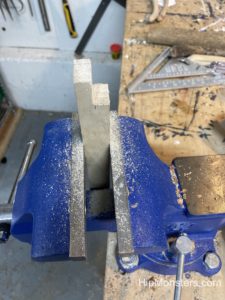
Cutting the joint
We wanted George to be flexible so we could place him throughout the house and even take him on car trips.
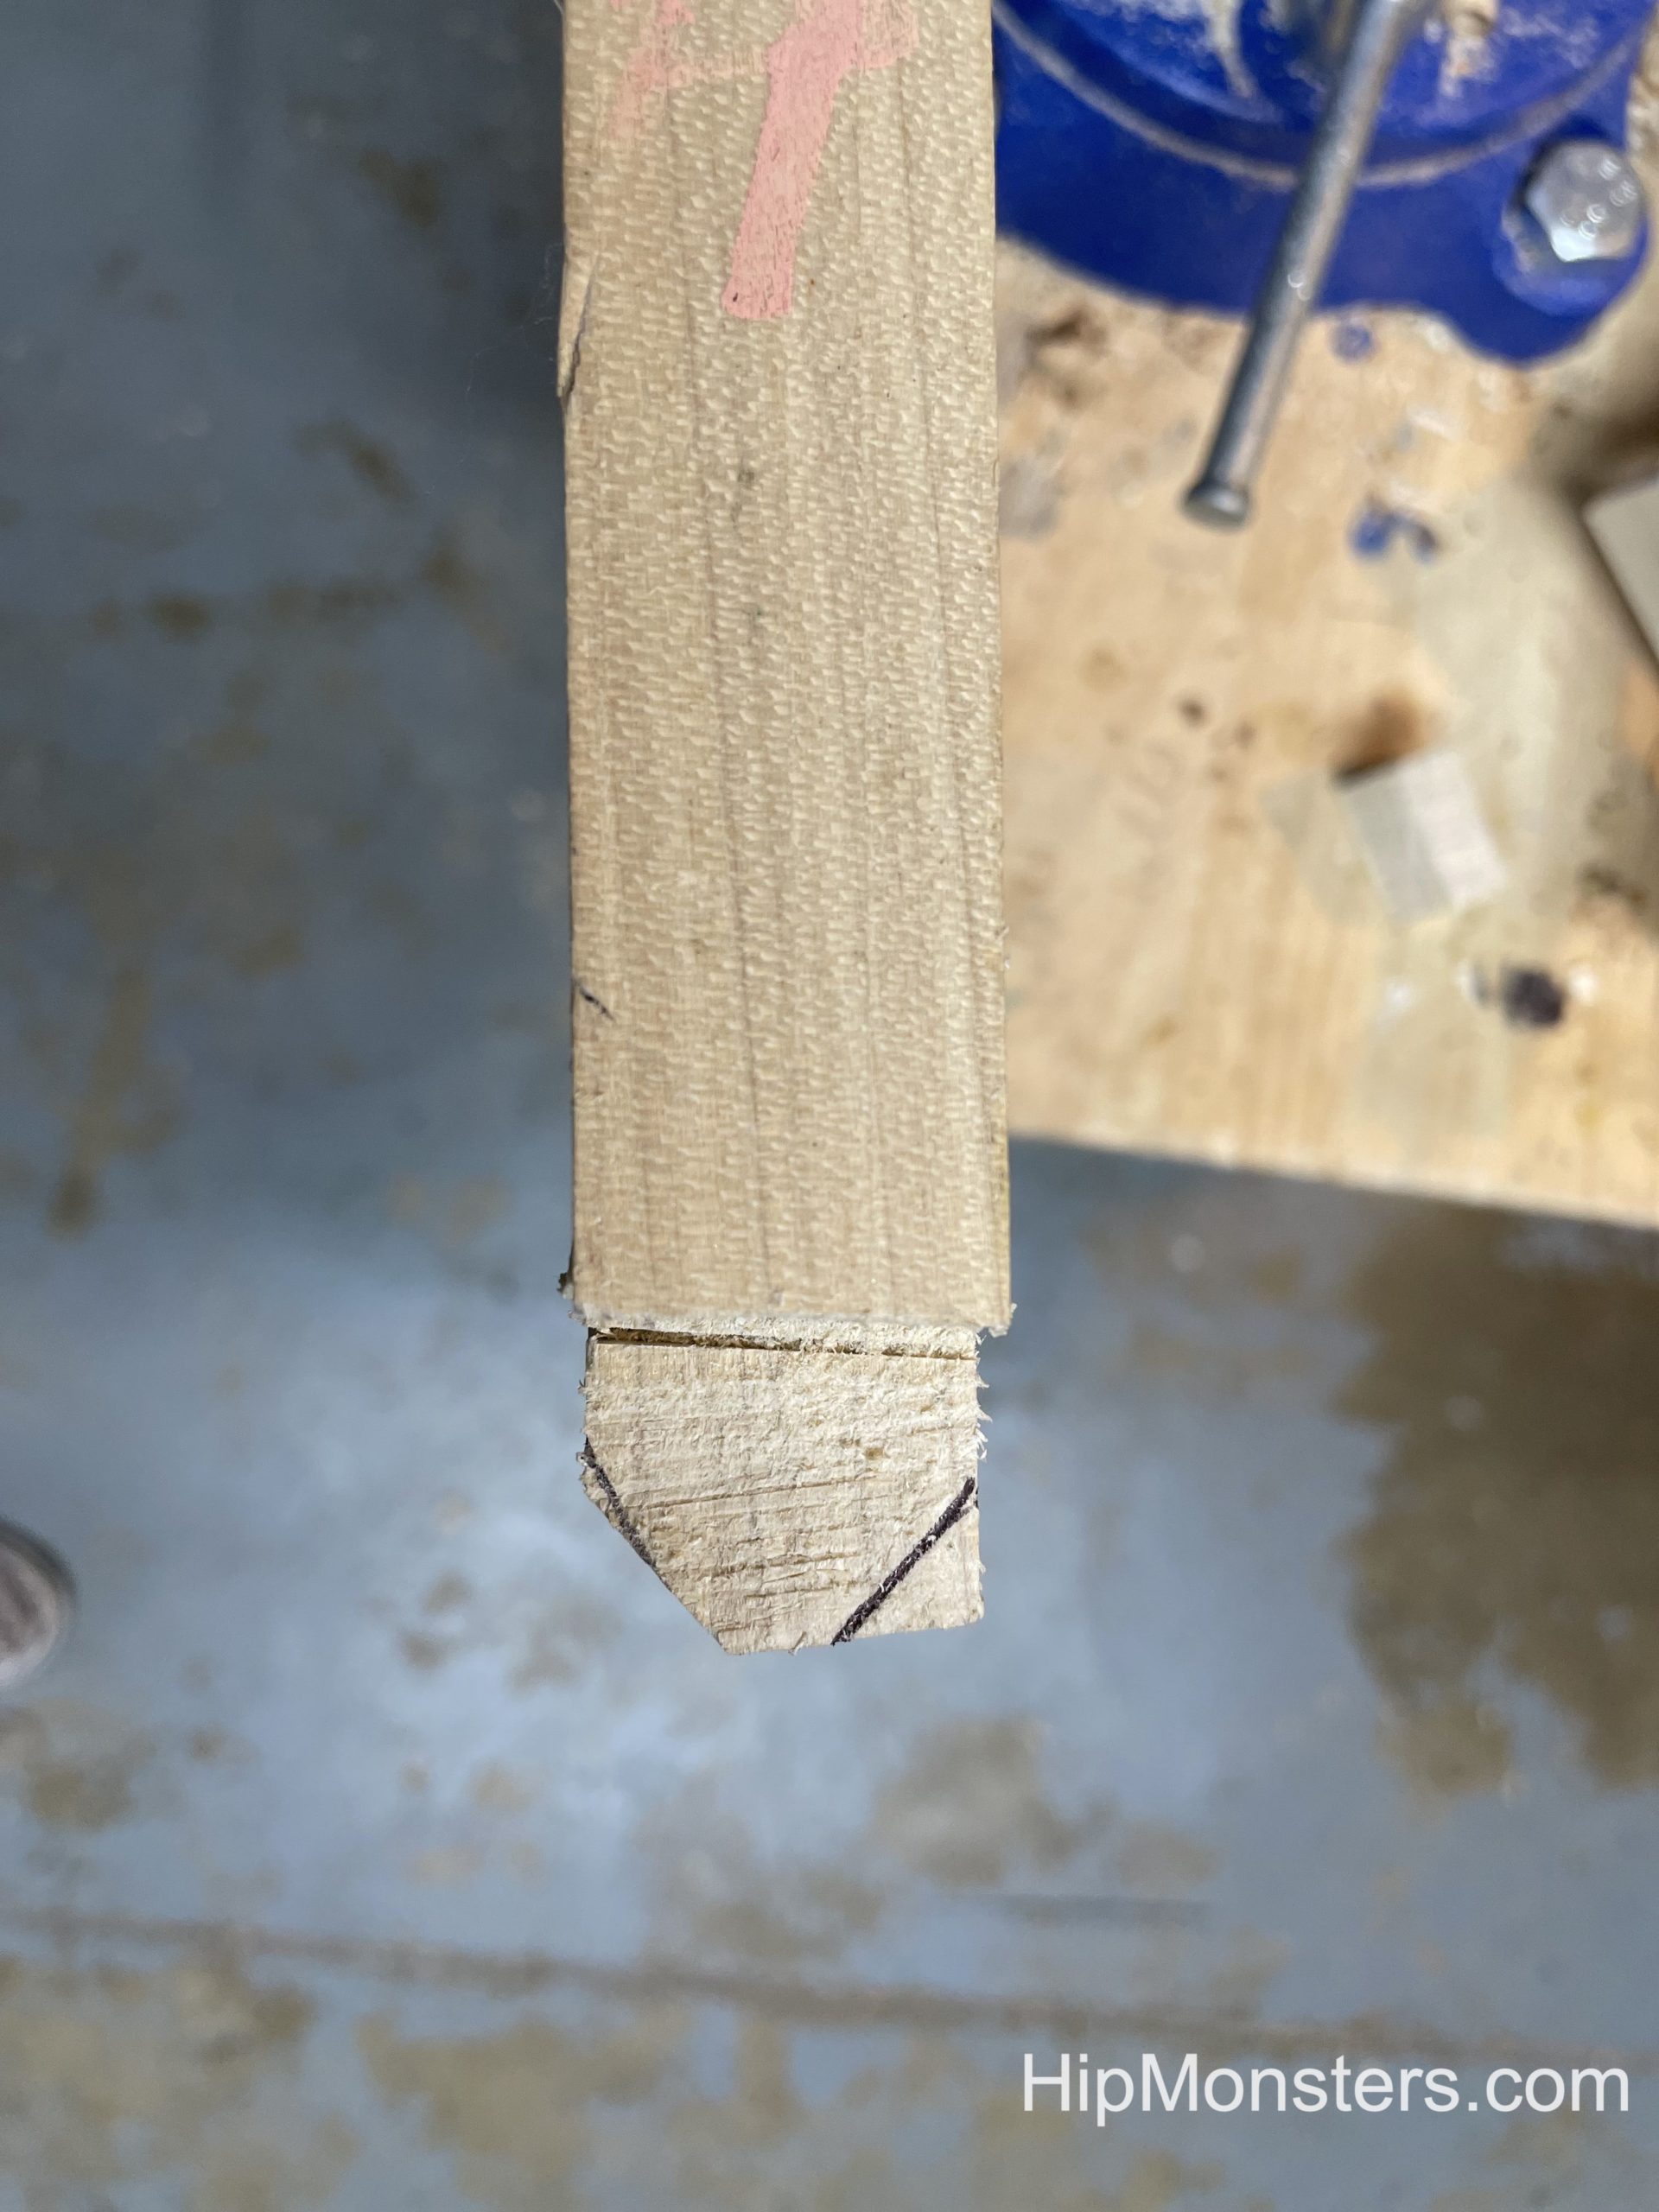
Close-up of the joint
This is one of the joints that we made. George is fully articulate but not powered like our robots.
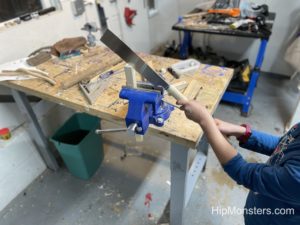
Trimming the sides
We cut small pieces of the wood off to make it more rounded then sanded the edges to get a clean joint. Since these joints would not be seen we used only rough grade sandpaper.
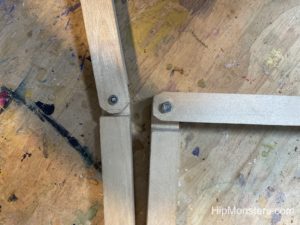
The finished joint
We drilled holes in the joints so that we could put them together. To drill the holes we clamped the two pieces together to assure the holes would align.
Putting them together
We used a rubber washer between the two pieces so George the Mummy would not be too wobbly. After screwing the bolts down we crimped end to make sure they would not come undone after George was finished.
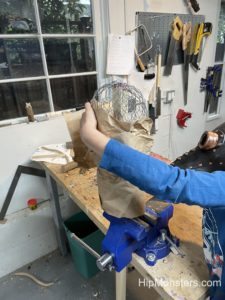
Starting the head
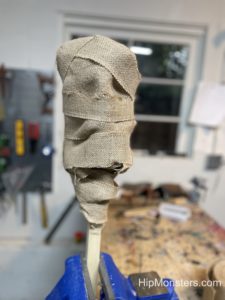
We used chicken wire to start making the shape of the head. The chicken wire was so sharp so we had to be extra careful not to cut ourselves. Best to let a parent do this part. One trick we used was to wrap the end pieces in duck tape to make them less poky.
The basic shape of the head
We molded the head into shape. We recommend wearing thick gardening gloves because the chicken wire is very sharp.
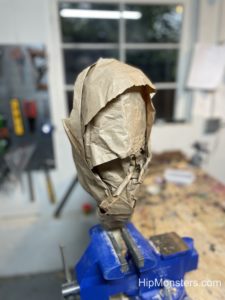
Wrapping it in paper
We wrapped it in paper to make it less sharp and because the paper looks like dry skin. The paper also helps makes the edges rounder.
George’s head with the skin
The head fully wrapped in paper.
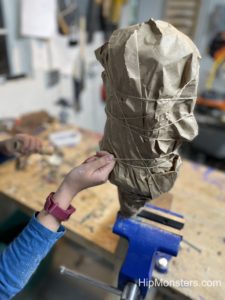
Securing the paper
We secured the paper by tightly wrapping it in twine. we used twine because it is strong, but also because it is the same color as the paper, so it would blend in with the paper.
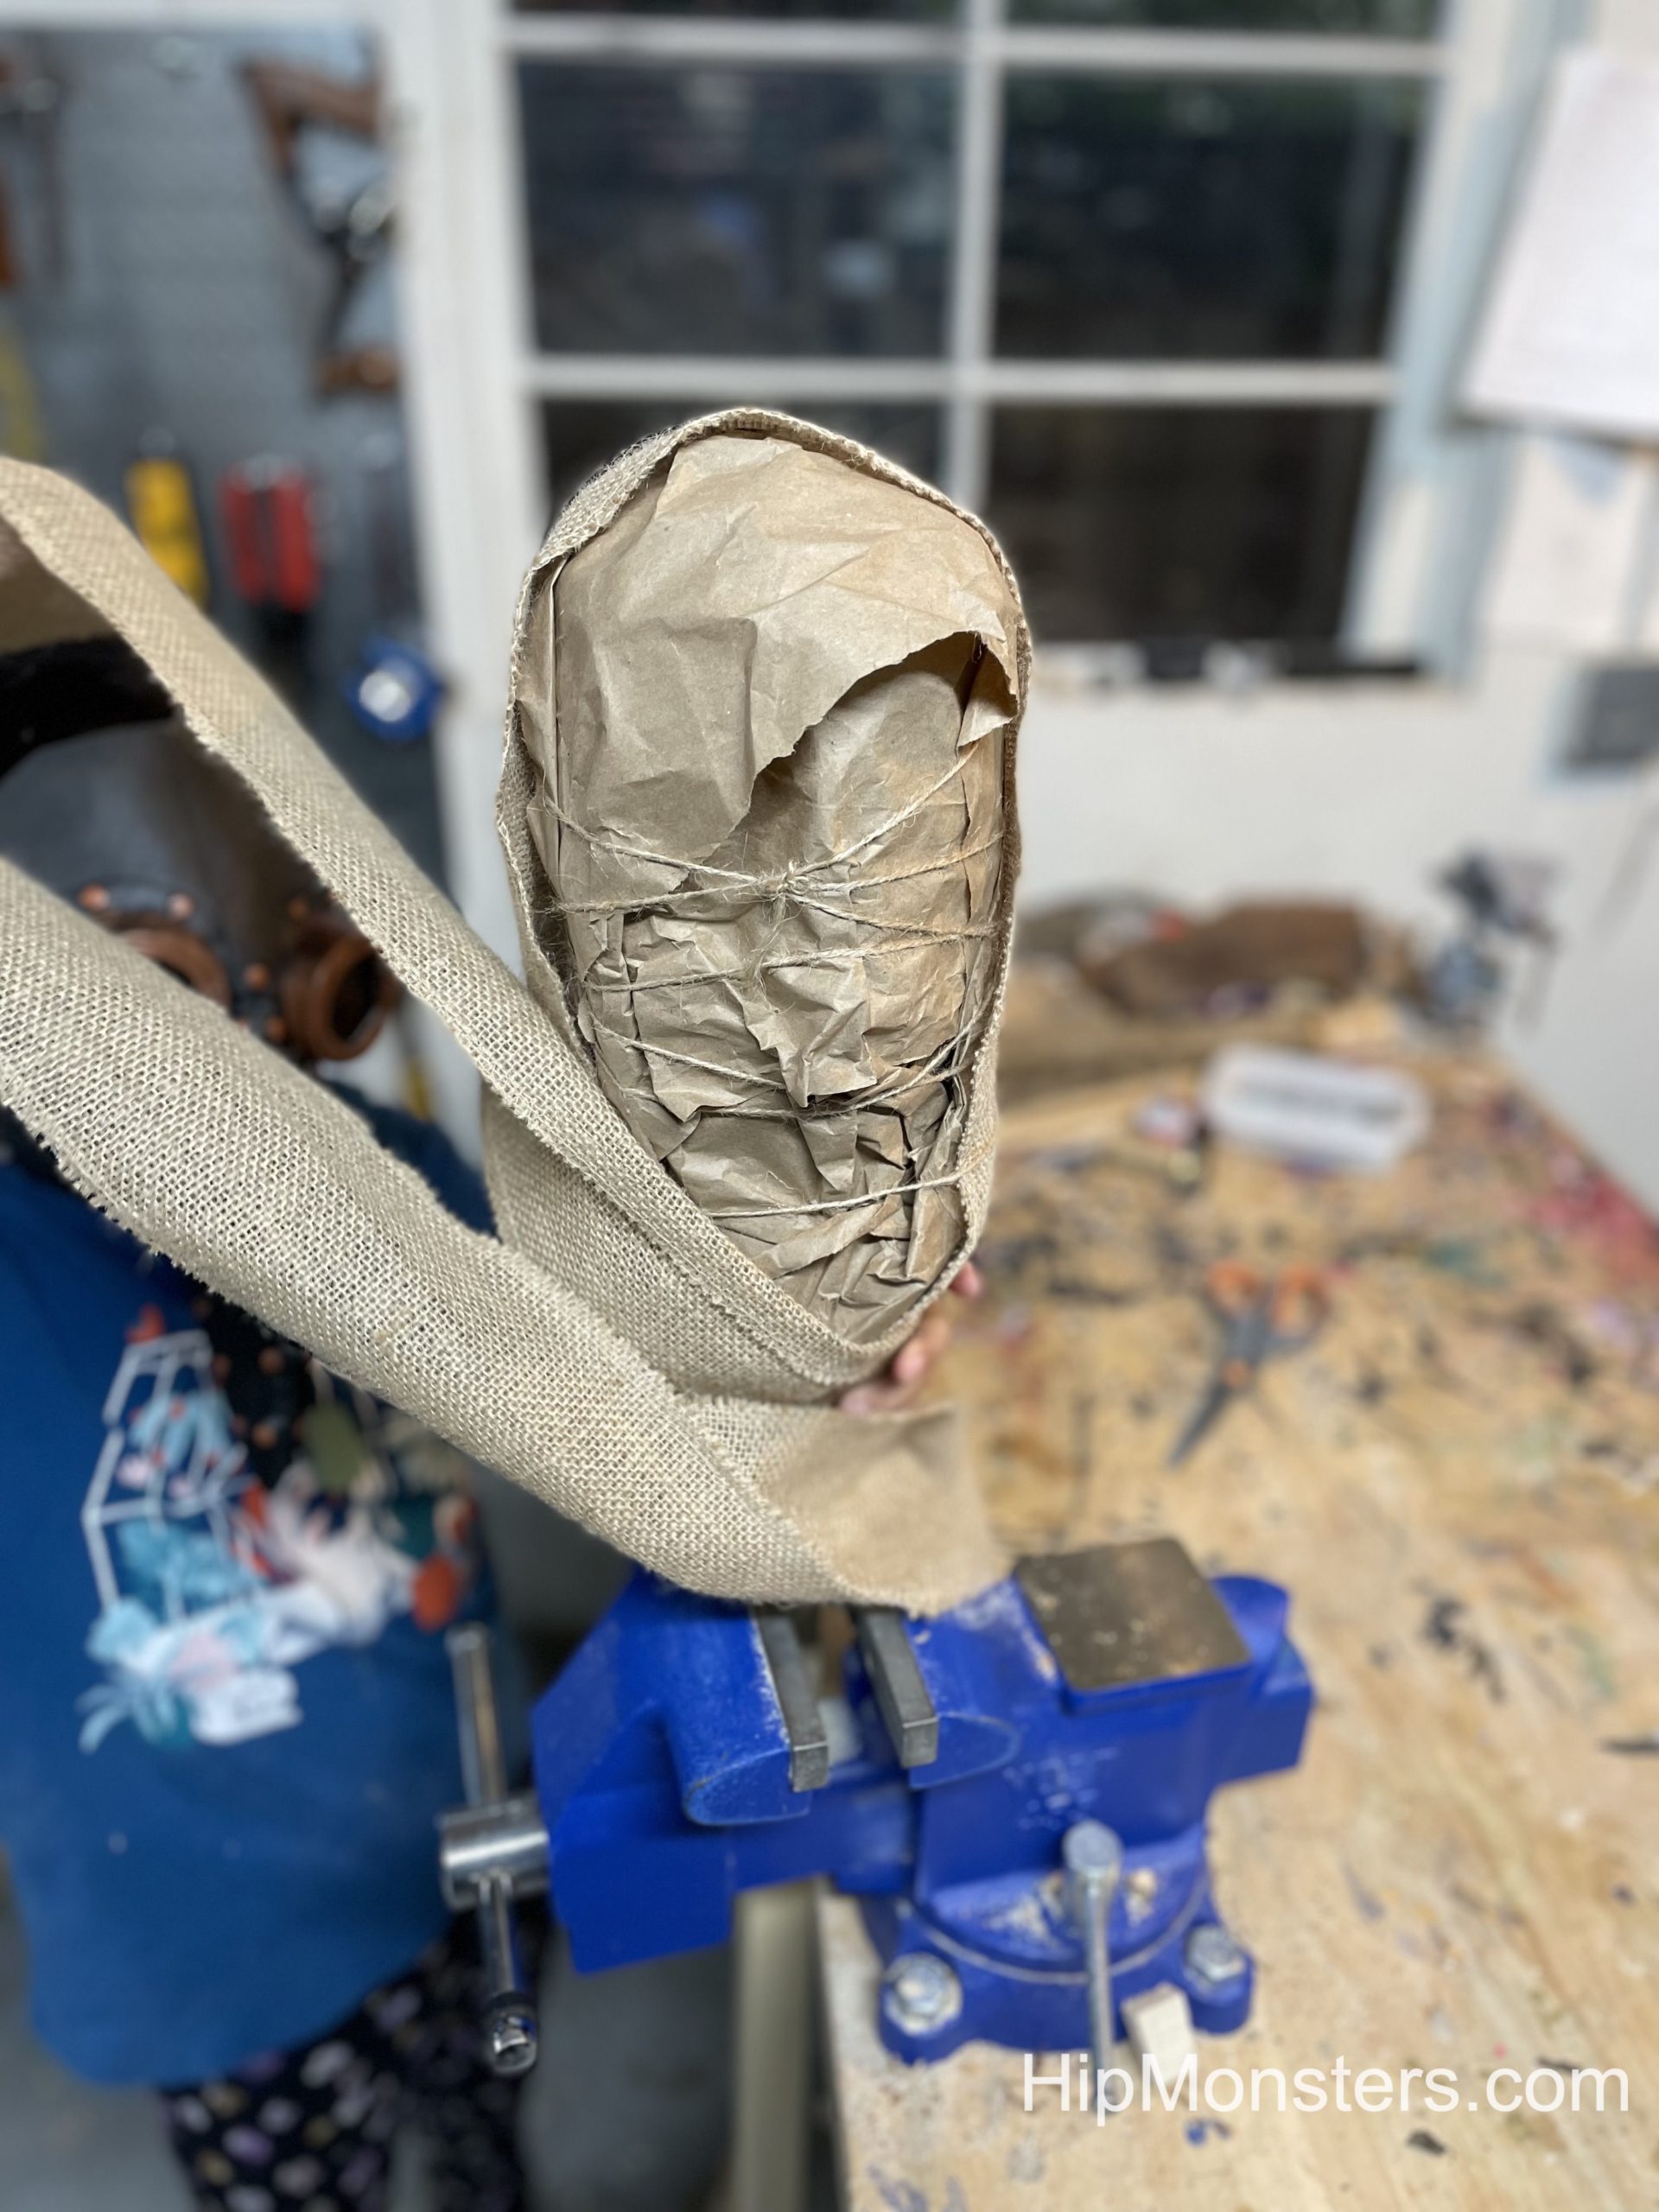
Wrapping it in burlap
We wrapped it up in burlap after we finished securing the paper. We did several layers so it wouldn’t come off and split the burlap into multiple strips towards the end.
The completed head
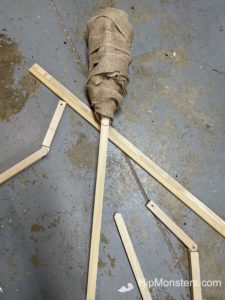
After the head was done we started working on the rest of the body. The wooden skeleton we made as simple as possible and used nuts and bolts with crimp washers to make sure it would not come loose after the wrapping was completed.
Put it together!
Now assemble the skeleton and wrap the body in the same fashion as the head. Wrapping the hands and feet proved to be very hard, and we ended up not making wooden fingers, we just wrapped the arm and secured the ends.
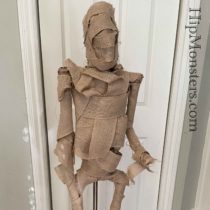
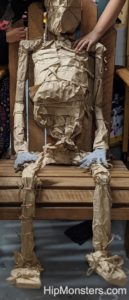
Waiting to be wrapped
Here is the completed skeleton fully covered in paper and tied together with twine. We needed to remove the final wrapping from the head in order to better integrate it to the body. Also, we tried using left over hand from our Hand of Glory project but in the end, they did not look as real as we wanted.
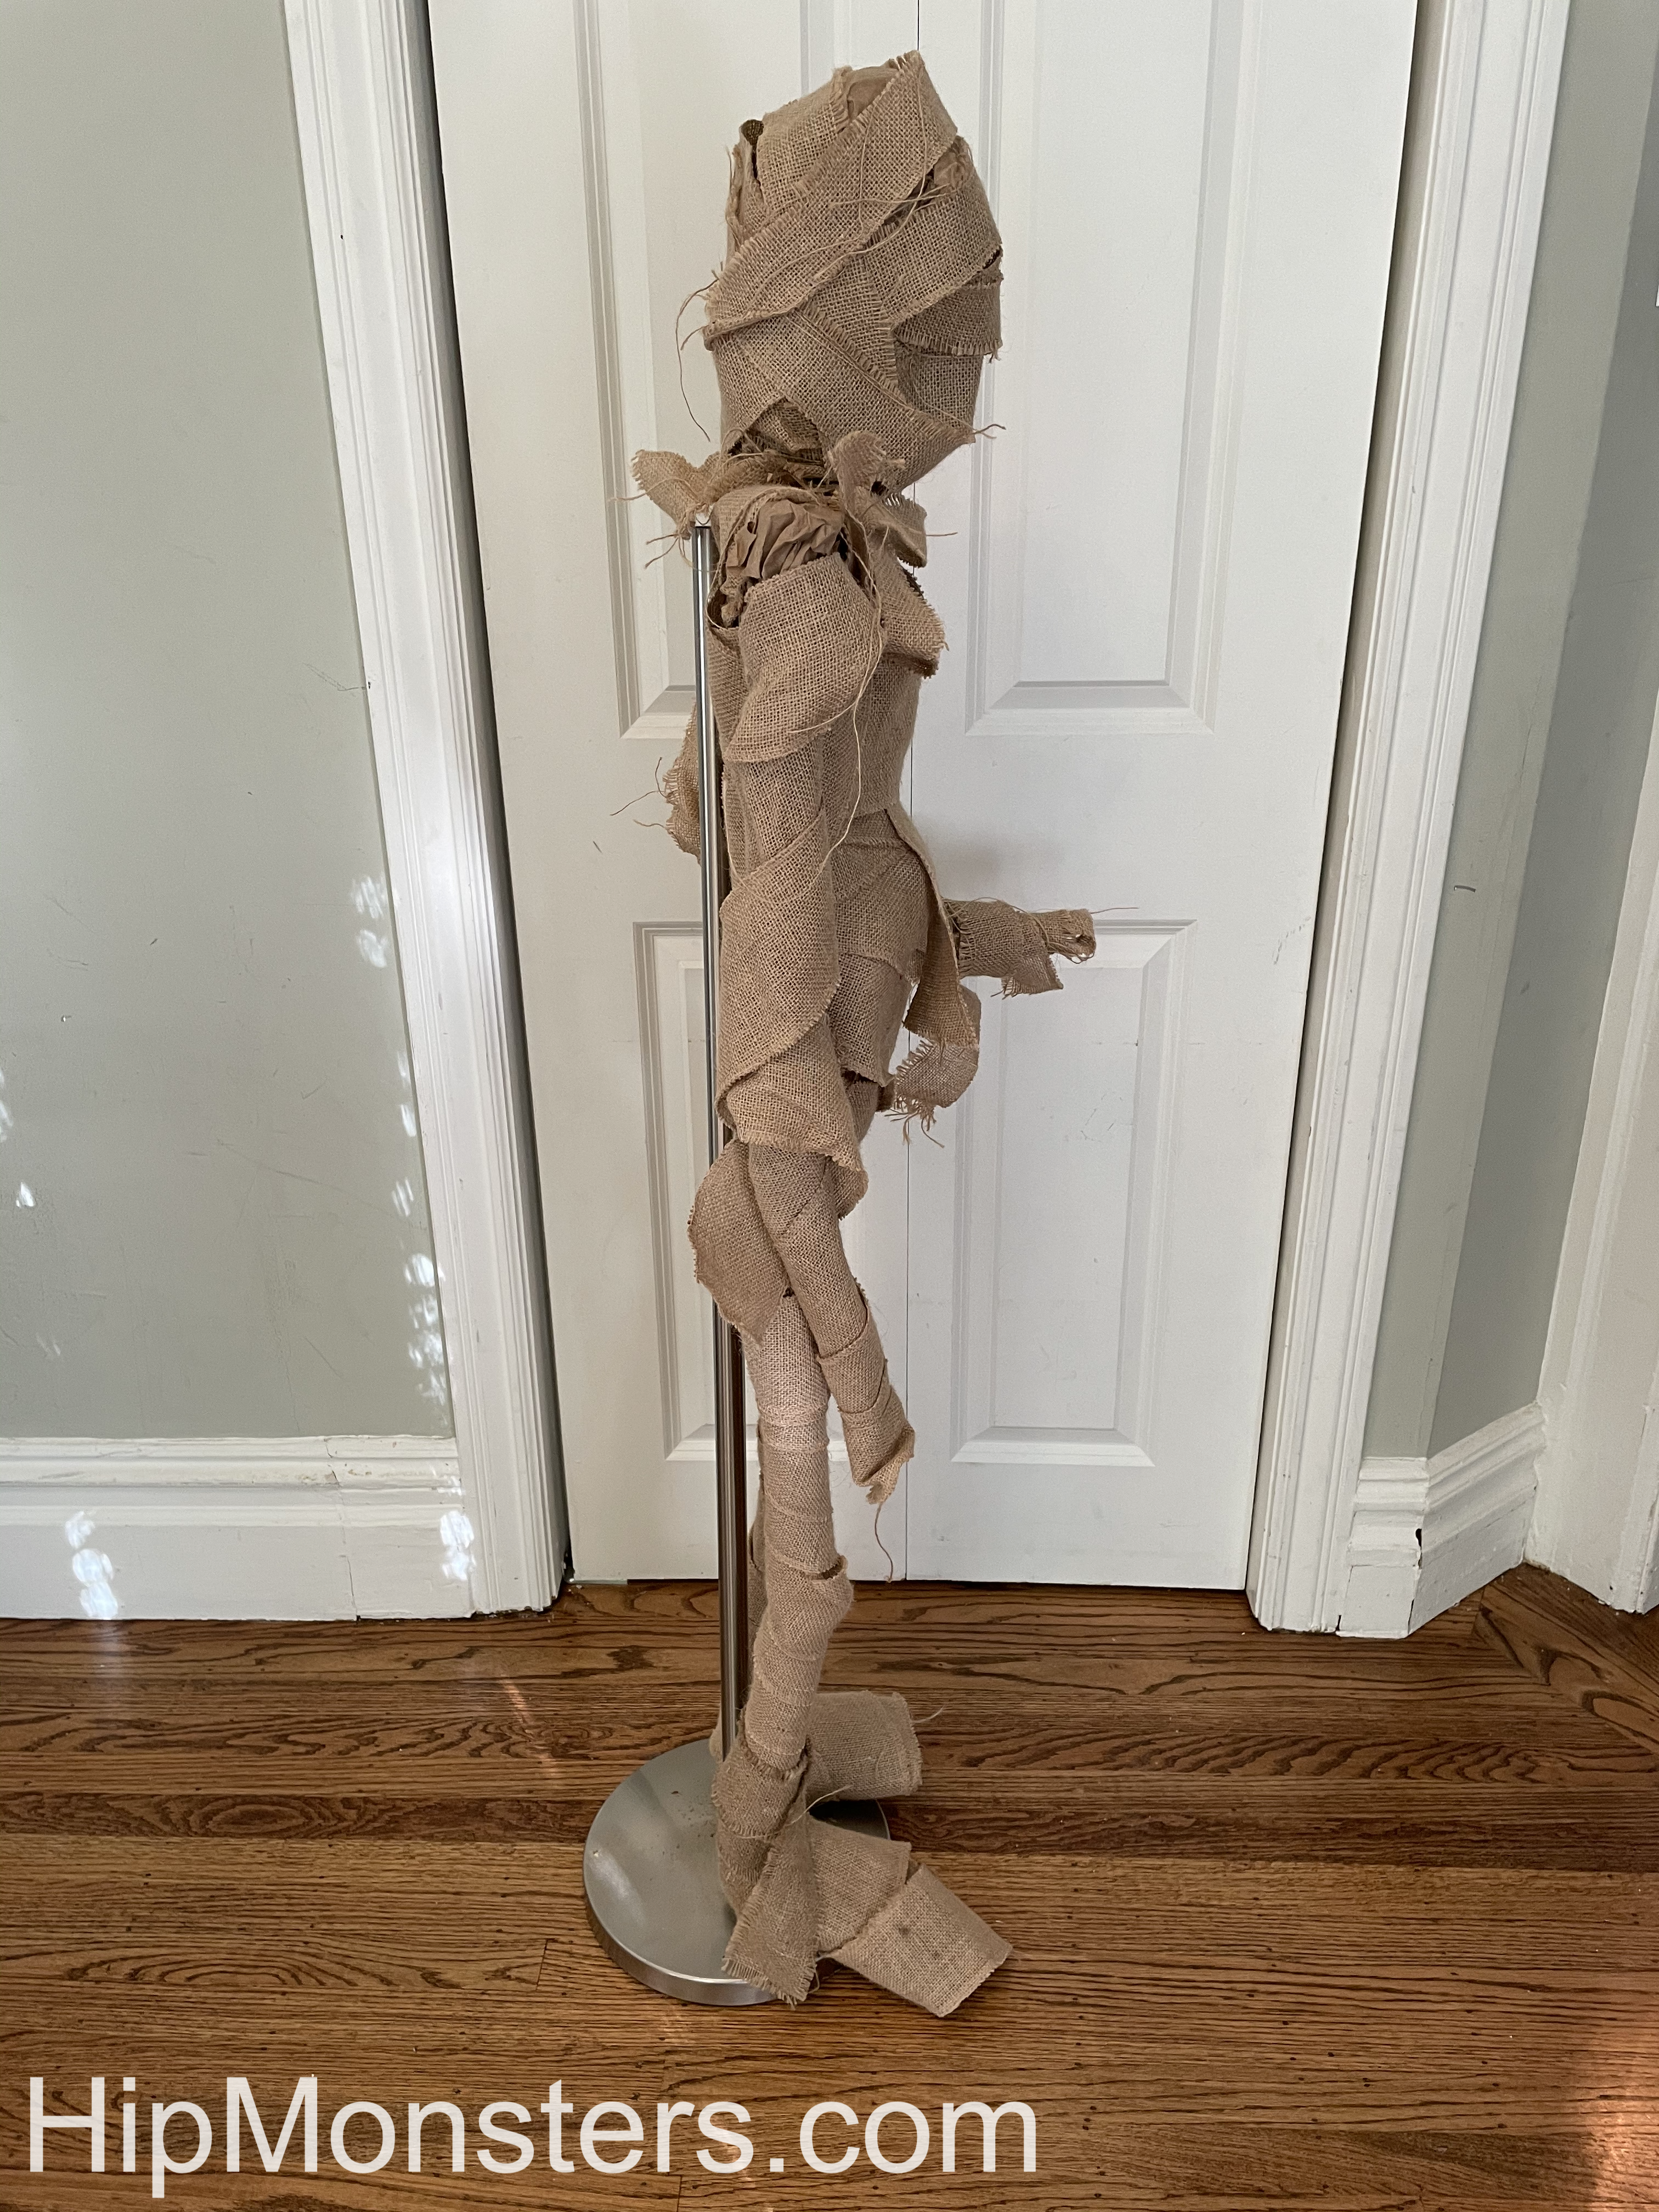
The side viewFront view
Now you can see George out of the workshop! We originally tried to make him be able to stand up on his own, but that would mean either making the body weirdly small or making the feet gigantic. We ended up attaching him to a lamp post instead.
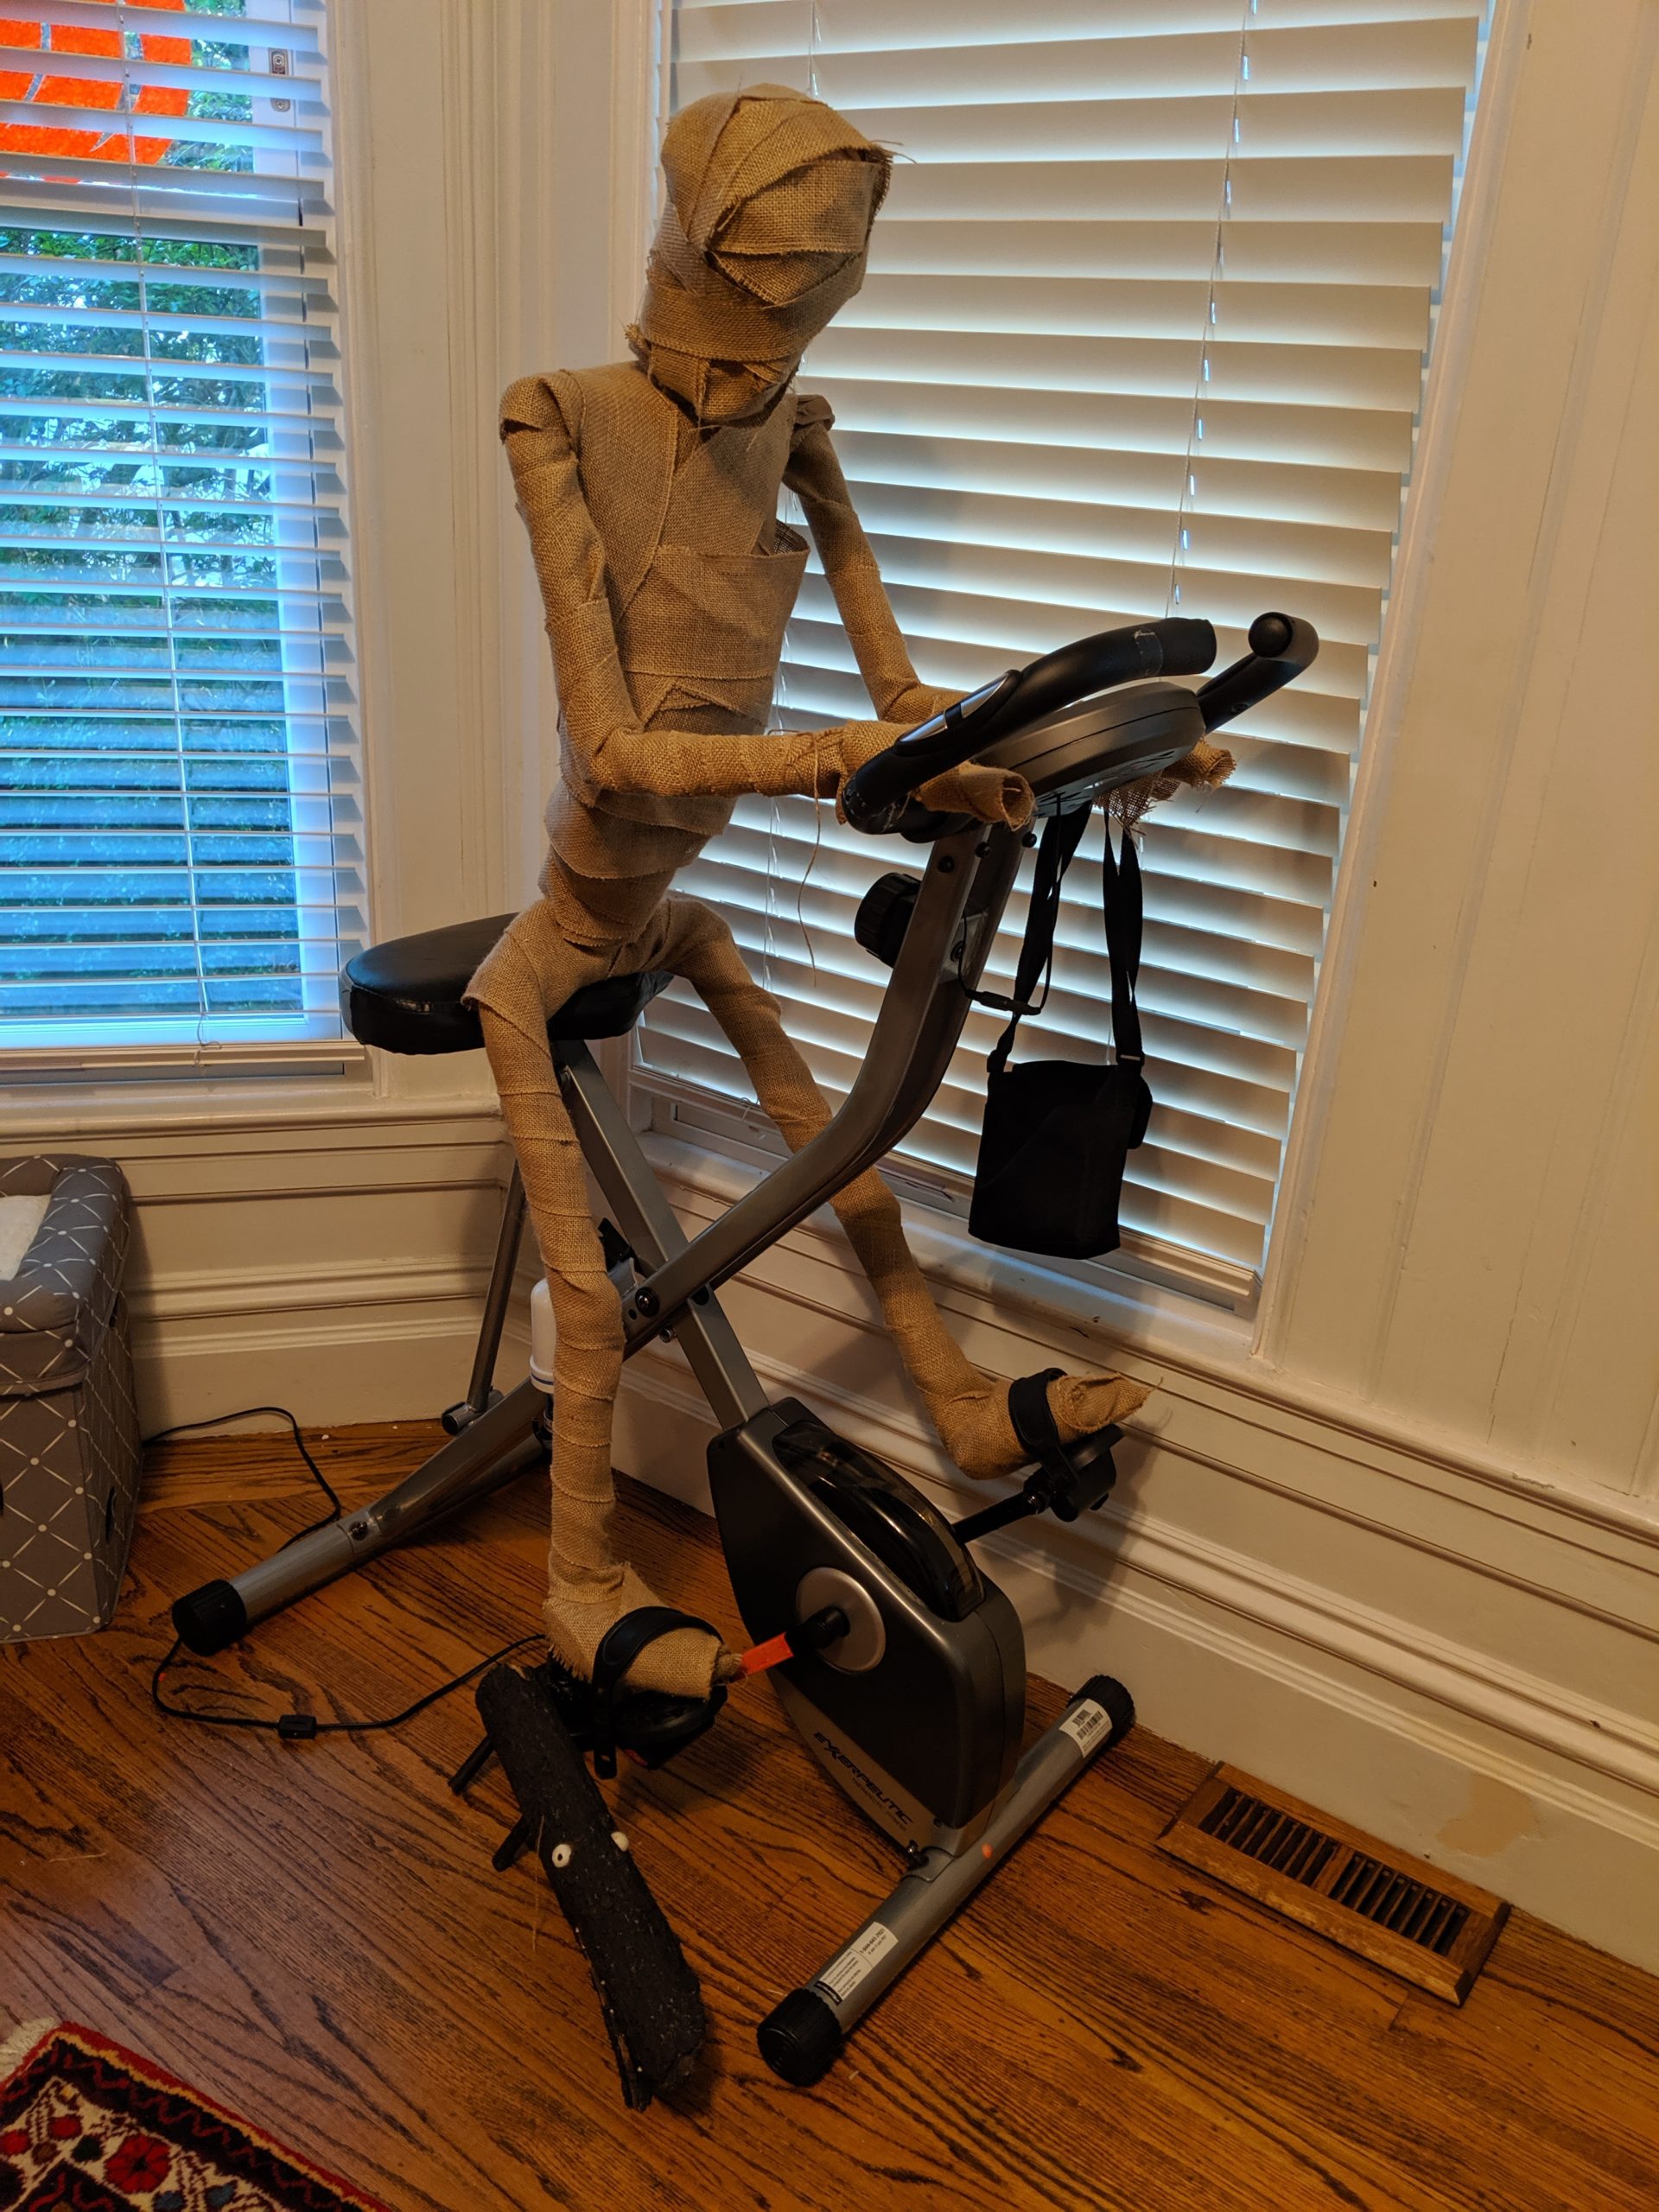
George the mummy exercising
In this photo, George is sitting on a stationary bicycle. This shows off how George’s limbs can move and that he can be detached from the lamppost. It also shows that George is about the same size as a normal human, which makes him more realistic and creepy.
George taking down holiday decorations with Number Three
In this video, George the Mummy is taking down Christmas decorations with Number Three, showing off how well he stands and how much he enjoys wearing hats. He is also sturdy enough to hold Christmas tree ornaments without his arm bending.
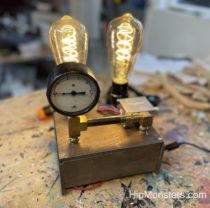
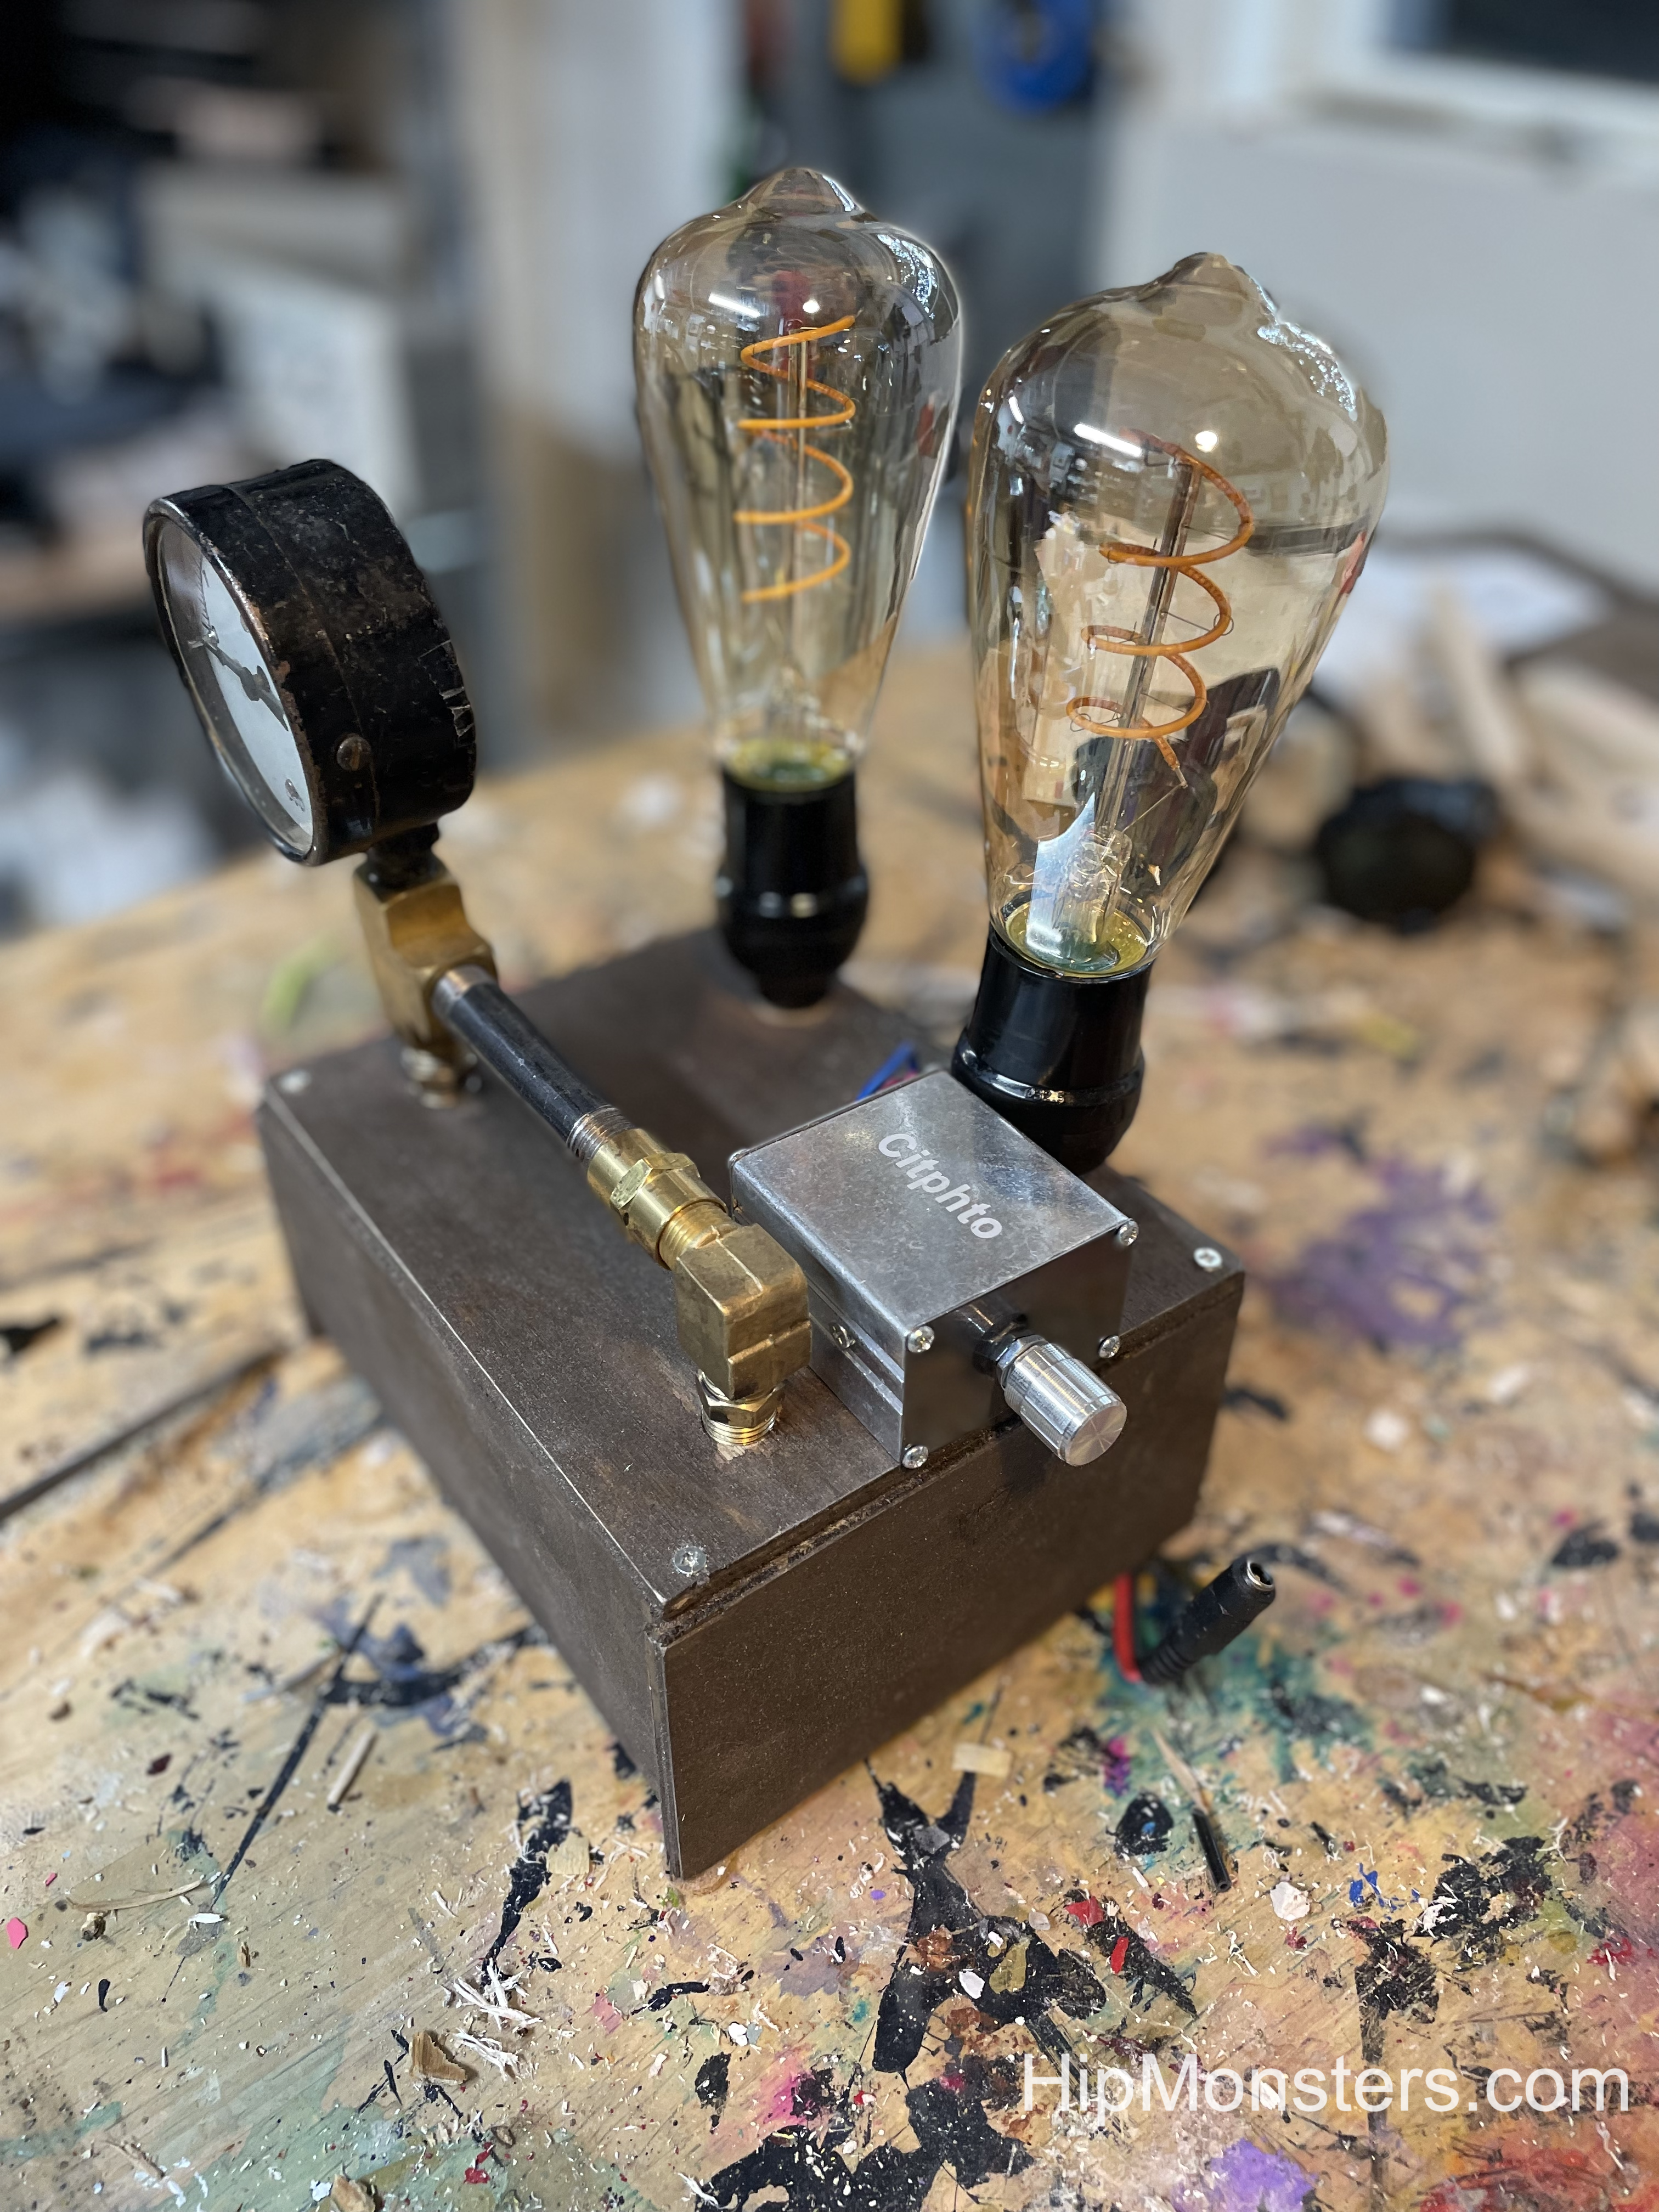
The Hip Monsters team decided to make something that interests people when they walk into the room. Inspired by Girl Genius and this Steampunk creation, we made a mysterious steampunk contraption that only we know the use of.
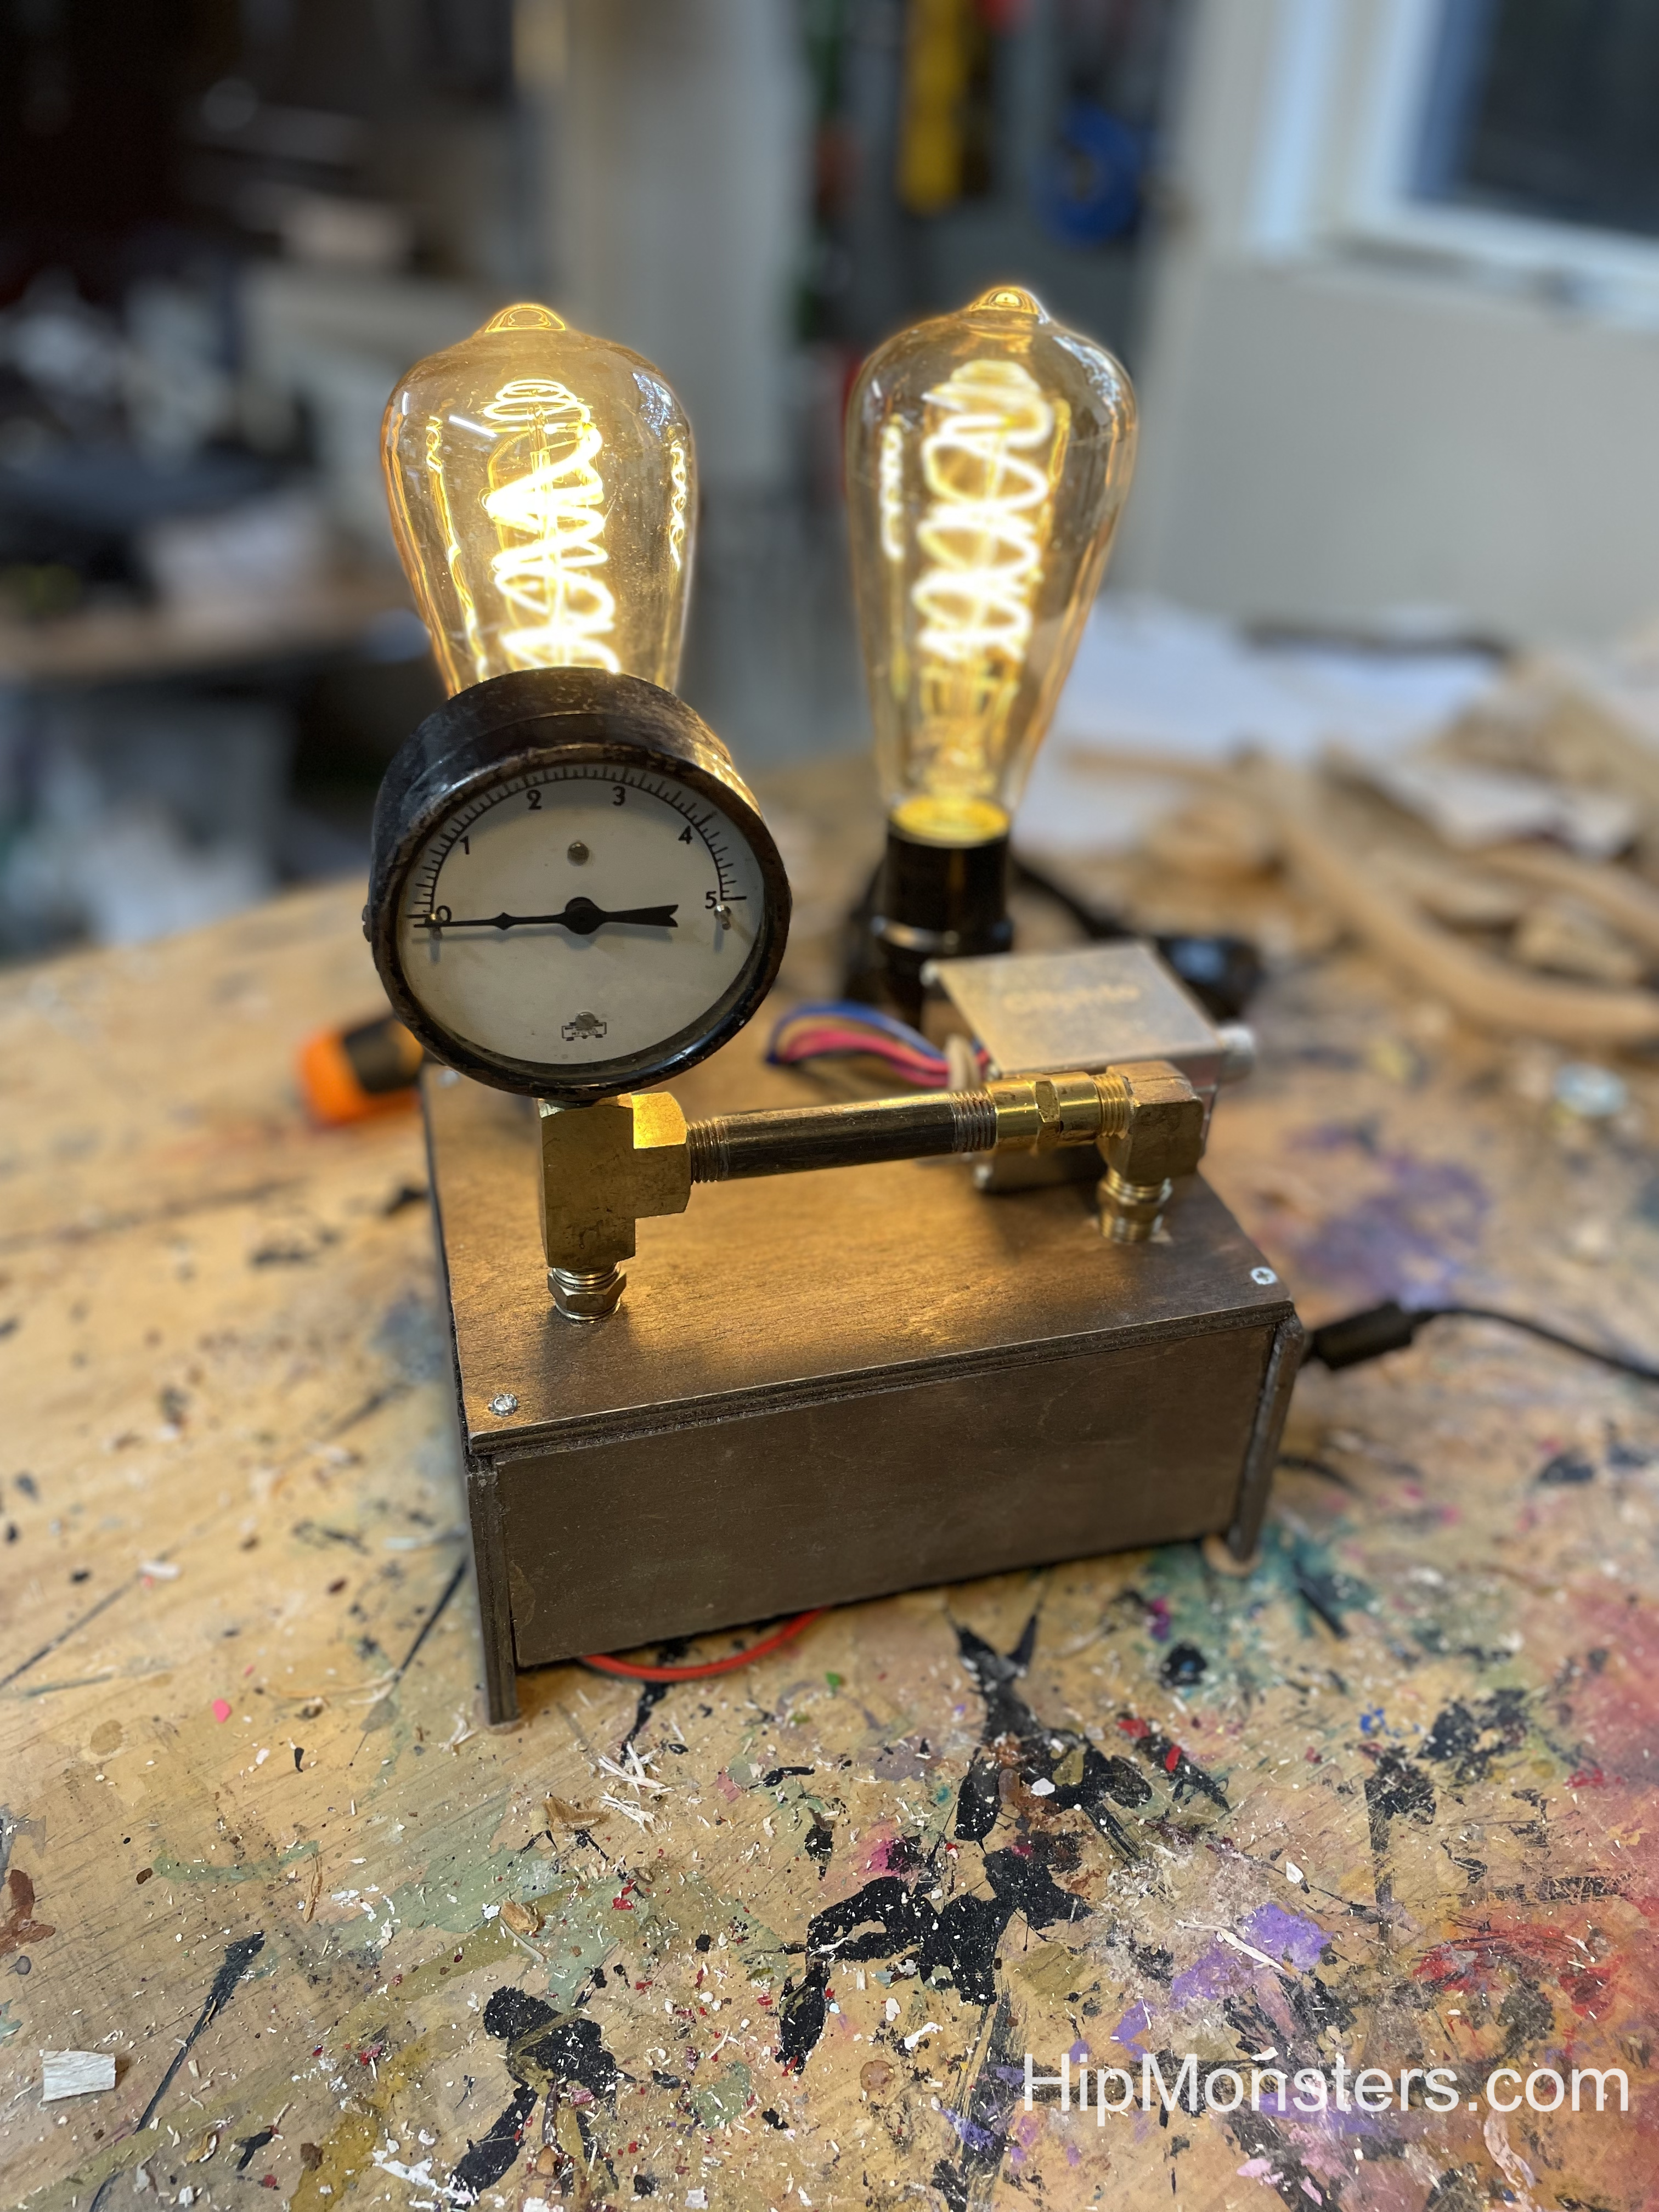
Our amazing steampunk device.
This is our steampunk creation. It has two light bulbs, a pressure gauge, and some metal pipes. The light bulbs’ brightness is adjustable.
The side view
This is the side view of our device. You can see that on the side of the creation, there is a silver metal box. That controls the brightness of the lightbulbs.
The back view
On the back, you can see that there is a wire going from the silver box away from the device. that is where you plug in the device to the outlet. From the front it is barely noticeable, you can only see it from certain angles.