Wearable Robot Monitor 

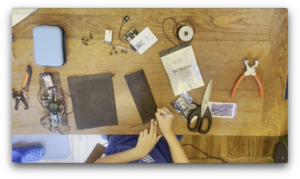
For better control and testing of our autonomous robots, we built wearable robot monitors to enable us to easily see what the robots were thinking and control the robots’ behavior wherever we are.

Please note, this material is provided for informational purposes only and is not a guide on how to create the designs. Please take a look at our disclaimer.

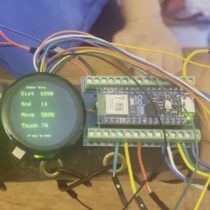
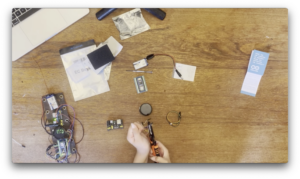
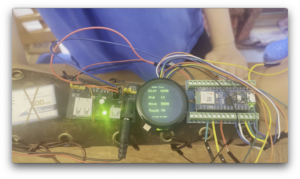
We designed the device around an Arduino Nano ESP32 and a 2-inch circular touchscreen display. The Aduino Nano ESP32 has built in Blue-Tooth (BLE) which enable it to communicate with our robots. It also has built in WiFi which will allow us to expand features in the future.

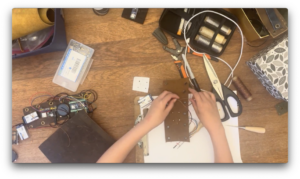
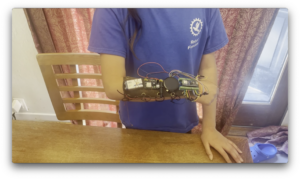
Sticking with our theme, we made a steampunk leather arm band to attach the device. Leather is ideal for quick DIY wearables because it is an insulator and tough to ignite. Flammable or conductive materials are not recommended.

We used 1/4-inch-thick leather so it would better mold to a user’s arm. To attach to the arm, we used leather laces that can be easily adjusted to different-sizes.

The screen has a plug connectors which we remove to attach to our Arduino Terminal Adapter Expansion Board (IO Shield). We have started using IO Shields on all our controlled because the provide secure and reusable connection points. Since we tend to reuse components to save money, soldering doe not work well for us. For a perfect build, we would have used a headless Arduino and soldered the connection.

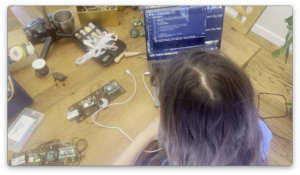
We loaded the software using the Arduino IDE. The Arduino IDE is free and can work with most of the popular microcontrollers. There are many online videos about how to use the Arduino IDE. The code was merged from two examples provided by the drivers for the LED screen and Arduino BLE.

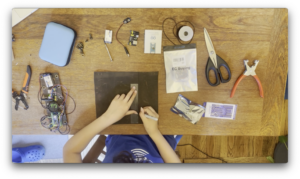
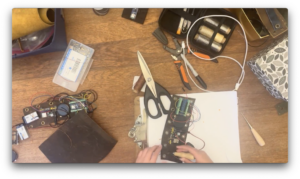
Next, we lay out the component and mark the attachment holes. Make sure to position the Arduino so the USB is accessible.

The components are sewed on using leather thread, and the screen is bolted on using M2 bolts. We first bolted all the components on but the leather thread give the design an almost cyborg look which we prefer.

The wearable robot monitor is complete! The design is just right for a kid or and adult.The laces make it easy to adjust to any sized arm.

Now we can keep track of our robots as they explore the world!

The robots use a Python script to poll for BLE devices. If the device is registered, the robot sends data about it sensor and reasoning, then checks for any commands. Since multiple people work with one robot, we do not pair the robot with one device but rather scan for all registered devices. The Python code is on our GitHub: HERE.

The Arduino code updates data when a server connects and sends any commands stored. The Arduino code on our GitHub: HERE

View the complete video on YouTube

YouTube player
.

Happy Creating!

SMASH: Stem Madness at Saratoga High

Members of the 6165 MSET Cuttlefish, the Saratoga High School FIRST robotics team, noticed tons of pumpkins get tossed after Halloween only to end up rotting in landfills, where they release greenhouse gases even more harmful than carbon dioxide. Since composting isn’t yet widespread in their area, the Cuttlefish decided to take action. 

For the past two years, they’ve hosted SMASH: STEM Madness at Saratoga High, a fun, hands-on event where they smash pumpkins in creative ways to promote composting and environmental awareness, while also sparking interest in STEM. Last year, over 200 attendees smashed over 650 pounds of pumpkins! 

This year the Hip Monster’s team presented. We had a lot of fun, met some wonderful people, and were very impressed by the Cuttlefish team! 

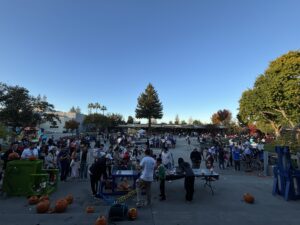
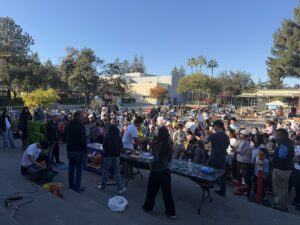
It was a perfect day for a festival and the Saratoga High School is beautiful with tall trees scattered throughout the campus.  

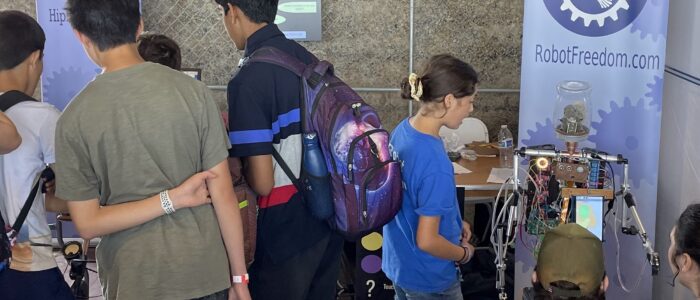
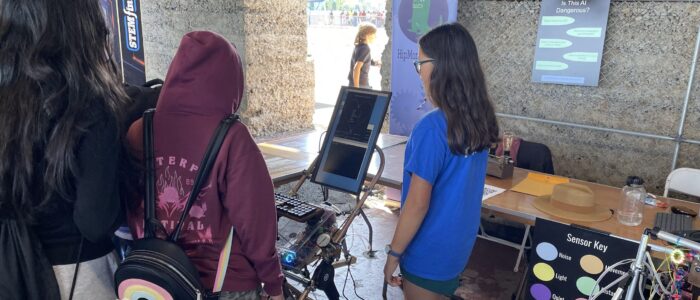
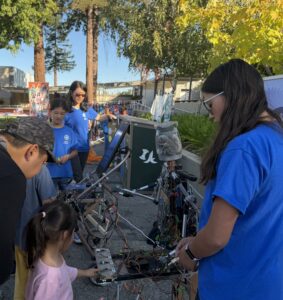
We brought Number Three and Number Eight. Here is a little girl using the touch sensor on Number Three. 

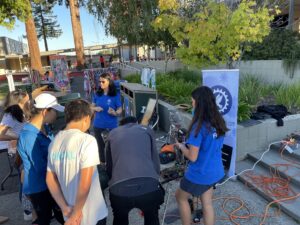
And here is some adults trying out Number Three.

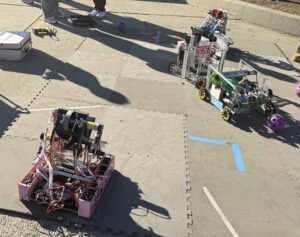
Here are the 6165 MSET Cuttlefish robots in action. 

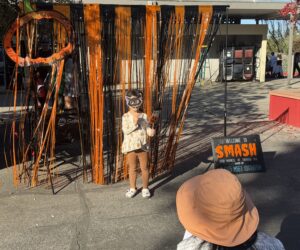
Kids loved having a second Halloween and several dressed up in their Halloween costumes.

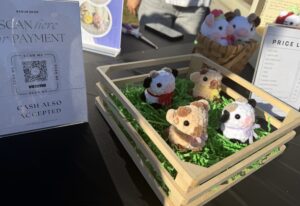
They had vendors and activities, to make this festival more interactive. There were also booths for organizations, like the public library and several clubs in the school.

The main event, Pumpkin Smashing! People could pick out a pumpkin, weigh it, then wait for their pumpkin to be called for it to be smashed. You could also choose to carve the pumpkin. The person who chose the pumpkin gets to press the button themselves, making it a fun and interactive process.

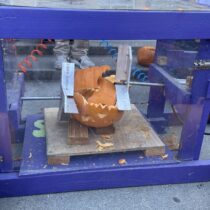
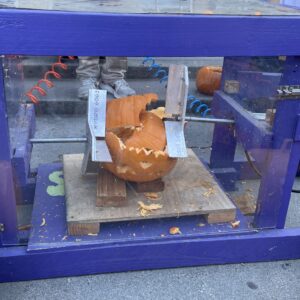
Here is a pumpkin being smashed. There were many different smashing machines for different sizes pumpkins. Our favorite was a hydraulic sledge hammer with 20 pounds of crushing force.

If you live in the Bay Area, make sure to attend next year.

Hope you find inspiration!

Number Three’s View of Bay Area Maker’s Faire 25

The Hip Monsters team had another wonderful time at this years’ Bay Area Maker Faire and our robots did too. Since we engaged the touch sensor at the end of each demo, we calculated we conducted at least 1239 complete demos over 3 days, three times what we achieved last year! Maker Faires are an ideal way to reach a tech savvy and engaged audience.

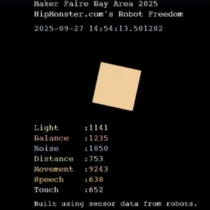
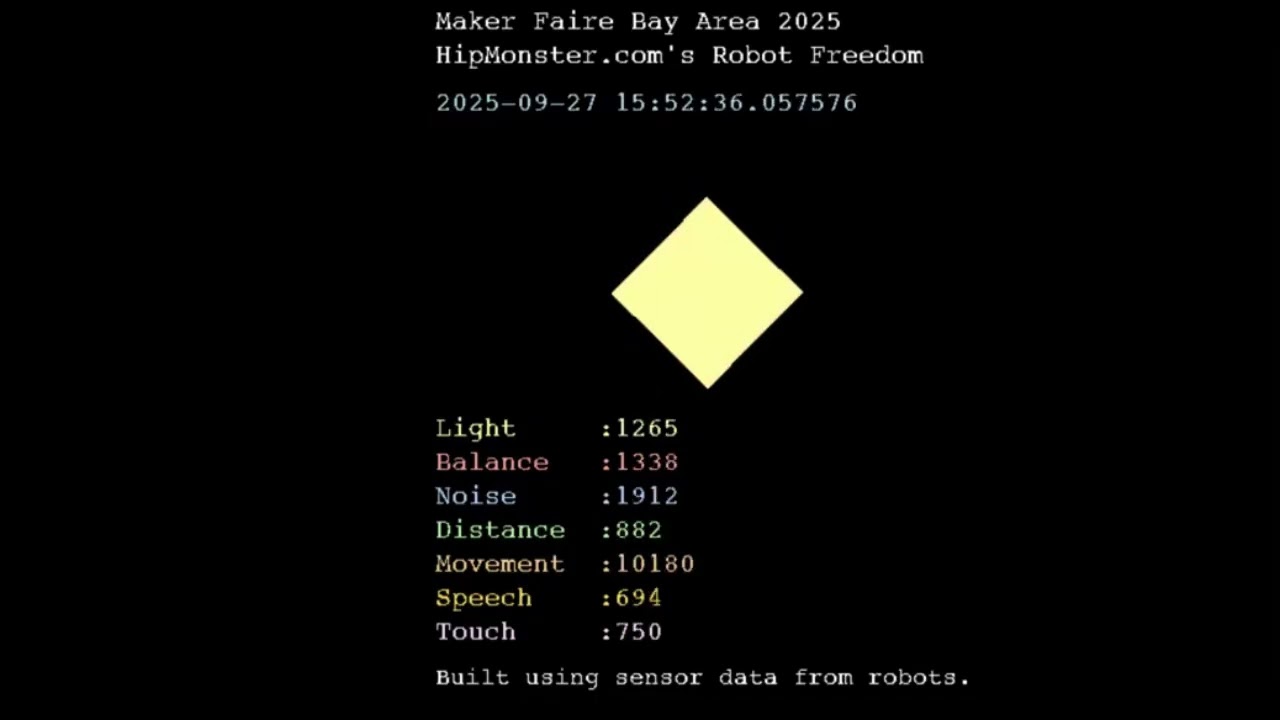
Check out the video below, generated based on the stimuli, emotions, and actions of Hip Monsters’ robot over the course of three days at the Maker Faire. Turn up the volume! The sounds are based on the robot’s simulated emotional response to the stimuli.
The robots recorded the following sensory data:
Noise: A sudden, loud noise. Represented by the color blue.
Distance: Motion within 1 foot. Represented by the color green.
Speech: The spoken word “robotics”. Represented by the color gold.
Touch: Contact on the touch sensor. Represented by the color pink.
Movement: Motion within 6 feet. Represented by the color orange.
Balance: If the balance sensor was moved. Represented by the color red.
 Light: If there was a sudden change in light. Represented by the color yellow.
Frequency of Stimuli: How often or rarely the robots received stimuli. Captured by the Movement of the cube.
Mood: Happy or overstimulated. Reflected in the choice of sound.

YouTube player

THANK YOU everyone for making an incredible experience for humans and robots alike!

Maker Faire 2025

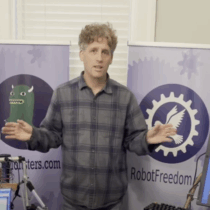
We are very excited to announce HipMonsters.com will be presenting RobotFreedom at this year’s Bay Area Maker Faire, September 26 through September 28th at Mare Island!  We have been training our emotional robots for over a year, living with them, playing with them and watching them grow. Come see our robots in action live! 

Here is a recap of the 2024 Bay Area Maker Faire to give you a preview of what to expect. These are some of our favorite exhibits, from an underwater robot explorer to a giant inflatable cuttlefish car.

Bay Area Maker Faire

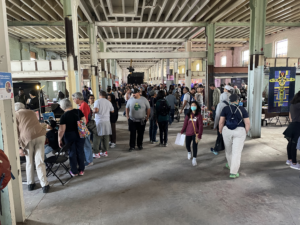
This is the Maker Faire Bazaar, where visitor can find all sorts of handmade goods, like dice, pottery, and even 3d-printed hot chocolate.

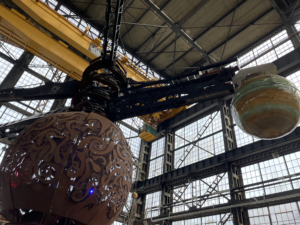
Metal orrery at Bay Area Maker Faire

This is a big working model of the solar system that is the size of a room. All of the planet’s orbit times are proportional to the real ones.

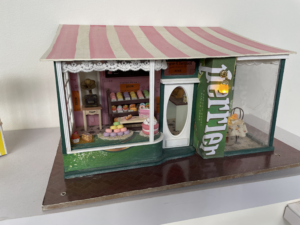
Miniature house at Bay Area Maker Faire

This is a small model of a bakery with working lights and miniature baked goods.

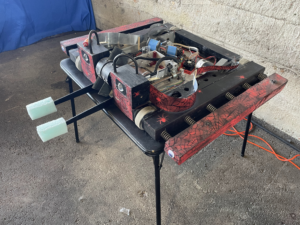
battle bot at Bay Area Maker Faire

This is an old battlebot, complete with two giant spikes in front and four googly eyes (Maker Faire 2023).


DIY robots at Bay Area Maker Faire

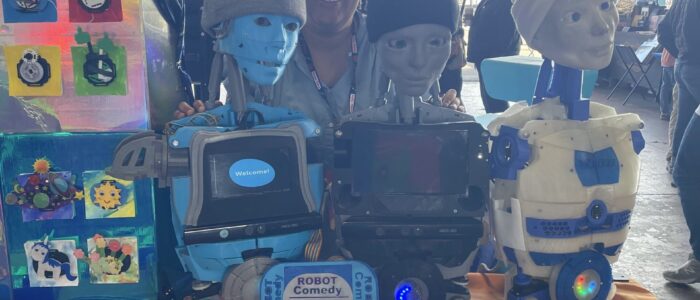
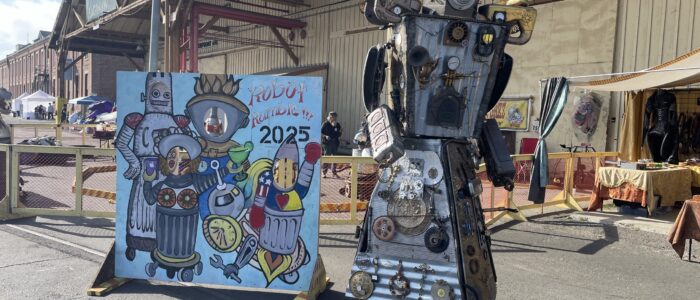
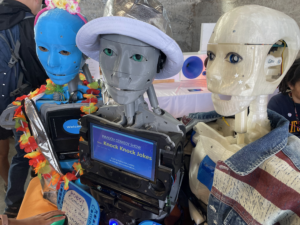
This is the Humanoid Robot Comedy Show. These robots can move their faces to show facial expressions and look you in the eyes while they tell jokes.

Steampunk DIY robots at Bay Area Maker Faire

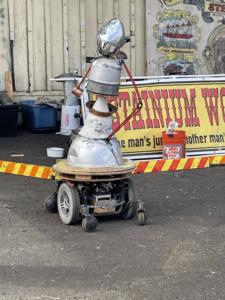
This robot is built for battle. This is one of the robots that fights in an arena against other robots. It is remote controlled and has arms that can swing around.

Dalek at Bay Area Maker Faire

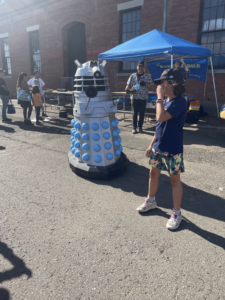
This is Dalek FAX, a remote controlled model of a Dalek that moves and talks.

Under water robots at Bay Area Maker Faire

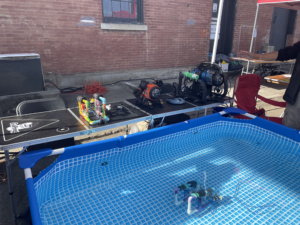
This small robot is built by ROV Tour: Underwater Robotics Adventure. They are remote controlled and have cameras that can show footage of its underwater adventures.

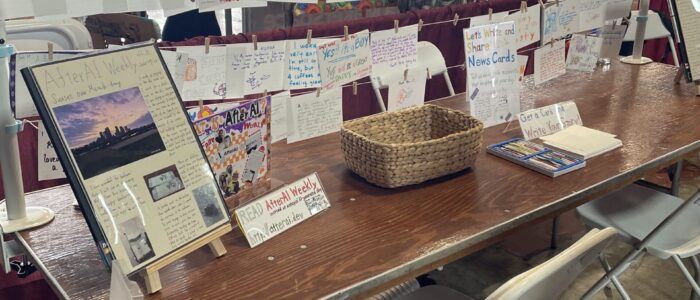
After.AI winning Maker Faire prize

And the award winning After.AI whose 3D printed mechanical flip signs were so fun to watch!

Gear art DIY robots at Bay Area Maker Faire

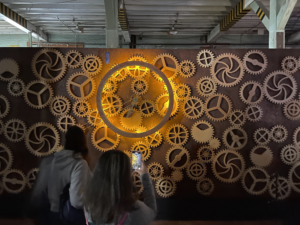
This amazing clock uses a whole wall full of gears to tell time.

Metal fire insect at Bay Area Maker Faire

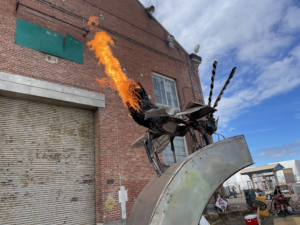
This is a part of Serenity, an art exhibit showing three insects that shoot fire at a press of a button (Maker Faire 2023).

inflatable art DIY robots at Bay Area Maker Faire

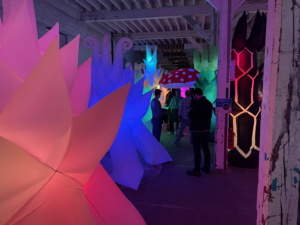
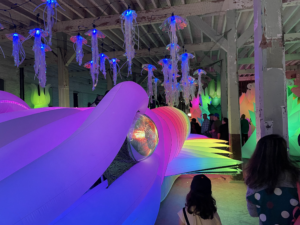
These are parts of Astro Botanicals Space Garden, which is a collection of glowing handmade inflatable plants.

Inflatable art DIY robots at Bay Area Maker Faire

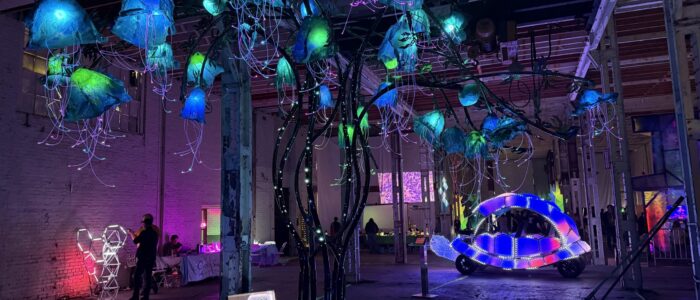
This is Sepia Lux, a giant inflatable cuttlefish car that lights up. The tentacles and the fins of the cuttlefish can move, and the eyes can change colors.

Truck at Bay Area Maker Faire

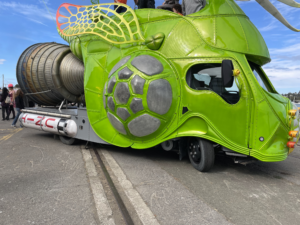
This is a truck inspired by a beetle complete with wings and a bright green shell.

Drivable peacock at Bay Area Maker Faire

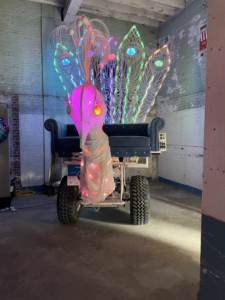
This is a peacock vehicle that lights up and moves.

We are looking forward to seeing you all at this year Bay Area Maker Faire!

Hope you find inspiration!


Sutter’s Fort

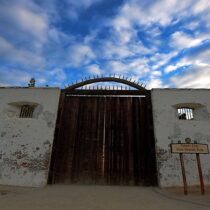
Sutter’s Fort is around a two hour drive from the San Francisco Bay Area. Built in 1839, it is in the first permanent European colonial settlement in Central California. Sutter’s fort was the economic center of the settlement, it had bakeries, blacksmiths, and other businesses that most people would need. It lost its importance in 1849 when the gold rush caused many people to rush to California, who competed with Sutter’s businesses.

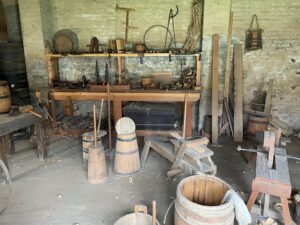
Here is where they made barrels. Barrels were an essential part of frontier life, holding everything from pickles to gunpowder.

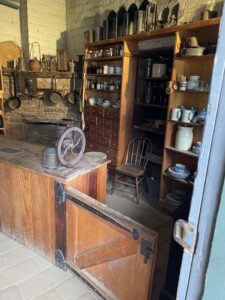
And here is our favorite store, the apothecary store, where you could get herbal remedies and cures as well as coffee.

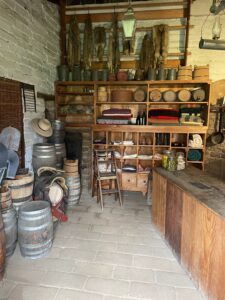
This is the general store, where the settlers would buy everyday objects such as silverware, food, and simple tools.

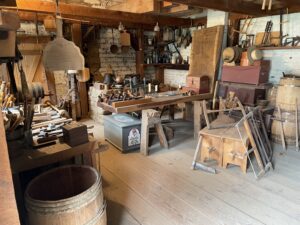
Here is the carpentry shop. This shop supplied many important things, such as barrels, furniture, and tools. You can see the tools in the background which the carpenters used for woodworking. Many are very similar to modern woodworking tools. We love seeing workshops to get new ideas on how to improve ours.

Hope you find inspiration!


Castello di Amorosa

Ever wish a medieval castle was just a drive away? In you live in the San Francisco Bay Area, you can visit Castello di Amorosa. It is in Napa just two hours away.

Castello di Amorosa: Napa Valley Castle Winery in Calistoga

We sometimes need to break from the workshop, and Castello di Amorosa is one of our favorite places to relax and refill our creative well.

Castello di Amorosa: Napa Valley Castle Winery in Calistoga Court yard

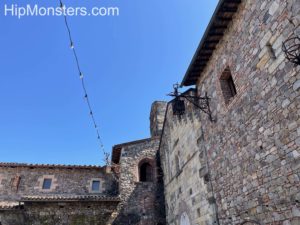
The attention to detail is amazing, and they capture the feel of ancient castles in Europe.

Castello di Amorosa: Napa Valley Castle Winery in Calistoga Hall way

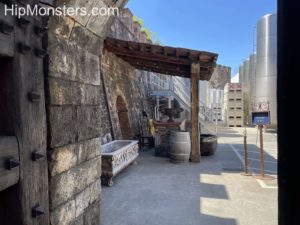
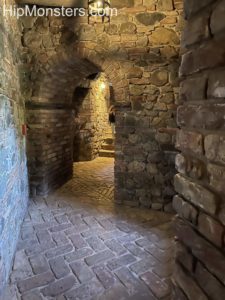
Dark and spooky corridors can be found to given you inspiration and chills. Sometimes you can find hidden passageways.

Castello di Amorosa: Napa Valley Castle Winery in Calistoga Knight

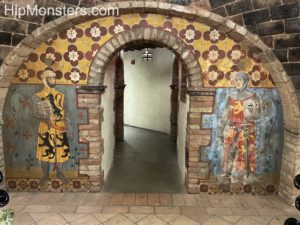
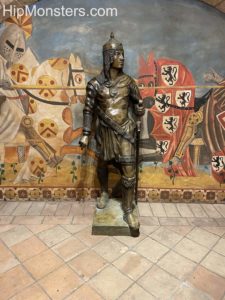
Beautiful murals and statues are found throughout the castle. There is so much detail to the murals, and everything is done in the same style as the ancient castles.

Castello di Amorosa: Napa Valley Castle Winery in Calistoga Knight

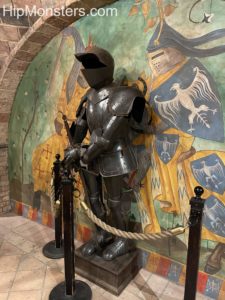
Here is a suit of armor stand ready for action. In the background you can see a beautiful mural that shows the knights going into battle.

Castello di Amorosa: Napa Valley Castle Winery in Calistoga Gift shop

Everything has the perfect patina to give it a timeless and well-worn look. The tiles in this image are skillfully decorated with intricate patterns.

Castello di Amorosa: Napa Valley Castle Winery in Calistoga downstairs

Here are some more mysterious dimly lit corridors.

Castello di Amorosa: Napa Valley Castle Winery in Calistoga View from the front

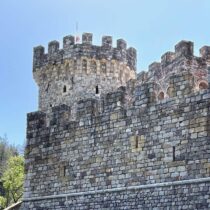
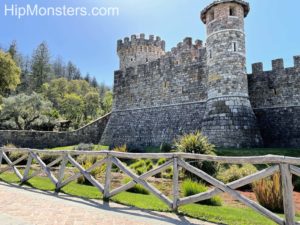
The outside of the castle looks just as real. You can see the guard towers and the merlons, and you can even walk along the castle wall. There is also livestock outside the castle.

Hope you find inspiration!

Maker Fest at Ecole Bilingue in Berkeley

The Hip Monsters team was thrilled to be invited to a Maker Fest last week at Ecole Bilingue in Berkeley, CA. Ecole Bilingue is a preschool to eighth grade French immersion school focused on preparing their students to make a positive impact on the world.

We had a wonderful time at the maker fest and it was amazing to see such talented makers and dedicated students. The event had great food (including handmade boba tea), a fun crowd, and an exciting lineup of makers. It was a beautiful day in Berkeley which added to the cheer.

Below are just some of the makers at the festival.

Hip Monster’s Robot Freedom
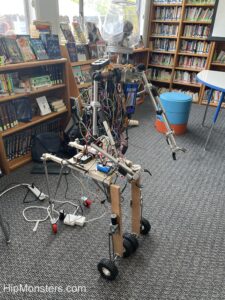
We were there with Number Three of RobotFreedom, who got a chance to test out her new legs. We will have a post in a bit on her leg redesign. The legs worked well and the batteries lasted longer than we anticipated.
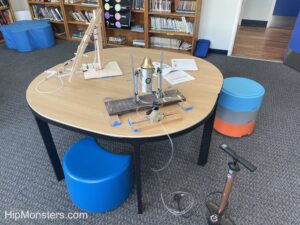
We also brought our pneumatics demonstration which is an ideal place to start kids (and adults) on robotics.

The Sewing Corner 
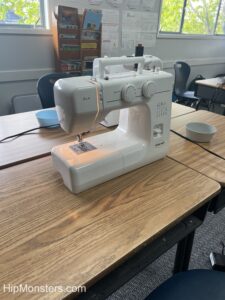
There was a great sewing section with helpful makers who quickly got even first time sewers make a tote bag.
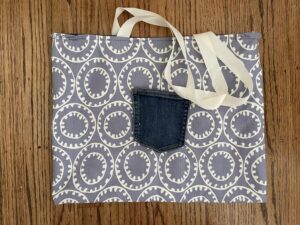
Here is a finished toto bag! We have already put it to good use storing cat toys.

Magnification Mayhem vs. Resolution Rumble!
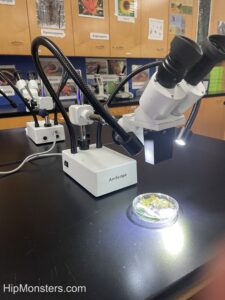
George and Janai Southworth from the San Francisco Microscopical Society had a fantastic demonstration of microbiology. They showed how different filters and lightning impacted what could be viewed through the microscope.  Below is a petri dish of bacteria waiting to reveal its secrets.

Solar Racing Car
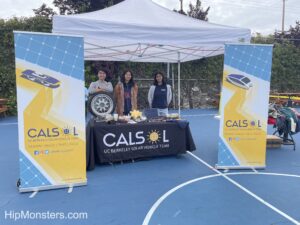
Members of the UC Berkeley CalSol Solar Racing Car were there giving us the inside scoop on their upcoming race in Nashville, TN. Every few years the car is completely redesigned and rebuilt using the most up to date technology. 

3-D Print Making
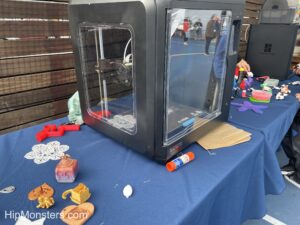
There was 3D printing space with a great collection of designs and examples. All the designs were coded by kids!
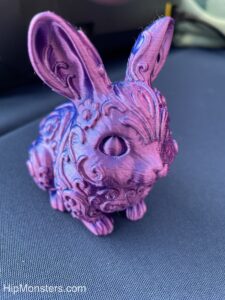
Here is our favorite creation, a 3d printed pink rabbit.

Bike Powered Smoothie Machines
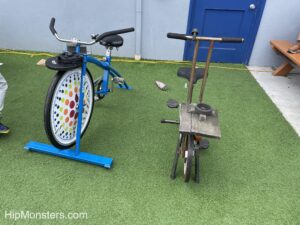
The bike powered smoothie machines were steampunk inspired pieces of art. They were designed and made by the talented students at Ecole Bilingue. They also are a great way to make sure you earn those calories in the smoothie. Every household should have one of these!
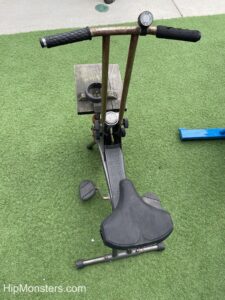
The designs are modified stationary bike with blender connected to the front wheel.
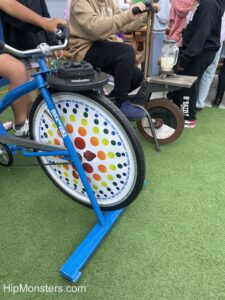
Here are the bikes in action making a smoothie.

Painting Robot
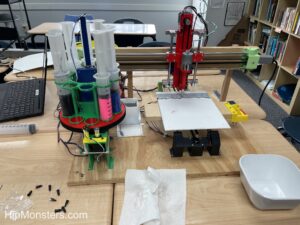
They even had a robot making art! It was fun watching the robot as it dutifully created its next masterpiece.
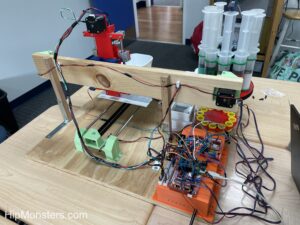
Here is a view of the business end of the painter bot.

Space Wars
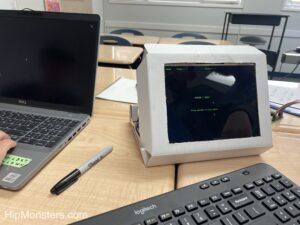
And last but not least, a RaspberryPi powered game console designed and built by one of the students. The compact design had custom made controllers that allowed for two person games.
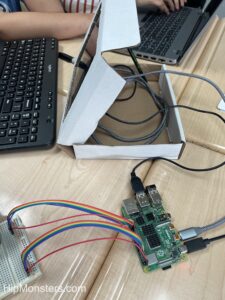
The stand was a clever design using a cardboard box as a case neatly cut so it looked.

Thank you so much to Ecole Bilingue for inviting us to the maker fest! We would love to participate in more of your events in the future.

Hope you find inspiration!

First Robotics Competition in SF

We had a lot of fun at the First Robotics Competition at St Ignatius College Preparatory in San Francisco CA. We cannot think of a better way to spend the weekend than watching teams of highly skills robotics engineers compete for fame and glory!

Above is a photo the entrance to St Ignatius located in the heart of the Sunset district in San Francisco.

Below is a video showing one set of the robotic competition.

YouTube player

The goal is for your team to finish as many tasks as possible before the time runs out. Each team has three robots: two that are focused on competing tasks and one that tries to disrupt the other team’s robots. The court is divided in two with each team having one side as their home where they perform their tasks. The tasks are placing the tubes in a slot, throwing a ball and lifting themselves up at the end of the round.


Here is a close up of one of the robots, number 6822. It is amazing to see how many different and creative designs the teams come up with. For example, some receive the tubes from feeding machine while others scoop them up from the floor.

Here is another robot, 7667, waiting to be serviced.

Above is a photo of a typical repair station. Like with the robots, each team has their own layout and collection of tools optimized for their robot’s design. We had serious tool envy as we walked through the pit.

While none of our photos have people, the event was crazy crowded. We made sure to exclude people when taking photos, so missed about half of the teams at the events. Below is a sample of some of the teams there.

The Otter Bots.

The Aztechs from Alameda, California.

And team 846 with the absolute coolest pin dispenser ever!

The Breaker Bots.

The Pirate Robolution!

The Bot-Provoking.

Bora Robotics from Türkiye!

Blue Magpies from Taiwan!

Find your inspiration!
Pneumatic Robotic Arm Workshop

This pneumatic robotic arm workshop is design to introduce basic concepts of robotics and making to grade-school students. The design is based on ones used in middle school and high school robotic competitions. We have created a simplified version for one-time workshops with kids of all ages.

Please note, this material is provided for informational purposes only and is not a guide on how to create the designs. Please take a look at our disclaimer.

The two main science concepts are:

  • Leverage: A lever is a simple machine consisting of a bar that pivots on a fixed point (fulcrum). Levers are used to amplify input force. The robotics arm requires placing the syringes in positions that exploit leverage. You can find out more here.
  • Pneumatic:Pneumatic power uses compressed air as an energy source. Basic components of a pneumatic engine are: reservoir, pump, value and cylinder. In this workshop the syringe is the pneumatic engine. Pneumatic power is widely used in robotics and industry. Here is a link for other project ideas. 

Required Supplies:

Each student will require:

  1. x4 syringes
  2. x2 4-inch piece of tubing
  3. 1  4×4 piece of wood
  4. x5 Popsicle sticks
  5. X2 nut and bolts

The photo below is the full-scale model used in high school competitions. It requires 2-3 students to control. One of the Hip Monster sisters built it at a Sacred Heart Robotics Camp in San Francisco, CA.

Here is a side view with the arm down.

The competition involves stacking blocks and the score is based on time it takes to move all the blocks and height of the stack. Controlling the arm is a true team effort with 2-3 students working together to move the arm. The winning design not only requires good engineering but perfect team work. Engineering competitions are ideal ways for kids to develop technical as well as social skills.  Below is a video of the arm in action:

<video of it working>

For our grade school work shop we choose a smaller and simpler design that only required one student to control the robotic arm. You can still have a team competition with two students per robot (one controlling each syringe) if desired.

Below are several views of our simplified design. Instead of zip ties we use rubber bands and tape.

Here is a view from above. This design does not use hot glue and is suited for all ages.

This is another design suited for more advanced students.

Here is a side view showing the placement of the syringe in the middle of the base to provide better range of movement.

In the video below one of the Hip Monster’s sister’s team does a quick build of an arm.


YouTube player

Here are the step by step instructions:

  • Drill a hole in the center of the square plywood which will be the base for your robotic arm.
  • Now push a bolt through the hole and secure it using a nut. The bolt will be the support for your arm.
  • Drill a hole on one end of four popsicle sticks.
  • Use the two popsicle sticks placed on either side of the bolt with the holes on the top.
  • Secure using rubber bands making sure to let it pivot.
  • Secure a syringe to a popsicle stick. This popsicle stick provides leverage helping move the arm.
  • Use rubber bands instead of tape or glue. Rubber bands let the mechanism flex as the pump extends pushing the arm.
  • Attach the piping and connect another syringe.
  • Adjust the two syringes so when you depress one the other extends.
  • Attach one end to the popsicle stick using a rubber band.
  • Next secure the other end to the edge of the base using tape.
  • Slow depress the syringe pump your arm will move!
  • Now attach two popsicle sticks to the top of the arm.
  • Secure with a bolt and nut.
  • Secure the syringe pump to the forearm with rubber bands.
  • Now attach the syringe base to the arm using tape.
  • Connect the other syringe.
Now you pneumatic robotic arm is complete!

To improve performance you can turn your pneumatic robot to a hydraulic powered one by just adding water! You can get more information here.

YouTube player
Happy Creating!