Project 75762- Maker Faire 2024!

We are delighted to say the Hip Monsters will present Robot Freedom at the this year Bay Area Maker Faire!

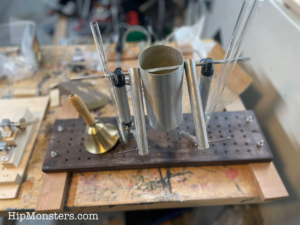
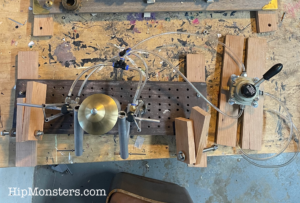
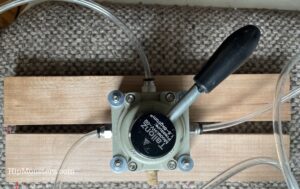
Robot Freedom is a celebration of robotics and steampunk designed to teach kids of all ages the basics of robotic design with fun hands-on demonstrations presented by an autonomous android powered by feelings.  See  how a mechanical mind works, power a music robot with your own strength and watch how a robot sees a world filled with stimuli!

Please join us Oct 18 through the 20th.

Read more about our exhibit here.

Steam punk robots going to Maker Faire

Steampunk Contraption Model Beta

The Hip Monsters team decided to make something that interests people when they walk into the room. Inspired by Girl Genius. and this SteamPunk creation, we made a mysterious steampunk device that only we know the use of.

Handmade steampunk device
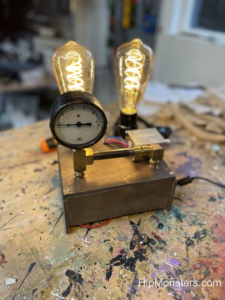
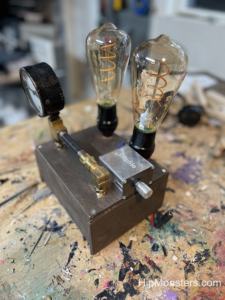
Our amazing steampunk device.

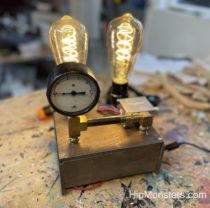
This is our steampunk creation. It has two light bulbs, a pressure gauge, and some metal pipes. The light bulbs’ brightness is adjustable.

DIY steampunk device
The side view

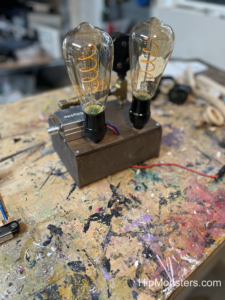
This is the side view of our device. You can see that on the side of the creation, there is a silver metal box. That controls the brightness of the lightbulbs.

DIY steampunk device
The back view

On the back, you can see that there is a wire going from the silver box away from the device. that is where you plug in the device to the outlet. From the front it is barely noticeable, you can only see it from certain angles.

Creating Creating!

Sun-Moon-Earth Orrery

Getting started

Need to track the moon phases for that perfect time to cast a spell? Worried about when you are due to change into a werewolf?

The following instructions are for a quick DIY Sun, Earth, Moon Orrery we did for a school project.  This is suitable for ages 6 to 12 but may need adult supervision.  We were inspired by this article in instructables.com but needed a much simpler design.

Please note, this material is provided for informational purposes only and is not a guide on how to create the designs.  Please read our disclaimer.

Equipment

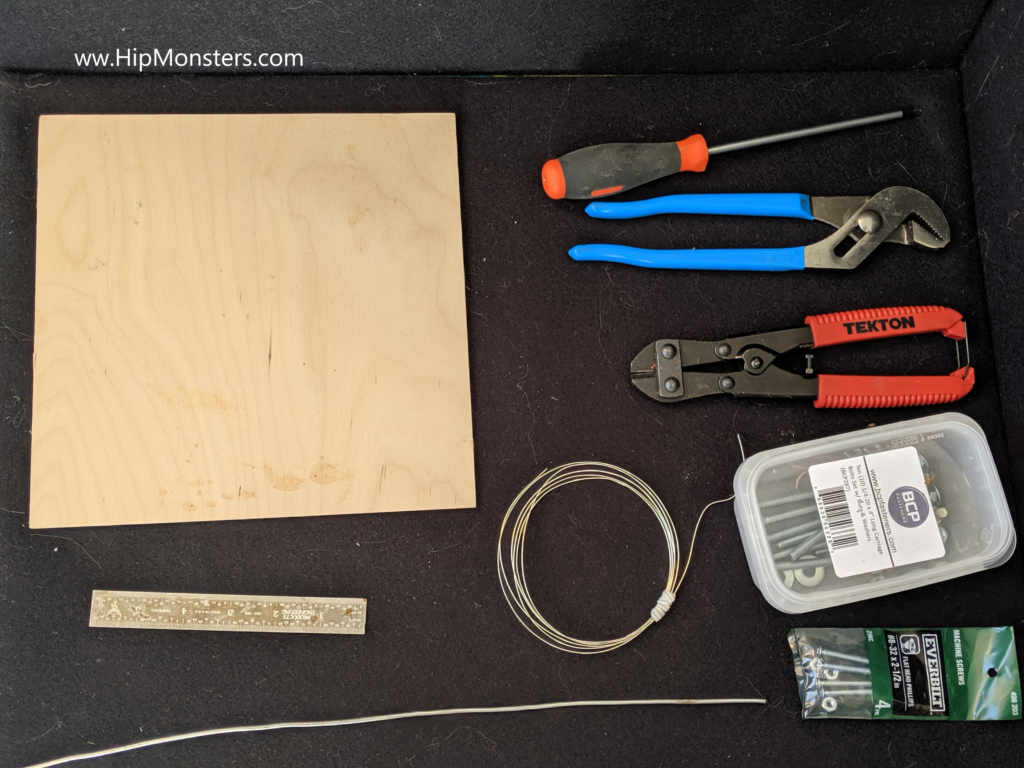
Equipment:

  • Drill
  • Pliers
  • Wire Cutters

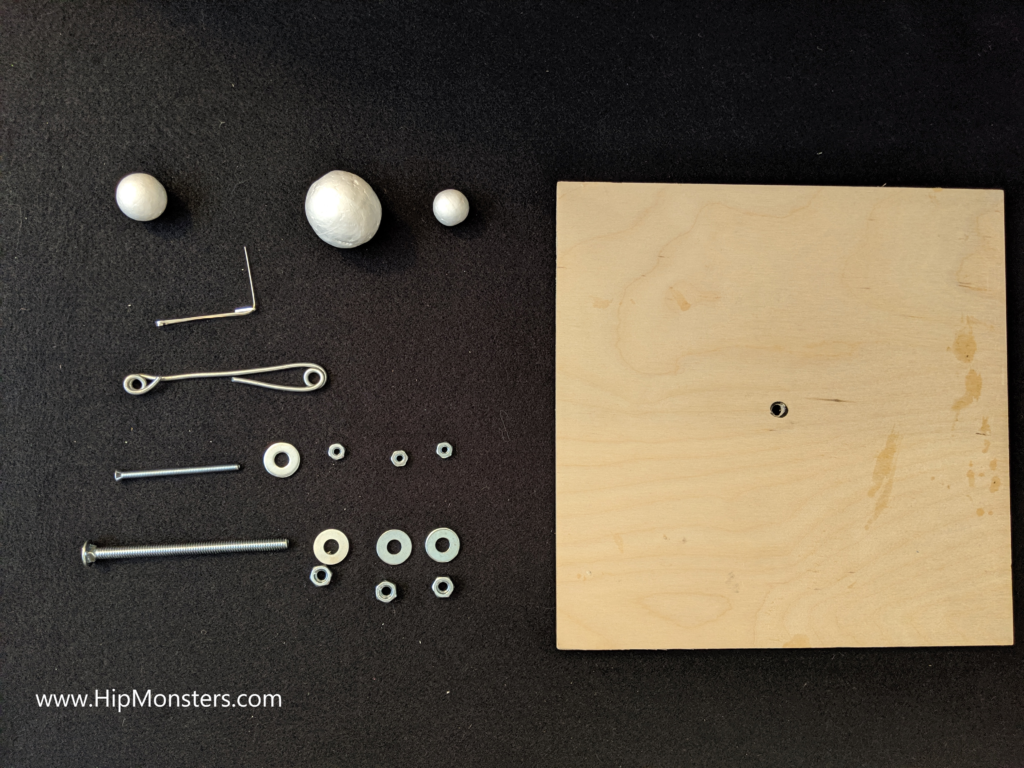
Parts:

  • Plywood (10 X 10 inches)
  • 4 inch bolt with 3 nuts and 3 washers
  • 2 inch bolt with 3 nuts and 3 washers
  • 3 foam balls of different sizes
  • 9 inches of thick wire (may use coat hangers)
  • 5 inches of thin wire (may use pipe cleaner)
  • Foam padding

Step 1

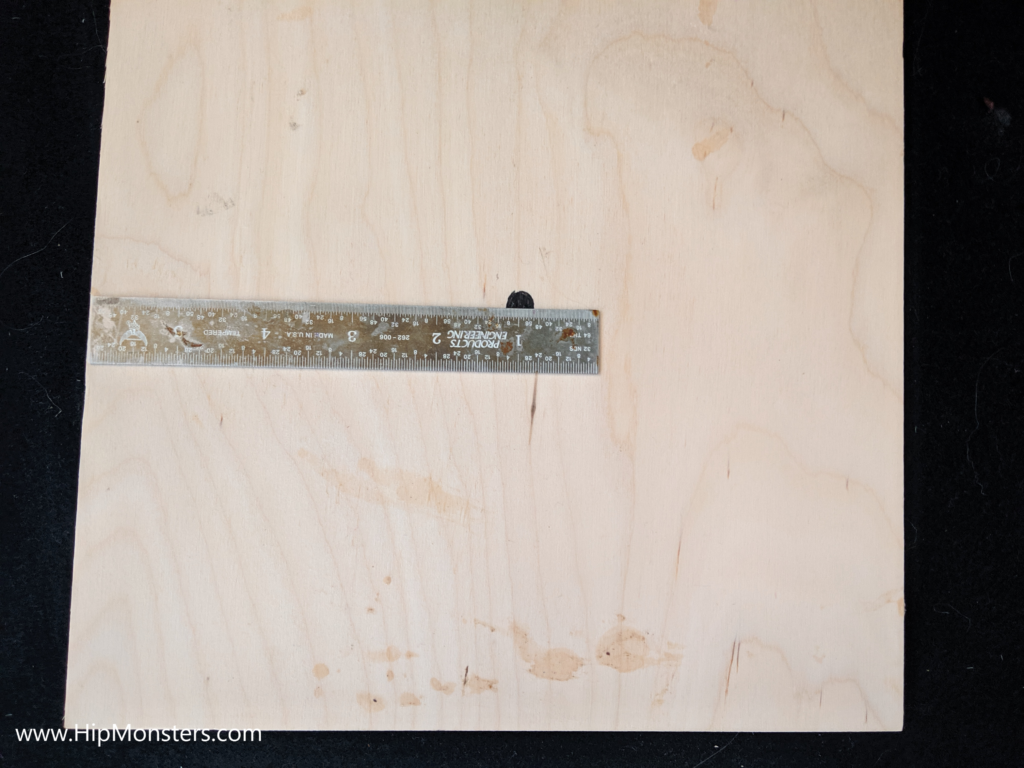
First, measure the center hole for the main screw.  This screw will support the Sun, Earth, and Moon.

Step 2

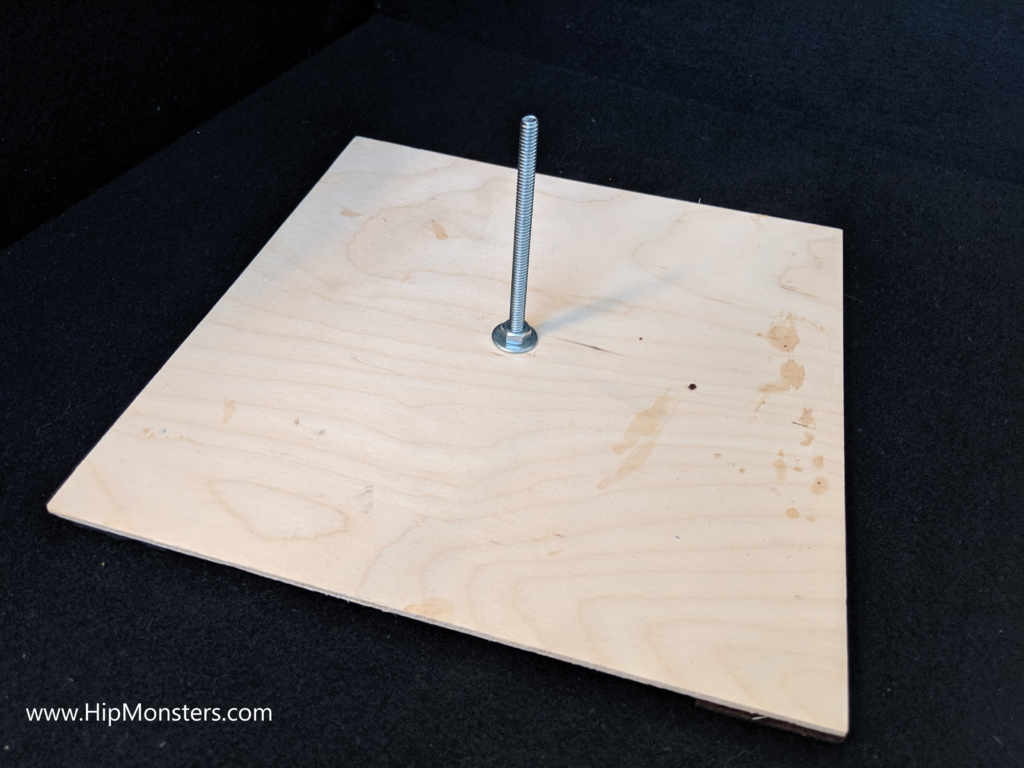
Next, drill the hole and push the large screw through the hole and secure it with a washer and bolt.

Step 3

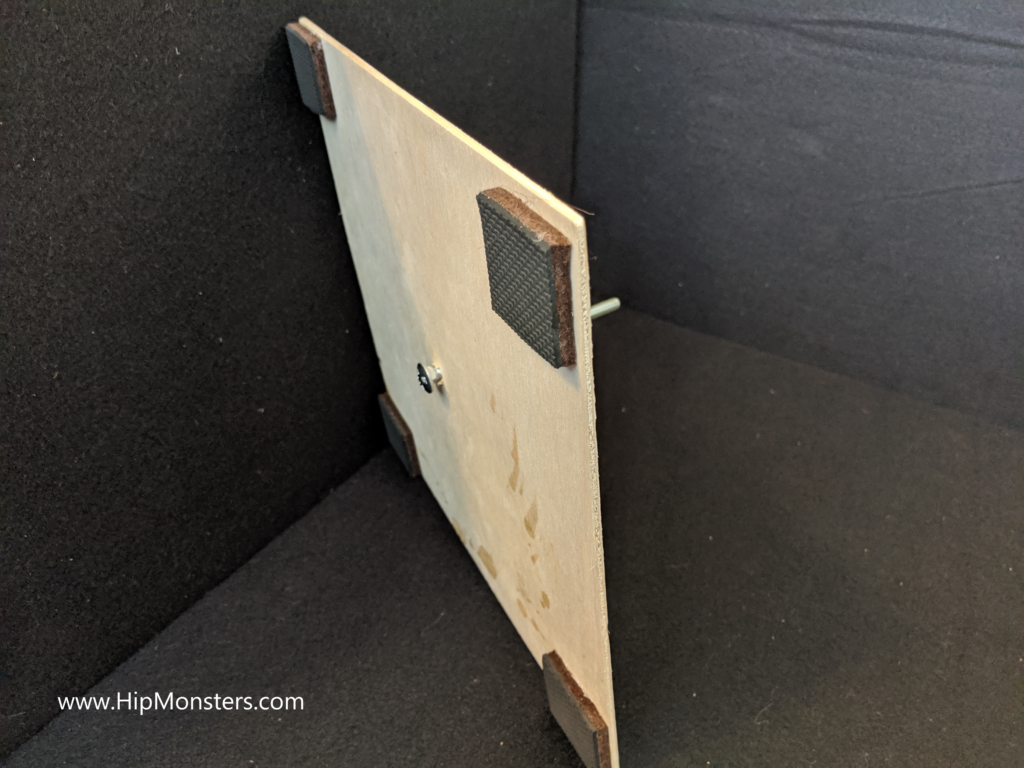
Turn over the base and stick four foam pads on the bottom. We used one large foam pad for furniture and cut it into four pieces. These foam padding will prevent the center bolt from scratching the table when placed upright.

Step 4

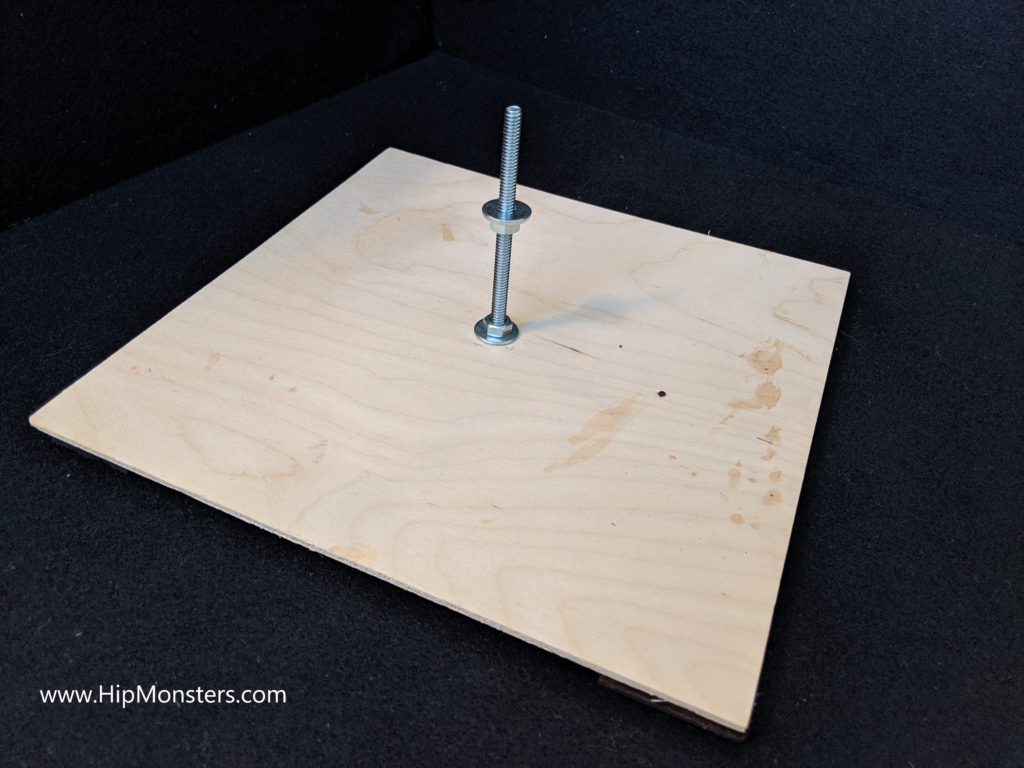
Turn the base back over and make sure the foam padding is tall enough to prevent the bolt from scratching the table. If not, then add another layer of foam. Next, screw another a nut to the halfway point on the bolt and then put a washer on top.

Step 5

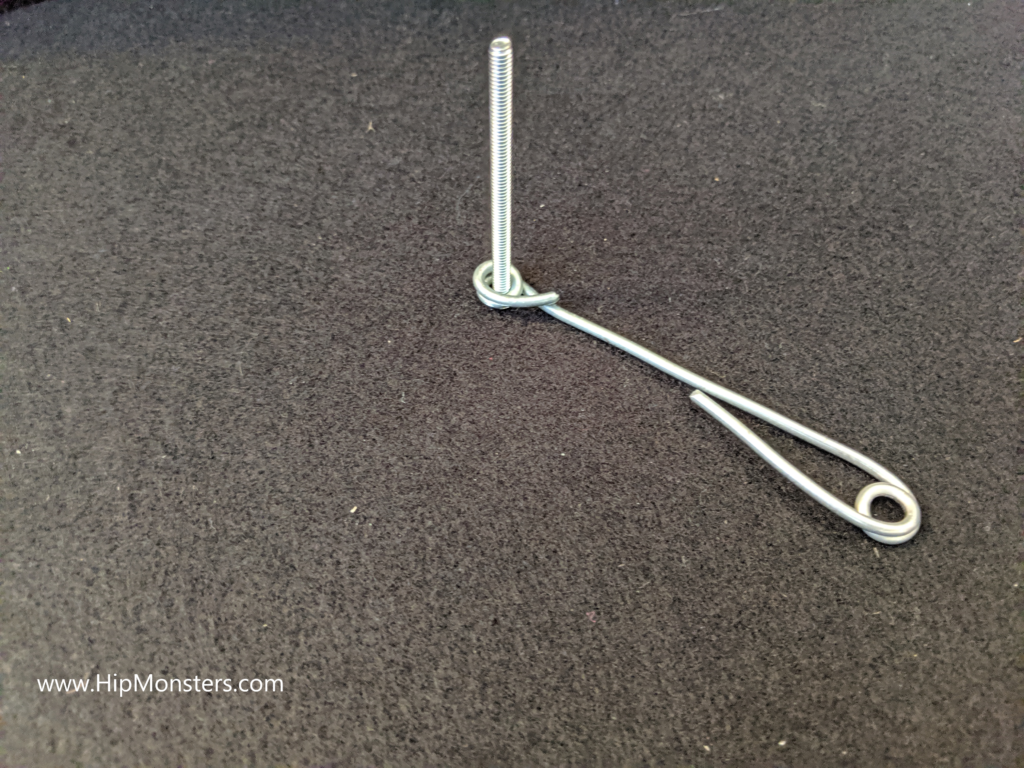
Now we need to make the support wire for the Earth. Take the larger wire and bend both ends using a screwdriver as shown. The goal is the make the loops tight enough so the bolts are secure when threaded through them.

Step 6

Here, both ends are ready to secure the Earth to the center shaft. Notice one loop is smaller than the other.  The larger loop is for the center bolt; the smaller one is for Earth’s bolt.

Step 7

Now, thread the smaller bolt through the smaller loop.

Step 8

Secure the bolt to the arm with a washer and nut.  Then screw a nut halfway up the bolt. This bolt will serve as support for the Moon’s arm.


Step 9

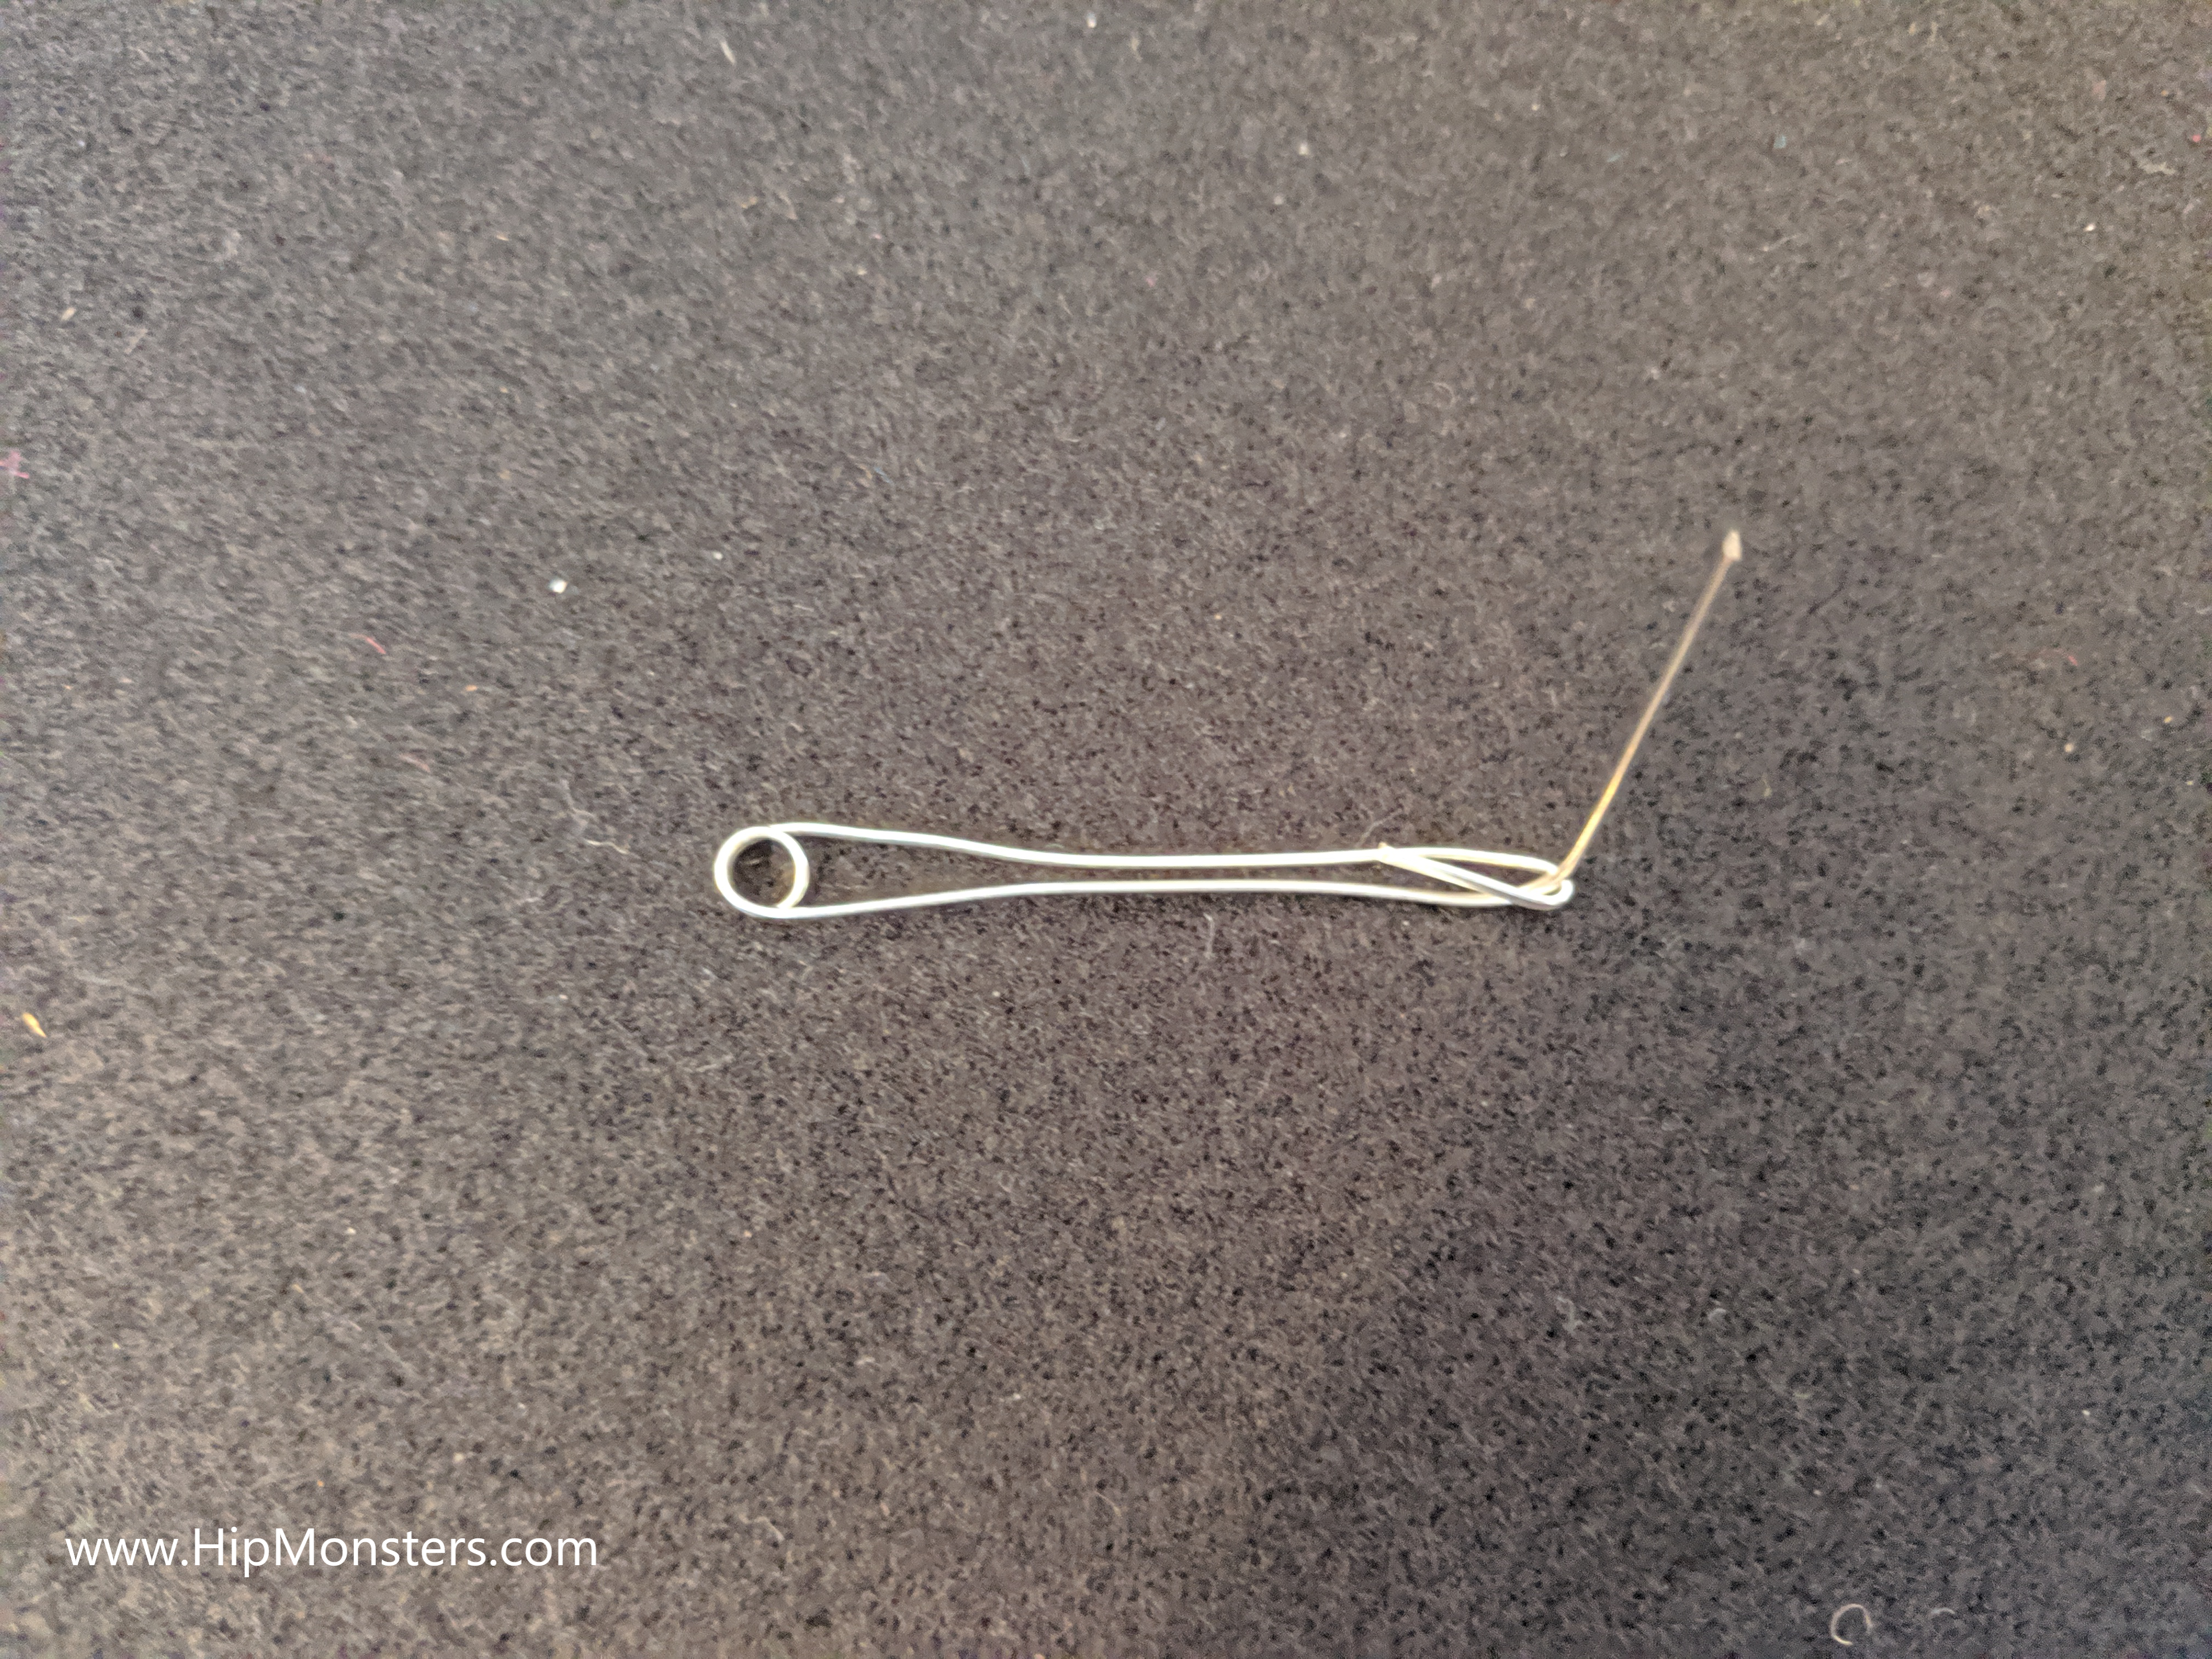
Next, create the Moon’s arm.  Bend the thinner wire similar to the Earth’s arm but only put a loop on one end. Bend the other end up to support the Moon.

Step 10

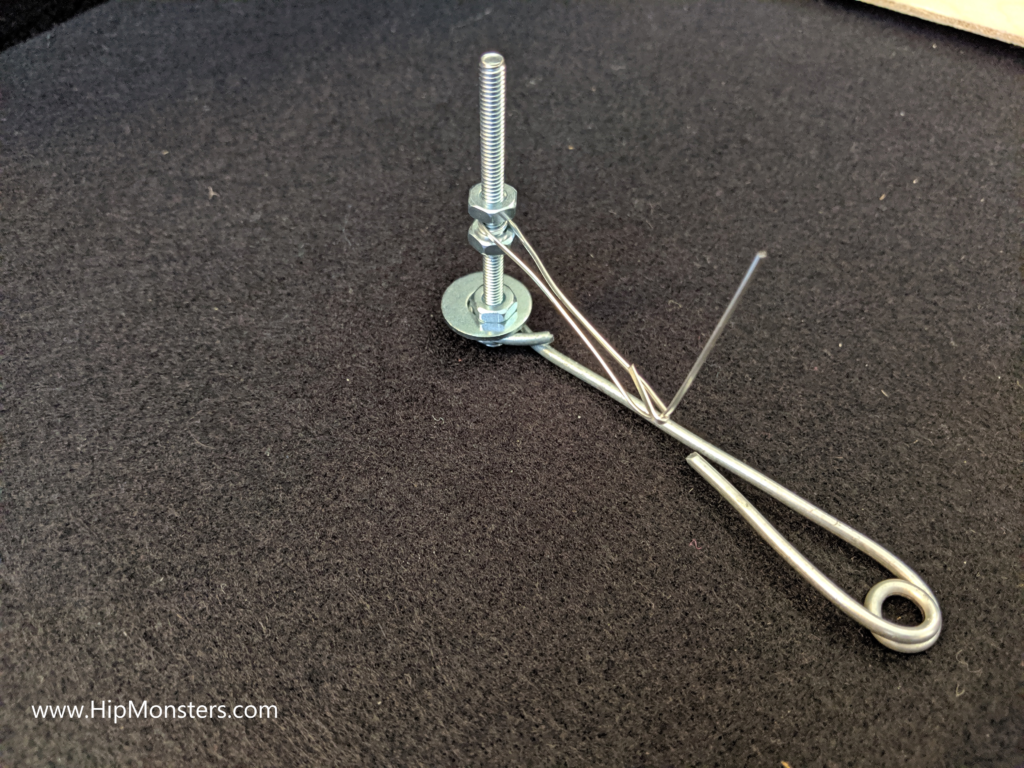
Now connect the thin wire to the screw on Earth’s arm and secure with a bolt.

Step 11

And we are nearly there! Just connect the thick wire to the screw and put a washer and bolt on top. Make sure to screw on tightly, the weight of the arm can make it droop.

Step 12

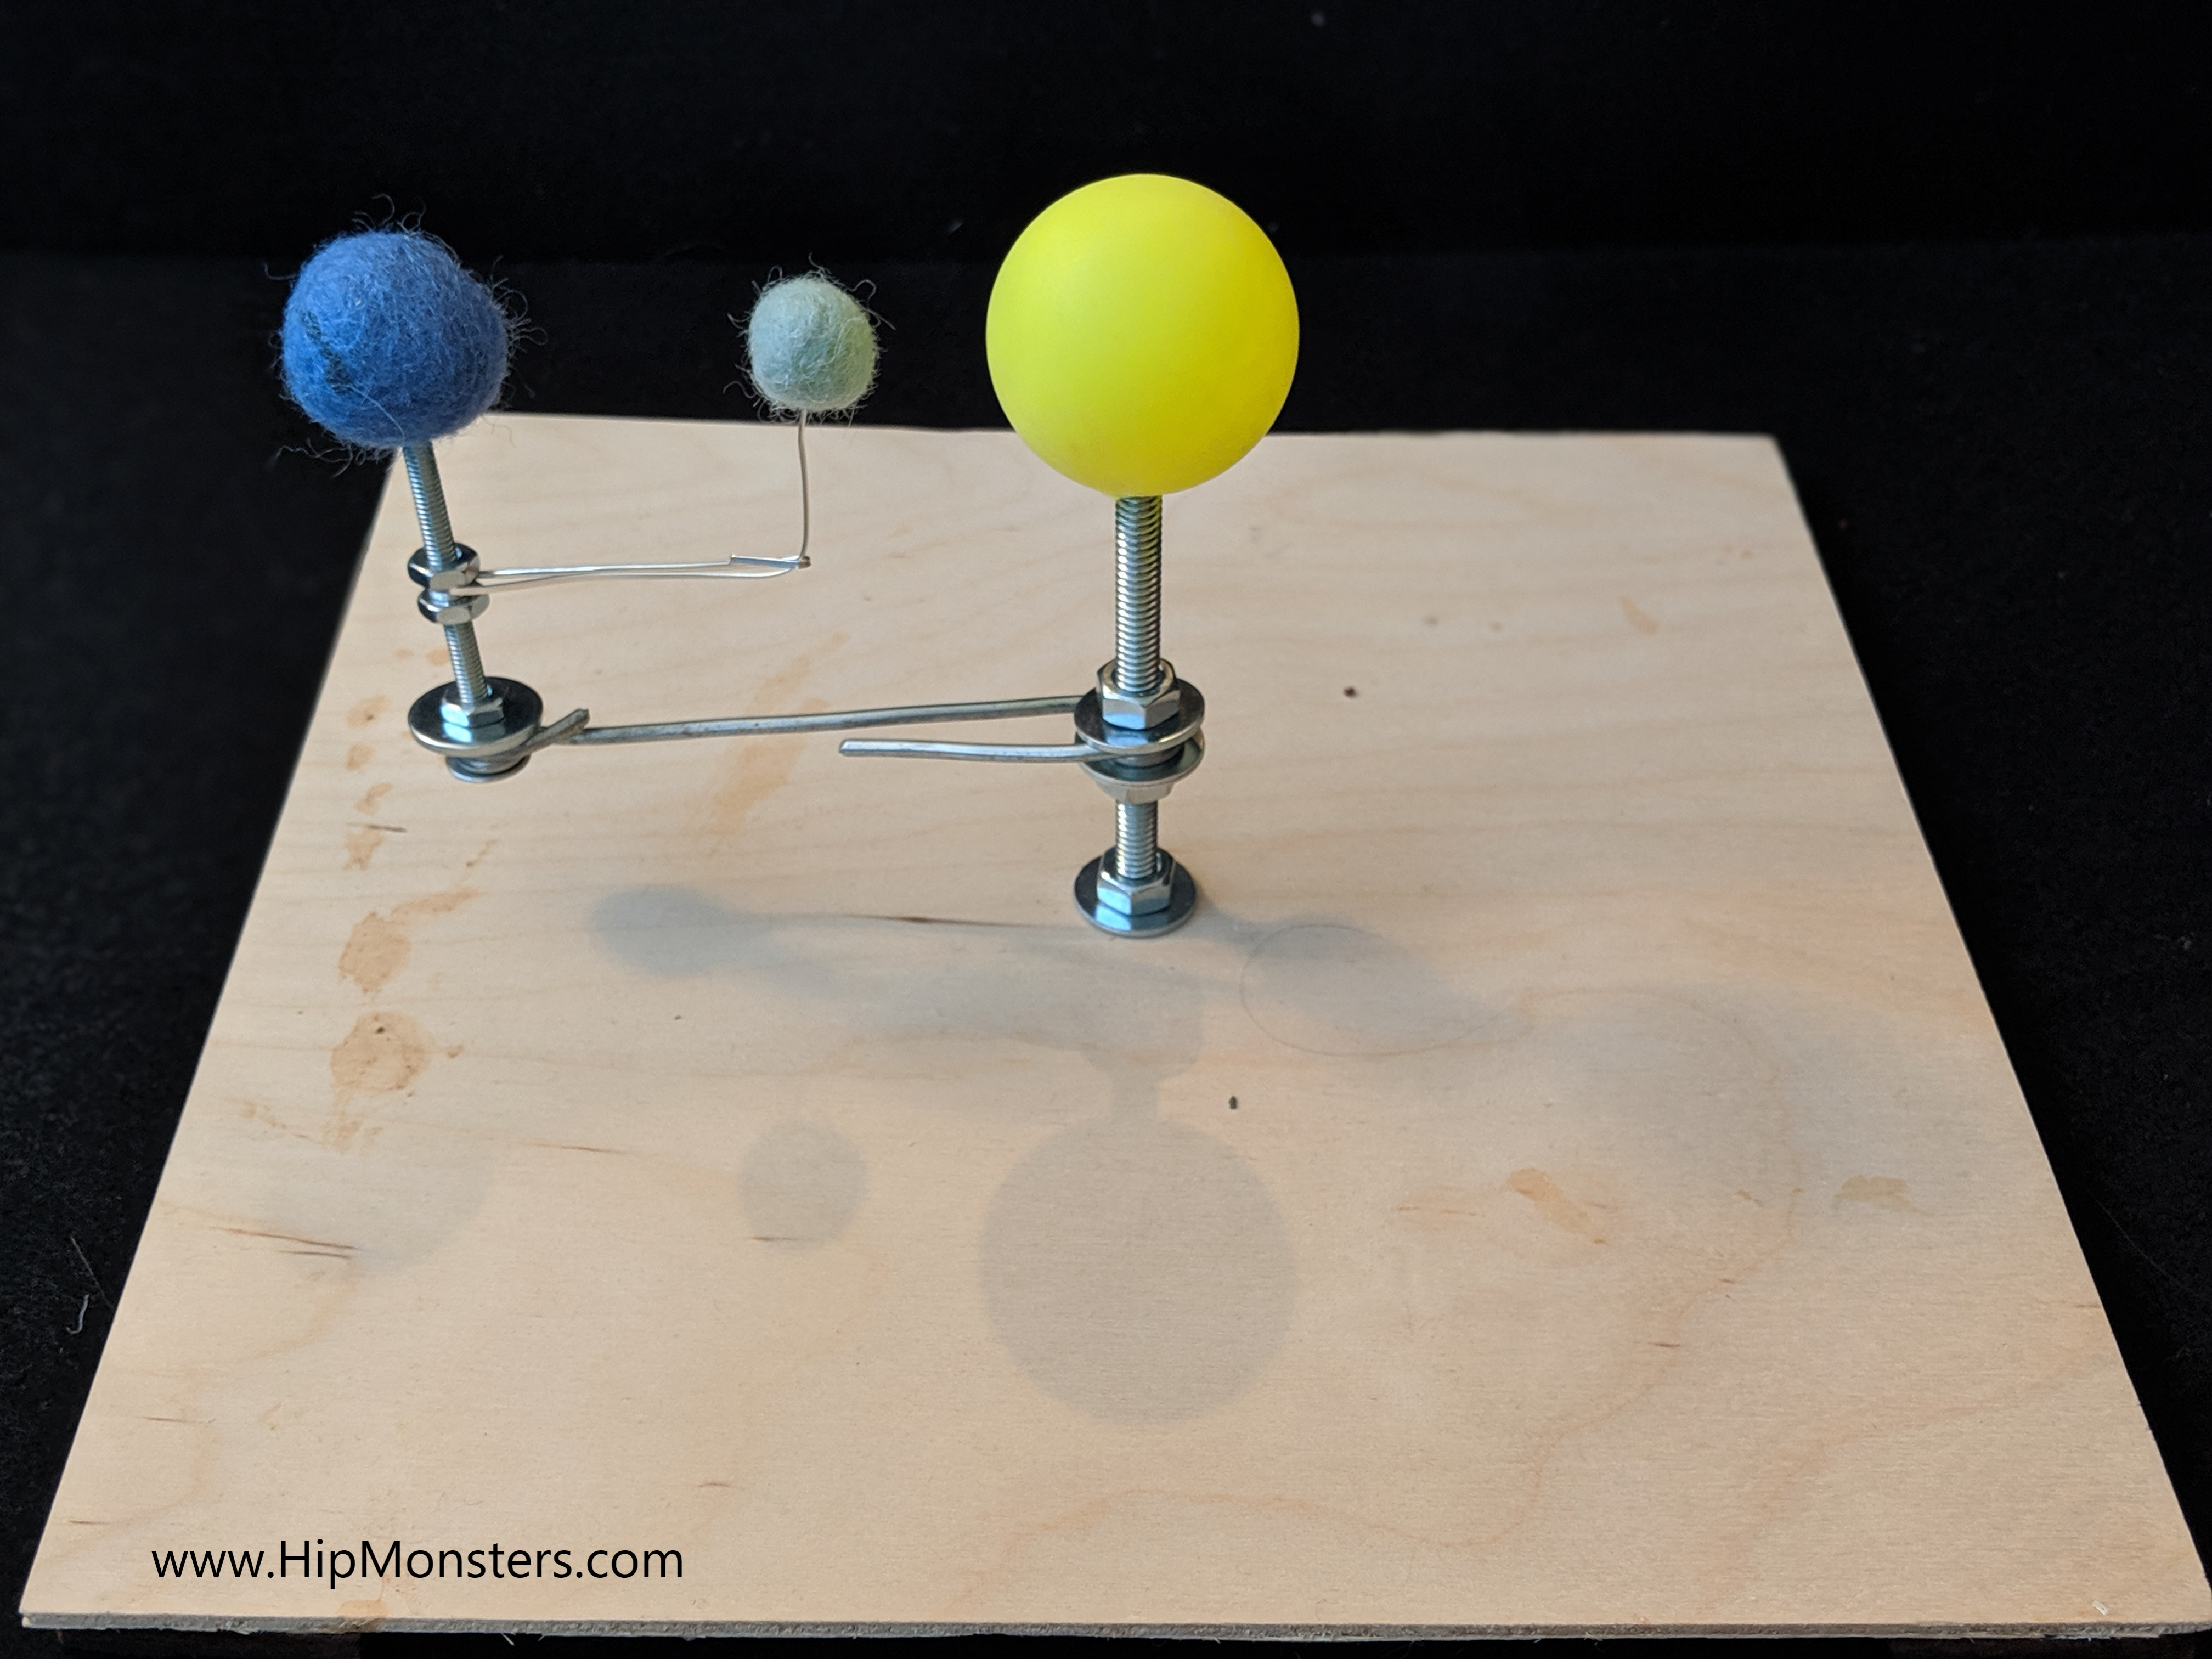
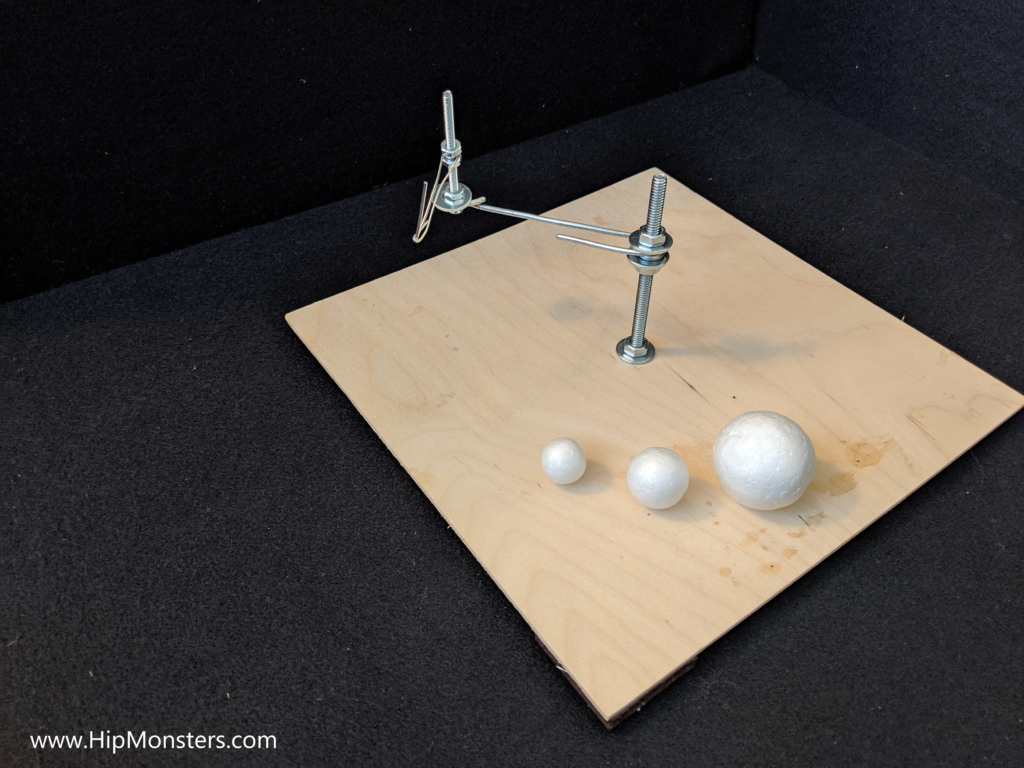
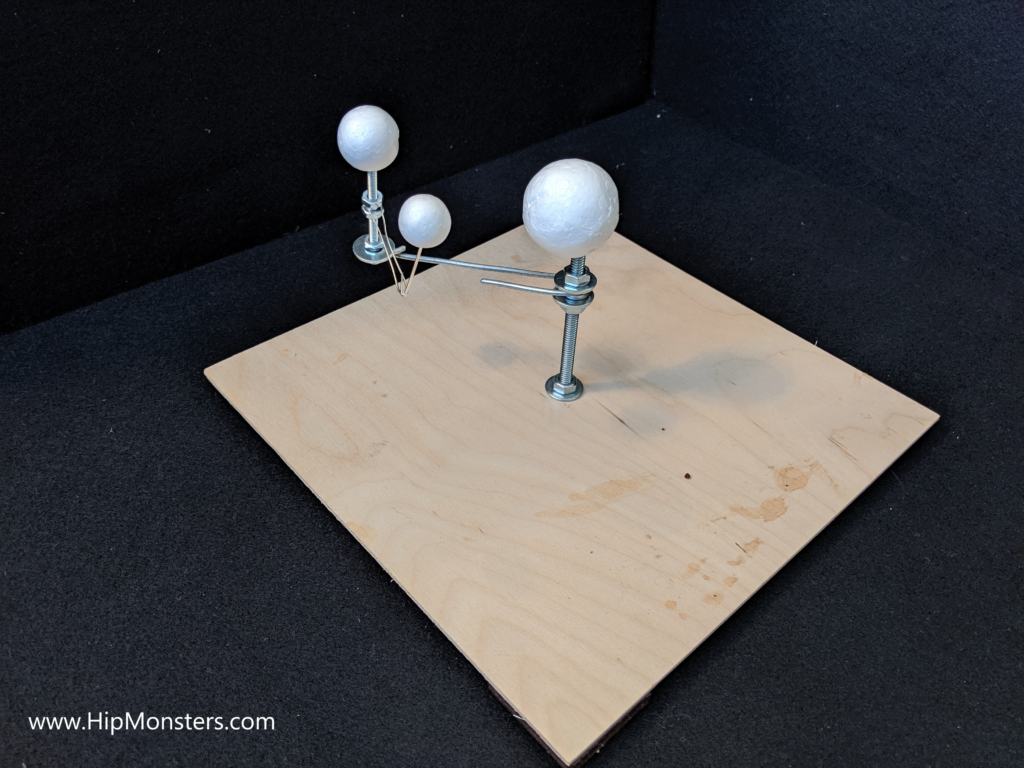
And finally we are ready to add the Sun, Earth, and Moon. The smallest ball is the Moon and goes on the smallest arm.  The Earth is the mid-sized ball and put onto the outer bolt. The largest ball is the Sun and placed on the center bolts. You can paint the balls as the final step if you want to.

Putting it all together

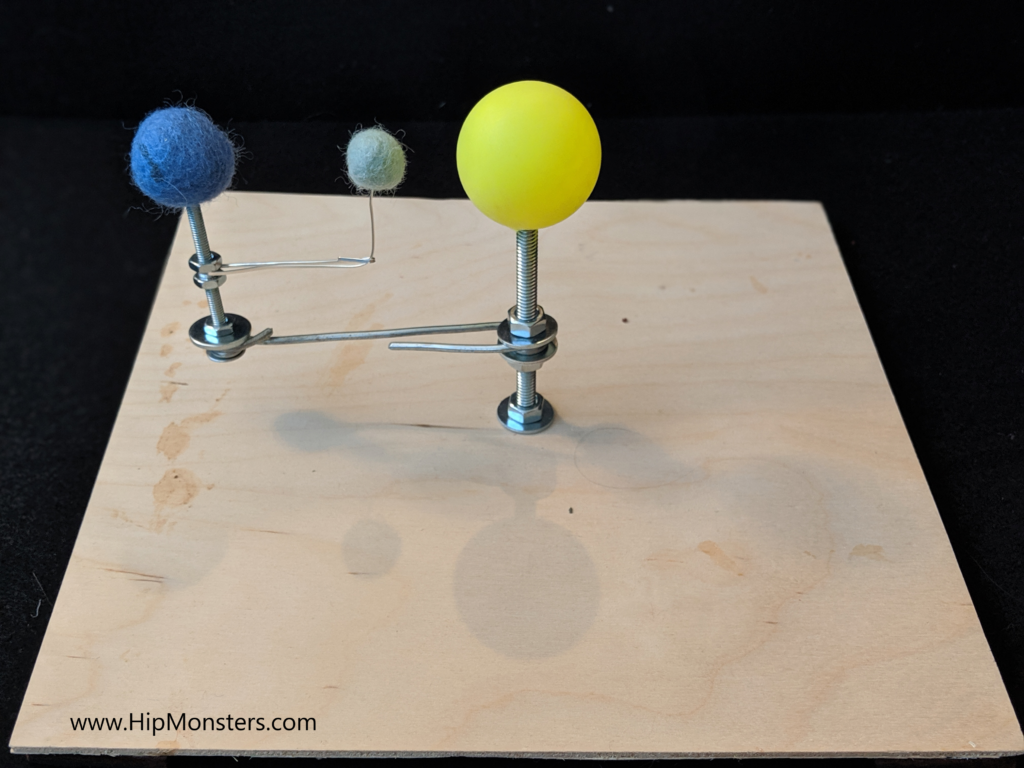
The Sun, Earth, Moon orrery is almost complete, we just need to assemble! Here are all the pieces laid out. We substitute the foam balls in one build with a ping pong ball for the Sun and felt balls for the Earth and Moon.

Enjoy

You now have your own Sun, Earth, Moon Orrery and predict the next eclipse or start planning for the next full moon!

Keep a watch out for werewolves!