Maker Faire 2025

We are very excited to announce HipMonsters.com will be presenting RobotFreedom at this year’s Bay Area Maker Faire, September 26 through September 28th at Mare Island!  We have been training our emotional robots for over a year, living with them, playing with them and watching them grow. Come see our robots in action live! 

Here is a recap of the 2024 Bay Area Maker Faire to give you a preview of what to expect. These are some of our favorite exhibits, from an underwater robot explorer to a giant inflatable cuttlefish car.
Bay Area Maker Faire

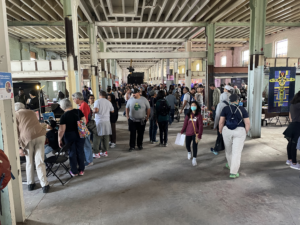
This is the Maker Faire Bazaar, where visitor can find all sorts of handmade goods, like dice, pottery, and even 3d-printed hot chocolate.
Metal orrery at Bay Area Maker Faire

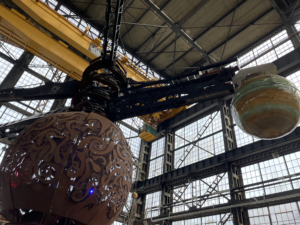
This is a big working model of the solar system that is the size of a room. All of the planet’s orbit times are proportional to the real ones.
Miniature house at Bay Area Maker Faire

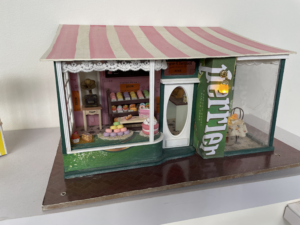
This is a small model of a bakery with working lights and miniature baked goods.
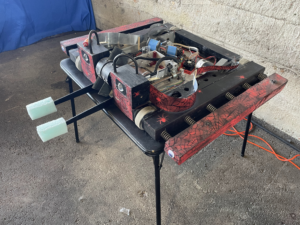
battle bot at Bay Area Maker Faire

This is an old battlebot, complete with two giant spikes in front and four googly eyes (Maker Faire 2023).
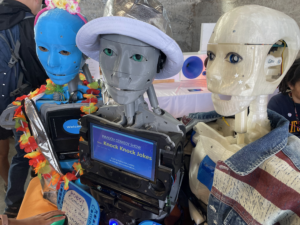


DIY robots at Bay Area Maker Faire

This is the Humanoid Robot Comedy Show. These robots can move their faces to show facial expressions and look you in the eyes while they tell jokes.
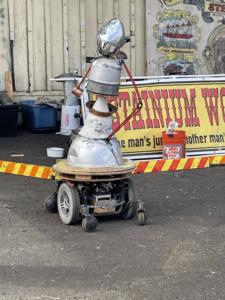
Steampunk DIY robots at Bay Area Maker Faire

This robot is built for battle. This is one of the robots that fights in an arena against other robots. It is remote controlled and has arms that can swing around.
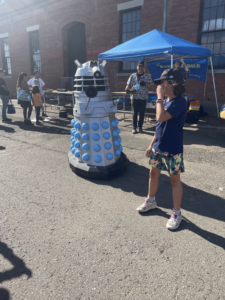
Dalek at Bay Area Maker Faire

This is Dalek FAX, a remote controlled model of a Dalek that moves and talks.

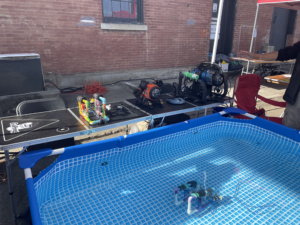
Under water robots at Bay Area Maker Faire

This small robot is built by ROV Tour: Underwater Robotics Adventure. They are remote controlled and have cameras that can show footage of its underwater adventures.

After.AI winning Maker Faire prize

And the award winning After.AI whose 3D printed mechanical flip signs were so fun to watch!
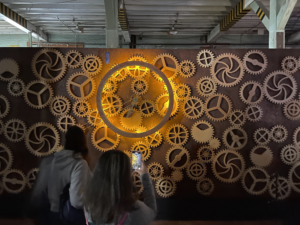
Gear art DIY robots at Bay Area Maker Faire

This amazing clock uses a whole wall full of gears to tell time.
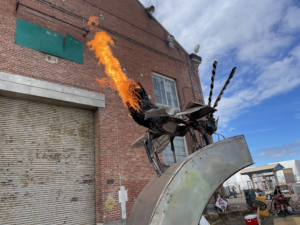
Metal fire insect at Bay Area Maker Faire

This is a part of Serenity, an art exhibit showing three insects that shoot fire at a press of a button (Maker Faire 2023).
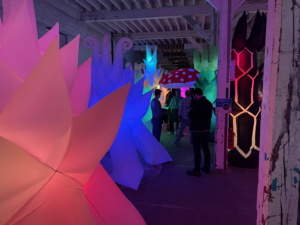
inflatable art DIY robots at Bay Area Maker Faire

These are parts of Astro Botanicals Space Garden, which is a collection of glowing handmade inflatable plants.
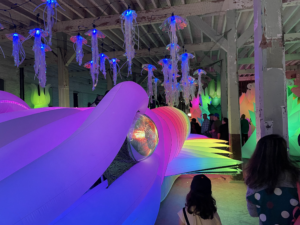
Inflatable art DIY robots at Bay Area Maker Faire

This is Sepia Lux, a giant inflatable cuttlefish car that lights up. The tentacles and the fins of the cuttlefish can move, and the eyes can change colors.
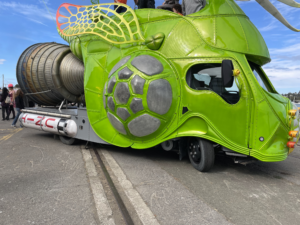
Truck at Bay Area Maker Faire

This is a truck inspired by a beetle complete with wings and a bright green shell.
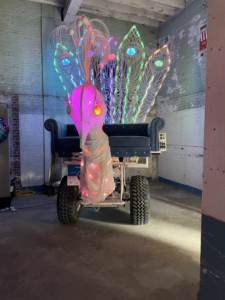
Drivable peacock at Bay Area Maker Faire

This is a peacock vehicle that lights up and moves.

We are looking forward to seeing you all at this year Bay Area Maker Faire!

Hope you find inspiration!


Sun-Moon-Earth Orrery

Getting started

Need to track the moon phases for that perfect time to cast a spell? Worried about when you are due to change into a werewolf?

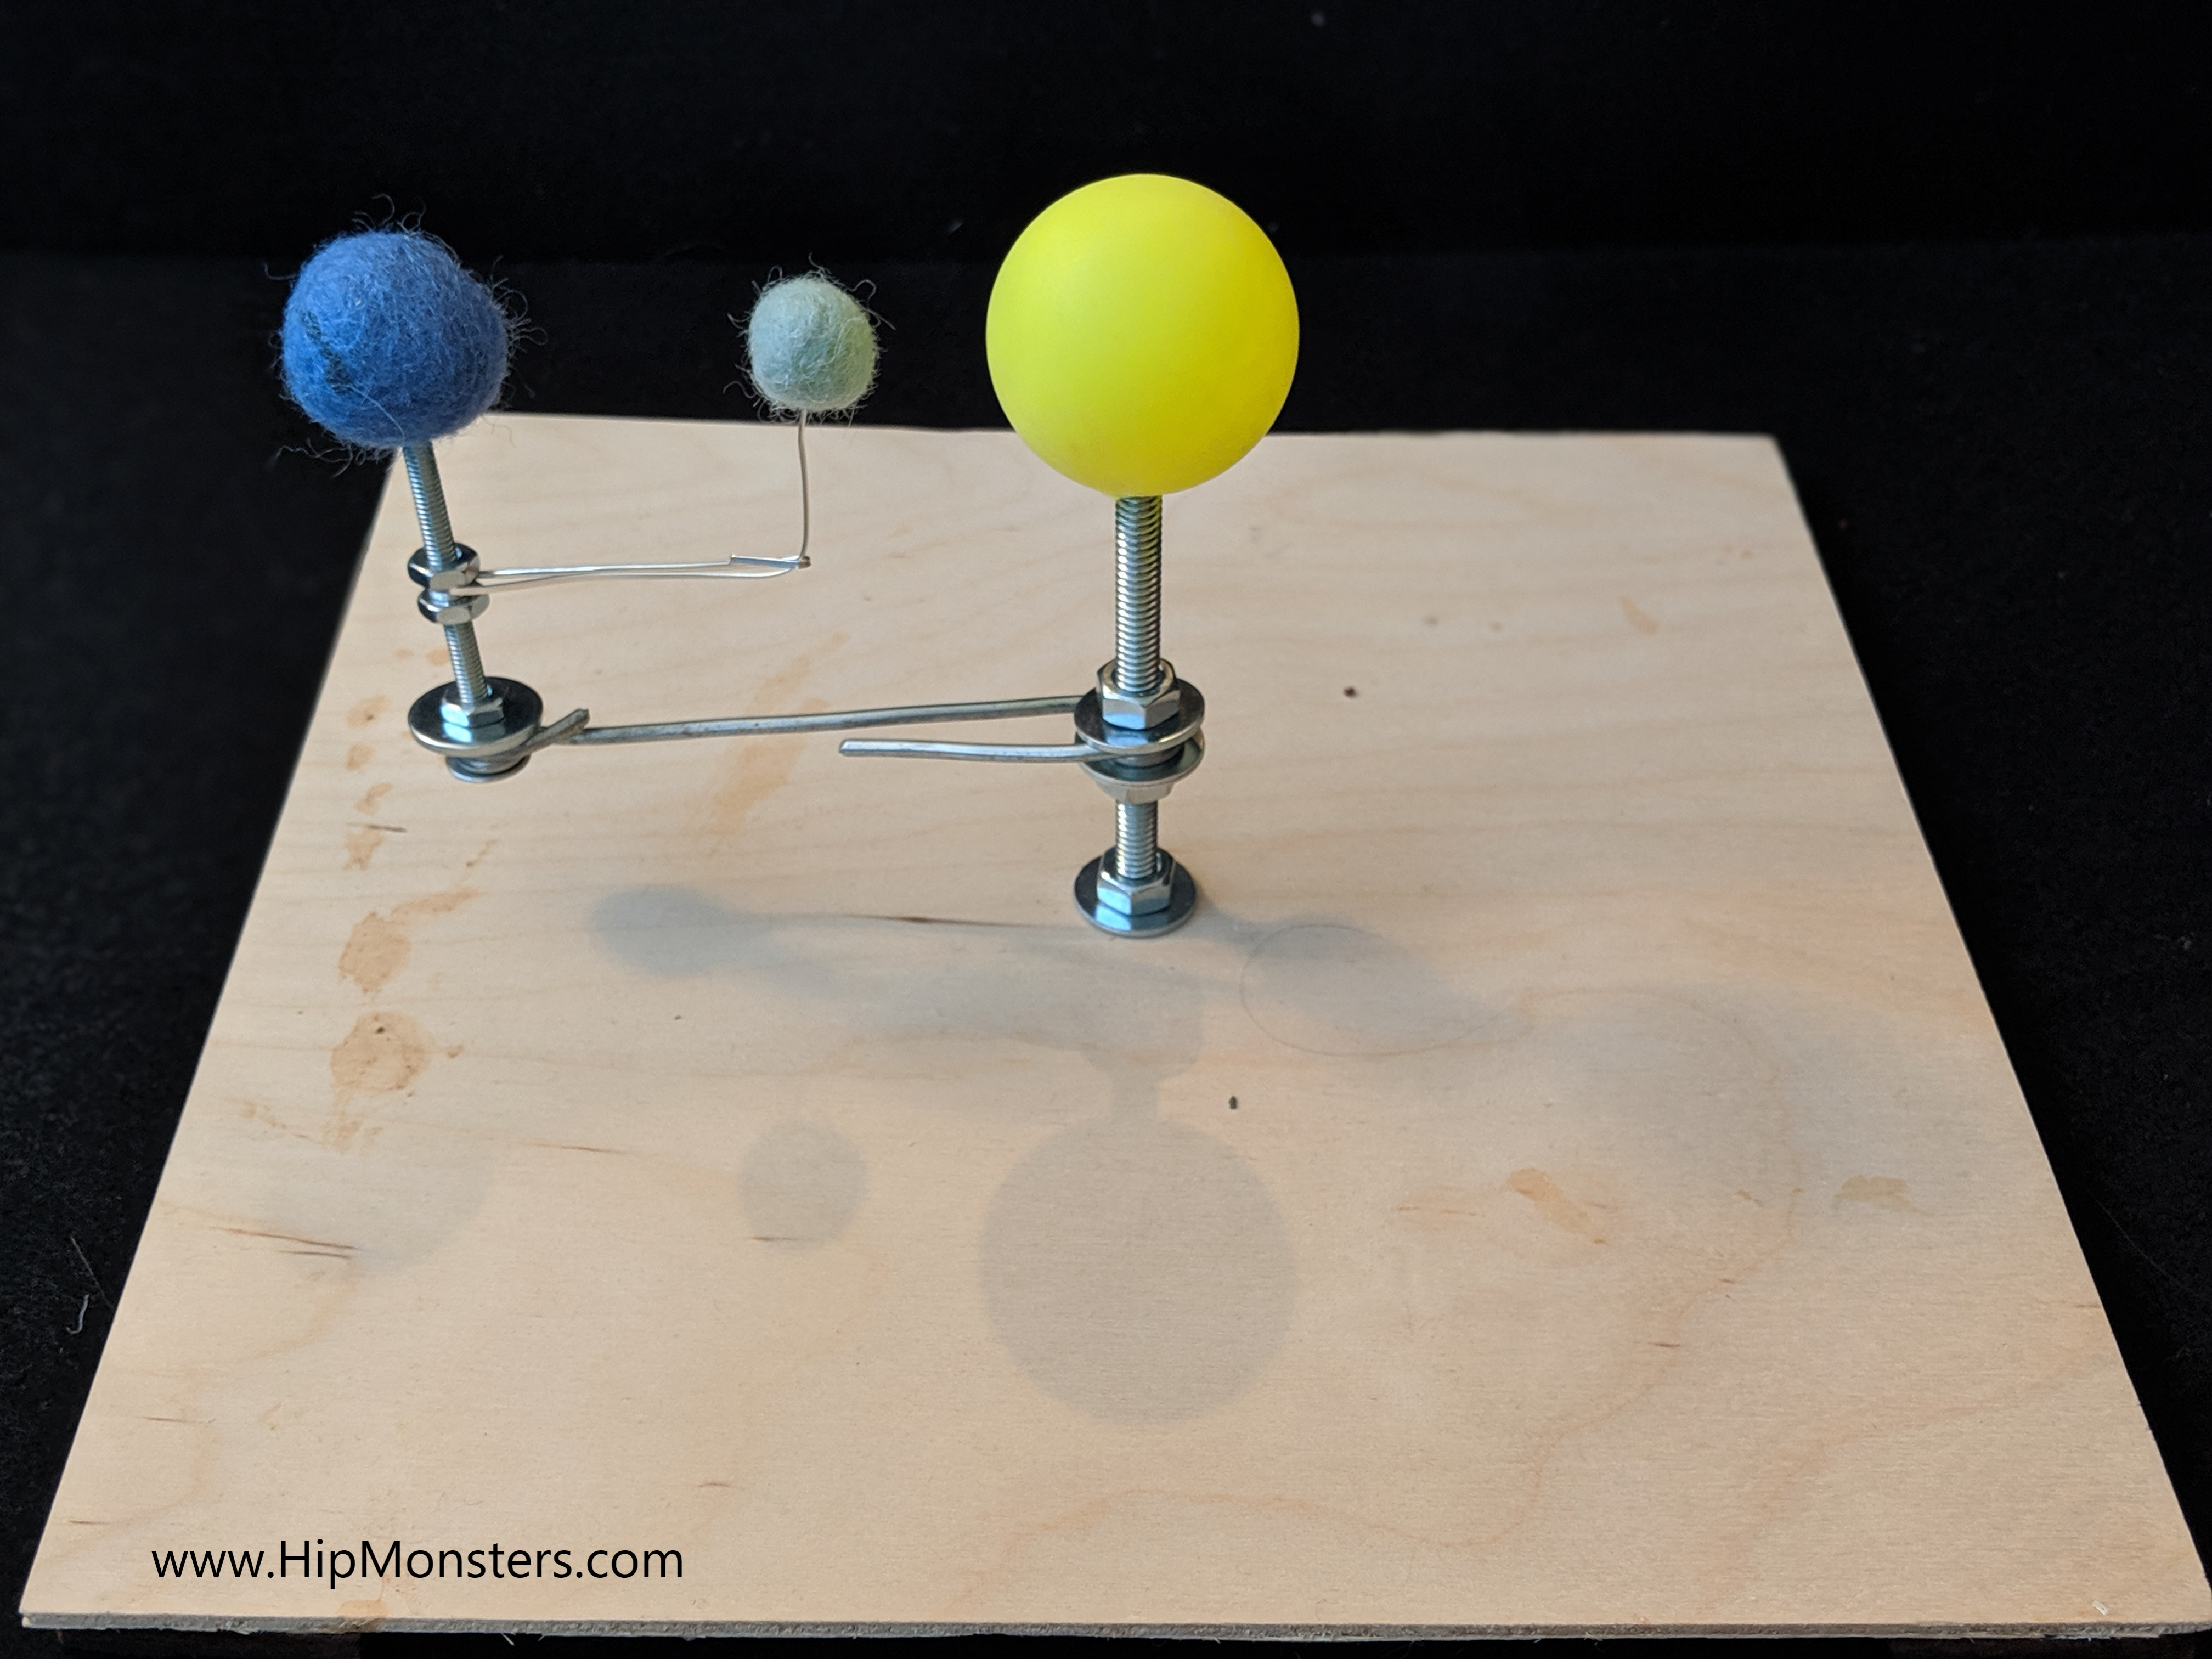
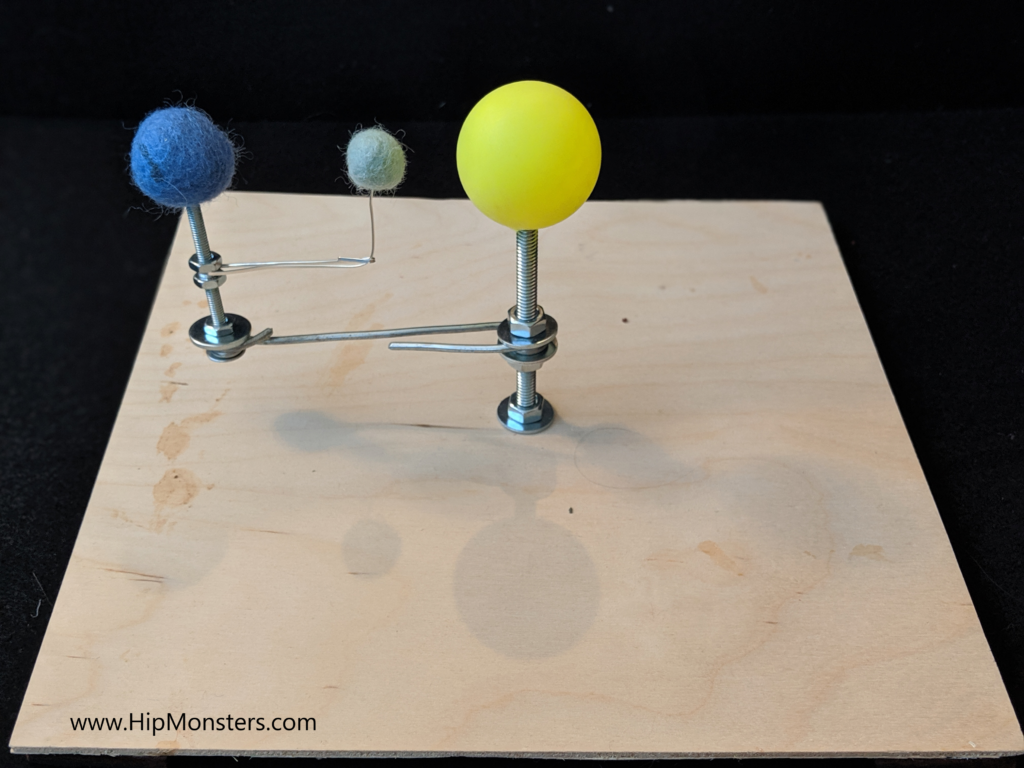
The following instructions are for a quick DIY Sun, Earth, Moon Orrery we did for a school project. This is suitable for ages 6 to 12 but may need adult supervision. We were inspired by this article in instructables.com but needed a much simpler design.

This project was also the start of HipMonsters, and we still use some of the same skills for our robots and woodworking projects.

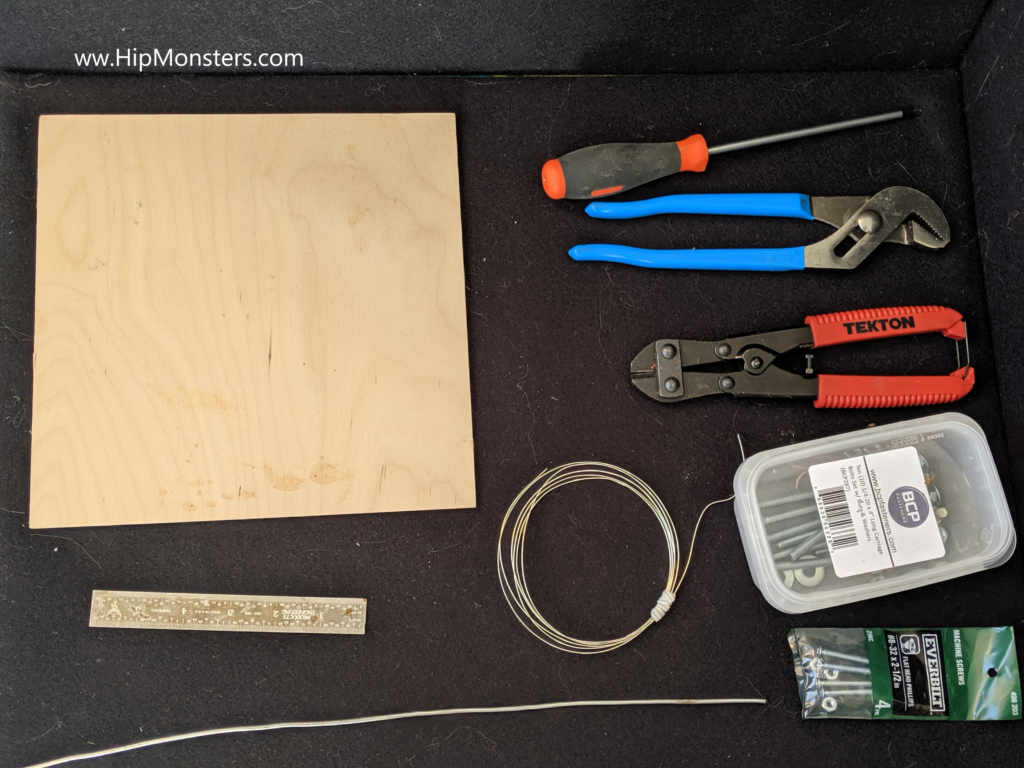
Please note, this material is provided for informational purposes only and is not a guide on how to create the designs. Please read our disclaimer.Equipment:

  • Drill
  • Pliers
  • Wire Cutters

Parts:

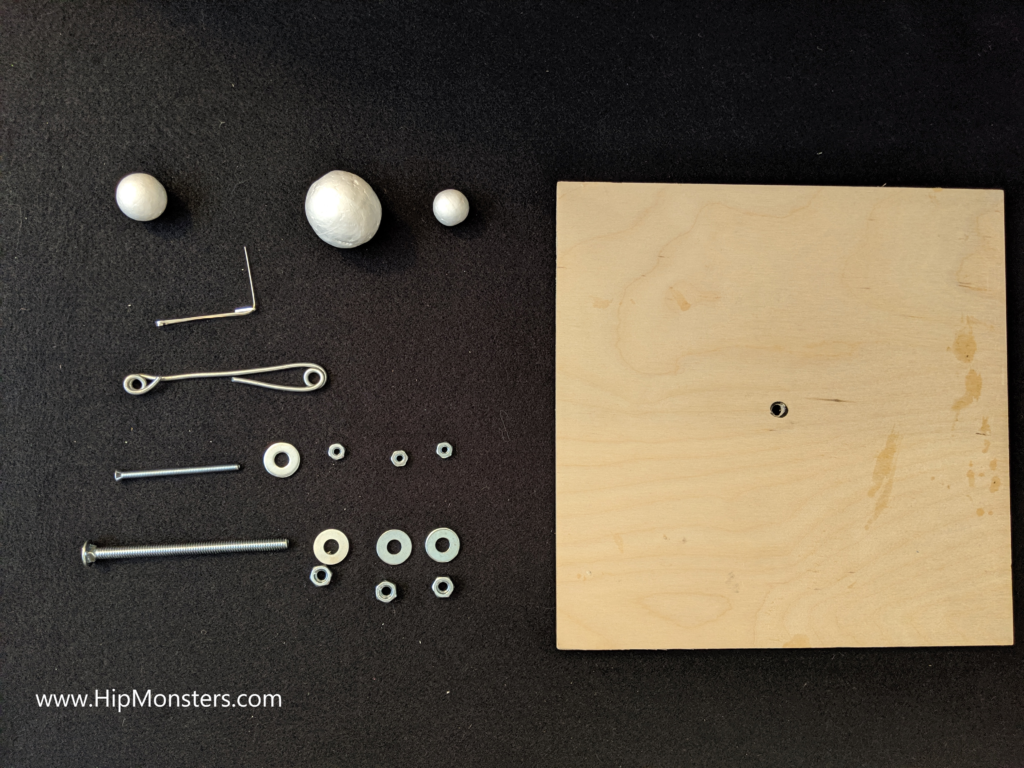
  • Plywood (10 X 10 inches)
  • 4 inch bolt with 3 nuts and 3 washers
  • 2 inch bolt with 3 nuts and 3 washers
  • 3 foam balls of different sizes
  • 9 inches of thick wire (may use coat hangers)
  • 5 inches of thin wire (may use pipe cleaner)
  • Foam padding
Step 1

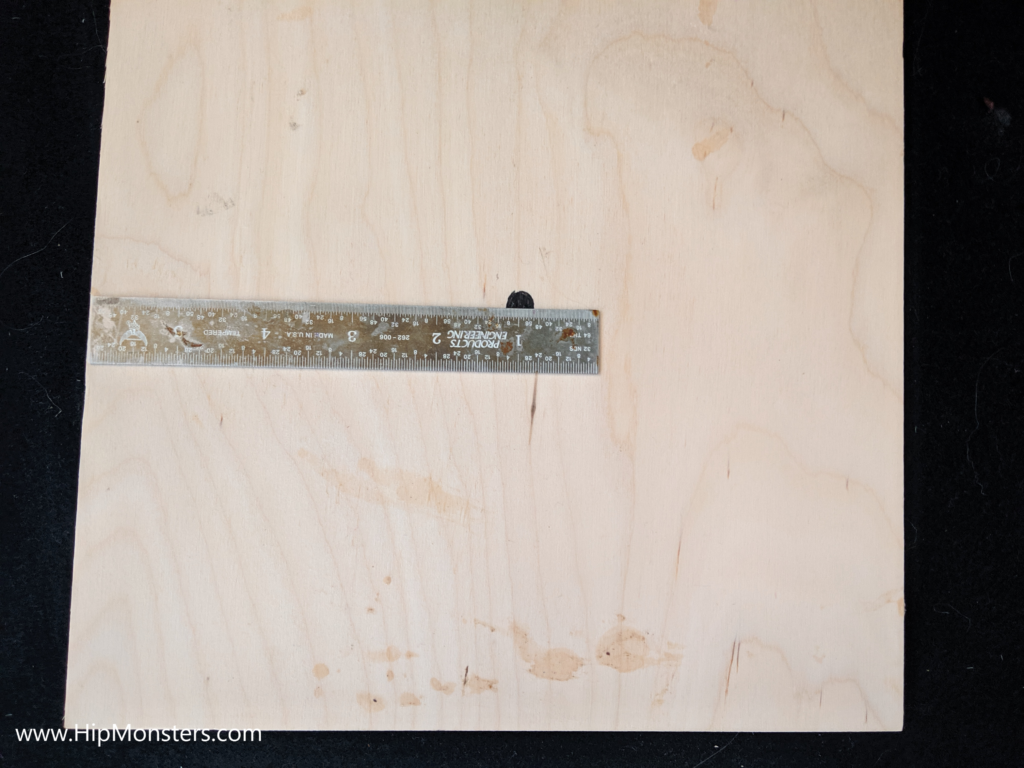
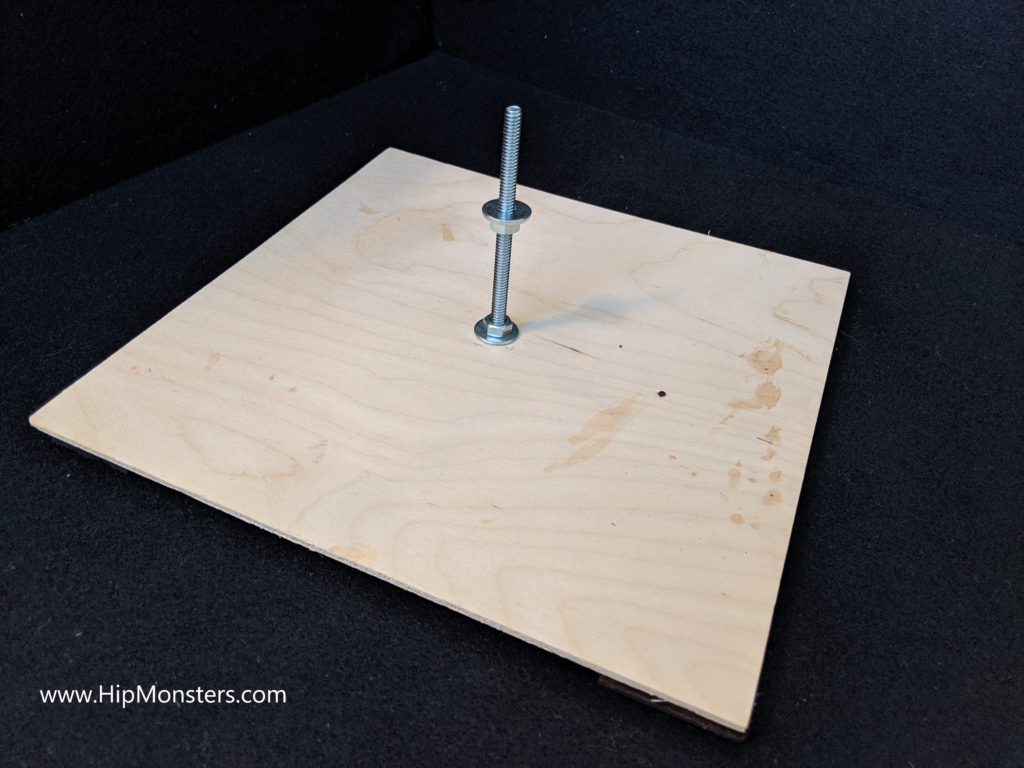
First, measure the center hole for the main screw. This screw will support the Sun, Earth, and Moon.

Step 2

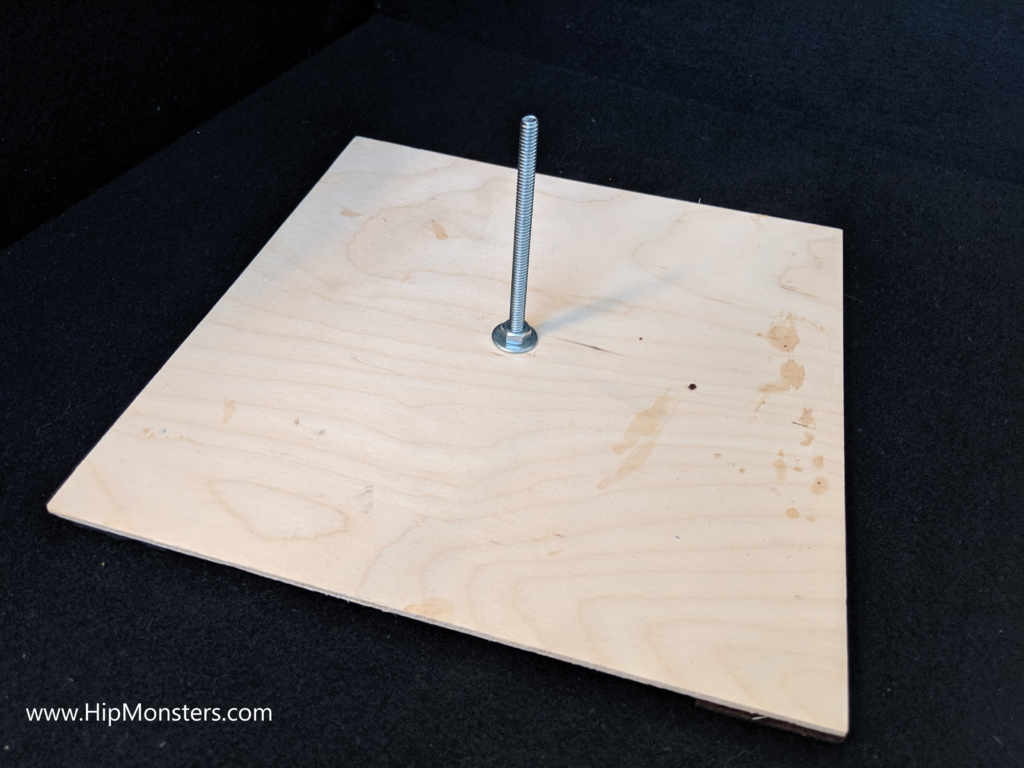
Next, drill the hole and push the large screw through the hole and secure it with a washer and bolt.

Step 3

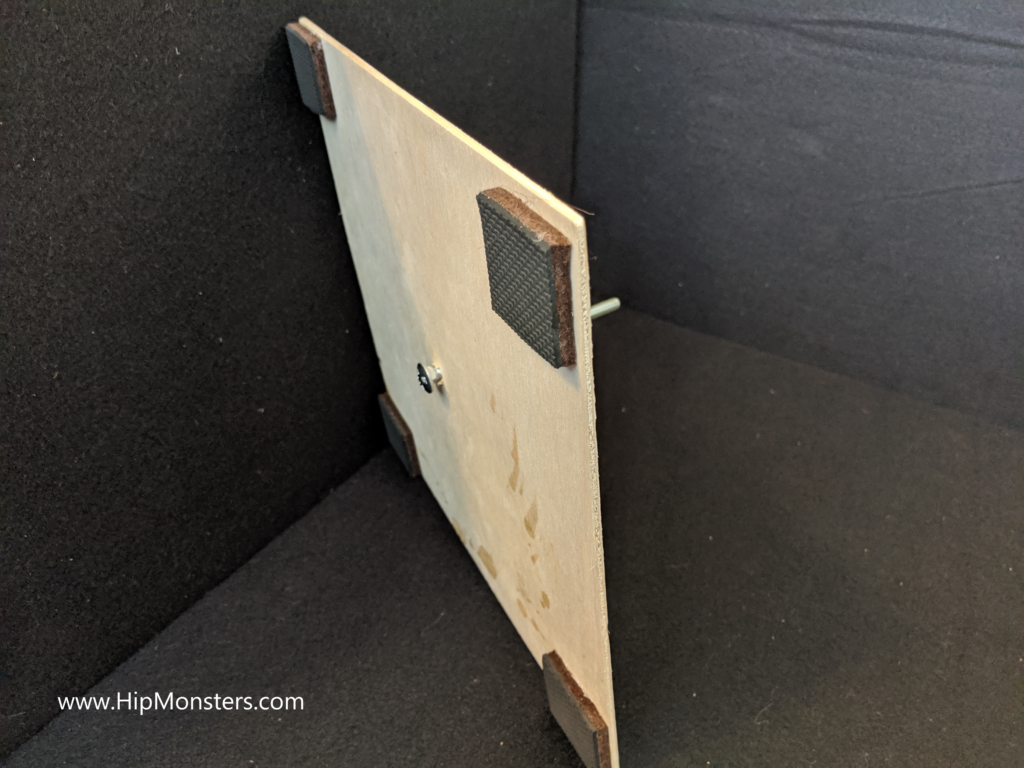
Turn over the base and stick four foam pads on the bottom. We used one large foam pad for furniture and cut it into four pieces. These foam padding will prevent the center bolt from scratching the table when placed upright.

Step 4

Turn the base back over and make sure the foam padding is tall enough to prevent the bolt from scratching the table. If not, then add another layer of foam. Next, screw another a nut to the halfway point on the bolt and then put a washer on top.

Step 5

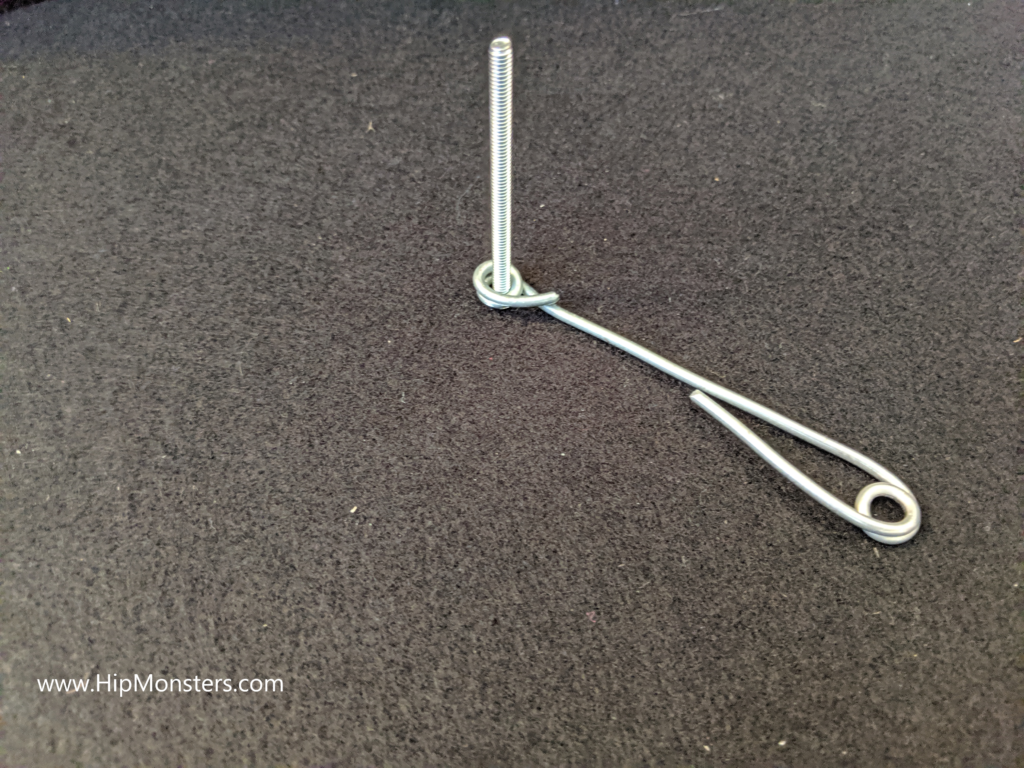
Now we need to make the support wire for the Earth. Take the larger wire and bend both ends using a screwdriver as shown. The goal is the make the loops tight enough so the bolts are secure when threaded through them.

Step 6

Here, both ends are ready to secure the Earth to the center shaft. Notice one loop is smaller than the other. The larger loop is for the center bolt; the smaller one is for Earth’s bolt.

Step 7

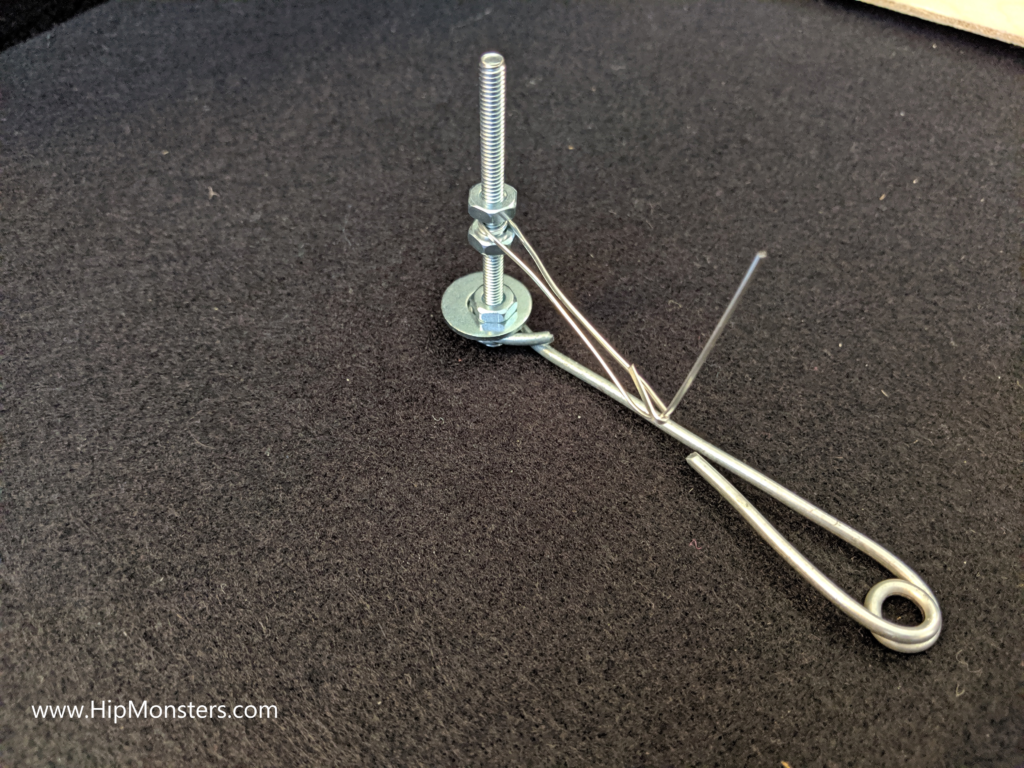
Now, thread the smaller bolt through the smaller loop.

Step 8

Secure the bolt to the arm with a washer and nut. Then screw a nut halfway up the bolt. This bolt will serve as support for the Moon’s arm.

Step 9

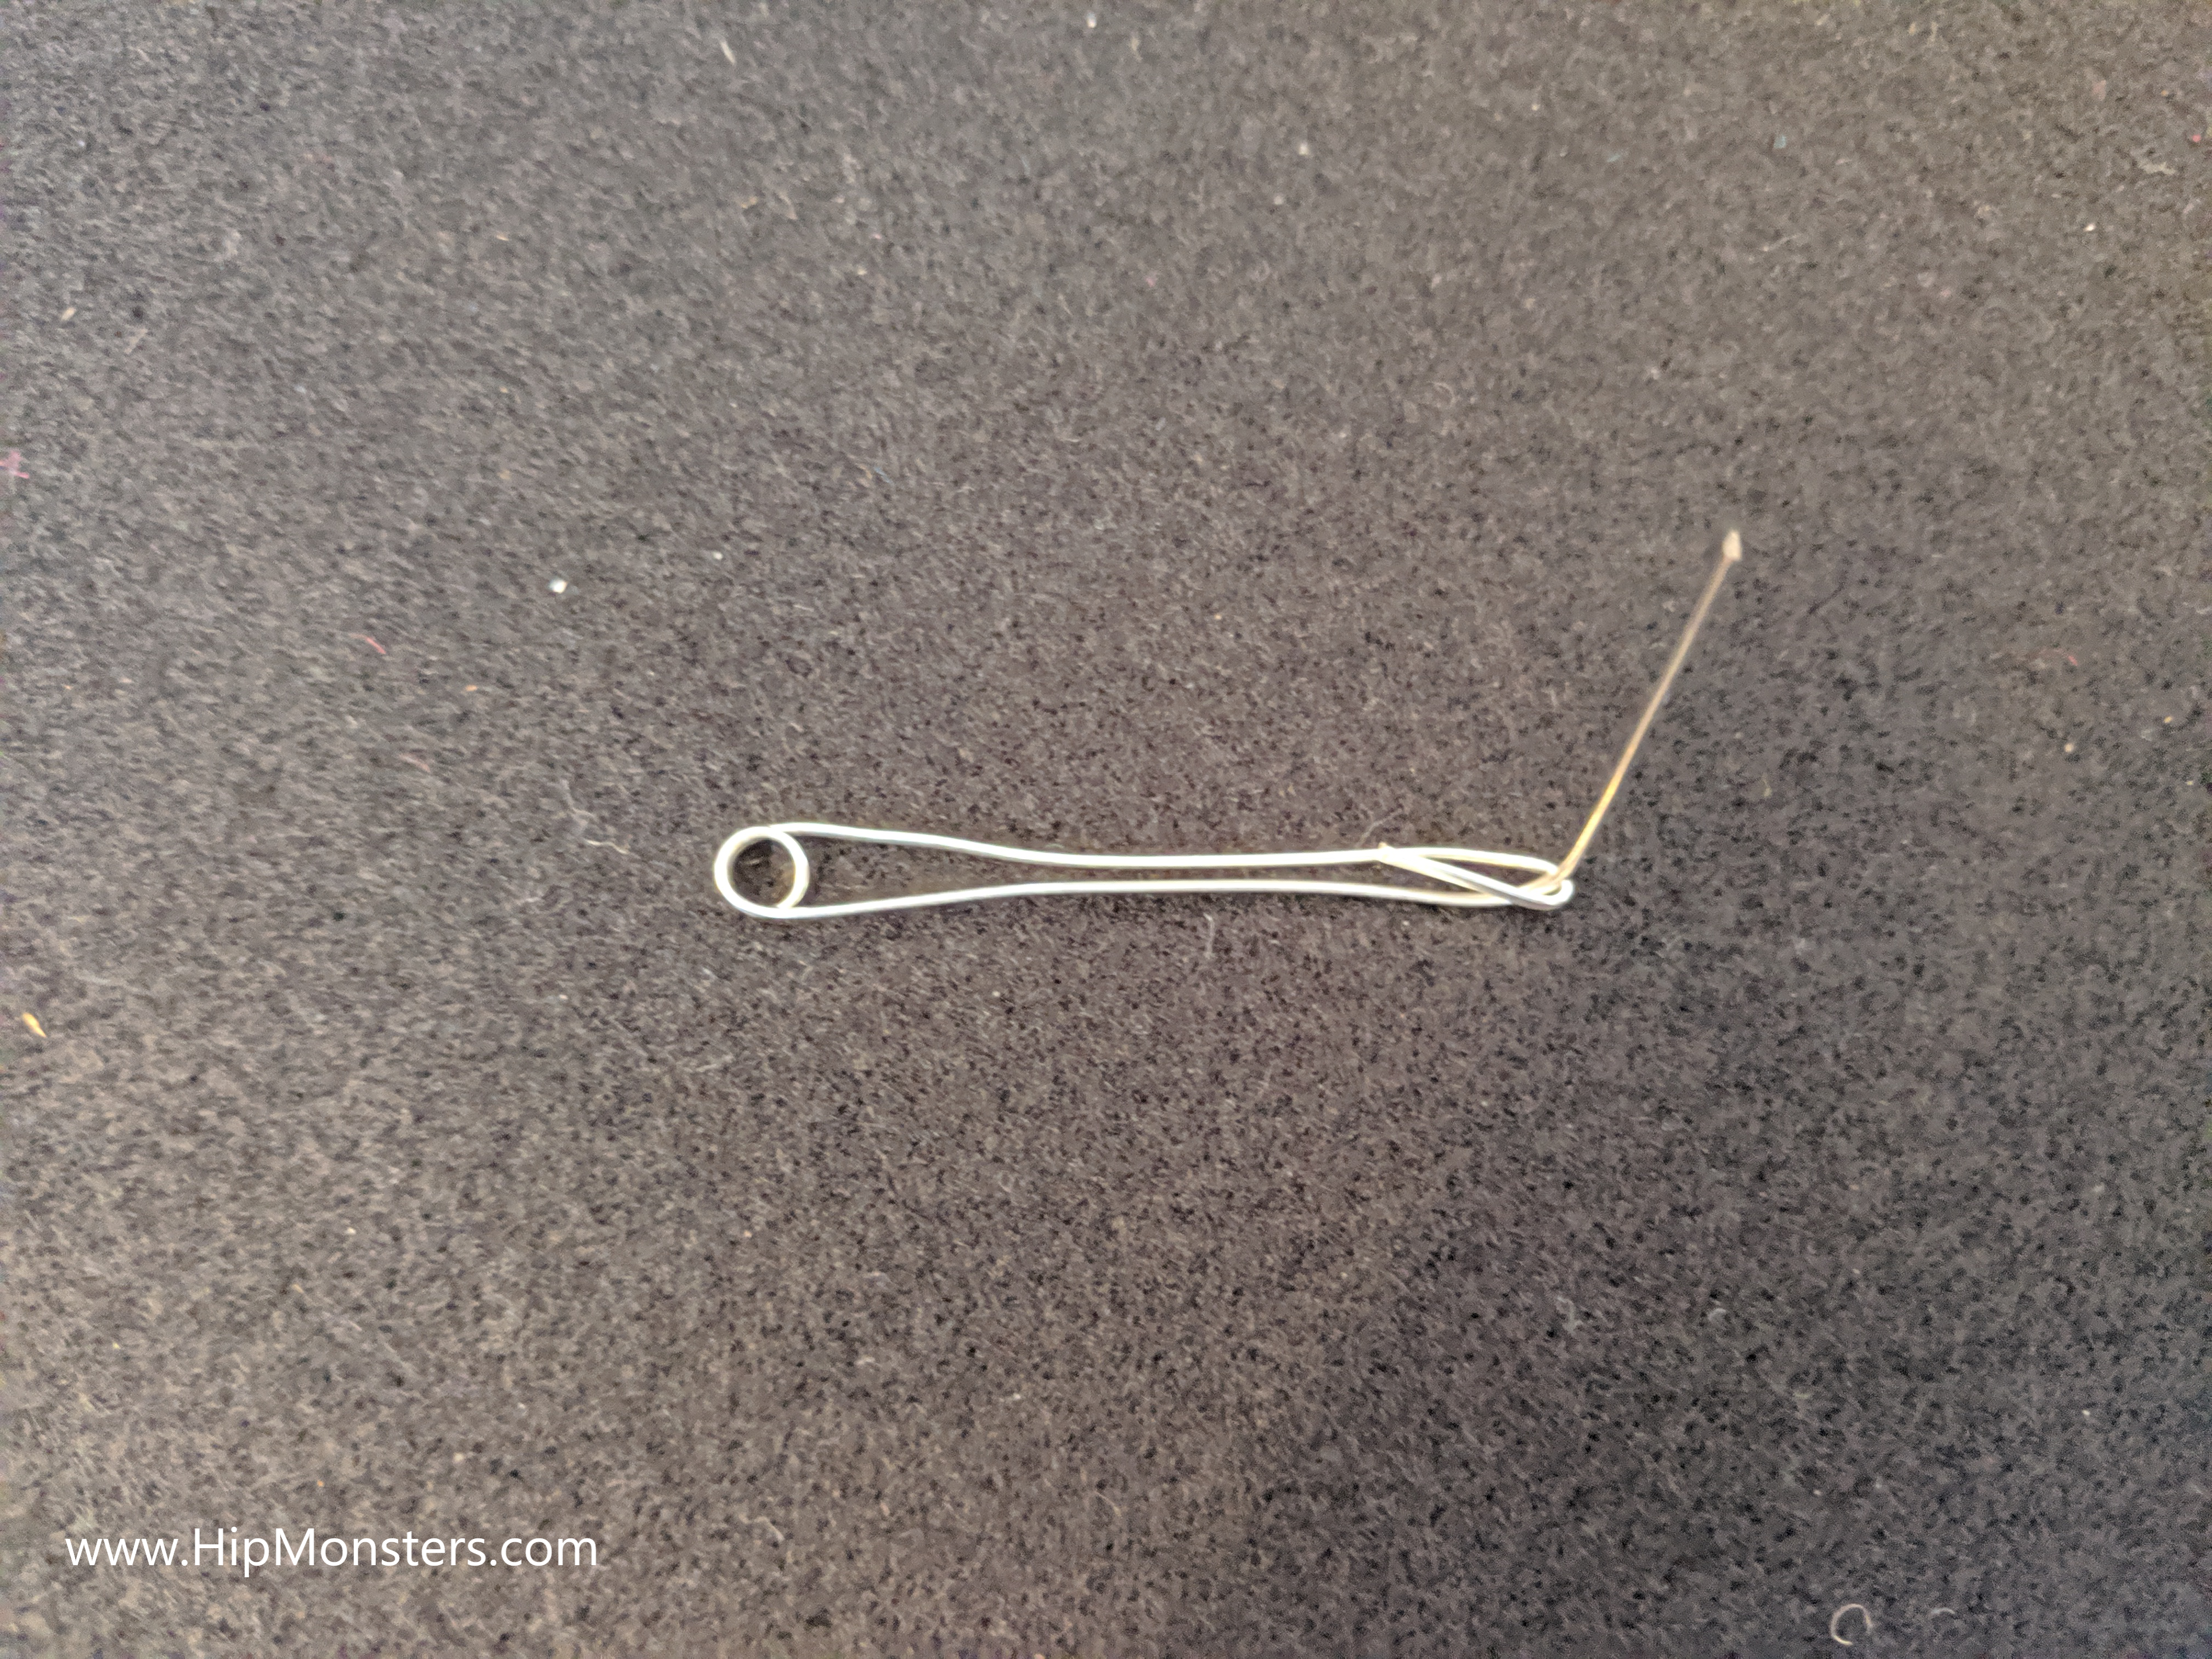
Next, create the Moon’s arm. Bend the thinner wire similar to the Earth’s arm but only put a loop on one end. Bend the other end up to support the Moon.

Step 10

Now connect the thin wire to the screw on Earth’s arm and secure with a bolt.

Step 11

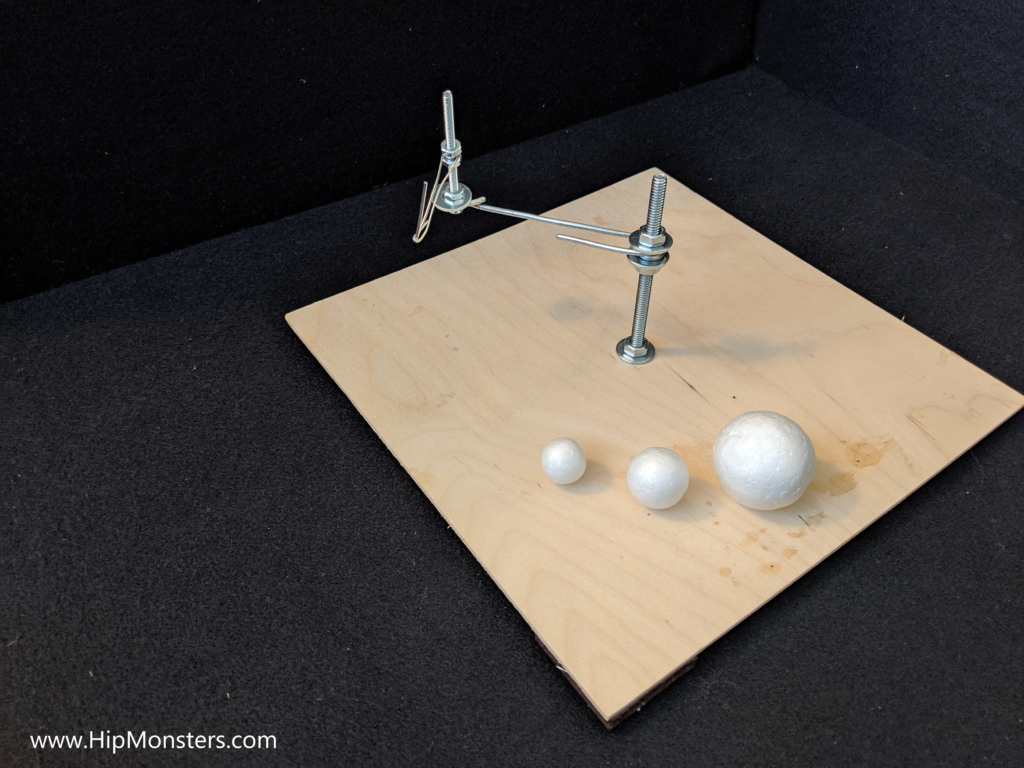
And we are nearly there! Just connect the thick wire to the screw and put a washer and bolt on top. Make sure to screw on tightly, the weight of the arm can make it droop.

Step 12

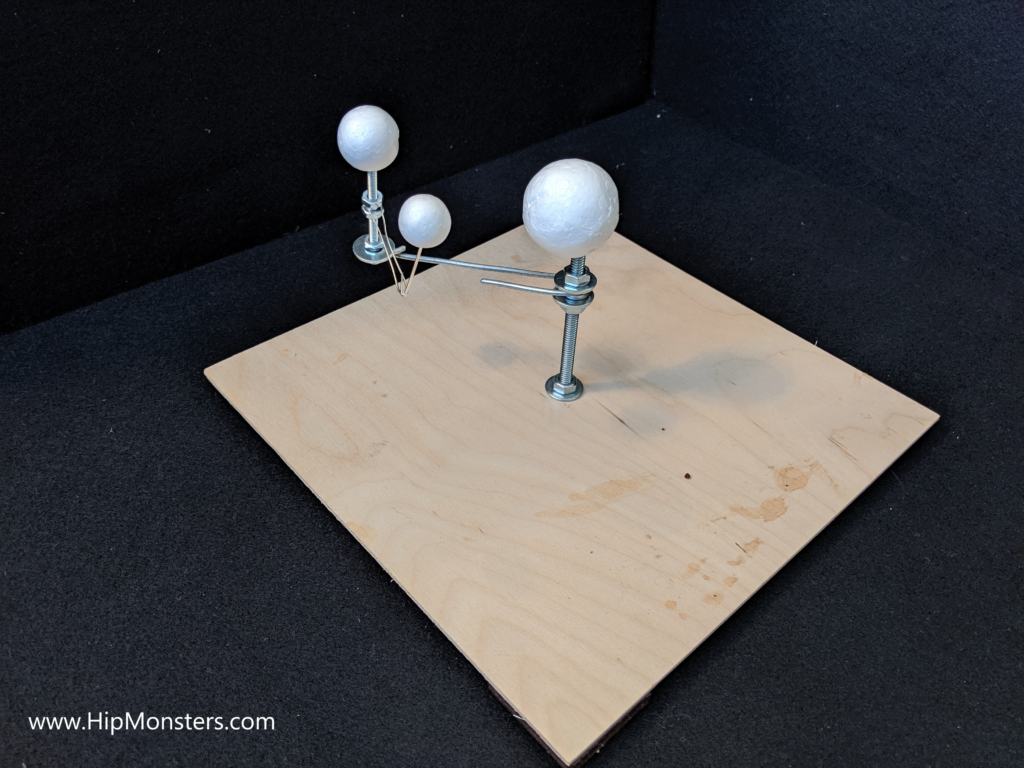
And finally we are ready to add the Sun, Earth, and Moon. The smallest ball is the Moon and goes on the smallest arm. The Earth is the mid-sized ball and put onto the outer bolt. The largest ball is the Sun and placed on the center bolts. You can paint the balls as the final step if you want to.Putting it all together

The Sun, Earth, Moon orrery is almost complete, we just need to assemble! Here are all the pieces laid out. We substitute the foam balls in one build with a ping pong ball for the Sun and felt balls for the Earth and Moon.Enjoy

You now have your own Sun, Earth, Moon Orrery and predict the next eclipse or start planning for the next full moon! Keep a watch out for werewolves!

Happy creating!