Shapeshifting Toy Robots Part 2

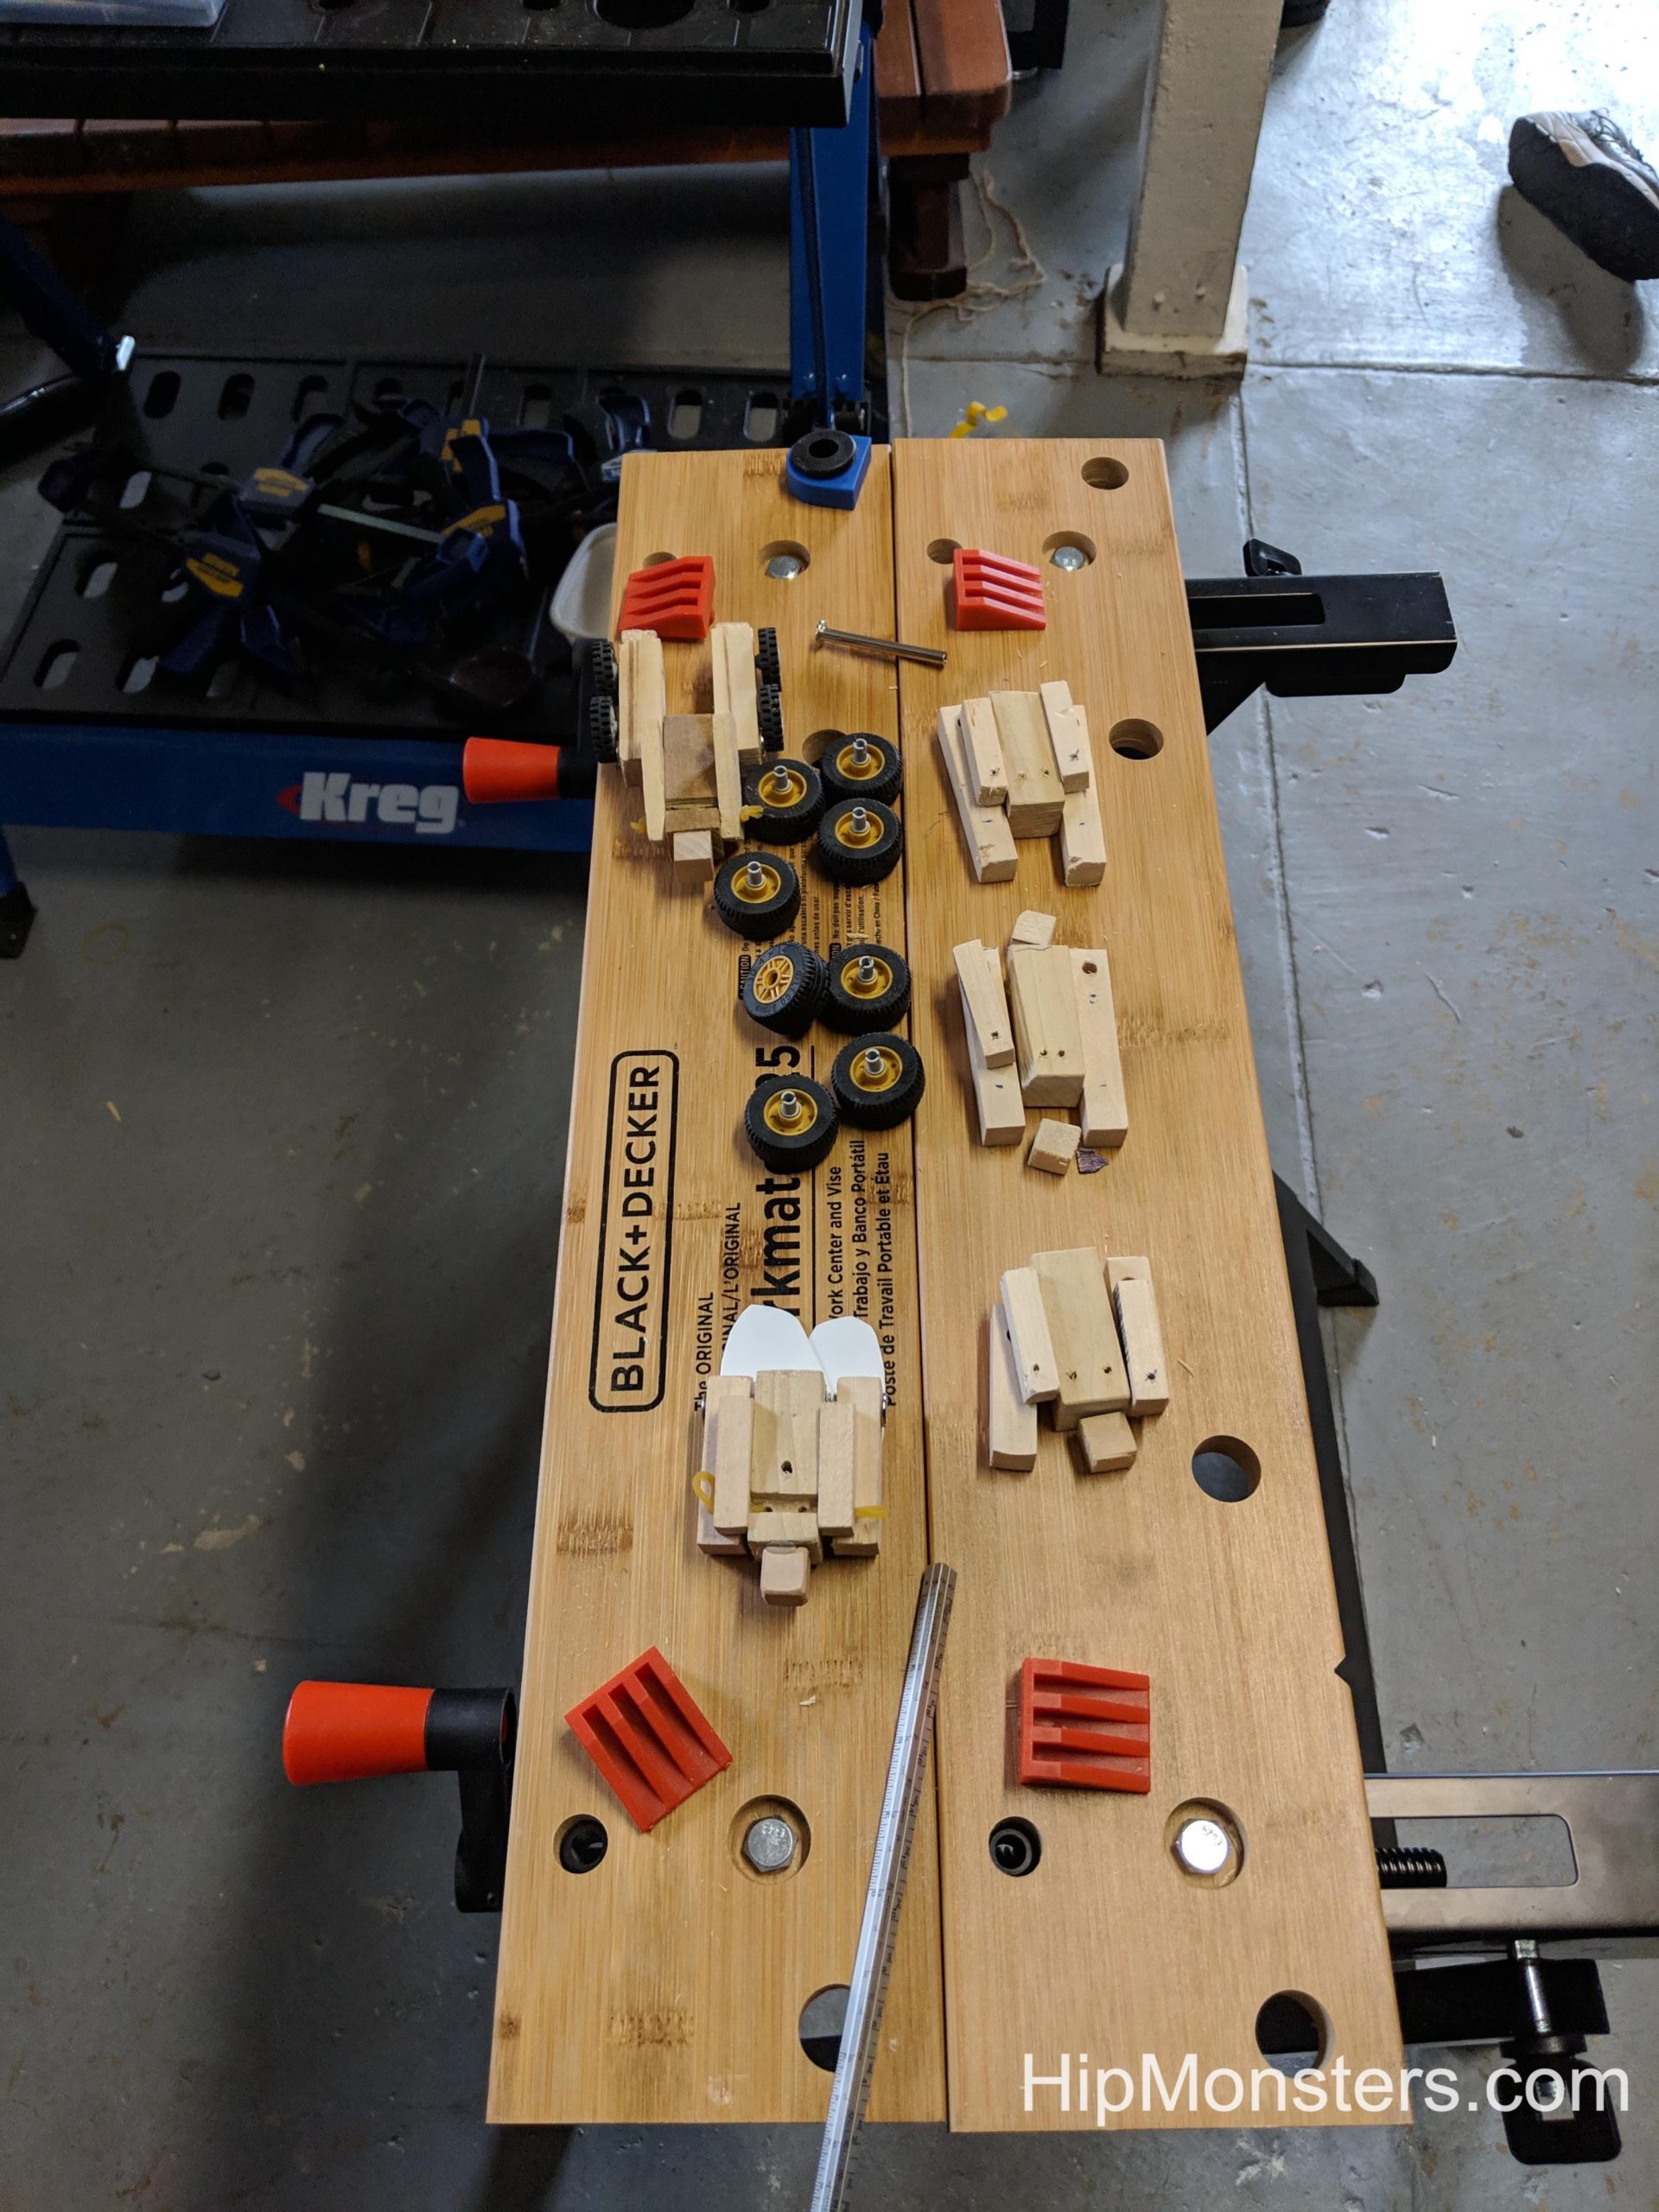
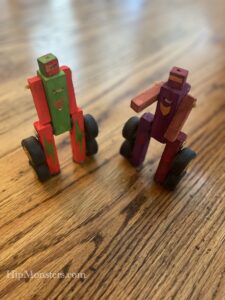
Here are some of our old creations that we forgot to post about. These are some of our wooden shapeshifting robots, inspired by Transformers.

Please note, this material is provided for informational purposes only and is not a guide on how to create the designs. Please take a look at our disclaimer.

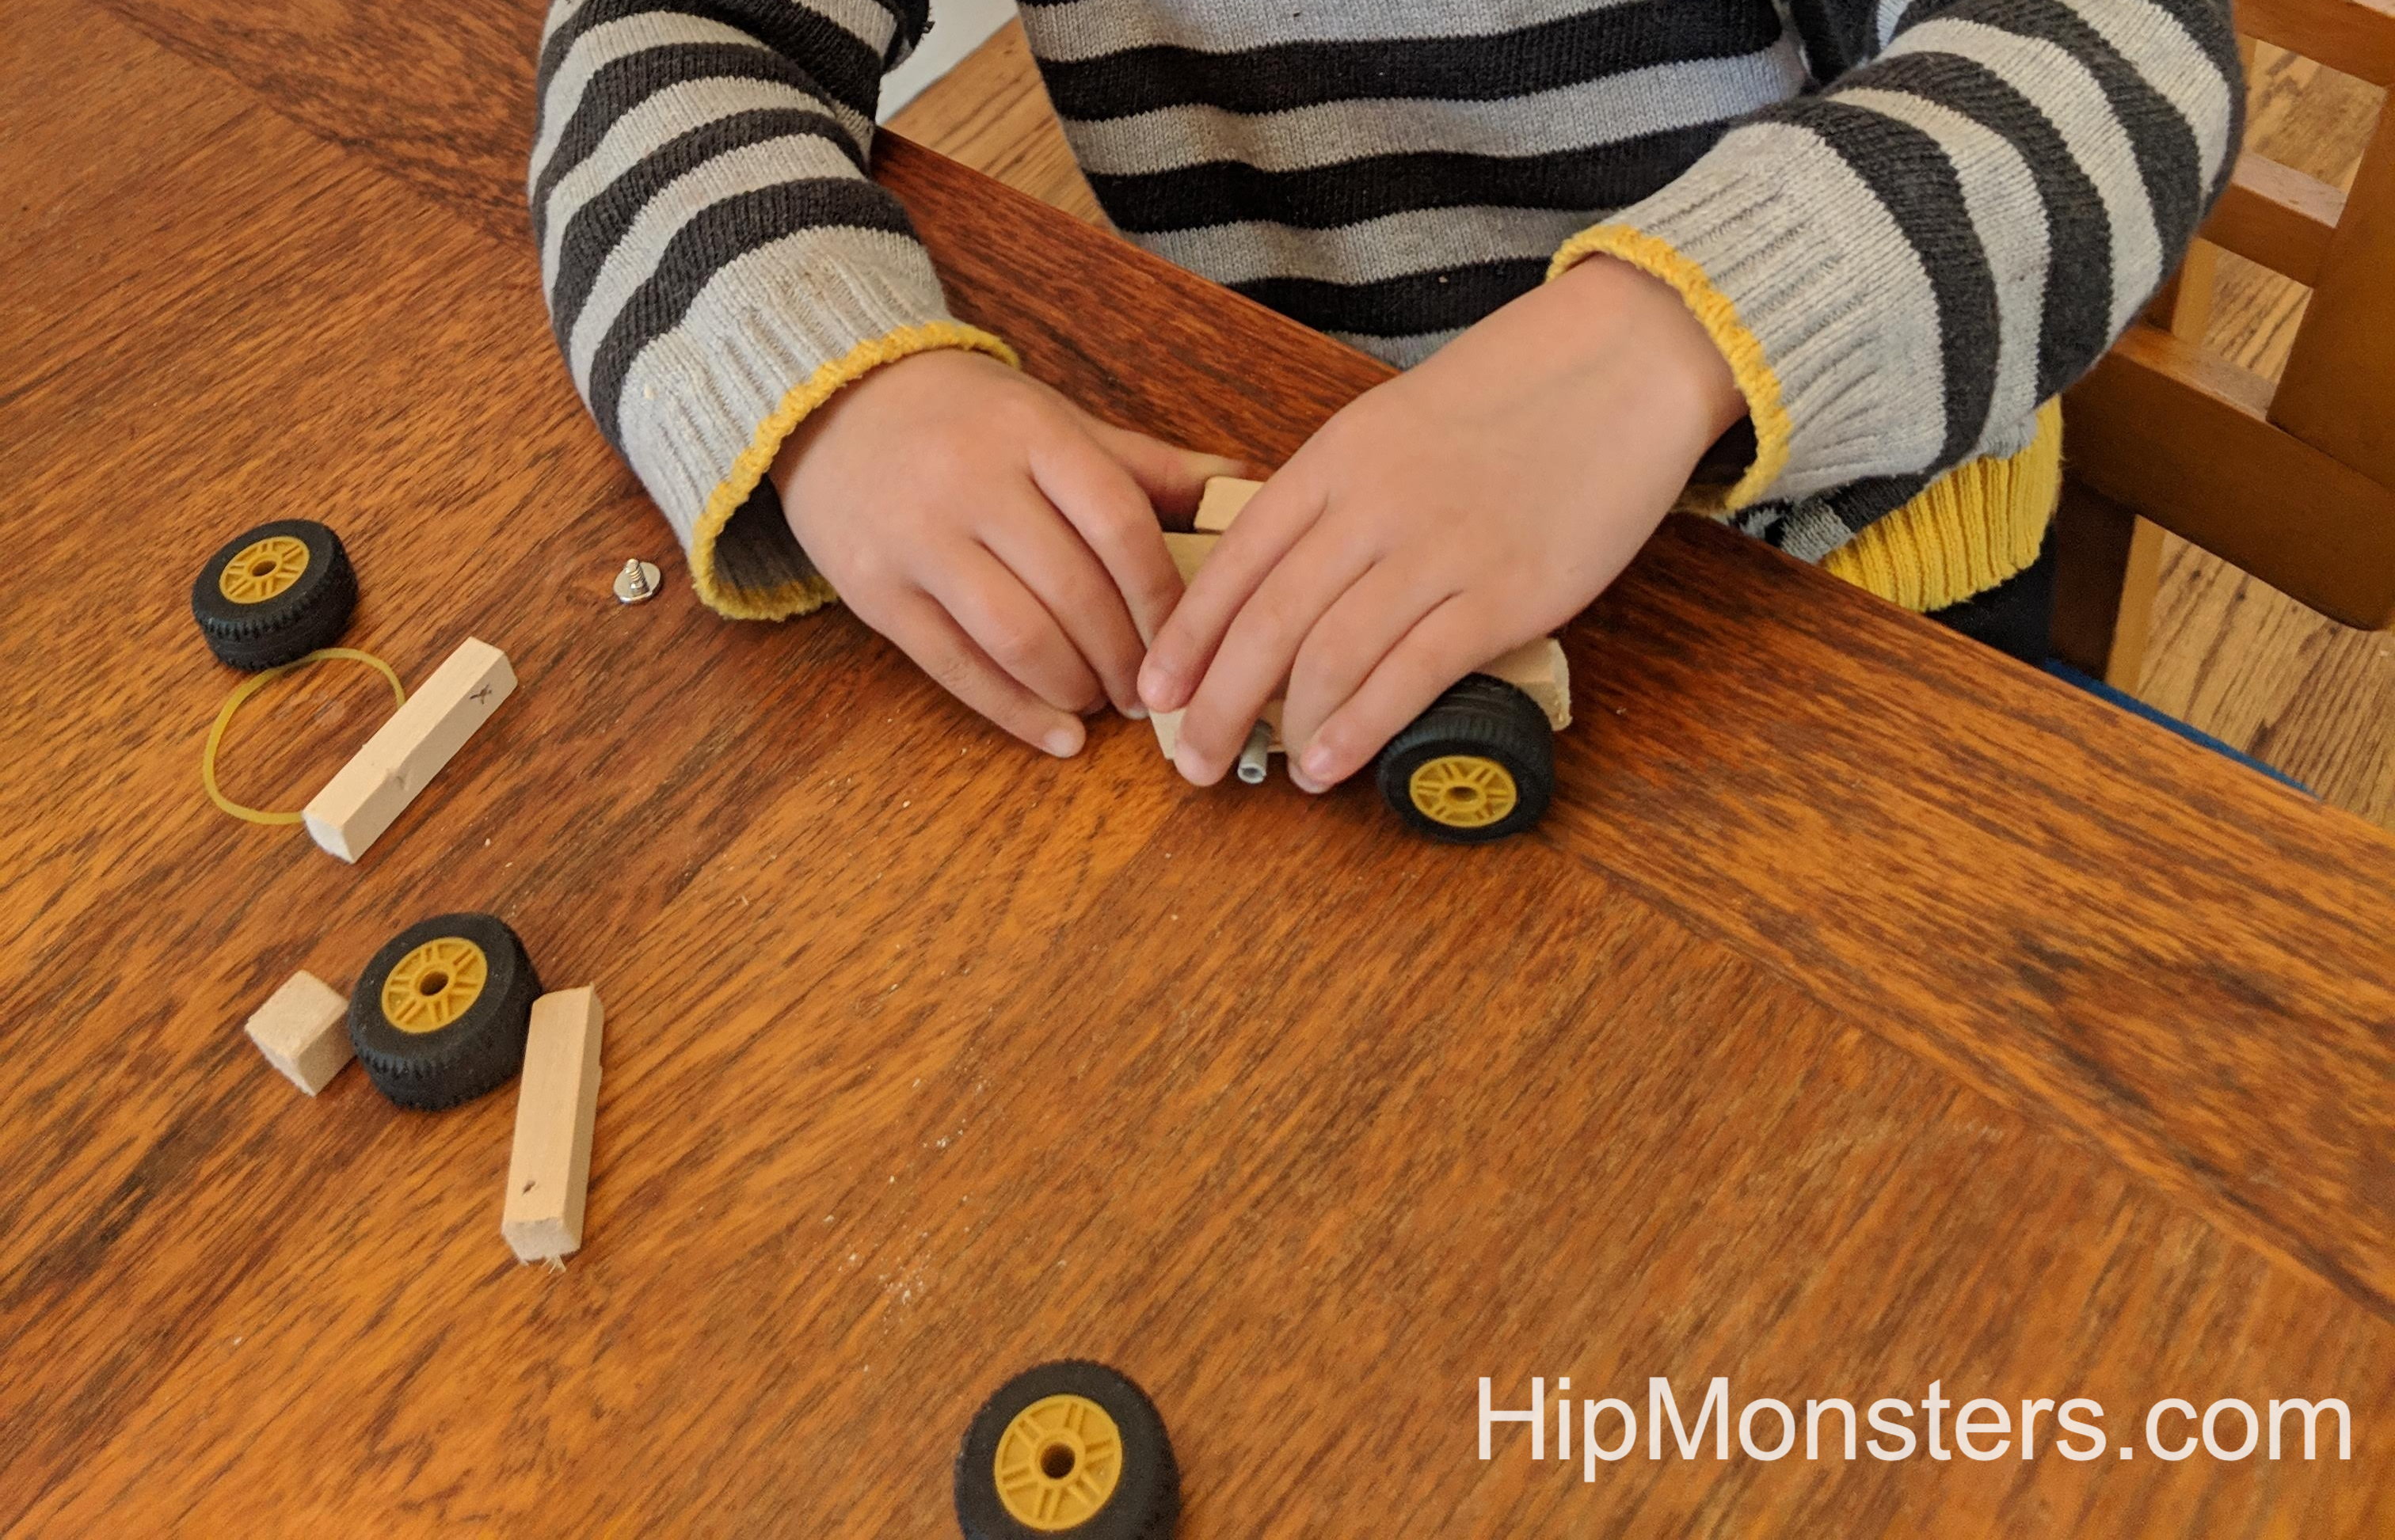
Making these do not require a lot of materials. you just need six rubber bands, four lego car wheels, and a small piece of wood.

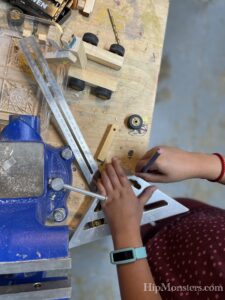
First, measure and cut two small pieces of wood to be the outside of the car and the legs. Measure and drill two holes that the lego wheels will fit securely in. Make sure that you leave enough space in between the holes for the wheels to fit.

Attach two of the wheels and cut the piece to the right size. Repeat to make another leg, making sure that the wheels on both legs align.

Next, cut two arms and drill small holes in the top that can fit a rubber band.

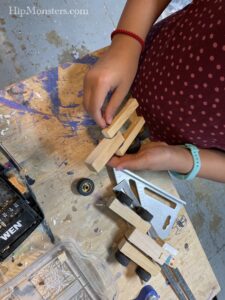
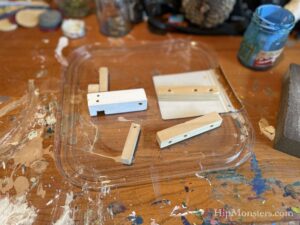
Cut a small body out of wood that

Now time for assembly!

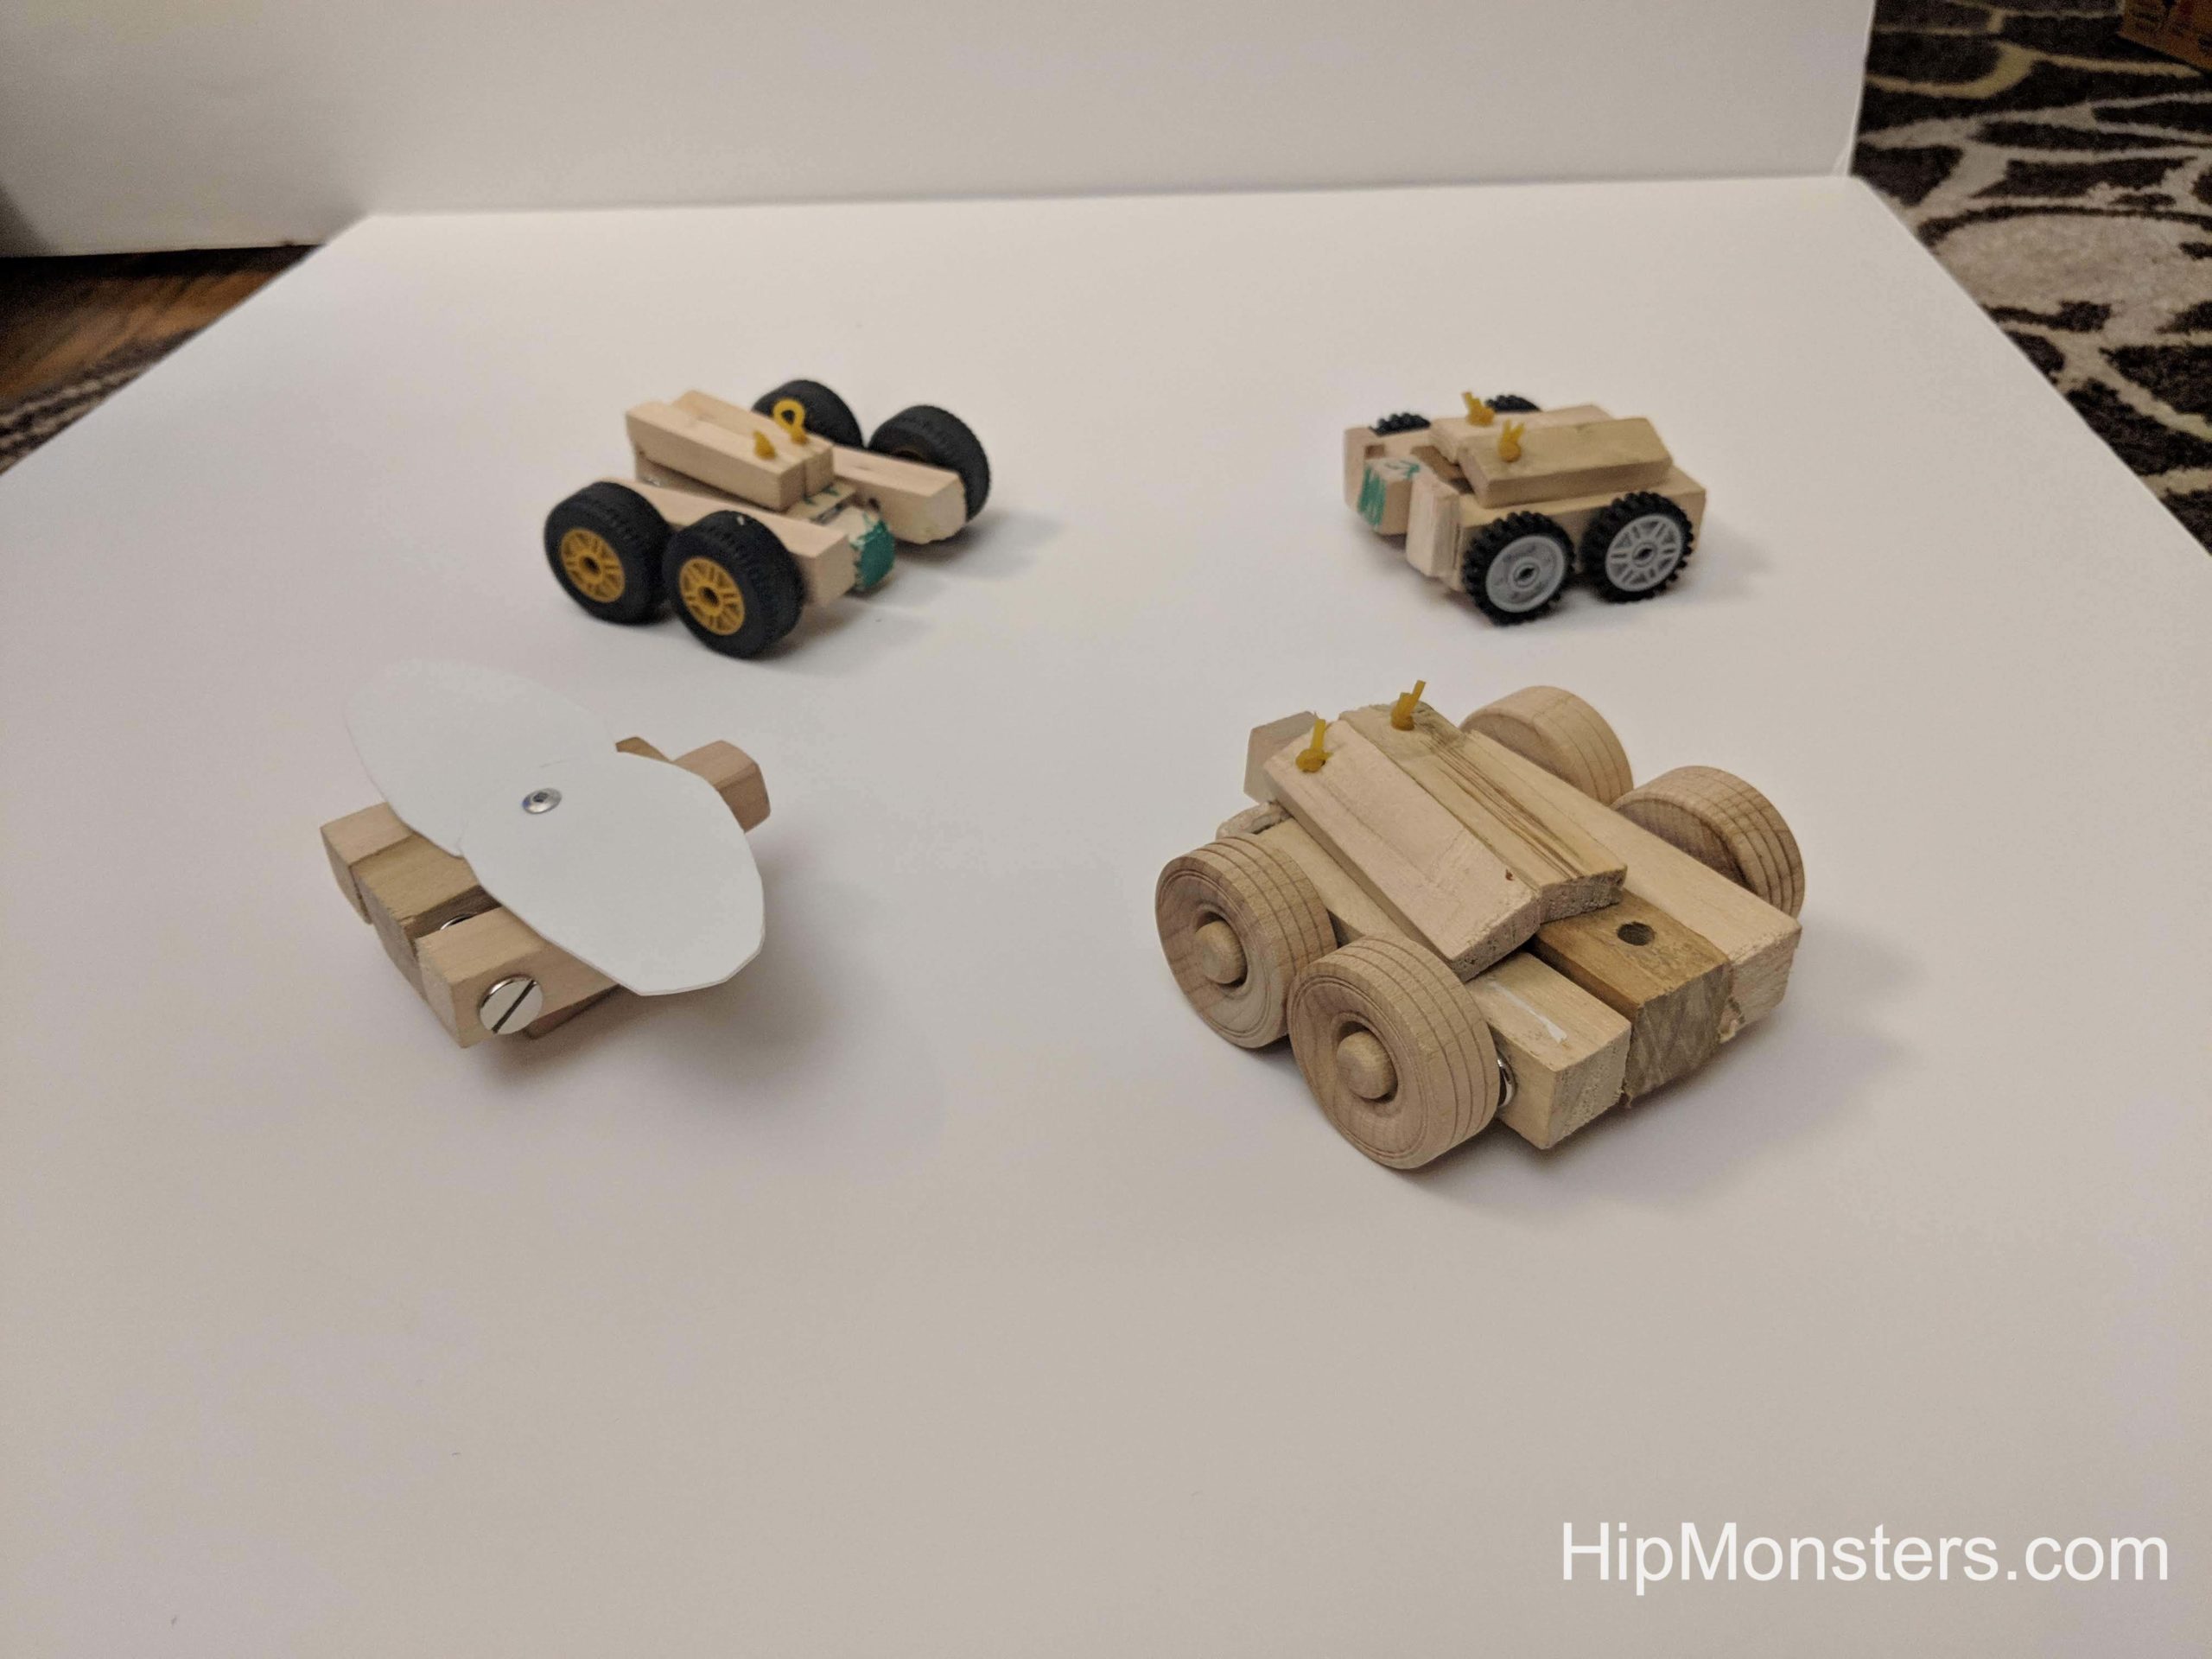
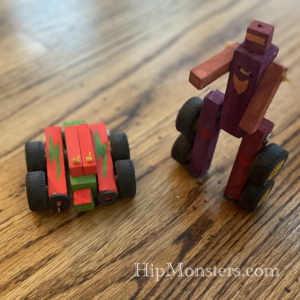
Here is one robots in alt mode.


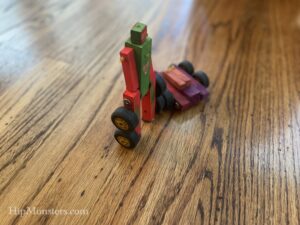
Both robots transformed

Front view.

Happy Creating!

Shape Shifting Toy Robots

When the sisters team discovered Transformer comics (Go WindBlade!) they wanted a whole city of Transformers to play with. While that was way too expensive, they could build their own shape-shifting toy robots out of wood.

Supplies for a hand crafted DIY robot that transforms
Getting Started

Borrowing from wooden dolls, we settled on a design with rubber bands attaching the arms and head to the body and a bolt to attached the legs enabling the robot to shift forms.

Making DIY wooden transfromjng robots
Drilling to holes

First we cut and drilled all the wood based on a working design.

Assembling a hand crafted DIY robot that transforms
Assembling Begins!

We used lego wheels for the robots that transformed into cars.

Fitting rubberband a hand crafted DIY robot that transforms
Fitting the rubber bands

Attaching the rubber bands proved difficult.  We used a jewelry tool to thread the rubber bands through the holes in the wood (many broke in the process).

Assembling a hand crafted DIY robot that transforms
Final Touches

A few more adjustments, including sanding the edges, and widening holes.

A hand crafted DIY robot that transforms
The robot is complete!

By using springs in the legs, the toy robot can hold a standing position.

DIY wooden transfroming robots
The assembly line

After we perfect a design, it was just a matter of creating a assembly line to crank out droids! We did some that turned into cars, some that turned into bugs, and some that turned in to other forms!

DIY Wooden Transfroming Robots.
Transformed

The robots in alt form.

DIY Wooden Transfroming Robots.
Robot form

The robots transformed!

Happy Creating!