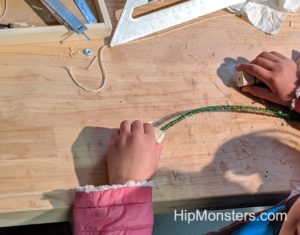
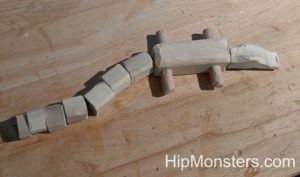
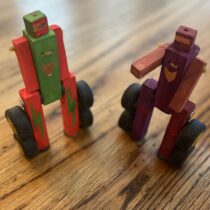
Here are some of our old creations that we forgot to post about. These are some of our wooden shapeshifting robots, inspired by Transformers.
Please note, this material is provided for informational purposes only and is not a guide on how to create the designs. Please take a look at our disclaimer.
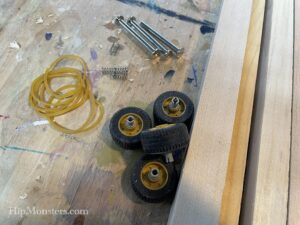
Making these do not require a lot of materials. you just need six rubber bands, four lego car wheels, and a small piece of wood.
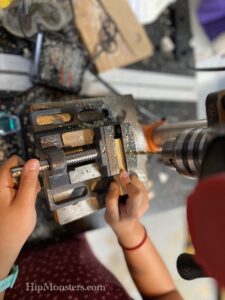
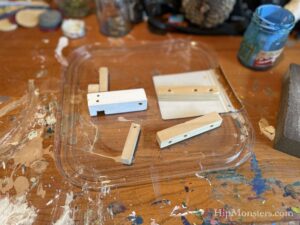
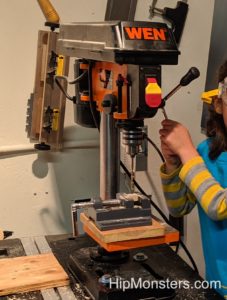
First, measure and cut two small pieces of wood to be the outside of the car and the legs. Measure and drill two holes that the lego wheels will fit securely in. Make sure that you leave enough space in between the holes for the wheels to fit.
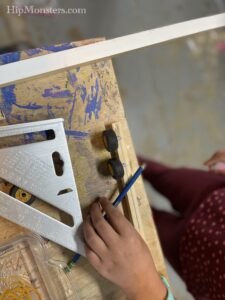
Attach two of the wheels and cut the piece to the right size. Repeat to make another leg, making sure that the wheels on both legs align.
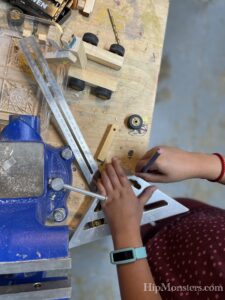
Next, cut two arms and drill small holes in the top that can fit a rubber band.
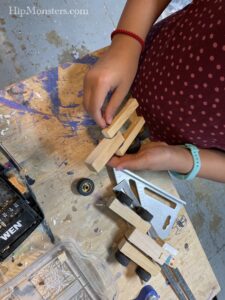
Cut a small body out of wood that
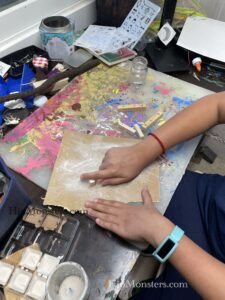
Now time for assembly!
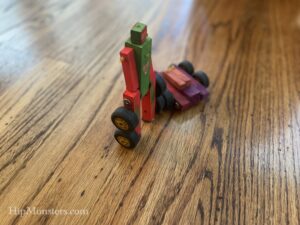
Here is one robots in alt mode.
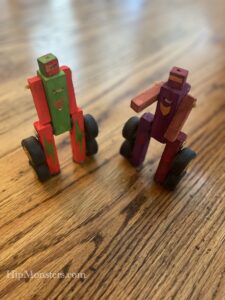
Both robots transformed
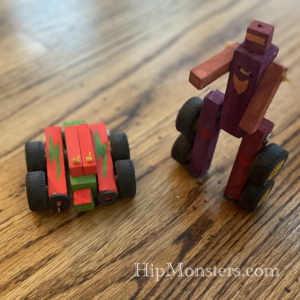
Front view.
Happy Creating!



 Inspired by


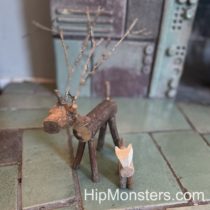
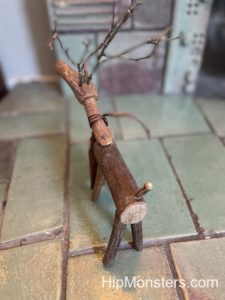
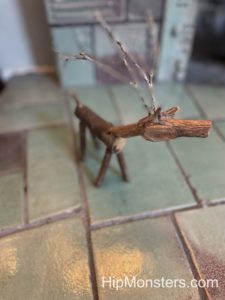
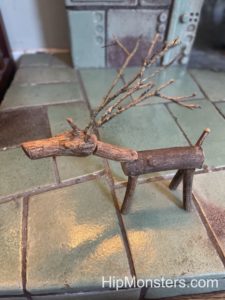 We attached the antlers of the deer by taking small branches from our birch tree and putting them in the holes that we drilled on the head. The antlers were very important because it would help people recognize this as a deer. We had to find branches that were strong so they won’t break, but small enough to look realistic. Luckily, birch trees shed a lot of branches, so it wasn’t too hard to find perfect branches.
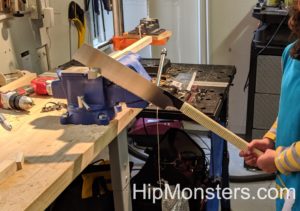
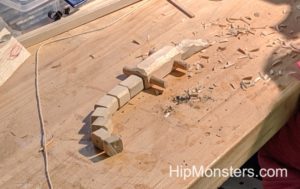 We laid out the final design before threading the wire through the holes we drilled.