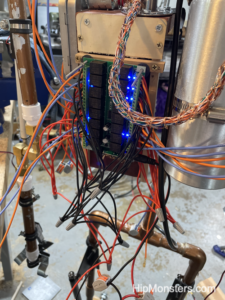
Maker Faire 2025

We are very excited to announce HipMonsters.com will be presenting RobotFreedom at this year’s Bay Area Maker Faire, September 26 through September 28th at Mare Island!  We have been training our emotional robots for over a year, living with them, playing with them and watching them grow. Come see our robots in action live! 

Here is a recap of the 2024 Bay Area Maker Faire to give you a preview of what to expect. These are some of our favorite exhibits, from an underwater robot explorer to a giant inflatable cuttlefish car.

Bay Area Maker Faire

This is the Maker Faire Bazaar, where visitor can find all sorts of handmade goods, like dice, pottery, and even 3d-printed hot chocolate.
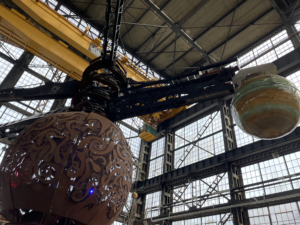
Metal orrery at Bay Area Maker Faire

This is a big working model of the solar system that is the size of a room. All of the planet’s orbit times are proportional to the real ones.
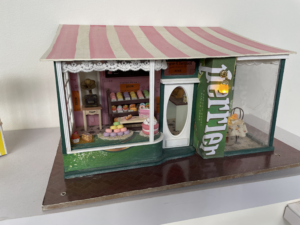
Miniature house at Bay Area Maker Faire

This is a small model of a bakery with working lights and miniature baked goods.
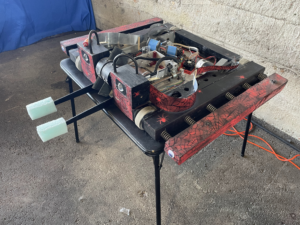
battle bot at Bay Area Maker Faire

This is an old battlebot, complete with two giant spikes in front and four googly eyes (Maker Faire 2023).



DIY robots at Bay Area Maker Faire

This is the Humanoid Robot Comedy Show. These robots can move their faces to show facial expressions and look you in the eyes while they tell jokes.
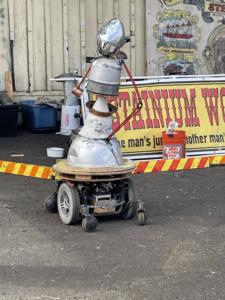
Steampunk DIY robots at Bay Area Maker Faire

This robot is built for battle. This is one of the robots that fights in an arena against other robots. It is remote controlled and has arms that can swing around.

Dalek at Bay Area Maker Faire

This is Dalek FAX, a remote controlled model of a Dalek that moves and talks.

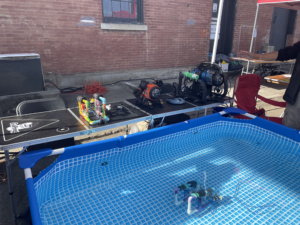
Under water robots at Bay Area Maker Faire

This small robot is built by ROV Tour: Underwater Robotics Adventure. They are remote controlled and have cameras that can show footage of its underwater adventures.

After.AI winning Maker Faire prize

And the award winning After.AI whose 3D printed mechanical flip signs were so fun to watch!
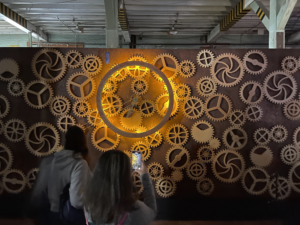
Gear art DIY robots at Bay Area Maker Faire

This amazing clock uses a whole wall full of gears to tell time.
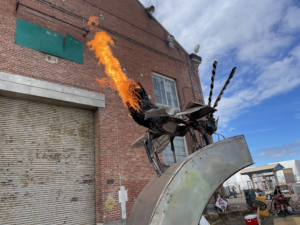
Metal fire insect at Bay Area Maker Faire

This is a part of Serenity, an art exhibit showing three insects that shoot fire at a press of a button (Maker Faire 2023).

inflatable art DIY robots at Bay Area Maker Faire

These are parts of Astro Botanicals Space Garden, which is a collection of glowing handmade inflatable plants.

Inflatable art DIY robots at Bay Area Maker Faire

This is Sepia Lux, a giant inflatable cuttlefish car that lights up. The tentacles and the fins of the cuttlefish can move, and the eyes can change colors.
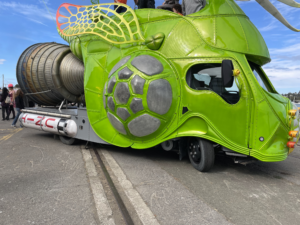
Truck at Bay Area Maker Faire

This is a truck inspired by a beetle complete with wings and a bright green shell.
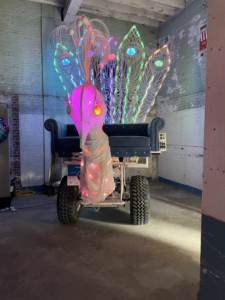
Drivable peacock at Bay Area Maker Faire

This is a peacock vehicle that lights up and moves.

We are looking forward to seeing you all at this year Bay Area Maker Faire!

Hope you find inspiration!


Securing Wires on Number Two and Number Three

We take Number Two and Number Three on the road a lot. While we are now experts at rewiring them after a long road trip, we started testing new ways for securing wires while still letting kids see how the robots were put together. After many designs, we settled on using clear silicon pneumatic tubes. The tube protect and secure the wires but still allow people to see how the wires attach.

Please note, this material is provided for informational purposes only and is not a guide on how to create the designs. Please take a look at our disclaimer.

YouTube player

This video shows us taping the wires.

YouTube player

This video is us splitting the clear tubes down the middle to fit in the wires.

YouTube player

This video shows the process of wrapping the wires in the tube.

YouTube player

This is the final result.

Happy Creating!

Number Nine is Rewired

We are learning weight is everything when it comes to good performance from our robots. One of our best jumpers, Number Nine, used splicing connectors that had very useful push handles but were way too heavy for continued use.

Please note, this material is provided for informational purposes only and is not a guide on how to create the designs. Please take a look at our disclaimer.

The old connectors were perfect when we were prototyping designs, but once we settled on a wiring diagram it was time to move on to the much lighter push-in designs. The video below is a sped up video of one of the Hip Monster’s sister team (age 13) rewiring Number Nine with the new connector:

YouTube player

And now for testing! Here is a video of Number Nine is back in action and ready for more upgrades:

YouTube player

Happy creating!

Number Three’s Controller

This post is an old one we forgot to publish a while back. Currently, Number Three is controlled by a script that is run on a Raspberry Pi sending commands to an Arduino. But originally Number Three was controlled by a wireless relay switch. We used wireless relays at first because they are simpler and we could just focus on the mechanics of the robots. As our robots got more complex, we had to migrate to Raspberry Pis. This post is a good overview of wiring a relay and even if outdated gives good insights. Also, a wireless relay may be useful in other situations.

Please note, this material is provided for informational purposes only and is not a guide on how to create the designs. Please take a look at our disclaimer.

wiring for a robot control unit

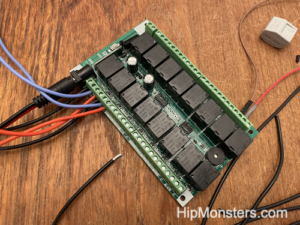
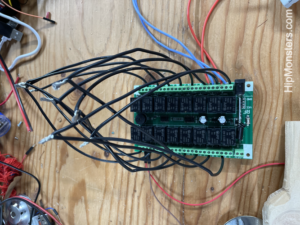
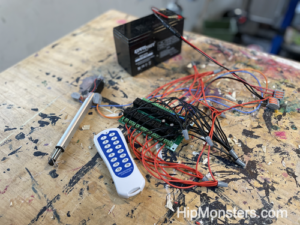
Here is a 12-volt, 16 relay wireless board. It is typically used for lighting but we have other purposes in mind- robots! To begin here are some basics. To control motor you change the power going it. A motor needs positive (red wires) and negative (black wires) energy to work. A relay controls power going to an engine. When wiring a relay the wire that gives the signal (what tells the relay to be on or off) is usually a color other than red or black. In this case the color is light blue.

wiring for a robot control unit

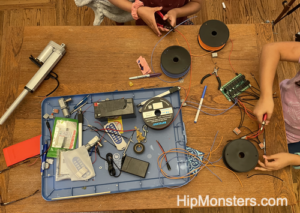
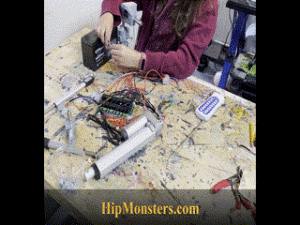
Honestly there is not too many parts to this build just the relay, linear actuators, wire nuts and a lot of wires. We recommend doing the build in an area easy to clean and free from pets. When you cut the wires little bits of wires can fall to the floor may end up in the foot o a pet.

wiring for a robot control unit

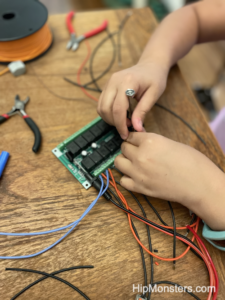
The wiring for the relays proved to be more difficult than we thought because the wires were slightly thinker than the connection wanted.  We had to twisted them tightly to fit them in. If you are buying wire go with a thin grade.

wiring for a robot control unit

When doing a wiring job of this scale, over 64 wires, it is best have a plan laid out before starting and if possible divide the labor. Our plan was to wire in order or wire type (signal, positive, negative, output).  To make it easy we cut all the wires the same length. To attach the wires we used wire nuts but have migrate to using lever connection nuts for quick builds.  The wire nuts proved to be too finicky and we don’t recommend them until the final build.

wiring for a robot control unit

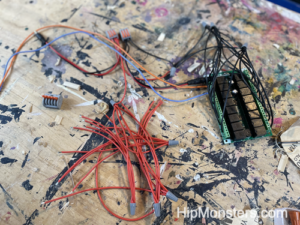
Here is a pile of pre-linked positive wires. Since we wanted to control a linear actuator we need to use two relays to control on the power. To make an actuator extend and retract you need to you flip positive to negative,  this is called reversing polarity. But one relay can on turn power on and off. So to be able to reverse polarity we needed to wire XOR logic gate. This is a good overview of how to control linear actuators and here is a good diagram on a XOR XOR logic gate.

wiring for a robot control unit

Here is the completed relay ready for testing.  Make sure all the wires are screwed in tightly and no fray wires are touching before pugging in the relay.

And what better way to test than knock something over and make a big mess!

wiring for a robot control unit

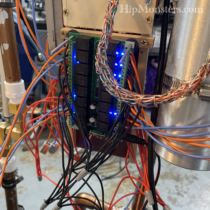
Here is the new controller installed on the back of Number Three. Since we are aiming for a steam punk robot the mass of wires is exactly the look we wanted.

Happy Creating!