Maker Faire 2025

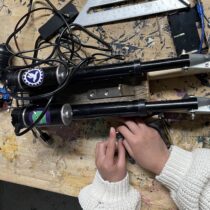
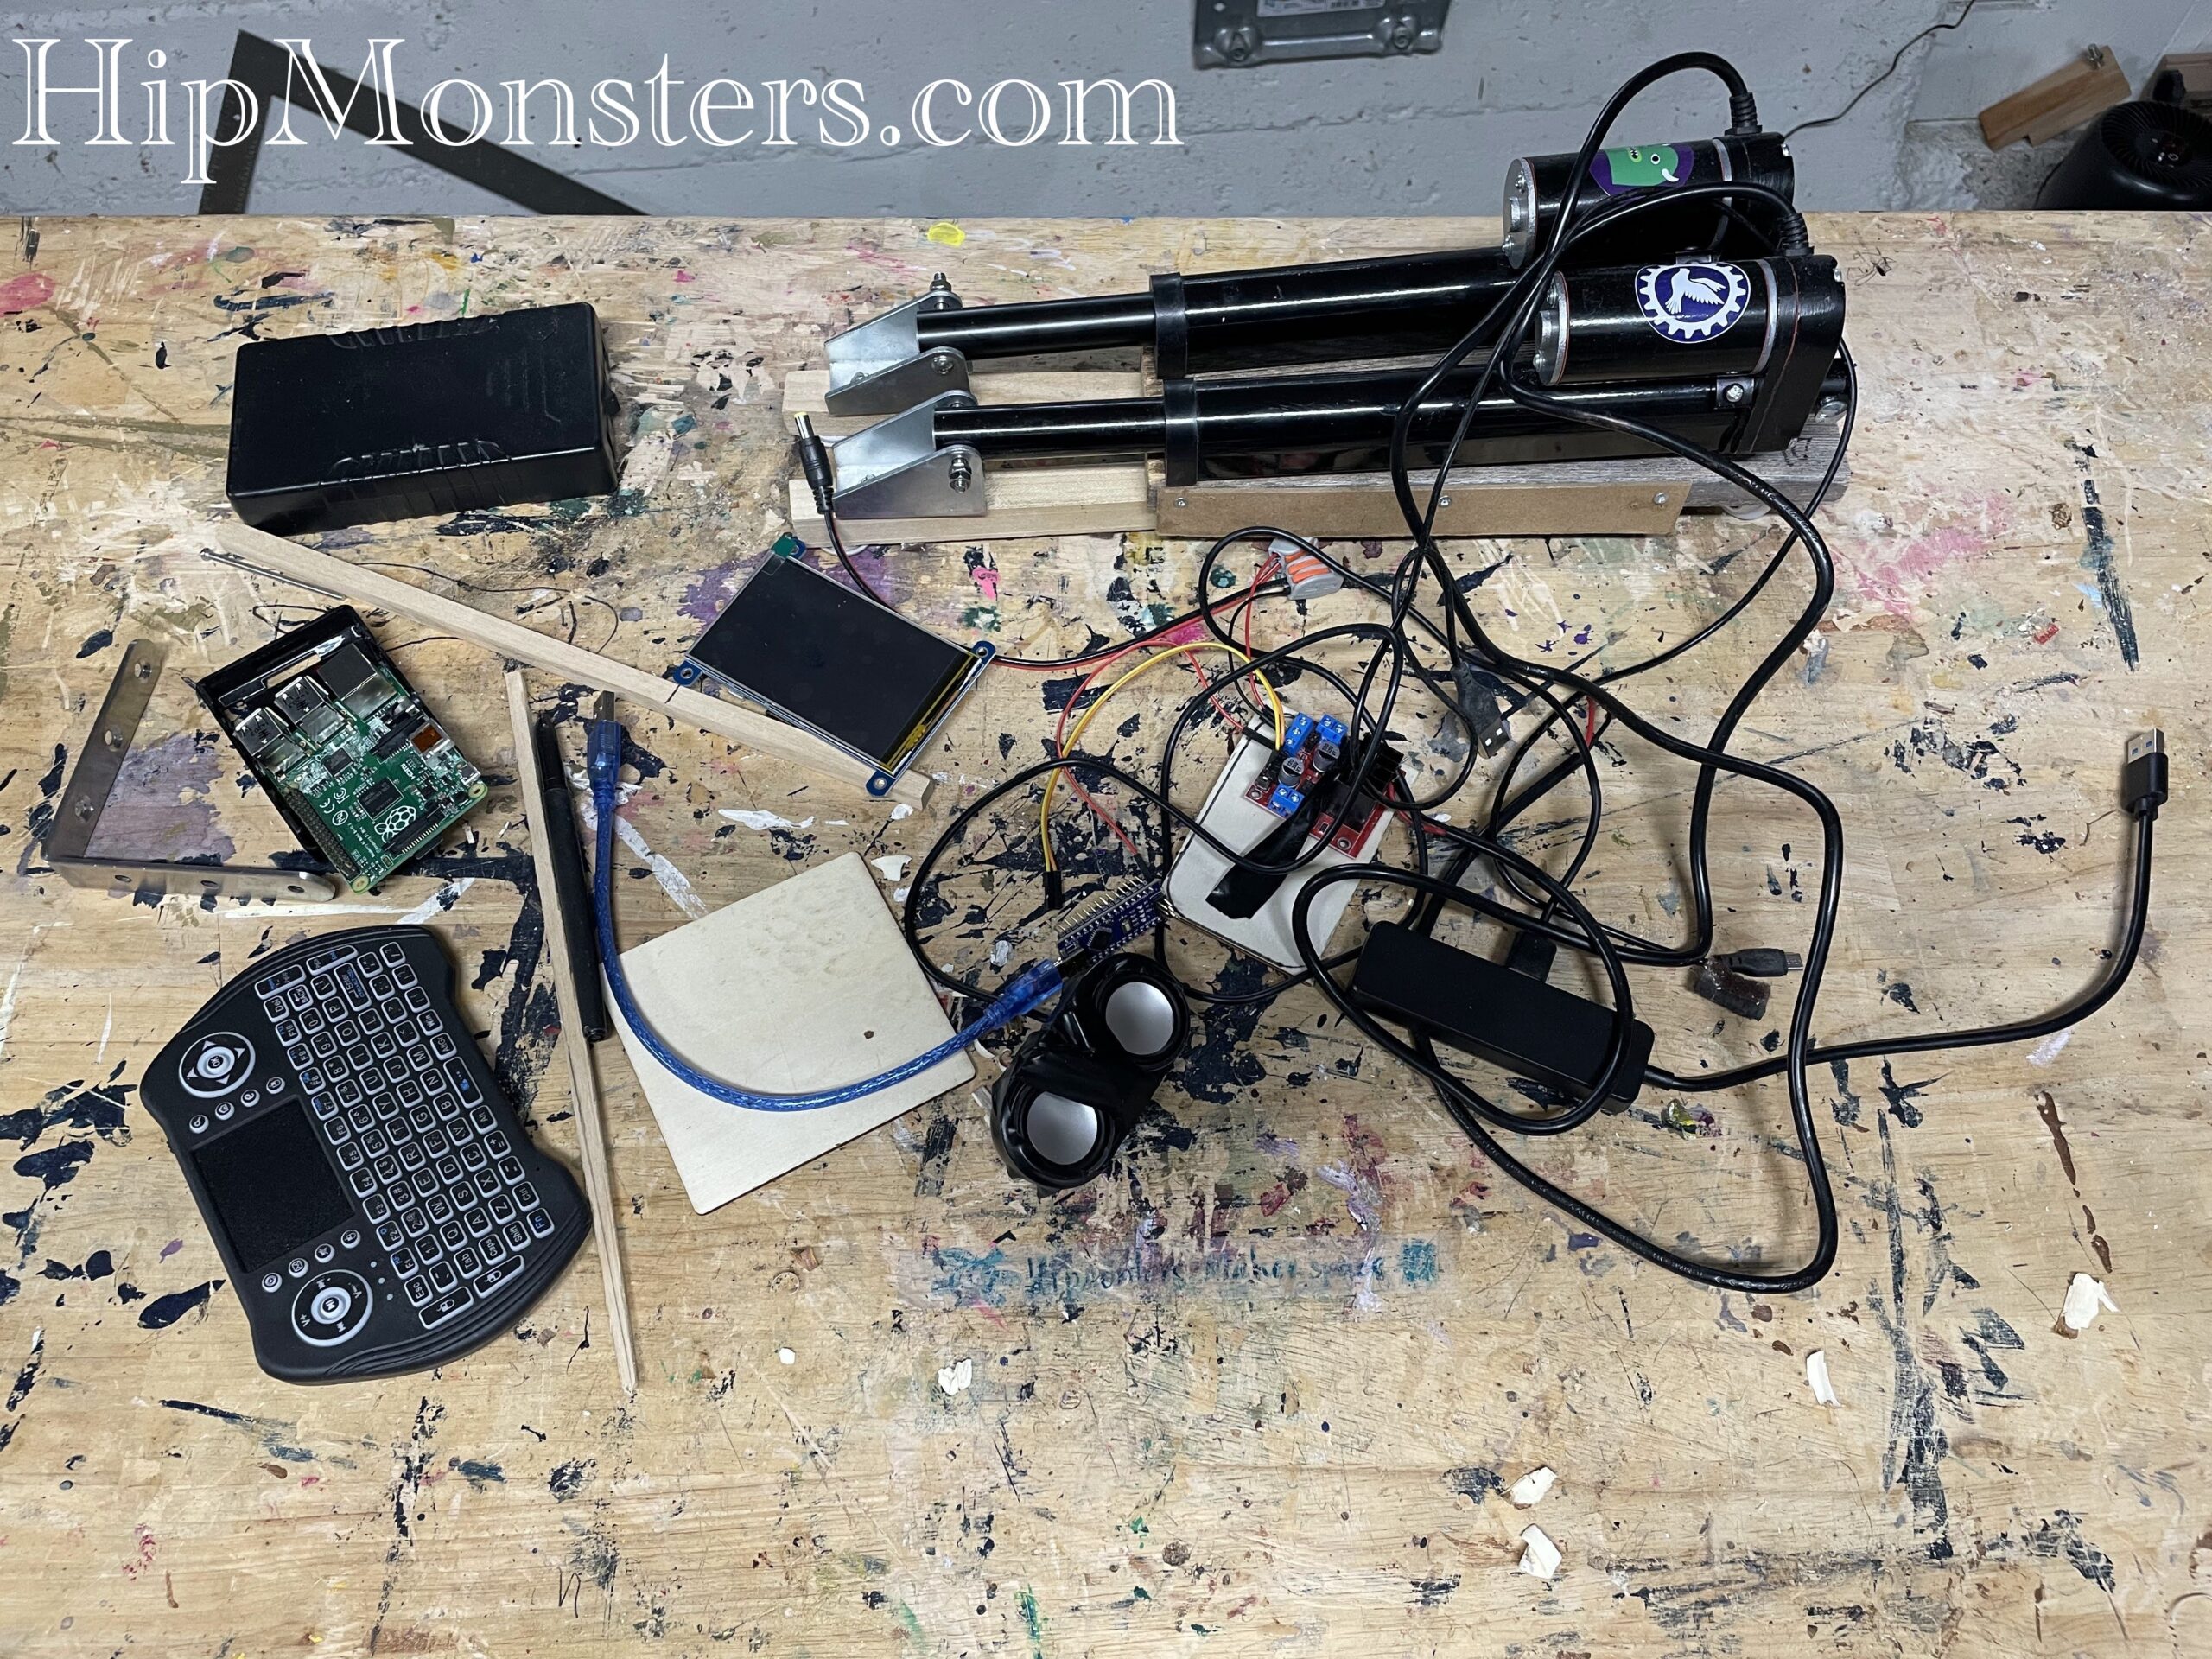
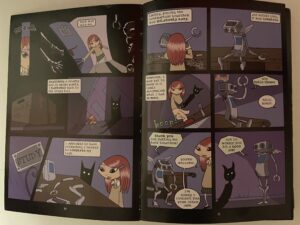
We are very excited to announce HipMonsters.com will be presenting RobotFreedom at this year’s Bay Area Maker Faire, September 26 through September 28th at Mare Island!  We have been training our emotional robots for over a year, living with them, playing with them and watching them grow. Come see our robots in action live! 

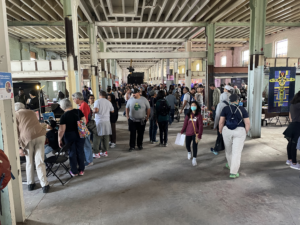
Here is a recap of the 2024 Bay Area Maker Faire to give you a preview of what to expect. These are some of our favorite exhibits, from an underwater robot explorer to a giant inflatable cuttlefish car.

Bay Area Maker Faire

This is the Maker Faire Bazaar, where visitor can find all sorts of handmade goods, like dice, pottery, and even 3d-printed hot chocolate.

Metal orrery at Bay Area Maker Faire

This is a big working model of the solar system that is the size of a room. All of the planet’s orbit times are proportional to the real ones.

Miniature house at Bay Area Maker Faire

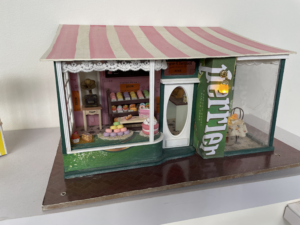
This is a small model of a bakery with working lights and miniature baked goods.

battle bot at Bay Area Maker Faire

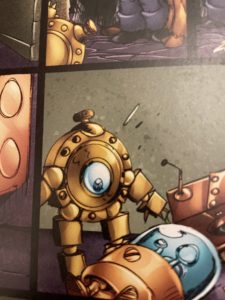
This is an old battlebot, complete with two giant spikes in front and four googly eyes (Maker Faire 2023).


DIY robots at Bay Area Maker Faire

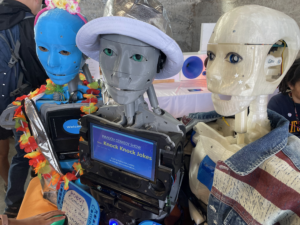
This is the Humanoid Robot Comedy Show. These robots can move their faces to show facial expressions and look you in the eyes while they tell jokes.

Steampunk DIY robots at Bay Area Maker Faire

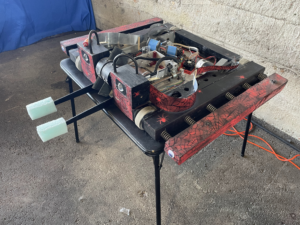
This robot is built for battle. This is one of the robots that fights in an arena against other robots. It is remote controlled and has arms that can swing around.

Dalek at Bay Area Maker Faire

This is Dalek FAX, a remote controlled model of a Dalek that moves and talks.

Under water robots at Bay Area Maker Faire

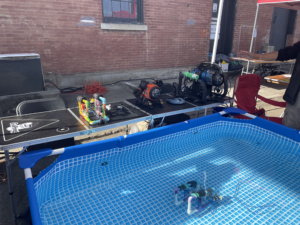
This small robot is built by ROV Tour: Underwater Robotics Adventure. They are remote controlled and have cameras that can show footage of its underwater adventures.

After.AI winning Maker Faire prize

And the award winning After.AI whose 3D printed mechanical flip signs were so fun to watch!

Gear art DIY robots at Bay Area Maker Faire

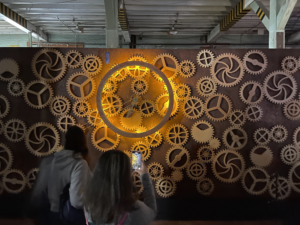
This amazing clock uses a whole wall full of gears to tell time.

Metal fire insect at Bay Area Maker Faire

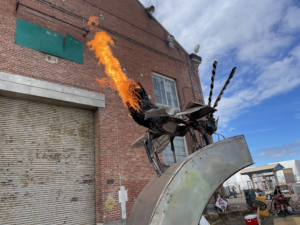
This is a part of Serenity, an art exhibit showing three insects that shoot fire at a press of a button (Maker Faire 2023).

inflatable art DIY robots at Bay Area Maker Faire

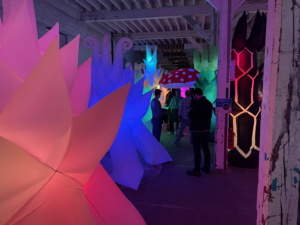
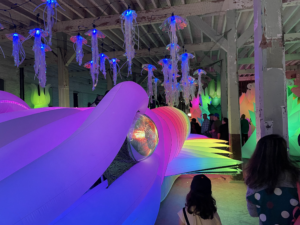
These are parts of Astro Botanicals Space Garden, which is a collection of glowing handmade inflatable plants.

Inflatable art DIY robots at Bay Area Maker Faire

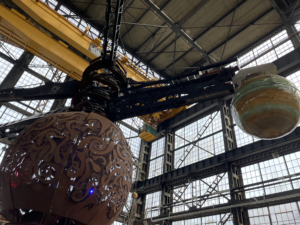
This is Sepia Lux, a giant inflatable cuttlefish car that lights up. The tentacles and the fins of the cuttlefish can move, and the eyes can change colors.

Truck at Bay Area Maker Faire

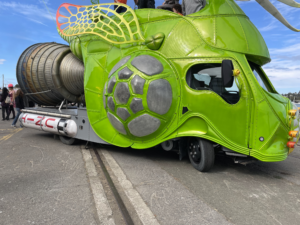
This is a truck inspired by a beetle complete with wings and a bright green shell.

Drivable peacock at Bay Area Maker Faire

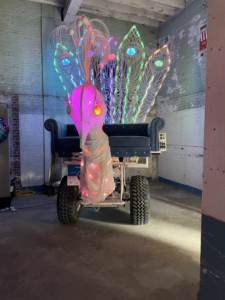
This is a peacock vehicle that lights up and moves.

We are looking forward to seeing you all at this year Bay Area Maker Faire!

Hope you find inspiration!


Securing Wires on Number Two and Number Three

We take Number Two and Number Three on the road a lot. While we are now experts at rewiring them after a long road trip, we started testing new ways for securing wires while still letting kids see how the robots were put together. After many designs, we settled on using clear silicon pneumatic tubes. The tube protect and secure the wires but still allow people to see how the wires attach.

Please note, this material is provided for informational purposes only and is not a guide on how to create the designs. Please take a look at our disclaimer.

YouTube player

This video shows us taping the wires.

YouTube player

This video is us splitting the clear tubes down the middle to fit in the wires.

YouTube player

This video shows the process of wrapping the wires in the tube.

YouTube player

This is the final result.

Happy Creating!

Girl Genius Dingbot Robot Part One

We decided to finally make an attempt to build a Dingbot robot based on the girl genius web comics.

Please note, this material is provided for informational purposes only and is not a guide on how to create the designs. Please take a look at our disclaimer.

Our design is based on the first BingBot, a small robot similar to a pocket watch. Below is a image of a GirlGeniusOnline Dingbat in action.

As the series continue she create a variety of different BingBots and even Wingbots.

After we have settled on a design on paper we like laying out all the components on our workbench and start visualizing how the pieces fit together and to make sure we have all the parts we need.

We made the design as small as possible but still fit all the electronics including a RaspberryPi Nano. We wanted the design to be a fully functioning computer. The idea was when it is not running about it can be used to play music or video games.

The front and back to the robot are plywood circles that will serve as bases for all the electronics. To make sure the two sides align, we clamped two pieces of plywood together and used coping saw. To smooth out any irregularities, clamped them together again and sanded them repeatedly.


We used 2 inch bolts to separate the front and back plates. The is the smallest width that will still be able to hold all of our electronics. After repeated measuring, we drilled the holes while they were still clamped. This assured the bolts would align. Since the bolts are part of the atheistic of the robots it is important to get the positions correct.

We used three nuts and four washers per bolts to acts as spacers. To keep the bolts from loosing we used lock bolts (which can prove difficult to put on) and a pneumatic tubing in between the top and bottom bolts. We have used pneumatic tubing as spacers before in our robot designs and it works great even after years of use.

Once the two plates were secured we cut a strip of plastic to seal the gap. We thought using the side to access the components would be a unique and useful design. Normally, we prefer to have most of the electronics exposed but dingbot has a clean and elegant design. We recommend testing your layout of a sheet of paper first before cutting the holes in the plastic.

After a few trial and error we managed to secure the plastic strip. The first one broke so the second time we heated it with a blow dry to make it more flexible.

Down the center of the robots is a wooden dowel which will server as the spine for the robots.  The legs and arms will both be anchor to the spine.

Here is a bottom view showing the spine.

We are not 100 percent happy with how the plastic strip pops out but we will try applying low heat again and try and mold it into shape.

Although you cannot see them, the design fits a RaspberryPi Nano, two motors, h-bridges, tons of wiring and a battery neatly.

Next step is to design the legs! We are leaning towards a toy robot inspired design.

Happy creating!

Number Ten Gets A Screen

We have started upgrading all our robot to run the new RobotFreedom.AI framework. For Number Ten, the main missing piece was a screen. Some of our early designs were not built with a screen in mind and adapting the design has taken a few iterations.

Please note, this material is provided for informational purposes only and is not a guide on how to create the designs. Please take a look at our disclaimer.

Here is a list of some materials and components used:

Number Ten was a tricky design to fit a screen on and keep to its original design. After many attempts we settled on using a L-Bracket placed at the front the body to mount the screen.

Now we reassembled the legs onto the body. Number Ten was one of several experiments the Hip Monster’s sister team built to come up with the most unusual way to move a robot. The robot moves forward, left and right by sliding one foot forward. On the bottom of each foot is edge shaped gripers that provide traction when pushed against but slide when pushed forward.

The screen is light enough to only need a few attachments to hold it in place. For added support we used a wire at the top of the screen to keep it secure while moving. Number Ten has never fallen forward so we need less protection for the electronics and screens than some of out other designs.

Our we assemble the various components Number Ten will need. We recommend using a usb hub  for the wireless keyboard dongle. If you have several robots you will want to reuse the keyboard and will need quick access to the dongle. Typically, once we settle on a final layout for the RaspberryPi it is in a secure but difficult to each place making removing the dongle difficult. For people with less than perfect eye sight we recommend using a magnifying glass and bright lights when connection the GPIO pin to the RaspberryPi.

YouTube player

And here is a quick video of Number Ten display screen working. It is a light weight version of our main display better suited for older RaspberryPis.

YouTube player

Happy creating!

Number Nine is Rewired

We are learning weight is everything when it comes to good performance from our robots. One of our best jumpers, Number Nine, used splicing connectors that had very useful push handles but were way too heavy for continued use.

Please note, this material is provided for informational purposes only and is not a guide on how to create the designs. Please take a look at our disclaimer.

The old connectors were perfect when we were prototyping designs, but once we settled on a wiring diagram it was time to move on to the much lighter push-in designs. The video below is a sped up video of one of the Hip Monster’s sister team (age 13) rewiring Number Nine with the new connector:

YouTube player

And now for testing! Here is a video of Number Nine is back in action and ready for more upgrades:

YouTube player

Happy creating!

Gunnerkrigg Court S13

When people visit our workshop, the first thing they would see is a big box of parts labeled S13. The HipMonsters sister team use that box for all the leftover pieces when we upgrade our robots (mostly parts from Number Two and Number Three).

The idea for the box came from the online graphic novel series Gunnerkrigg Court, which is one of our all-time favorite works of fiction. This is the mysterious S13 box in Gunnerkrigg Court waiting to be assembled.

This is the one page that sent the Hip Monster’s team on a four year journey to build a robot that could carry on a conversation.

During the Covid pandemic, being able to build your own robot to play with was very appealing to the Hip Monster’s sister team. Gunnerkrigg Court and Girl Genius Online made building robots seem easy. Years later, the whole team now knows that building robots is fun, but also hard and tedious. Our robots can now talk and move on their own, but are still not as good as S13. Given we lack etheric powers (what the supernatural force is called in Gunnerkrigg court) we think we did fairly well.

It was raining over the weekend and we are tired of working on real robots (some of which now talk back at us) so decide to rebuild our first non-work robot from the scraps.

Above is our real-life replication of the assembly of S13. Here in the top left photo we have laid out all of the pieces we found in the box. In the top right photo we are assembling the legs.

The rebranded S13 almost complete.

Gunnerkrigg Count was probably the work of fiction that was the most influential in our decision to build robots. During the pandemic, the adventurous spirit of the two central characters (Annie and Kat) challenged us to push ourselves.

Our emotional AI which controls all our robots is loosely based on S13’s conversation with another robot later in the series about having an ocean of feelings to swim in. When we designed the AI we made sure that at a high level, the code held true to the ocean analogy. Our robots swim in emotions, stimuli, and personality. There is an algorithm that runs deep in the code that lets the robot adjust its behavior given what it experiences.

Here is our very much over used copy of the first volume of Gunnerkrigg Court. We are saving up to buy new hardcover additions.

we hope you find your inspiration.

Fully Autonomous Robots

This video is the first time we were able to record two of our robots talking autonomously. While we were building them, they talked to each other all the time, but capturing on film proved harder than we thought. In this video, both robots are listening to what the other robot says and responding with replies generated by a chat bot based on what they hear.  


The robots are completely offline and only use open-source software. They are powered by a RaspberryPi and have a local LangChain chat bot (TinyLlama LLM). They use Vosk for speech recognition and Piper to synthesize speech. Vosk does a fairly good job converting the Piper voice (it did not recognize anything spoken using eSpeech). Piper works well most of the time but can miss a few words and freeze up unexpectedly. The pause mid-video is due to one of the robots briefly not being able to speak due to a buffer overflow issue. 


We also have distinct personalities and LLM prompts for all our robots, although in this clip they are hard to distinguish. The only thing noticeable is how  one robot moves its arms much more than the other. 

We have four modes:

  • Puppet: a human controls the robot in real-time
  • Scripted: The robot follows a script with minimal autonomous actions
  • Autonomous: The robot responds to outside stimuli on its won
  • Blended AI: the robot has a script but improvises what it says and how it moves.

Moving forward we will have two types of videos, scripted mode and fully autonomous. The puppet mode will use a human created script to control the robots. The fully autonomous films will be the robots talking on their own “off camera”.  

YouTube player

We are working on releasing the code based used in this video, but it is a bit too rough at this stage. 

Happy creating! 

Maker Faire Bay Area Robot’s View

Thanks to everyone who helped this year’s Maker Faire Bay Area be so special! We are looking forward to seeing everyone next year and are already improving our show. Below is a photo our booth before the event started. It is hard to believe over one thousand people visited us over the course three days!  

Maker Faire Bay Area

Want to see how our autonomous robots experienced Maker Faire Bay Area? Check out the video below, generated based on the stimuli, emotions, and actions of HipMonsters’ two robots over the course of three days at the Maker Faire.

The robots recorded the following sensory data:

💙 Noise: A sudden, loud noise. Represented by the color Blue.

💚 Distance: Motion within 1 foot. Represented by the color Green.

🧡 Movement: Motion within 6 feet. Represented by the color Orange.

💛 Speech: The spoken word “robotics”. Represented by the color Gold.

💗 Touch: Contact on the touch sensor. Represented by the color Pink.

🤖 Frequency of Stimuli: How often or rarely the robots received stimuli. Captured by the Movement of the cube.

🔉 Mood: Happy or overstimulated. Reflected in the choice of Sound.

Turn up the volume of the video! It’s not music you’re hearing, but the robots’ moods given the stimuli.

Since we engaged the Touch sensor at the end of each demo, this means we ran 420 complete demos over 3 days. Our robots have been well socialized!

YouTube player

Happy Creating!

Bell Hopper – Contraption Delta

For our upcoming Maker Faire presentation we wanted to make robotics more approachable. One barrier to robotics is, by its very nature, it lacks a human element. To bridge this robot-human divide, the bell hopper design requires two humans working together to power and control it. This only one goal, ring the bell.

Please note, this material is provided for informational purposes only and is not a guide on how to create the designs. Please take a look at our disclaimer.

Steampunk robot

The bell hopper ended up very similar to the first drawing of the concept, which is rare for us.  For the base board we used one of our small robot rig platforms. We use it to create supports for testing robot movements. It ended up looking so good we kept it for the final design. We always wanted ringing a bell to be the goal of the contraption, but originally did not think of using it as the head. Once we saw the bell with the body we changed the design to have it as the head because they fit so well together.

Steampunk robot

Here is a top view with the bell attached. The head’s weight caused a few engineering issues for us. The body was made of super light aluminum and the bell was heavy brass. To solve this we create a swinging counter balance inspired by the counter balance in Taipei 101.

air switch

For the switch to redirect the air we used a standard manual pneumatic lever. It is the same one we use for testing our robots.

Bike air pump

The power supply is a bicycle air pump painted bronze to look more steampunk.

Steampunk robot
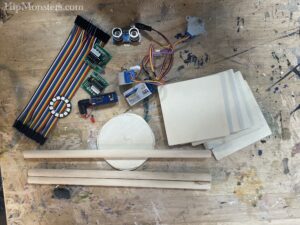
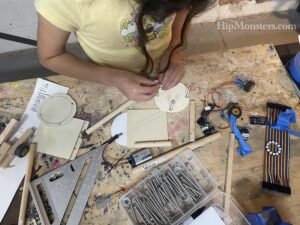
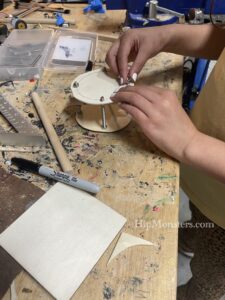
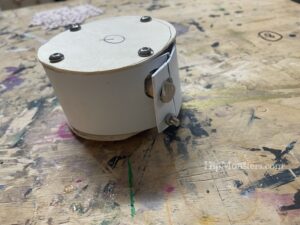
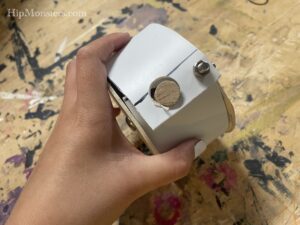
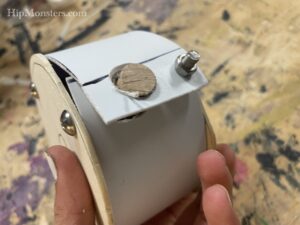
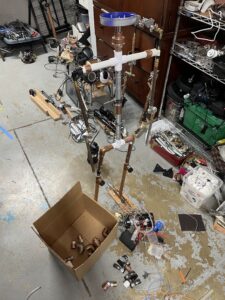
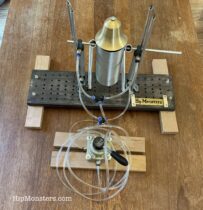
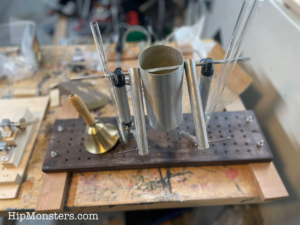
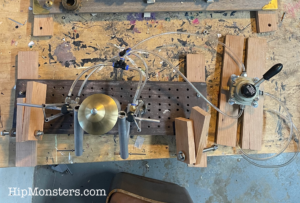
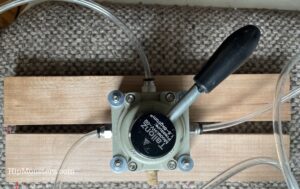
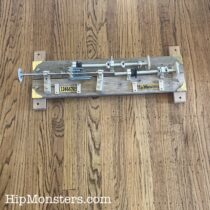
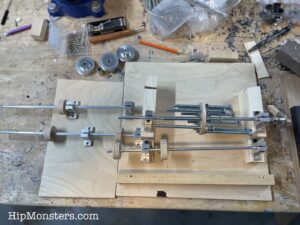
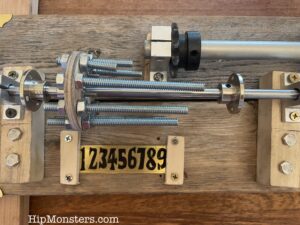
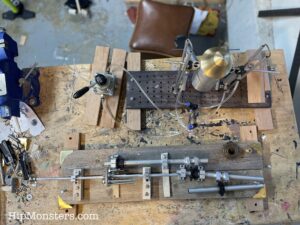
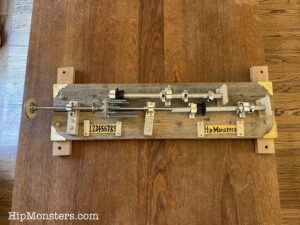
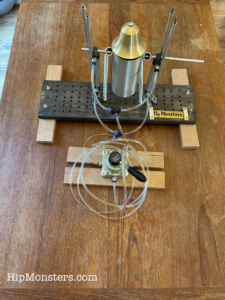
Here is the final design of the bell hopper.

It take two people working together to get the bells to ring. Cooperation is key! Come see it and more at this year’s Bay Area Maker Faire.

Happy Creating!


Leibniz Calculator- Contraption Gamma

For the upcoming Maker Faire the Hip Monster’s sisters team wanted a challenge. Something that required precision and also aligned well with our theme of education and steampunk artistry. What they choose to do was a true mechanical mind, a computer built with gears, the Leibniz Calculator.

Please note, this material is provided for informational purposes only and is not a guide on how to create the designs. Please take a look at our disclaimer.

DIY Leibniz Calculator

This proved to be our hardest project to date. While videos online had it look simple the precision proved difficult. We first designed a rig composed of separate segments of wood so we could explore different layouts for the gears and rods quickly. Arguable the most critical part, the step drum (the wheel like gear) was completed by the sister team in a few hours which gave us false hope the whole project would be easy.

DIY Leibniz calculator

The step drum shown above is in the center of the device. It was made from a circular piece of wood with nine evenly spaced holes along its edge. In each hole we put screws of different lengths that could be adjusted with bolts to “tune” the device on the fly. At first, we thought this would be a temporary solution but in the end we did not modify it. The device proved to be finicky and our step drum’s ability to be tuned was essential to get it to work.

DIY Leibniz Calculator

Over months of trial and error and rewatching youtube videos endlessly we finally had the Ah-Ha! moment. The rig stayed in the exact same position on our workbench as a parade of other projects were started then finished as it rested, in complete. Then everything just clicked, one sister released that we were thinking two dimensional when the problem was in the third dimension. The the other sister fixed the rig and then the Leibniz Calculator worked like a charm.

DIY Leibniz Calculator

Here is the final design with some added steampunk flourishes. See it in person at this year Bay Area Maker’s Faire. This project only succeed by everyone working together, listening to everyone’s ideas and refusing to get frustrated. In the end it feel more like a piece of art than calculator.

The above video shows the user adding. You use the Leibniz Calculator by first positioning the step drum to the value you want to add, subtract or multiply. Then you rotate the drum. As it spins it engages the counting gear which keeps track of the current value of the computation. The key is, since the step drums spokes are of different lengths when the drum is rotated the counting gear only is turned based on the length of the spokes. You add by rotating the drum clockwise, subtract by counter clockwise and multiply by doing a full rotating the number of time you want to multiply a value by.  For example, if you want to multiply 5 by 4 you set the step drum to 5 and rotate it 4 times.

DIY Leibniz calculator

Above you see the tens dial to the left, showing 2 which is twenty (5X4).


Happy Creating!