We wanted to give people a scare on Halloween and was inspired by a visit to Rosicrucian Egyptian Museum so we set out to make our own mummy, George the mummy (he got too curious).
Please note, this material is provided for informational purposes only and is not a guide on how to create the designs. Please read our disclaimer.
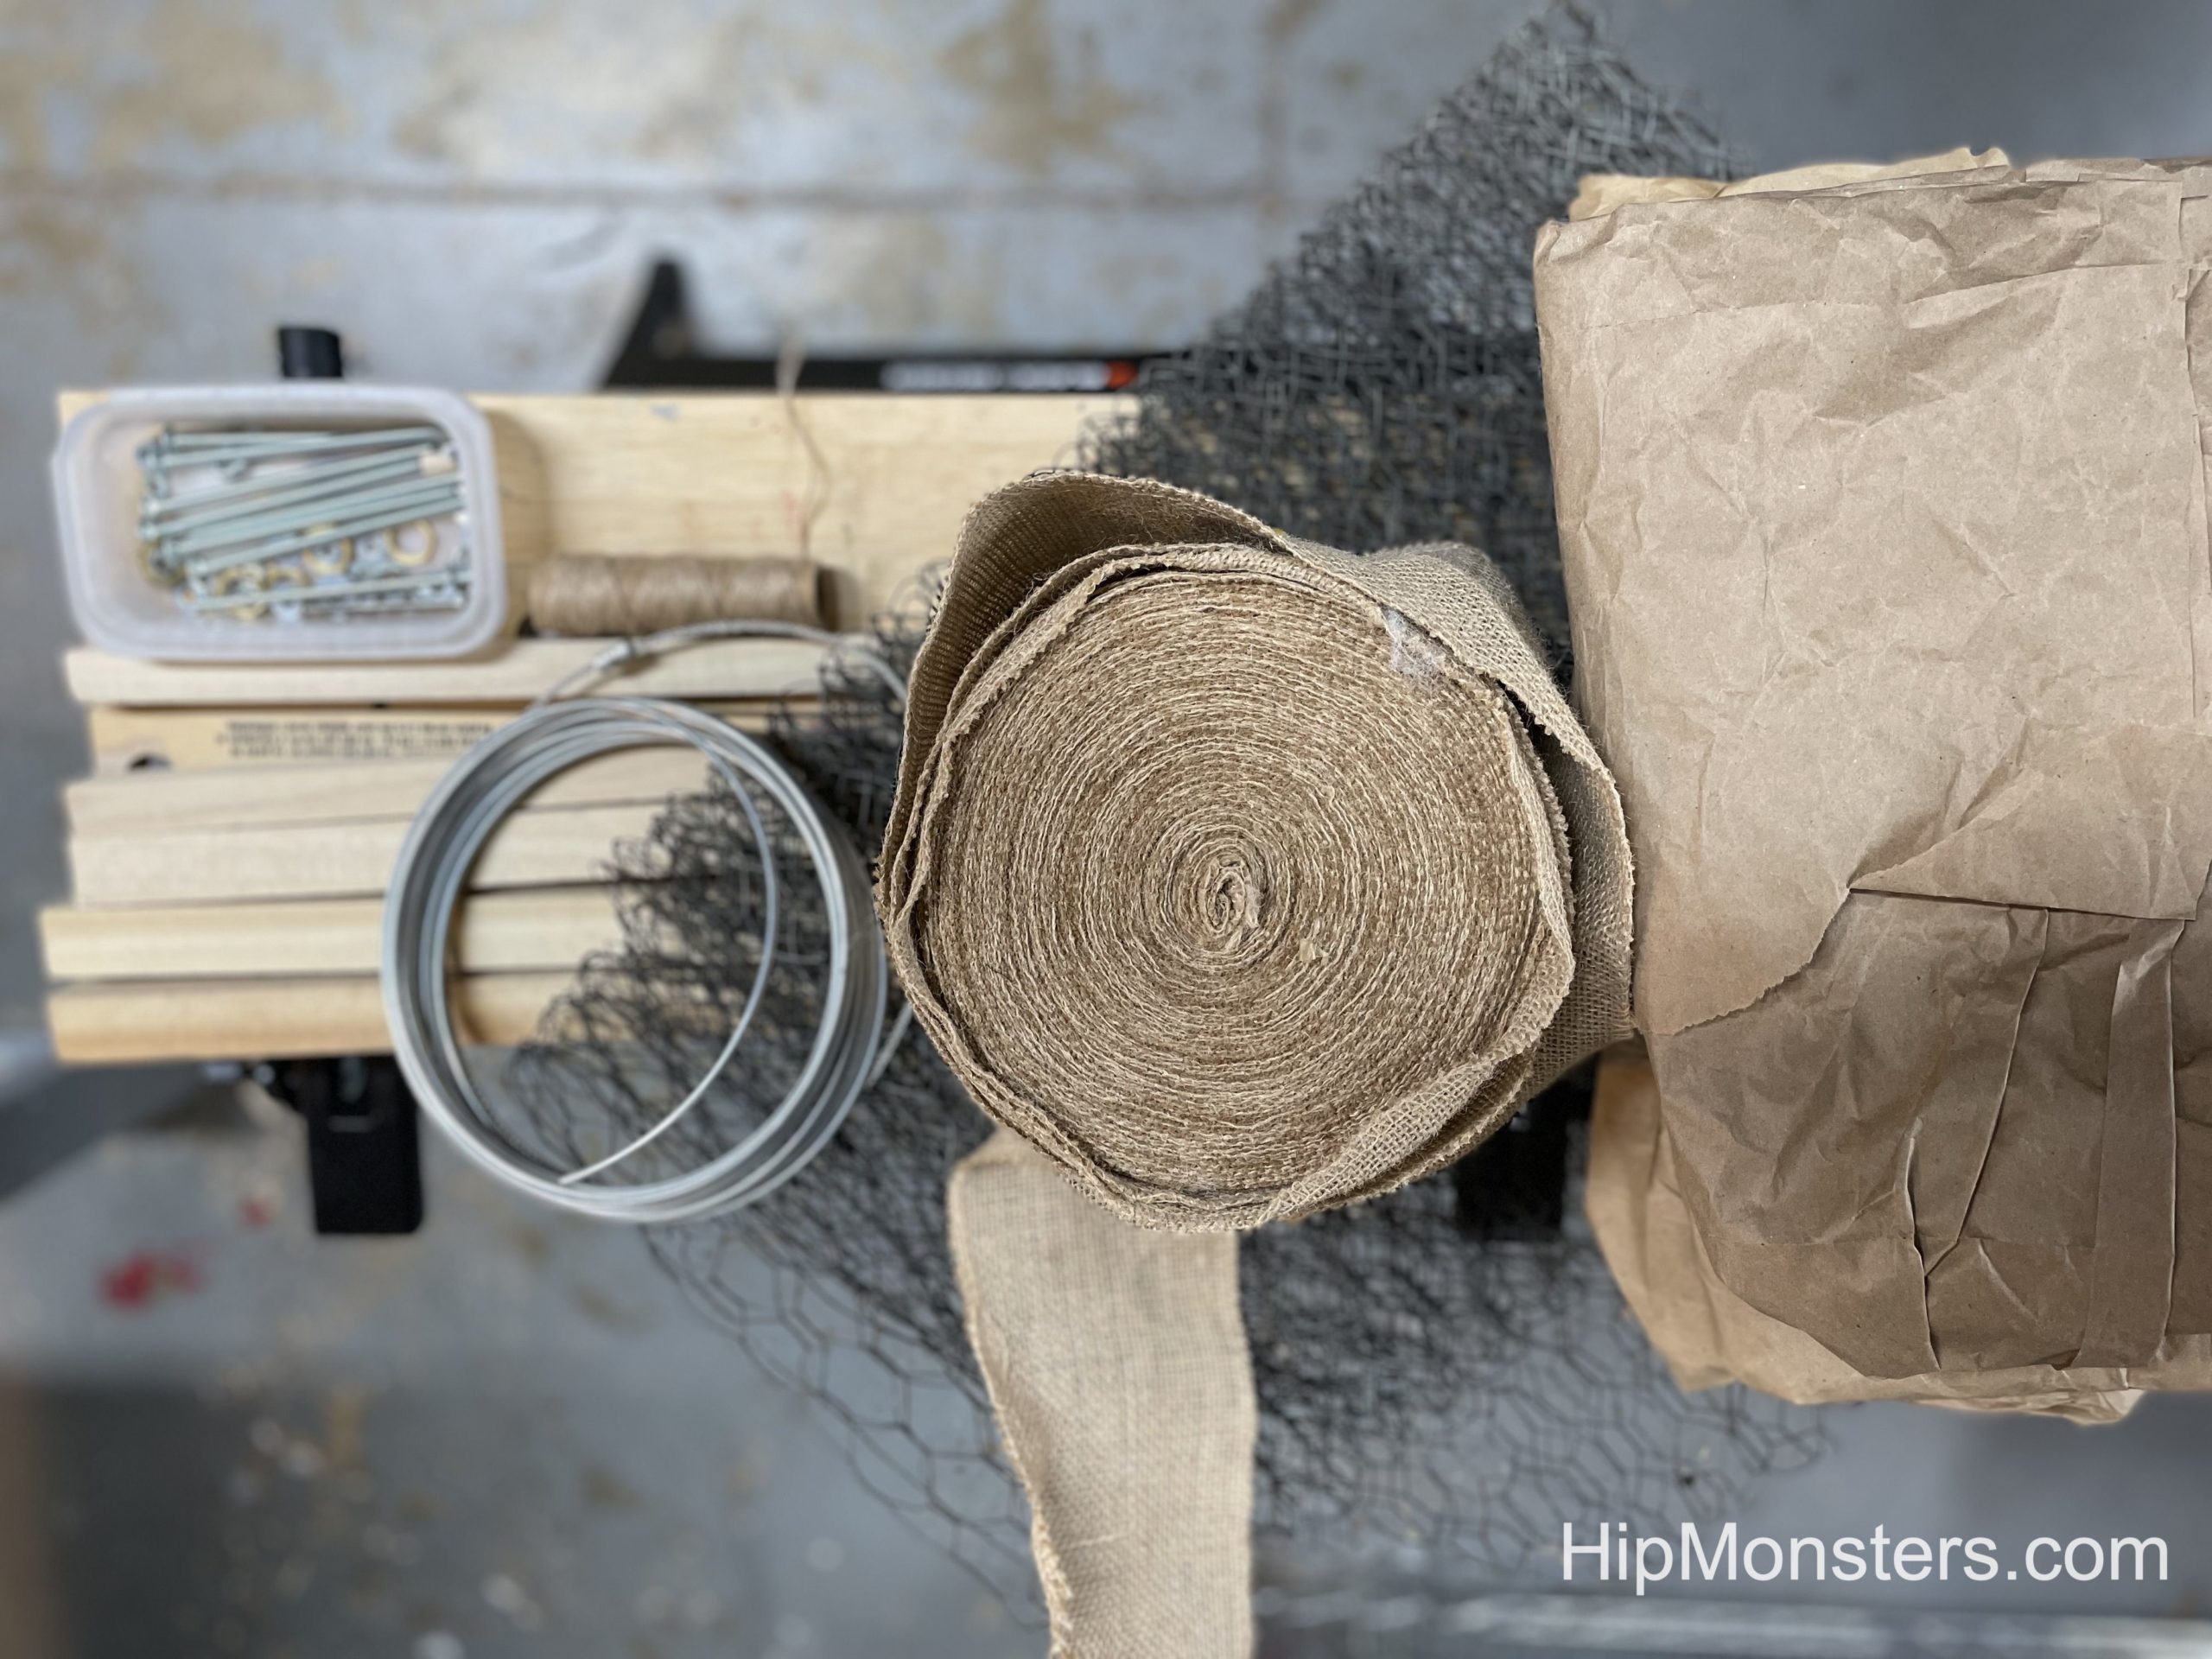
For the mummy, we used:
- A roll of burlap fabric
- Lots of brown shipping paper
- Chicken wire
- Aluminum fence wire
- 5 1/4×1/4X 5 Wood
- Twine
- Nuts and bolts
We needed it to be pretty light so we didn’t use a lot of wood and padded the skeleton with lots of shipping paper. We had been storing the shipping paper for years and had bags of it in a closet for a project just like this. It is perfect because it looks like old dried skin!
We wanted George to be flexible so we could place him throughout the house and even take him on car trips.
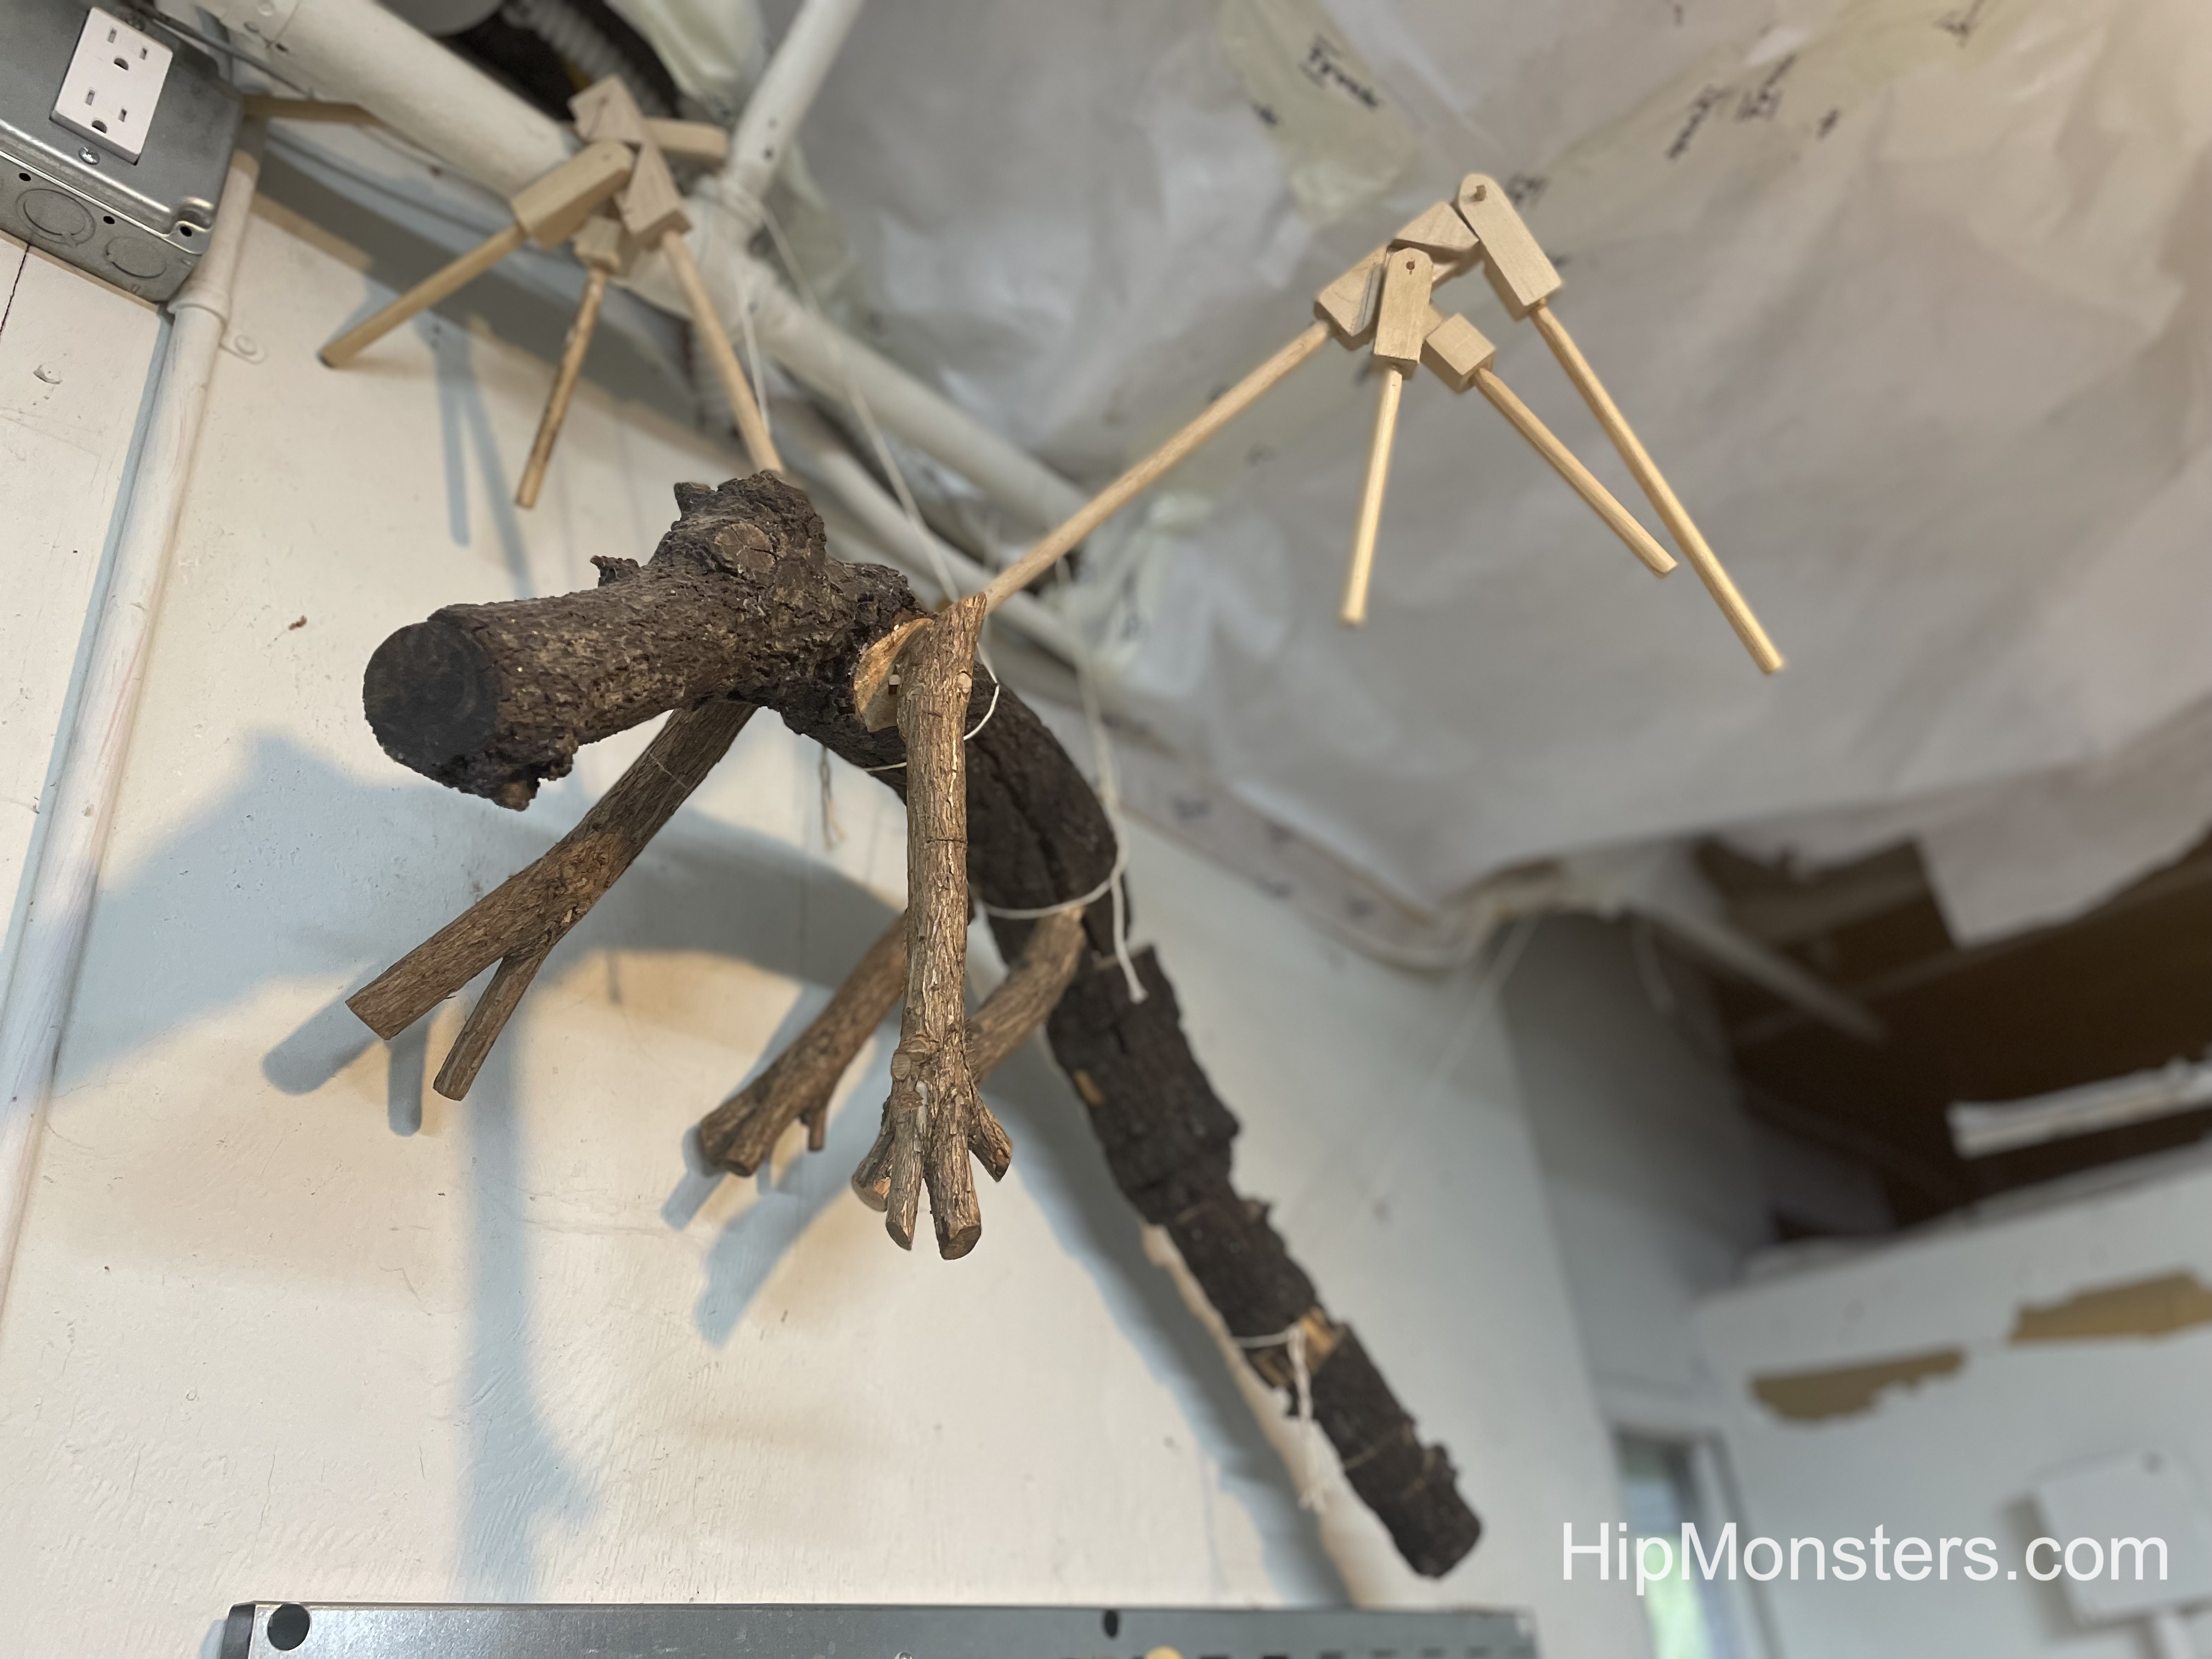
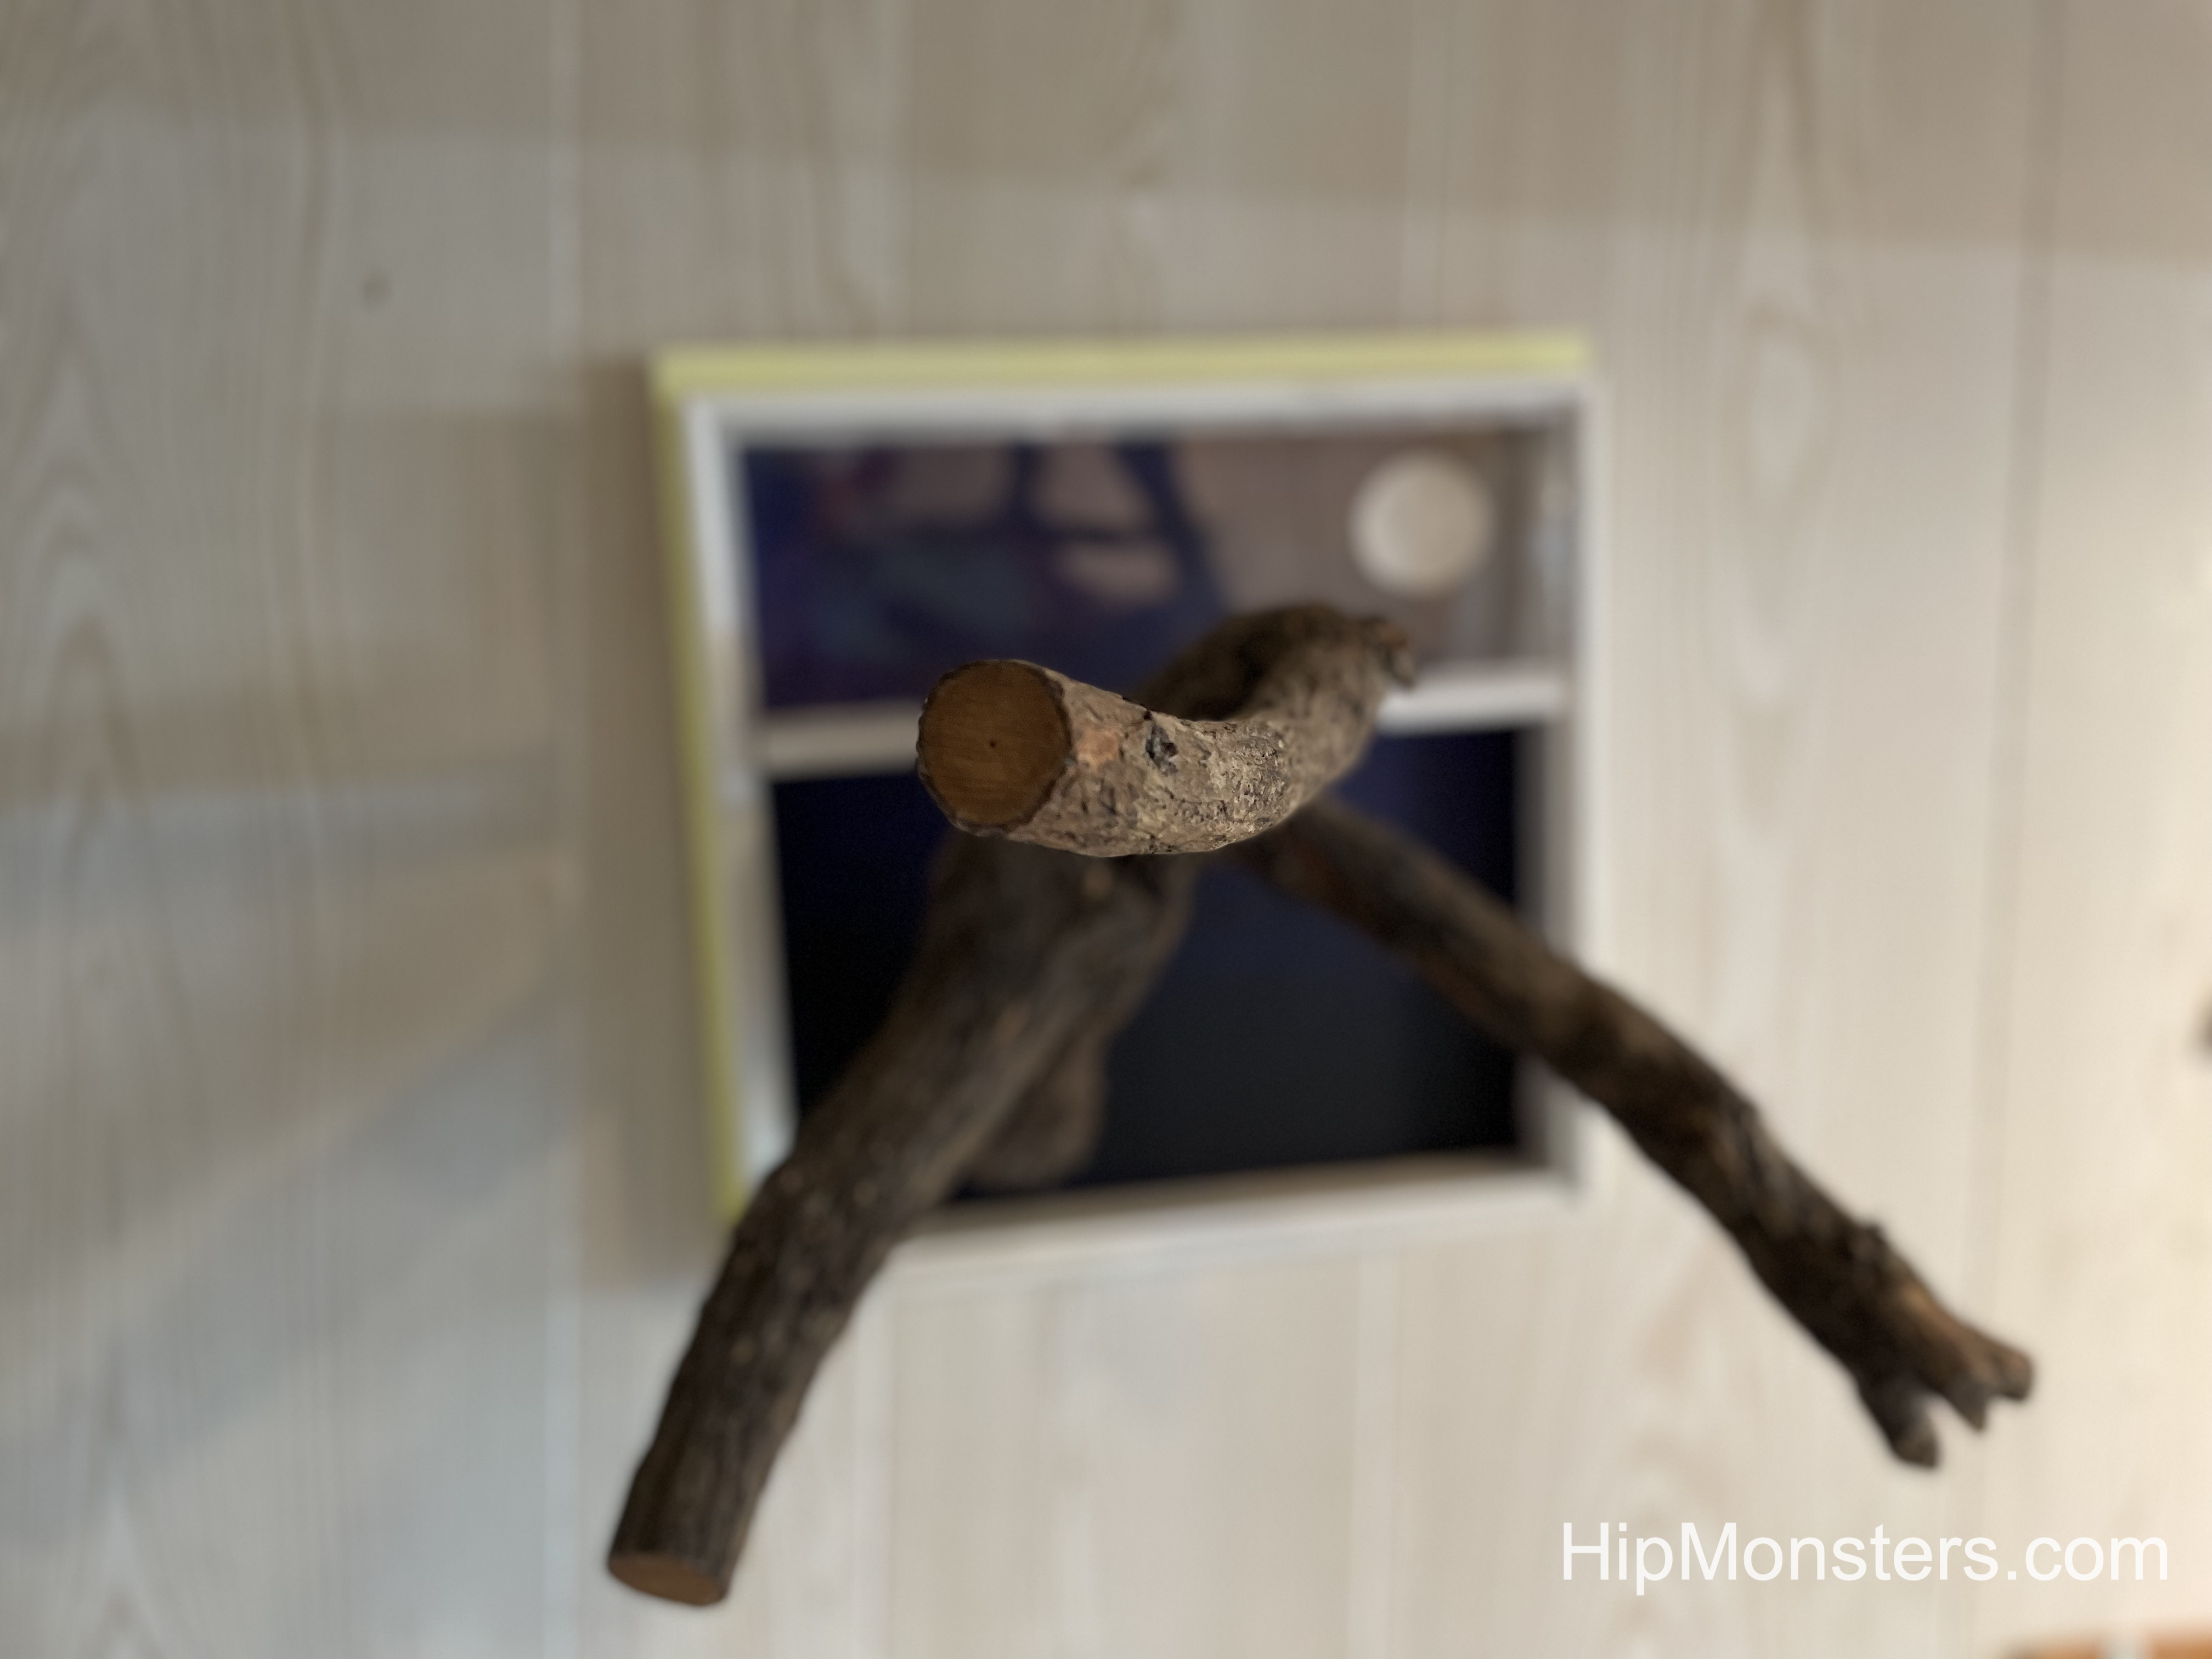
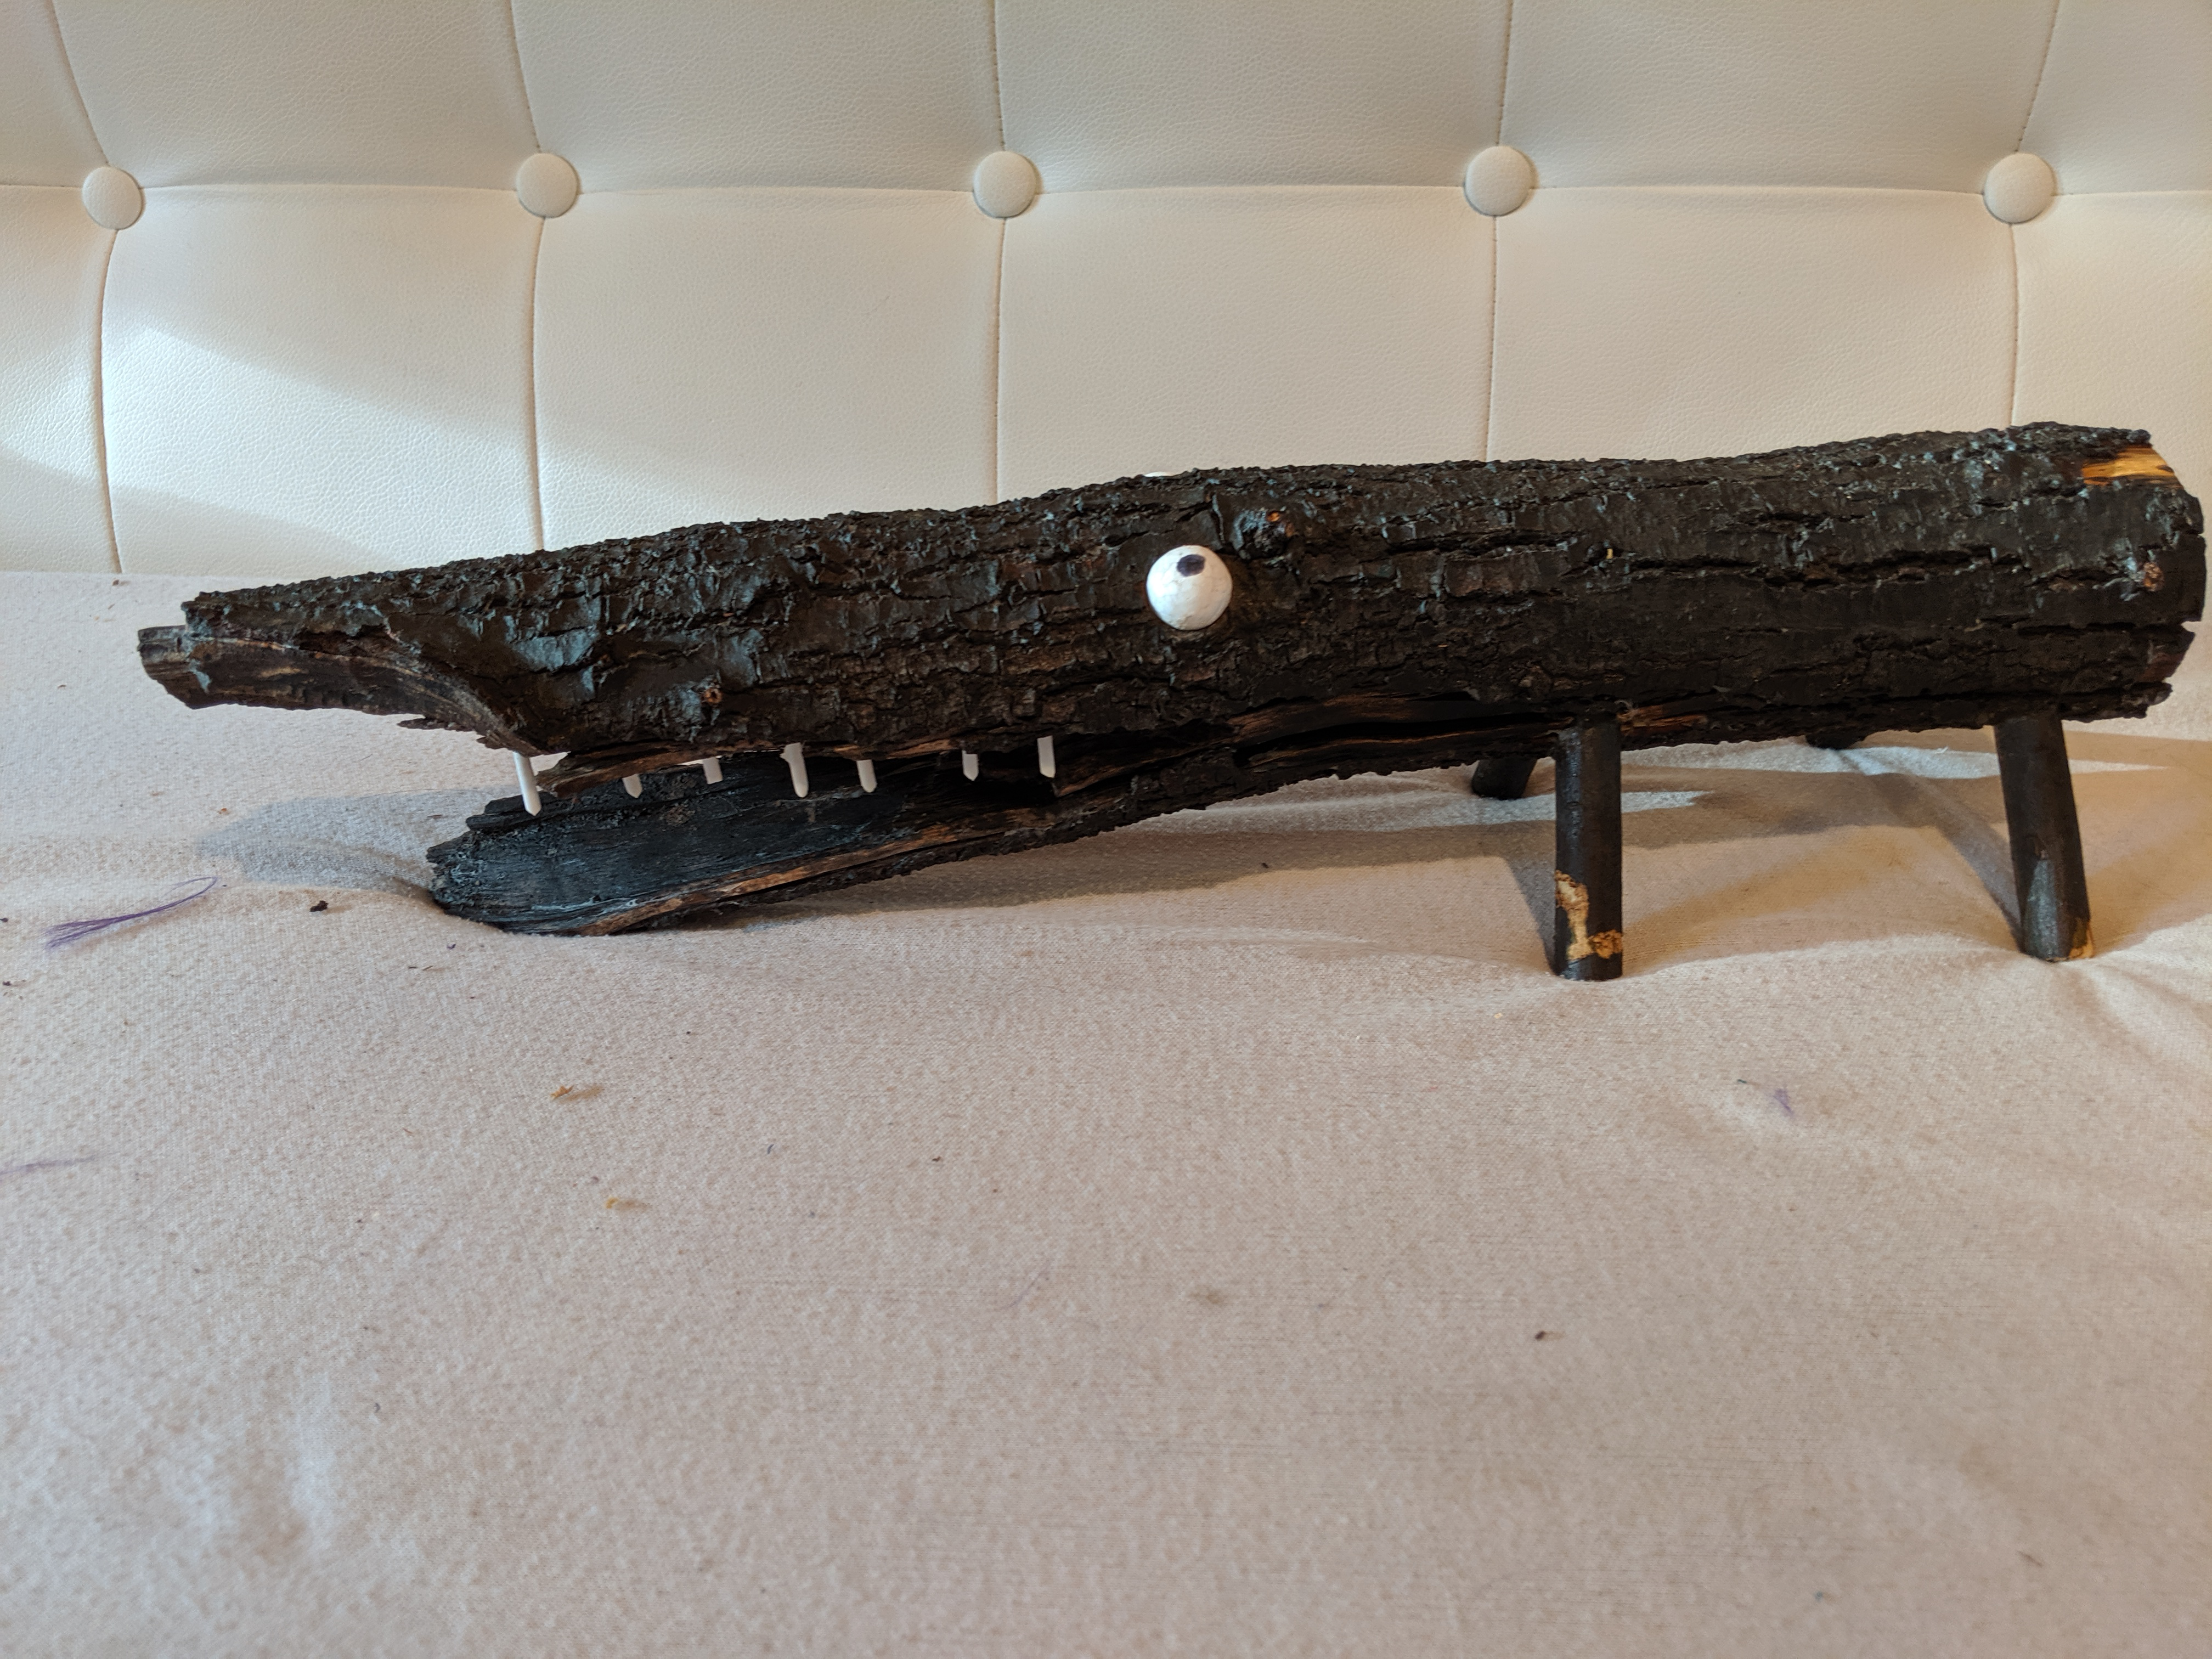
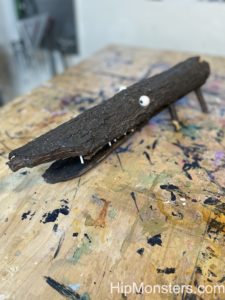
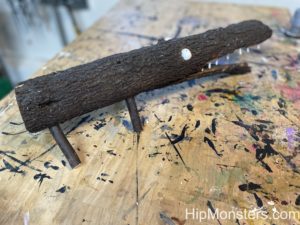
This is one of the joints that we made. George is fully articulate but not powered like our robots.
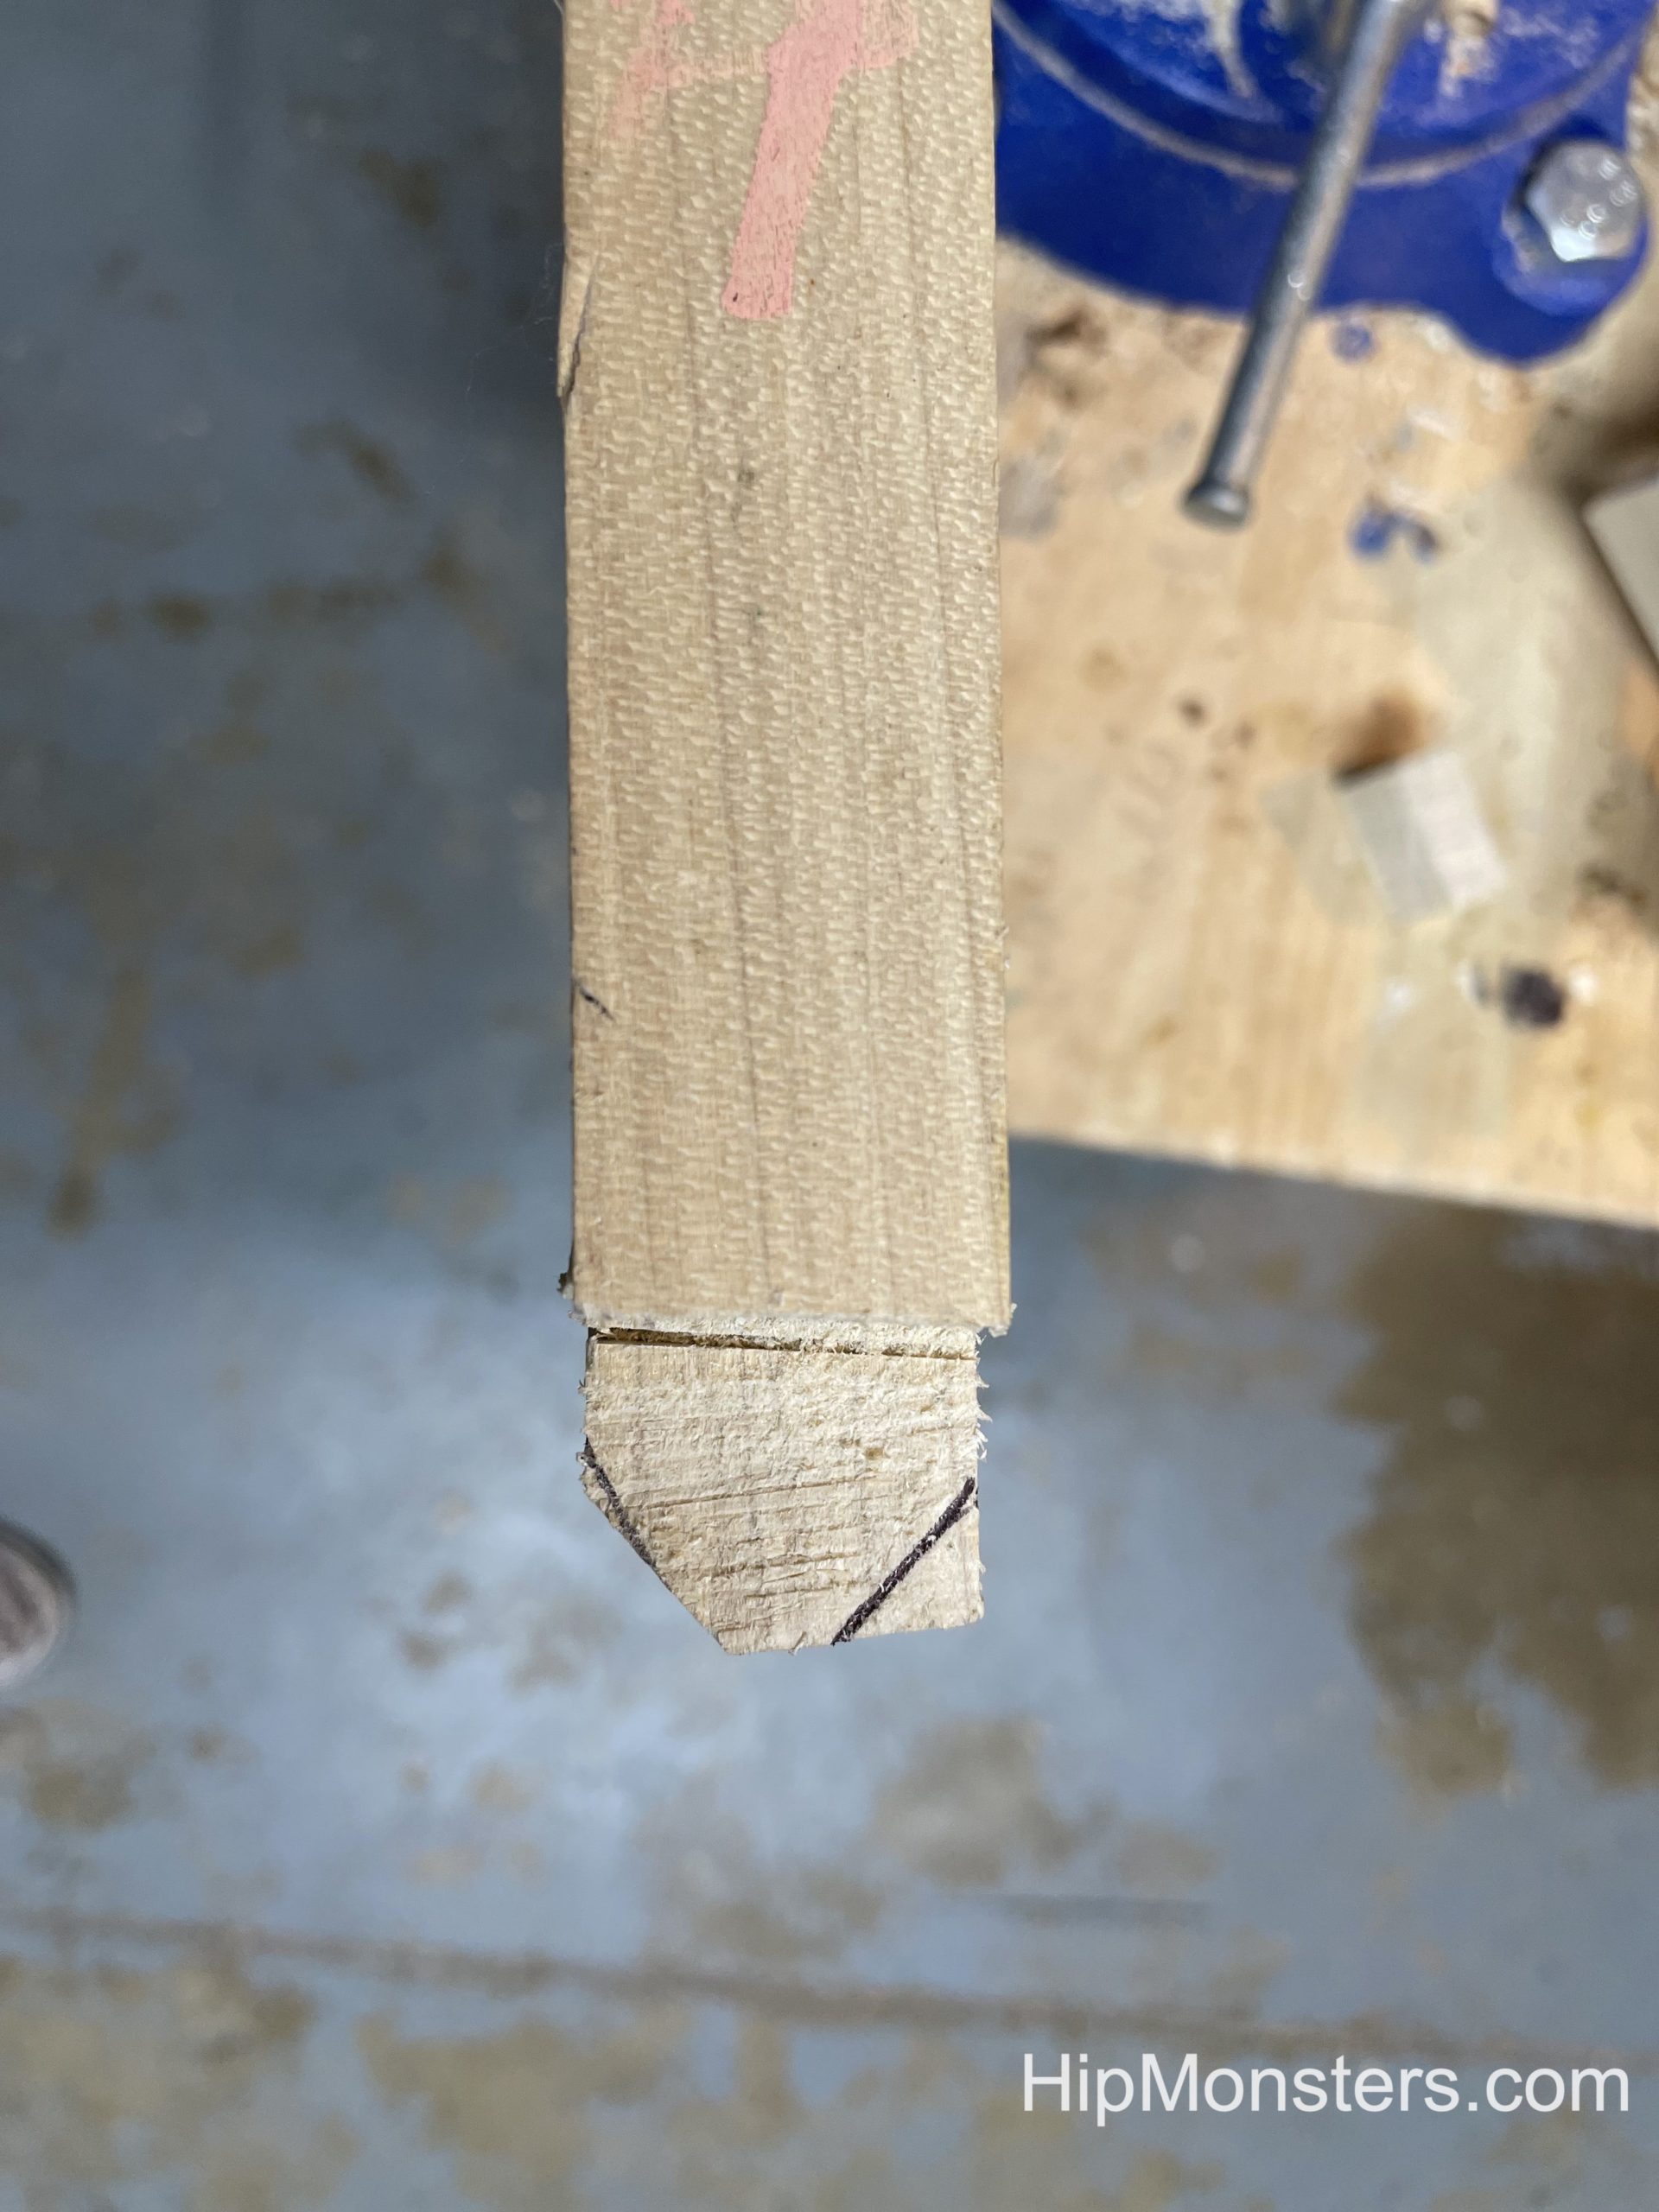
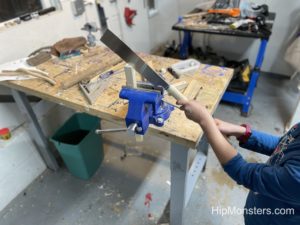
We cut small pieces of the wood off to make it more rounded then sanded the edges to get a clean joint. Since these joints would not be seen we used only rough grade sandpaper.

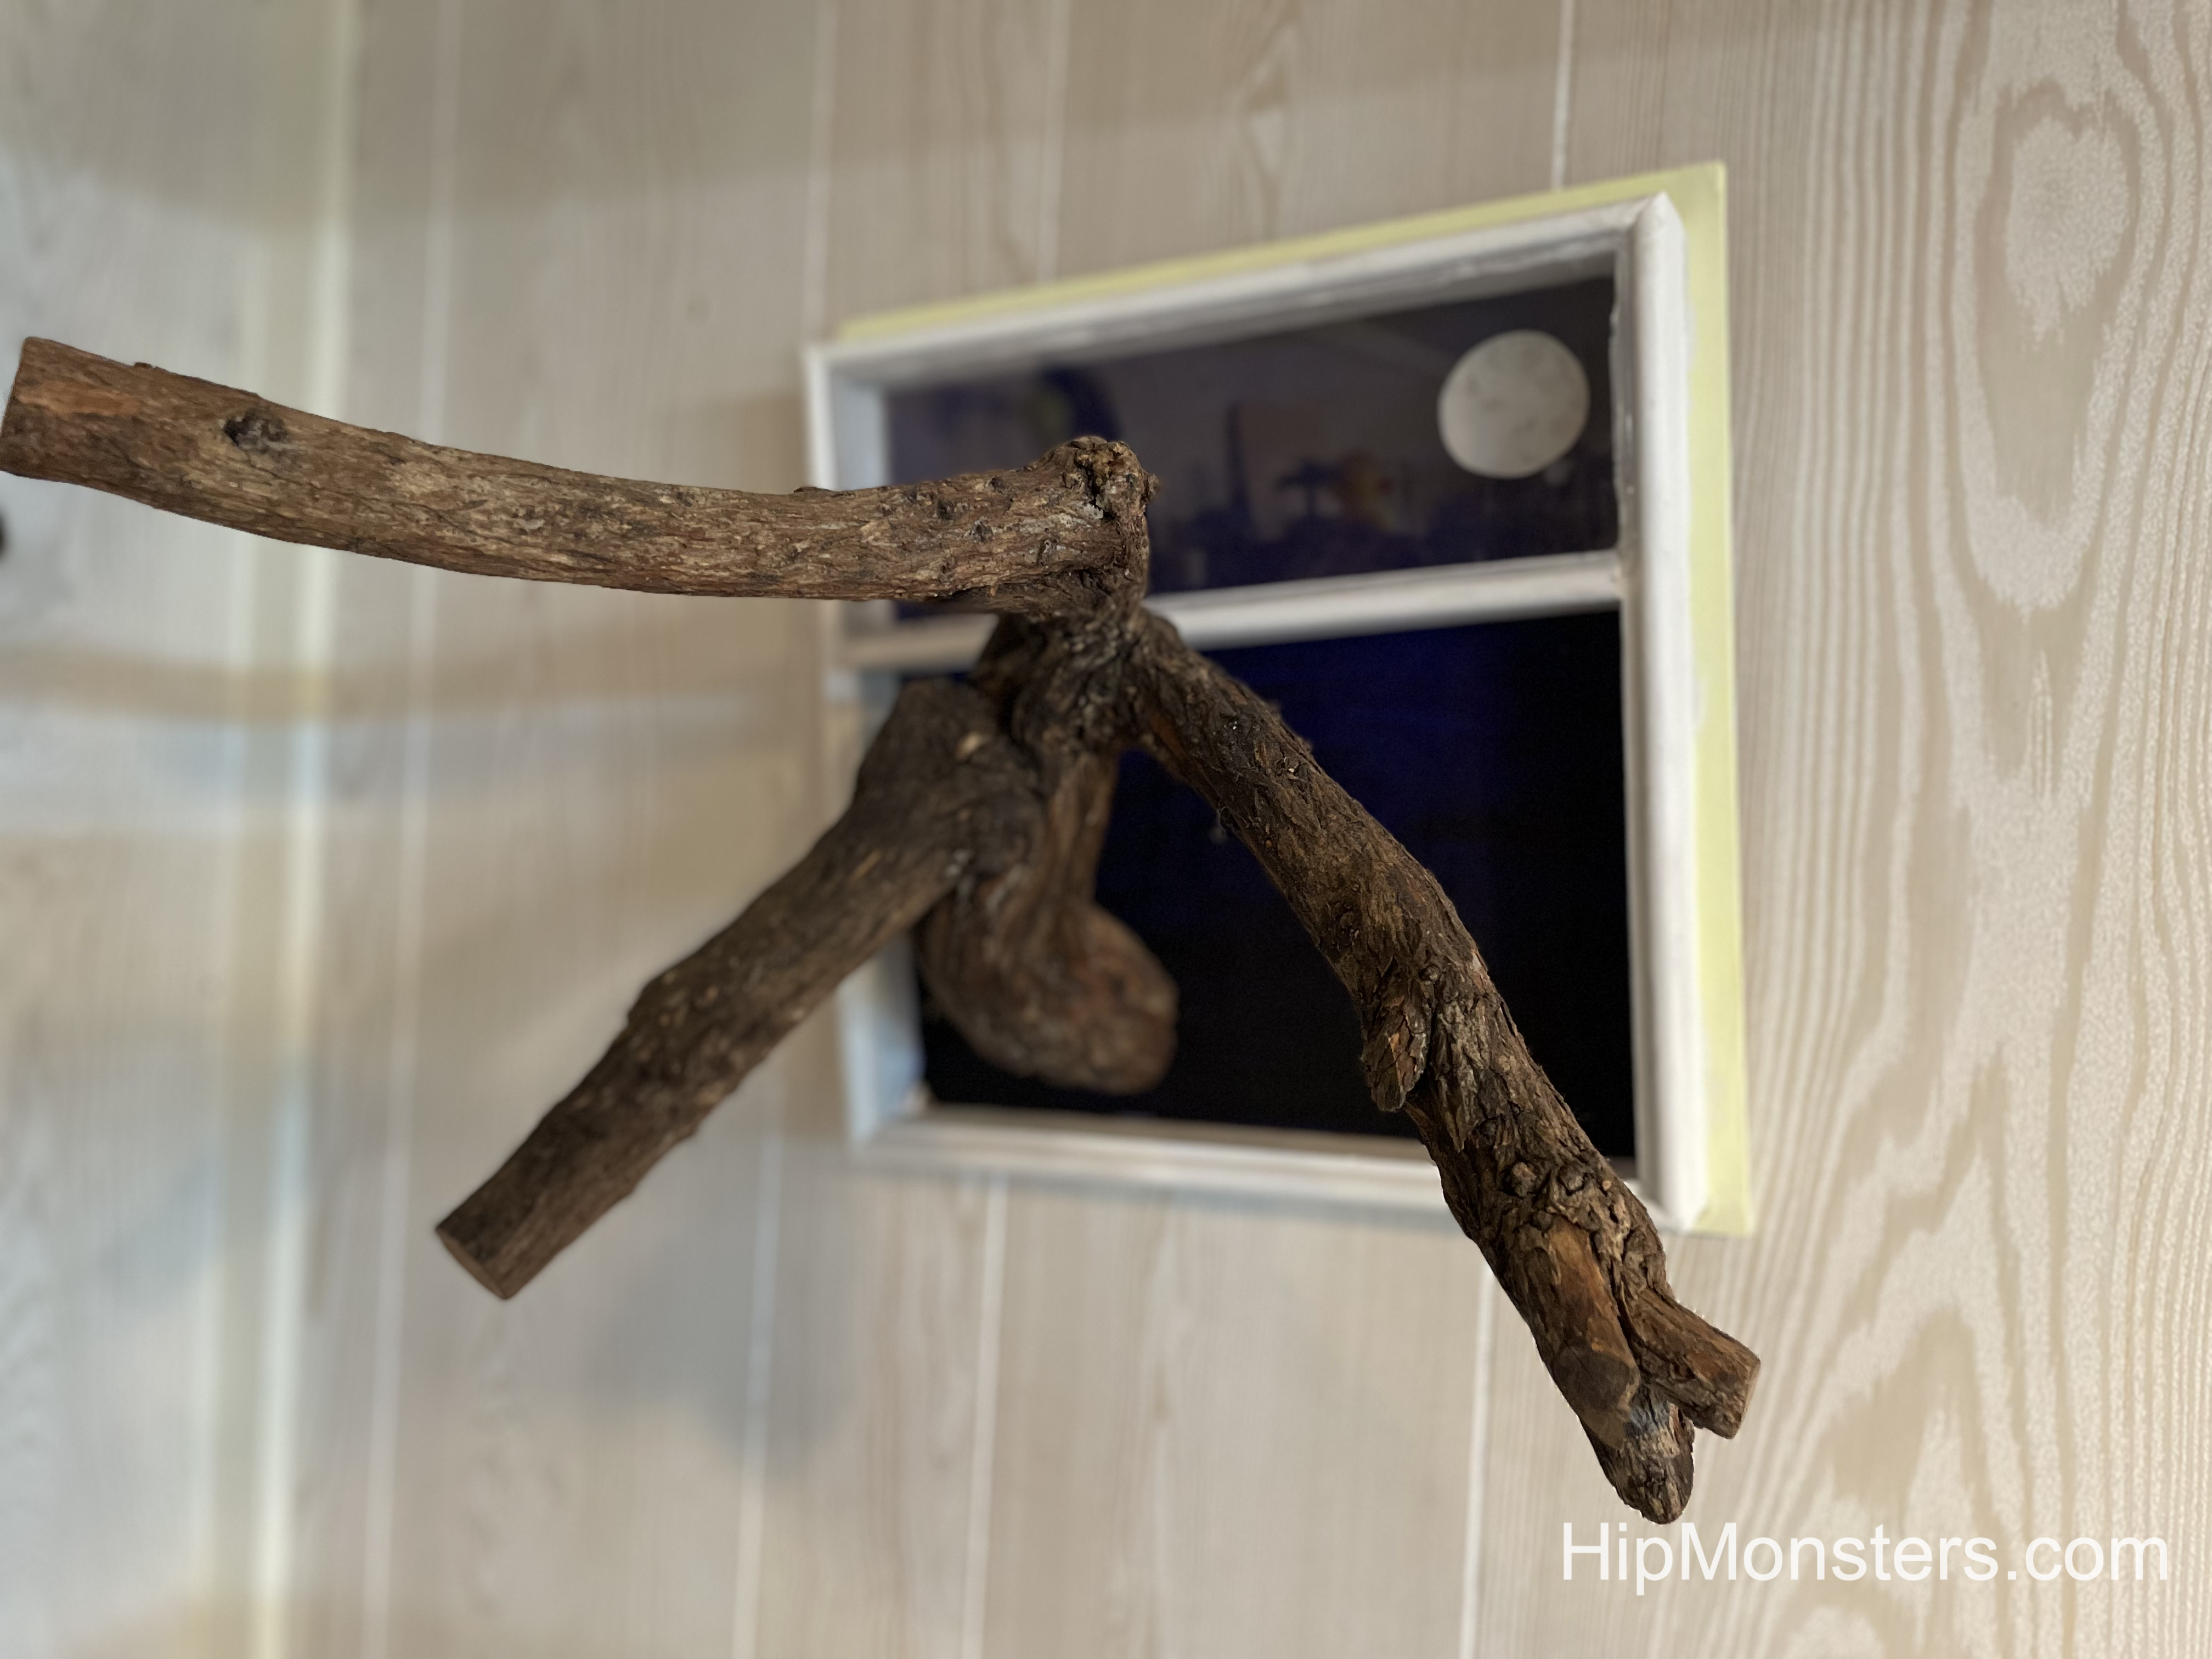
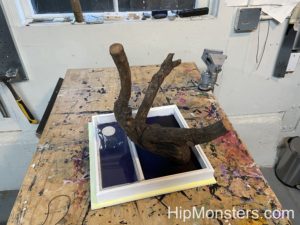
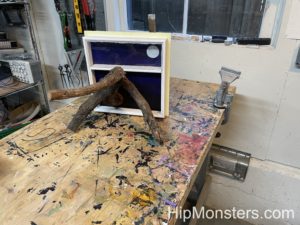
We drilled holes in the joints so that we could put them together. To drill the holes we clamped the two pieces together to assure the holes would align.
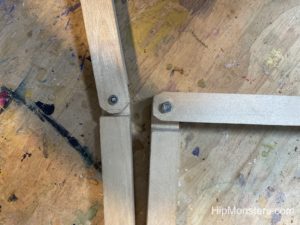
We used a rubber washer between the two pieces so George the Mummy would not be too wobbly. After screwing the bolts down we crimped end to make sure they would not come undone after George was finished.
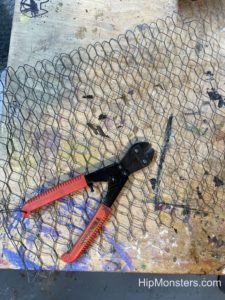
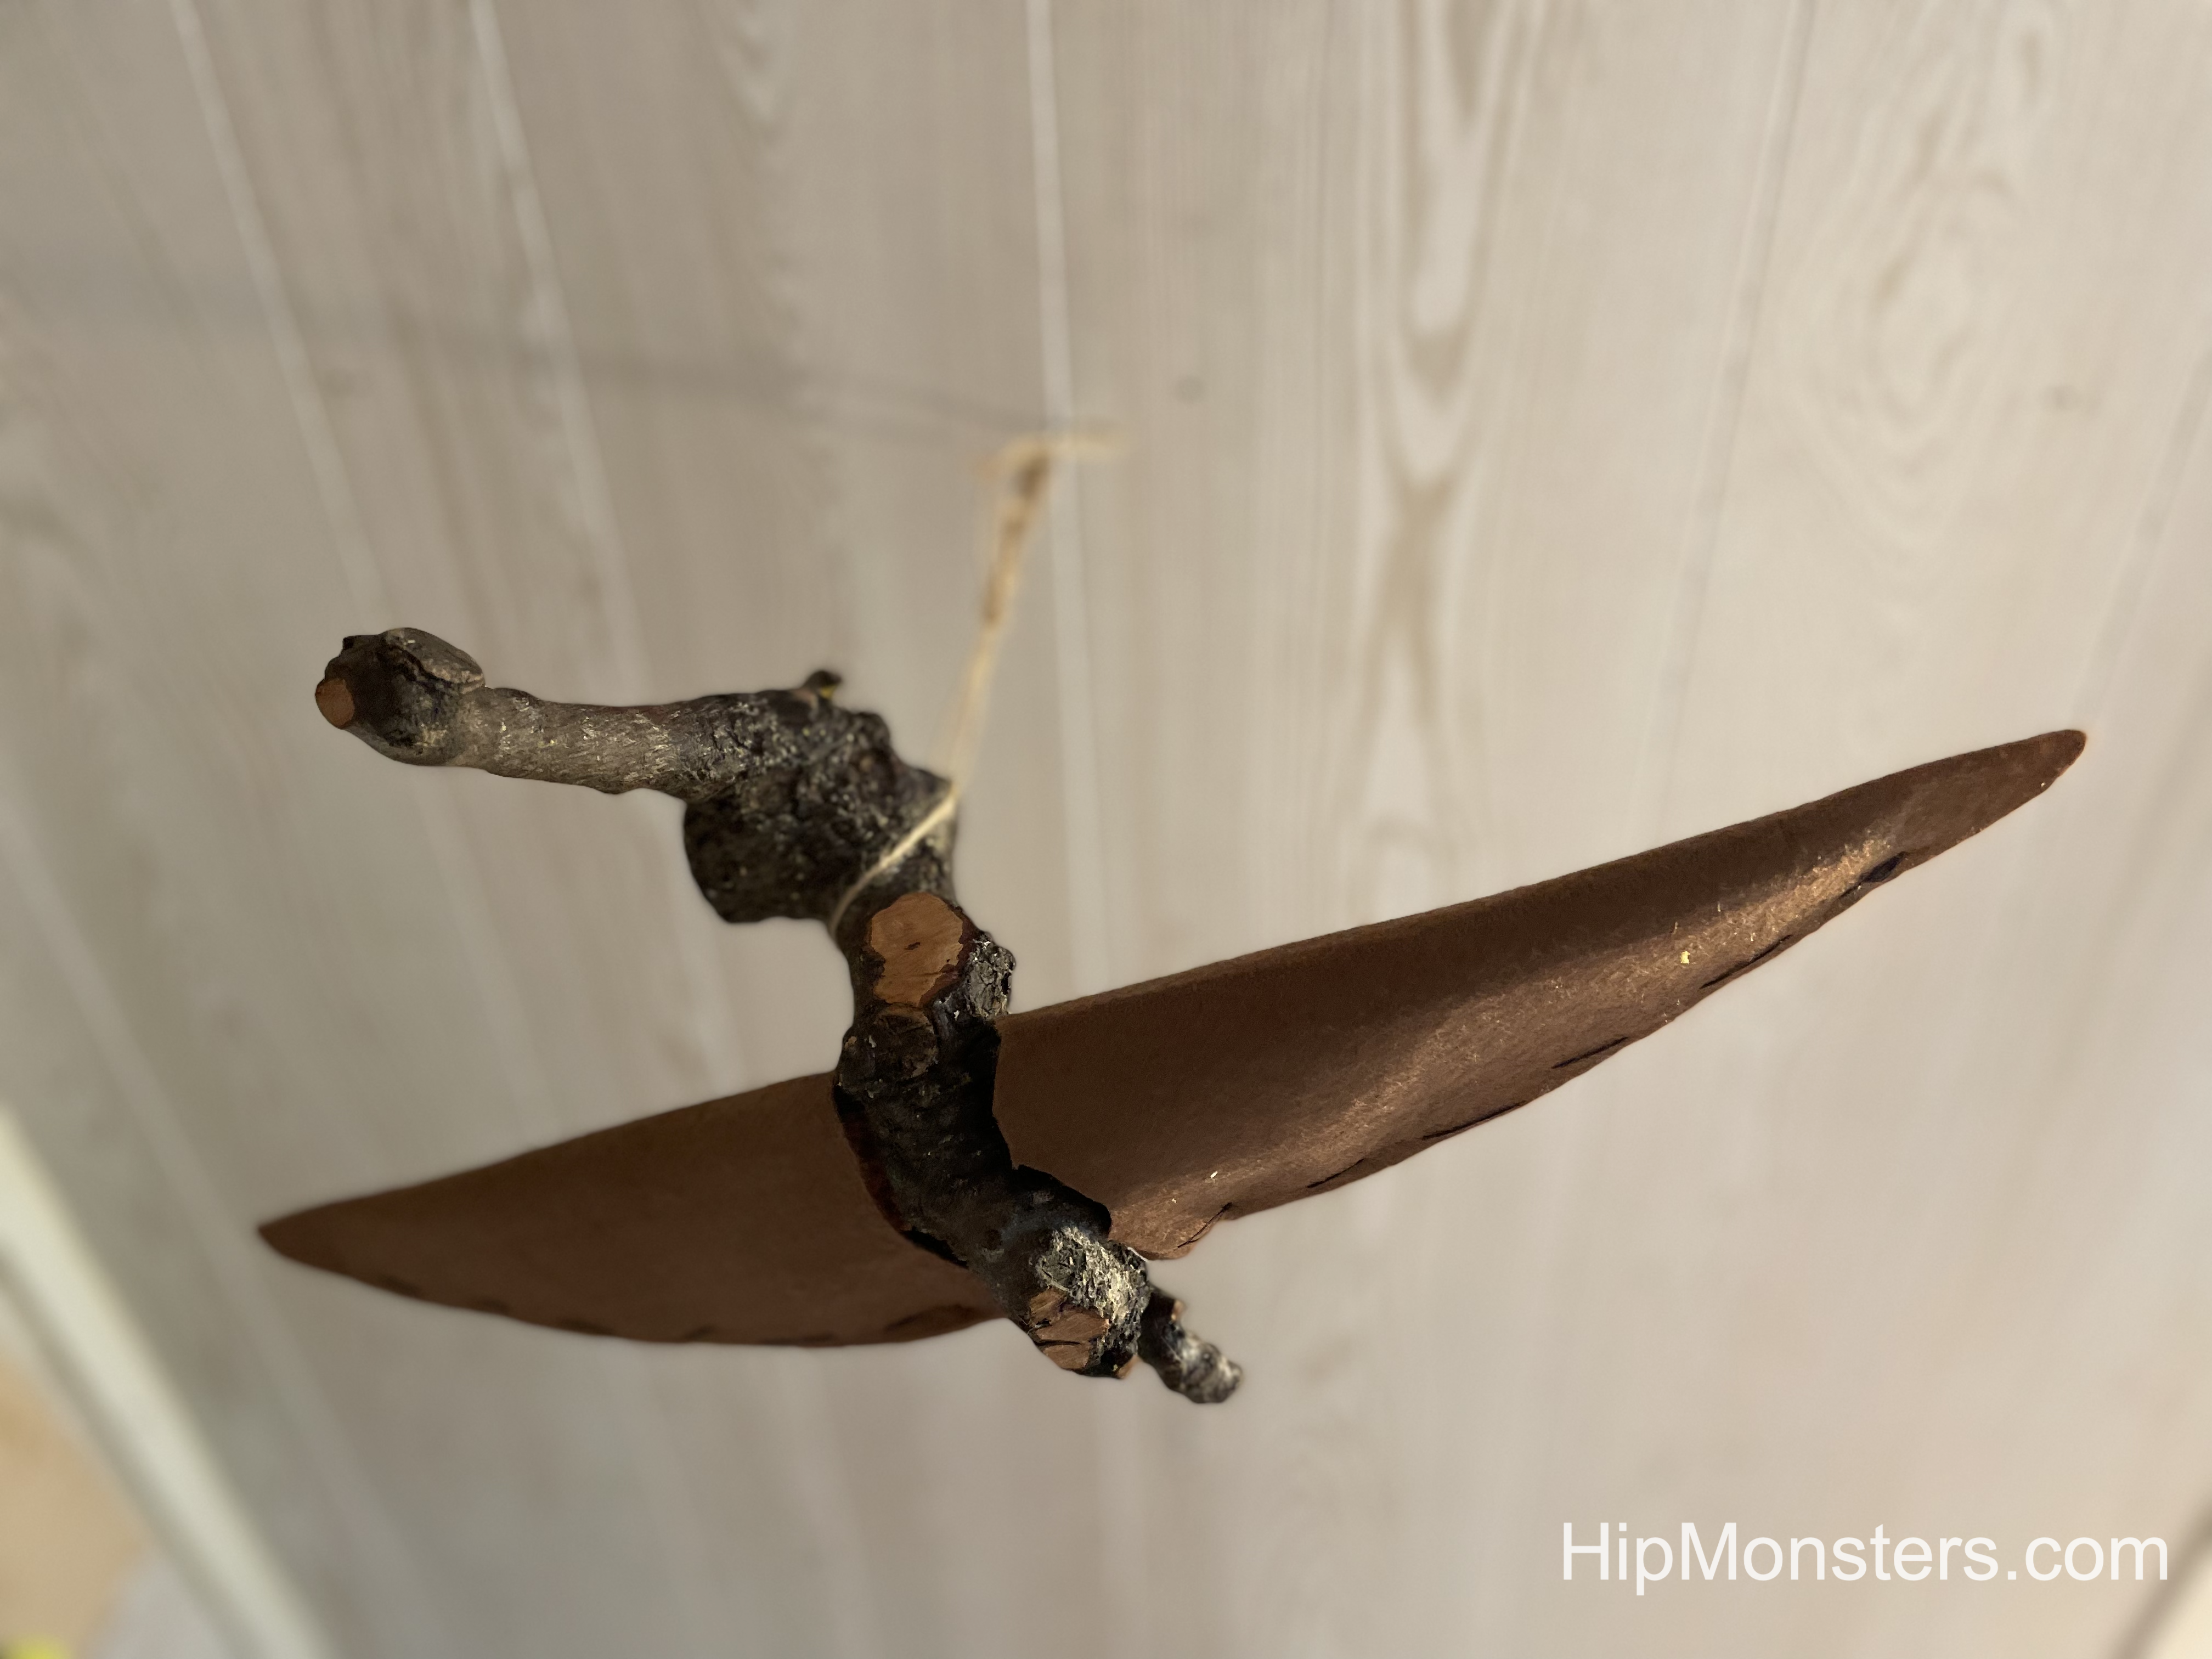
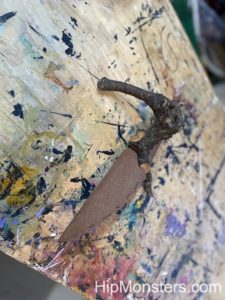
We used chicken wire to start making the shape of the head. The chicken wire was so sharp so we had to be extra careful not to cut ourselves. Best to let a parent do this part. One trick we used was to wrap the end pieces in duck tape to make them less poky.

We molded the head into shape. We recommend wearing thick gardening gloves because the chicken wire is very sharp.
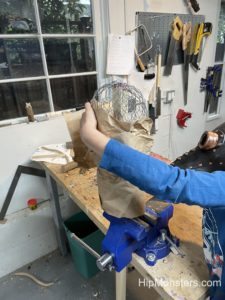
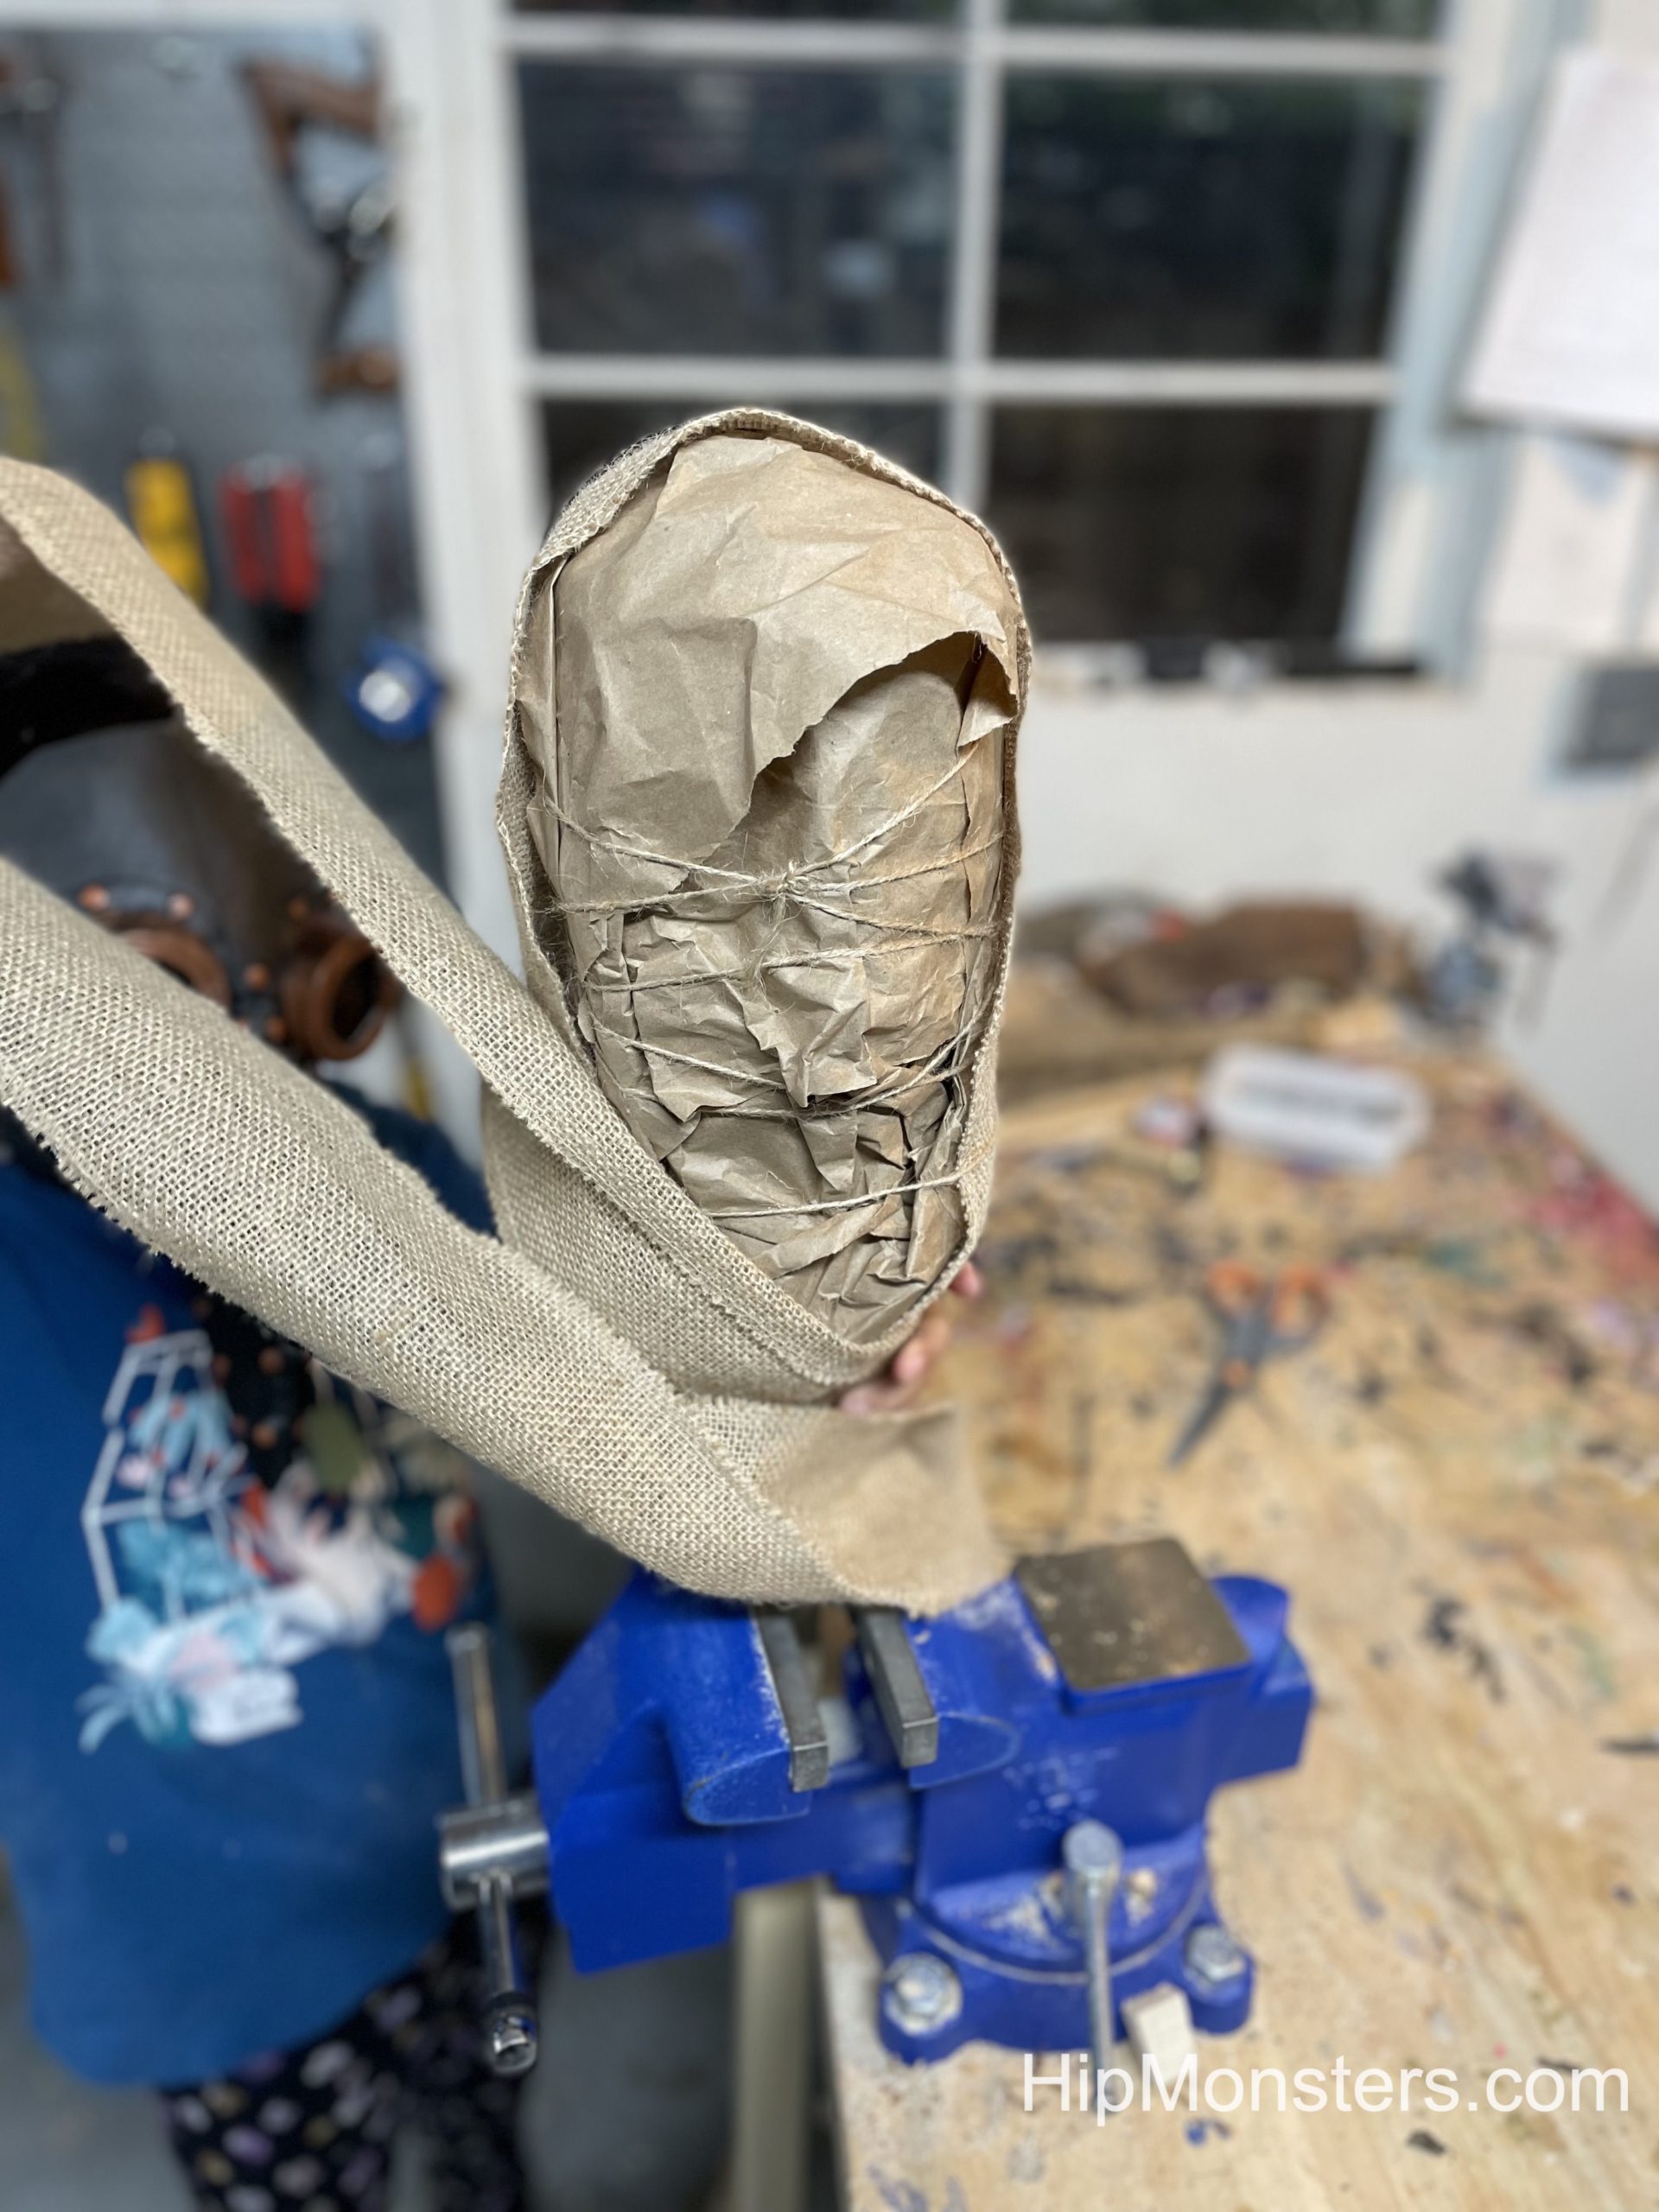
We wrapped it in paper to make it less sharp and because the paper looks like dry skin. The paper also helps makes the edges rounder.
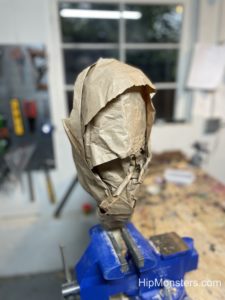
The head fully wrapped in paper.
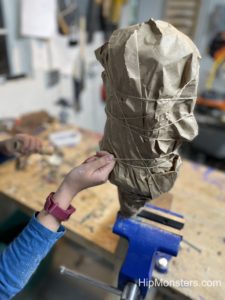
We secured the paper by tightly wrapping it in twine. we used twine because it is strong, but also because it is the same color as the paper, so it would blend in with the paper.
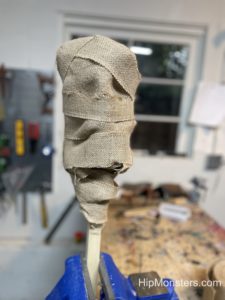
We wrapped it up in burlap after we finished securing the paper. We did several layers so it wouldn’t come off and split the burlap into multiple strips towards the end.
After the head was done we started working on the rest of the body. The wooden skeleton we made as simple as possible and used nuts and bolts with crimp washers to make sure it would not come loose after the wrapping was completed.
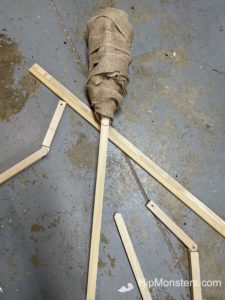
Now assemble the skeleton and wrap the body in the same fashion as the head. Wrapping the hands and feet proved to be very hard, and we ended up not making wooden fingers, we just wrapped the arm and secured the ends.
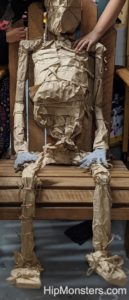
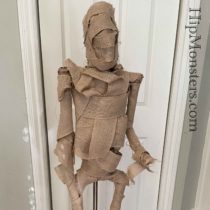
Here is the completed skeleton fully covered in paper and tied together with twine. We needed to remove the final wrapping from the head in order to better integrate it to the body. Also, we tried using left over hand from our Hand of Glory project but in the end, they did not look as real as we wanted.
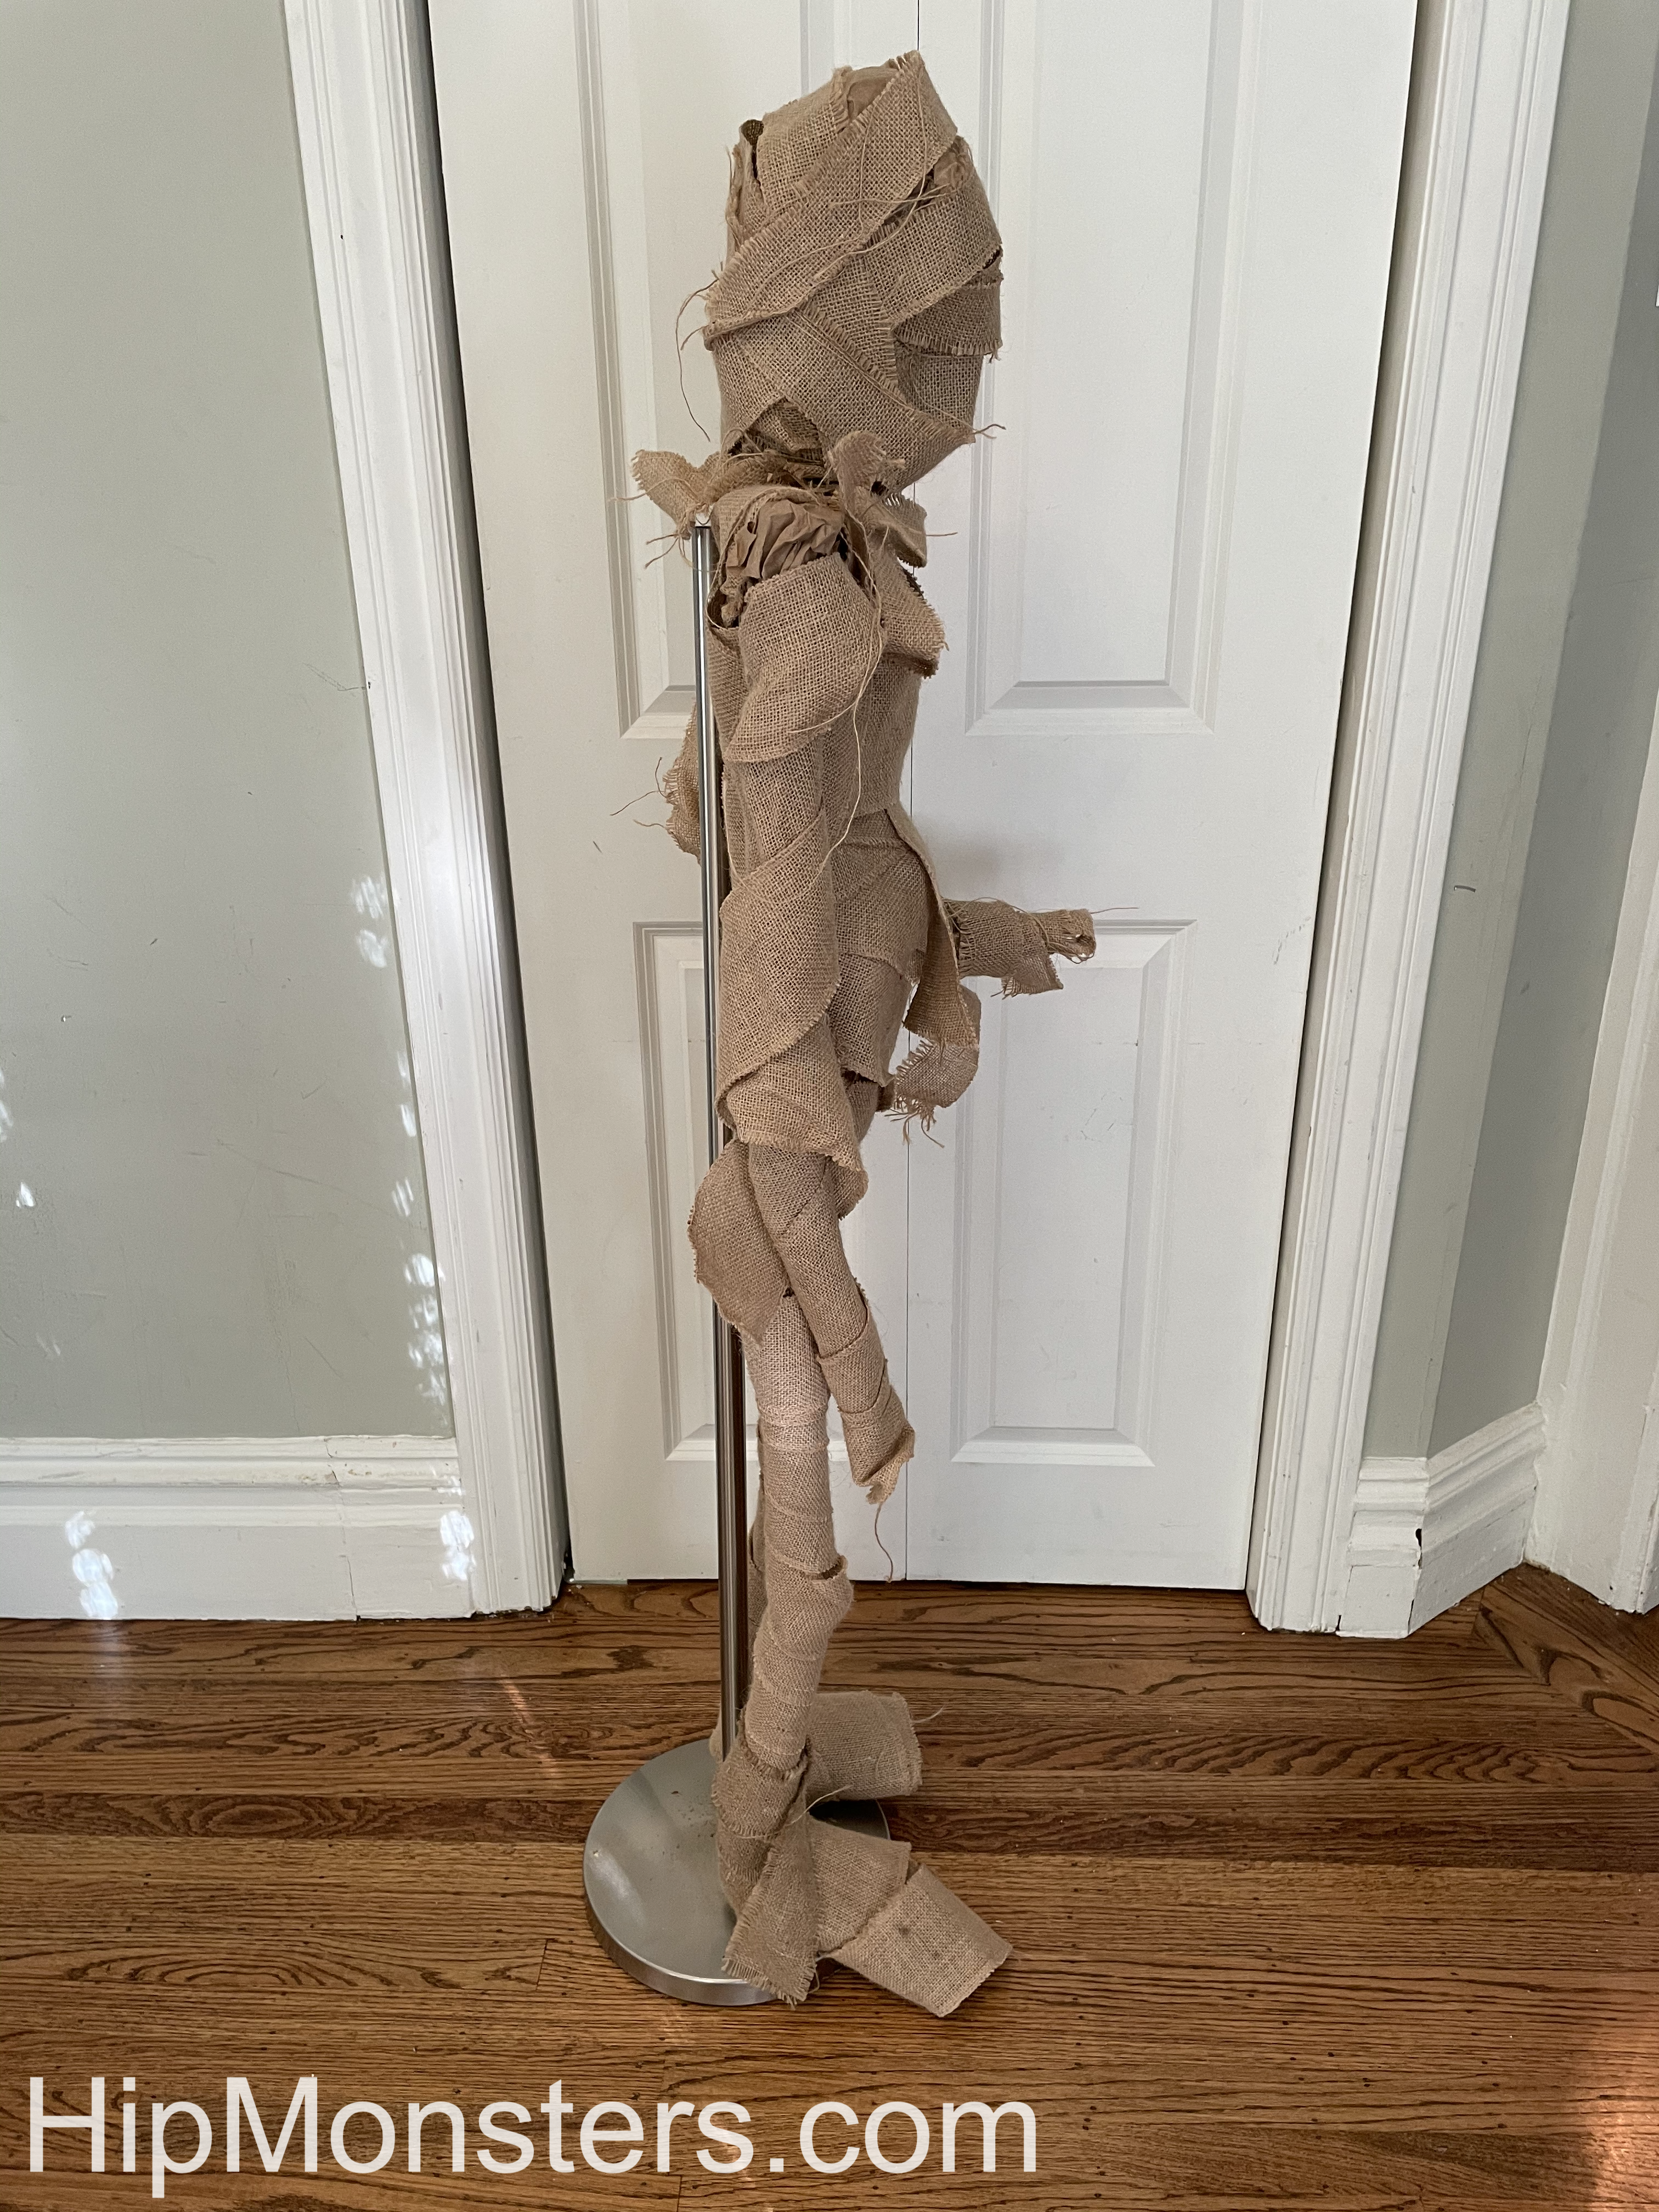
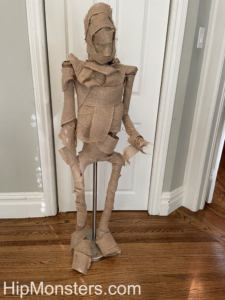
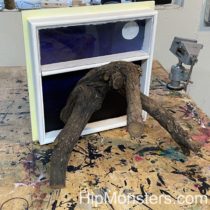
Now you can see George out of the workshop! We originally tried to make him be able to stand up on his own, but that would mean either making the body weirdly small or making the feet gigantic. We ended up attaching him to a lamp post instead.
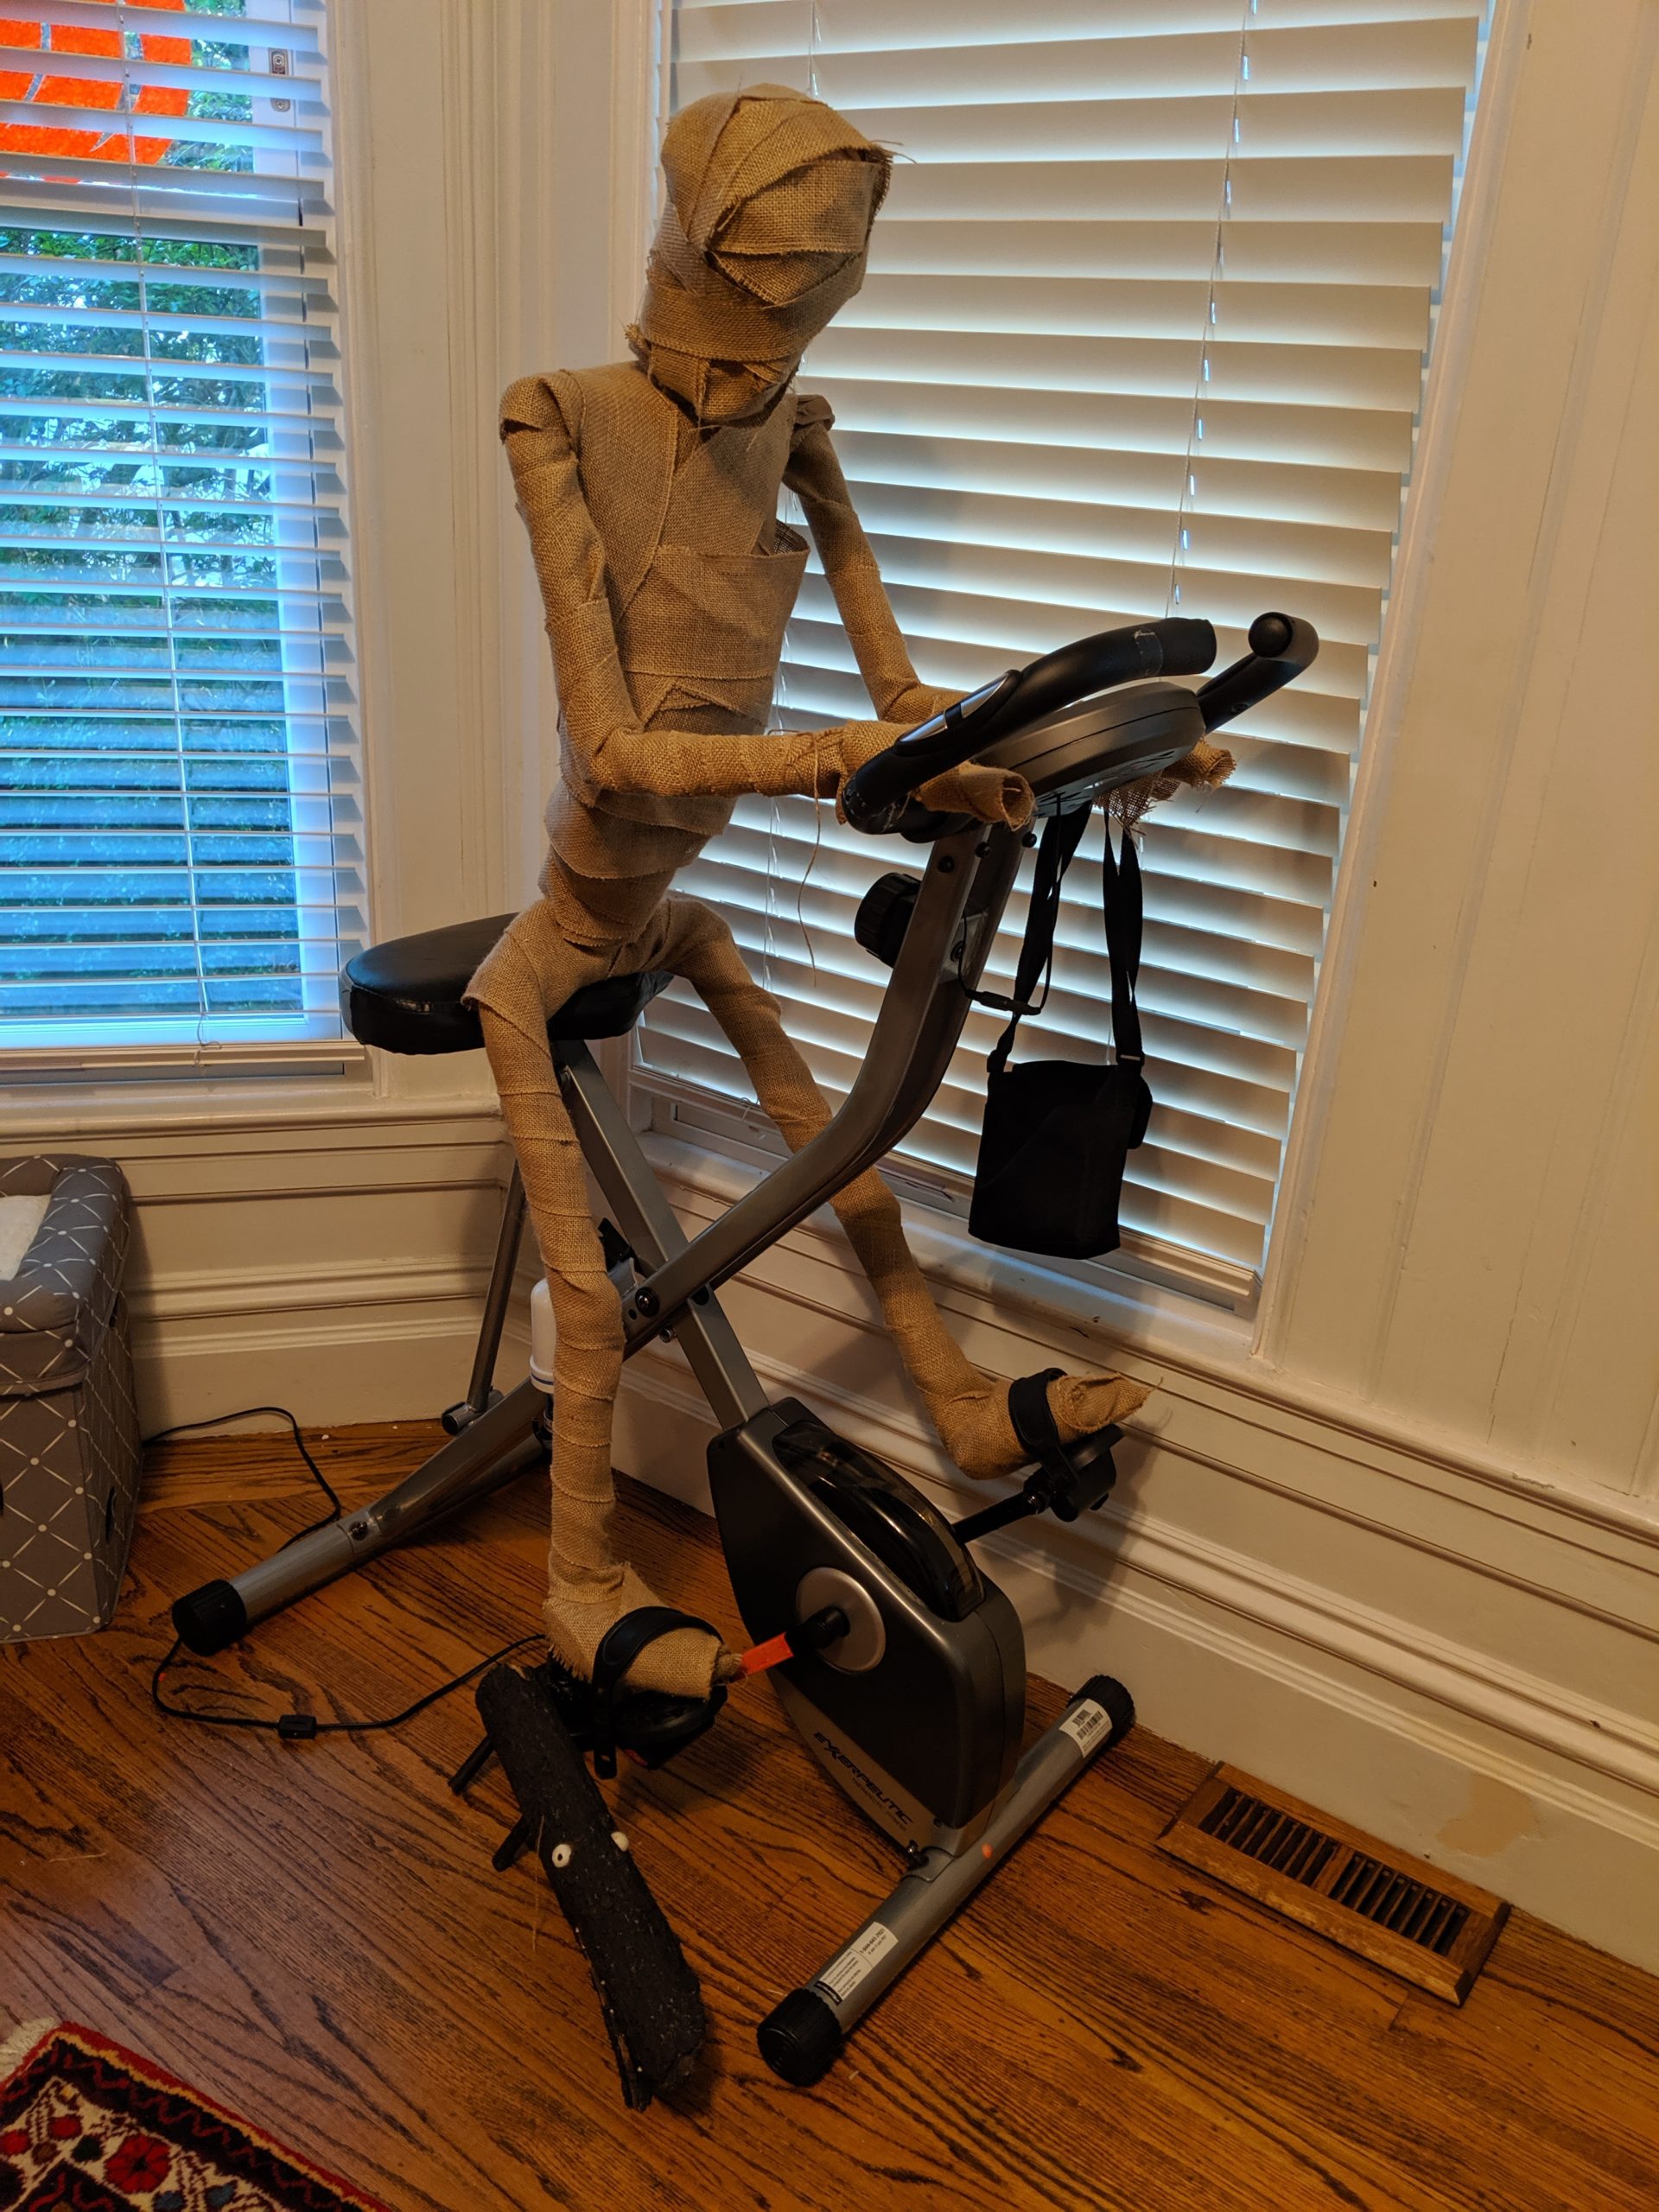
In this photo, George is sitting on a stationary bicycle. This shows off how George’s limbs can move and that he can be detached from the lamppost. It also shows that George is about the same size as a normal human, which makes him more realistic and creepy.

In this video, George the Mummy is taking down Christmas decorations with Number Three, showing off how well he stands and how much he enjoys wearing hats. He is also sturdy enough to hold Christmas tree ornaments without his arm bending.
Happy Creating!