Mandrake roots are a mythical plant that has a root that looks like a person. They scream when they get pulled out of the ground, and hearing the screams can knock you out, or even kill you. They are featured in Harry Potter, but were invented before that. For more information, go to the article above.
The Supplies
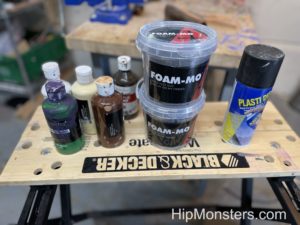
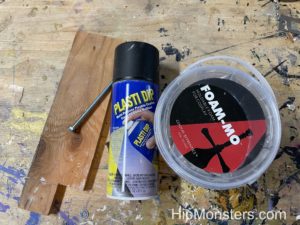
For our mandrake roots, we used a type of foam-like clay called Foam-Mo. Foam-mo is really useful for making organic details like plants and animals. It air-drys and can be painted, but has to be sprayed with a plastic spray, or else it will disintegrate. We recommend using several layers of the under-coat spray for maximum protection. We painted the mandrakes with acrylic paint.
Make sure to use a nonporous surface for a build table or the Foam-Mo will stick to it once it dries. We used old cutting boards.
Making the arm
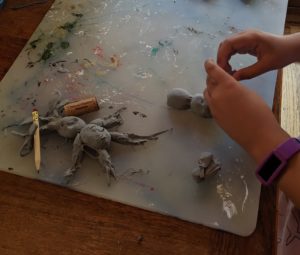
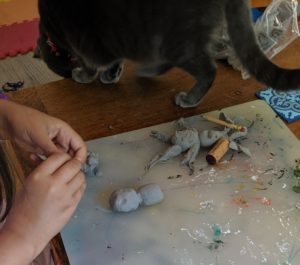
To make the mandrakes, we made ovals for the head and body, and tubes for the legs. We also rolled out thinner tubes for the tree branches and flattened small diamond shapes for the leaves. We used a pencil to made the lines in the leaves and to make the eyes, lines on the body, and the mouth. Remember, no two mandrakes are the same, so make them all slightly different.
Attaching the arm
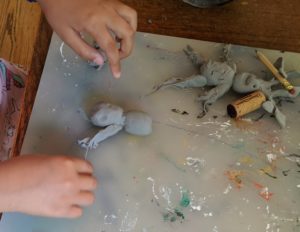
Foam-mo is pretty delicate, so we needed to be careful when attaching stuff. To make it hold it’s shape, we used stuff to prop up the mandrake roots while they were drying. to make the edged look like roots, we gently pulled out thin strands of Foam-Mo at the end of all of the limbs.
After painting
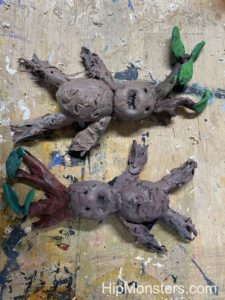
After the Foam-Mo dries, we sprayed it with a plastic spray and painted it with acrylic paint. We painted them all slightly different shades of brown and green.
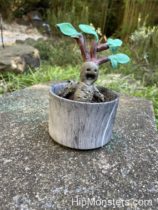
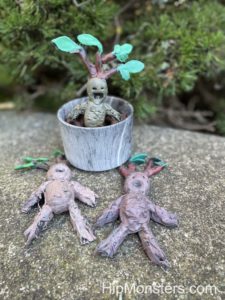
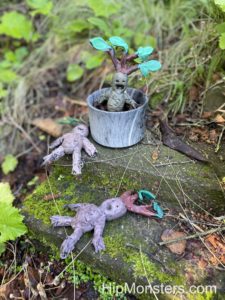
A potted mandrake!
Please DO NOT water your mandrake, even if they tell you to! They are definitely not waterproof.
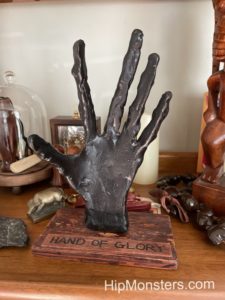
Inspired by Harry Potter, we made our own Hand of Glory out of Foam-Mo and paint for Halloween.
Please note, this material is provided for informational purposes only and is not a guide on how to create the designs. Please read our disclaimer.
Foam-Mo is a foamy clay that we use for many of our projects. It is great for making organic stuff like plants and animals. After it dries, you spray it with a plastic coating to make it last longer. You can paint over the plastic coating.
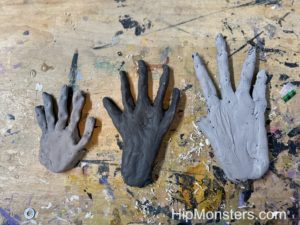
For our first attempts, We used our own hands as a model to make them, but we felt like they didn’t look very much like magical objects. They were also very flat and 2d looking, not like the real hand of glory at all.
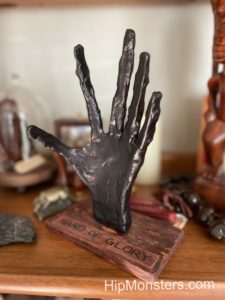
For our final hand of glory, we made the fingers more long and skinny to make it both more realistic and creepy. To get the shape, we rested it over a bowl to dry. We also added more texture to make it look more like dry skin instead of making it smooth. We also defined the knuckles more to make it more creepy. like it is trying to grab you. We also added more of a wrist to make it more like it is in the movie, and so we could easily mount it.
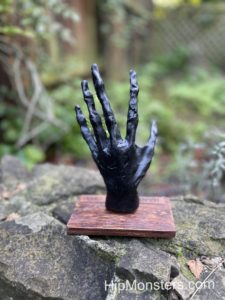
Once we finished the hand, we made a wooden stand for it to be mounted on. We stained it and sanded it to make it look distressed, and made a wooden plaque. We attached the Hand of Glory to the stand by screwing it in.
The completed Hand of Glory
This is it completed! It is a great addition to our Halloween decoration cabinet, just don’t touch it, unless you want it to grab you.
We wanted to give people a scare on Halloween and was inspired by a visit to Rosicrucian Egyptian Museum so we set out to make our own mummy, George the mummy (he got too curious).
Please note, this material is provided for informational purposes only and is not a guide on how to create the designs. Please read our disclaimer.
Materials
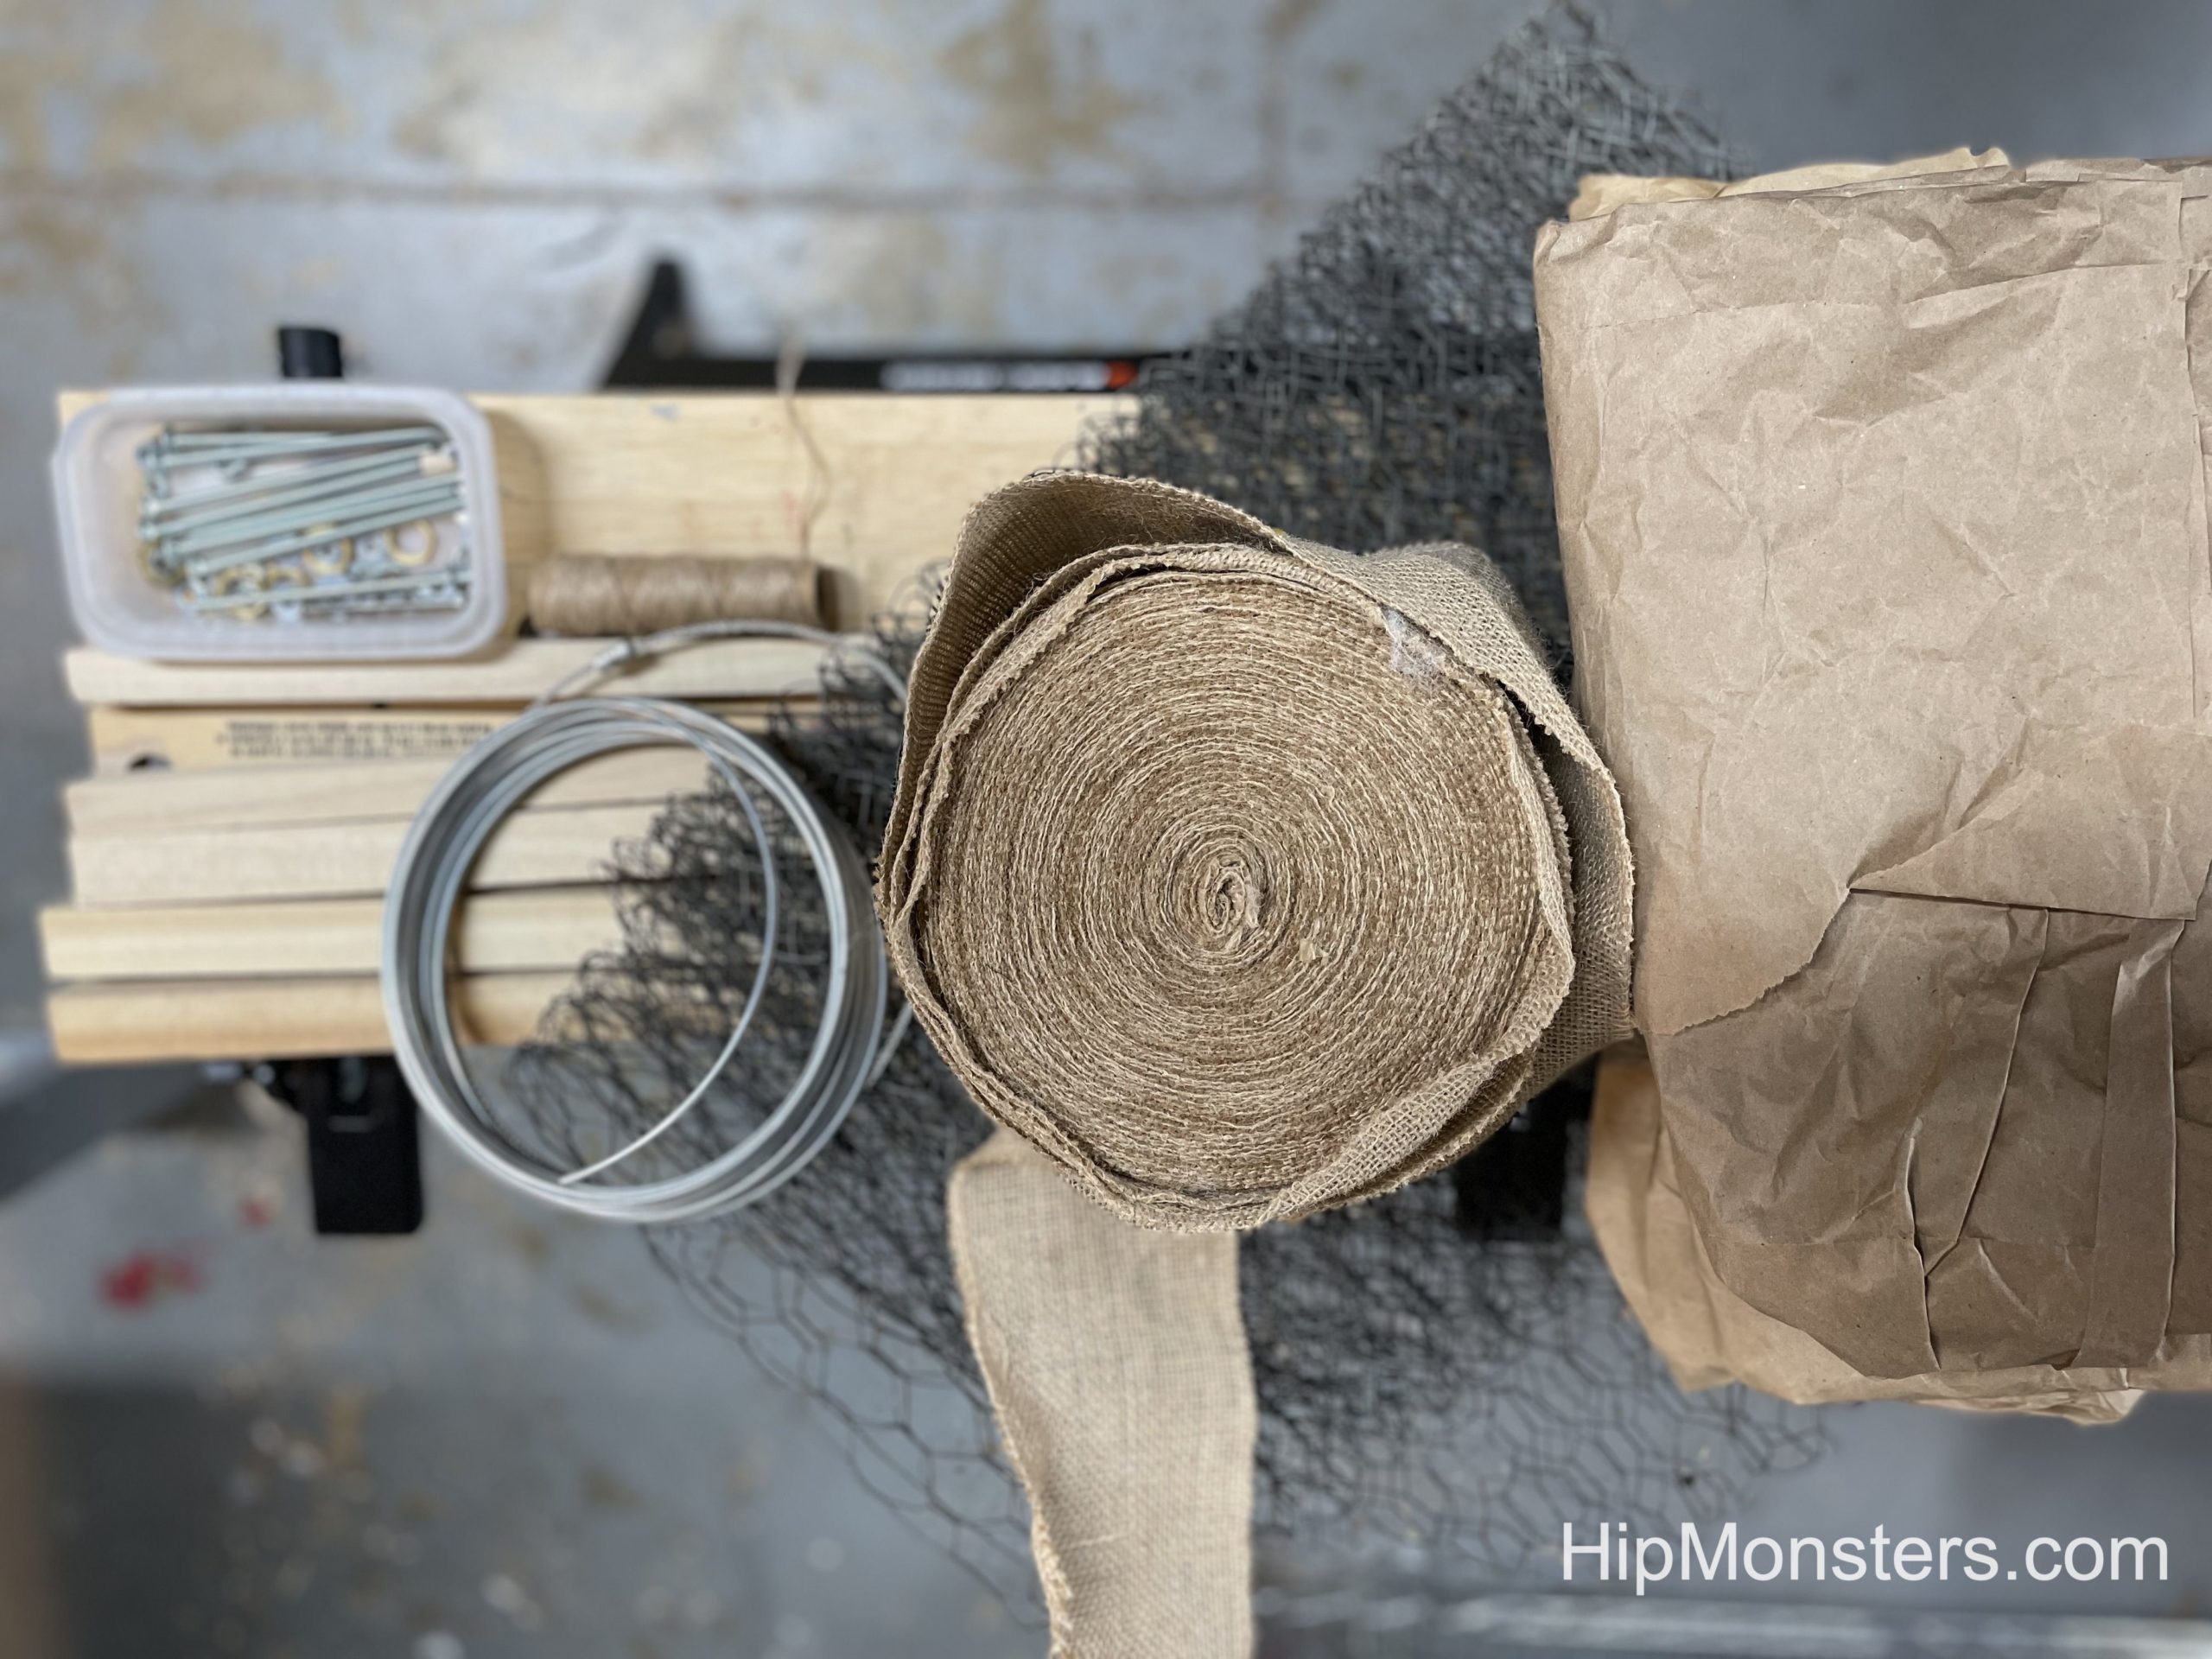
For the mummy, we used:
A roll of burlap fabric
Lots of brown shipping paper
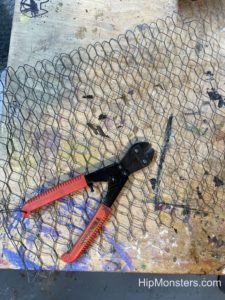
Chicken wire
Aluminum fense wire
5 1/4×1/4X 5 Wood
Twine
nuts and bolts.
We needed it to be pretty light so we didn’t use a lot of wood and padded the skeleton with lots of shipping paper. We had been storing the shipping paper for years and had bags of it in a closet for just such a project. It is perfect because it looks like old dried skin!
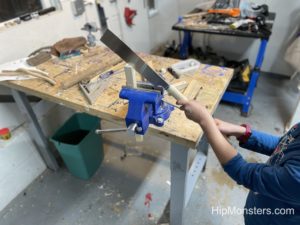
Cutting the joint
We wanted George to be flexible so we could place him through out the house and even take him on car trips.
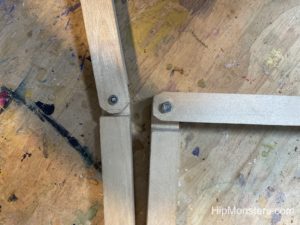
Close-up of the joint
This is one of the joints that we made. George is fully articulate but not powered like our robots.
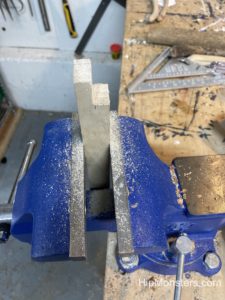
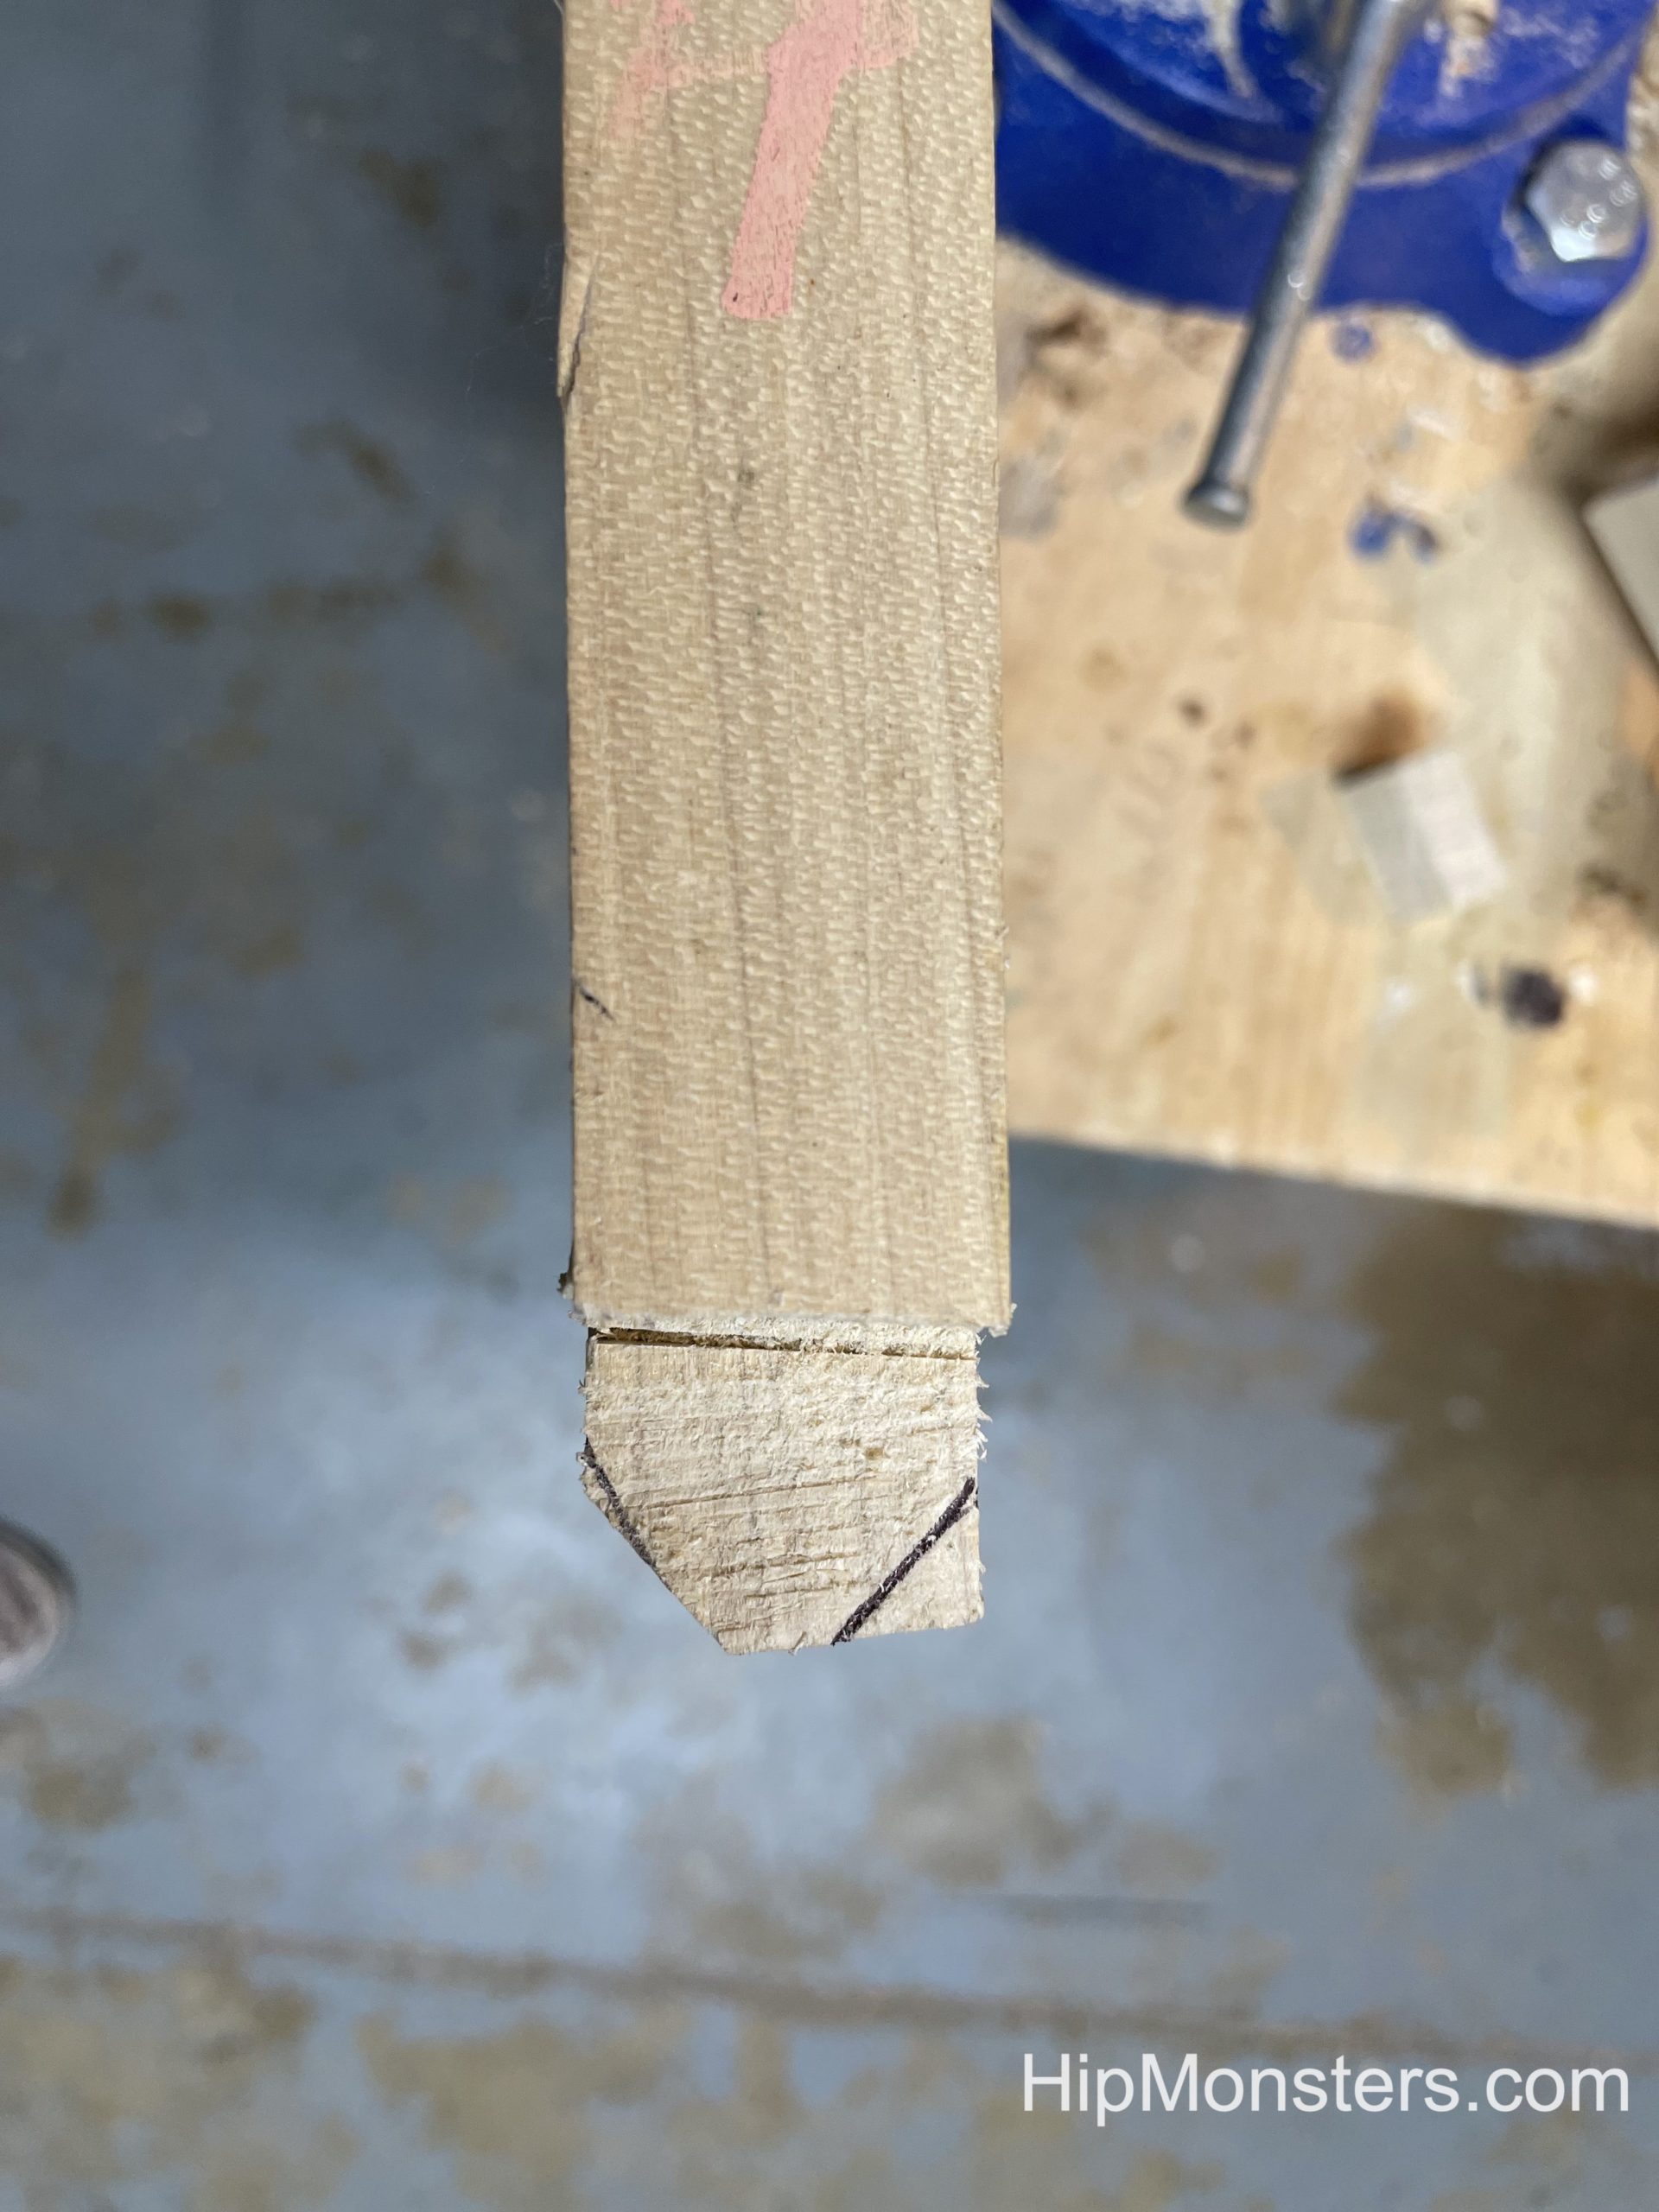
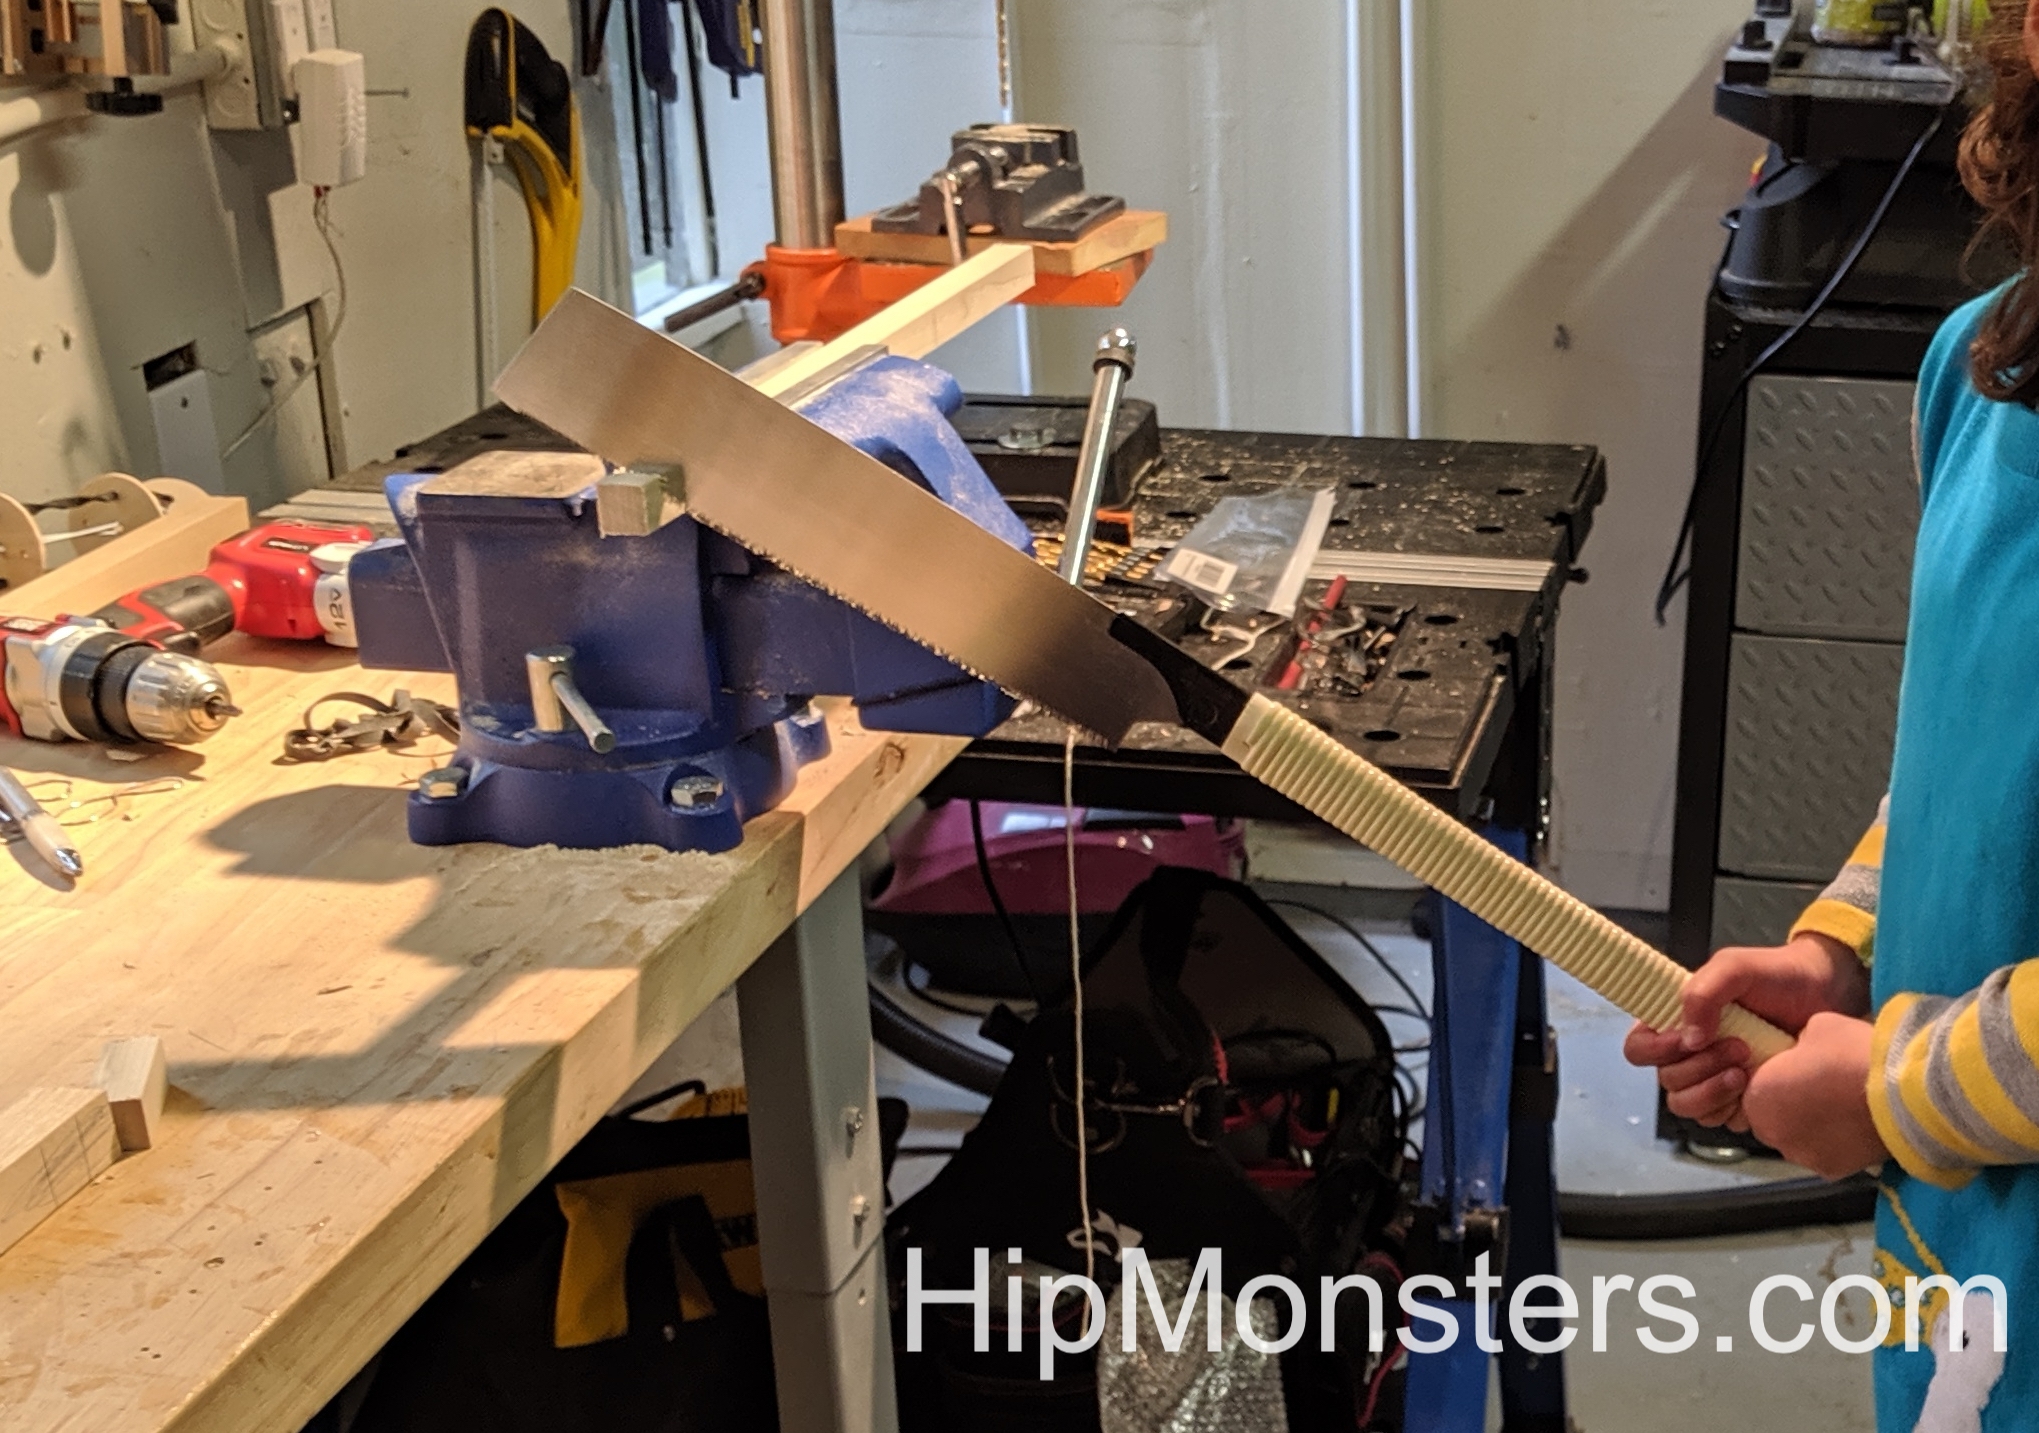
Trimming the sides
We cut small pieces of the wood off to make it more rounded then sanded the edges to get a clean joint. Since these joints would not be seen we used only rough grade sandpaper.
The finished joint
We drilled holes in the joints so that we could put them together. To drill the holes we clamped the two pieces together to assure the holes would align.
Putting them together
We used a rubber washer between the two pieces so George would not be too wobbly. After screwing the bolts down we crimped end to make sure they would not come undone after George was finished.
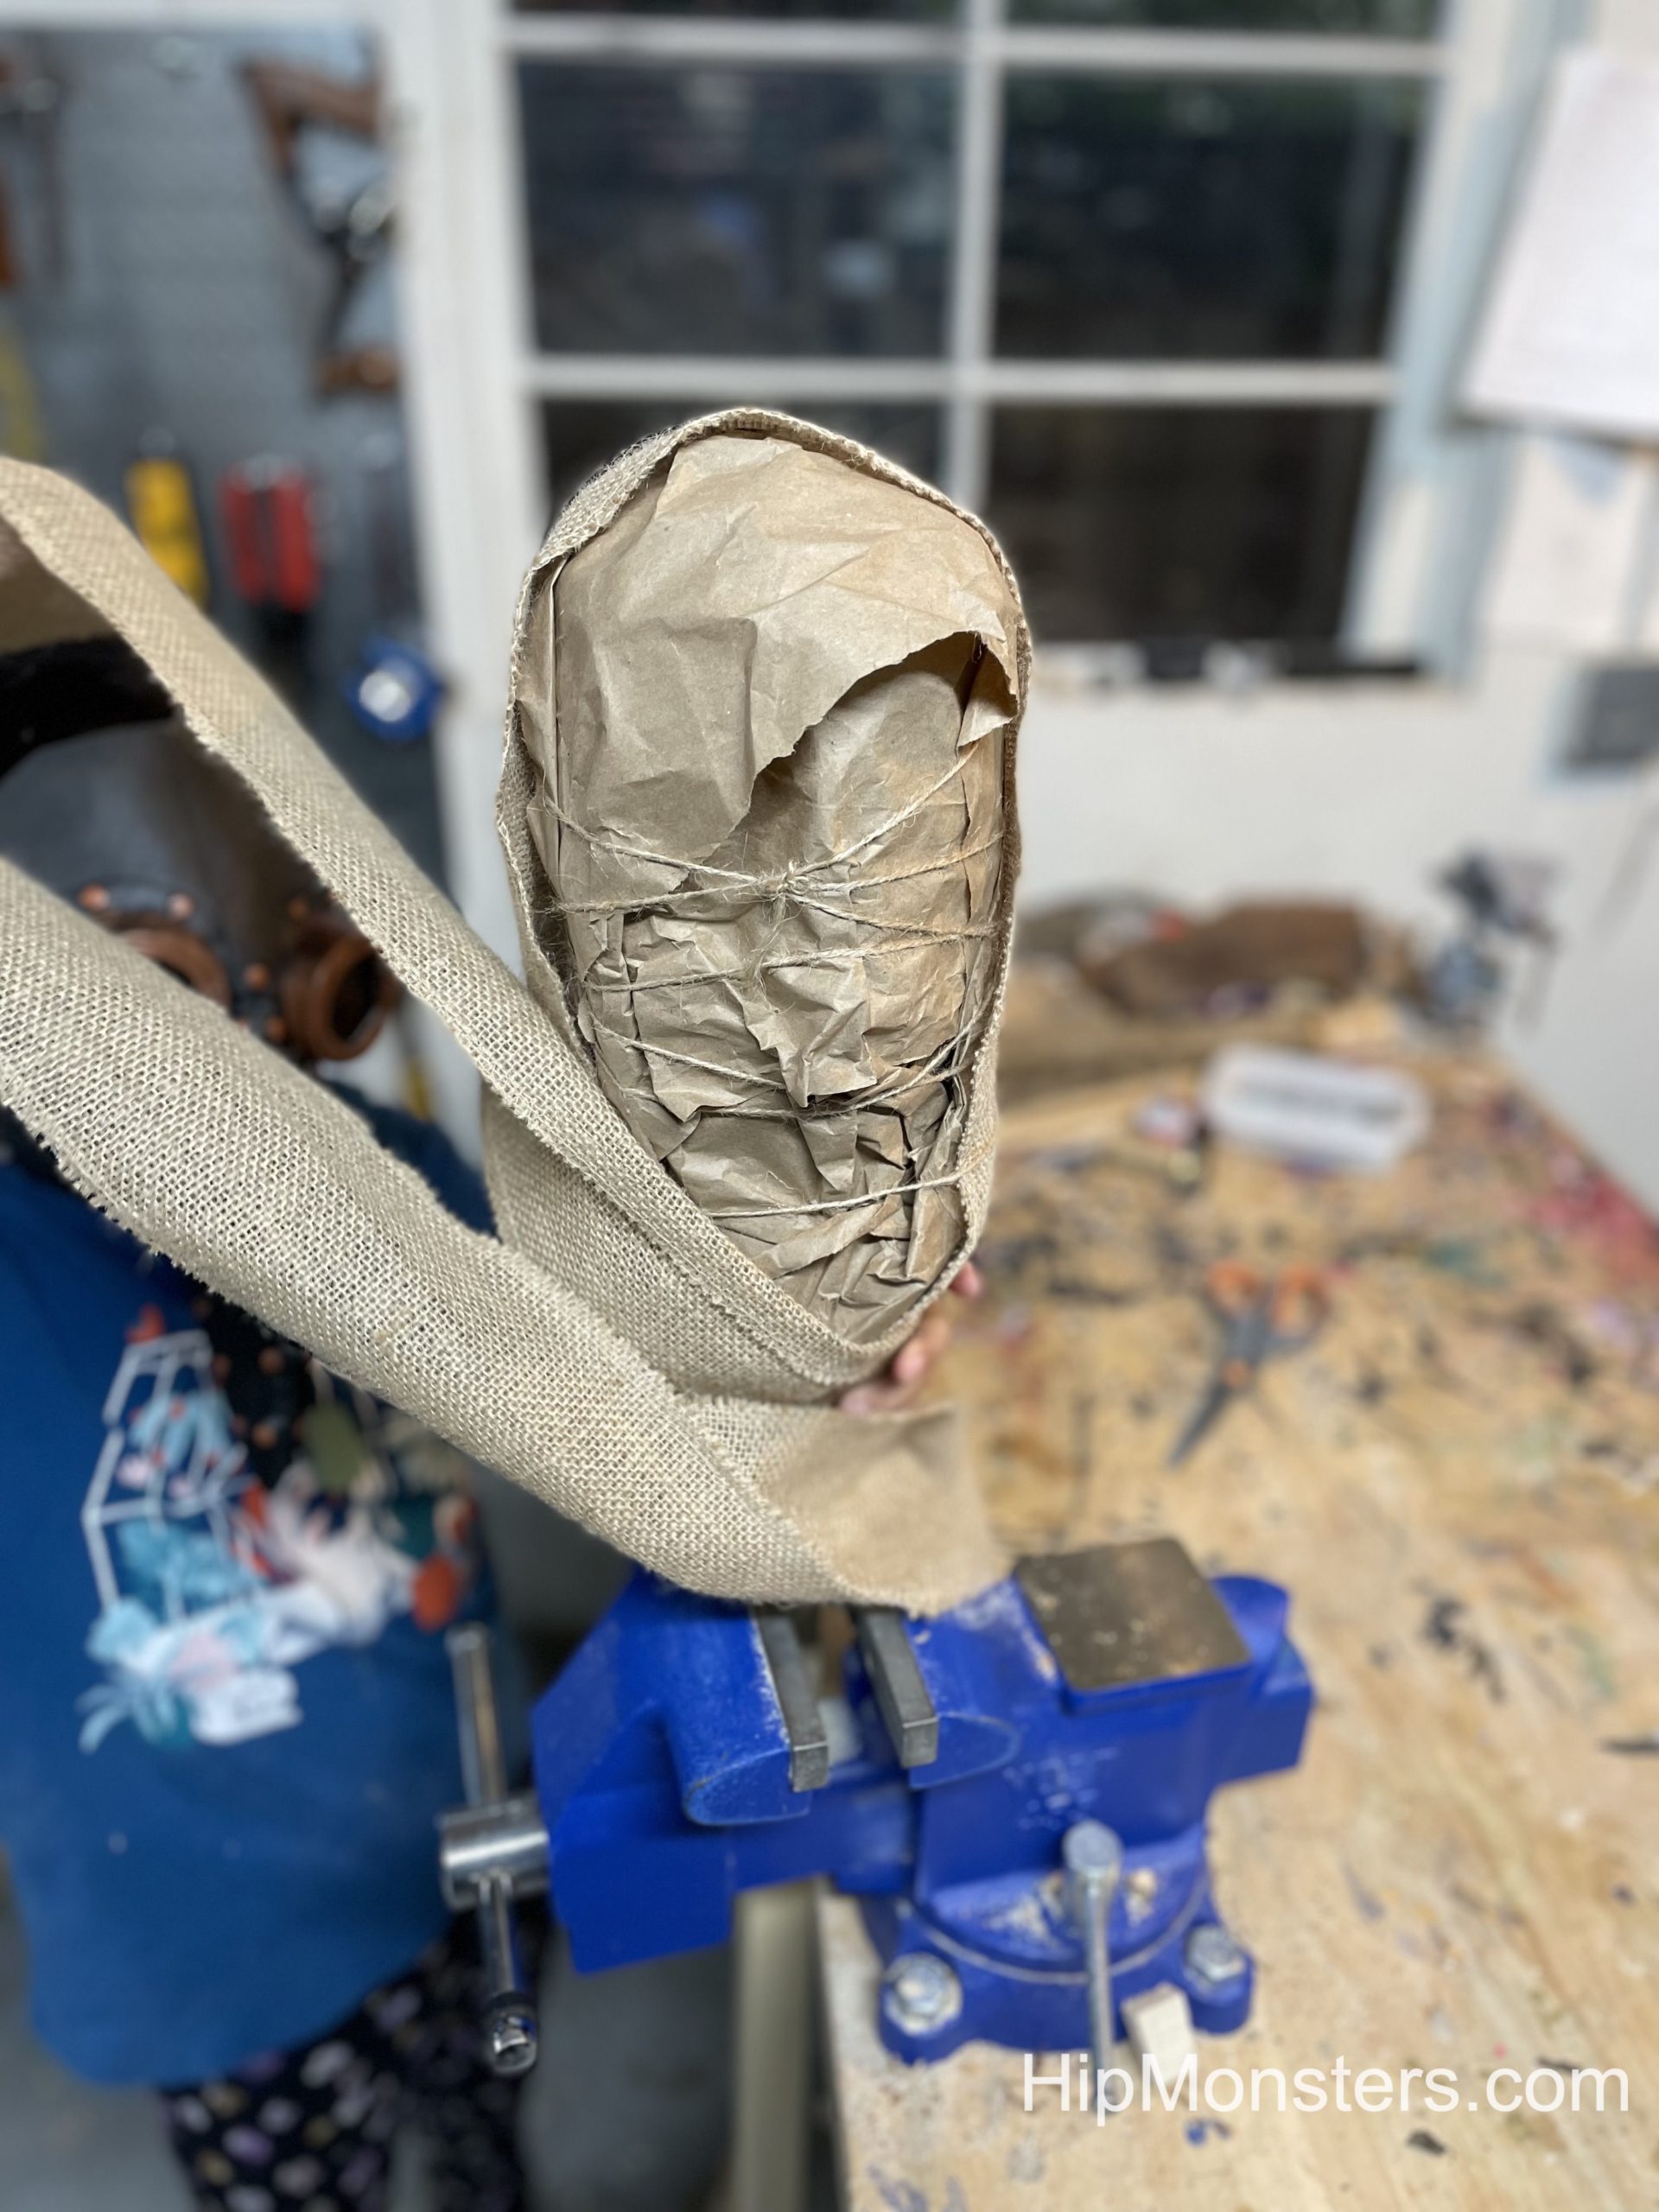
Starting the head
We used chicken wire to start making the shape of the head. The chicken wire was so sharp so we had to be extra careful not to cut ourselves. Best to let a parent do this part. One trick we used was to warp the end pieces in duck tape to make them less pocky.
The basic shape of the head
We molded the head into shape. We recomend wearing thick gardening gloves because the chicken wire is very sharp.
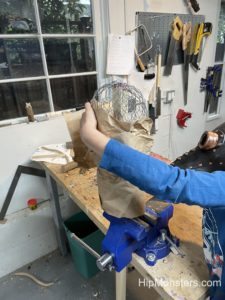
Wrapping it in paper
We wrapped it in paper to make it less sharp and because the paper looks like dry skin. The paper alos helps makes the linbs more circlular.
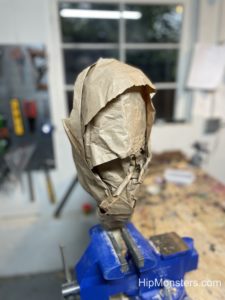
George’s head with the skin
The head fully wrapped in paper.
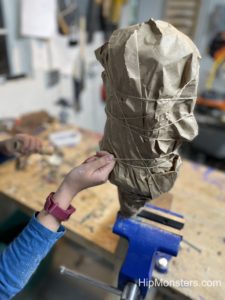
Securing the paper
We secured the paper by tightly wrapping it in twine. we used twine because it is strong, but also because it is the same color as the paper, so if a little shows it would blend in with the paper.
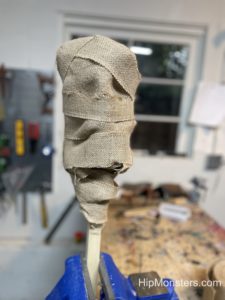
Wrapping it in burlap
We wrapped it up in burlap after we finished securing the paper. We did several layers so it wouldn’t come off and towards the end split the burlap into multiple strips
The completed head
After the head was done it was on to the rest of the body. The wooden skeleton we made as simple ae possible and used bolts and bolts with crimp washers to make sure it would not come loose after the wrapping for completed.
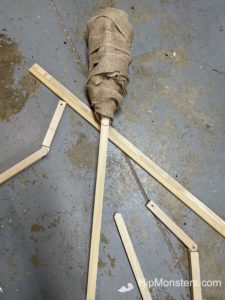
Put it together!
Now assemble the skeleton and wrap the body in the same fashion as the head. Wrapping the hands and feet proved to be very hard, and we ended up not making wooden fingers, we just wrapped the arm and secured the ends.
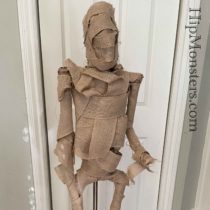
Waiting to be wrapped
Here is the completed skeleton fully covered in paper and tied together with twine. We needed to remove the final wrapping from the head in order to better integrate it to the body. Also, we tried using left over hand from out Hand of Glory project but in the end, they did not look as real as we want.
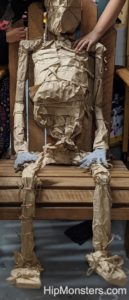
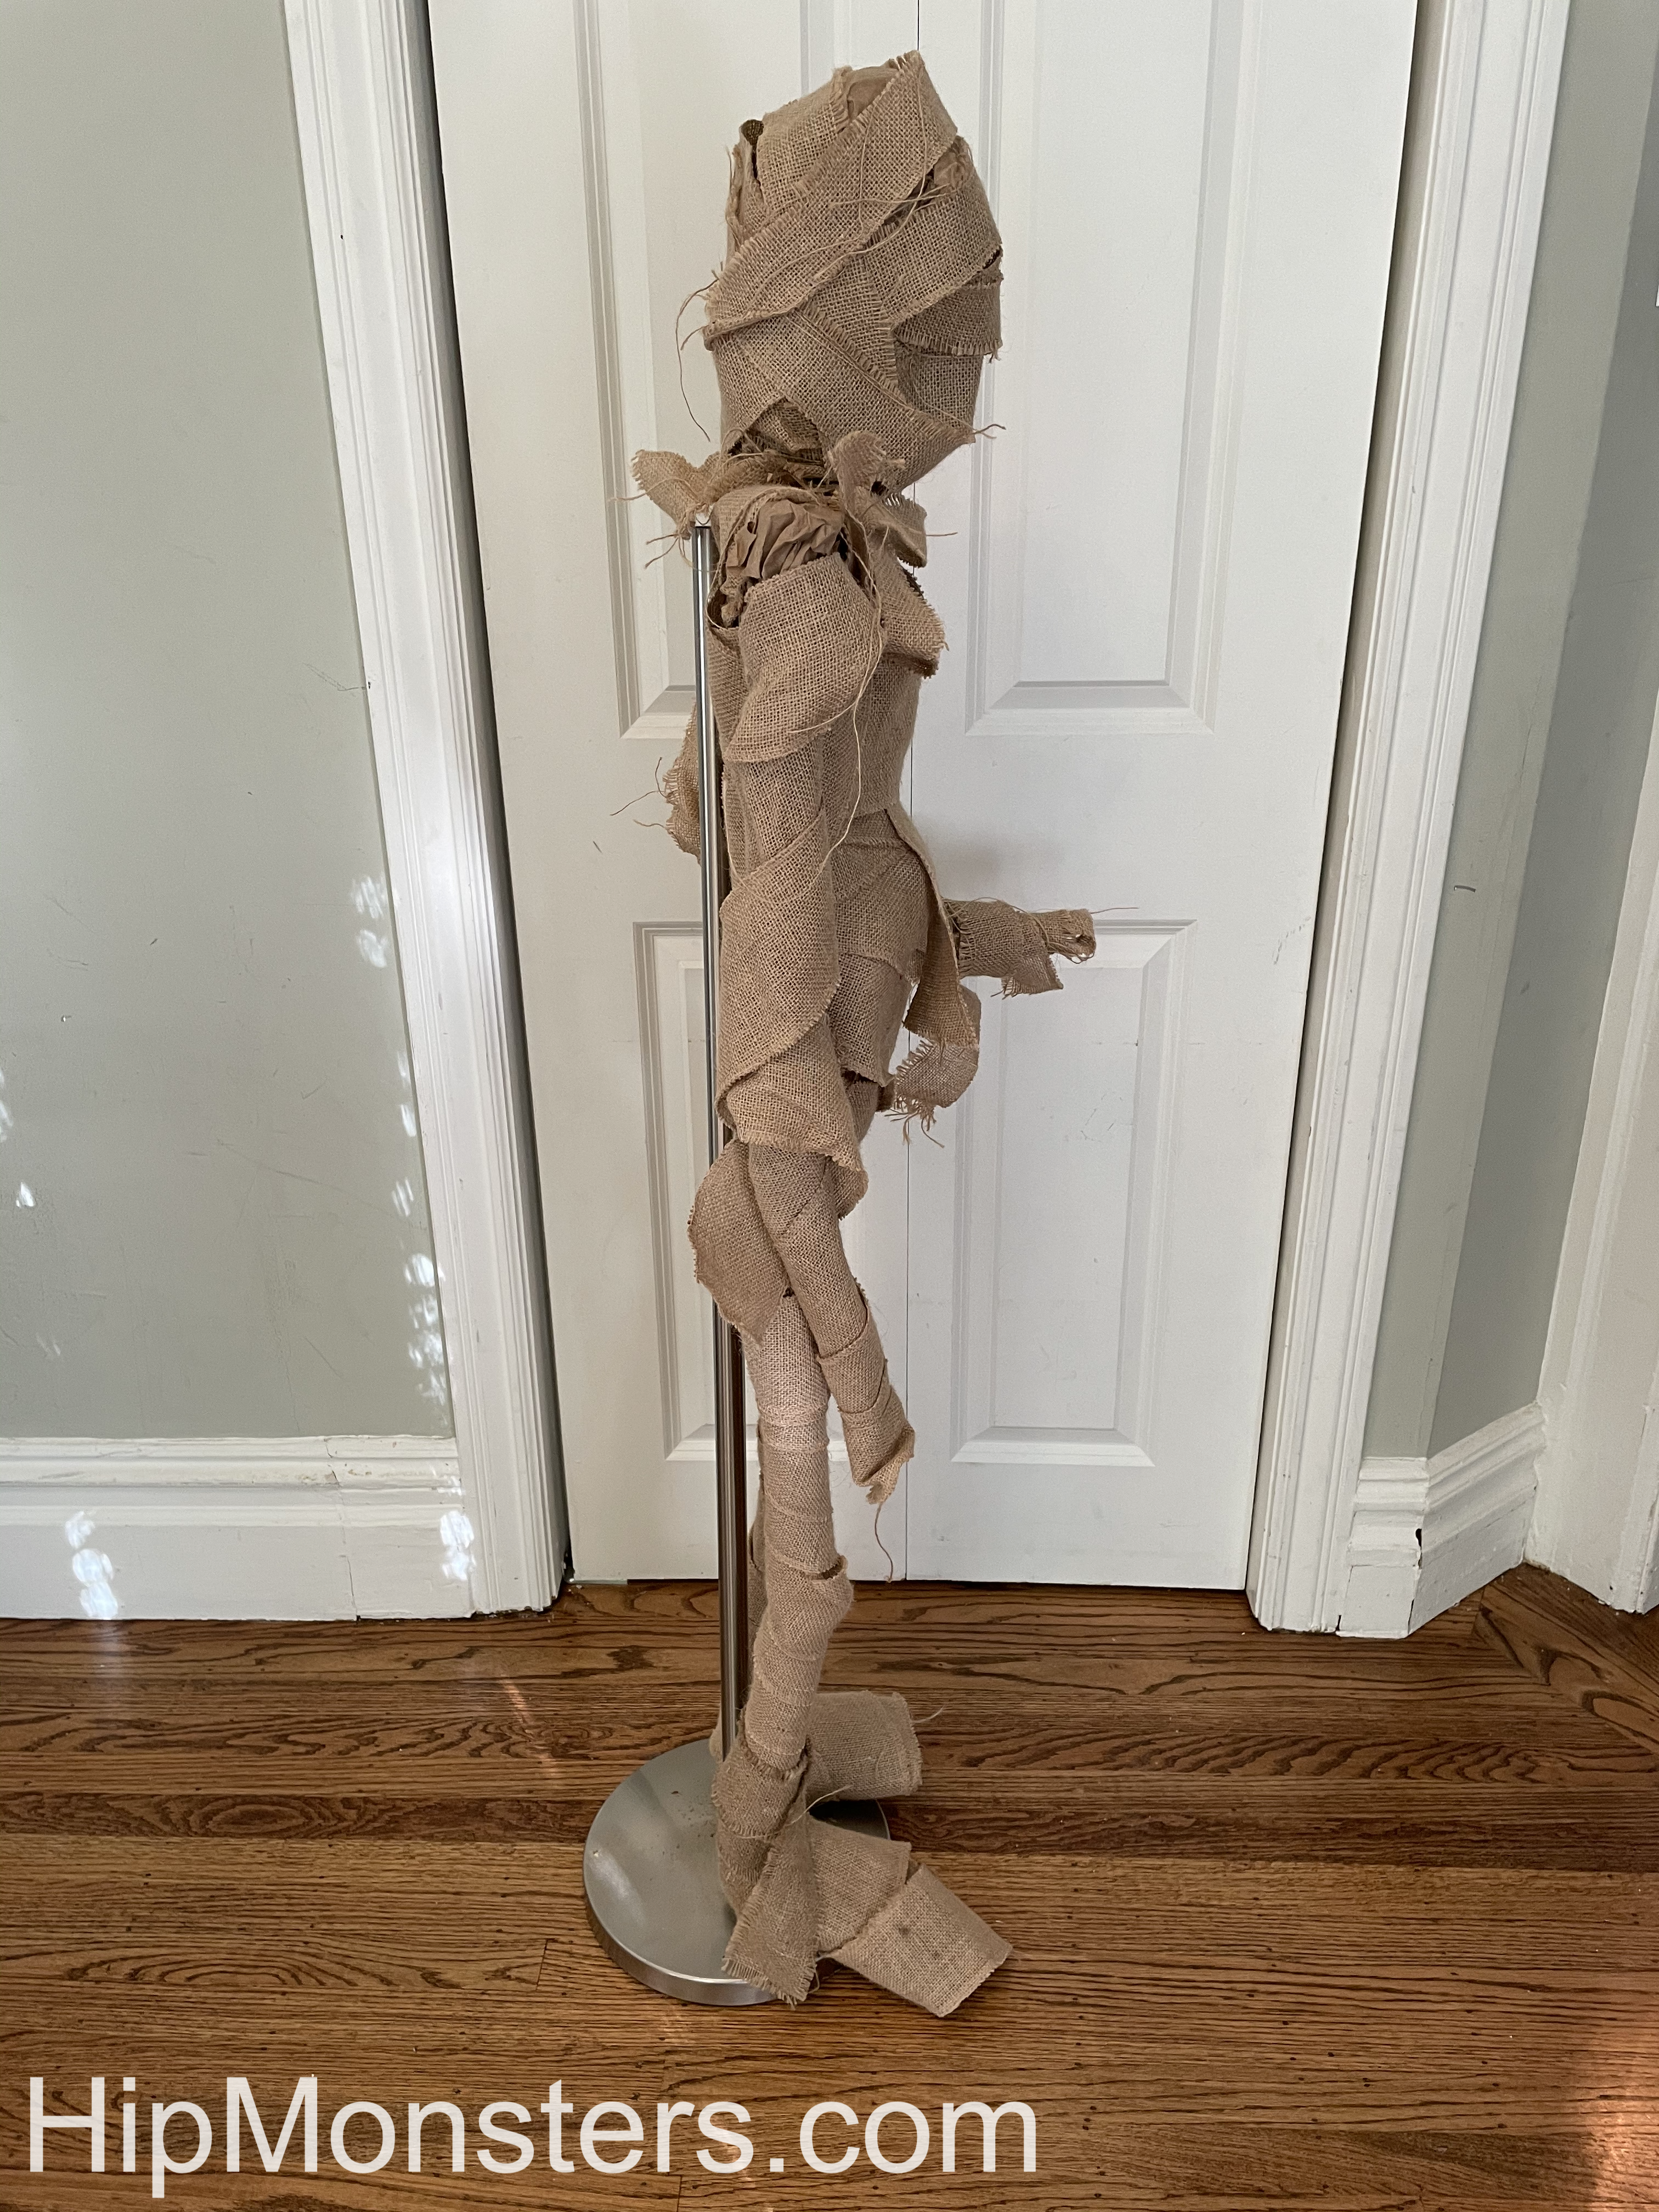
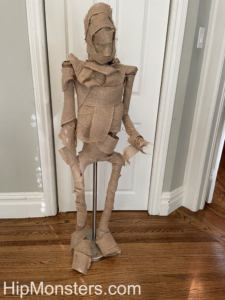
The side viewFront view
Now you can see George out of the workshop! We originally tried to make him be able to stand up on his own, but that would mean either making the body weirdly small or making the feet gigantic. We ended up attaching him to a lamp post instead.
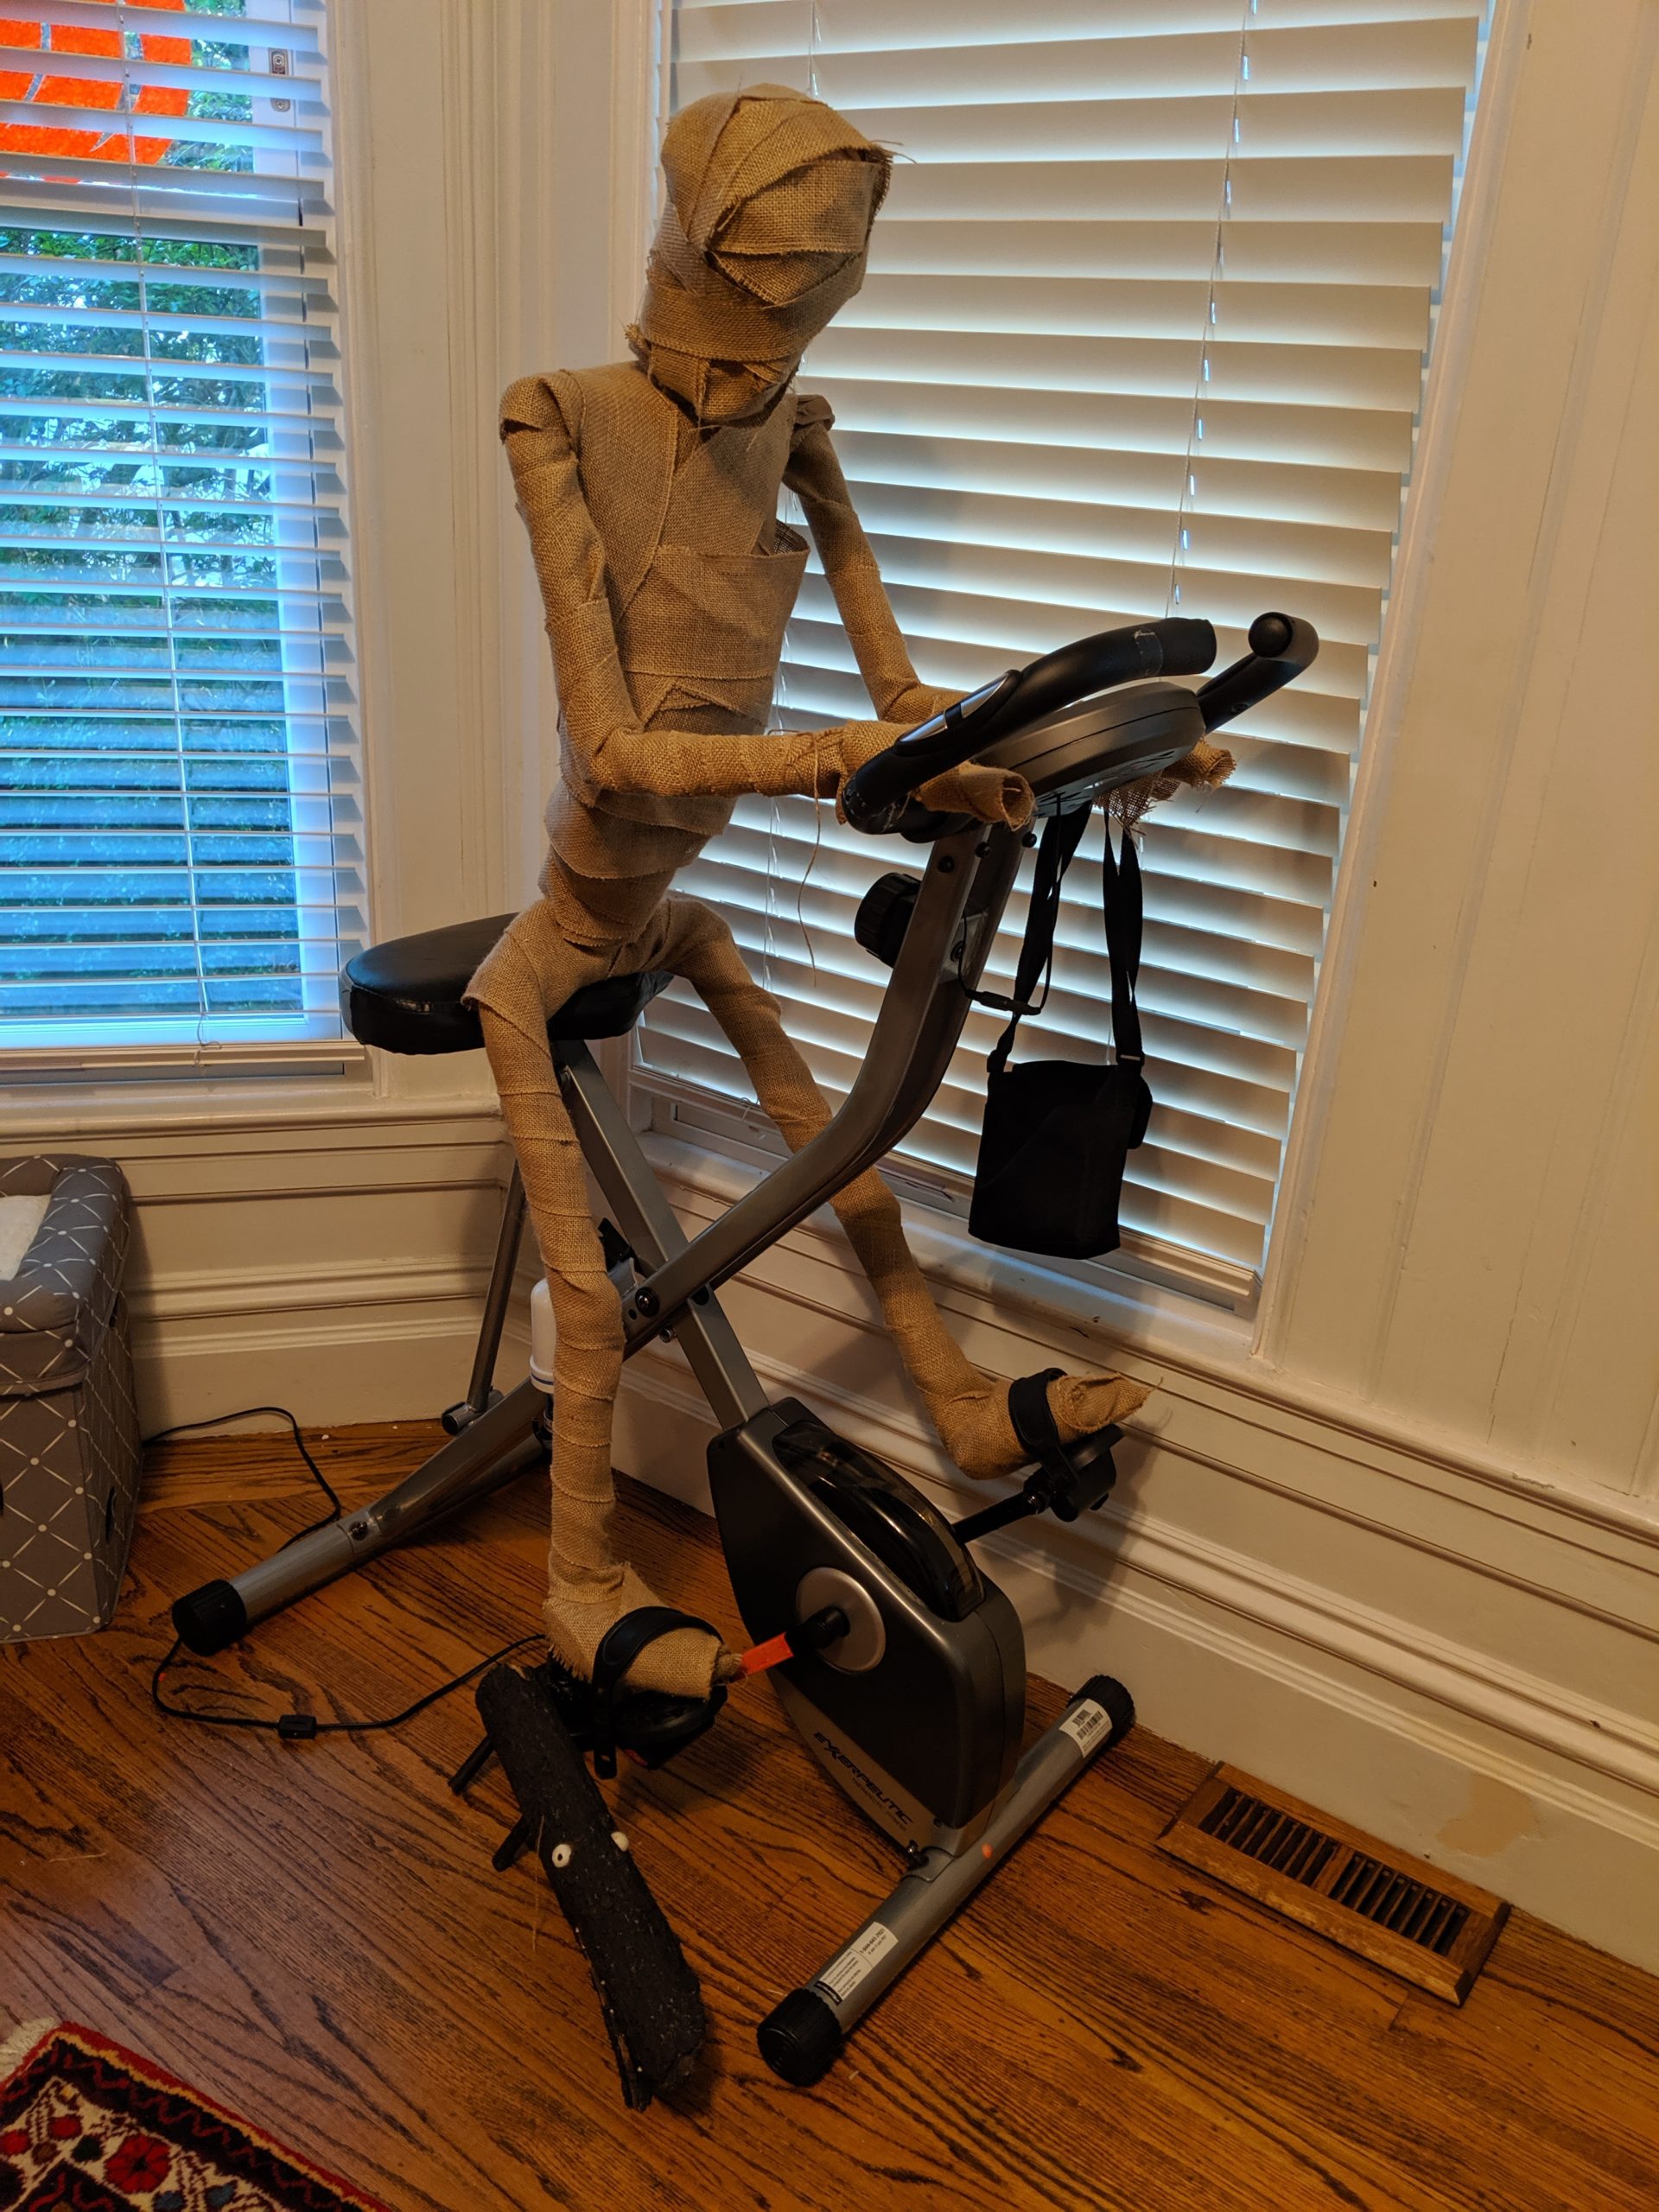
George the mummy exercising
In this photo, George is sitting on a stationary bicycle. This shows off how George’s limbs can move and that he can be detached from the lamppost. It also shows that George is about the same size as a normal human, which makes him more realistic and creepy.
George taking down holiday decorations with Number Three
In this video, George is taking down Christmas decorations with Number Three, showing off how well he stands and how much he enjoys wearing hats. He is also sturdy enough to hold Christmas tree ornaments without his arm bending.
We decided to make a special present for our teachers at school. One of the teachers really loved alligators, so we decided to make one for her out of wood.
Please note, this material is provided for informational purposes only and is not a guide on how to create the designs. Please read our disclaimer.
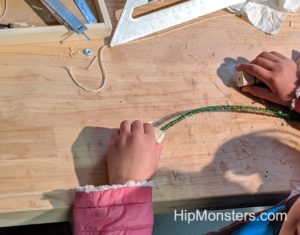
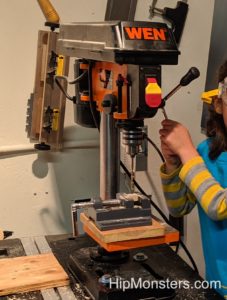
So we set out to make one out of wood. First we cut the wood into the rough shape of the toy.
Next, We drilled the wood that we cut. We cut lots of little pieces so the tail could move. We also drilled a small hole in the center of each small piece.
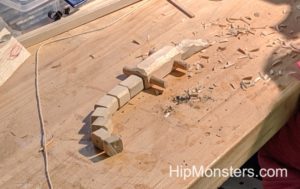
To smooth the edges we used a wood plane. Then we sanded each piece with fine grain sandpaper. For the details on the head we made rough cuts using an alligator saw then sanded repeated to get the shape we wanted.
We laid out the final design before threading the wire through the holes we drilled.
Here we are threading the wire though the holes. We used pipe cleaners to get a snug fit. This will make the toy alligator flexible but will also hold its shape well.
Born from one of our favorite bushes and a failed costume, Lin the dragon was our most complex monster at that time.
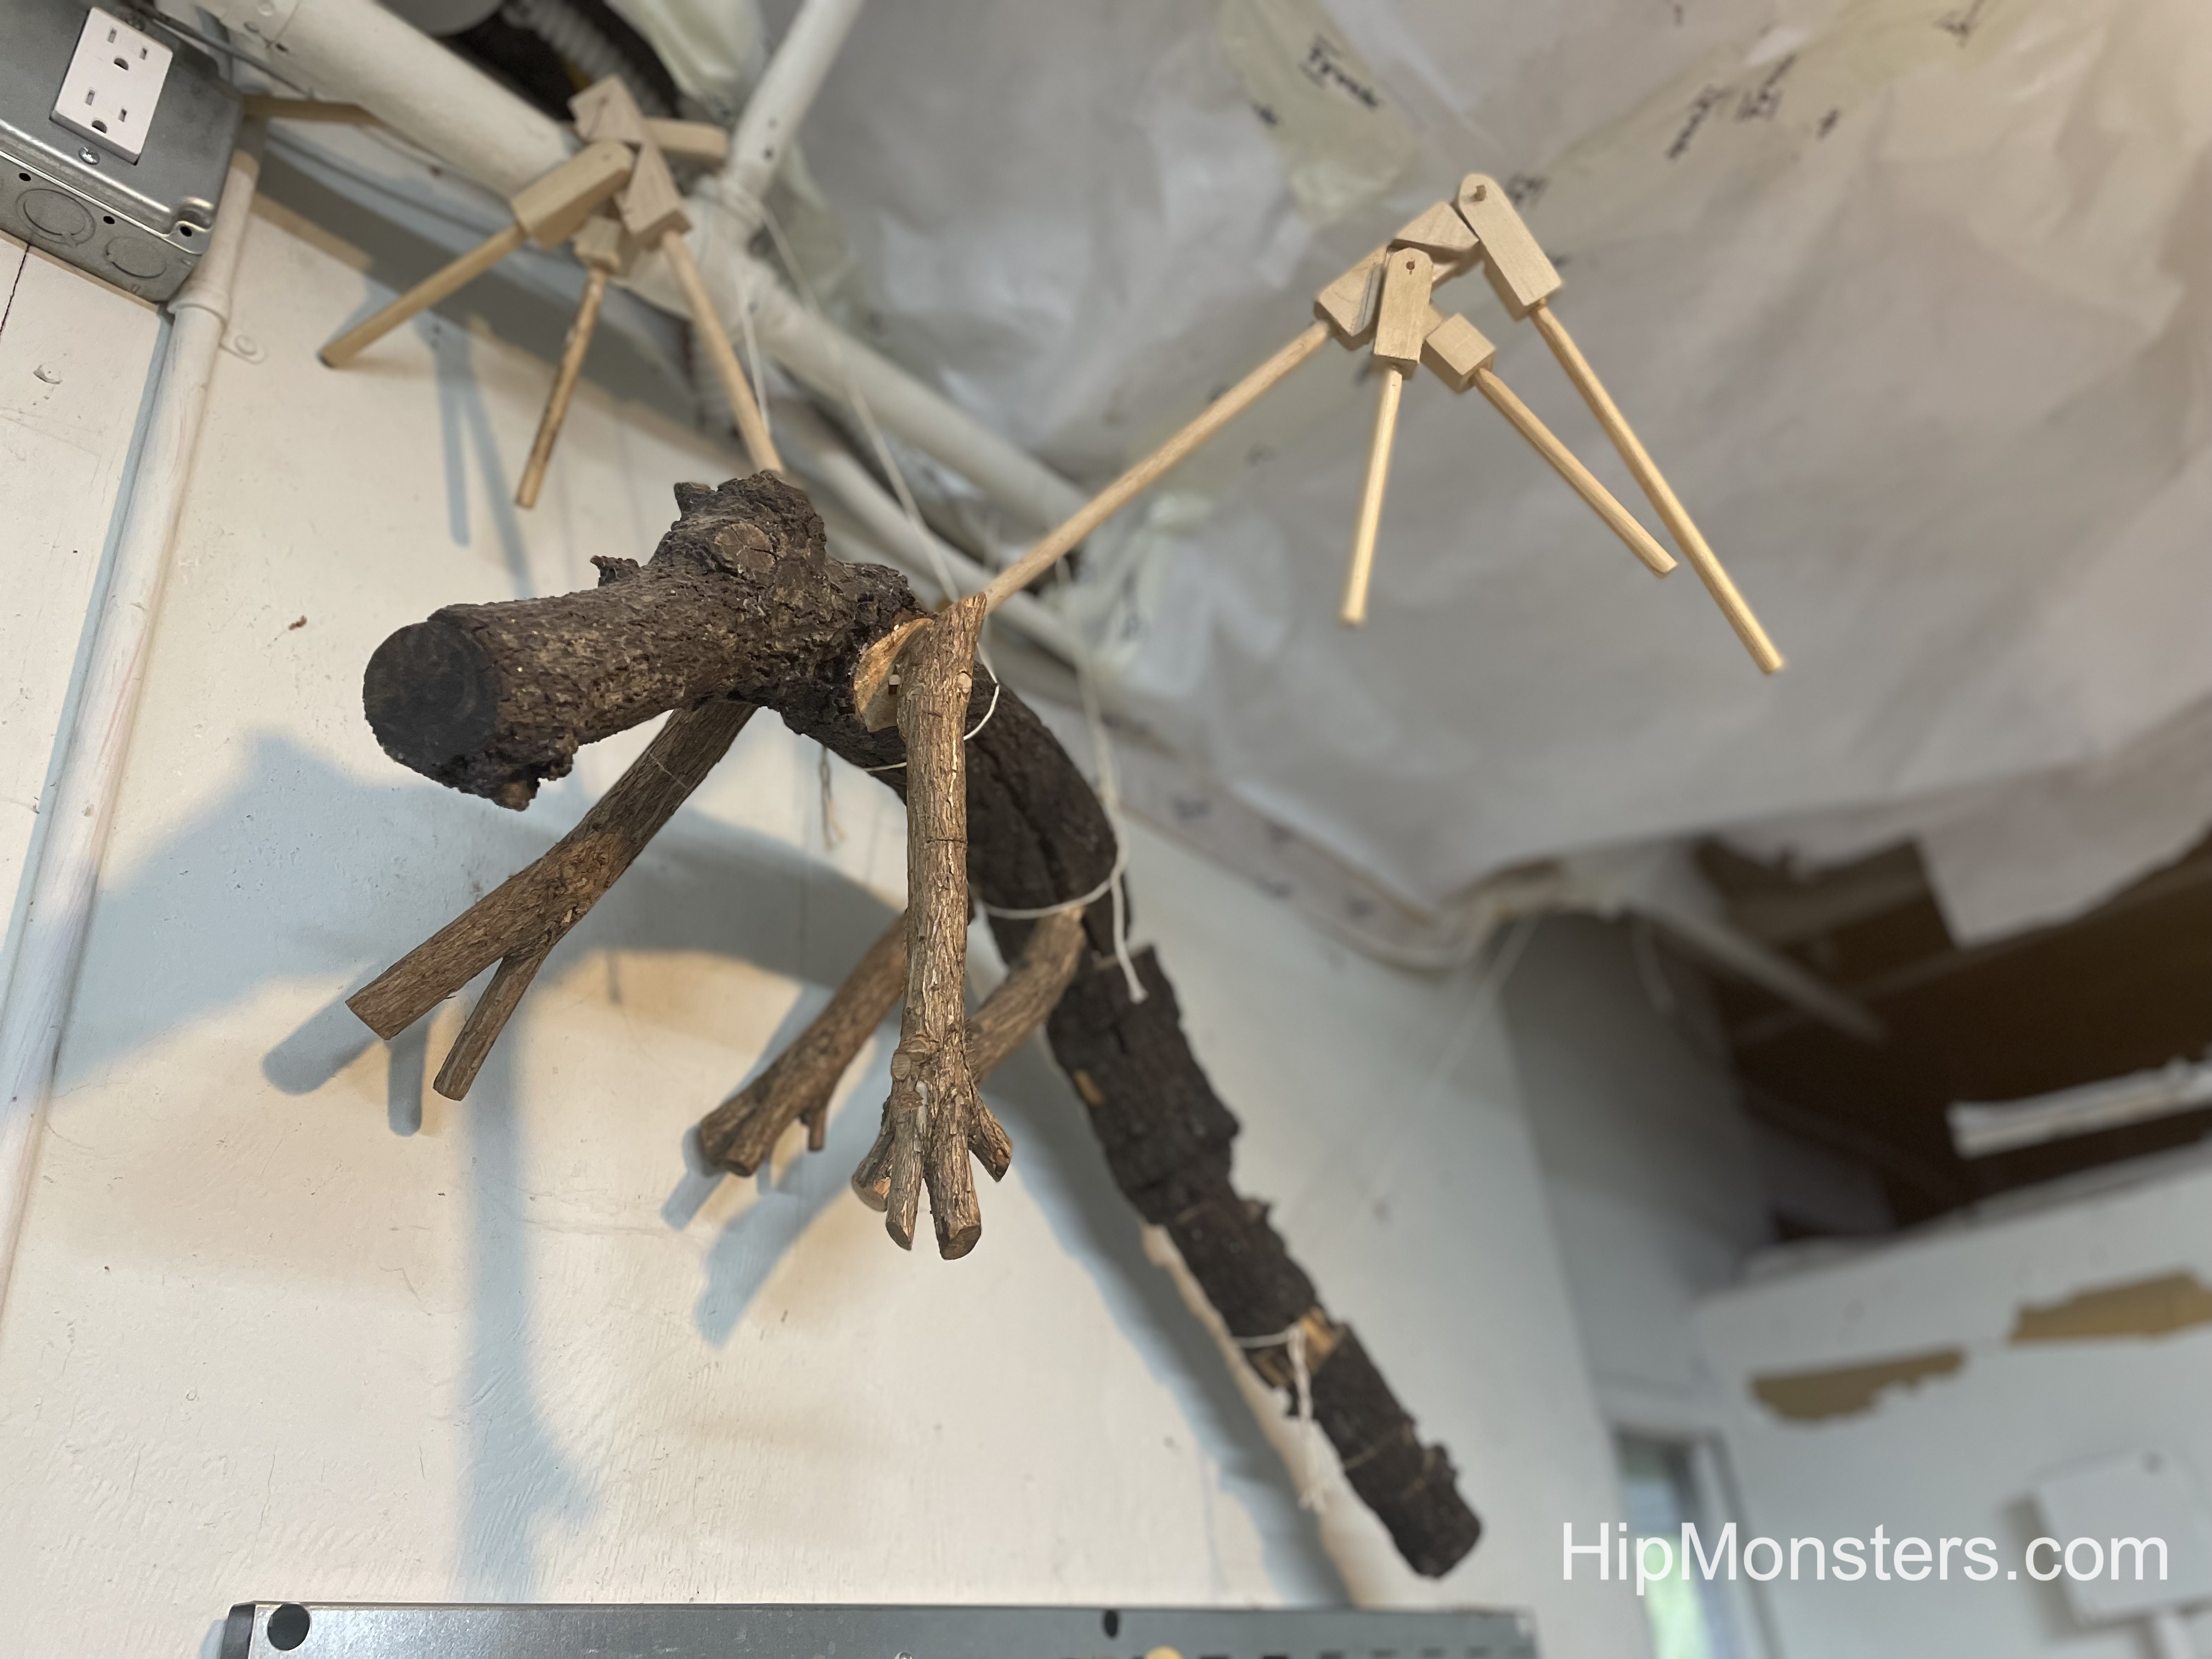
Flying free!
Lin has posable legs, tail and wings. The legs can barely support her so we decided to hang her from the ceiling to watch over us as we craft.
Side viewClose up of a wing joint
The wings are from a dragon costume we were building that proved to be too heavy. The tail is made by repeatedly cutting the log and threading a steal wire through them to secure it.
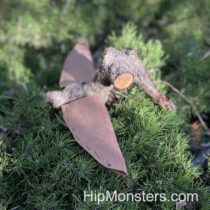
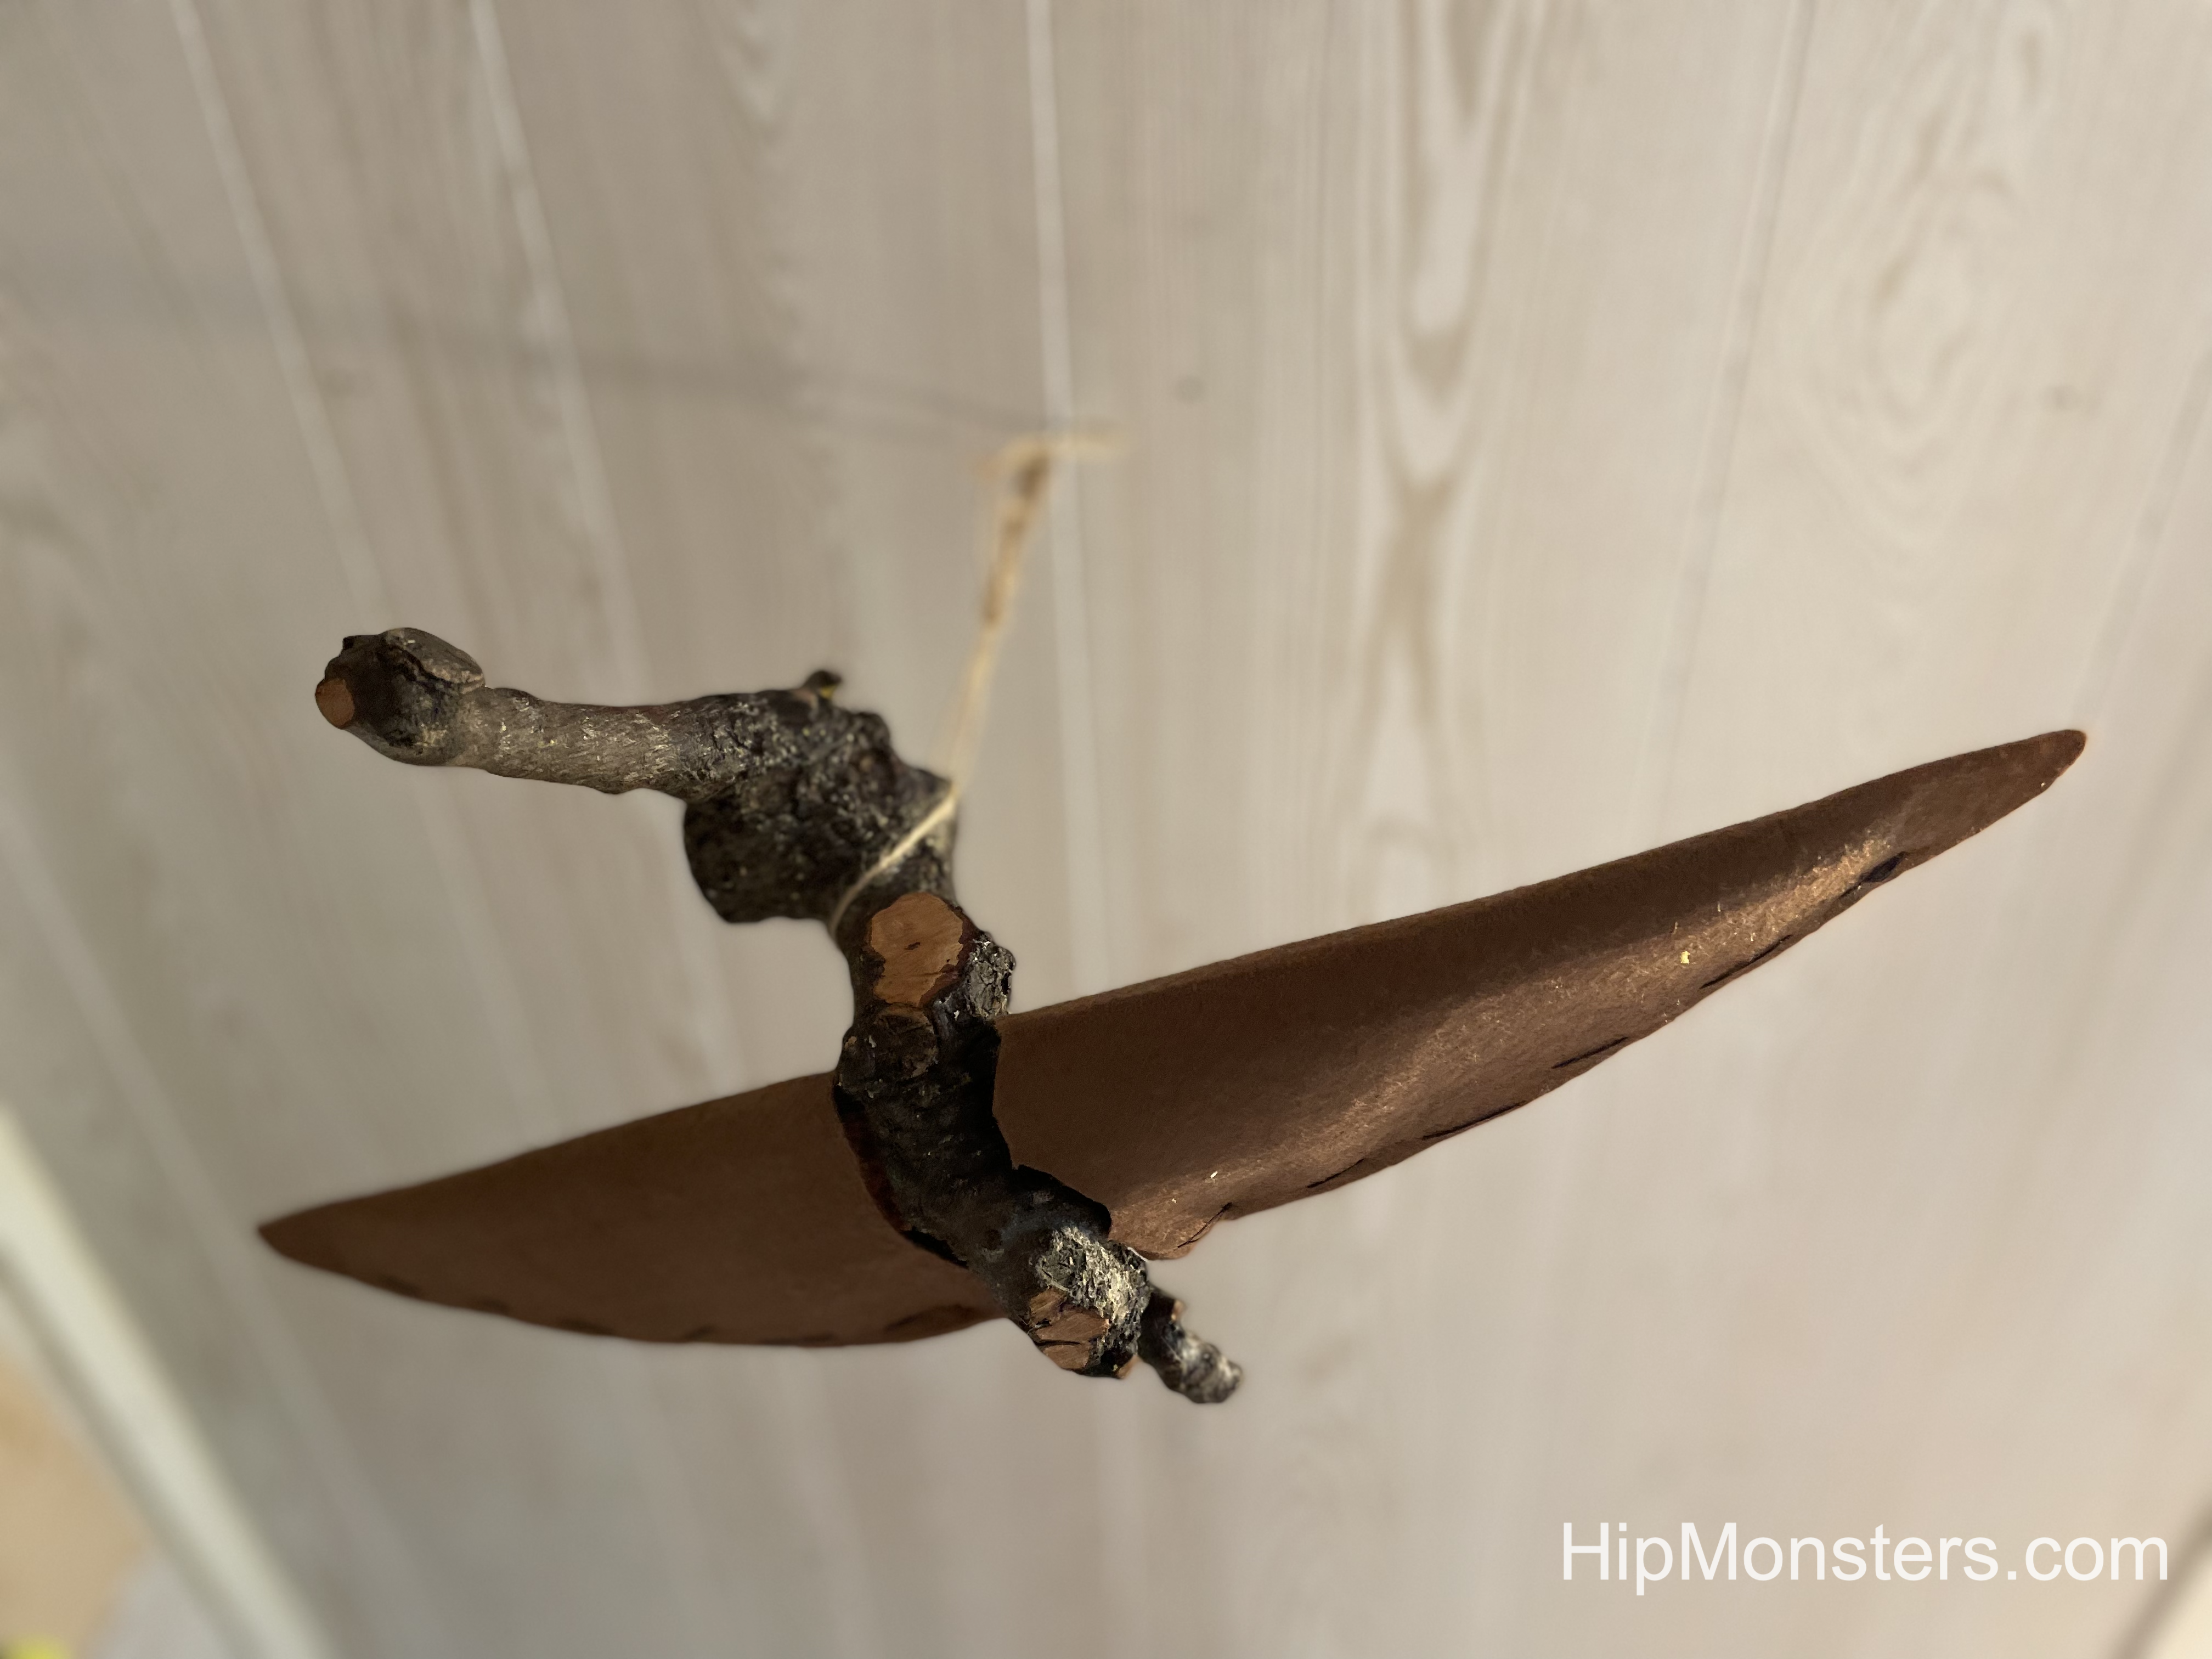
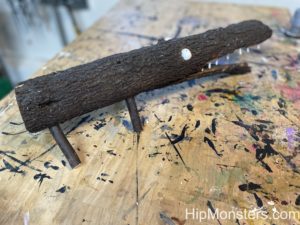
The hummingbird monster was made from a branch too weak to be used for other projects. We decided to make it into a hummingbird because it already had a long beak, and the body was already shaped like a bird. After lots of trimming, sanding, and bees wax, we added felt and wire wings.
Bottom view
Hung from the ceiling, the humming bird monster comes to life.
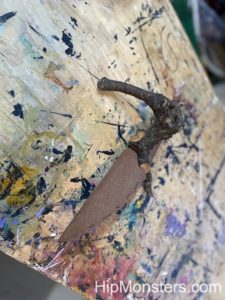
We call this monster the Anteater. The Anteater monster was a wonderful branch that was too split to make a good wand or use in other projects. After we stabilized the splitting and cut out all the rotted wood, we sanded her and coated her heavily in bees wax.
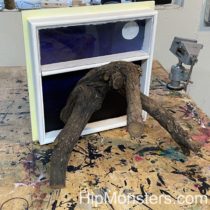
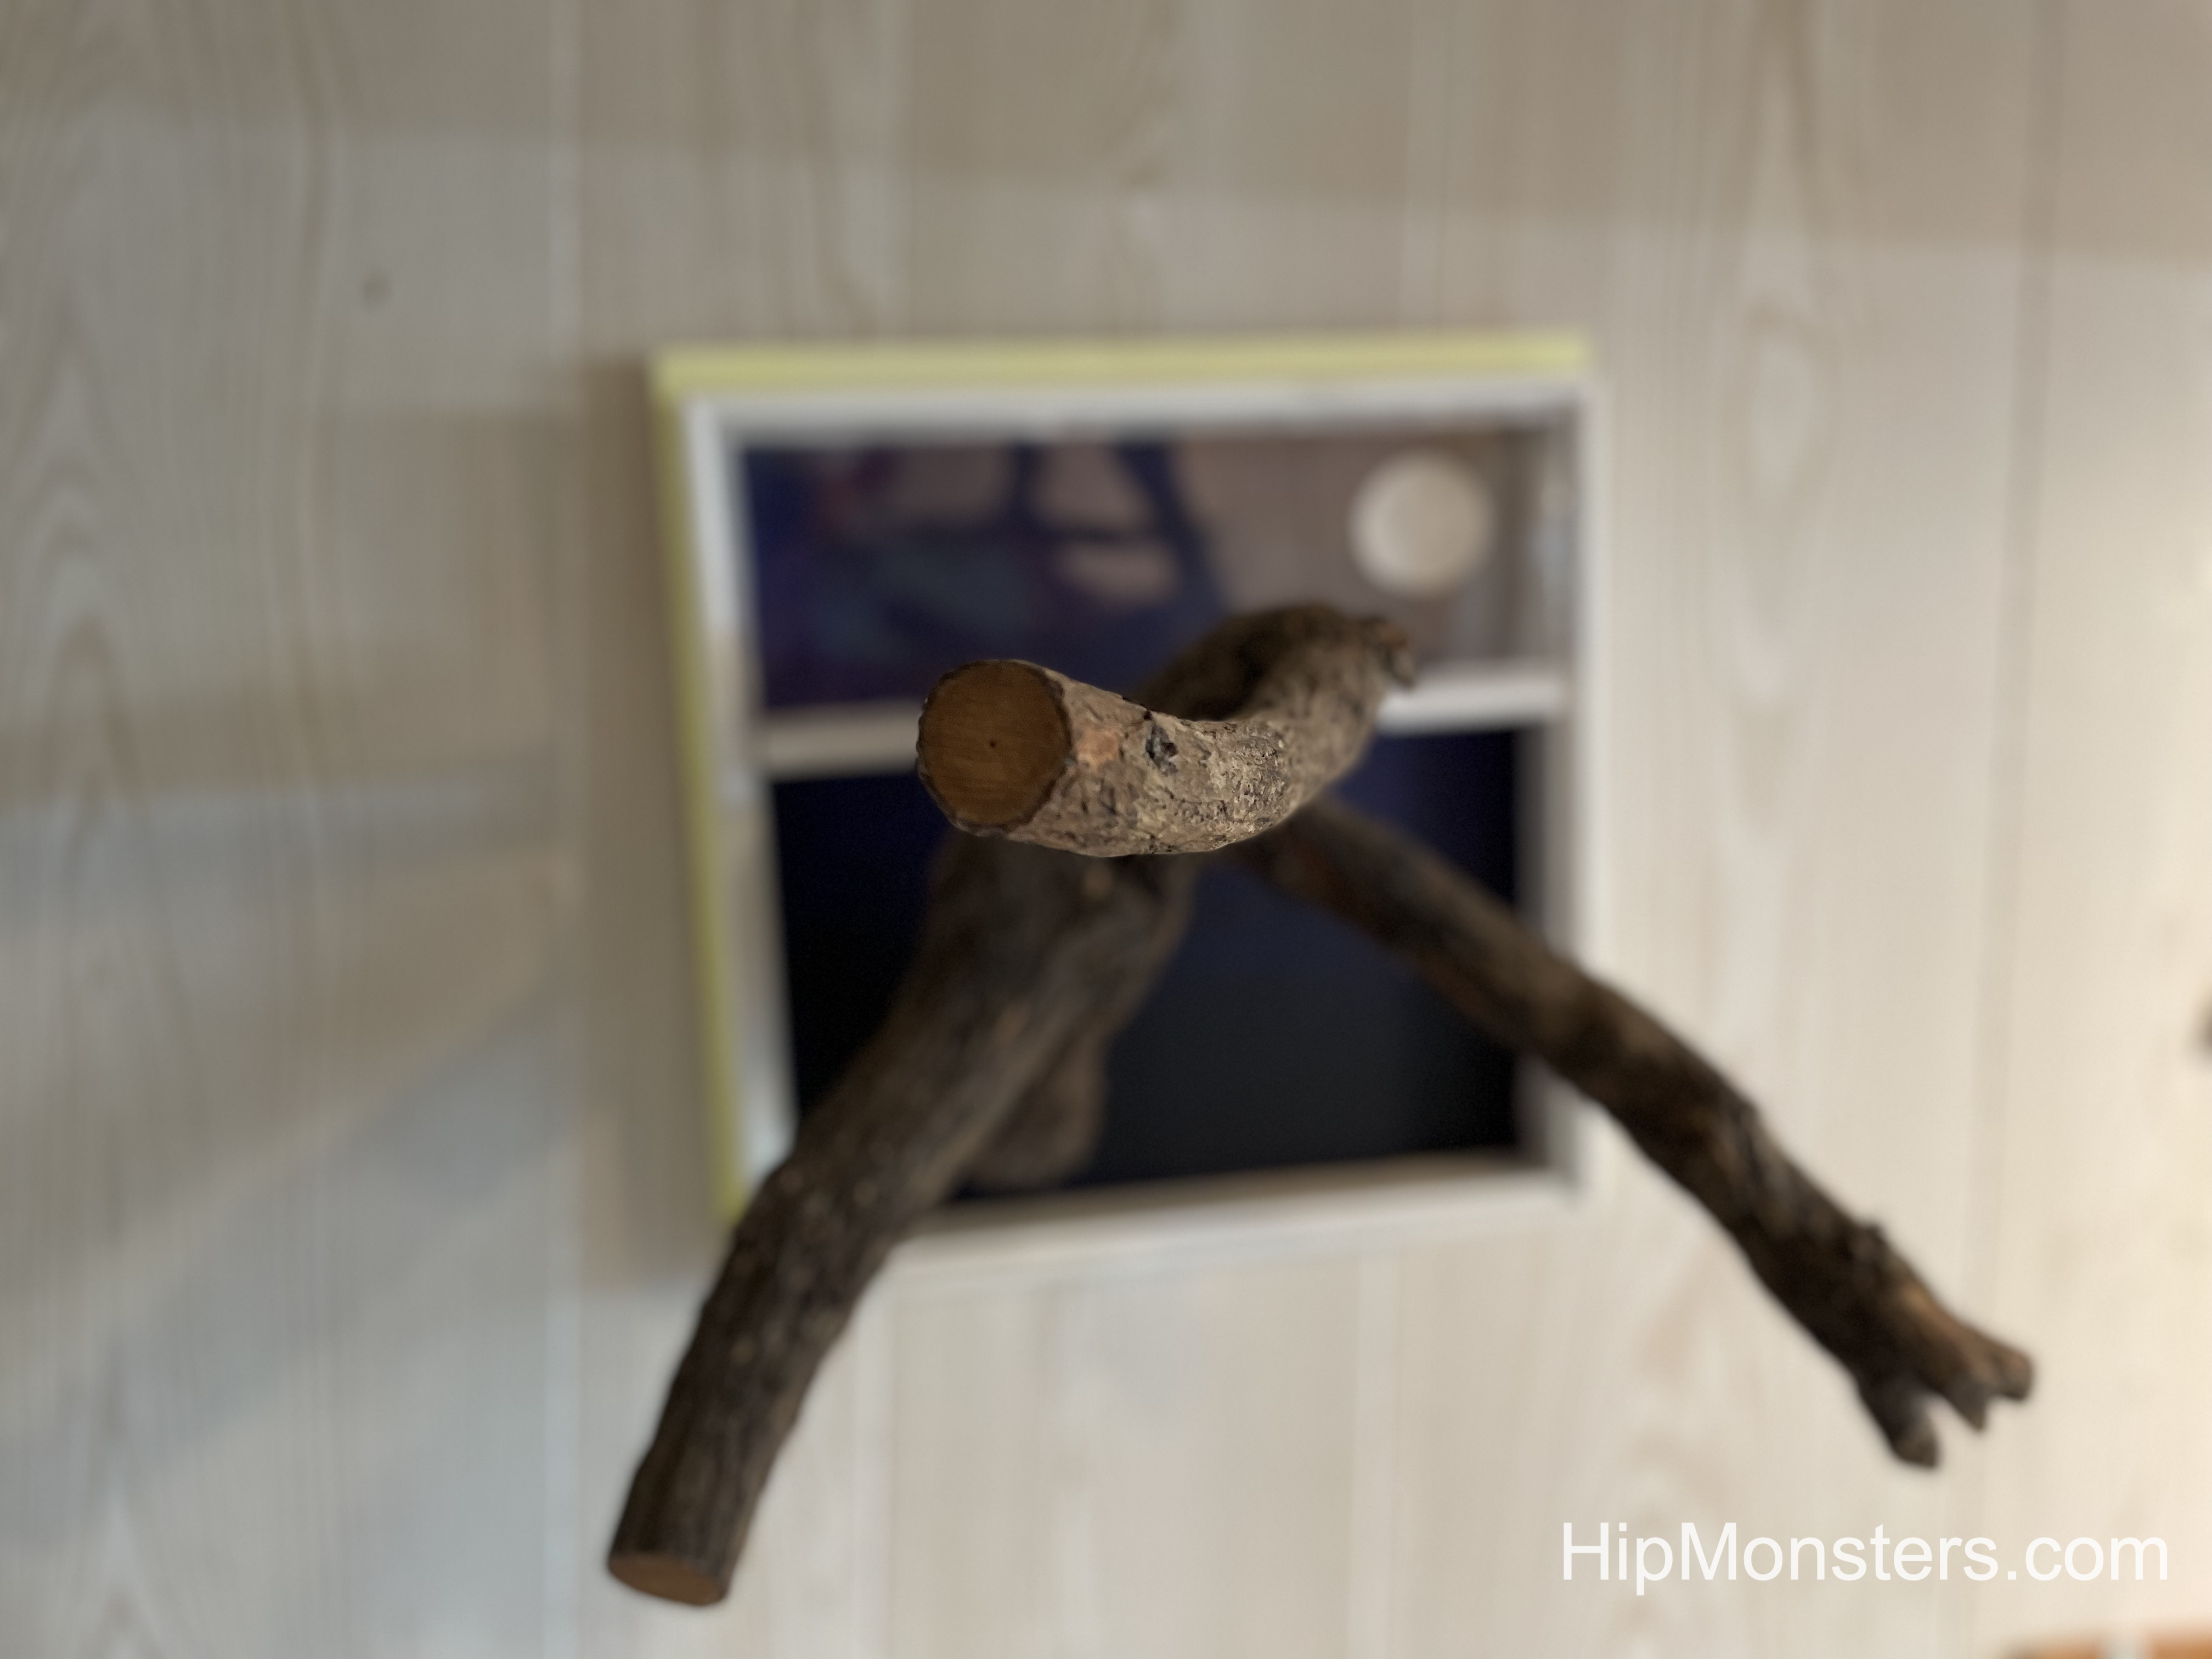
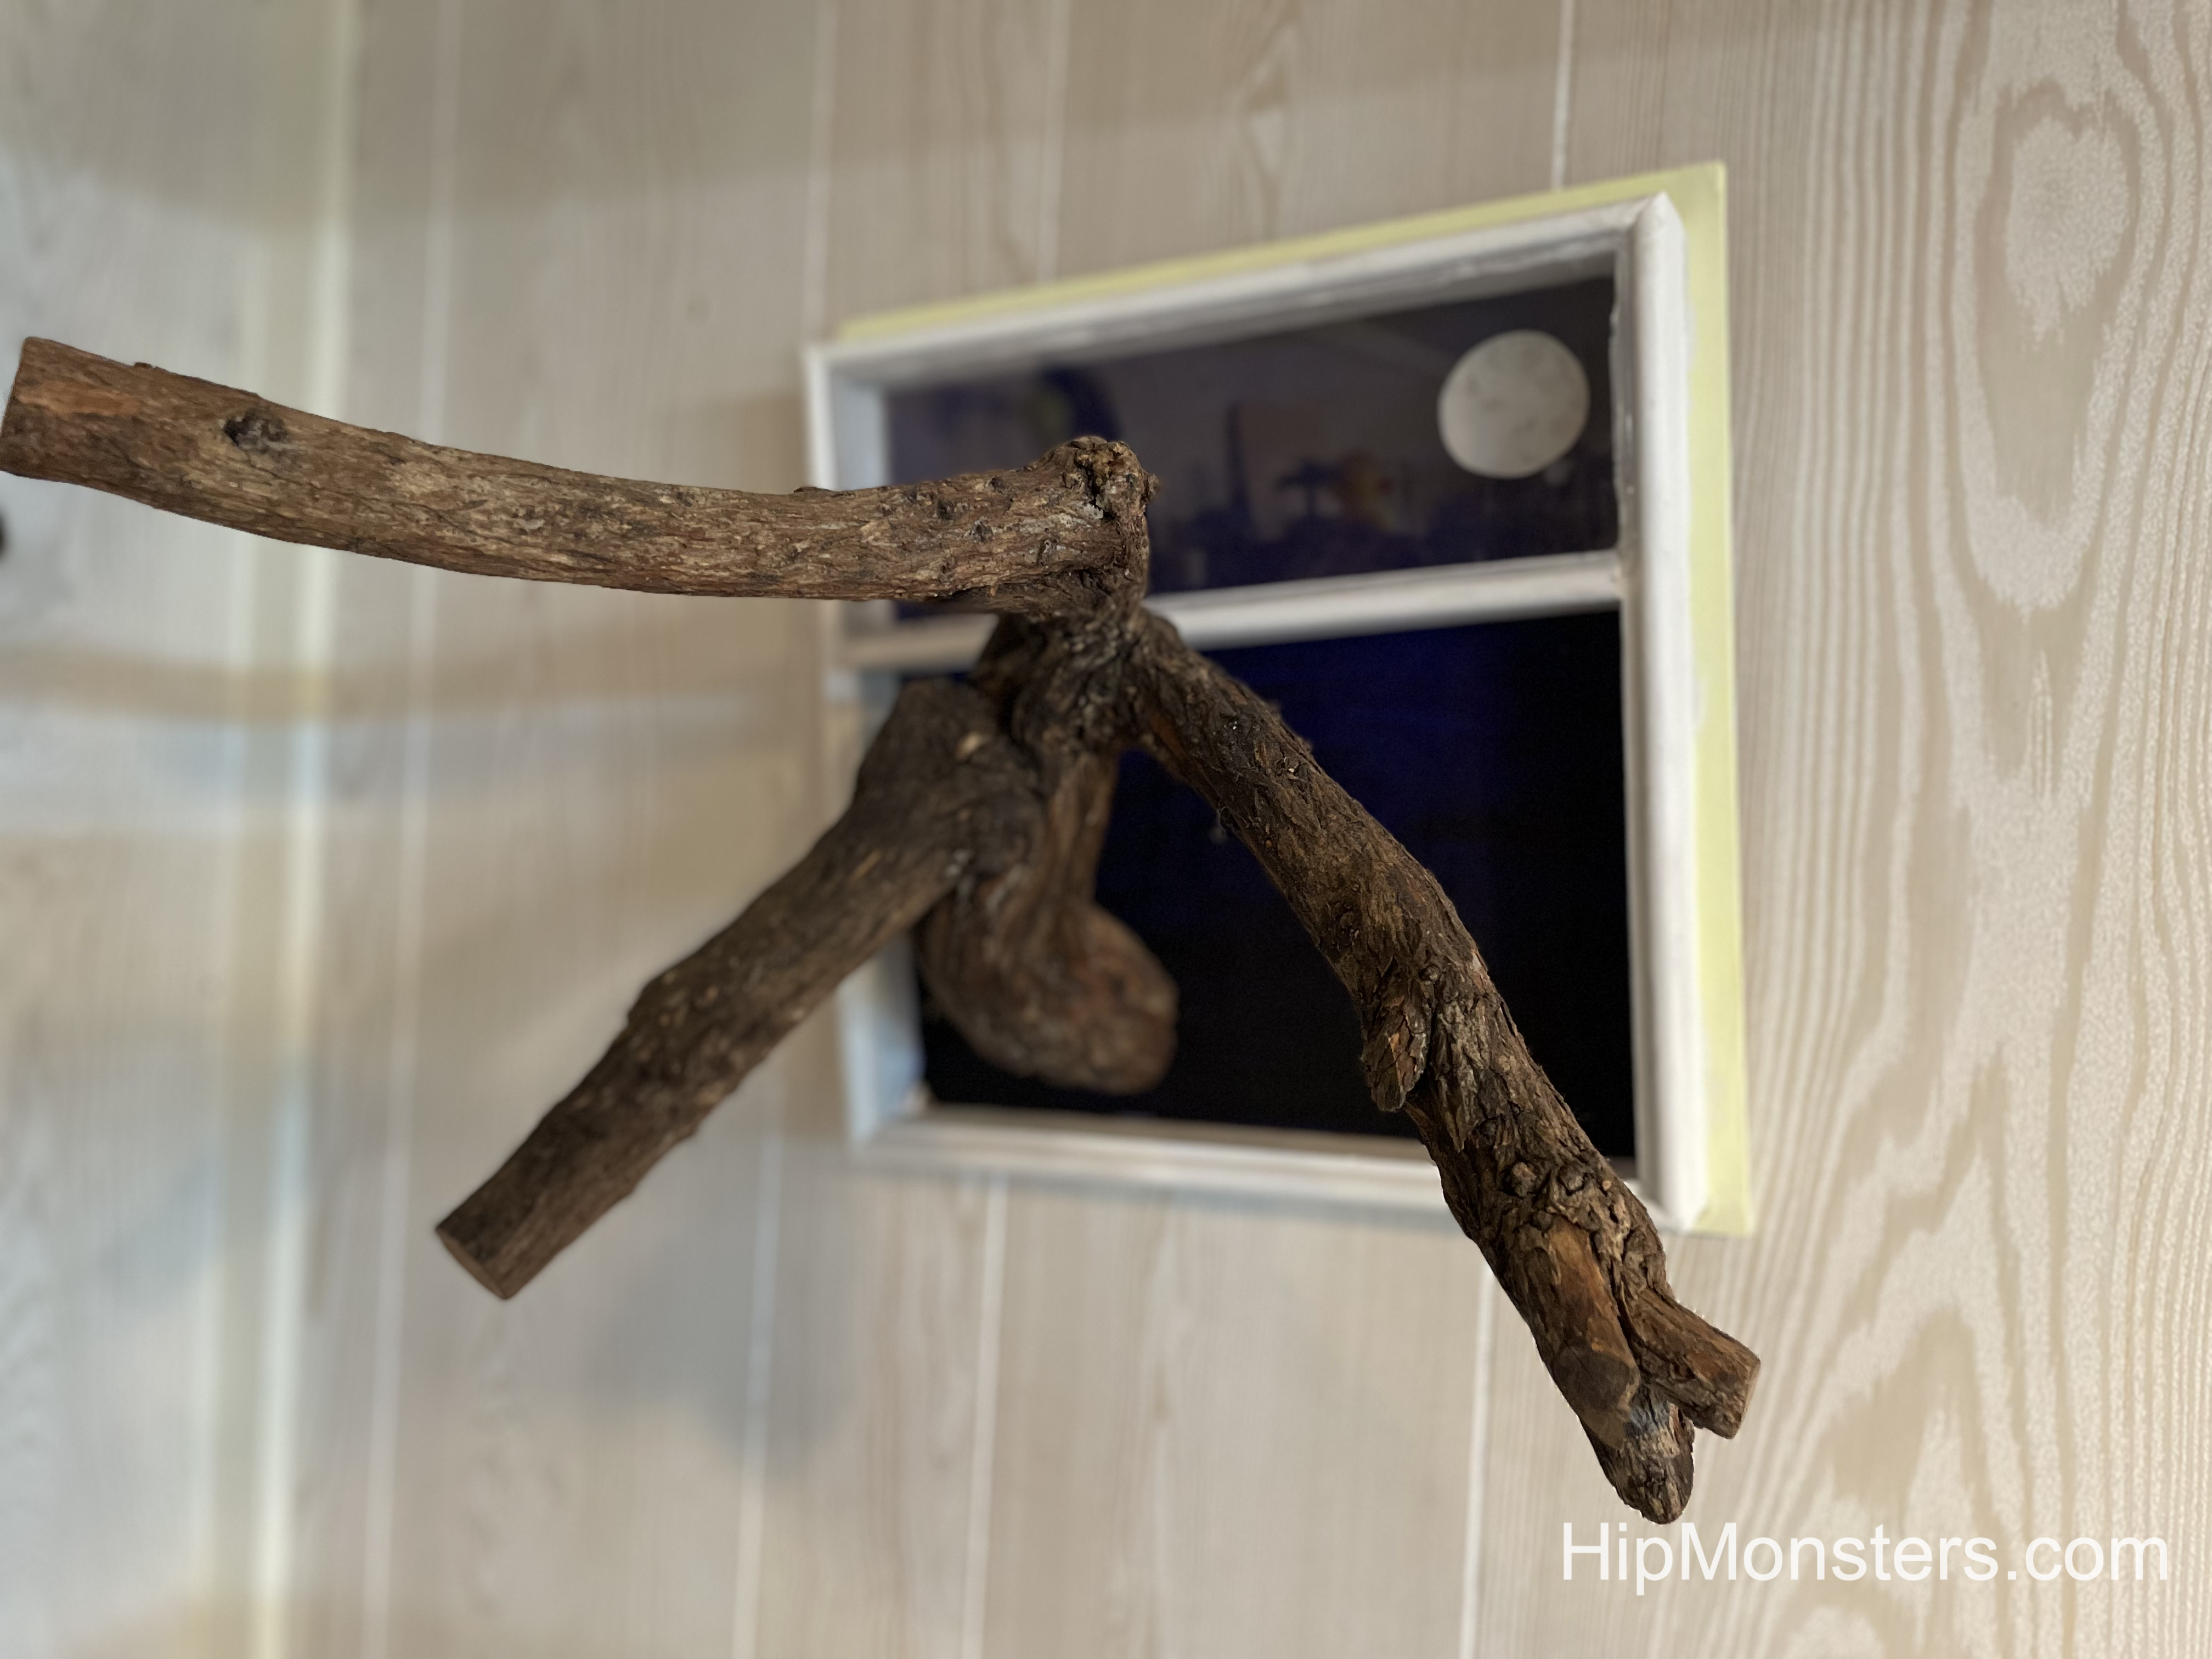
Side view
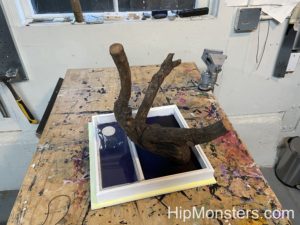
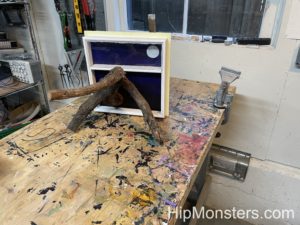
At first we thought of mounting Anteater on the wall as if she was a trophy, but then the Sister’s team thought of having her appear to climb out of the wall. We then used a picture frame we were working on and created a fake window using the picture frame, paint, and plexiglass for her to climb out of. With a window as a mount, she made a great addition to our living room.
The Hip Monsters team does not like trees going to waste so whenever we stumble upon a piece of wood too rotten or misshapen to be used for out projects, we create a wooden monster!
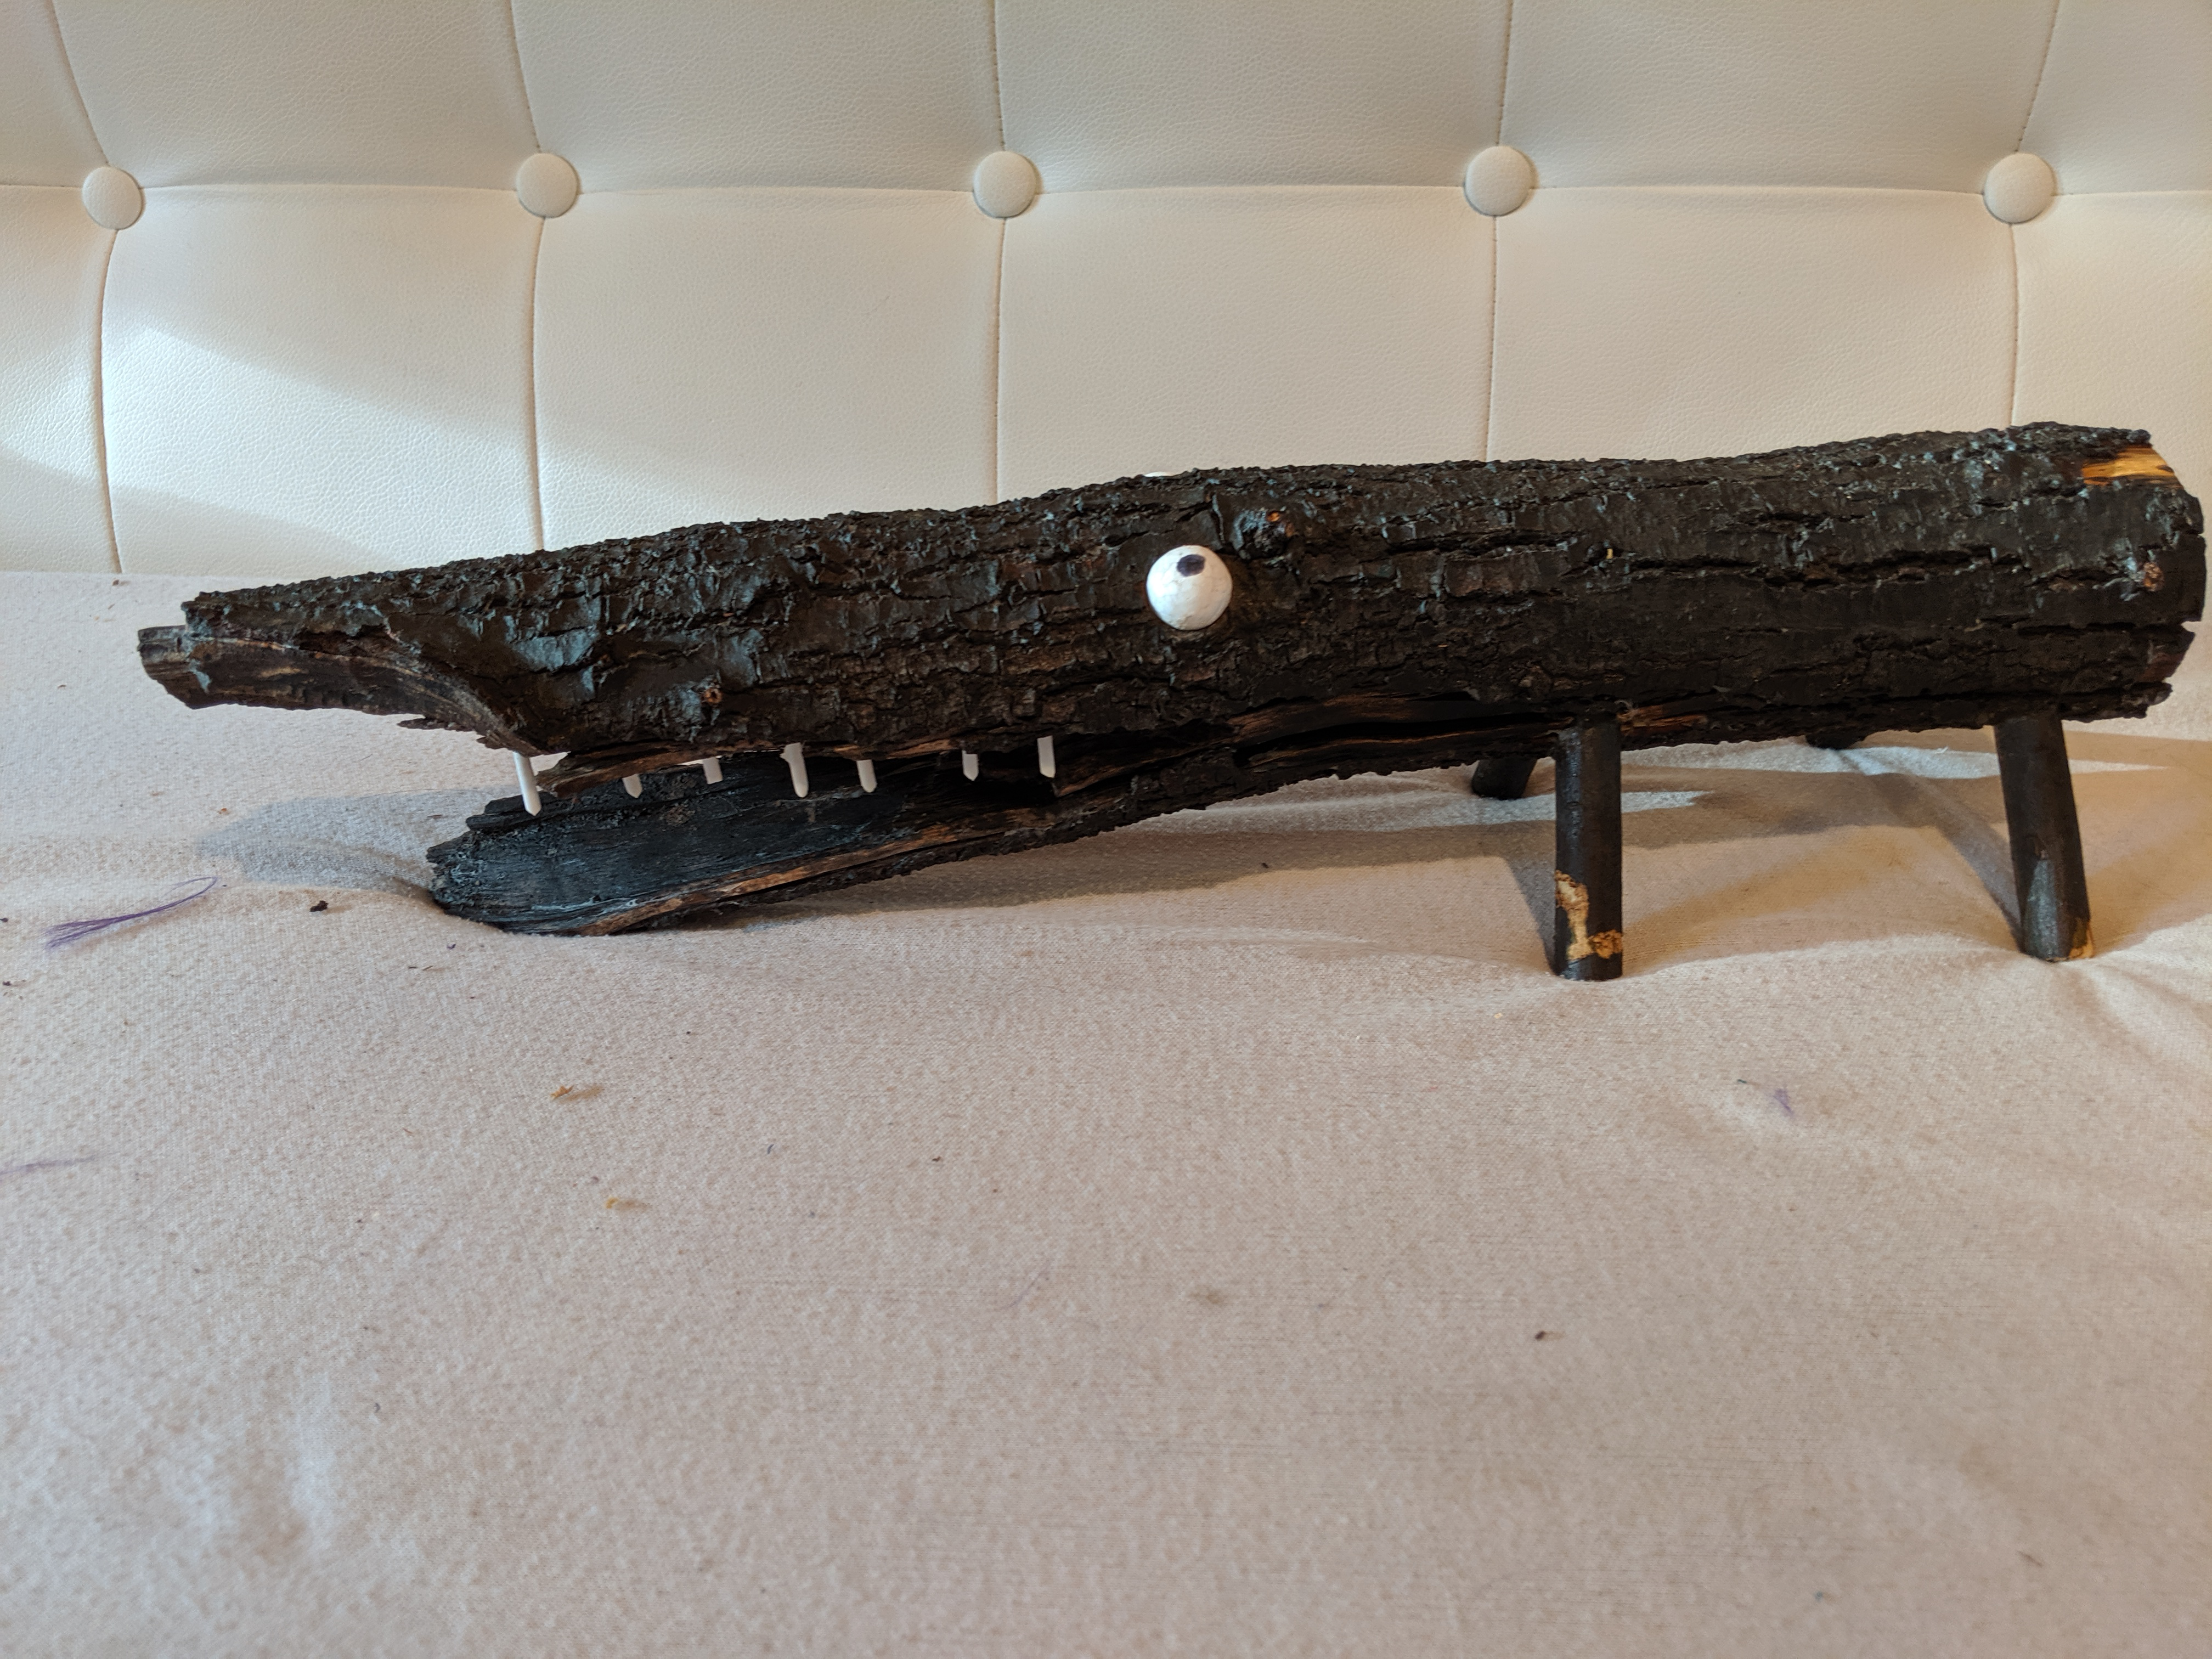
Allie!
Born from a dead branch of a juniper bush, this monster is built to protect a child’s room. It is very possessive and will only allow one monster in the room at a time. Perfect for making sure human children have a restful nighttime sleep.
Allie from the front.
We made Allie’s eyes out of two styrofoam balls.
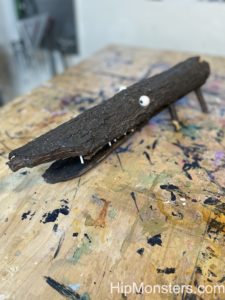
Allie from the rear.
Allie was one of our first monsters and is at the front of our house very Halloween!


 We laid out the final design before threading the wire through the holes we drilled.