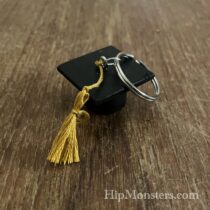
Graduation time is upon us and what better way to celebrate than creating something fun. For this year’s celebration we are making wooden graduation hat charms. This design is straightforward and suitable for all ages.
Please note, this material is provided for informational purposes only and is not a guide on how to create the designs. Please take a look at our disclaimer.
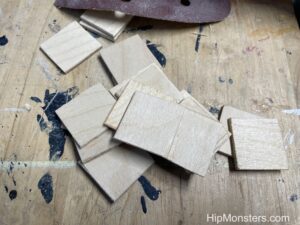
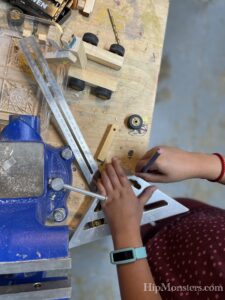
This first step is lots of cutting. We cut the tops of the hats from thin sheets of plywood. Cut each square to is 3/4th of an inch on both sides.
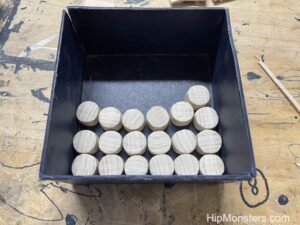
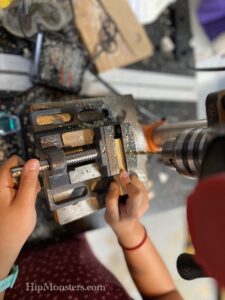
The bottom of the hats were cut from square bars that we spoke shaved into a circle 1/2 inch wide.
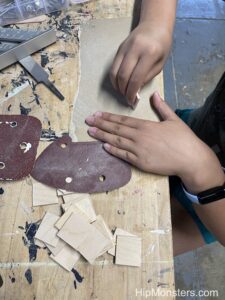
After cutting and spoke shaving, sand the tops and sides as smooth as possible using different grades of sand paper. To make the charms smooth enough to look like a real cloth hat will require a repeated sanding.
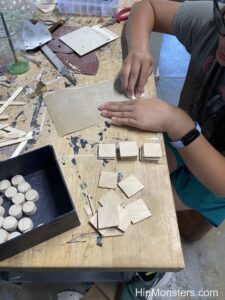
After the tops are well sanded, start sanding the bottoms.

To align the tops with the bottoms while glueing, we drew cross on the bottom of the circles and the squares. Align the crosses to center the circles.
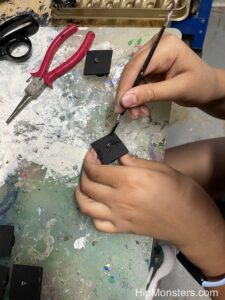
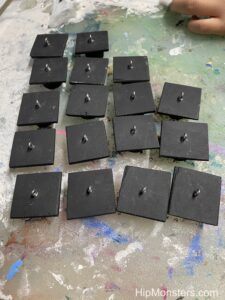
We used a flat black water based paint and applied two coats.
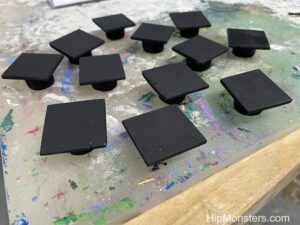
Here are some of the hats with the final coat.
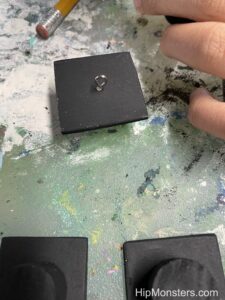
Next, attach the eye-hole screws to the top. The eye-hole screws will let people hang the charm.
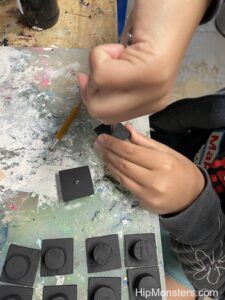
We recommend starting a hole for the eye-hole screw by using a small jewelry drill or very thin nail to make screwing the screws in easier. However, you can also screw them in without using a starter hole.
Take your time putting in the screws. If they break off they can be very hard to get out. Make extra hats and practice on scrap wood first. The main trick is to go slow and use as little force as possible.
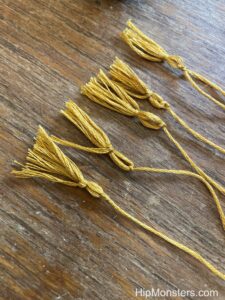
The tassels are made from golden thread and are the hardest part. To make a tassel, first lay down a few strings then lay a long string on top of them in the middle. Tie the long string to the middle of them, which will be the string that the tassels hang on. Finally, tie a short string near the top of the bunch to separate the tassel into two parts. Tassels can be very hard to make, and you might need lots of practice.
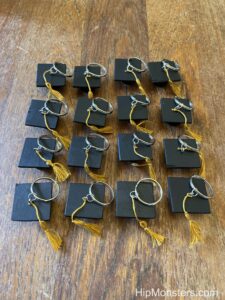
Now just tie the tassel to the eye-hole screws and you are done! You can also add a keyring onto the graduation hats to make them into a keychain.
Happy Creating!