Sun-Moon-Earth Orrery

Getting started

Need to track the moon phases for that perfect time to cast a spell? Worried about when you are due to change into a werewolf?

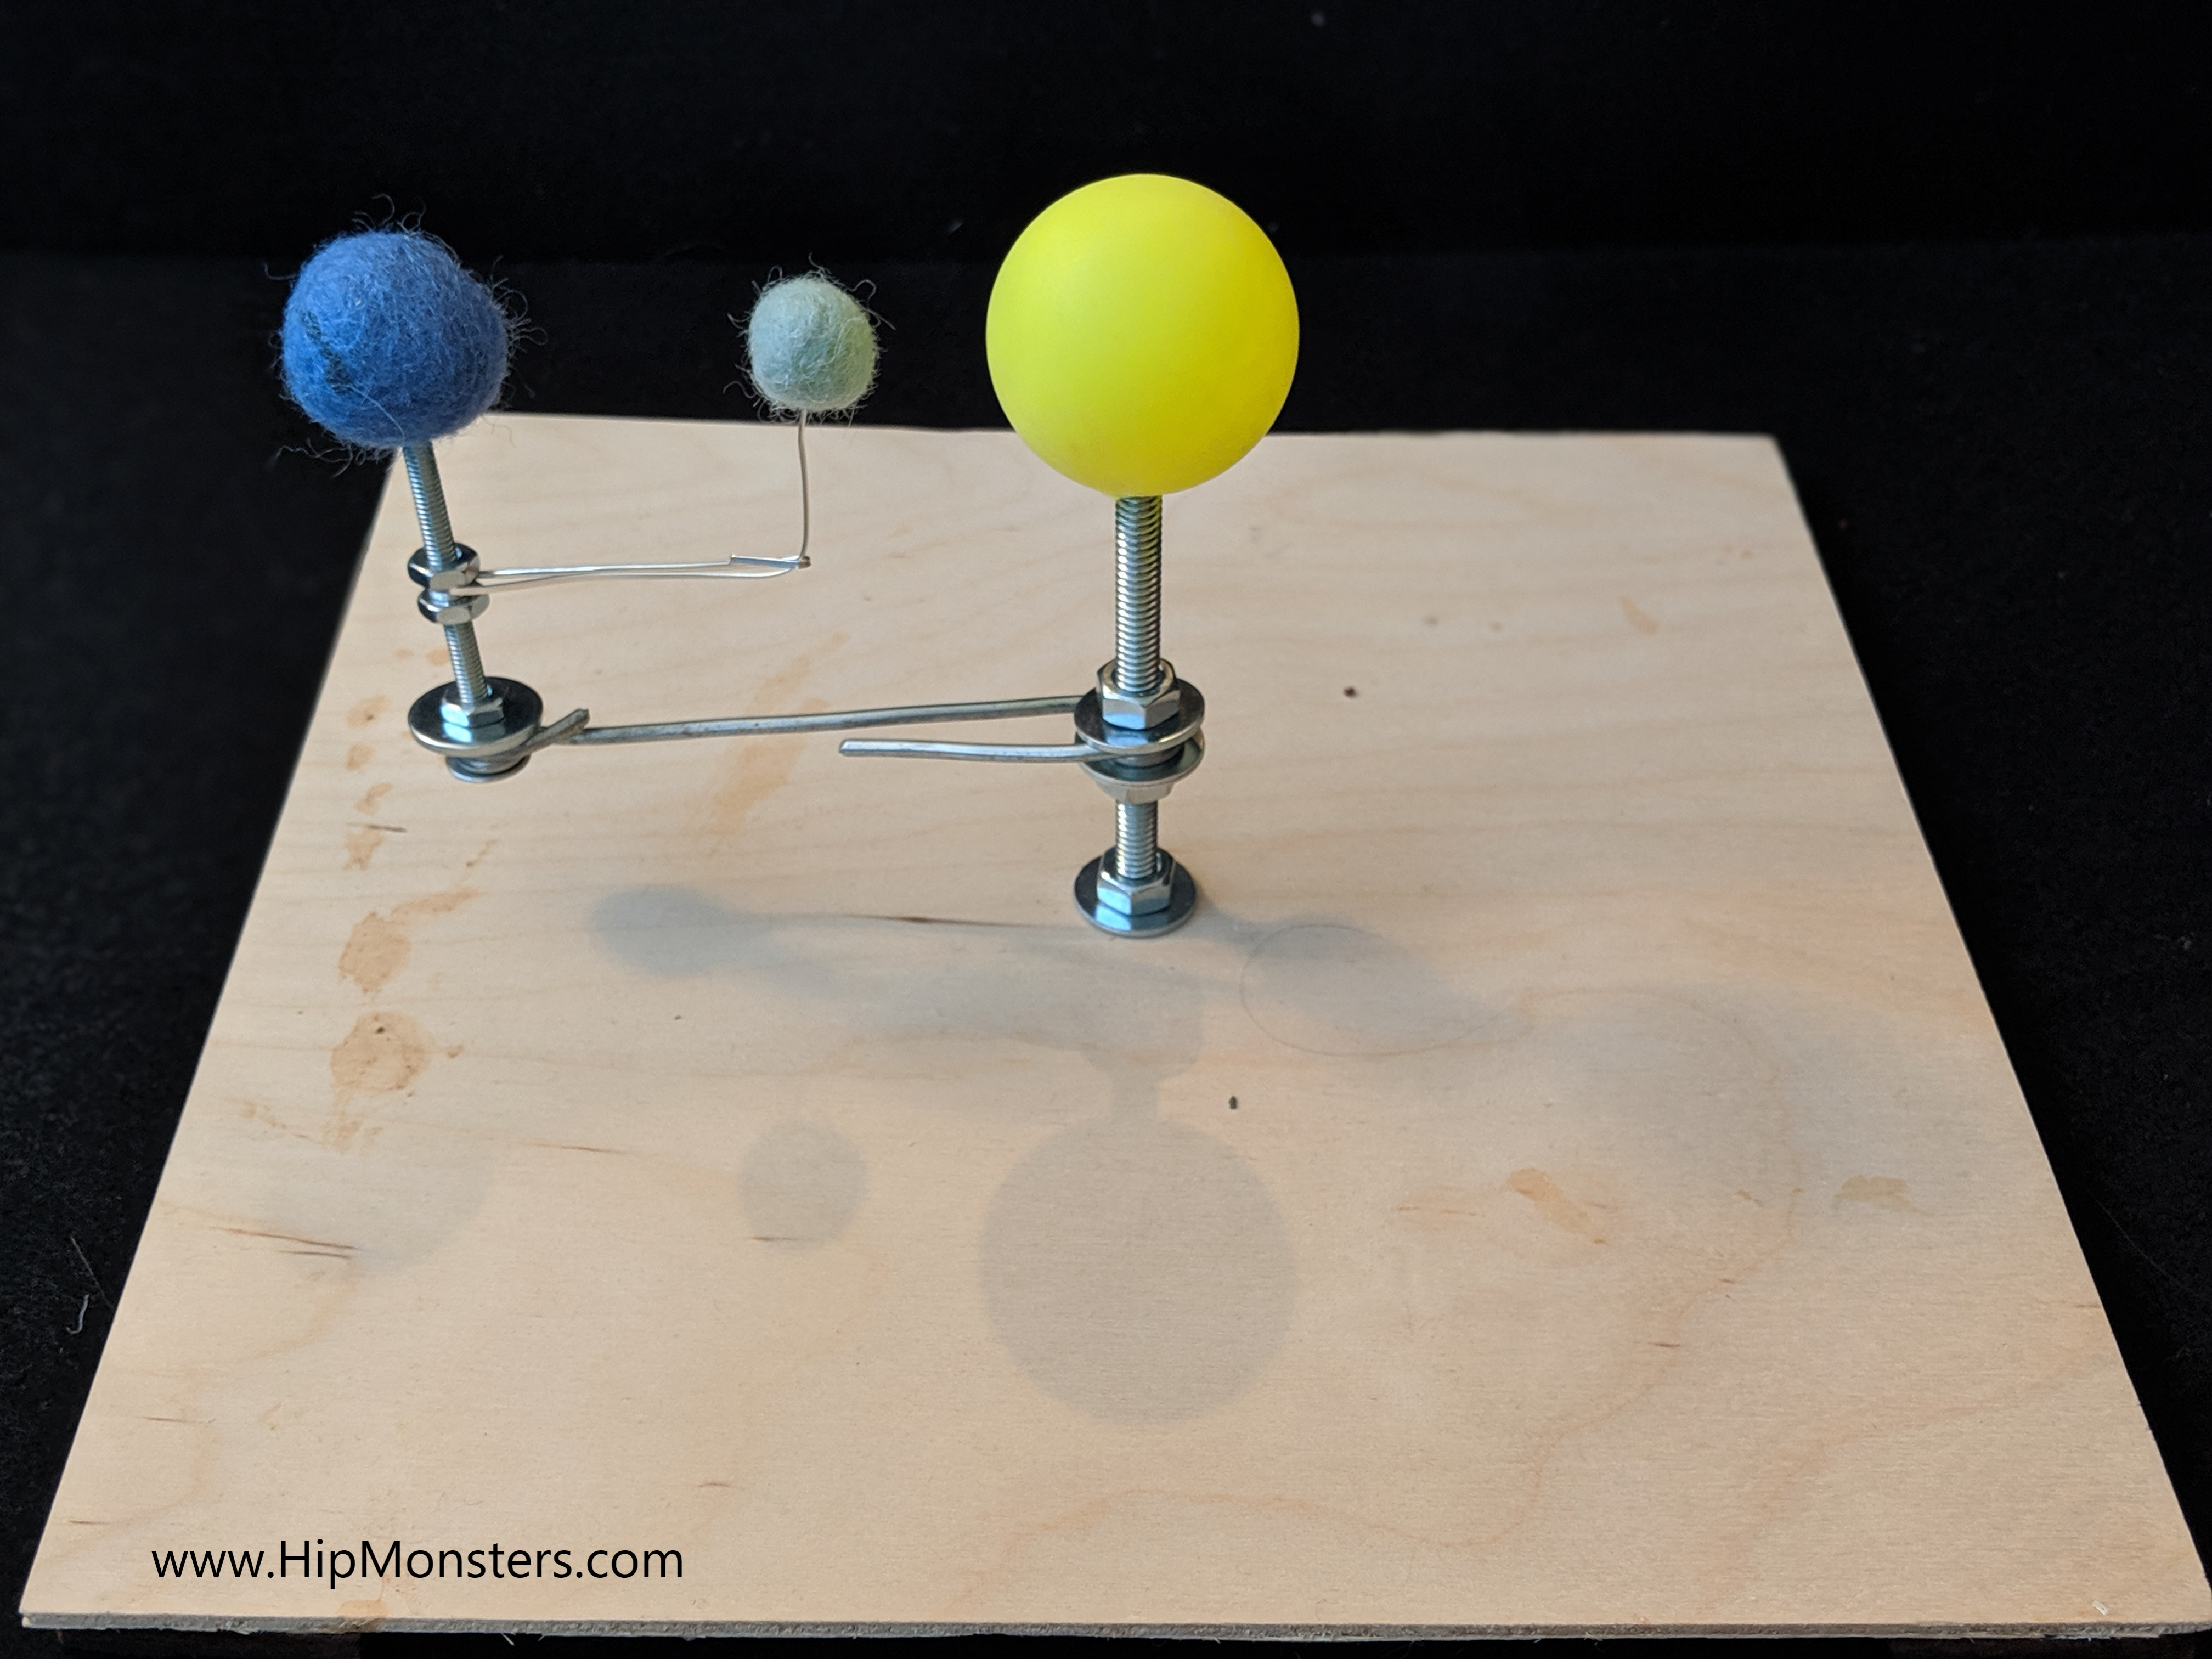
The following instructions are for a quick DIY Sun, Earth, Moon Orrery we did for a school project. This is suitable for ages 6 to 12 but may need adult supervision. We were inspired by this article in instructables.com but needed a much simpler design.

This project was also the start of HipMonsters, and we still use some of the same skills for our robots and woodworking projects.

Please note, this material is provided for informational purposes only and is not a guide on how to create the designs. Please read our disclaimer.Equipment:

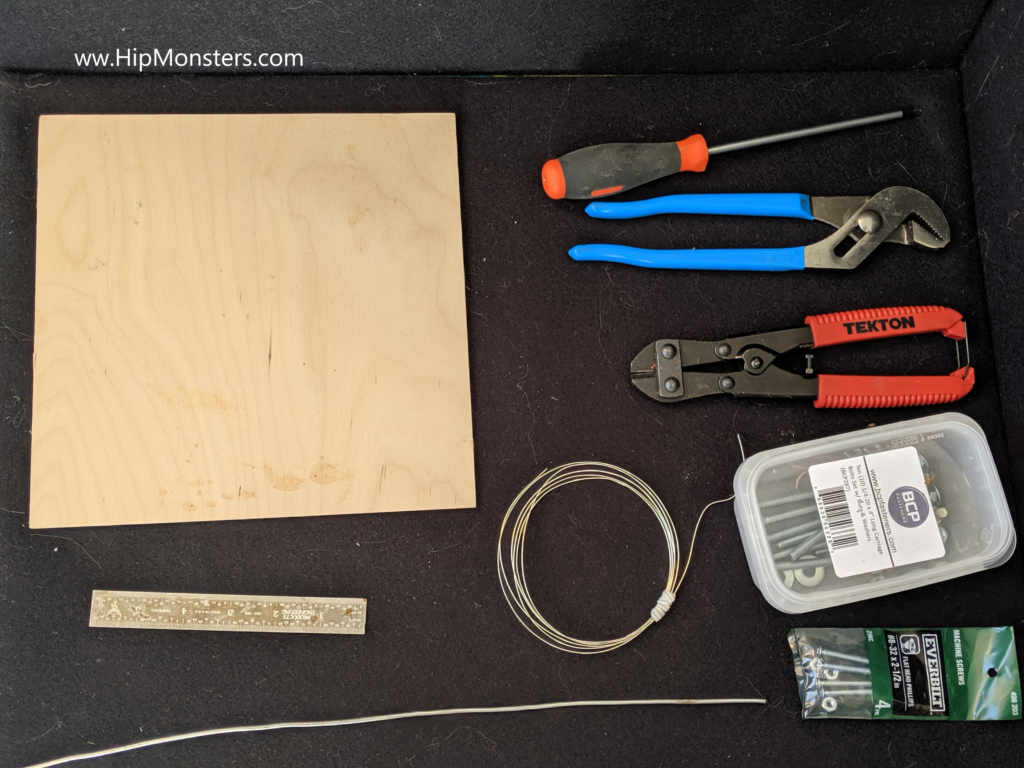
  • Drill
  • Pliers
  • Wire Cutters

Parts:

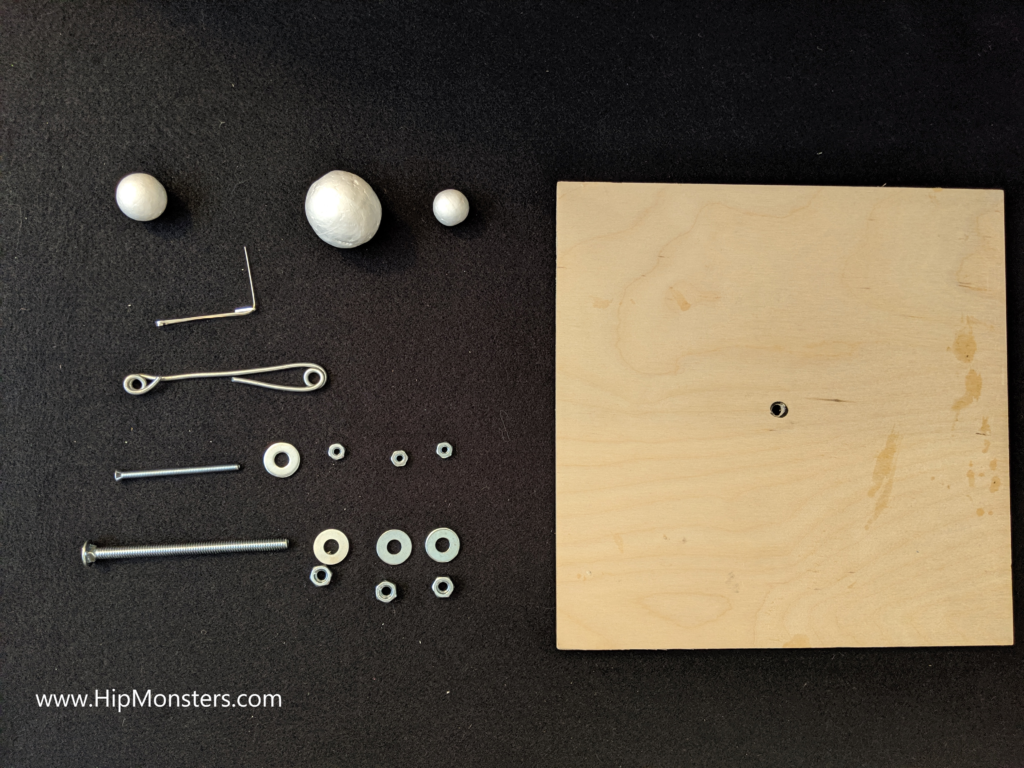
  • Plywood (10 X 10 inches)
  • 4 inch bolt with 3 nuts and 3 washers
  • 2 inch bolt with 3 nuts and 3 washers
  • 3 foam balls of different sizes
  • 9 inches of thick wire (may use coat hangers)
  • 5 inches of thin wire (may use pipe cleaner)
  • Foam padding
Step 1

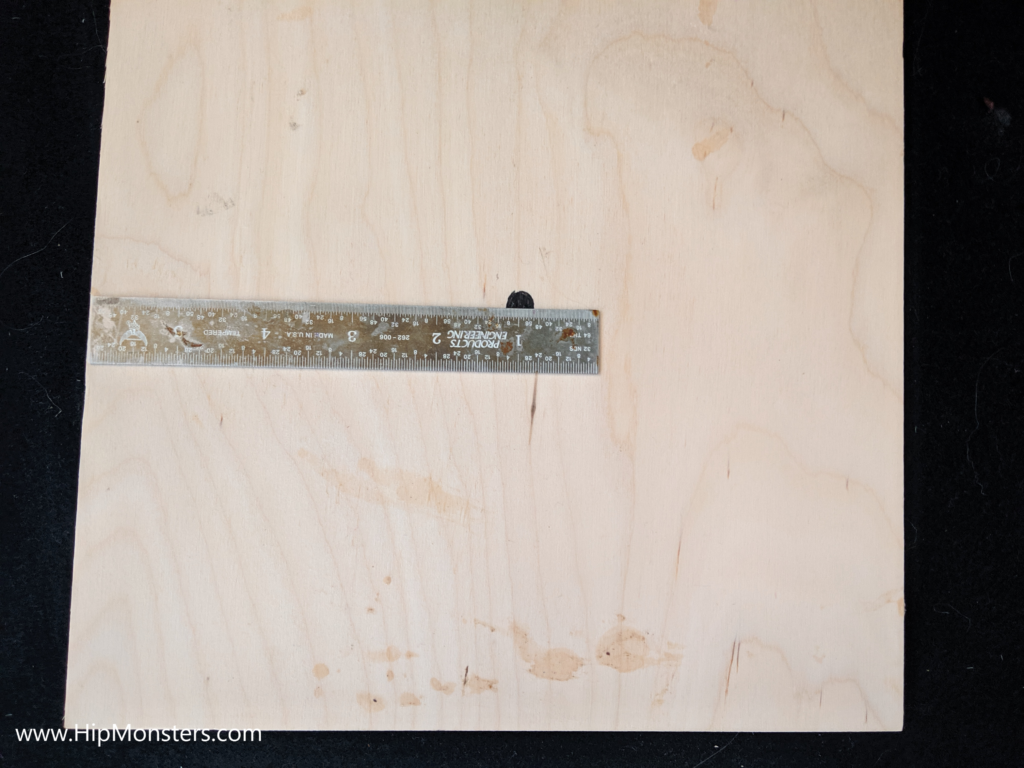
First, measure the center hole for the main screw. This screw will support the Sun, Earth, and Moon.

Step 2

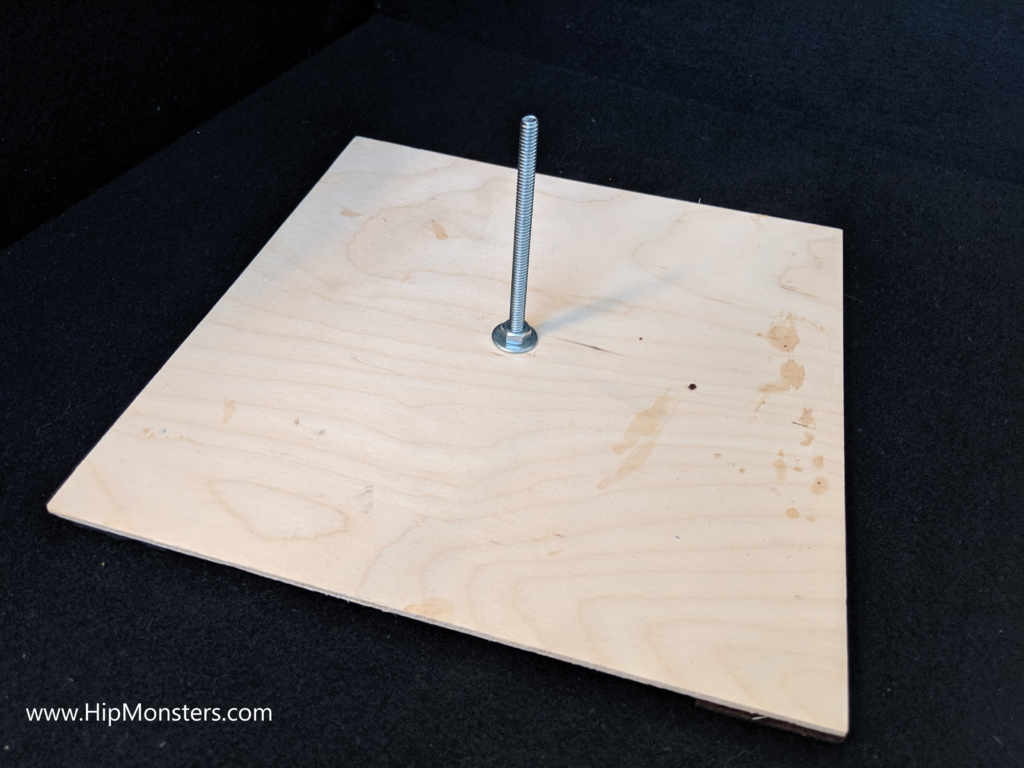
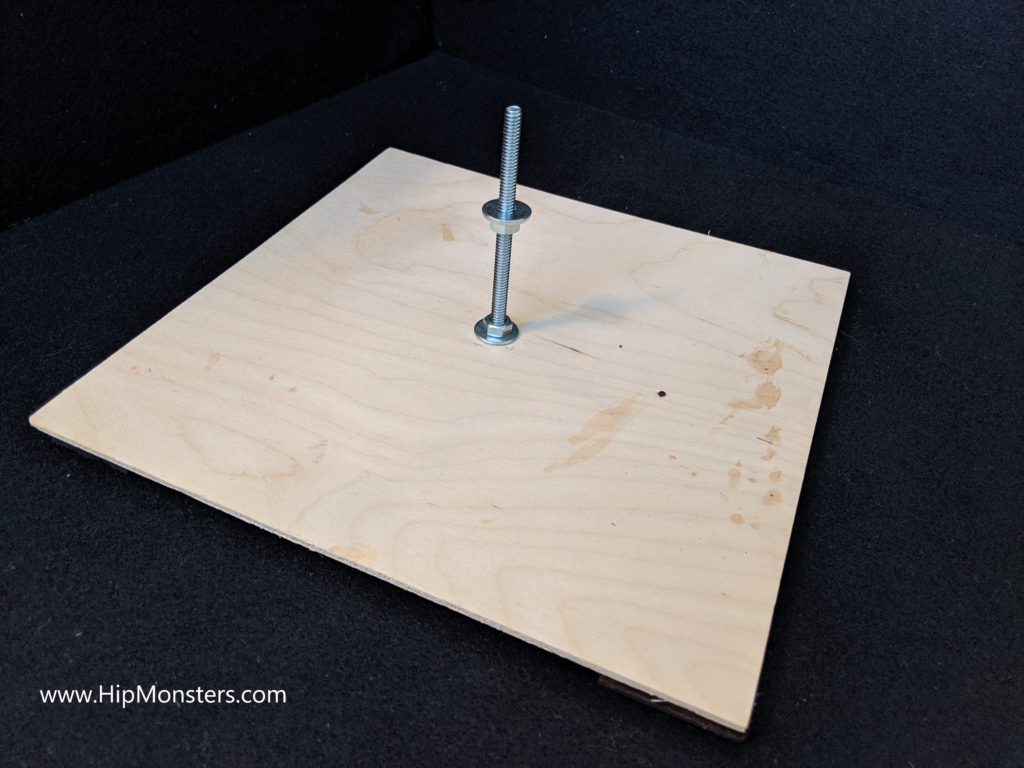
Next, drill the hole and push the large screw through the hole and secure it with a washer and bolt.

Step 3

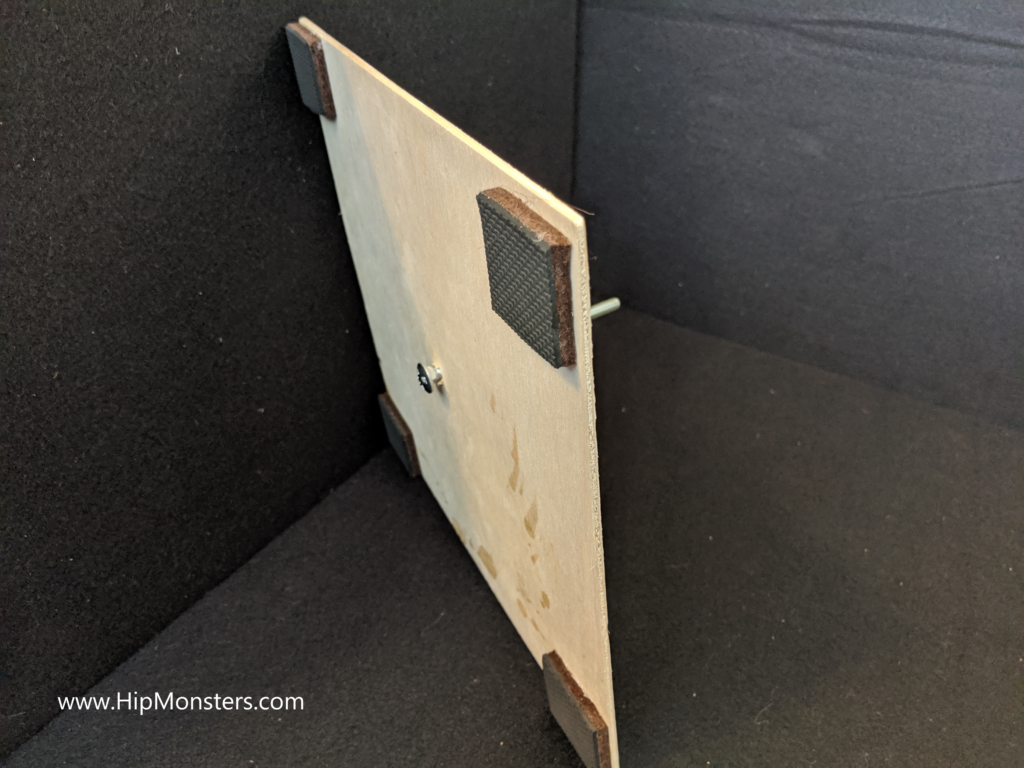
Turn over the base and stick four foam pads on the bottom. We used one large foam pad for furniture and cut it into four pieces. These foam padding will prevent the center bolt from scratching the table when placed upright.

Step 4

Turn the base back over and make sure the foam padding is tall enough to prevent the bolt from scratching the table. If not, then add another layer of foam. Next, screw another a nut to the halfway point on the bolt and then put a washer on top.

Step 5

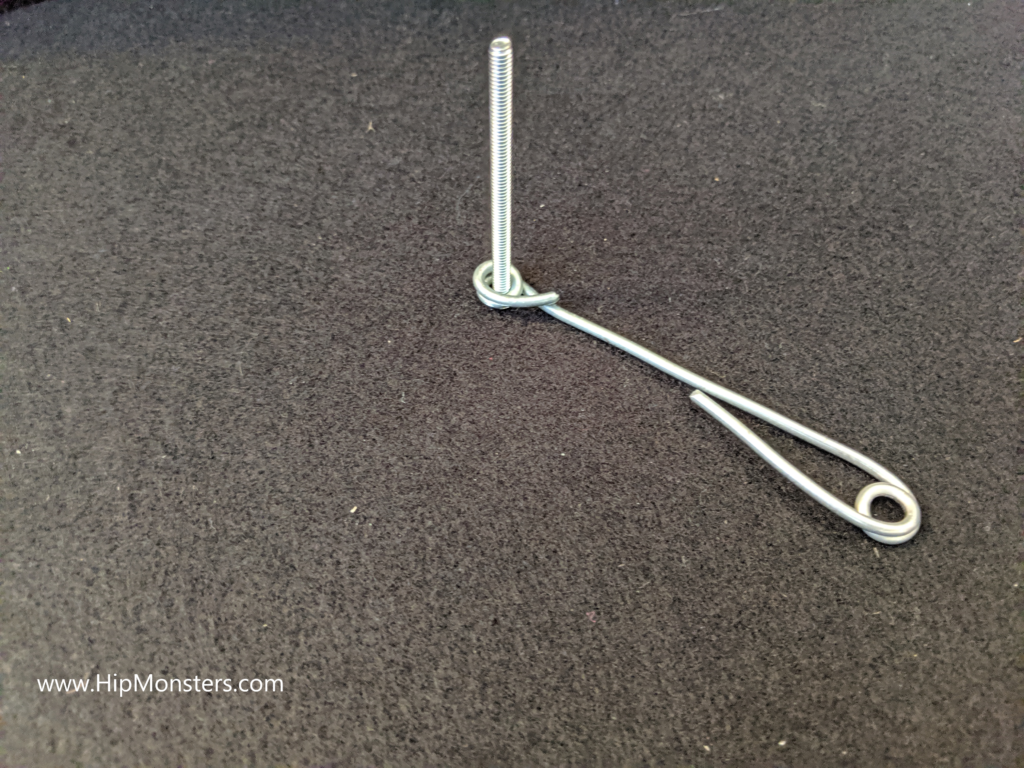
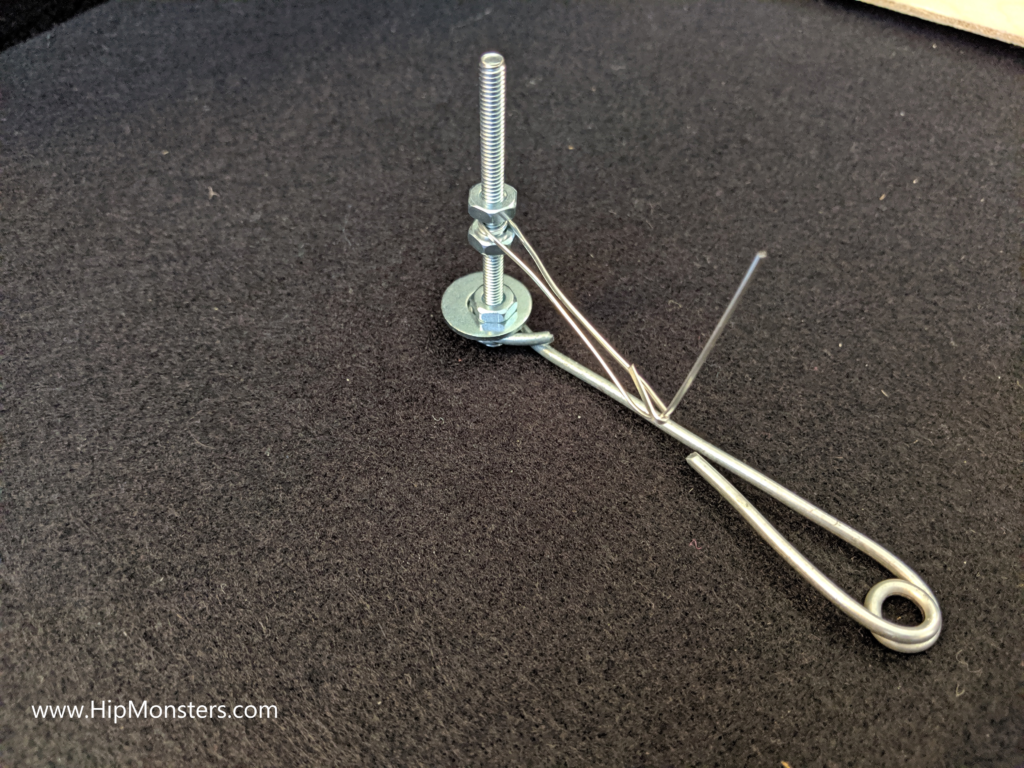
Now we need to make the support wire for the Earth. Take the larger wire and bend both ends using a screwdriver as shown. The goal is the make the loops tight enough so the bolts are secure when threaded through them.

Step 6

Here, both ends are ready to secure the Earth to the center shaft. Notice one loop is smaller than the other. The larger loop is for the center bolt; the smaller one is for Earth’s bolt.

Step 7

Now, thread the smaller bolt through the smaller loop.

Step 8

Secure the bolt to the arm with a washer and nut. Then screw a nut halfway up the bolt. This bolt will serve as support for the Moon’s arm.

Step 9

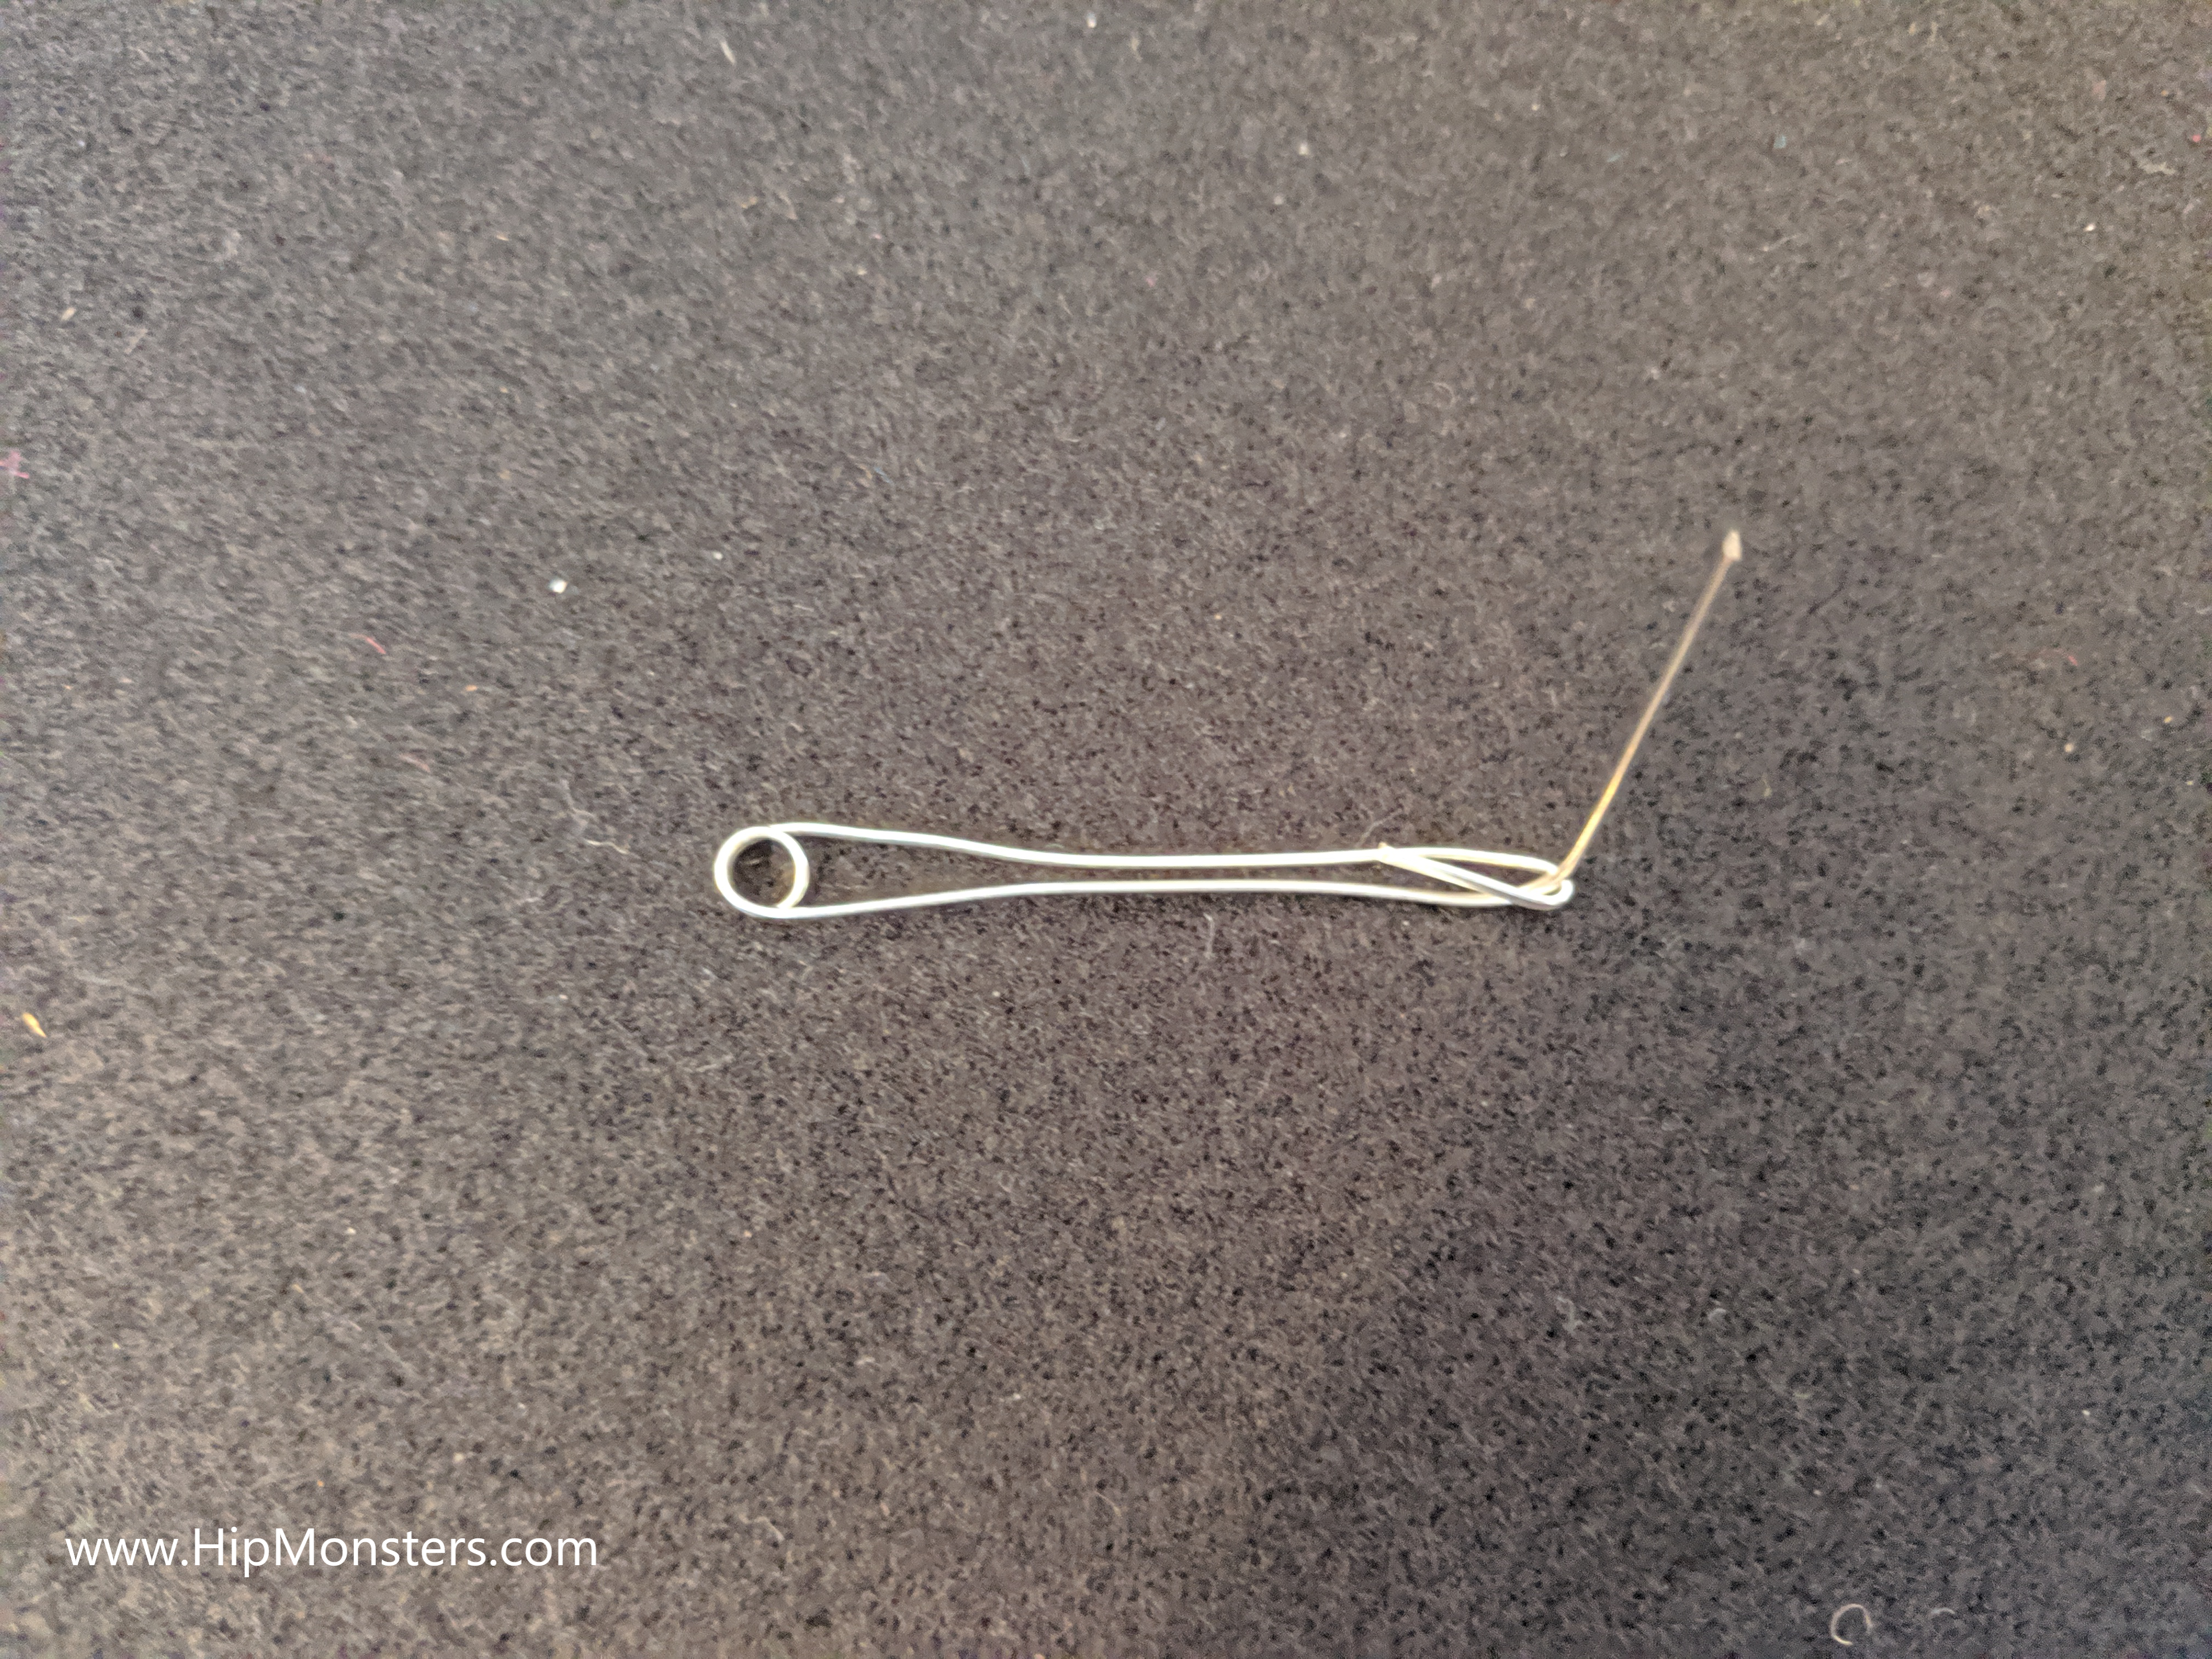
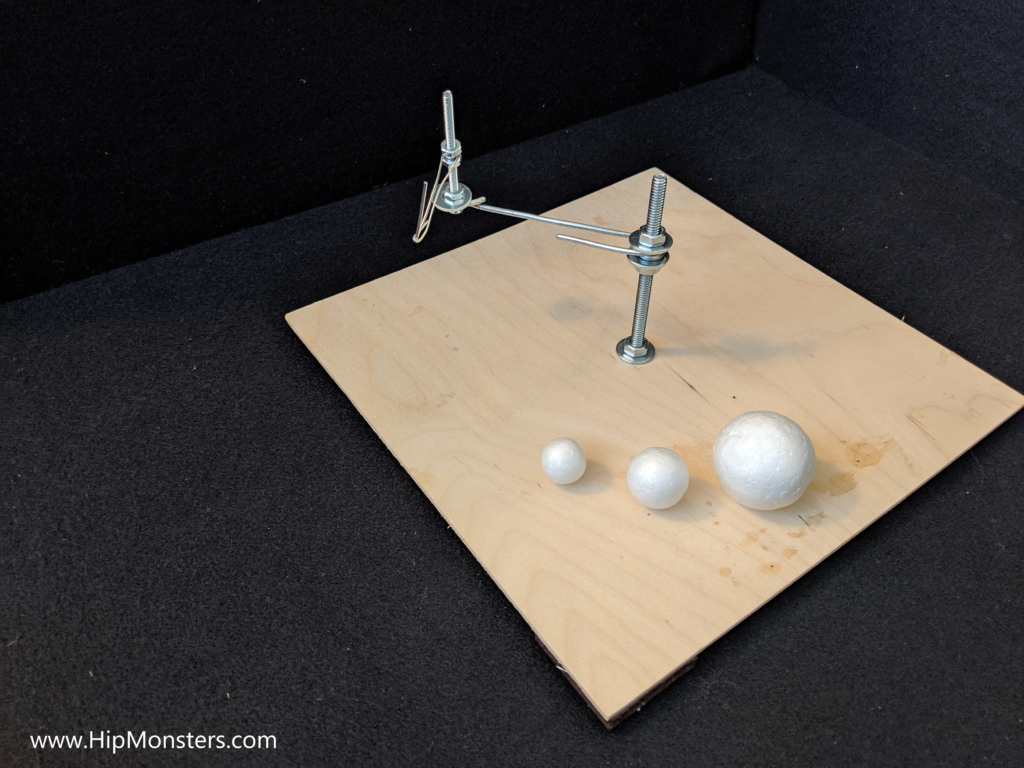
Next, create the Moon’s arm. Bend the thinner wire similar to the Earth’s arm but only put a loop on one end. Bend the other end up to support the Moon.

Step 10

Now connect the thin wire to the screw on Earth’s arm and secure with a bolt.

Step 11

And we are nearly there! Just connect the thick wire to the screw and put a washer and bolt on top. Make sure to screw on tightly, the weight of the arm can make it droop.

Step 12

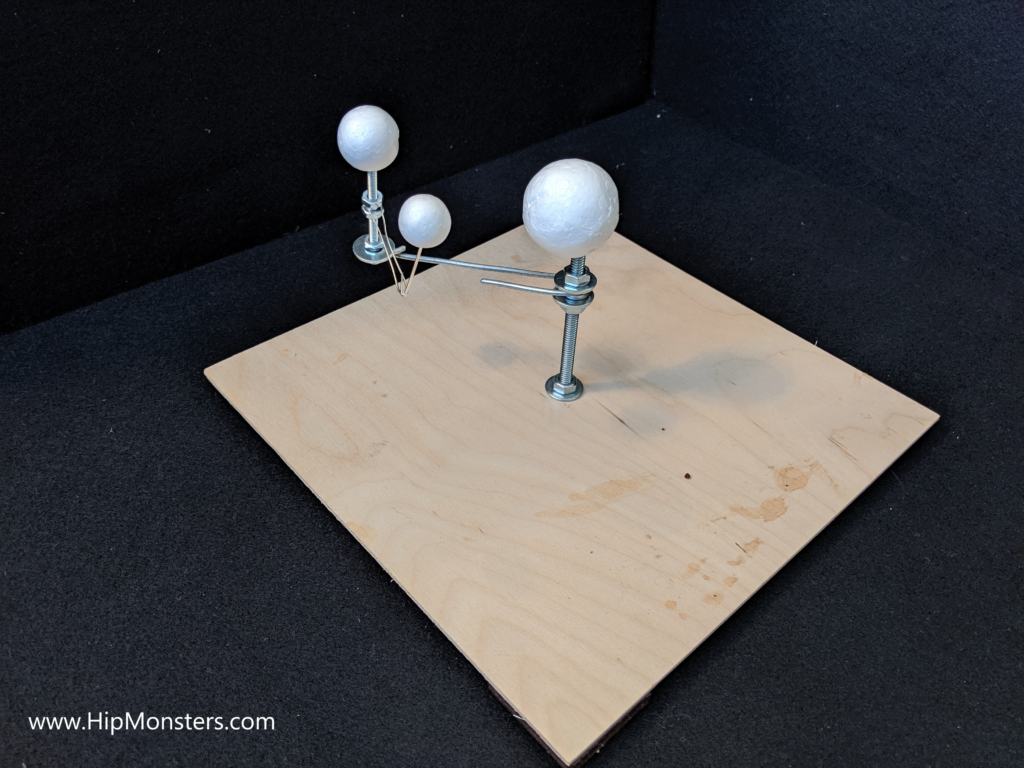
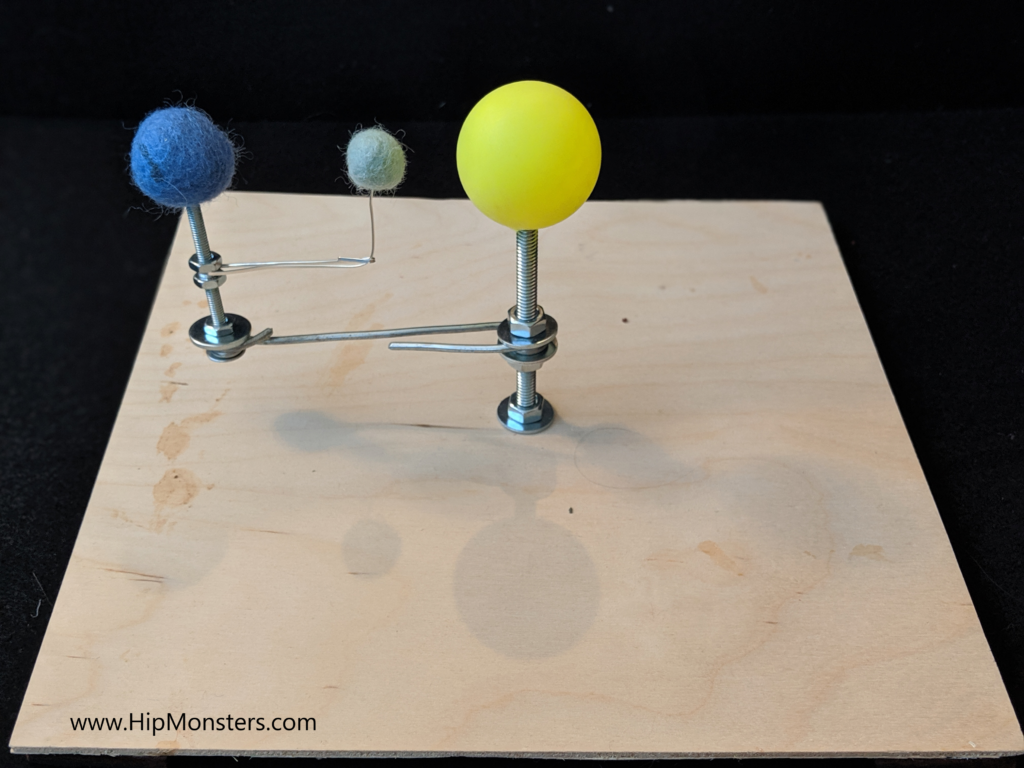
And finally we are ready to add the Sun, Earth, and Moon. The smallest ball is the Moon and goes on the smallest arm. The Earth is the mid-sized ball and put onto the outer bolt. The largest ball is the Sun and placed on the center bolts. You can paint the balls as the final step if you want to.Putting it all together

The Sun, Earth, Moon orrery is almost complete, we just need to assemble! Here are all the pieces laid out. We substitute the foam balls in one build with a ping pong ball for the Sun and felt balls for the Earth and Moon.Enjoy

You now have your own Sun, Earth, Moon Orrery and predict the next eclipse or start planning for the next full moon! Keep a watch out for werewolves!

Happy creating!

Shape Shifting Toy Robots

When the sisters team discovered Transformer comics (go WindBlade!) they wanted a whole city of Transformers to play with. While that was way too expensive, they could build their own shape-shifting toy robots out of wood.

Supplies for a hand crafted DIY robot that transforms
Getting Started

Inspired wooden dolls, we settled on a design with rubber bands attaching the arms and head to the body and a bolt to attached the legs enabling the robot to shift forms.

Making DIY wooden transfromjng robots
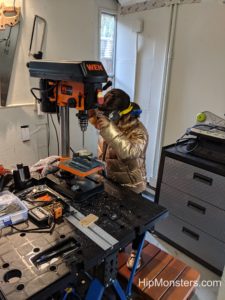
Drilling to holes

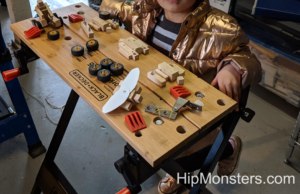
First we cut and drilled all the wood based on a working design.

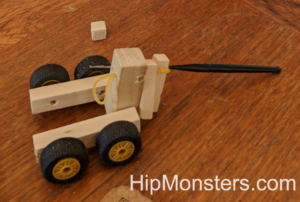
Assembling a hand crafted DIY robot that transforms
Assembling Begins!

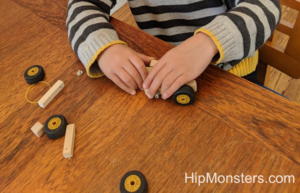
We used Lego wheels for the robots that transformed into cars for easy attaching.

Fitting rubberband a hand crafted DIY robot that transforms
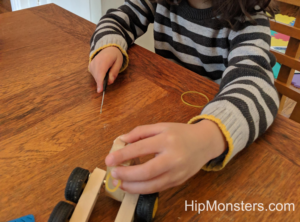
Fitting the rubber bands

Attaching the rubber bands proved difficult. We used a jewelry tool to thread the rubber bands through the holes in the wood (many broke in the process).

Assembling a hand crafted DIY robot that transforms
Final Touches

A few more adjustments, including sanding the edges and widening holes.

A hand crafted DIY robot that transforms
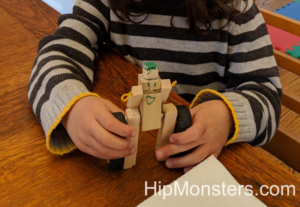
The robot is complete!

By using springs in the legs, the toy robot can hold a standing position.

DIY wooden transfroming robots
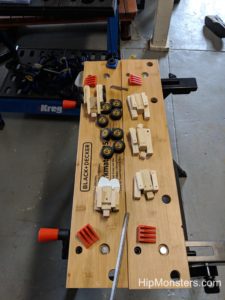
The assembly line

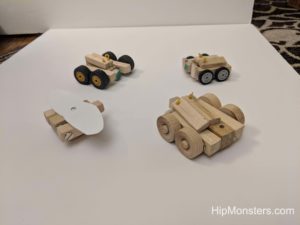
After we perfect a design, it was just a matter of creating a assembly line to crank out droids! We did some that turned into cars, some that turned into bugs, and some that turned in to other forms!

DIY Wooden Transfroming Robots.
Transformed

The robots in alt form. For the ones with wings we cut two wing shapes out of a thin sheet of plastic and attached them together.

DIY Wooden Transfroming Robots.
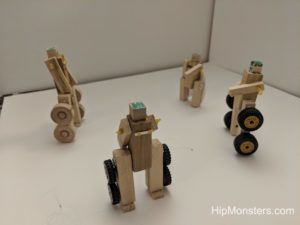
Robot form

The robots transformed!

Happy Creating!

Our Apothecary Garden

Severus Snape and Professor Sprout are two of our favorite characters in Harry Potter, and their story inspired the sister team to begin exploring potion making and herbology.

From our hidden garden in the city, the HipMonsters sister team will bring you tips on growing an herb garden in a city, how best to preserve and prepare your herbs, and how to have fun!

Our herb garden

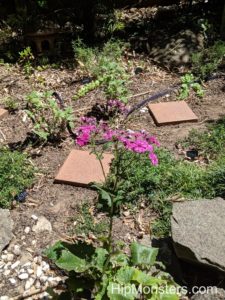
We started our herb garden by clearing and preparing several patches in our yard that were suitable for growing herbs. We ended up with two beds that received full midday sun and others that were in the shade most of the day during summer. Our yard is really old, so to prepare the beds we dug down 24 inches and churned in lost of fresh dirt. All of the beds had good drainage.

A herb garden
The sunniest bed after planting

After the beds were done, we observed how much sun they received and how the water drained. Using this information, we researched the best herbs for each bed focusing on herbs that were well-suited for San Francisco’s climate. Here is a good article to start your research.

Sage in bloom
Sage in Bloom

Here is a list of some of the herbs that worked best:

  • Thyme
  • Yerba Buena
  • Rosemary
  • Sage
  • Oregano
  • Tarragon
  • Red Veined Sorrel
  • Chives
  • Basil
  • Parsley
  • Onions
  • Wild Garlic
  • Roses
  • Borage
  • Lavender
    • English
    • Spanish
  • Mint
    • Spearmint
    • Mojito
    • Peppermint
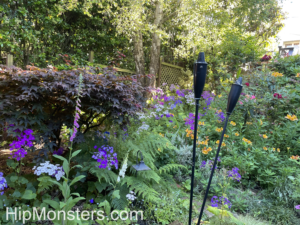
Our flower garden.
Our Flower Garden

Most of our yard has is dedicated to native plants or flowers that are good for bees. This gives us flowers nearly year round. The credit for most of the planting is the prior owner who took great care to attract bees and birds. We have tried to follow in her footsteps and have several bumble bee nests throughout our yard as well as lots of honey bees from neighboring hives.

Many of the flowers are perfect for drying but most are not good in flower arrangement because they die too quickly once cut. Here is a great article on the types of flowers in our yard, and here are two posts about specific flowers in our yard: this post is about hummingbirds and bees, and this post is about cinaria flowers. Even though most of the flowers are native, we still need to care or them and fertilize the beds a few times a year using liquid kelp. The most important thing is to never rip up the flowers after they die. We leave them to assure the seeds will spread for next year’s crop. This does look a little unkept, but the next spring will make up for it.

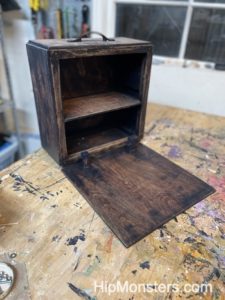
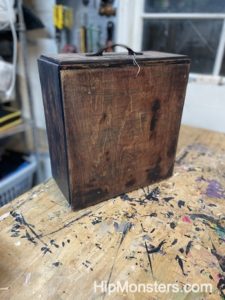
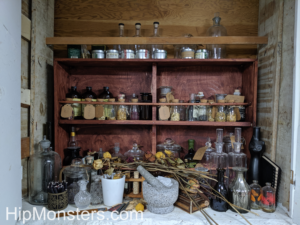
Potions Cabinate
Potion collection

And now our Harry Potter fandom kicks in. Given our growing collection of herbs and dried flowers, we decided to make to our own apothecary cabinet hidden deep in our basement!

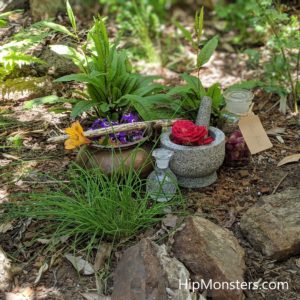
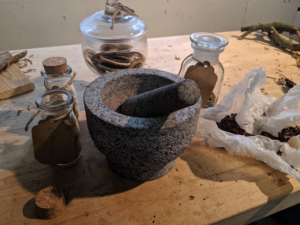
mortar and pestle grinding Herbs
Our well-used mortar and pestle

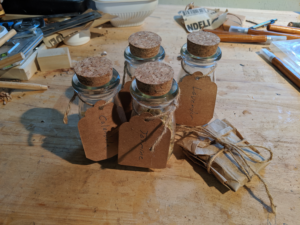
From our store we craft little bags and jars filled with ground up herbs and flowers as presents.

Bottles of Herbs and Flowers
Herbs ready for cooking

We also bottle up our best dried herbs to be used in our cooking and potion-making!

Happy creating!