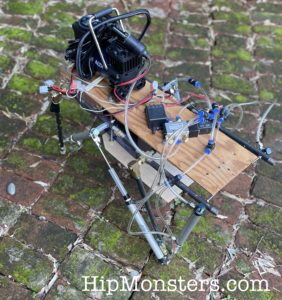
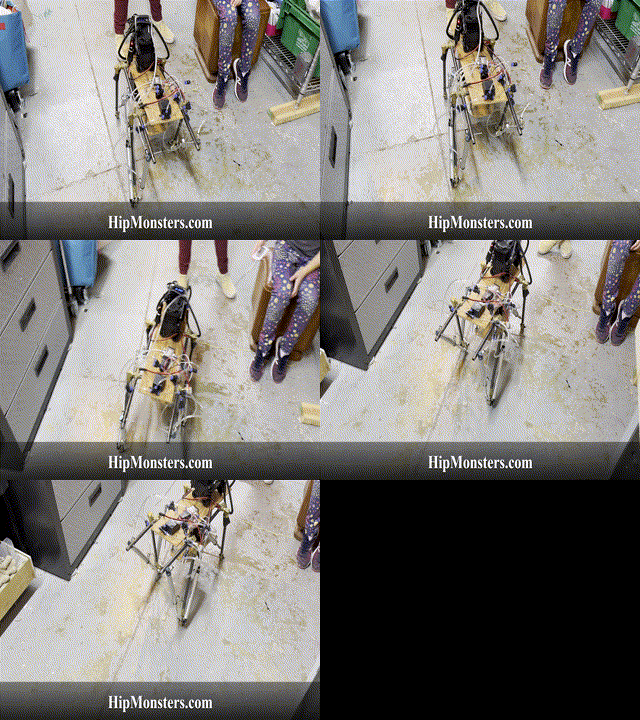
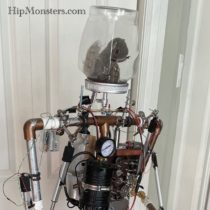
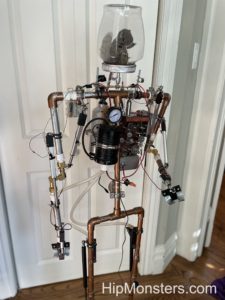
Since we discovered how to make Number Five move, we decided to upgrade Number Three. We tried to preserve as much of the original design as possible, so we didn’t mess with the decorations or redesign the frame. We also made the legs stronger so the robot could support itself easily and won’t fall. Professor Brockenhoff was very pleased with being able to more effectively scare strangers!
Please note, this material is provided for informational and fun purposes only and is not a guide on how to create the designs. Please read our disclaimer.
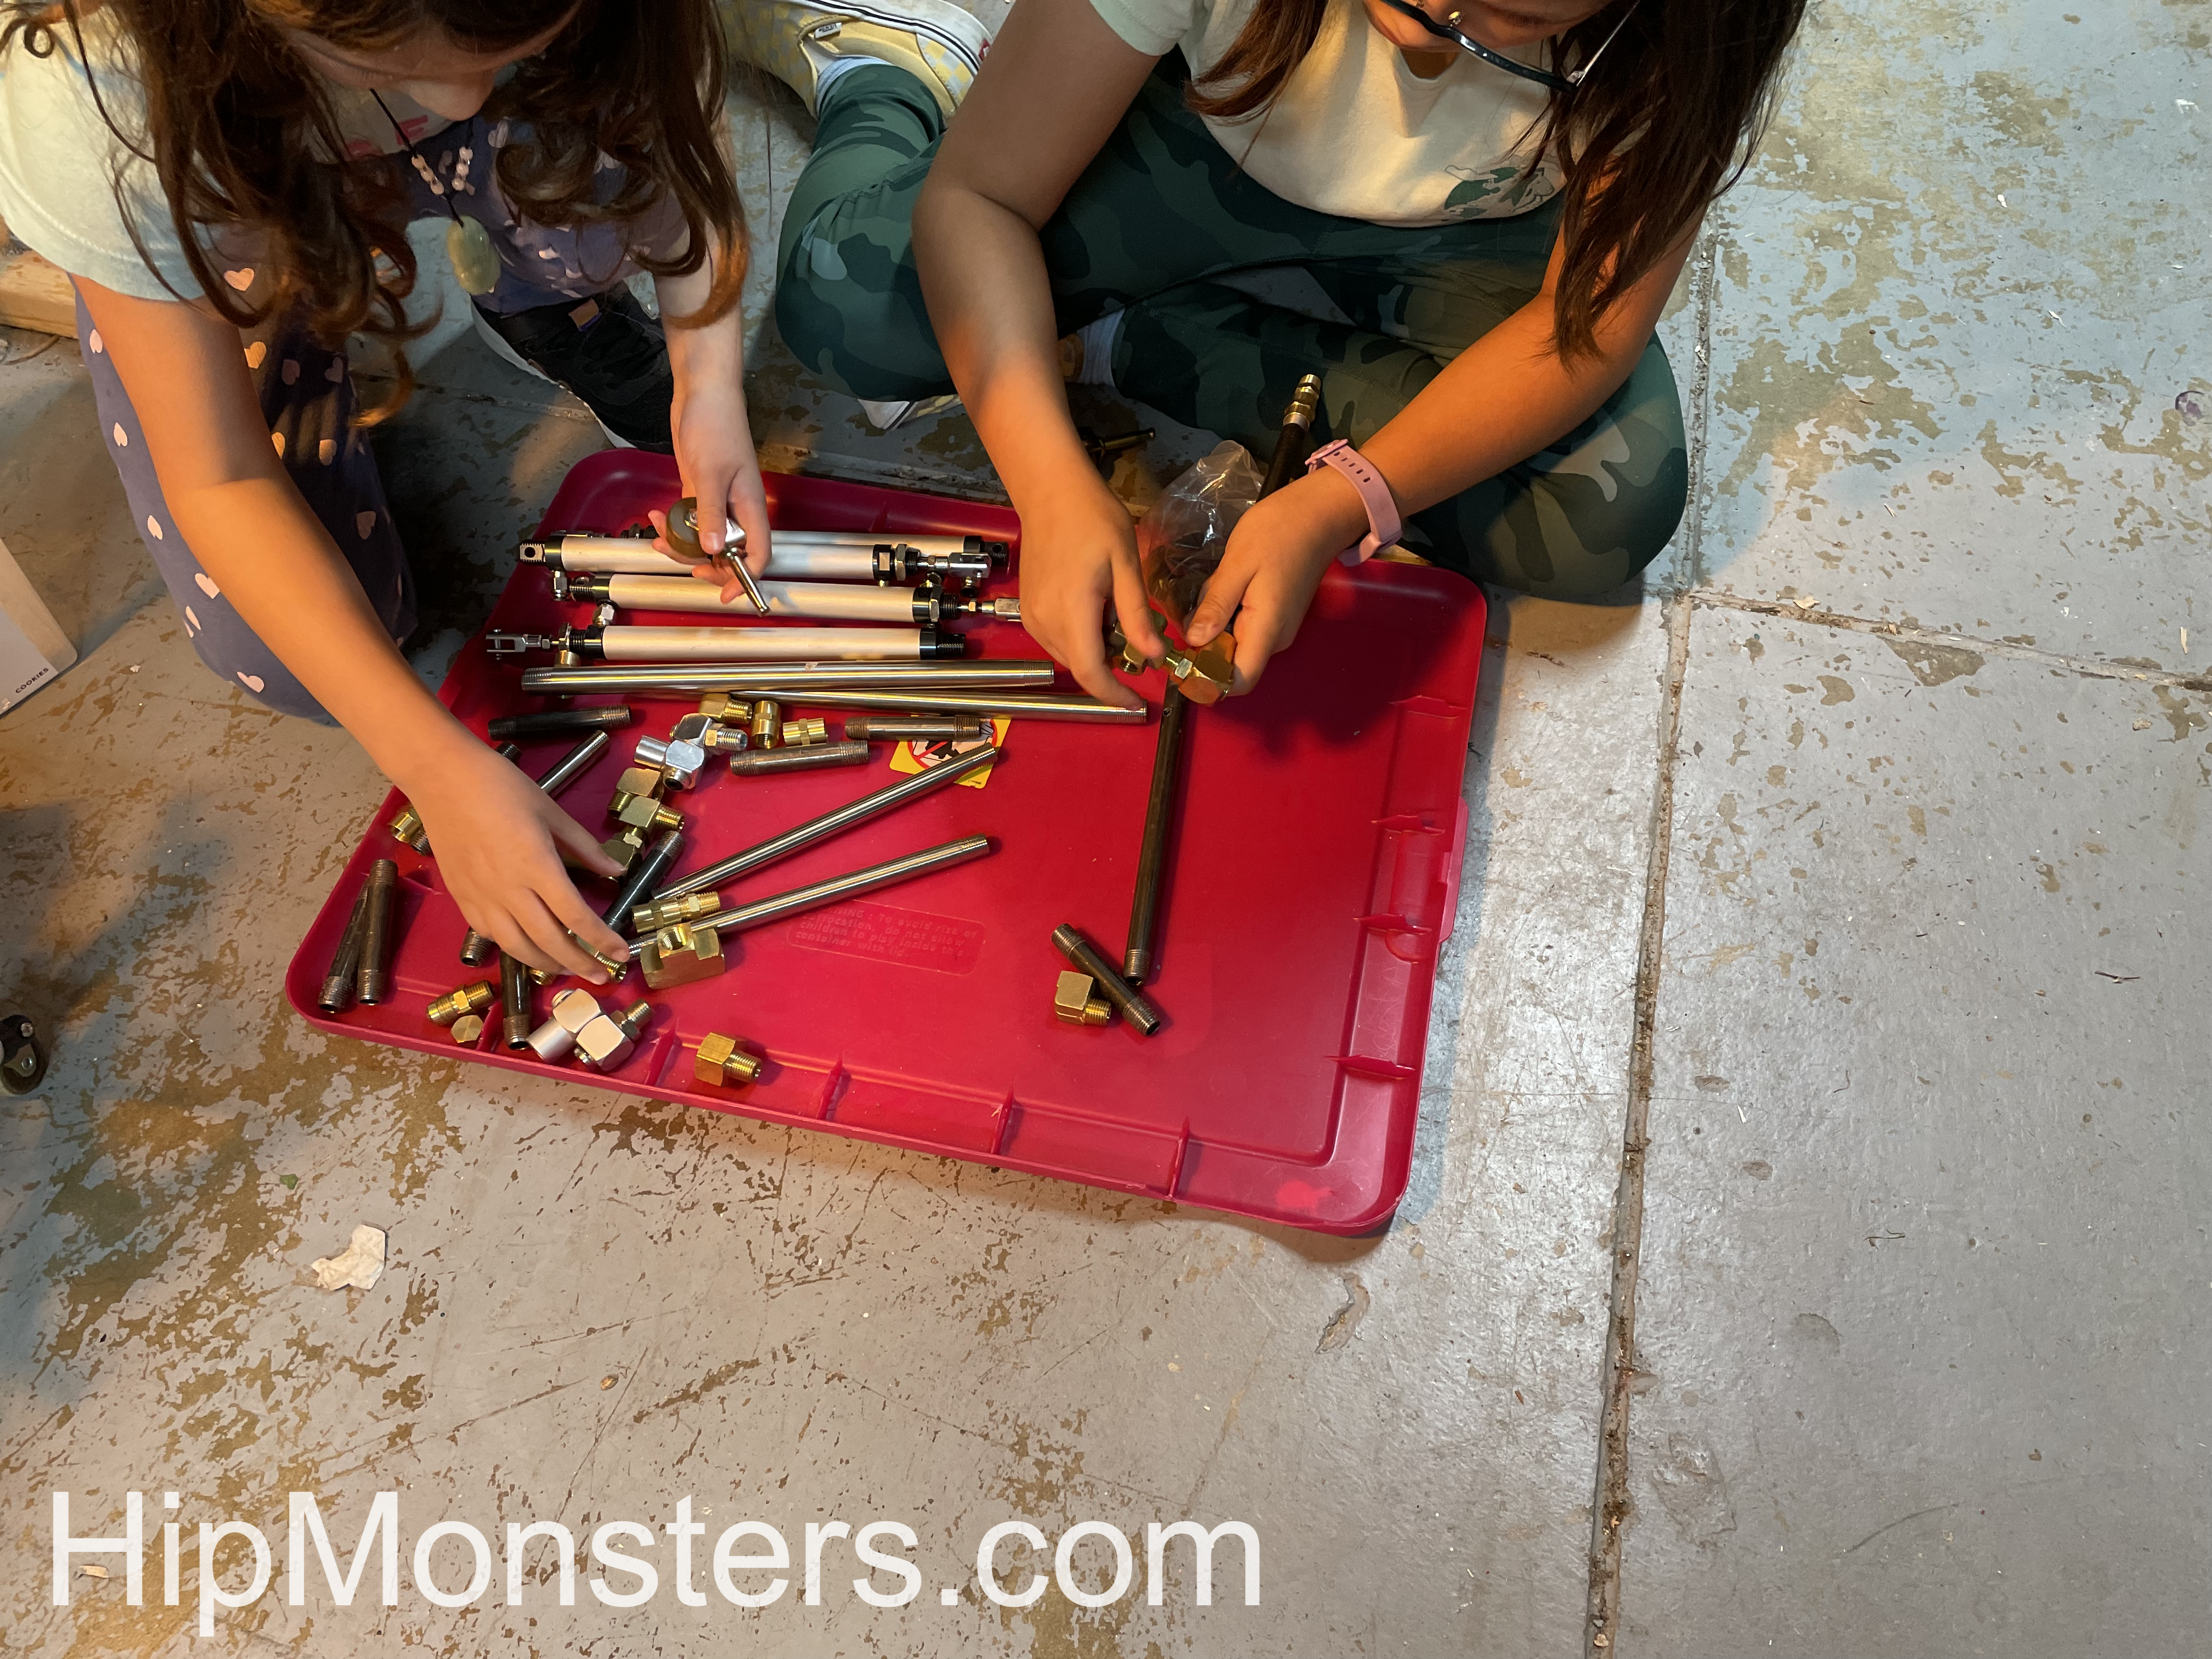
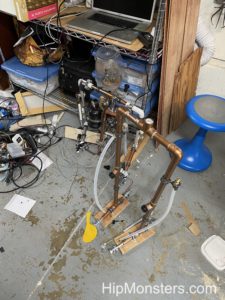
We started off by disassembling Number Three. Given how Number Three was designed as a framework, it was pretty easy to take apart.
Number Three’s Arm being Upgraded
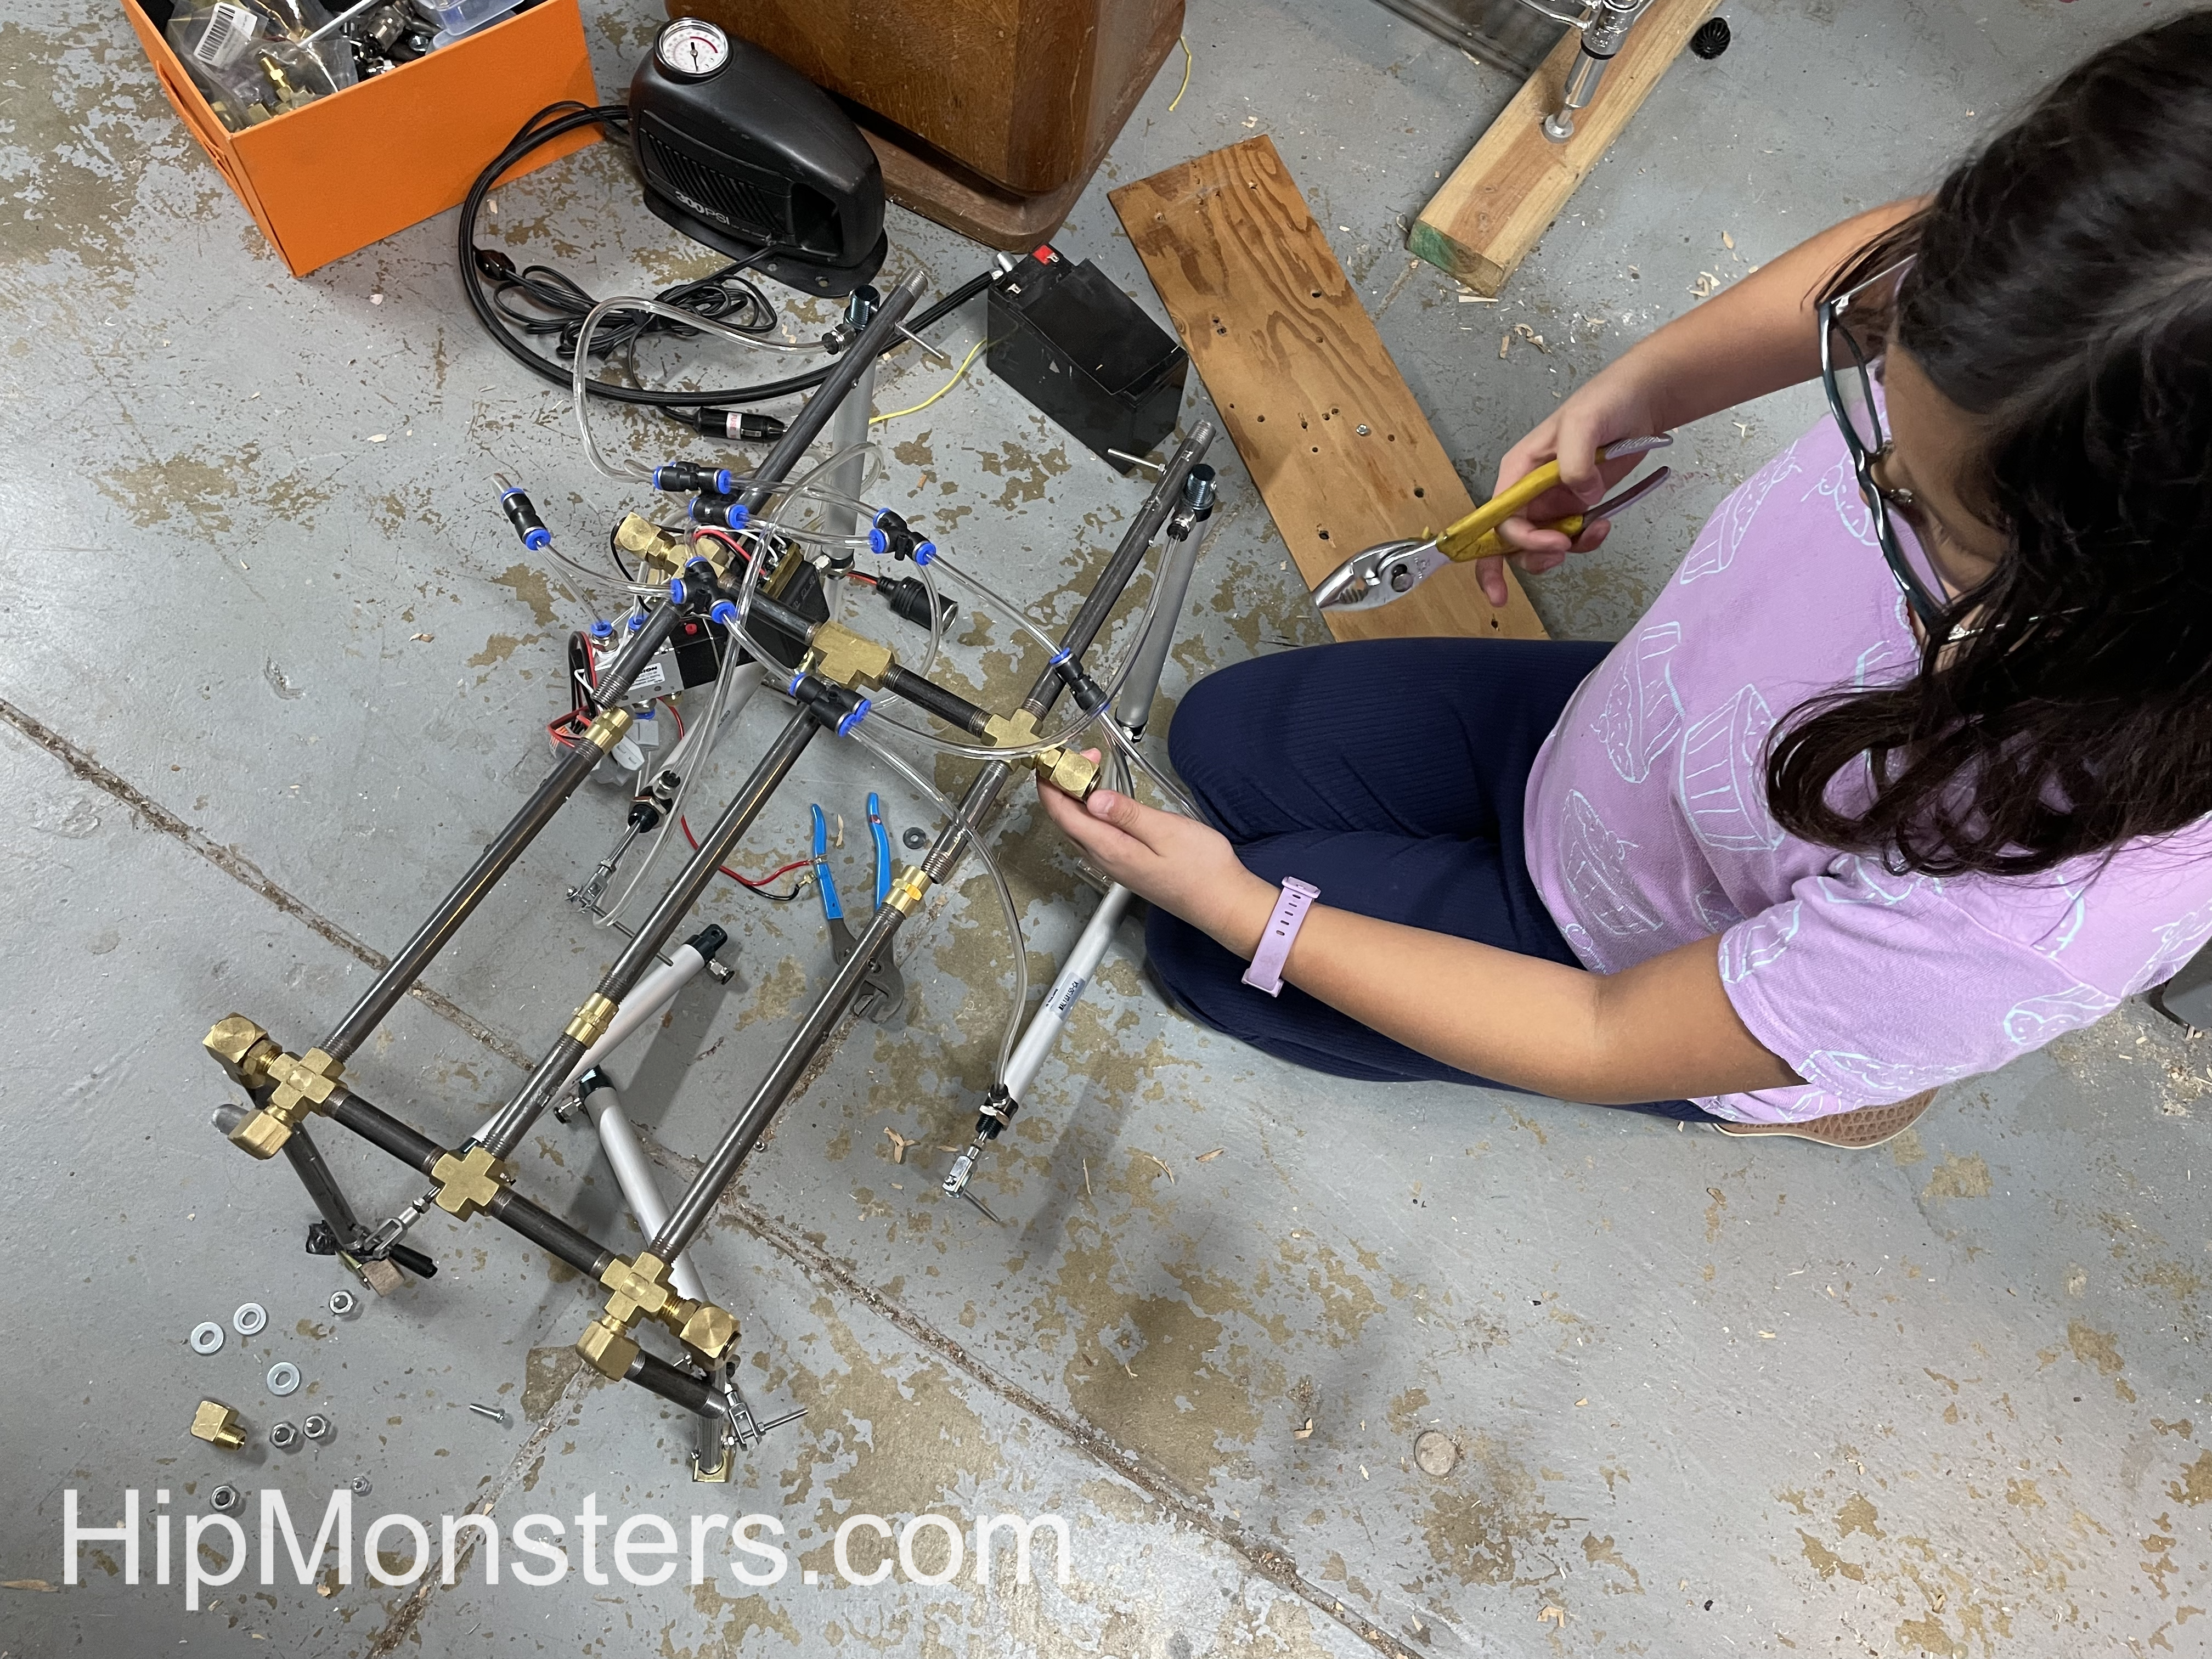
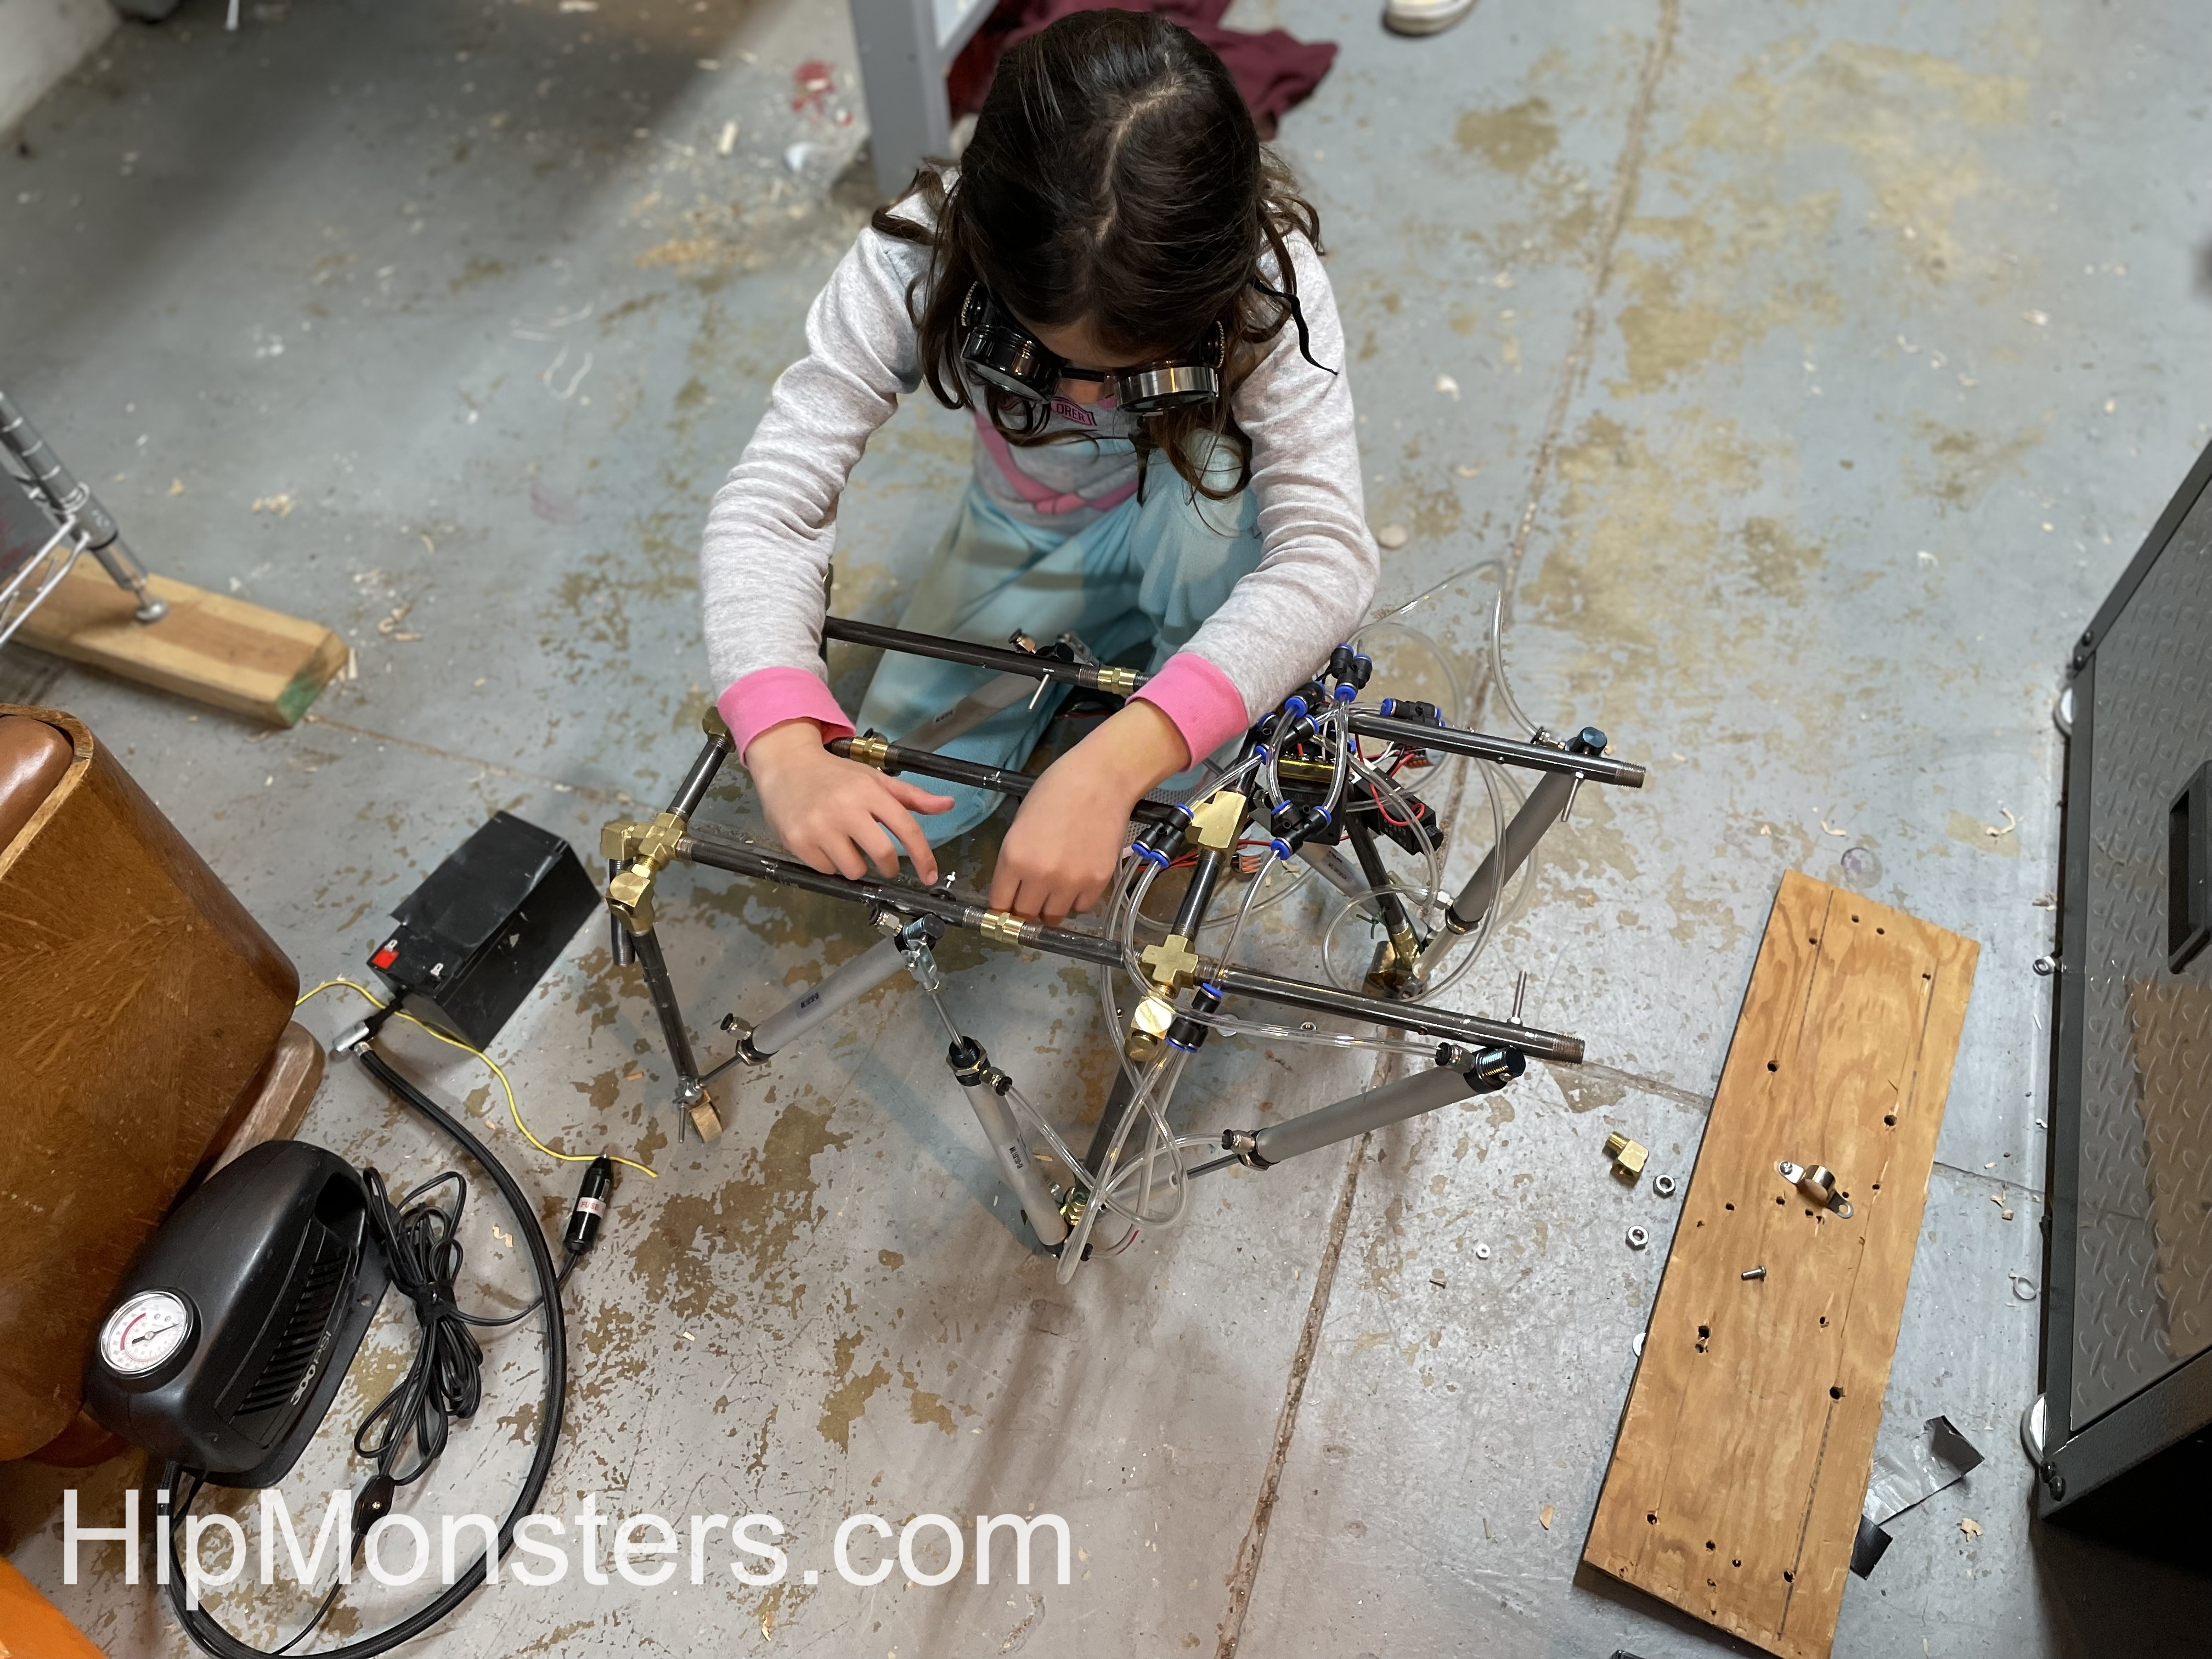
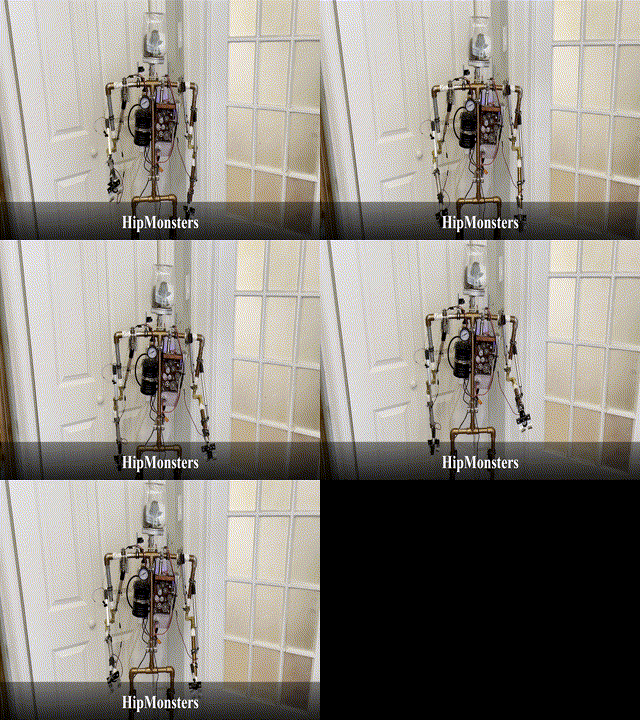
We wanted to upgrade Number Three to make it move. Since walking with two legs is incredibly hard, we decided to only make the arms and hands move. We first used hinges to upgrade the hands so that they could open and close. Next, we had to replace the fixed joints with movable joints. Borrowing from extra part from Number Five, we added flexible joints for pipes to power a air brush. The added weight of the metal join required use adding more support for the legs. We tried plastic joints, but they failed durning testing.
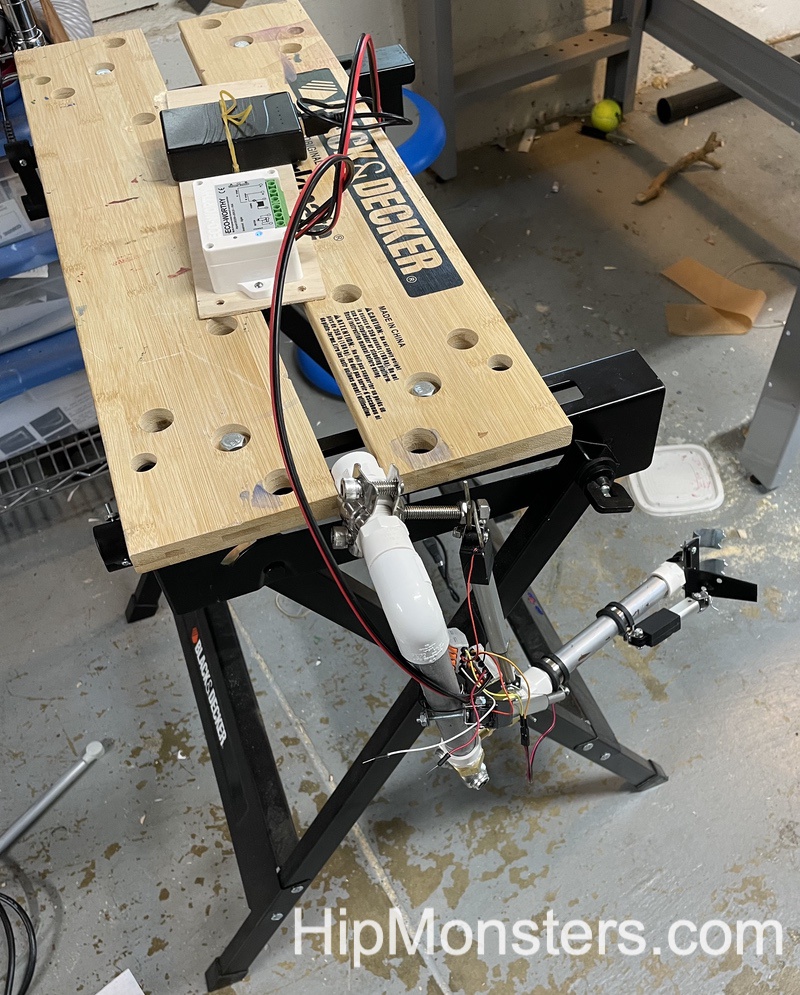
Then we attached lightweight linear actuators to the joints to move them. Given we wanted more controlled movement and a quieter robot for our front parlor, we opted for electronic verse pneumatic power. We attached the linear actuators so that when they extended, the arms reached out and when they pull back, the arms bent.
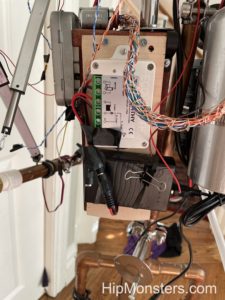
And finally, for controls, we used a remote control unit for garage doors. Since we need the polarity to switch (the wires reverse, positive/negative to negative/positive) to have the linear actuators go in and out we had to make sure the control unit reversed the polarity not just turned the power off and on.
And now you see the update Number Three testing its arms with Professor Brockenhoff at the controls!
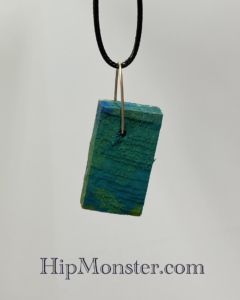
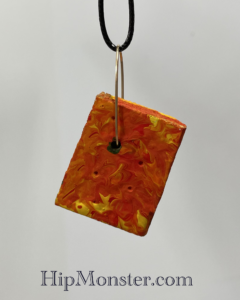
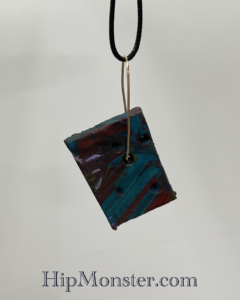
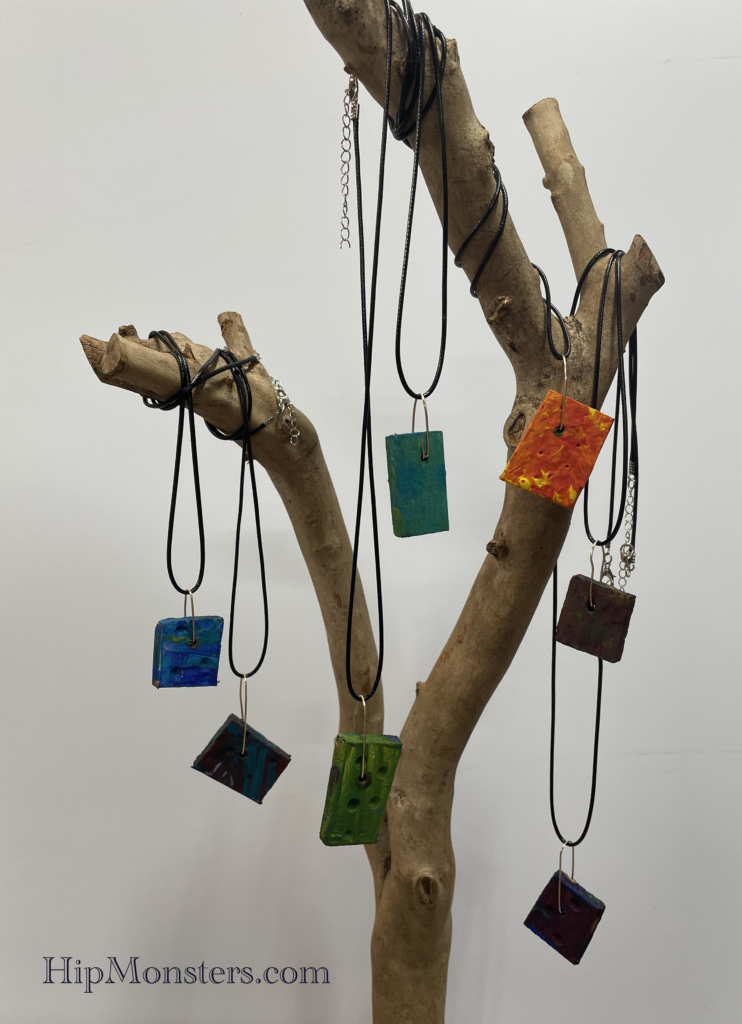
The Summer 2023 release of the Color Splash Collection is in!
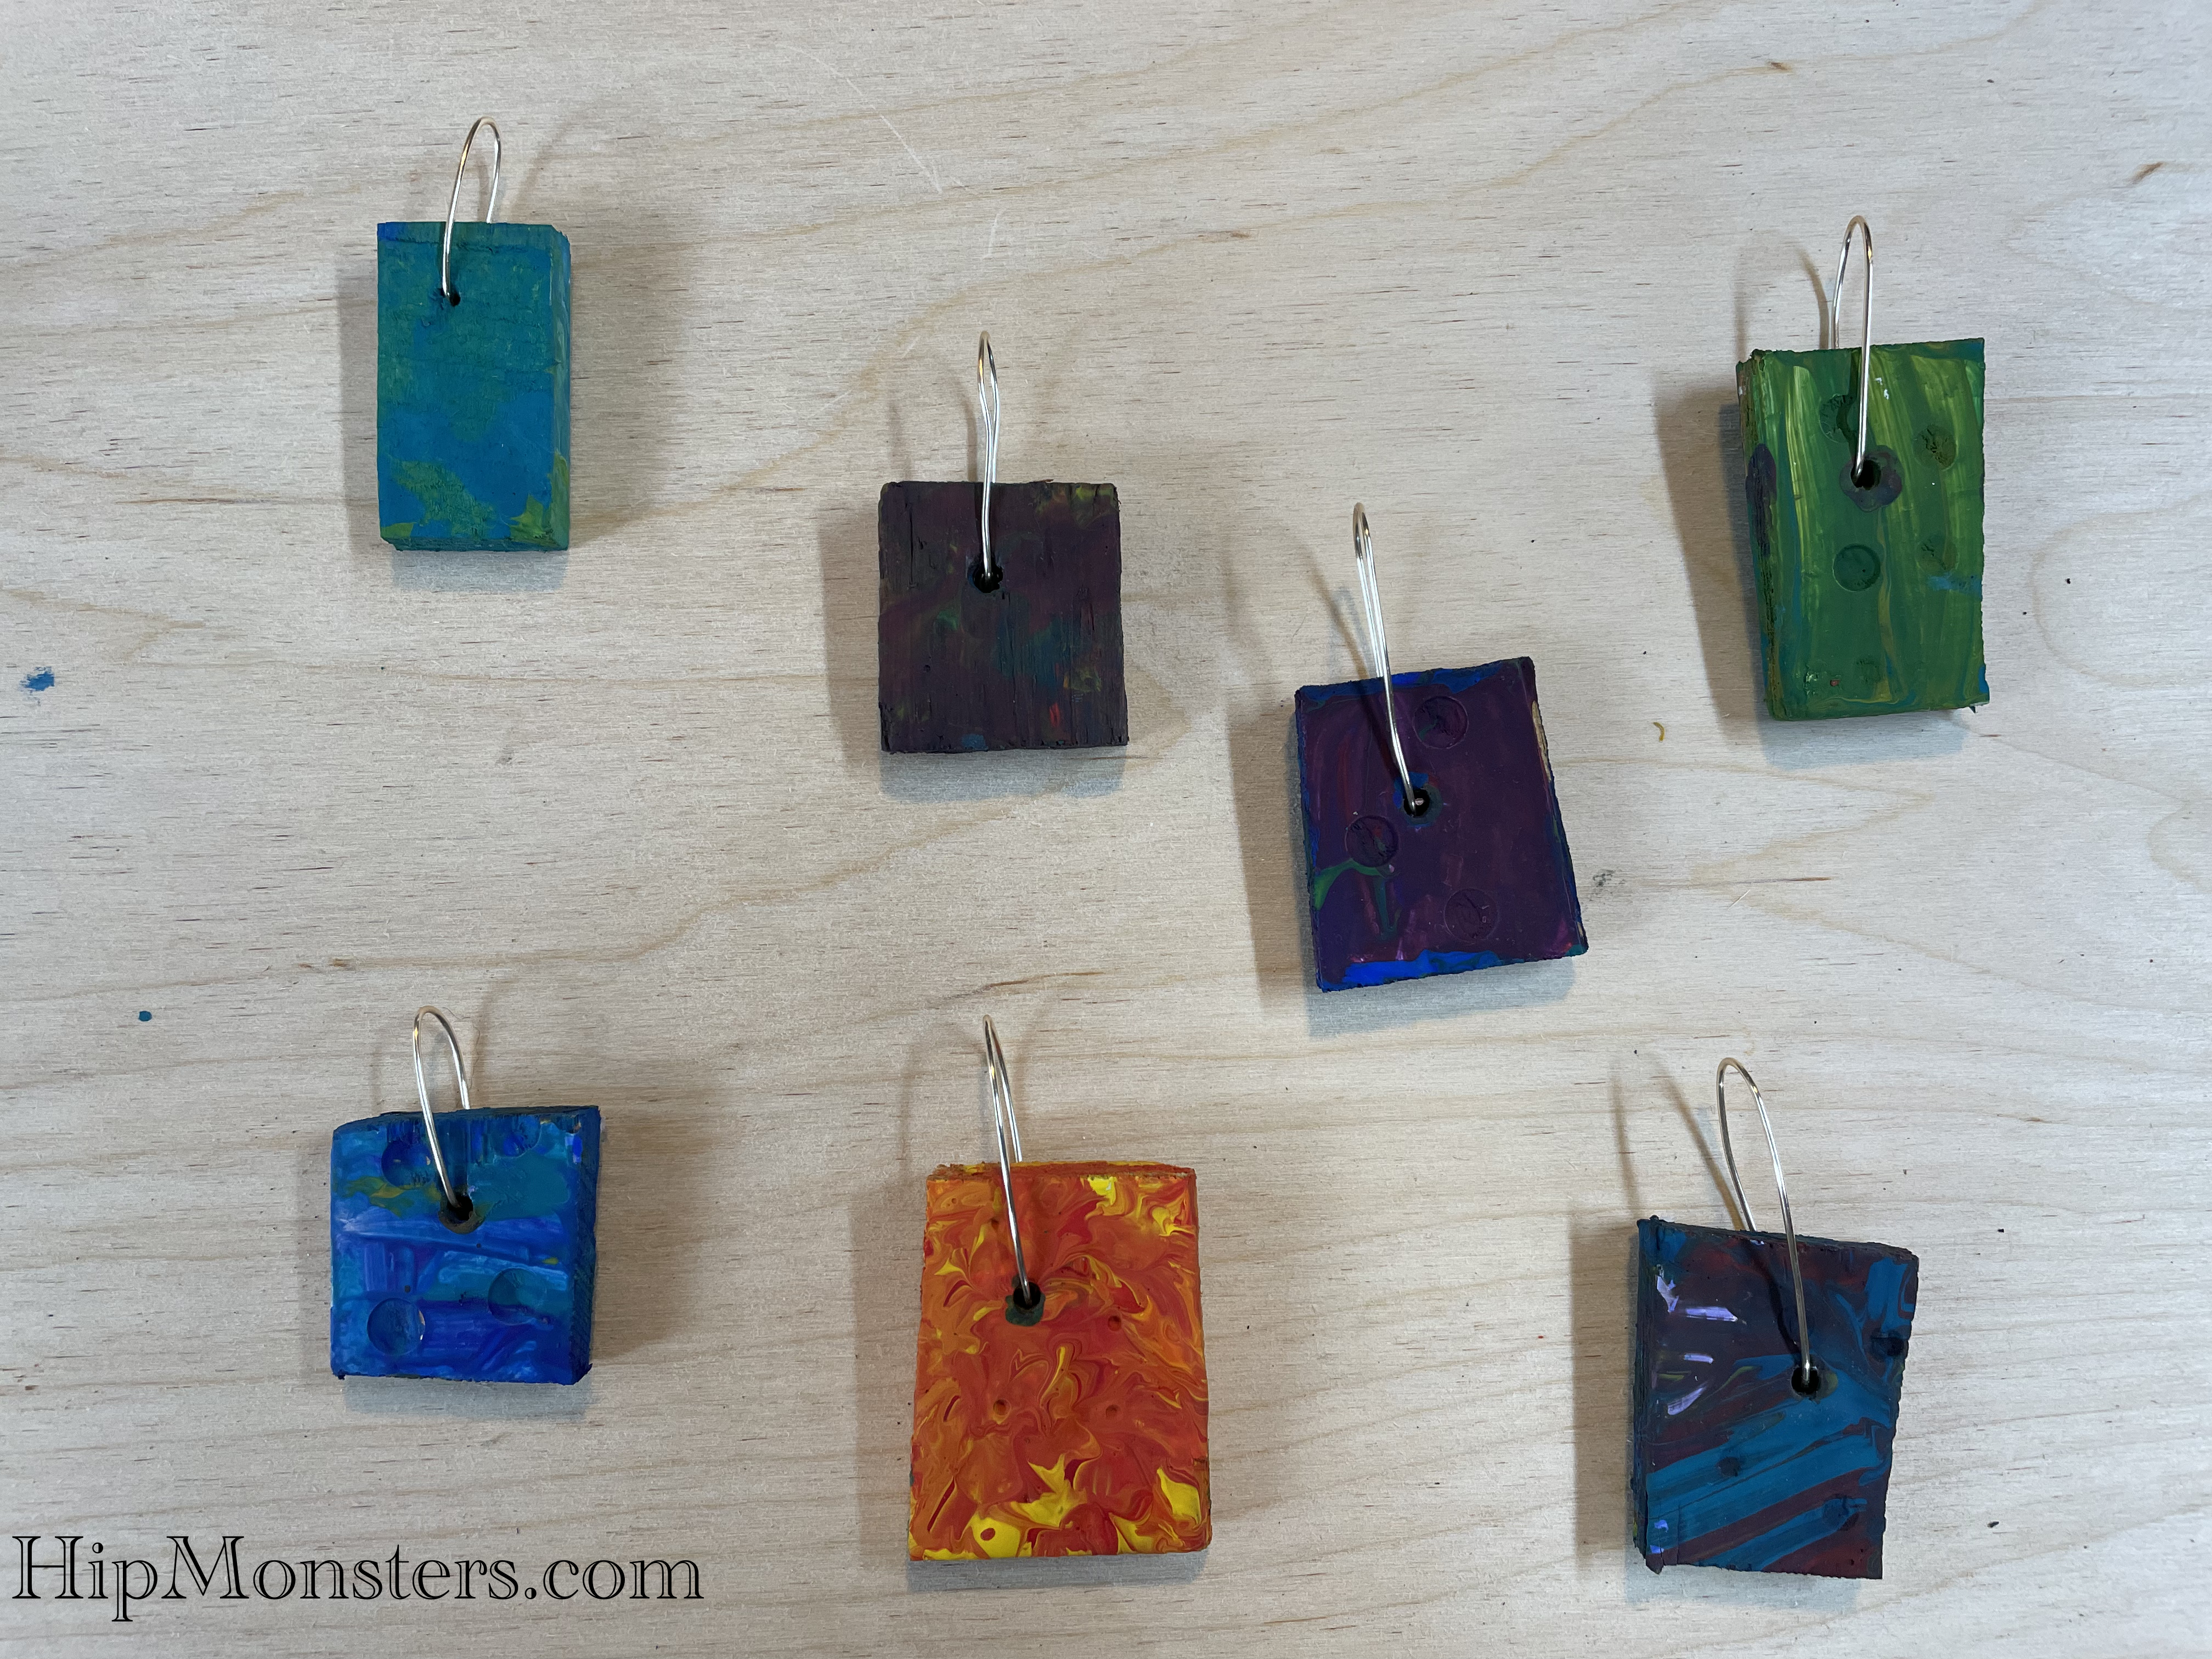
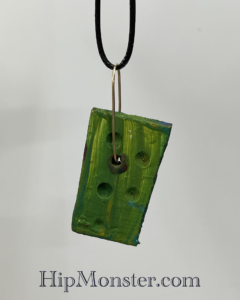
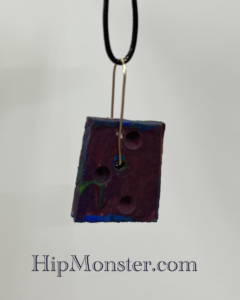
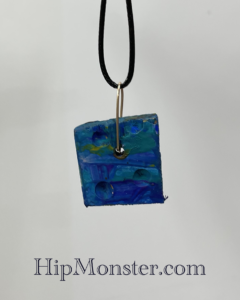
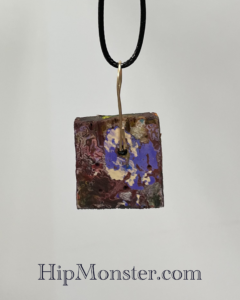
Made from wood and painted in acrylic paint, each necklace is uniquely painted and secured with a silver wire. The color pallet is rich and drawn from nature. The wood is rough cut to give a natural, unrestrained look and feel. Look below to see each necklace in detail.
Sea Foam
Lava Flow
Night Ocean
Red Night
Summer Pond
Orange Sunset
Night Waves
All jewelry made at HipMonsters is crafted and designed by kids. Each is made with love and inspired by nature, science and a love of creating something new.
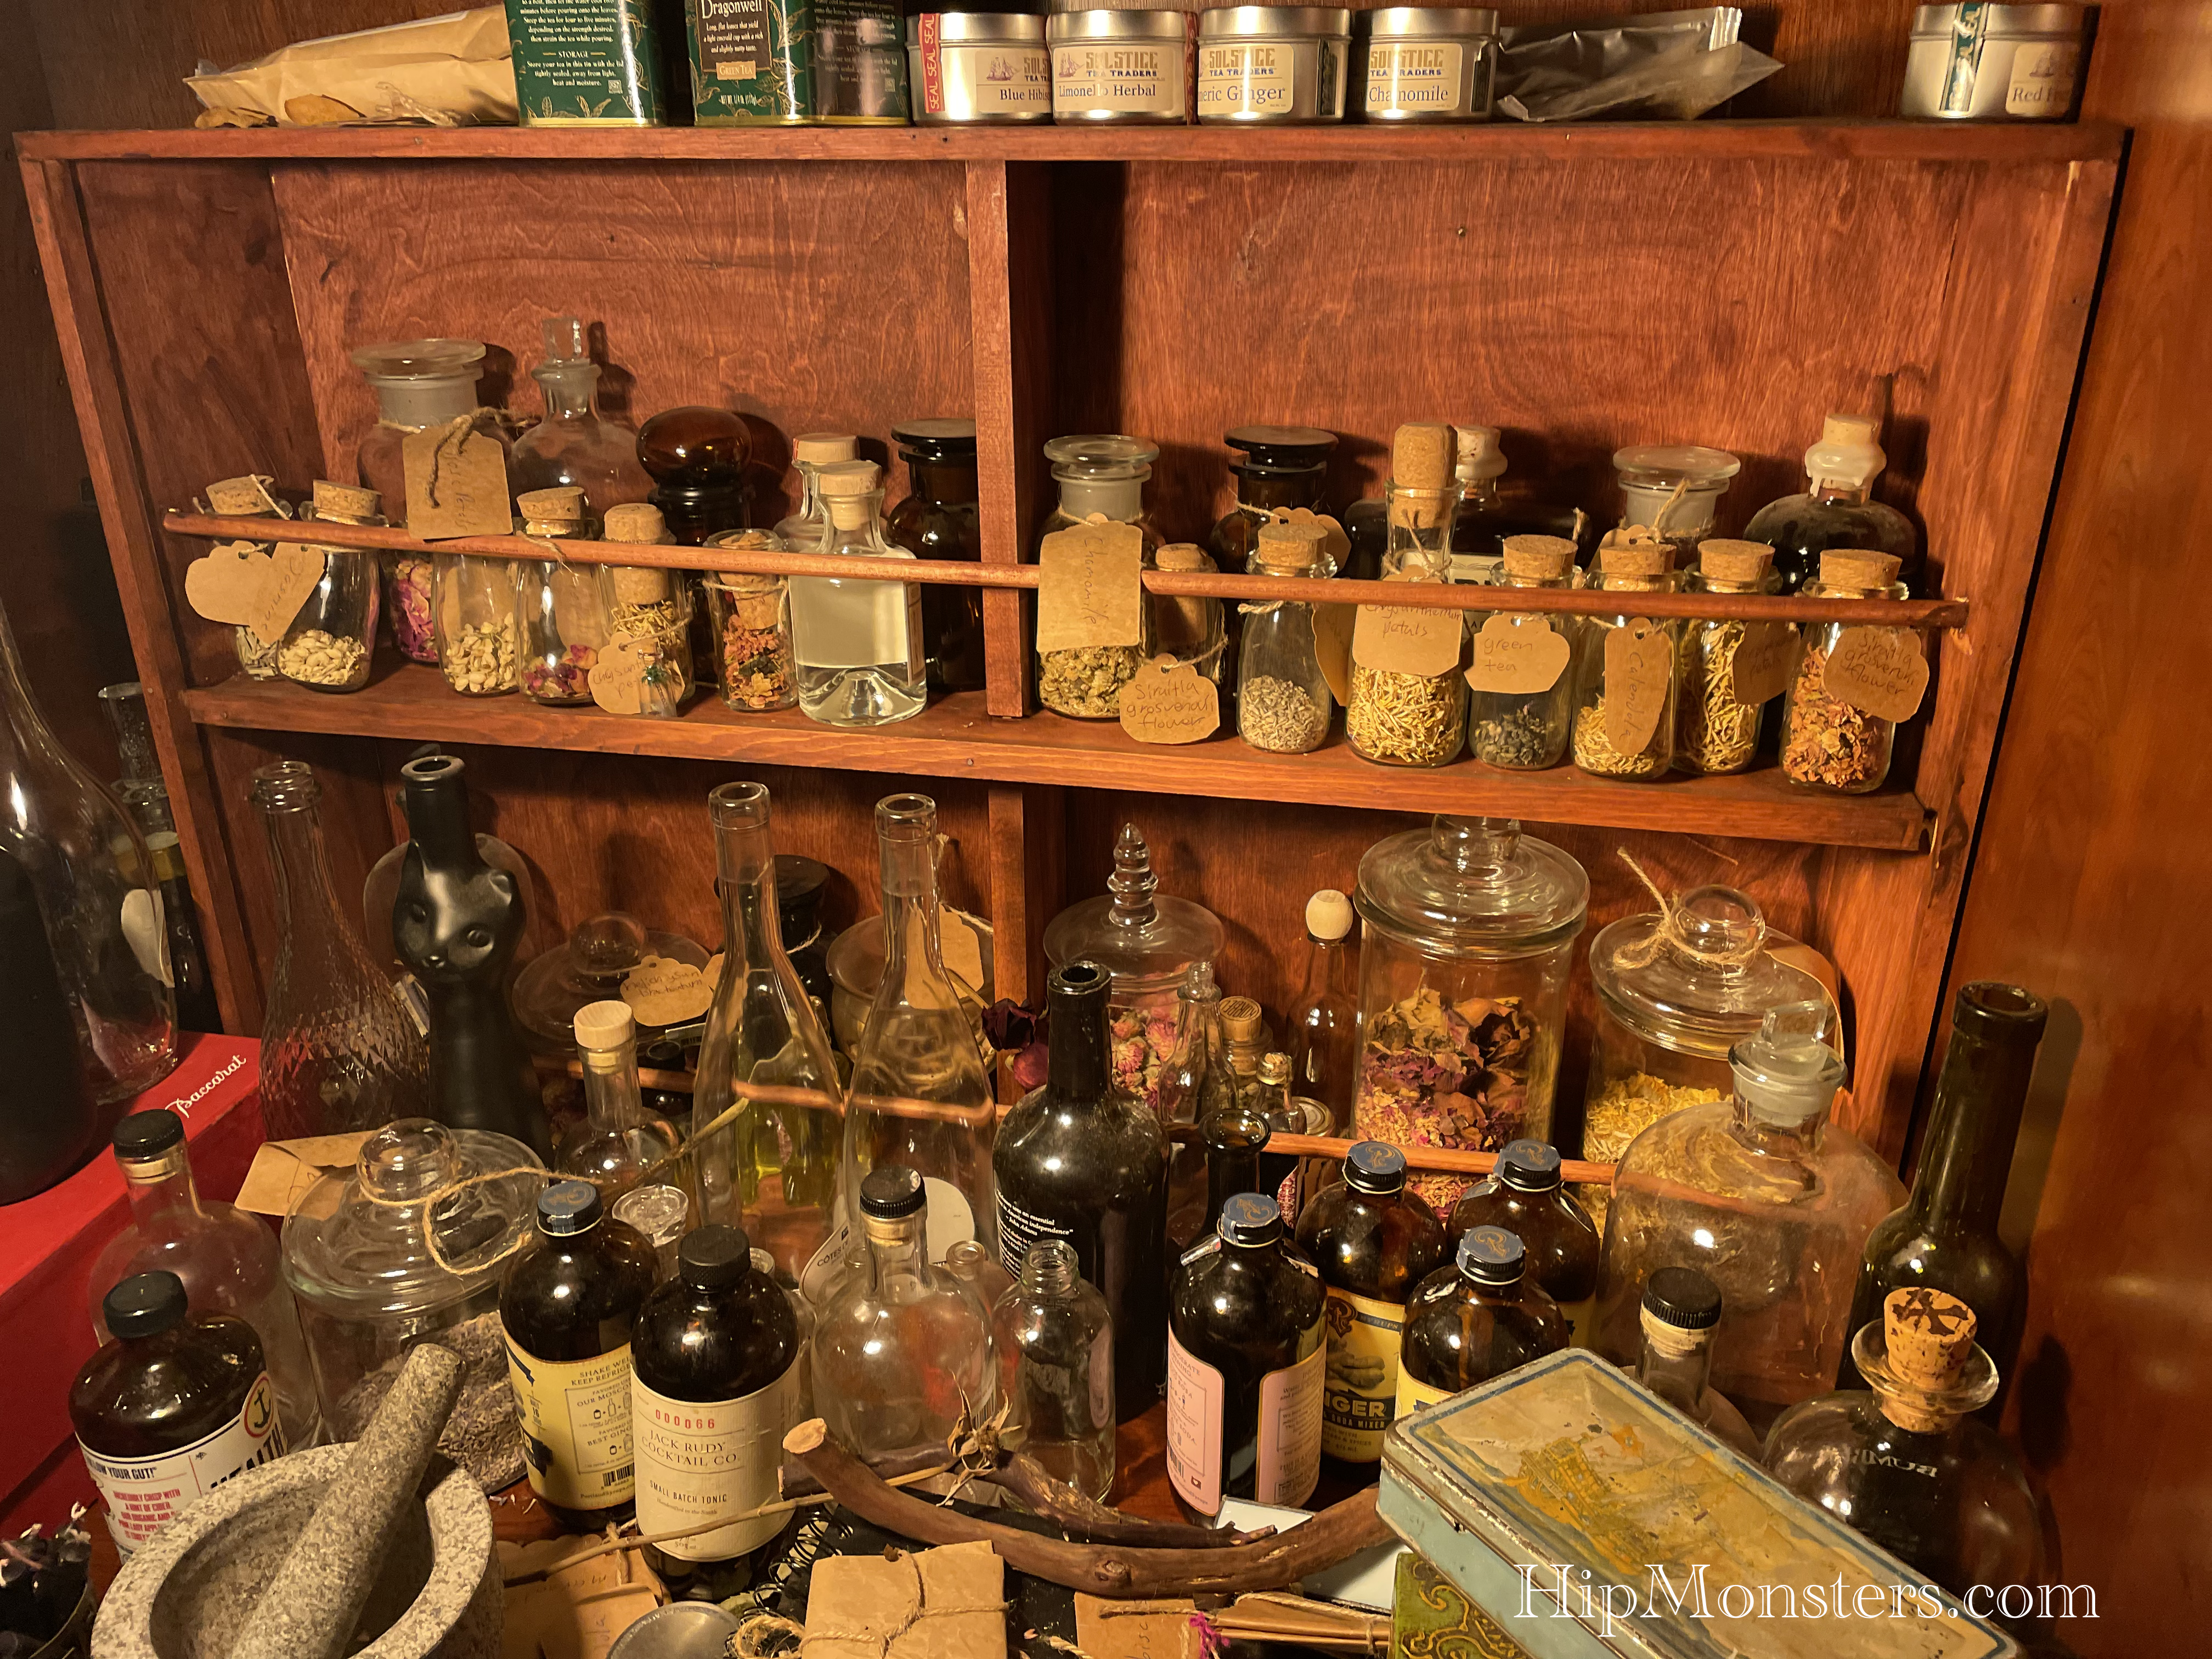
One of the small projects that we do is make herbal potions, tiny jars or pouches full of crushed up herbs and flowers from our herb garden. They keep away the spiders and smell very nice. We also use some of our dried herbs for cooking, to give the food more flavor.
We grow lots of herbs in our yard, so when we trim the branches, we can dry them and put them in jars to be used for potion making. Make sure to label the jars so you don’t forget what they are filled with.
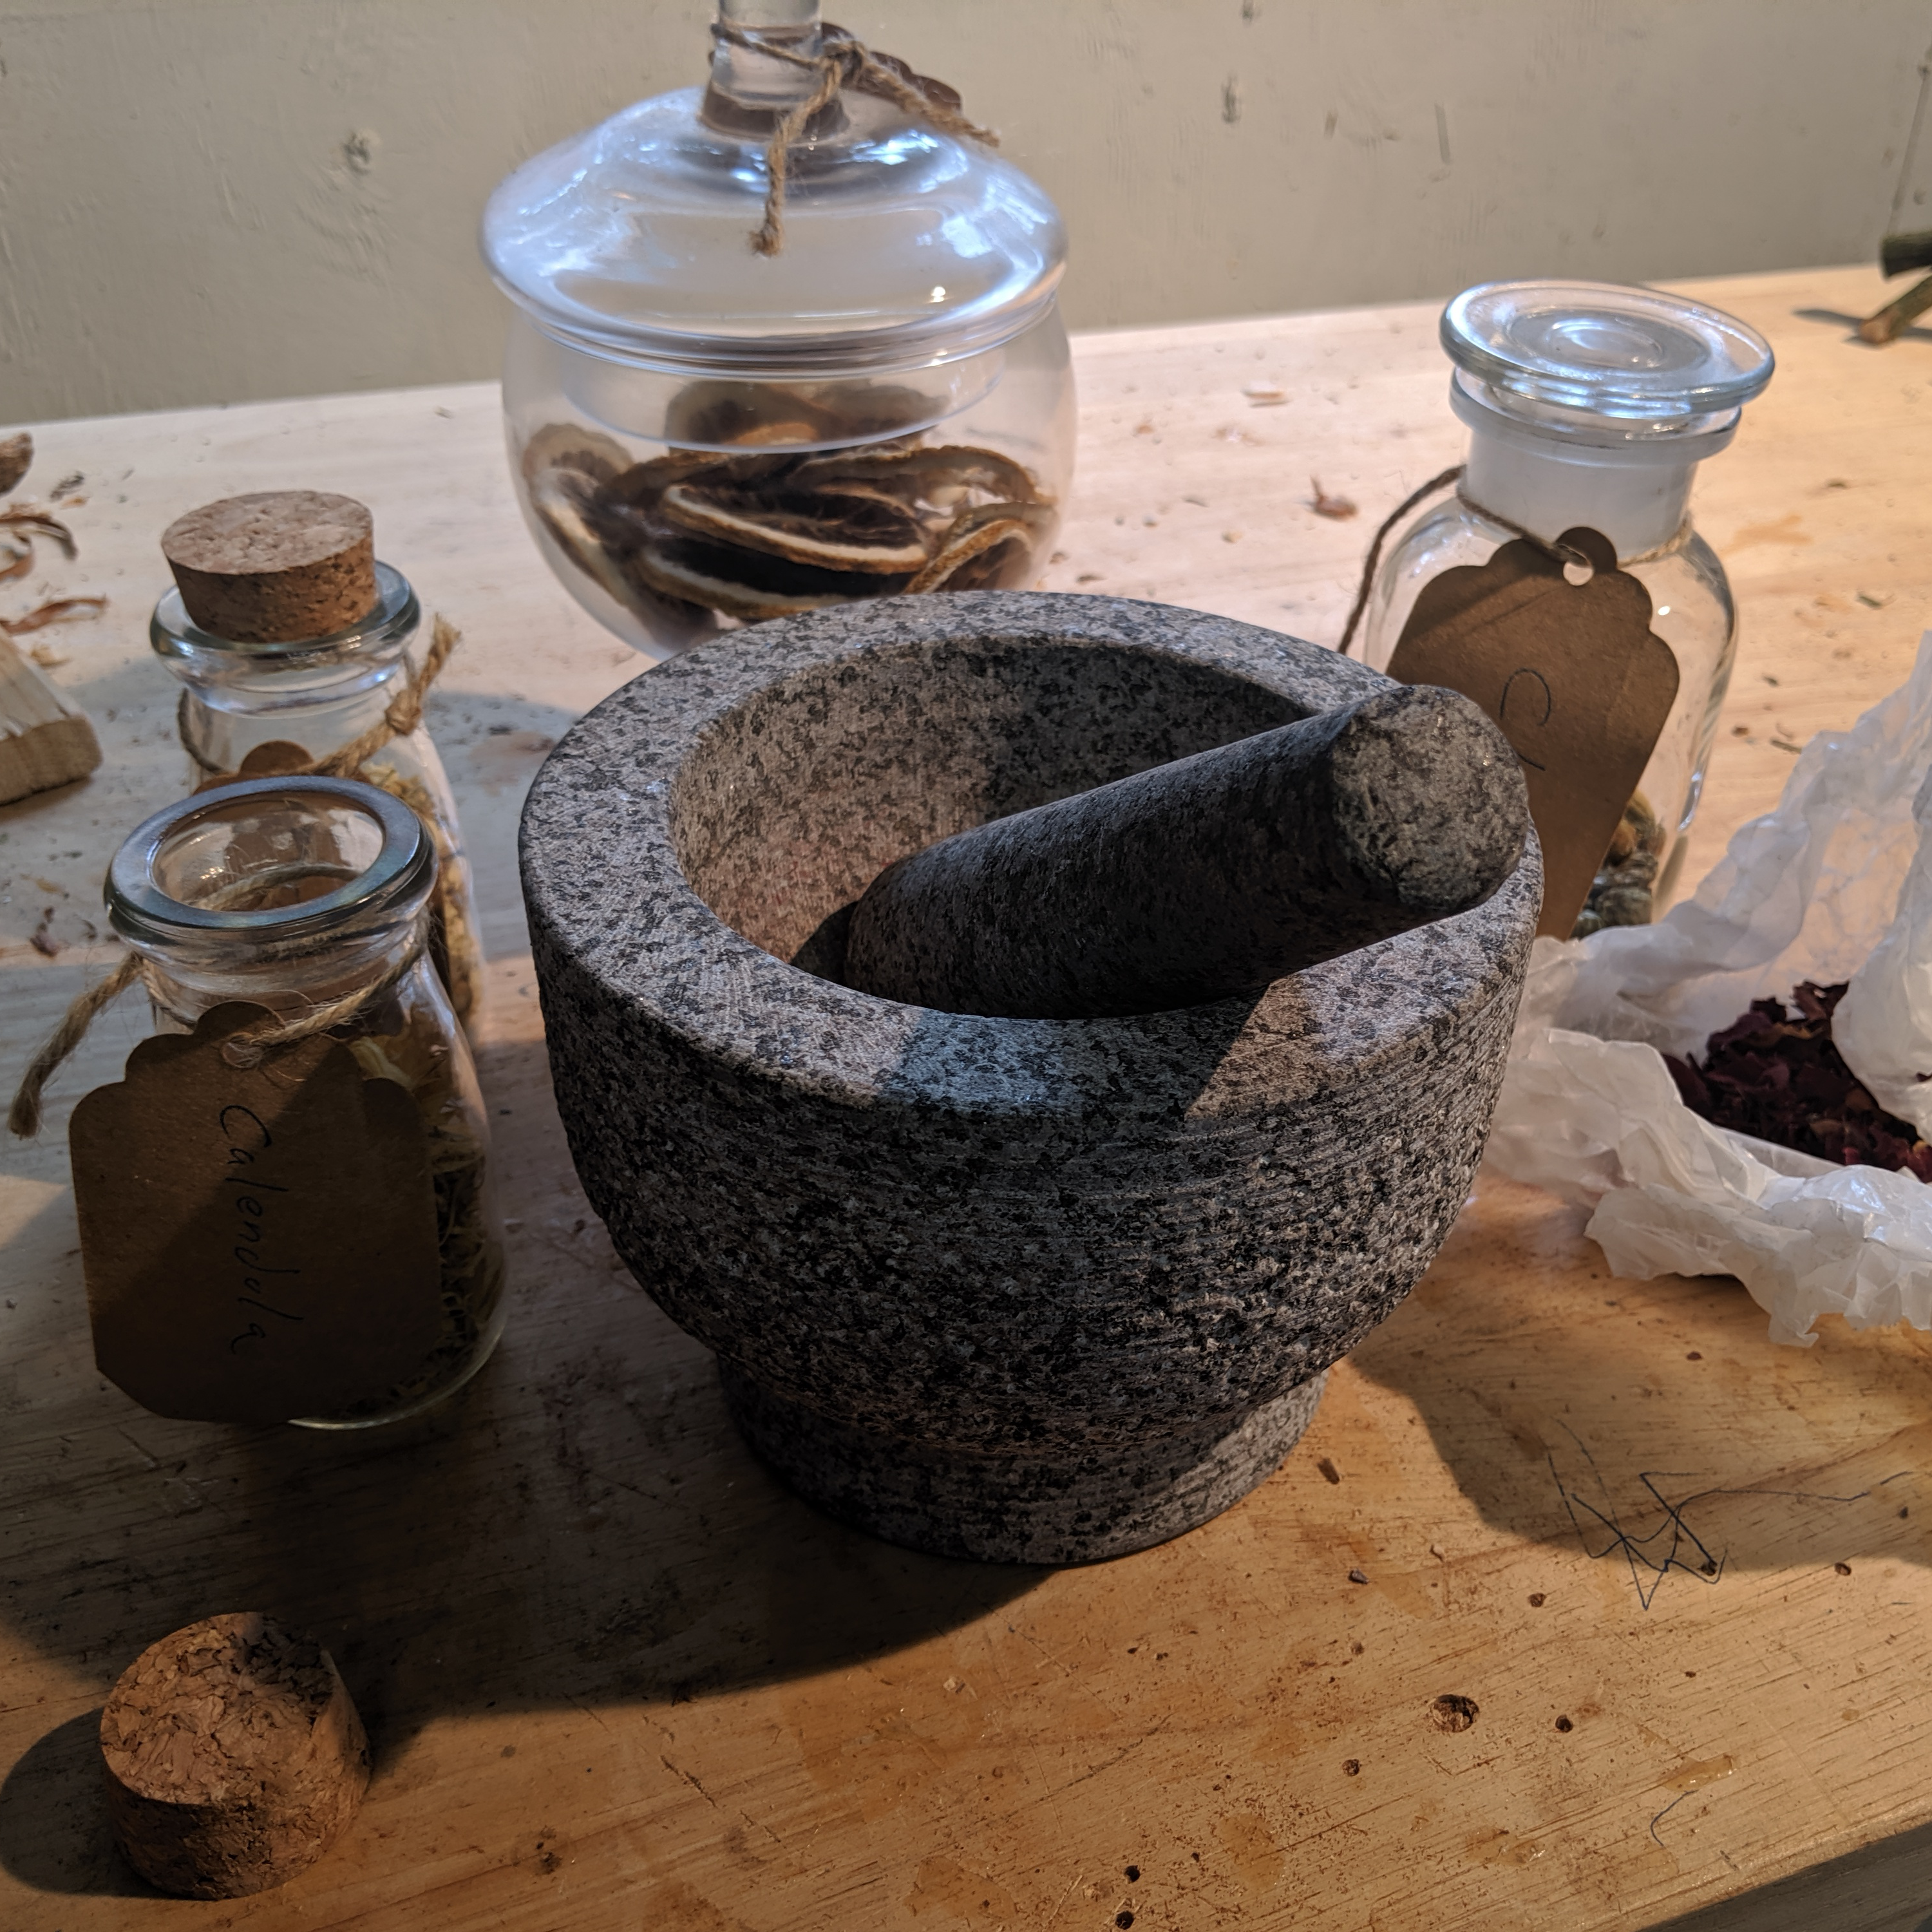
You don’t want to add lavender into your potions instead of rosemary! We also use some of the dried roses to make herbal potions because they smell very good, but they are much harder to crush.
herbs
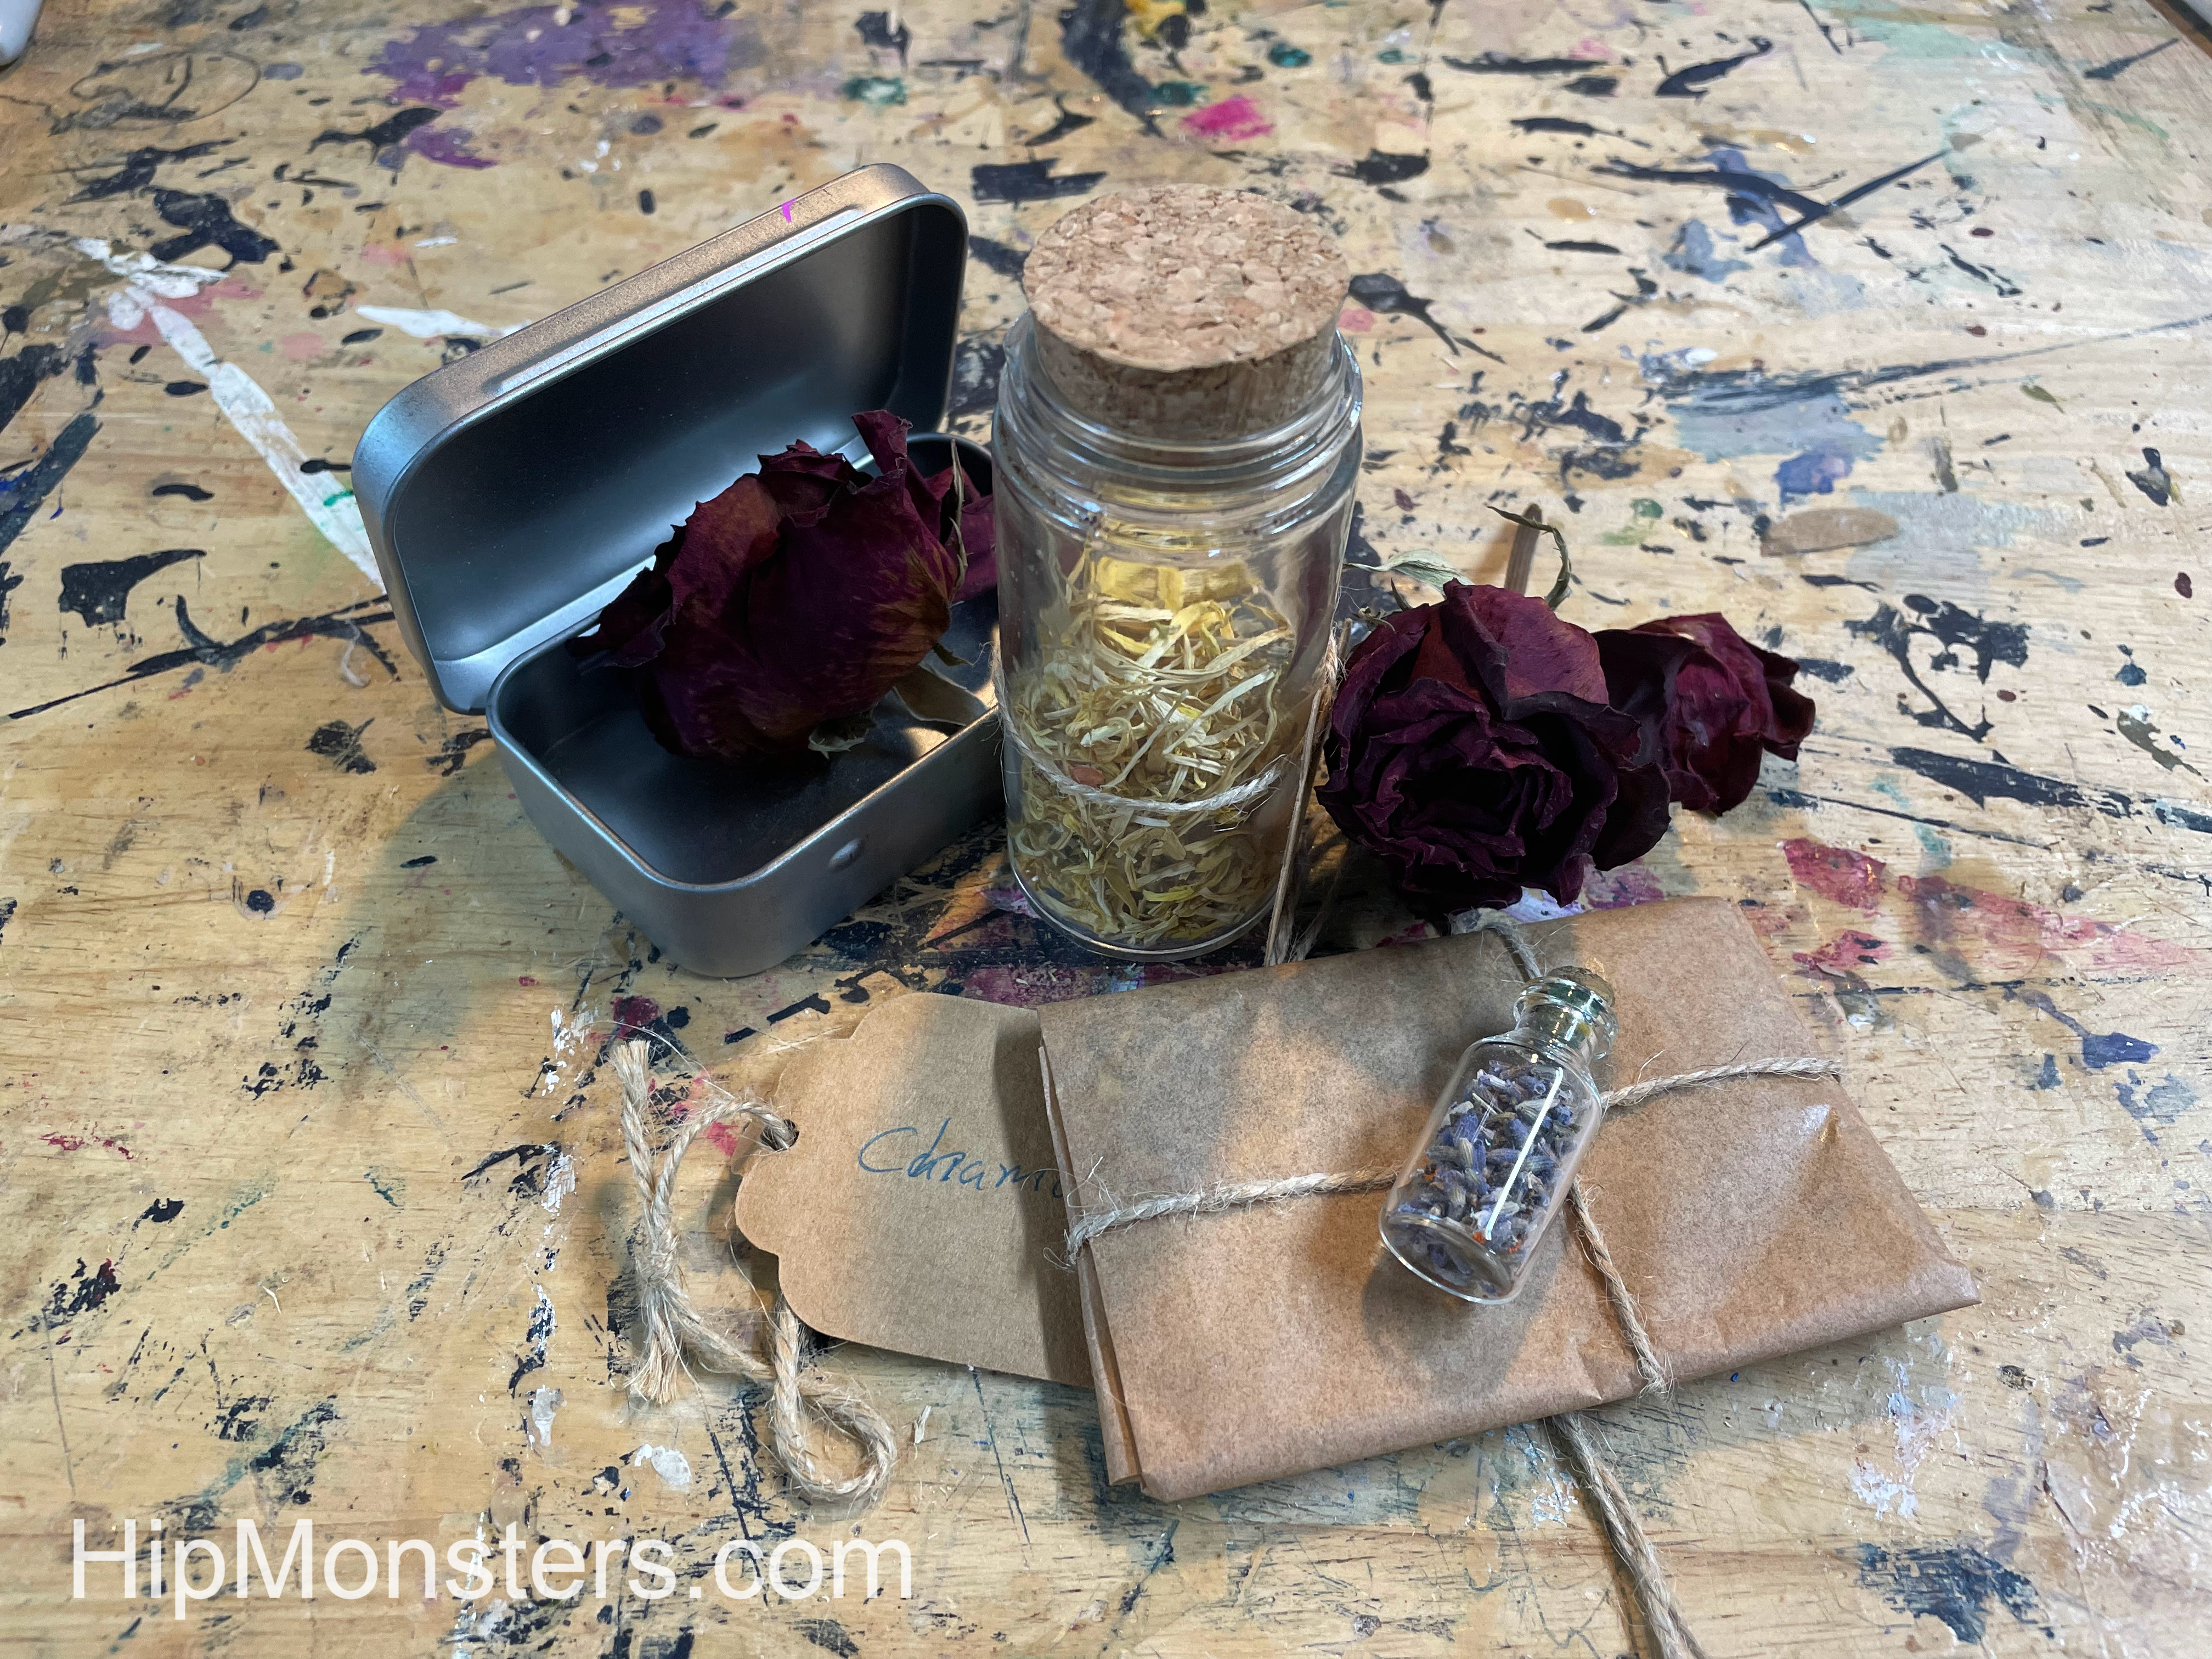
After we finish grinding them up, we carefully pour the herbs onto wax paper, or in a tiny jar. If you pour them on wax paper, make sure to fold it carefully so the herbs don’t fall out. We also tie them up securely in twine after folding them. If you put them in jars, use a funnel or a rolled up piece of paper to make sure that you are pouring into the jar, not onto the table
This it what they look like when completed. You can gift them to a friend, keep them, or use them for cooking.
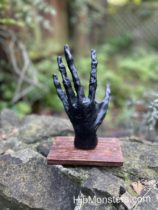
Inspired by Harry Potter, the HipMonsters team made our own Hand of Glory out of Foam-Mo. The Hand of Glory is a mix of realistic and creepy, making it the perfect Halloween decoration.
Please note, this material is provided for informational purposes only and is not a guide on how to create the designs. Please read our disclaimer.
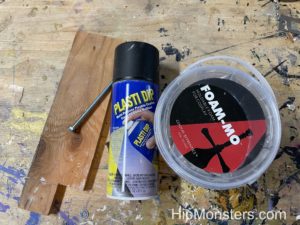
Foam-Mo is a foamy clay that we use for many of our projects. It is great for making organic stuff like plants and animals. After it dries, you spray it with a plastic coating to make it last longer. You can paint over the plastic coating.
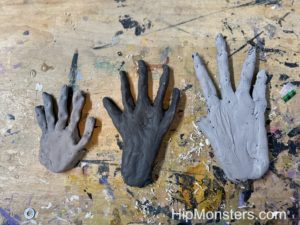
For our first attempts, we used our own hands as a model to make them, but we felt like they didn’t look very much like magical objects. They were also very flat and 2d looking, not like the real hand of glory at all.
For our final hand of glory, we made the fingers more long and skinny to make it both more realistic and creepy. To get the shape, we rested it over a bowl to dry. We also added more texture to make it look more like dry skin instead of making it smooth. We also defined the knuckles more to make it more creepy. like it is trying to grab you. We also added more of a wrist to make it more like it is in the movie, and so we could easily mount it.
Once we finished the hand, we made a wooden stand for it to be mounted on. We stained it and sanded it to make it look distressed, and made a wooden plaque. We attached the Hand of Glory to the stand by screwing it in.
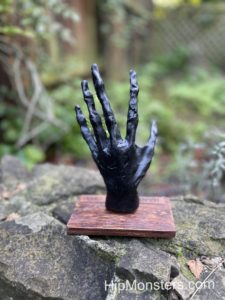
The completed Hand of Glory
This is it completed! It is a great addition to our Halloween decoration cabinet, just don’t touch it, unless you want it to grab you.
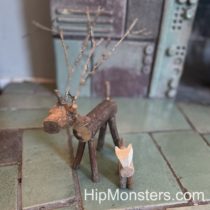
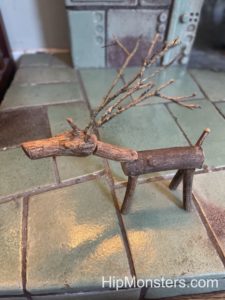
This is our wooden deer sculpture, made as a Christmas present. We only used wood from our yard to make it more meaningful and more unique. We always save leftover wood, so we can use it in our woodworking projects instead of wasting it.
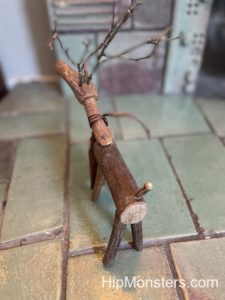
This is the back view of the deer. As you can see, we attached the tail, limbs and antlers by drilling holes and fitting them into the holes, like a peg. We attached the head and the neck by drilling a smaller hole inside the neck and the body, then used a strong piece of aluminum wire to connect them together. To make the tail look more realistic, we rounded the end of it and drilled the hole at an angle instead of straight down.
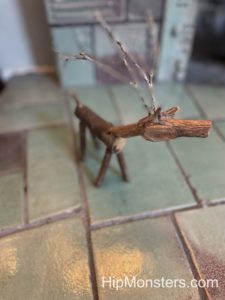
The head was made from sanding part of a tree branch. We chose that branch because it already looked like a deer head, so we didn’t have to work on it very much. It even had little indents for the eyes! All we had to do was sand it, trim the ears, and drill two small holes for the antlers.
We attached the antlers of the deer by taking small branches from our birch tree and putting them in the holes that we drilled on the head. The antlers were very important because it would help people recognize this as a deer. We had to find branches that were strong so they won’t break, but small enough to look realistic. Luckily, birch trees shed a lot of branches, so it wasn’t too hard to find perfect branches.
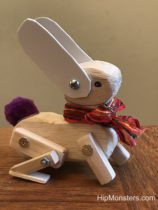
It was the end of the school year and we want to make a toy for one of our teachers. She loved bunnies and Beatrice Potter, so we thought that we should make her a toy bunny.
First, we drew a design for the toy bunny. We wanted it to be able to move its legs and ears so the design had to have a lot of details. It make sure it could more we used balsa wood for most of the parts to the bunny put together with nuts and bolts.
Please note, this material is provided for informational purposes only and is not a guide on how to create the designs. Please read our disclaimer.
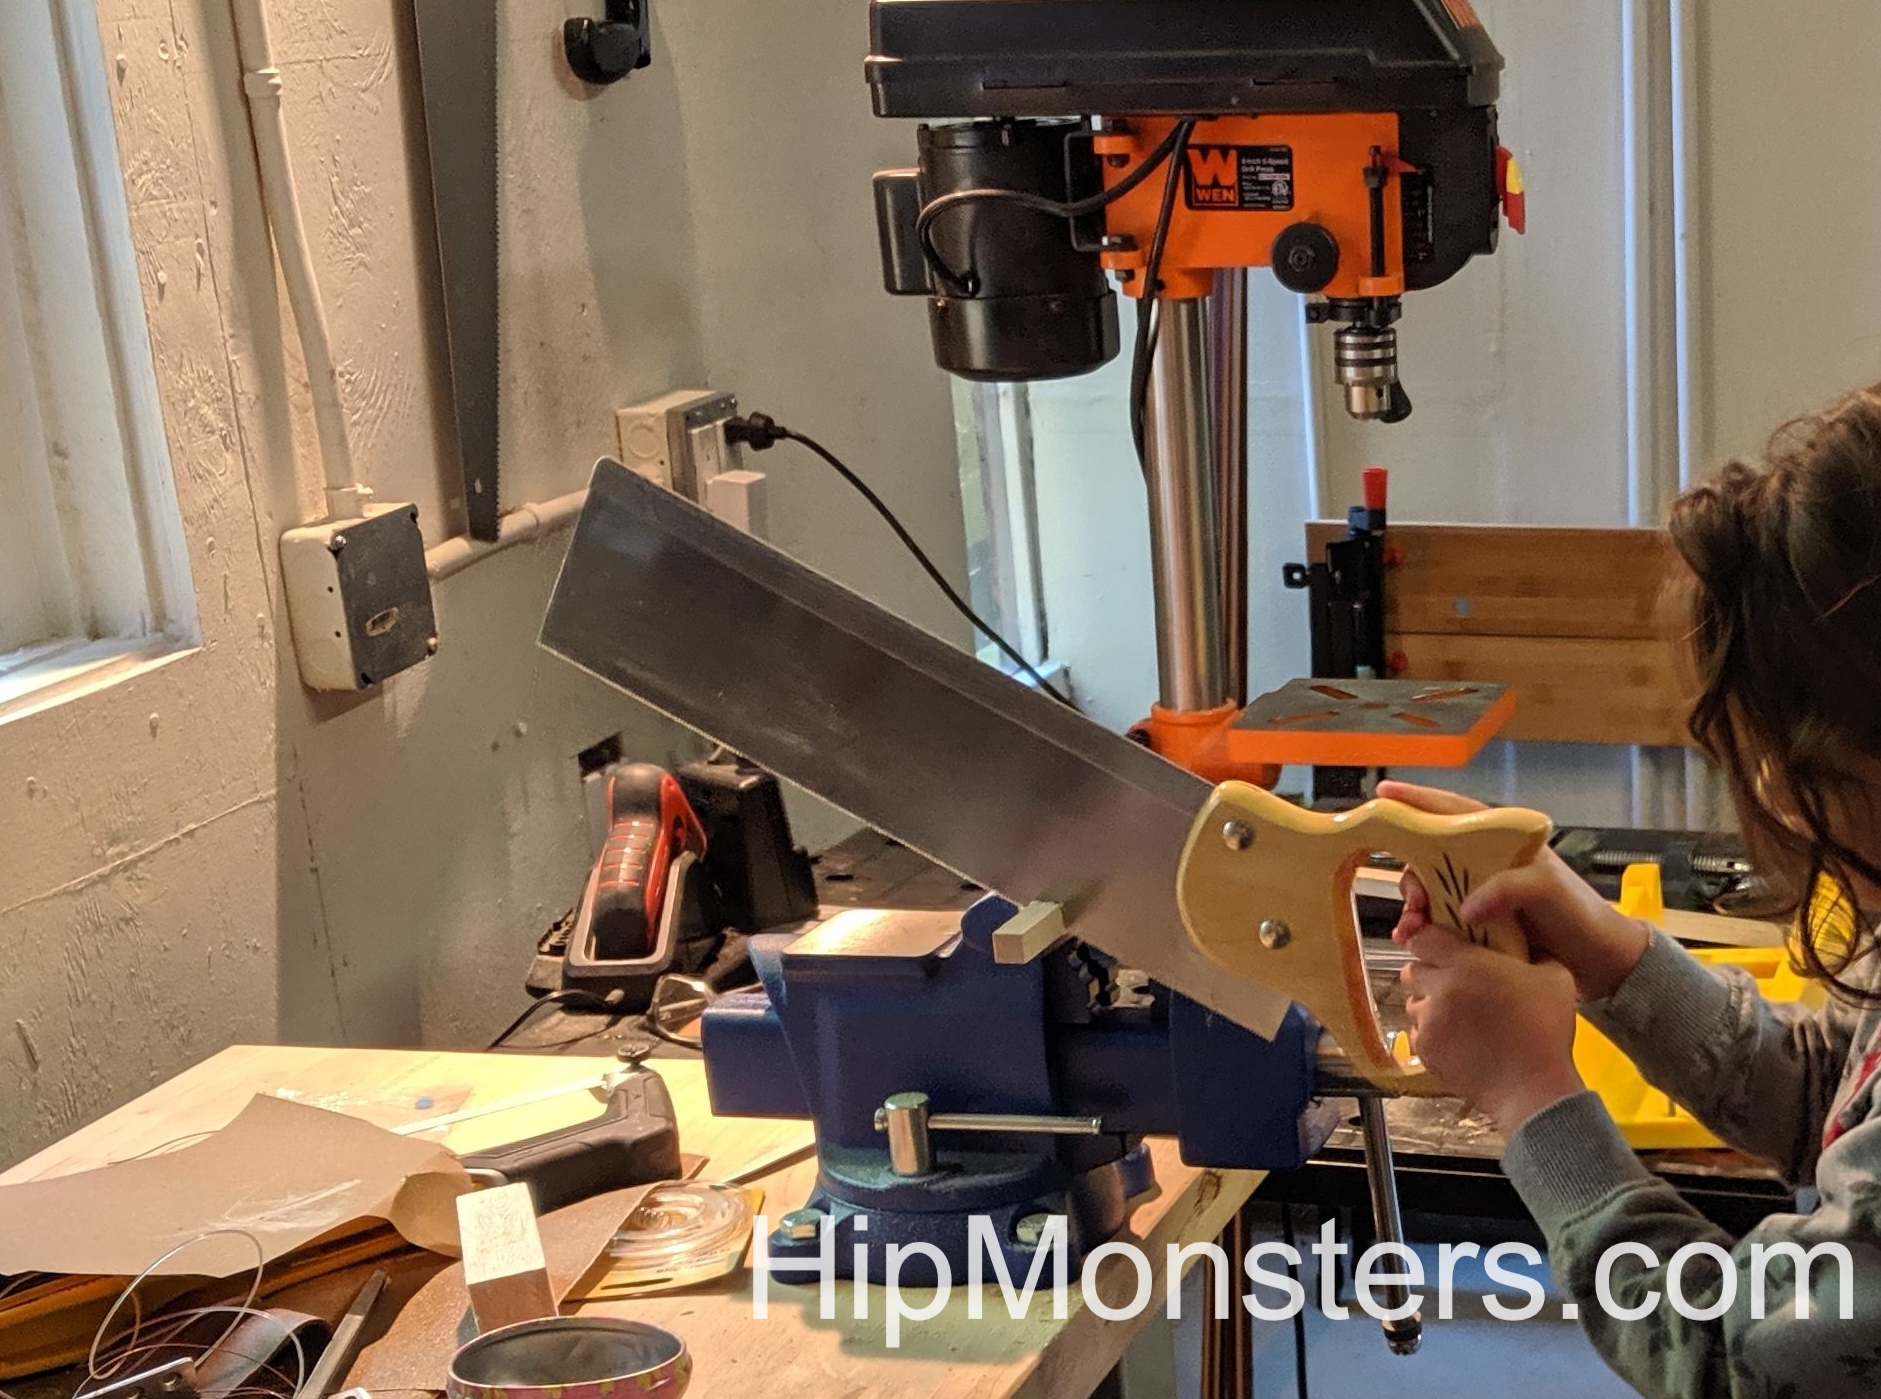
Here is a picture of us cutting the wood. We had to use a fine saw because the balsa wood split with the Japanese saw.
Next, we drilled holes for the nuts and bolts. We don’t use wood screws because over time they loosen and damage the wood if the toy is played with it. To drill the holes we used a bench press and a secured the wood carefully. Because Balsa wood is so soft, it couldn’t be hand drilled.
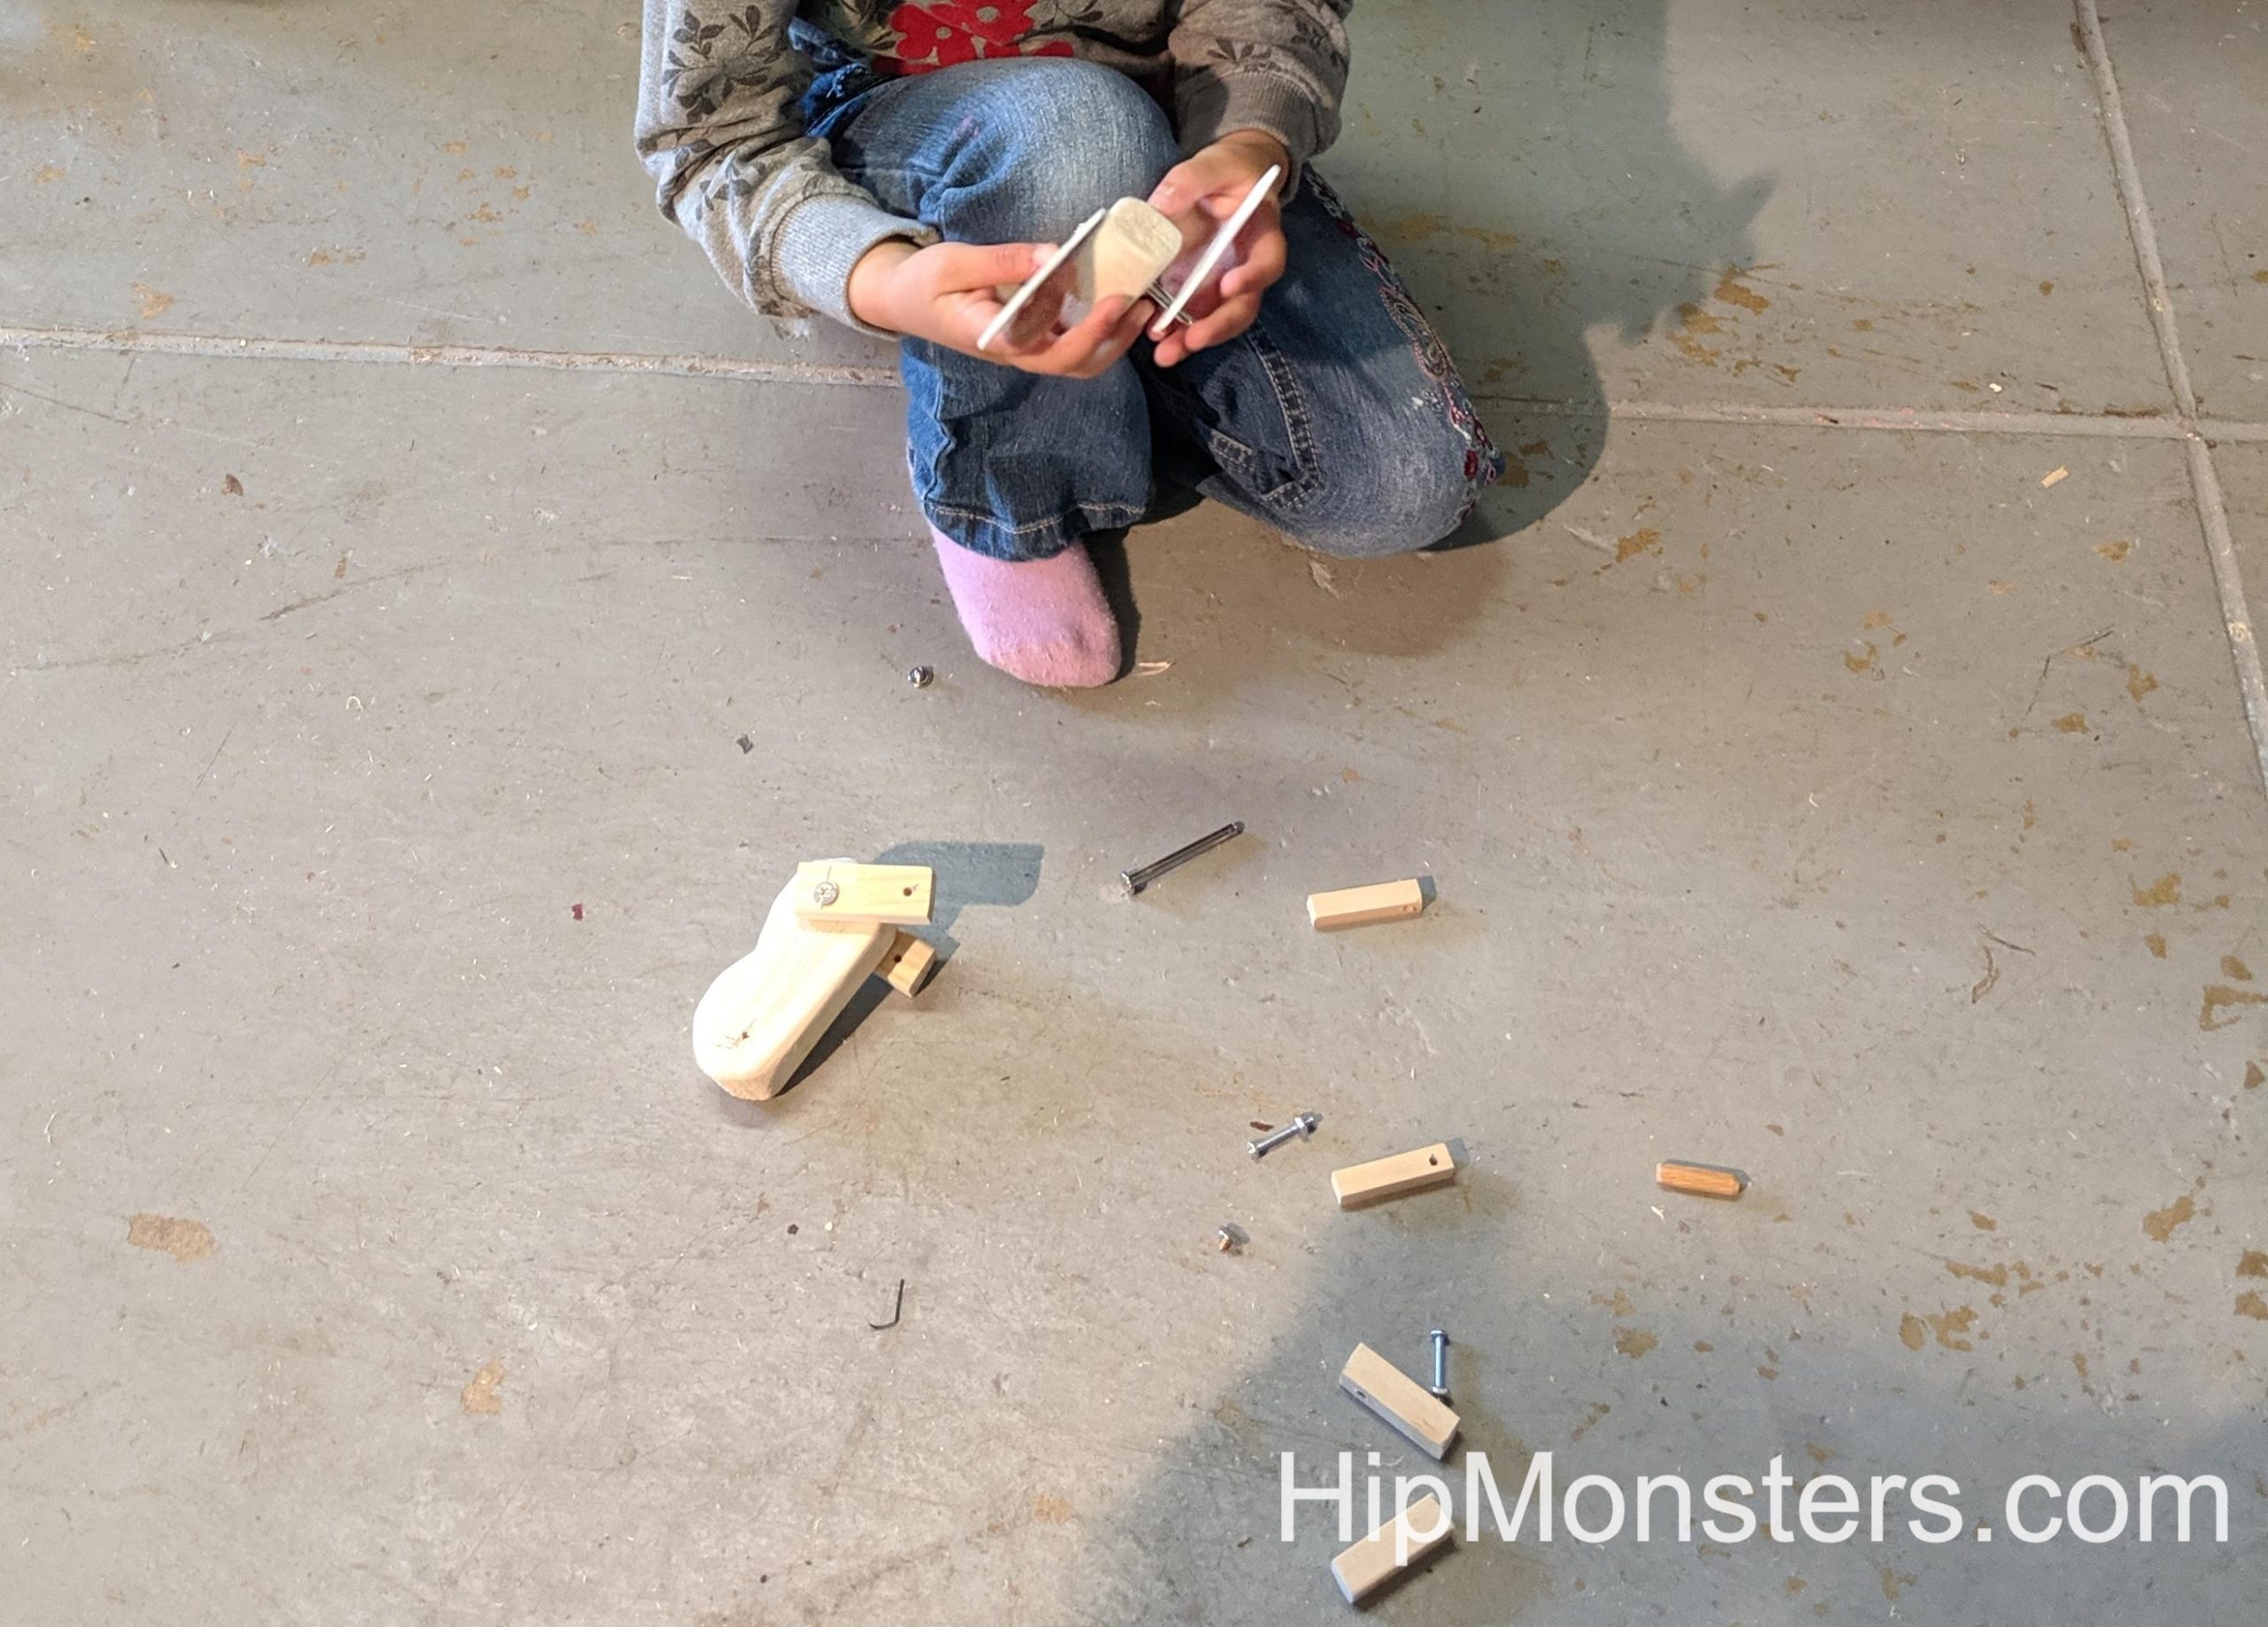
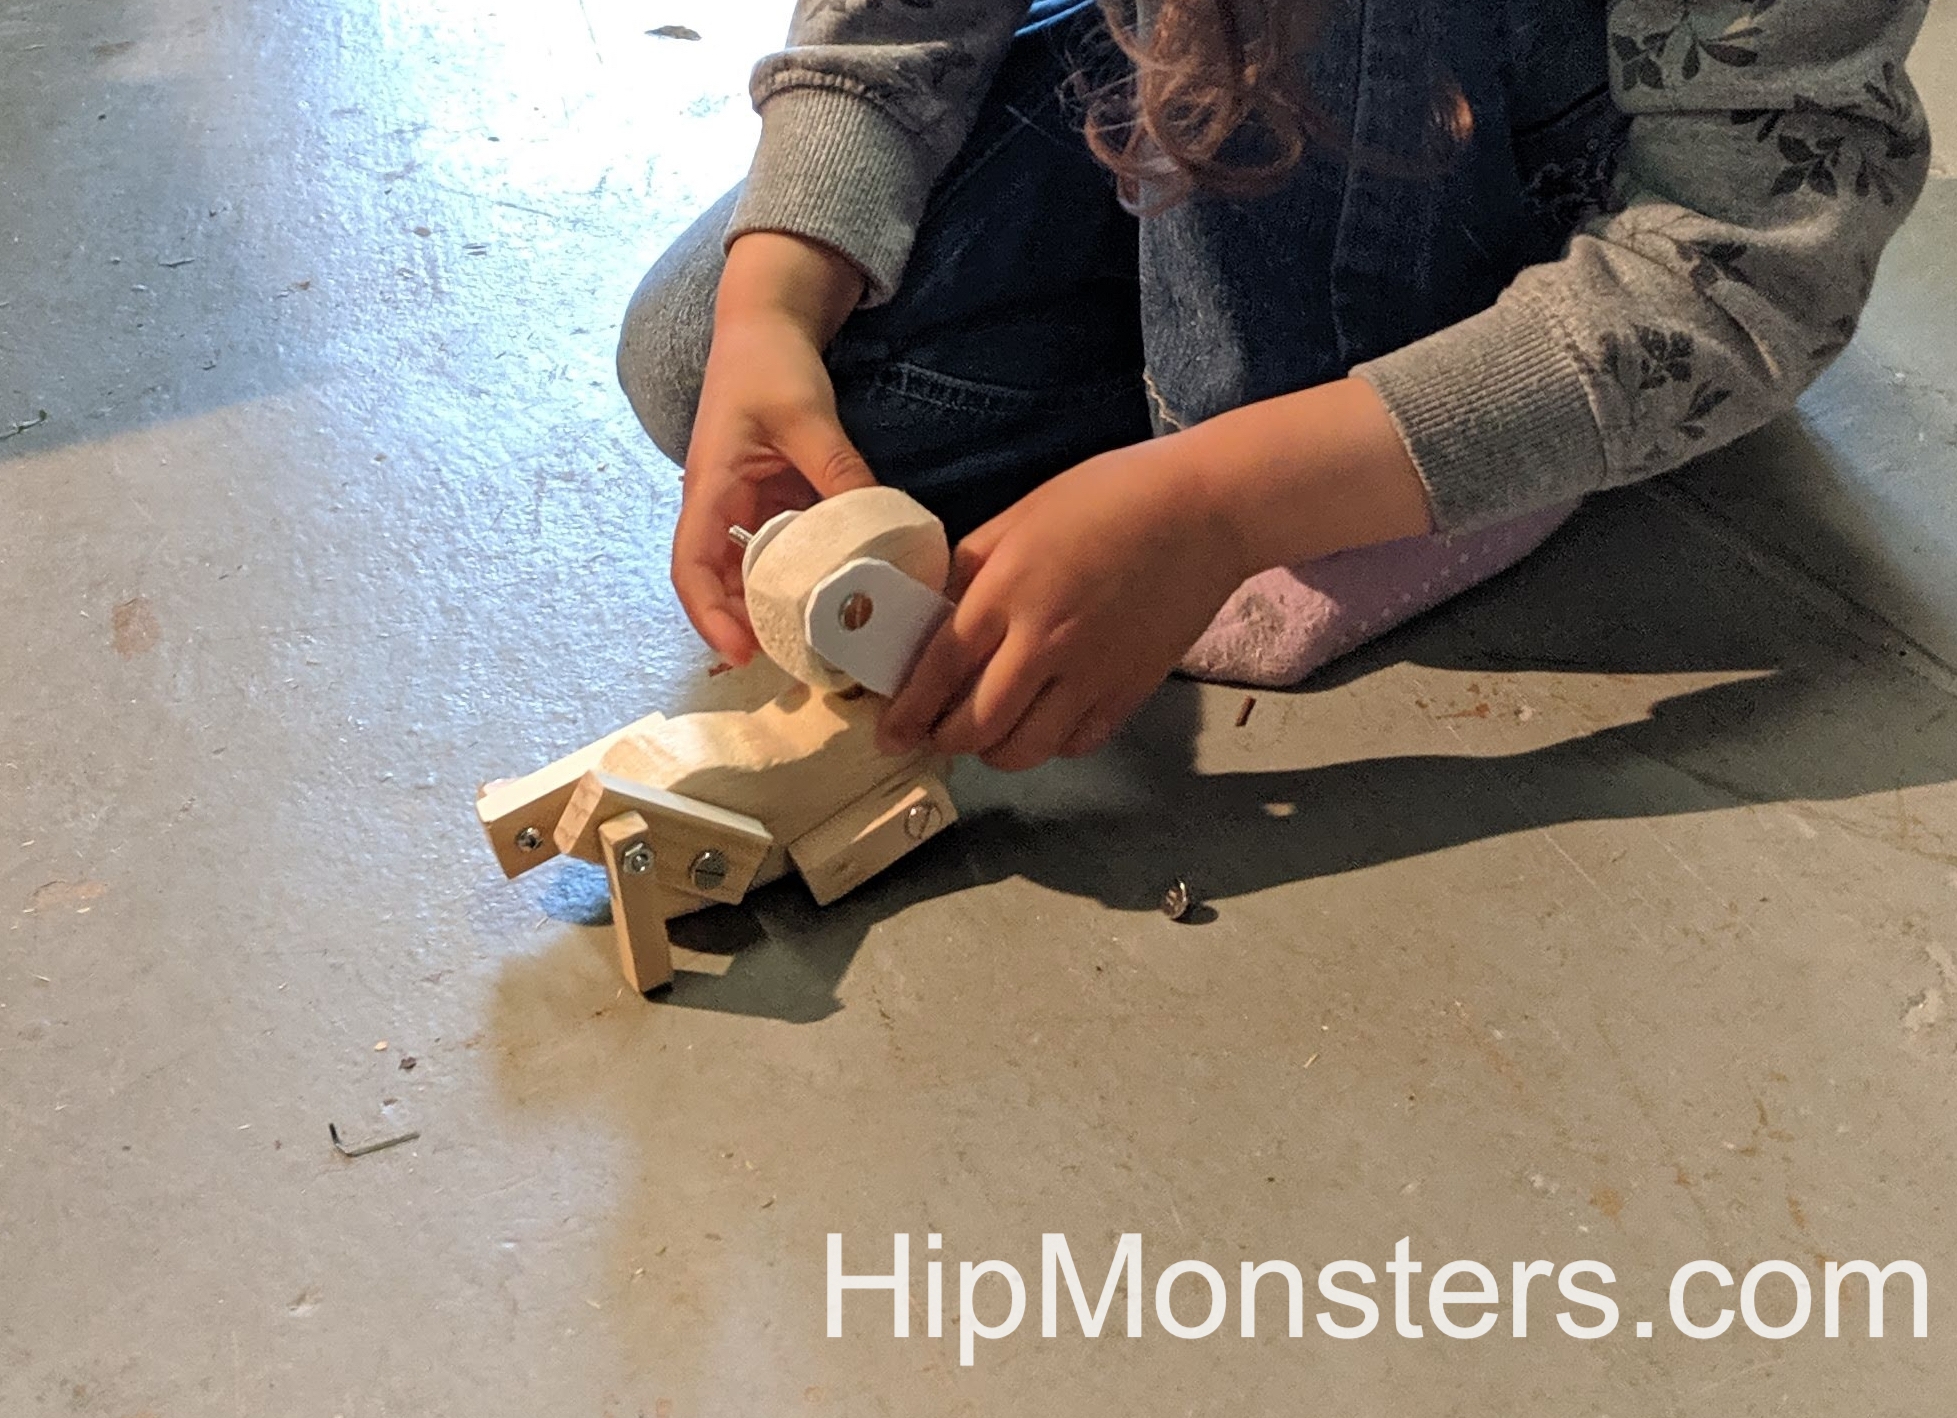
After all the parts were cut, drilled, and sanded it was time to assemble!
If the plans are good enough, once you have the pieces done, it is like assembling a puzzle!
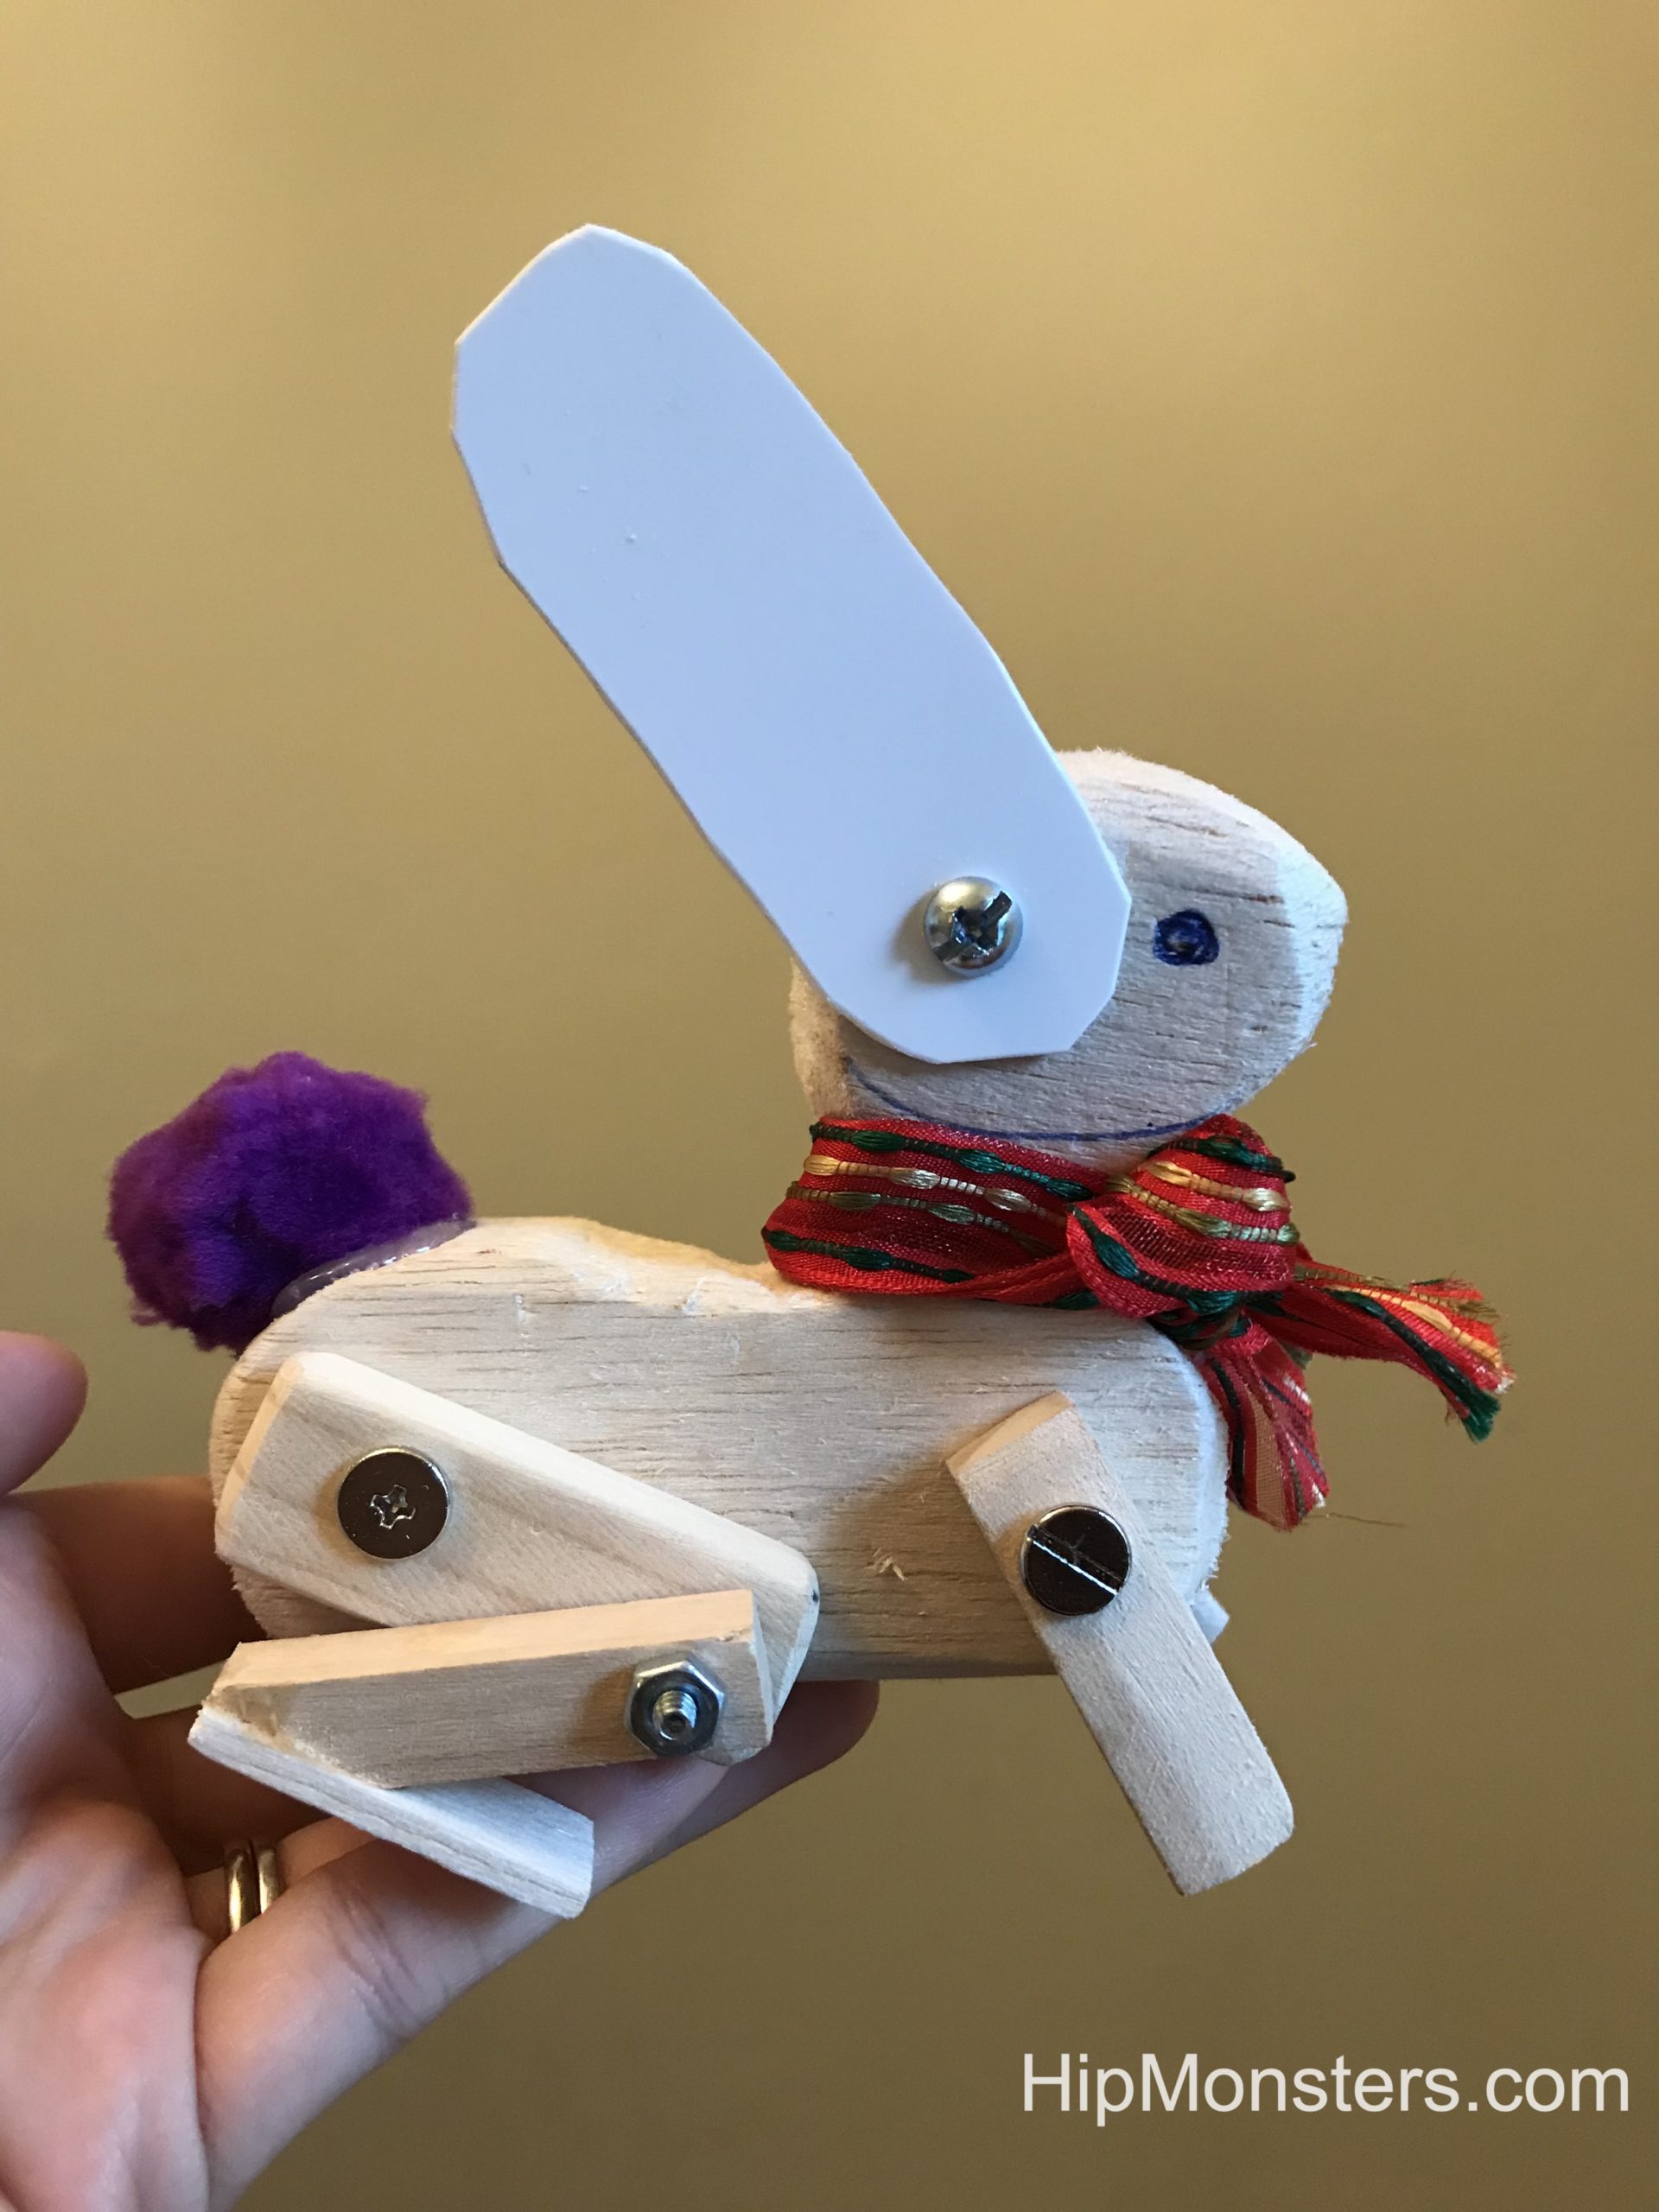
We made the ears out of plastic because the wooden ears broke too easily. We could also easily cut the plastic to be whatever shape we want.
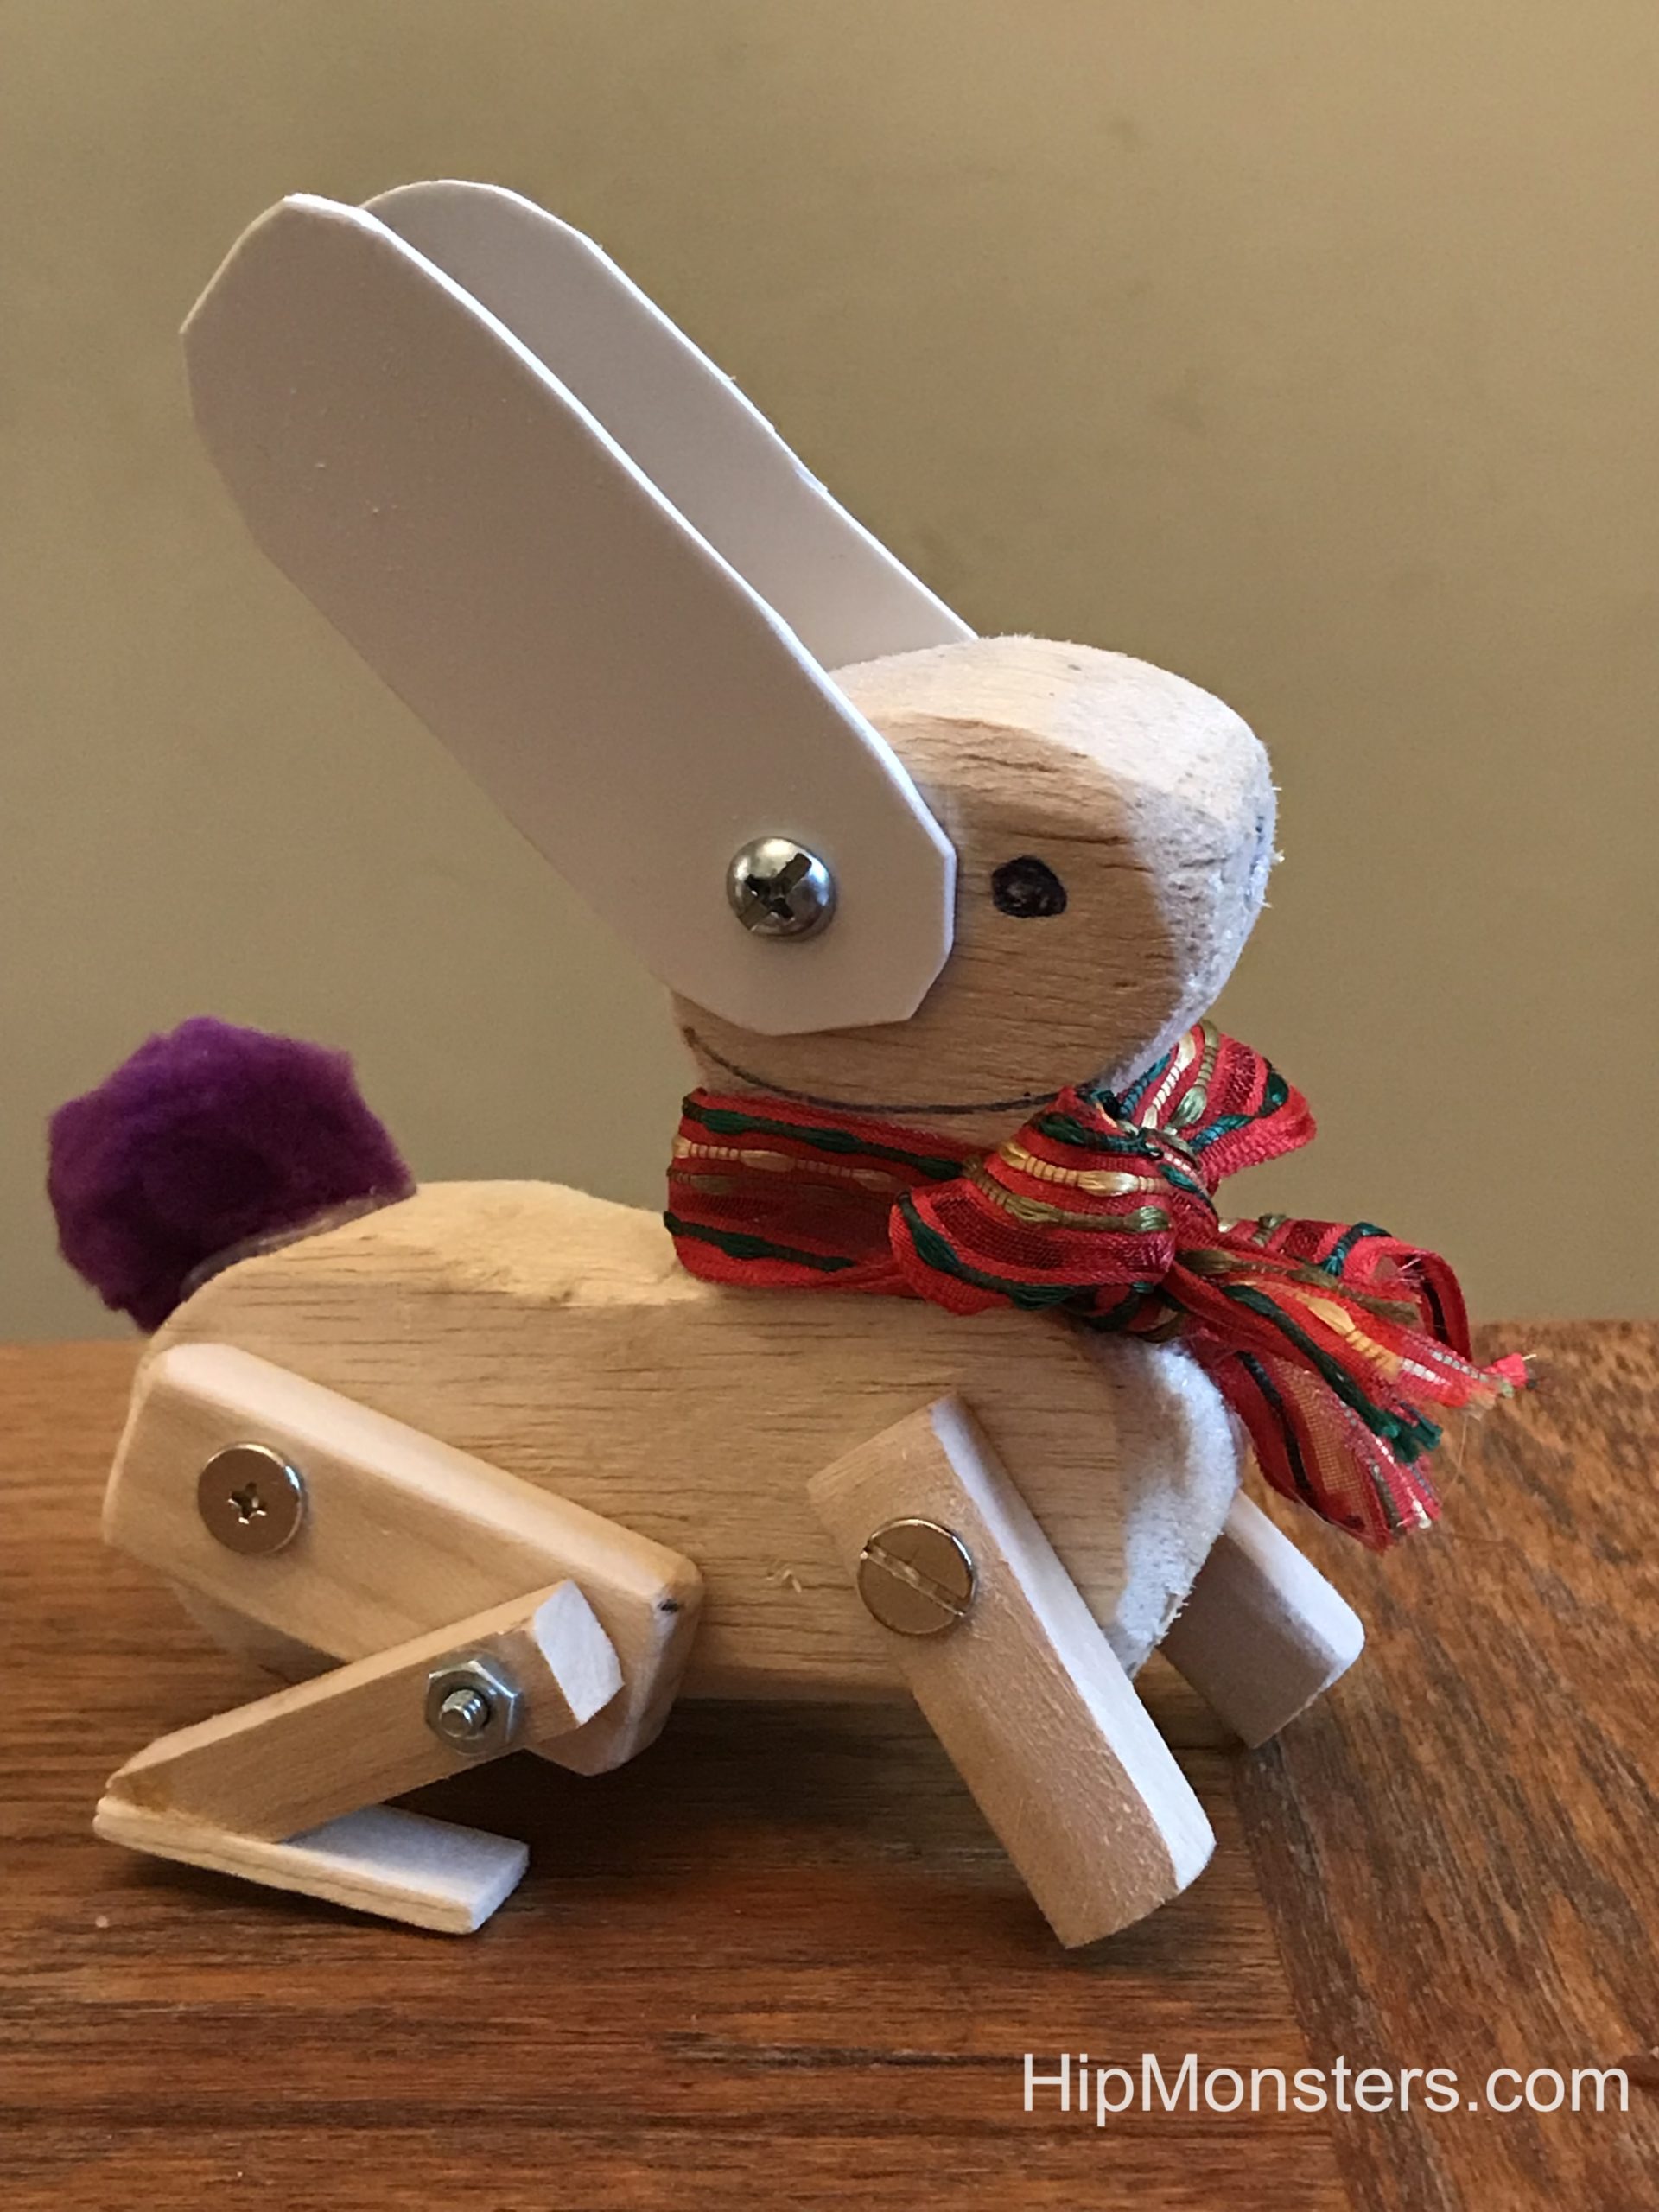
To finish it off we added a purple pompom for a tail. And here is the completed bunny with a scarf!
Because it is posable, you can change how it looks year round!
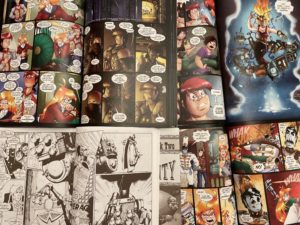
Girl Genius is a webcomic started in 2002 written by Phil and Kaja Foglio and colored by Cheyenne Wright about a world of steampunk mad scientists that build amazing robots. Girl Genius has greatly influenced our art and writing and we recommend you read it. You can read it for free online, or buy physical copies. The authors write a new page every other day, so if you get to the end, make sure to look back to find new pages.
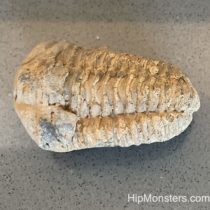
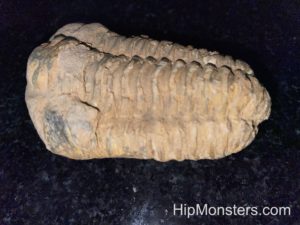
Trilobites are the Heterodyne family sigil (the Heterodyne family plays a central role in the story) which is a fitting symbol of the old and mysterious family.
What we like most about the main character Agatha Clay is that she is really smart and hilarious. She builds lots of cool inventions that do amazing things, and since she thinks differently than the other characters, her dialog is really funny. Our favorite quote is, “But I want to do math now!” Some of our favorite inventions that she had made are a coffee machine that makes coffee so perfect it makes people go mad, a deer robot that looks really pretty but has a bunch of different types of weapons, little circular robots that can make other robots, and a weaponized wagon army controlled by an pipe organ. The fact she is also very dangerous just adds to the fun!
The artwork is fantastic and really brings to life the rich world of Steampunk Europa. What is most impressive is the attention to detail, for example, there are sometimes little monsters on the page, and you have to look carefully to notice them. Also, the steampunk robots look like they can actually work! There are also lots of scenes that are happening in the background, so look carefully, otherwise, you might miss some information! In the beginning, it is black and white, but most of the story is in lots of colors.
Each location is rich in details and lets the reader explore a steampunk world like no other. Our favorites are a huge underwater city buzzing with lots of steampunk submarines and Mechanicsburg, the home of the Heterodyne family which is packed with danger, mystery and dominated by the powerful Heterodyne castle.
Girl Genius comics
The plots take unexpected and fun detours but everything is intertwined, all the characters are somehow connected to each other, and there are no loose ends. The dialogue is hilarious and rich, for example:
Violetta, “So, when can we be sure it is done and we haven’t doomed the Earth?”
Agatha, “Oh once the containment limit returns to normal. As for not dooming the Earth- well- that is more a lifelong goal, really. But so far so good.”
Humongulus: Humongulus angry? Never! You have used guile! Tactics! Awareness of the landscape! Humongulus is impressed!
Franz: Good ’cause with those arms you could punch me into next week.
Humongulus: You know the very sole of Humongulus.
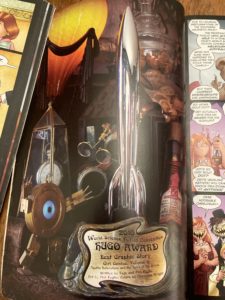
And it is not just us who thinks Girl Genius is great, it has gotten multiple Hugo awards!
The Hugo Award!
The best part of the world is the crazy robots and monsters. There are lots of weird monsters that just live alongside everyone else, and crazy robots are an everyday sight. The robots and monsters are central to the story and some are main characters who act and think very differently than humans which adds to the realism.
Our favorite little clank
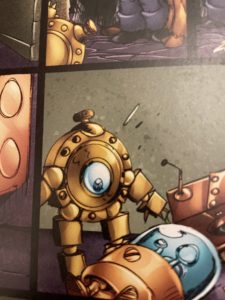
This is a picture of a little clank (robot) that the main character made. Girl Genius is in a steampunk world and has cool robot illustrations. We were so inspired by Girl Genus’s cute and cool-looking robots, we spent two years designing and building our own working steampunk robot Number Five !
Gardening season has started and we want to talk about one of our favorite flowers, Senecio Stellata (Cineraria). They add a wonderful splash of color, and also attract pollinators to make gardens healthier.
When we moved into our home it already had flowers growing everywhere, though we did not know how much until the next spring, when the whole yard came to life. Cineraria flowers were by far the dominant species but we also have a variety of other local species to help our local bee population. We have several hives maintained by our neighbors including this one.
Cineraria grows out of every bit of bare soil in our yard – even in cracks in the cement walkways just like weeds!
The cineraria flowers range in color from a deep purple to an almost white blue and grow up to 4 feet tall! The leaves can get almost as big as your hand and are bright, cheerful green.
They grow in large clumps creating a sea of flowers when in full bloom! The seeds look like little pompoms and blow all over the yard. Sadly, they wilt really quickly if you cut the flowers, so we do not recommend making bouquets out of them, otherwise you will find flower petals and seeds everywhere.
Cineraria, like our native species, does not require a lot of water or fertilizer but does need some special care. The most important thing, if you want to grow native wildflowers in your yard, is not to rip out the plants when they stop blooming but let them reseed. This does make the yard look less formal and more natural for most of the year but in Spring you will be rewarded. In the Bay Area, Cineraria can grow year-round so after it seeds you can trim it down and it may bloom again next year!
Weeding is essential as grass and other weeds will crowd out Cineraria early in the season but with care and patients your yard can become a sea of flowers like ours!
Inspired by the Boston Dynamics robot videos, steampunk art, and Girl Genius, the HipMonster team set out to make their robotic dog walk to take for a walk on our city street. This project ended up being a lot harder than we imaged and took two years to complete. This greatly impacted our work on the HipMonsters’ website which is just now being updated with new content. So, finally, we give you the making of Number Five!
Please note, this material is provided for entertainment and informational purposes only and is not a guide on how to create the designs. Please read our disclaimer.
Getting Started
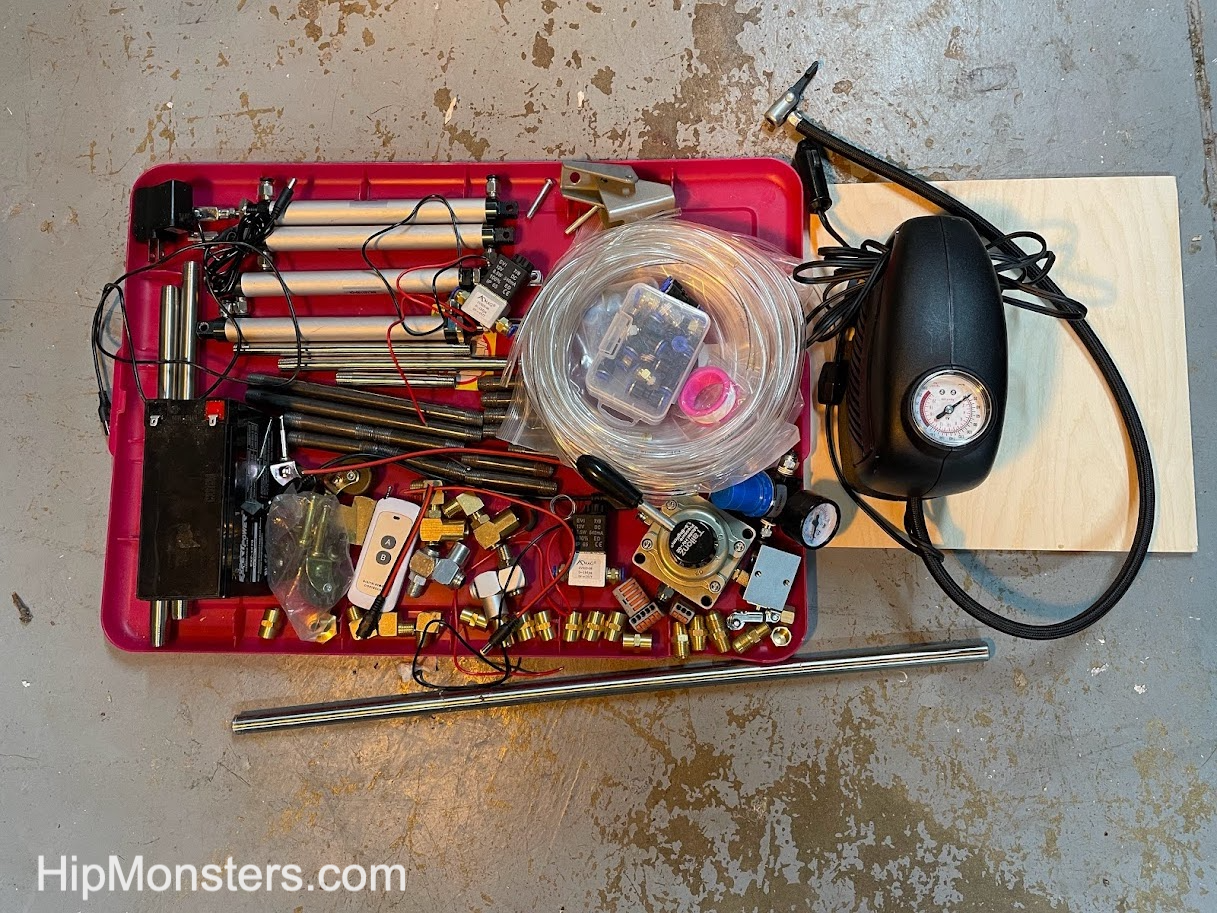
Base supplies to get started:
Brass Pipe Fitting, 4-Way Tee, Female Pipe (1, 1/4″ x 1/4″ x 1/4″ x 1/4″ NPT)
Brass Pipe Fitting, 90 Degree Barstock Street Elbow, 1/4″ Male Pipe x 1/4″
Brass Pipe Fitting, Barstock Tee, 1/4″ x 1/4″ x 1/4″ NPT Female Pipe
Black Steel Pipes ,close nipple pipe, 1/4 in. x 8 in, Black, 5 Pack
Black Steel Pipes, close nipple pipe, 1/4 in. x 6 in, Black, 5 Pack
Black Steel Pipes, close nipple pipe, 1/4 in. x 2 in, Black, 5 Pack
Hex Nipple Coupling Set – 1/4-Inch NPT x 1/4-Inch NPT,Solid Brass, Female Pipe
3/8 Inch Stainless Steel Cable Clamp
90-degree Swivel 1/4-Inch Male NPT x 1/4-Inch Female NPT
Clear 6mm OD 4mm ID Polyurethane PU Air Hose Pipe Tube Kit 10 Meter 32.8ft
Pneumatic Rotary Lever Hand Valve 1/4” N PT Air Flow Control 3 Position 4 Way
Pneumatic 16mm Bore 150mm Stroke Air Cylinder Double Action
Bike Pump
Building on our experience creating Number Three, we used piping to build the skeleton for the robot. To make it stronger to withstand the force of walking we used 1/4-inch steel pipes and pneumatic pivot joints rather than PVC tubing. After that, we assembled the legs using the pivot joins to allow the legs to move.
Assembly begins!
After the legs were completed, we built a spine to help attach the legs and provide an attachment platform for the batteries, controller, and engine.
The skeleton is coming together
When Number Three moved, the legs would frequently come loose so we made sure to be attached tightly to the spine. We knew from other robots we built that the vibrations of a running robot tended to unscrew bolts and screws. So, getting everything put together as tight as possible is essential.
Final tightening of the frame
The spine takes a little patience to screw together because we used three parallel sets of pipes for strength. It proved difficult to screw them in at the same time and the best approach was to take it slow and calmly.
Side view of the completed skeleton
This is the side view of Number Five with most of the pneumatic pistons in place. We had two powering the back legs and four to power the front legs which did most of the pulling. We found from the full-scale test pull was better than push for control. If a front leg got stuck and the back legs still pushed forward the robot would veer to the left or right.
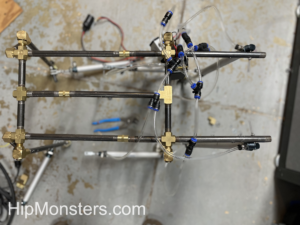
Below is a top view. The front part of the skeleton does not have a spine. This was originally to enable us to adjust the strides of the legs but that ended up being too finicky and we instead locked them in place. Sadly, we don’t have a clean attachment point for a head if we ever want to add one.
Top view of the skeleton
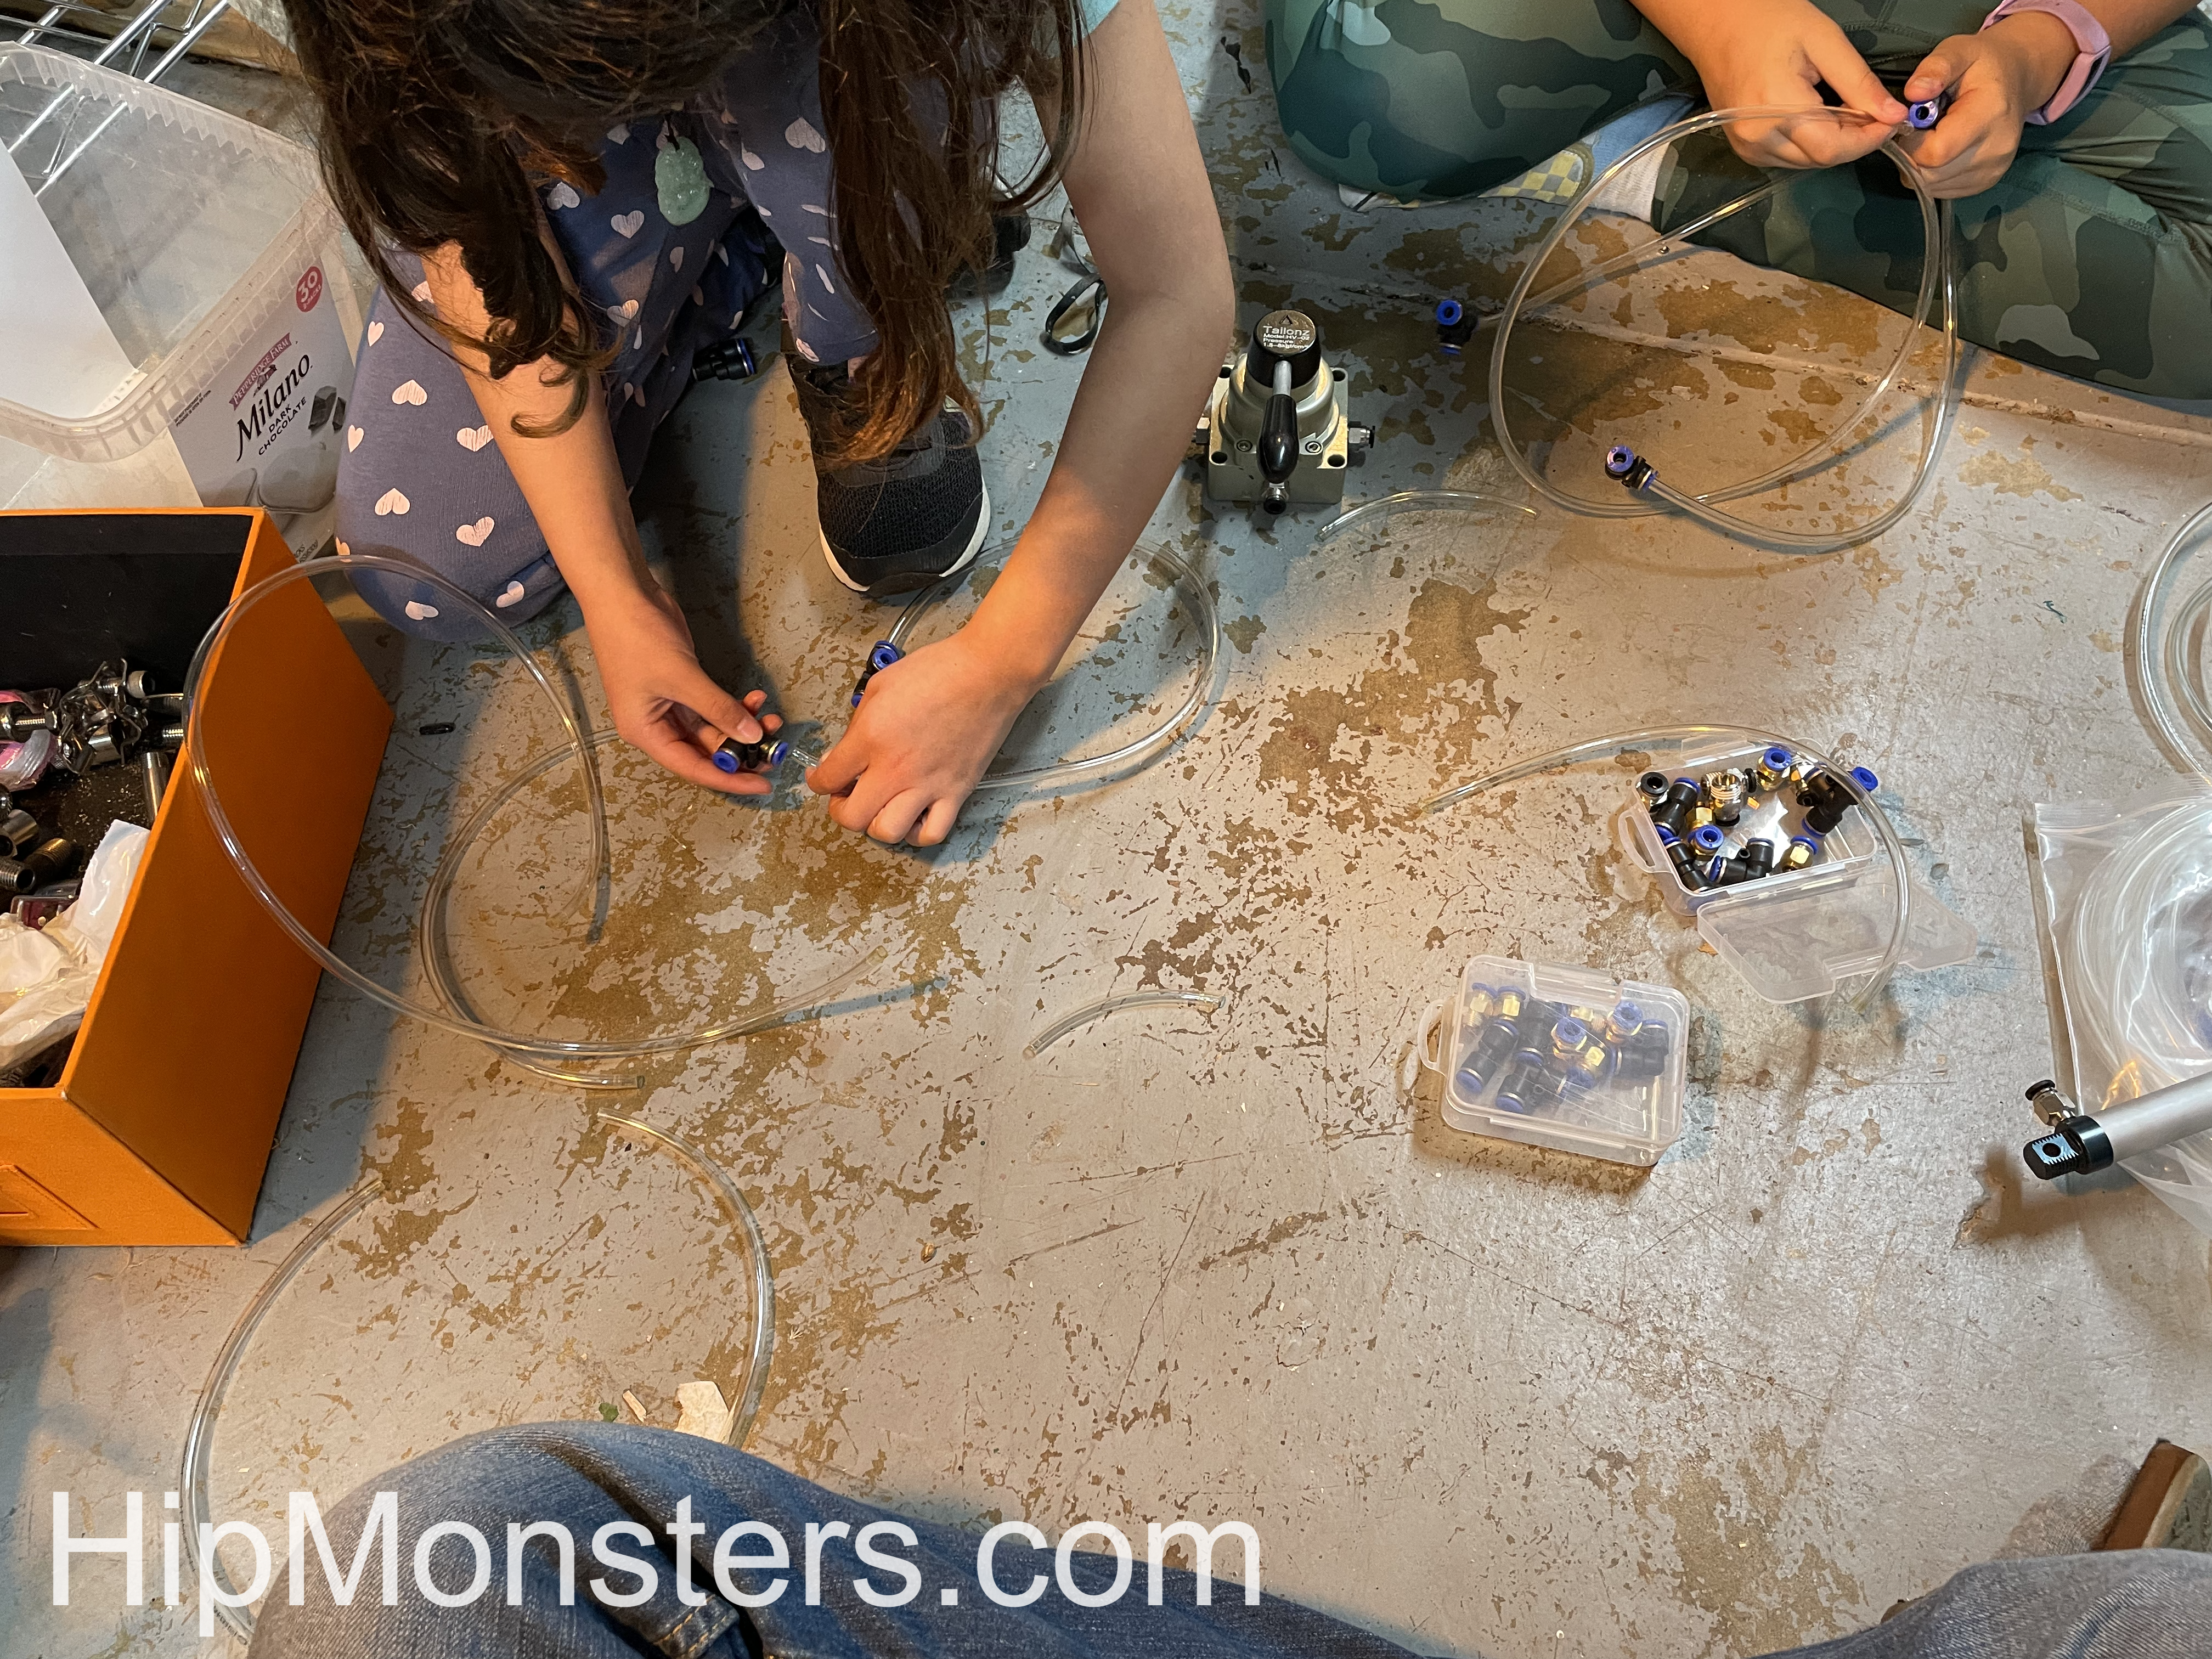
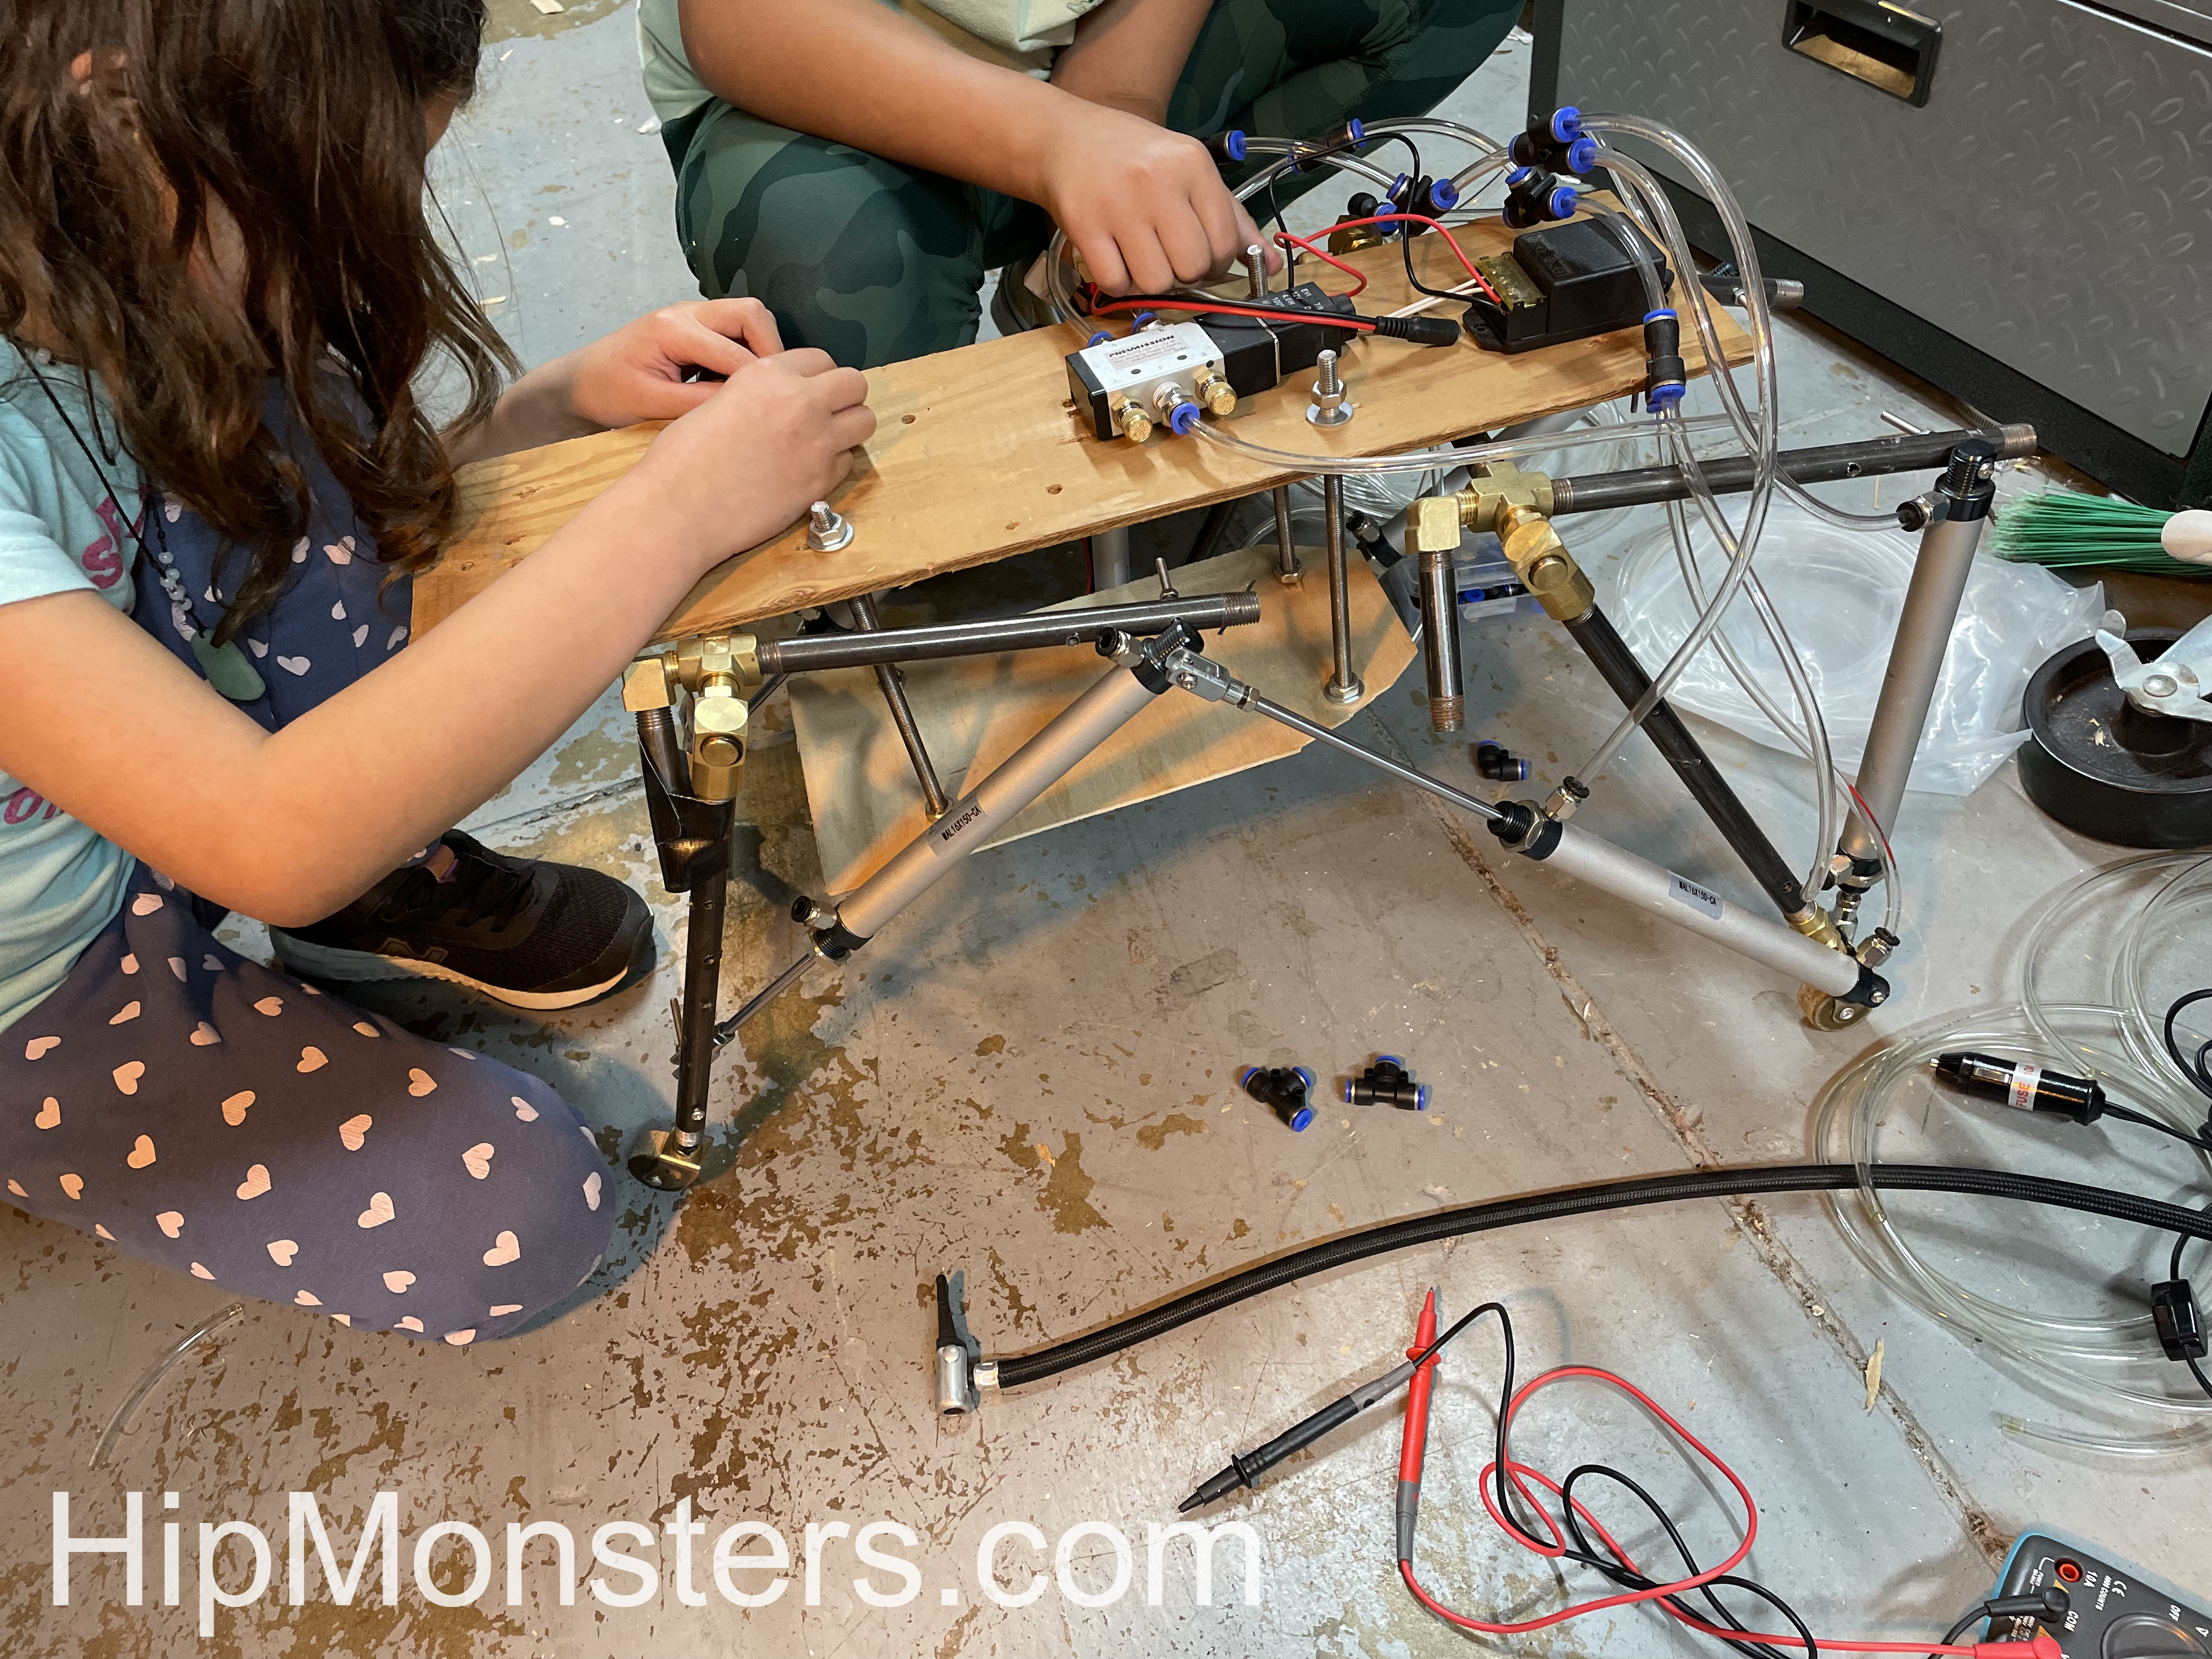
Next, we started connecting the air tubes to the pistons. We first laid out how the piston would attach to the frame then cut the tubes to link them to the engine. We made sure that they were long enough not to get yanked out, but short enough not to get caught in the robot’s legs.
Fitting the pneumatic tubes
The tubing took a few attempts to get the length right. It is better to be too long than too short, so we have a bag filled with little bits of extra tubing. The tubing connects the piston to the engine. In the beginning, the engine was a bike pump powered by a kid but the final version would have a car air pump.
While attaching the pipes we recommend color coding the pipes with a little bit of nail polish or colored tape. You want the legs to be connected oppositely. If a right piston is rigged to push when the air is redirected, you want its mirror to pull.
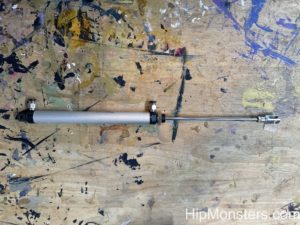
Each piston has two connections:
one at the top which makes the rod push out,
one in the middle pulls the rod back.
Close-up of an Air Piston
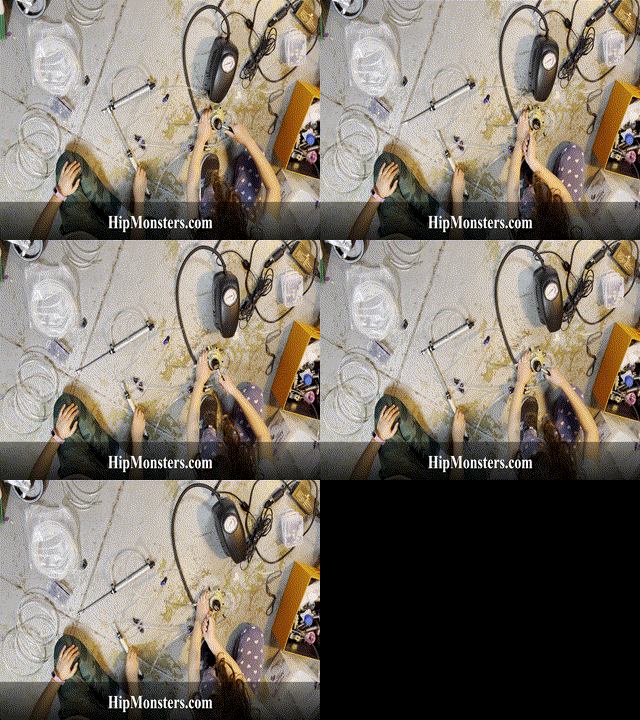
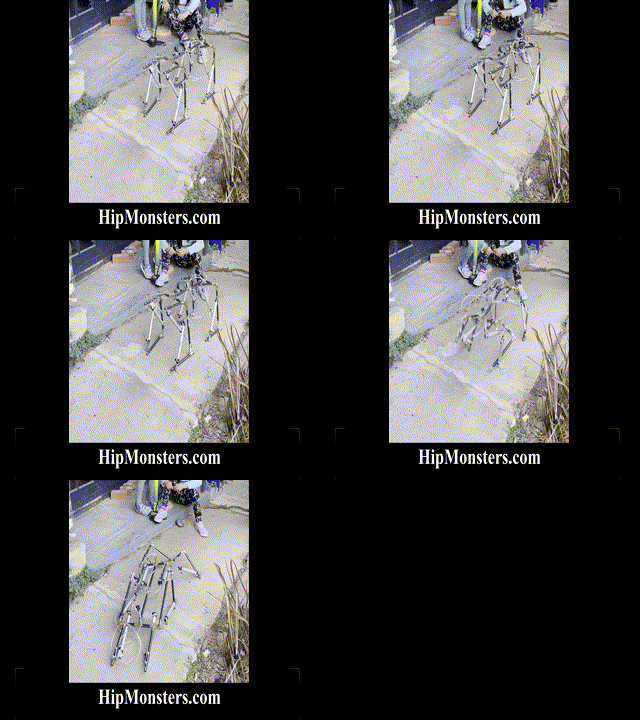
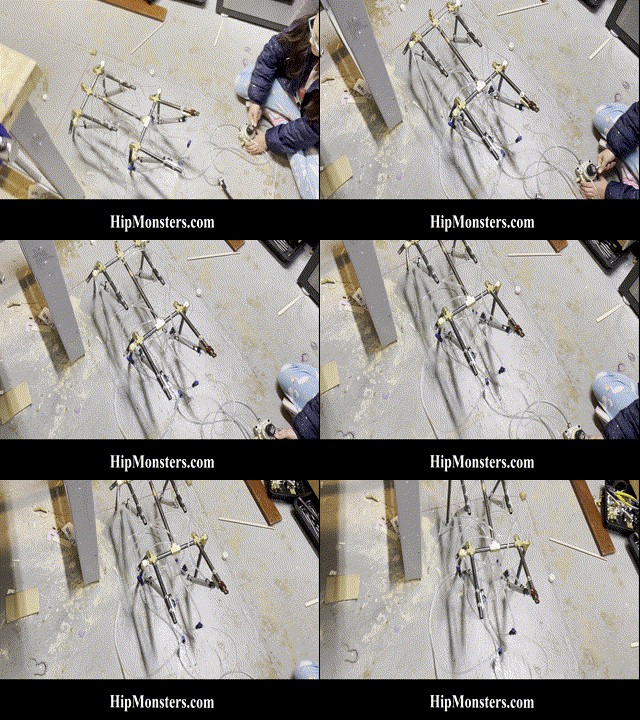
Below is a gif of two pistons connected in opposition. This will enable the robot to walk with a stride.
Testing the pistons
Below is the first full-scale test. We used a bike pump to better control power. The bike pump worked remarkably well for most of our small-scale tests and was significantly quieter than the air pump. Plus it is cool to power a robot with a bike pump. As you can see… this test failed hilariously.
Test number one
The first test showed that controlling double-jointed legs was very difficult so we decided to shorten the legs as well as do tons of additional modifications. With lots of tubing, it tangles easily and it is hard to figure out where the problem is. We also added knees to stop the legs from overextending and falling.
After tons of modifications
The second full-scale test was much more successful and operated as we expected. This floor has a slight downward tilt but it also works in the opposite direction; admittedly a bit slower. It is still operated by a manual switch but the engine is now a car pump.
Test 2
At this point, number five was powered externally and controlled with a manual switch. Our final goal was to be able to walk number five in our neighborhood on Halloween, so we added batteries, electronic air flow controls, and a remote control.
Adding control units
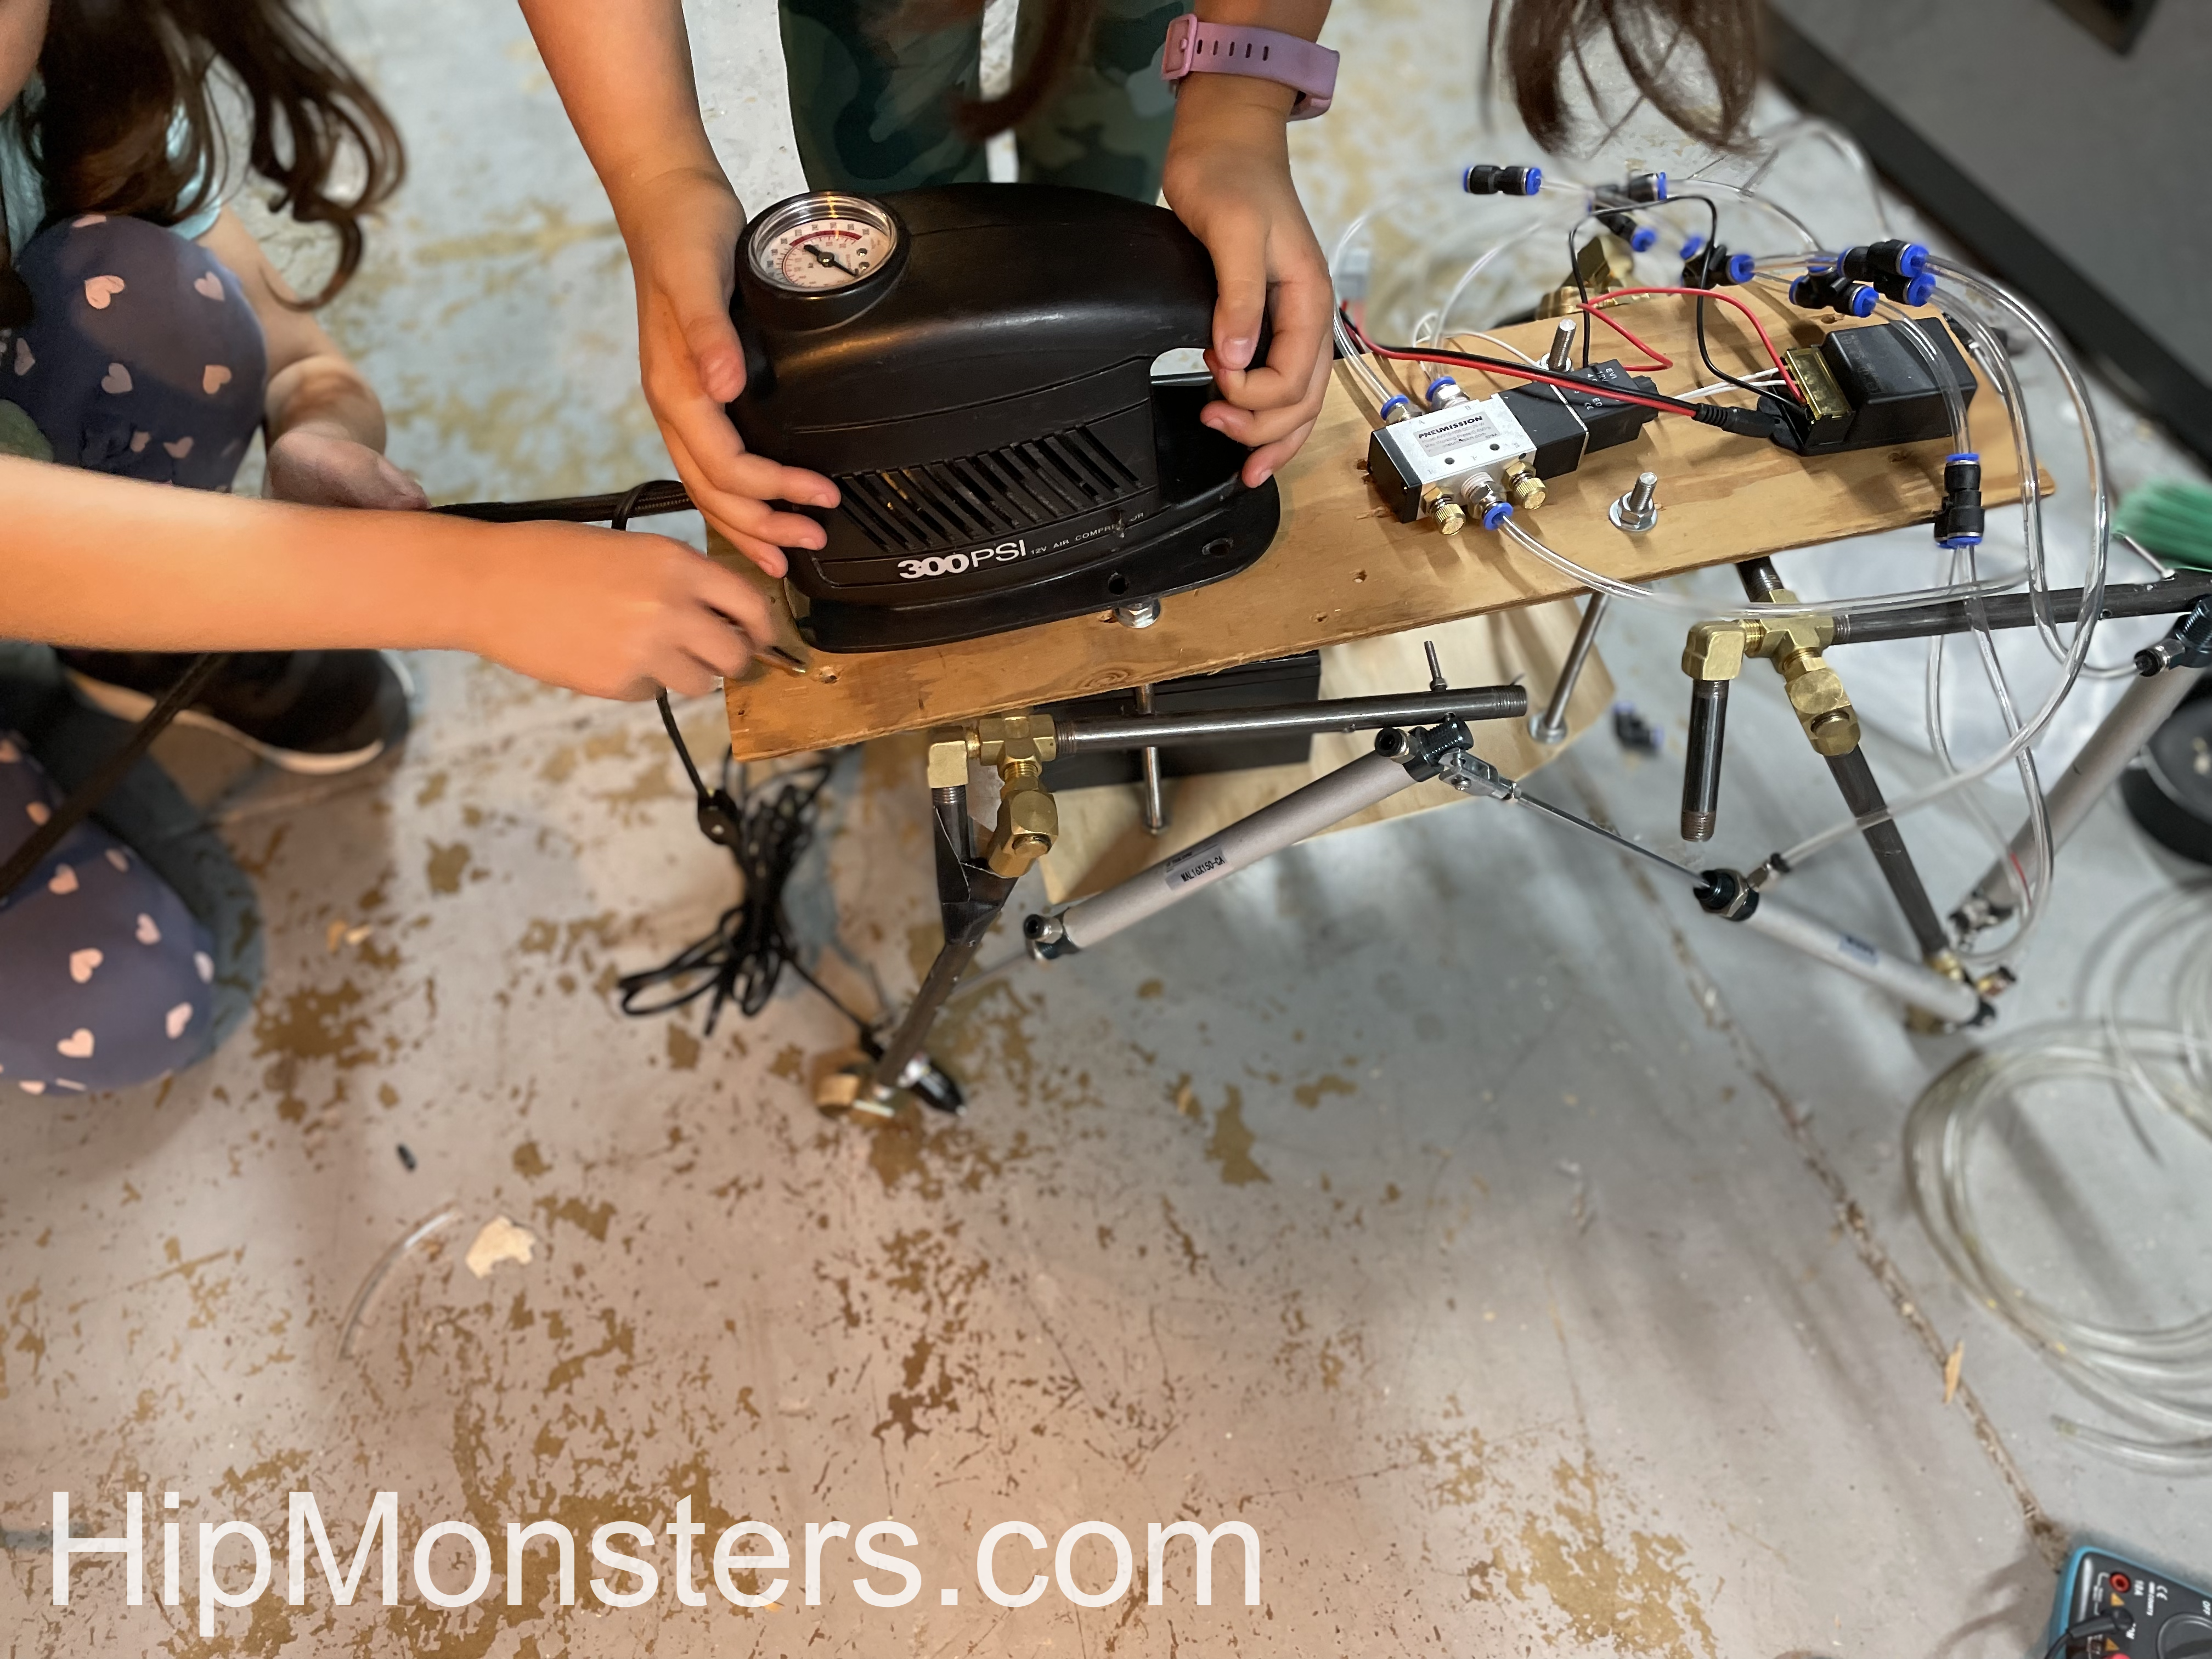
The engine was an old portable air compressor for car tires that was super light and used little power. To make Number Five portable, it needed to run on a 12-volt battery which meant all the electronics had to run off of 12 volts as well. Luckily 12 volts is the standard power supply so finding the right parts wasn’t too difficult.
Adding the engine
At this point Number Five was completely self-contained and controlled by a remote. We moved the battery to the center of Number Five to give it a lower center of gravity. When we first put it together the first time it was clear it would fall over easily if the battery was on top. So we quickly built a lower platform that rested between the leg. The pump was light enough to stay in the back clear from the movement of the front legs.
Here is the first test of the fully remote Number Five. We had more slippage than we had in the prior tests; the weight of the battery and air pump impacted the wheel traction more than we expected. So back to tinkering…
The key improvements this time were:
A rubber wedge in the wheels made them only spin in one direction
Shifting more weight forward.
Extended the forward stretch of the front legs giving a lurching motion forward that was very effective on flat or downhill surfaces.
Taking Number Five for a Walk
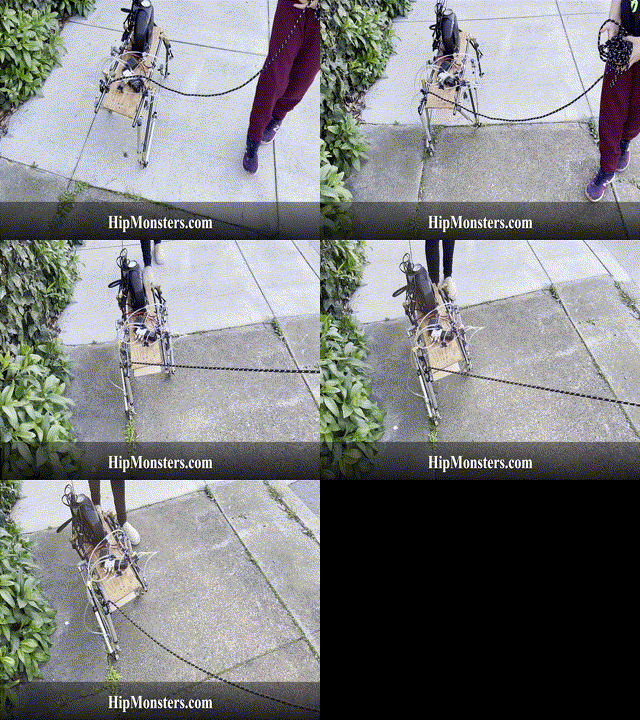
After the modifications were complete, the sister team was ready to take Number Five for a walk in our neighborhood! Number Five worked well on the rough city sidewalks and could even manage to walk up a slight incline as shown in this clip. Downhill Number Five went almost too fast. We have learned a ton and stay tuned for the next modifications!
For high res videos of Number Five in action check out our YouTube Channel!
Where technology and beauty meet, our steampunk jewelry embraces the genius within! This collection of steampunk jewelry is fit for all steampunk-loving monsters. We were inspired by some of the cool steampunk gadgets in the books and movies that we have read/watched. Here are all of the books and movies that we were inspired by: Girl Genius, Secrets in the Mist, Howl’s Moving Castle, Clockwork Fairy tales, Map to Everywhere, and Castle in the Sky.
Circle of Power Brooch
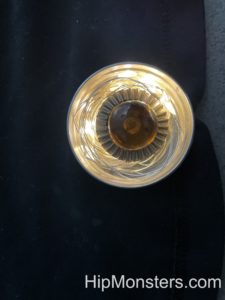
The Circle of Power brooch lights up to illuminate the center gemstone. It is two inches in diameter and has a magnetic attachment. To make this, we glued a Mancala gem on a gear and put it in a metal bottle cap. We then secured fairy lights around it and attached a lightweight battery to power them. You can easily turn on and off the fairy lights, and it is easy to replace the battery. The brooch is attached by very strong magnets, so you don’t have to poke holes in the thing that you are attaching it to.
Gears of Time
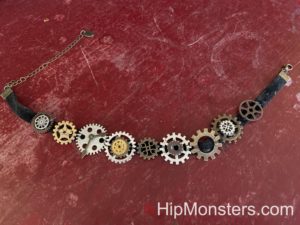
The Gears of Time choker is about six inches long and attached with a clasp. To make this, we sewed gears onto a normal black choker making sure they looked as if the meshed together and could work. To add depth and complexity we stacked gears on top of one another and used hot glue to secure them. We wanted the choker to fit tightly so it appear that you were peering into the inner workings of a robot.






 We attached the antlers of the deer by taking small branches from our birch tree and putting them in the holes that we drilled on the head. The antlers were very important because it would help people recognize this as a deer. We had to find branches that were strong so they won’t break, but small enough to look realistic. Luckily, birch trees shed a lot of branches, so it wasn’t too hard to find perfect branches.