The Making of Number Three

We saw the need for a new robot for Halloween, so we made one. This is our steampunk squirrel powered robot Number Three. We wanted it to be as big as a kid to help with our Halloween decorations. Our other robots were small and not easy to see. Our plan was for a big robot with lights and room to grow as we came up with new ideas.

This post is the very start of Number Three, before we made it move, think, and gave it sensors.

Please note, this material is provided for informational purposes only and is not a guide on how to create the designs.  Please read our disclaimer.

Getting started on steampunk inspired robot
Getting started

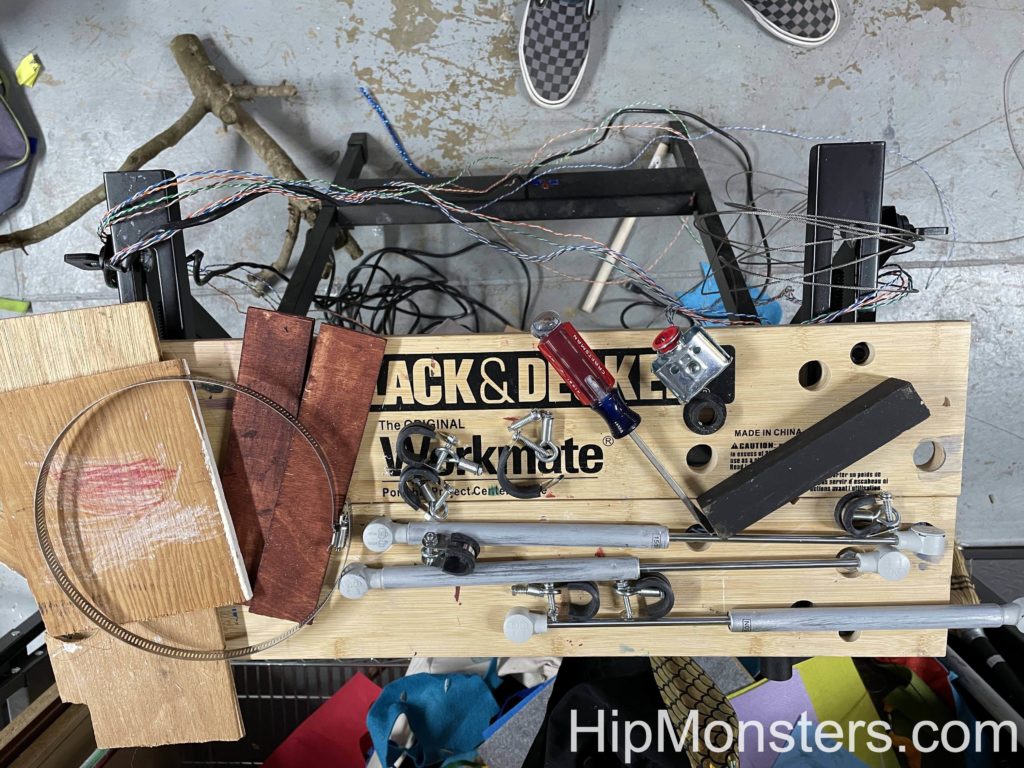
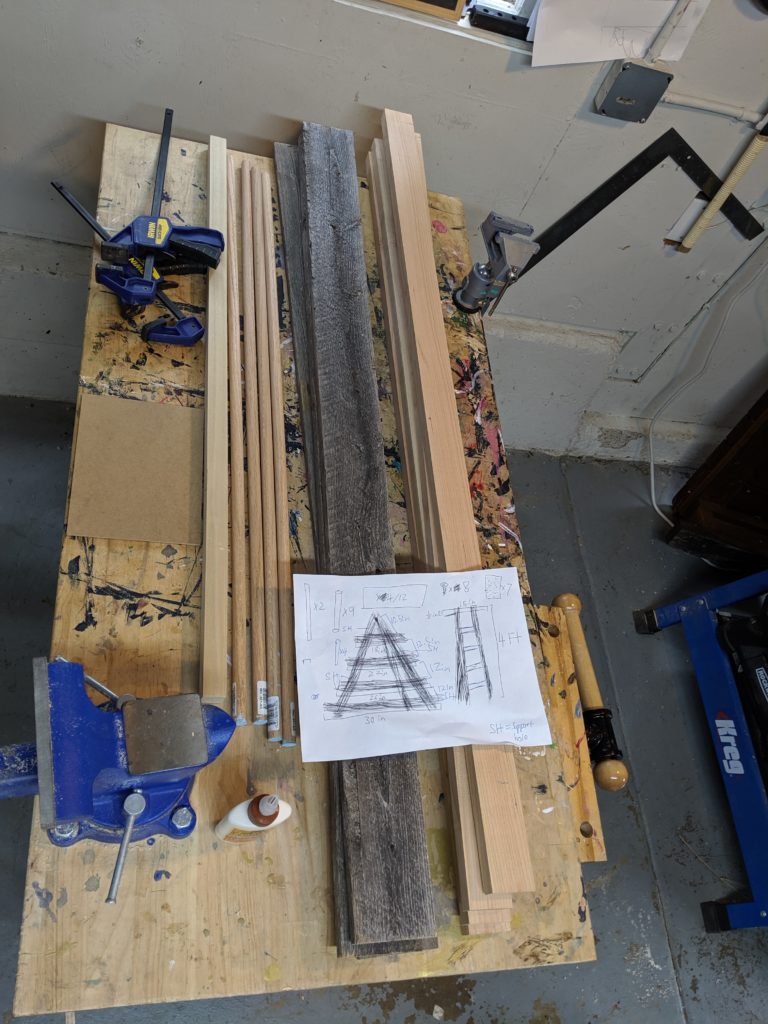
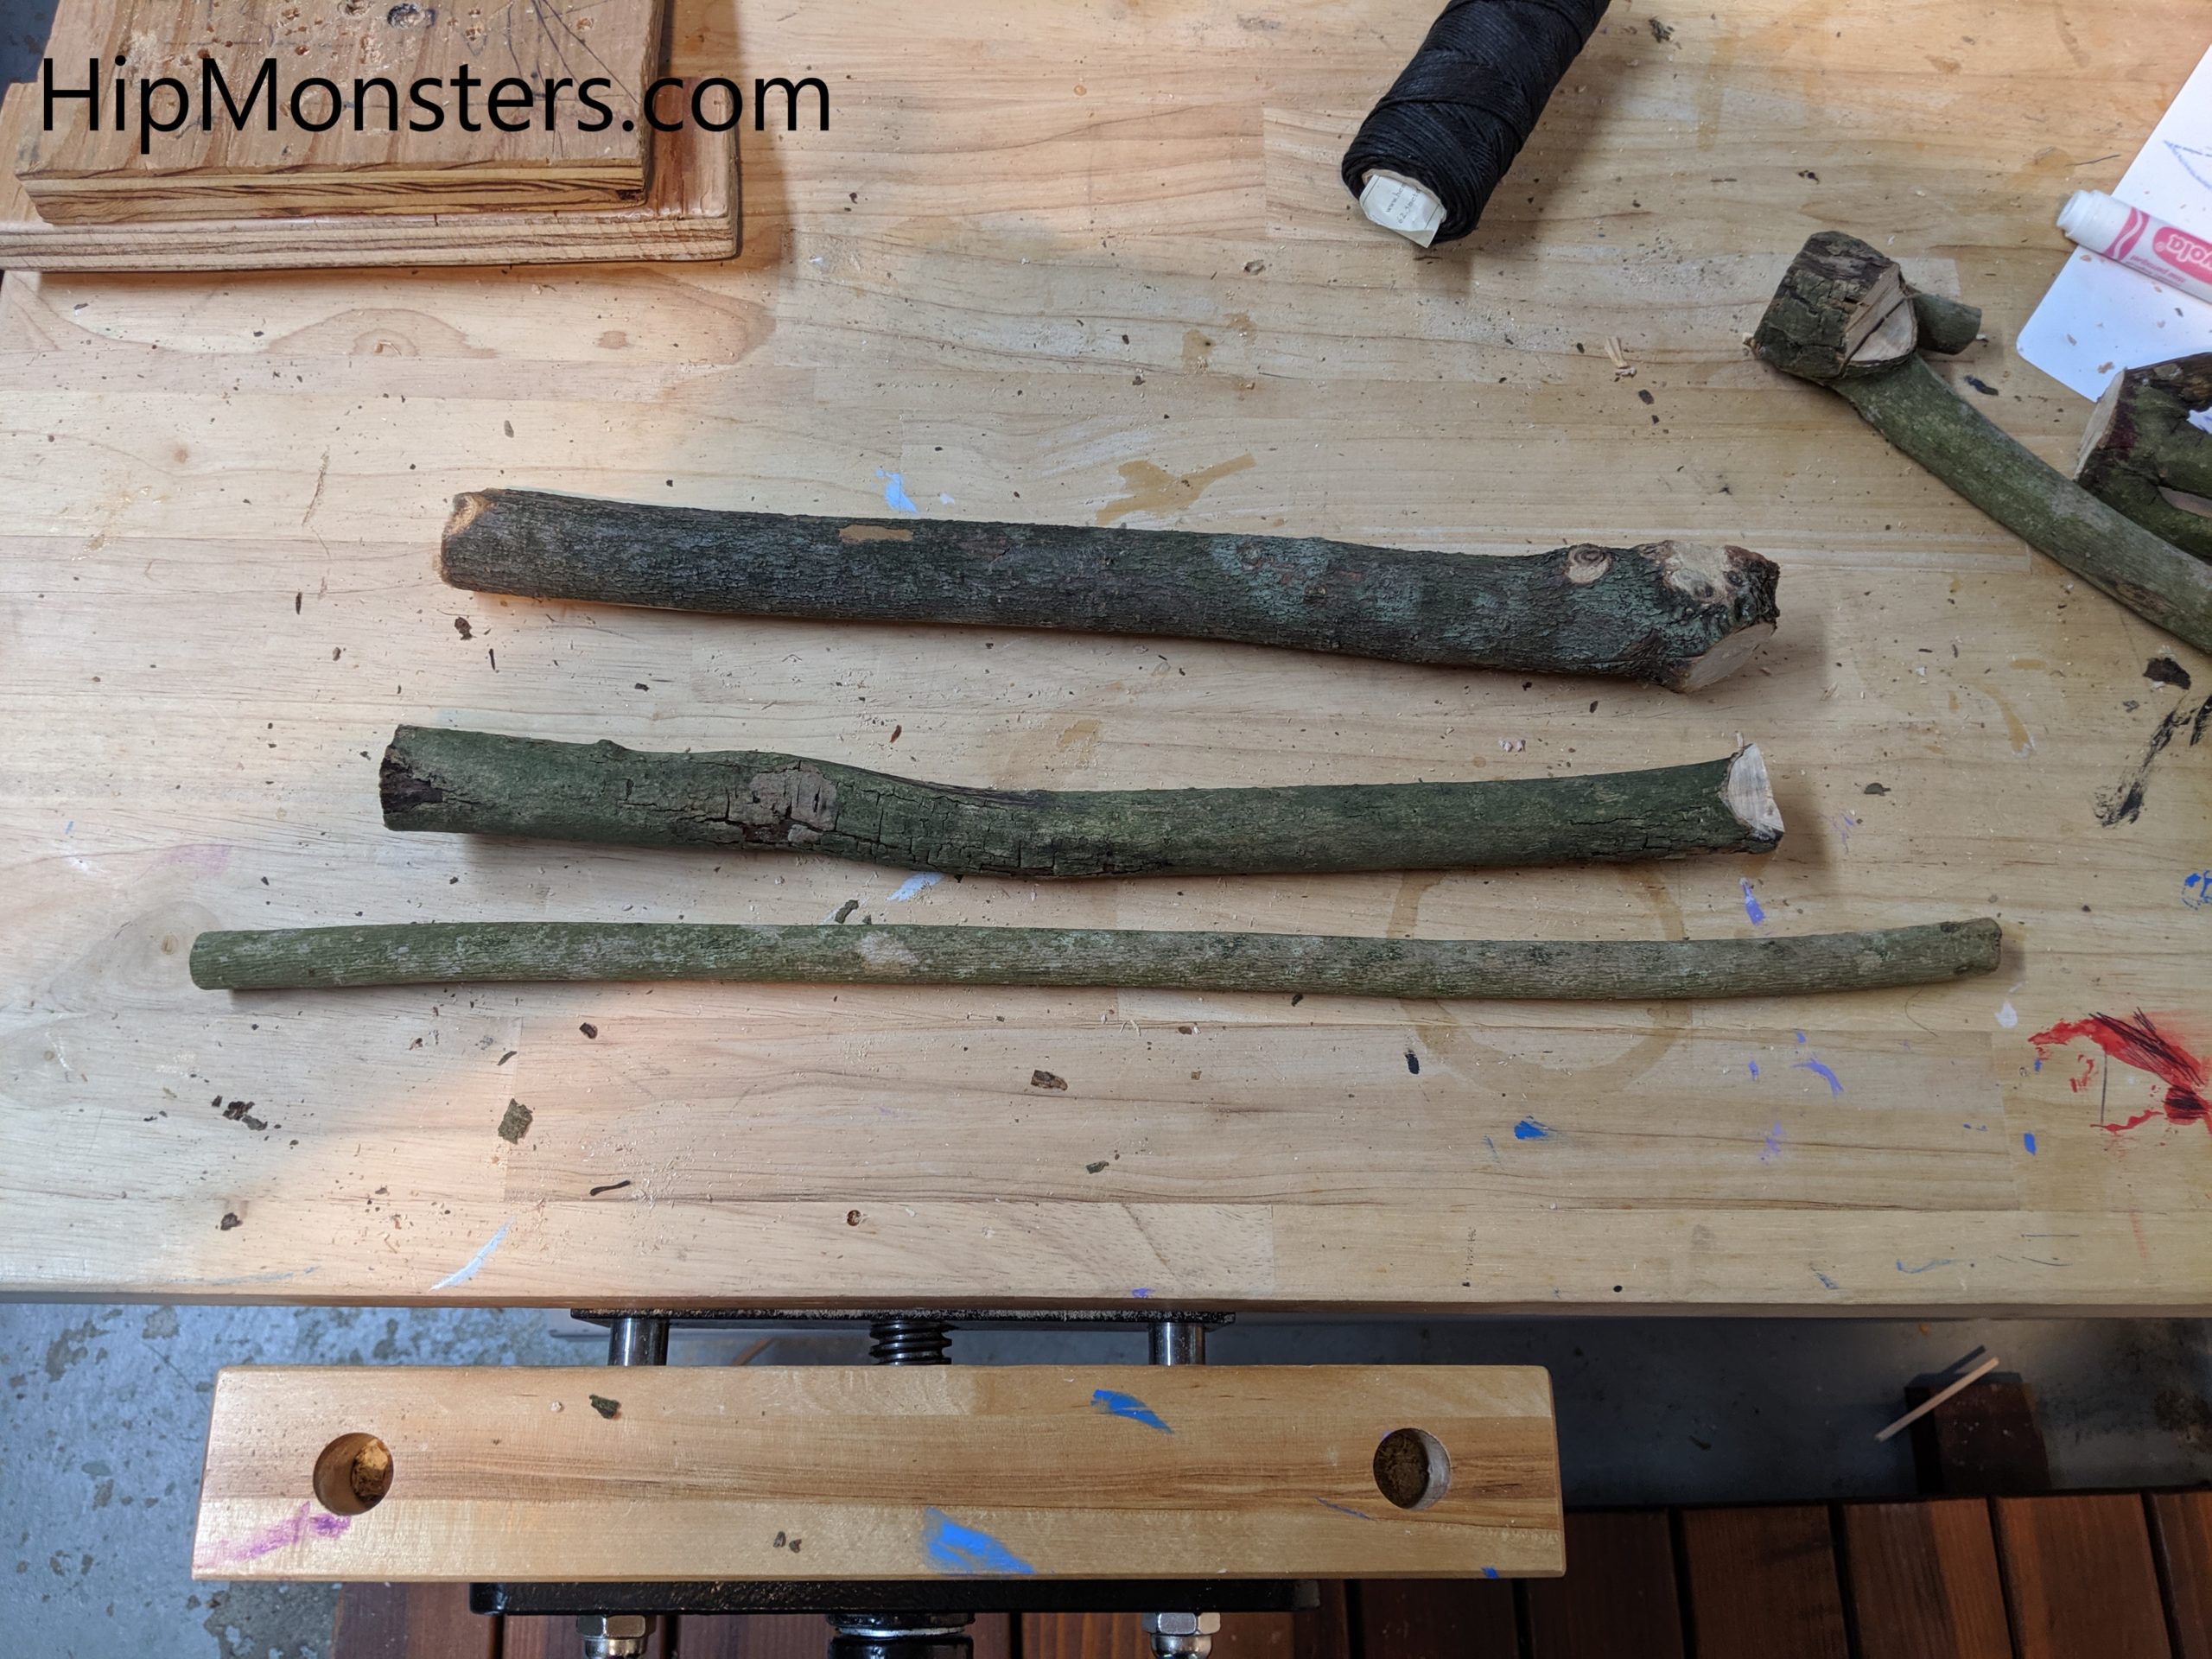
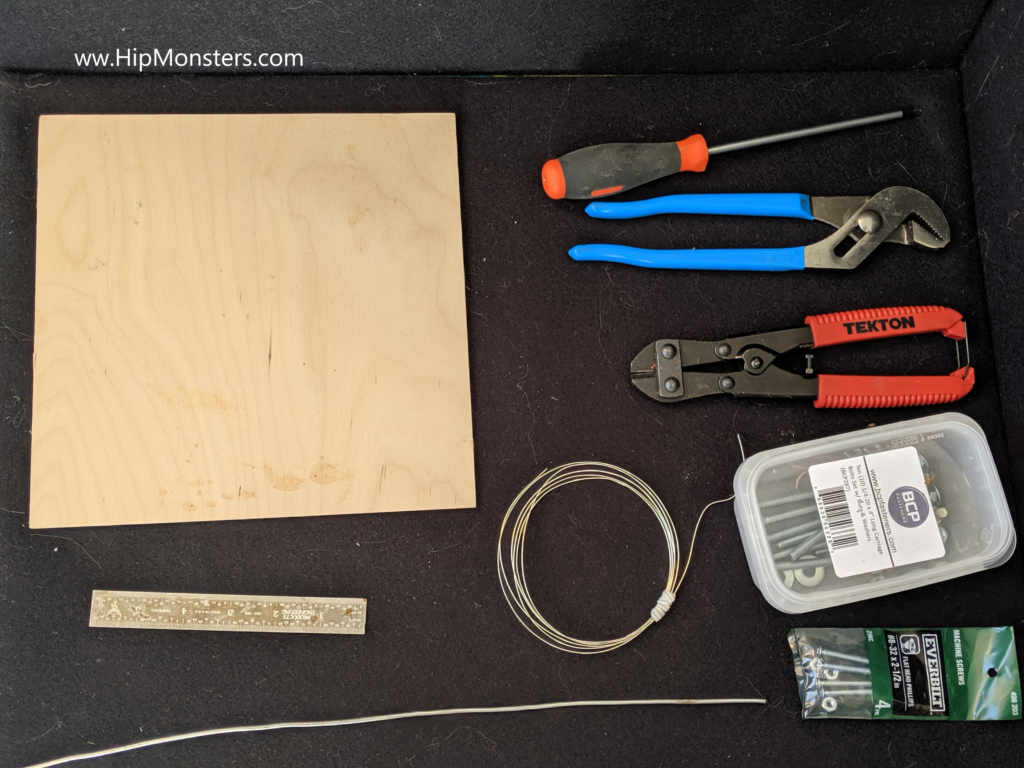
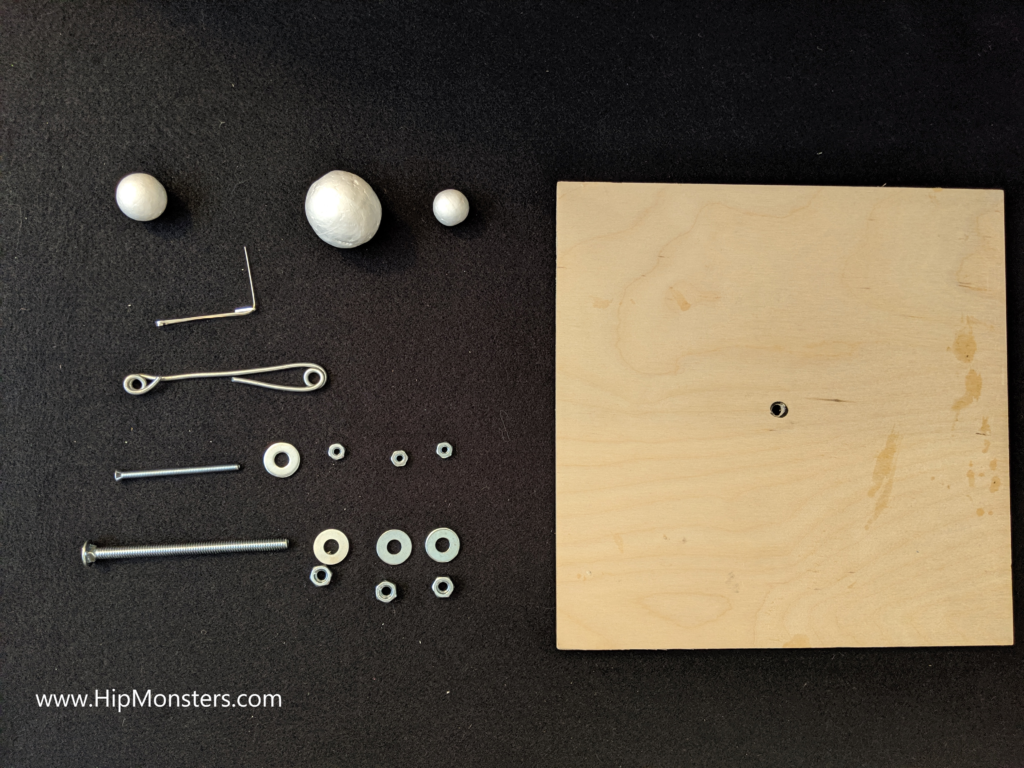
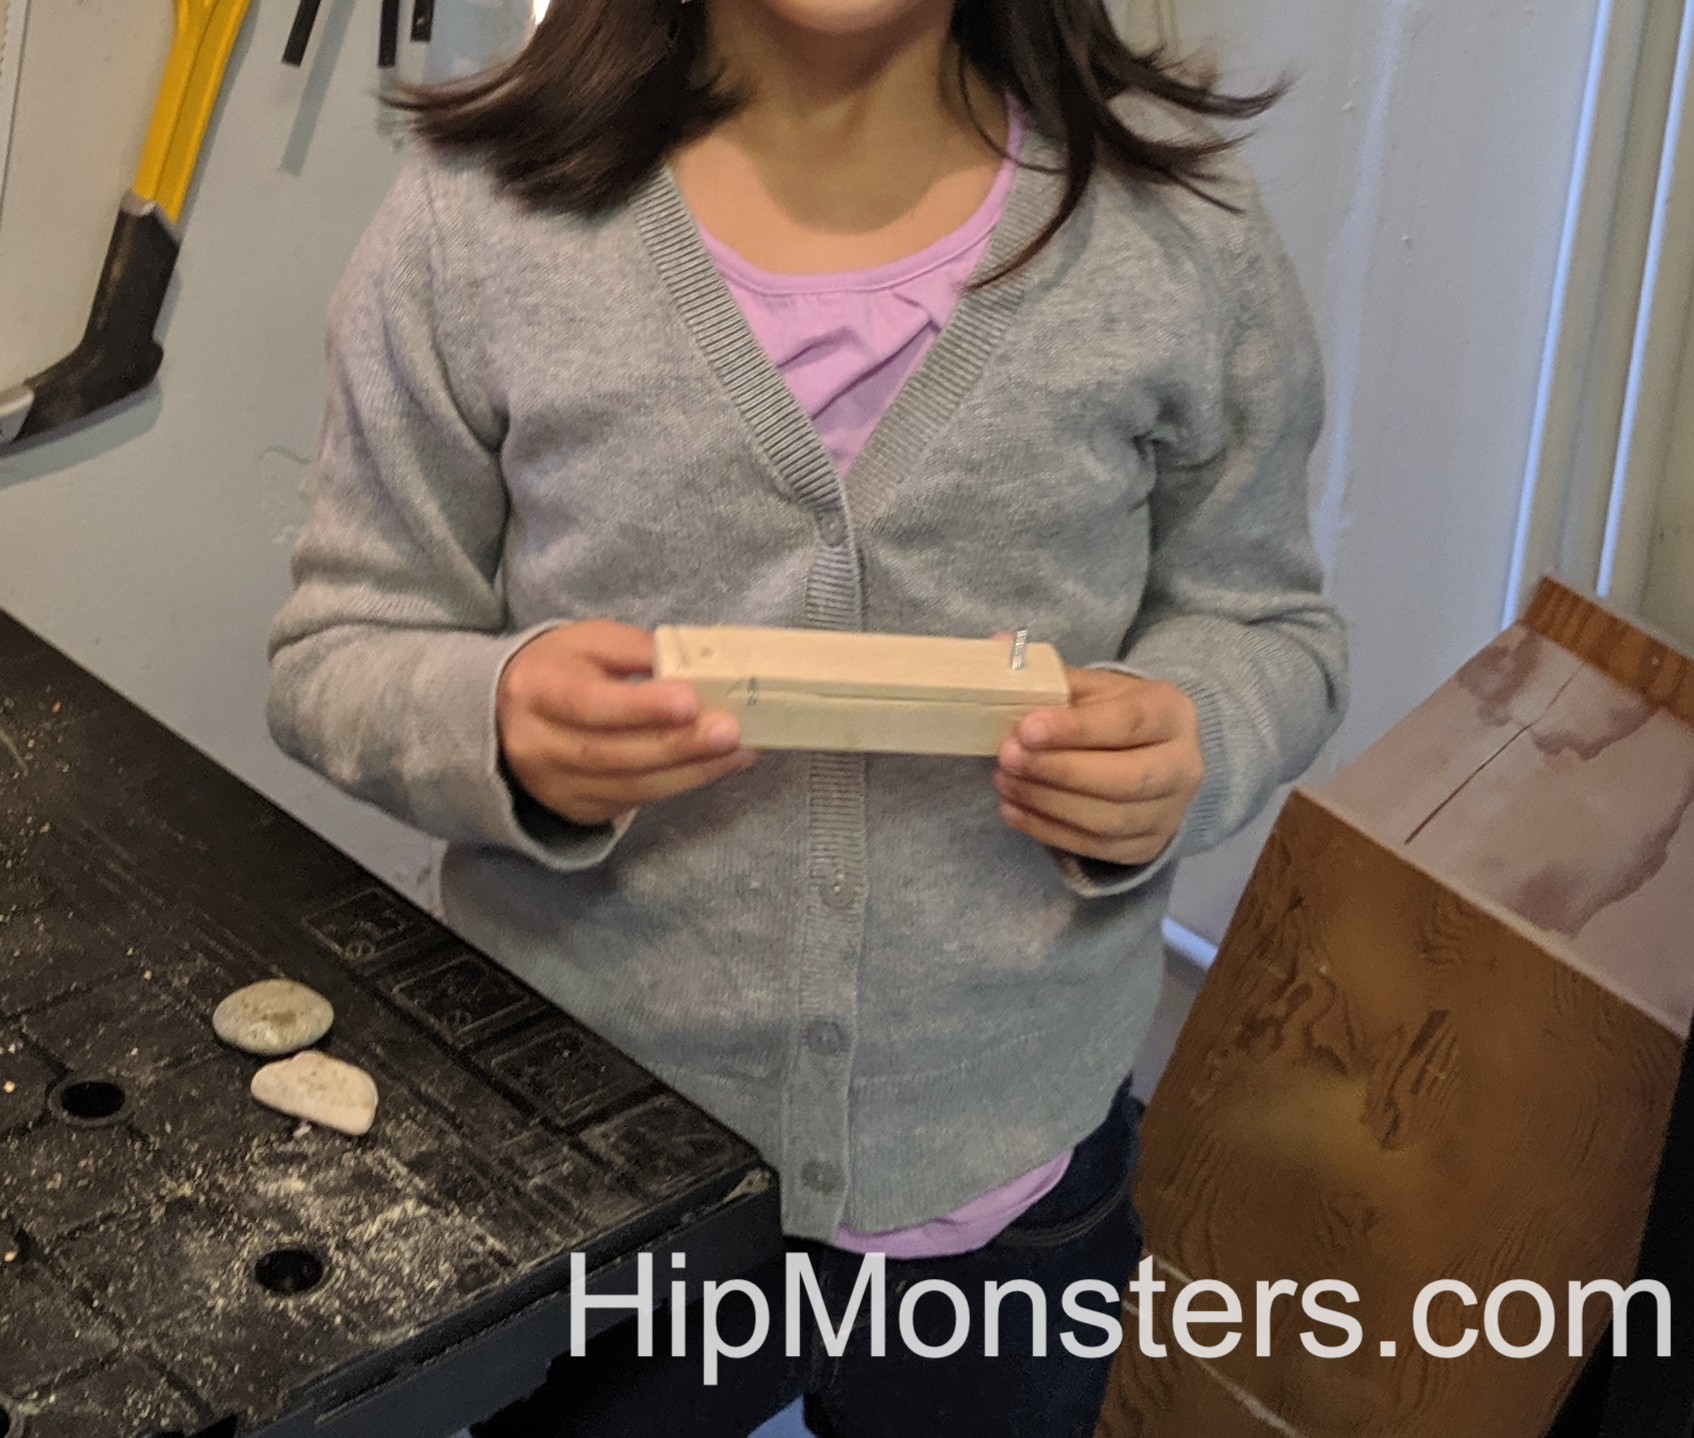
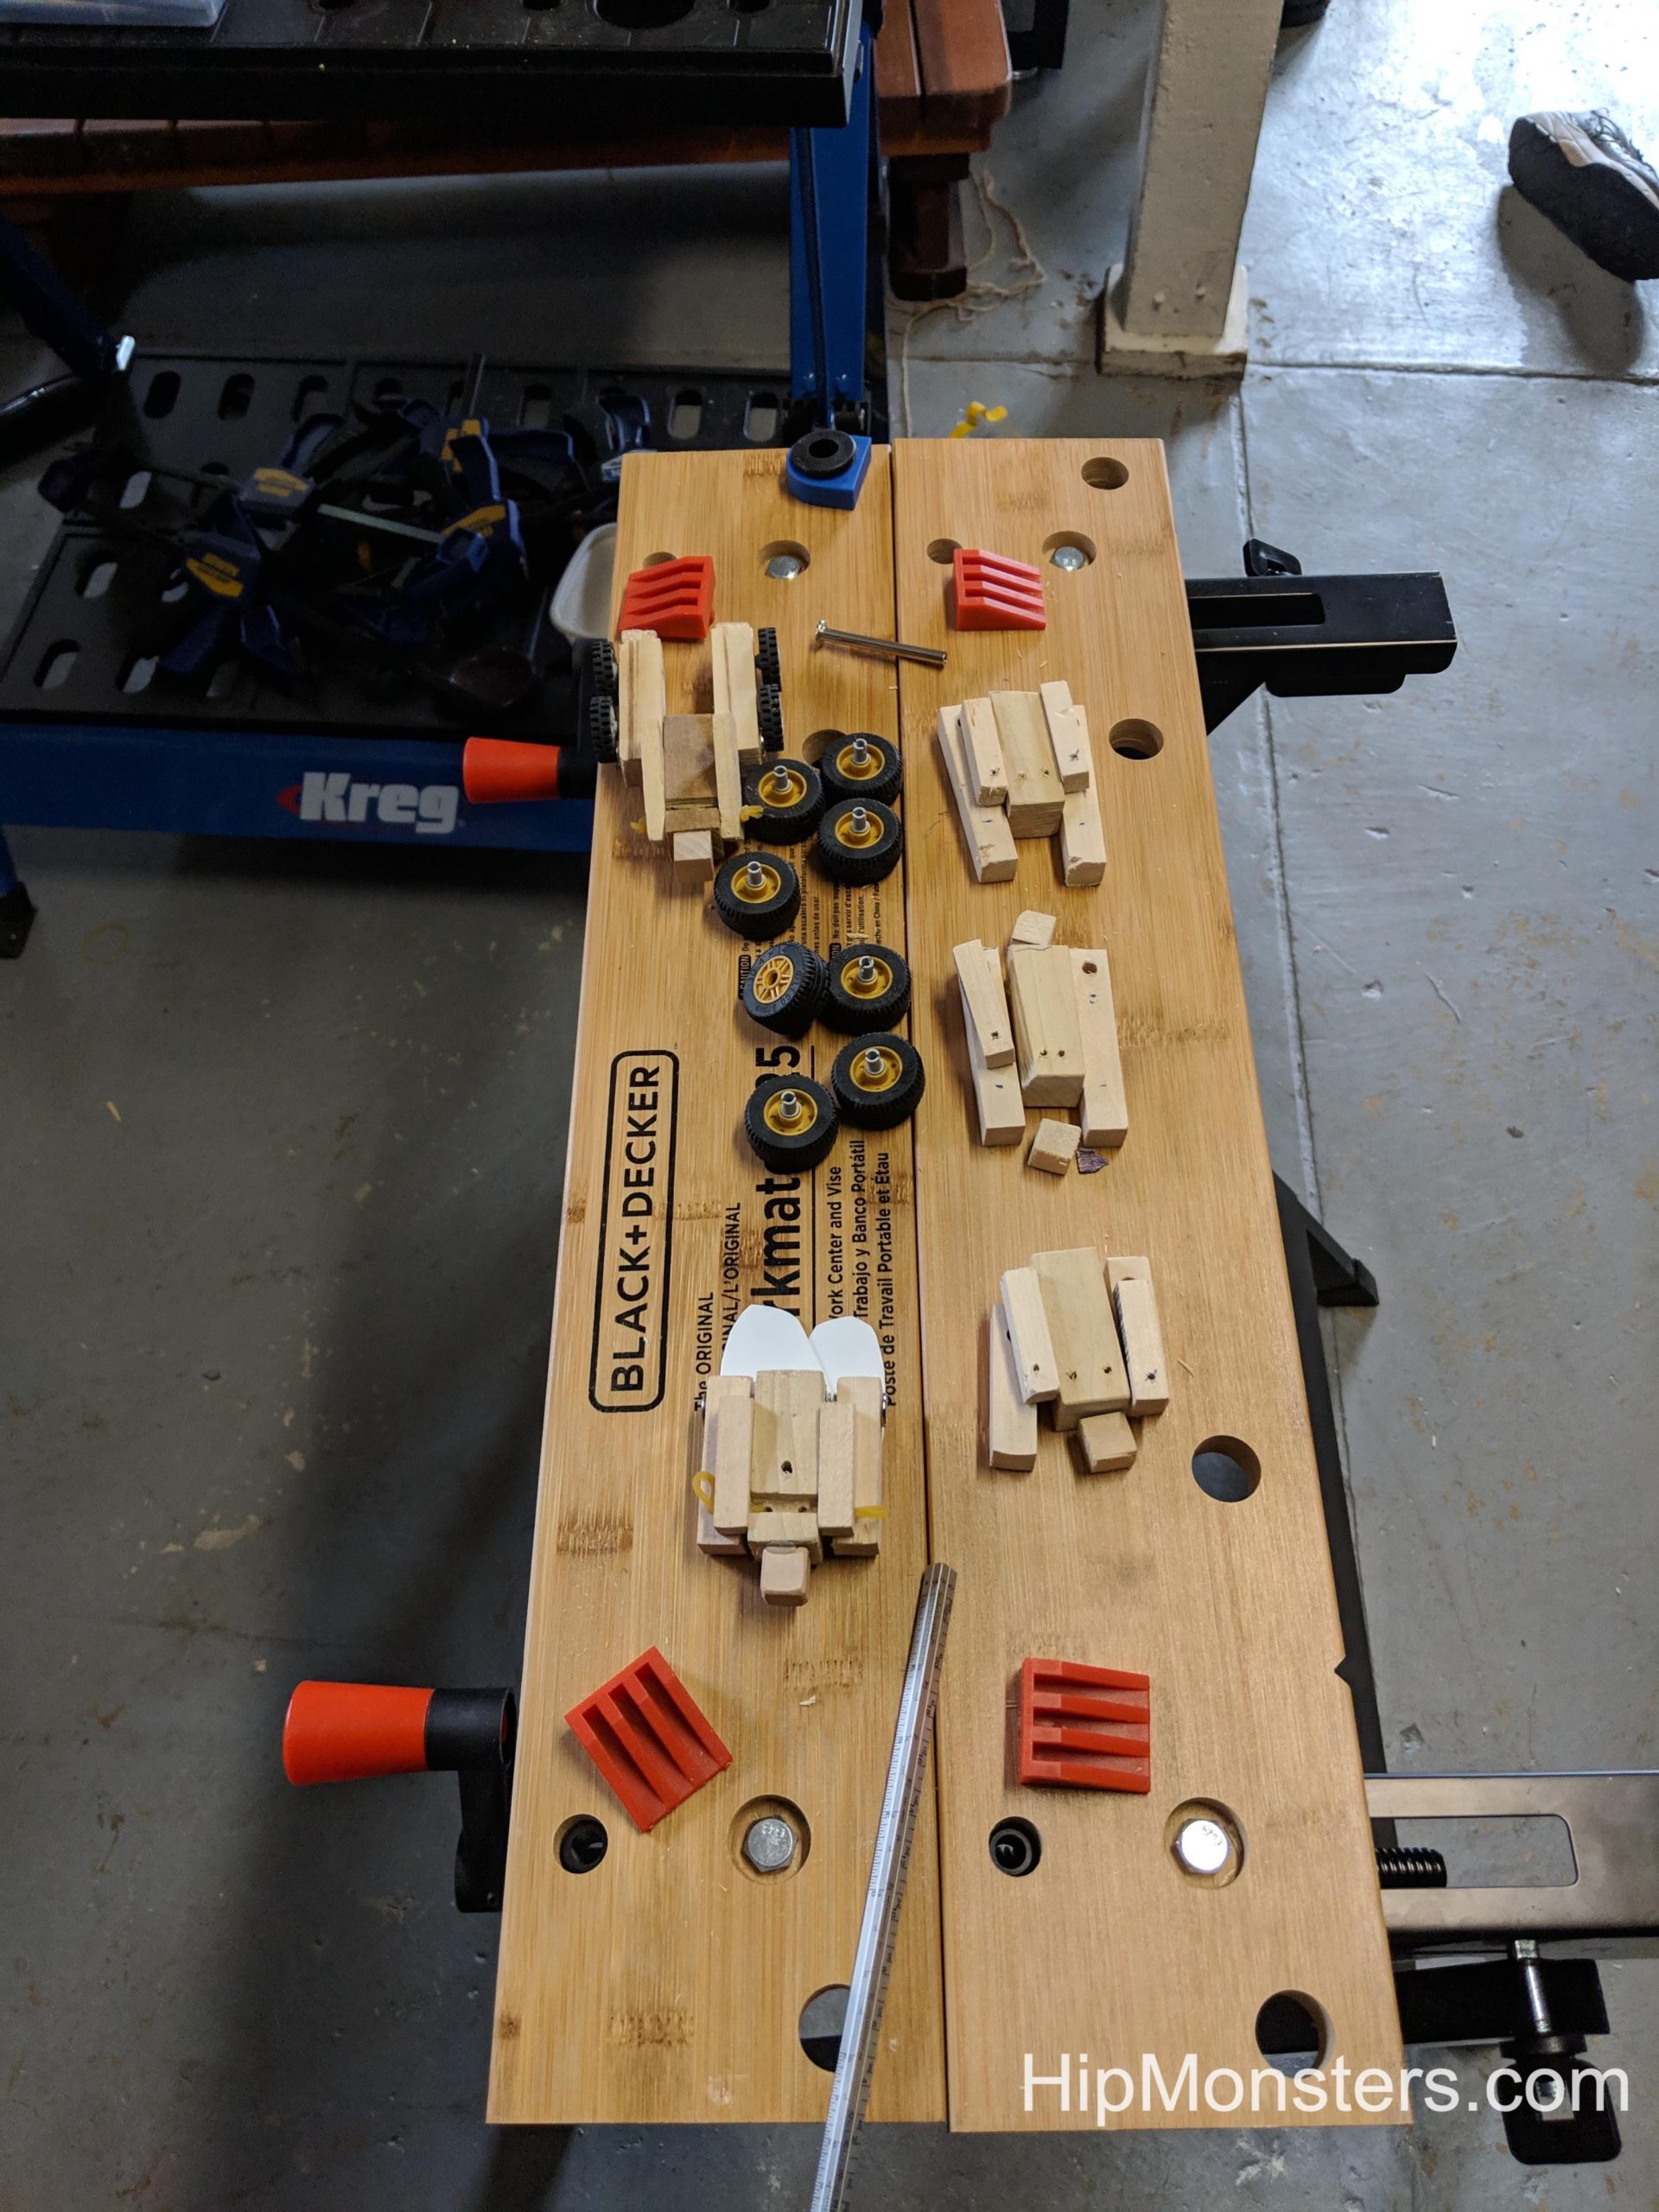
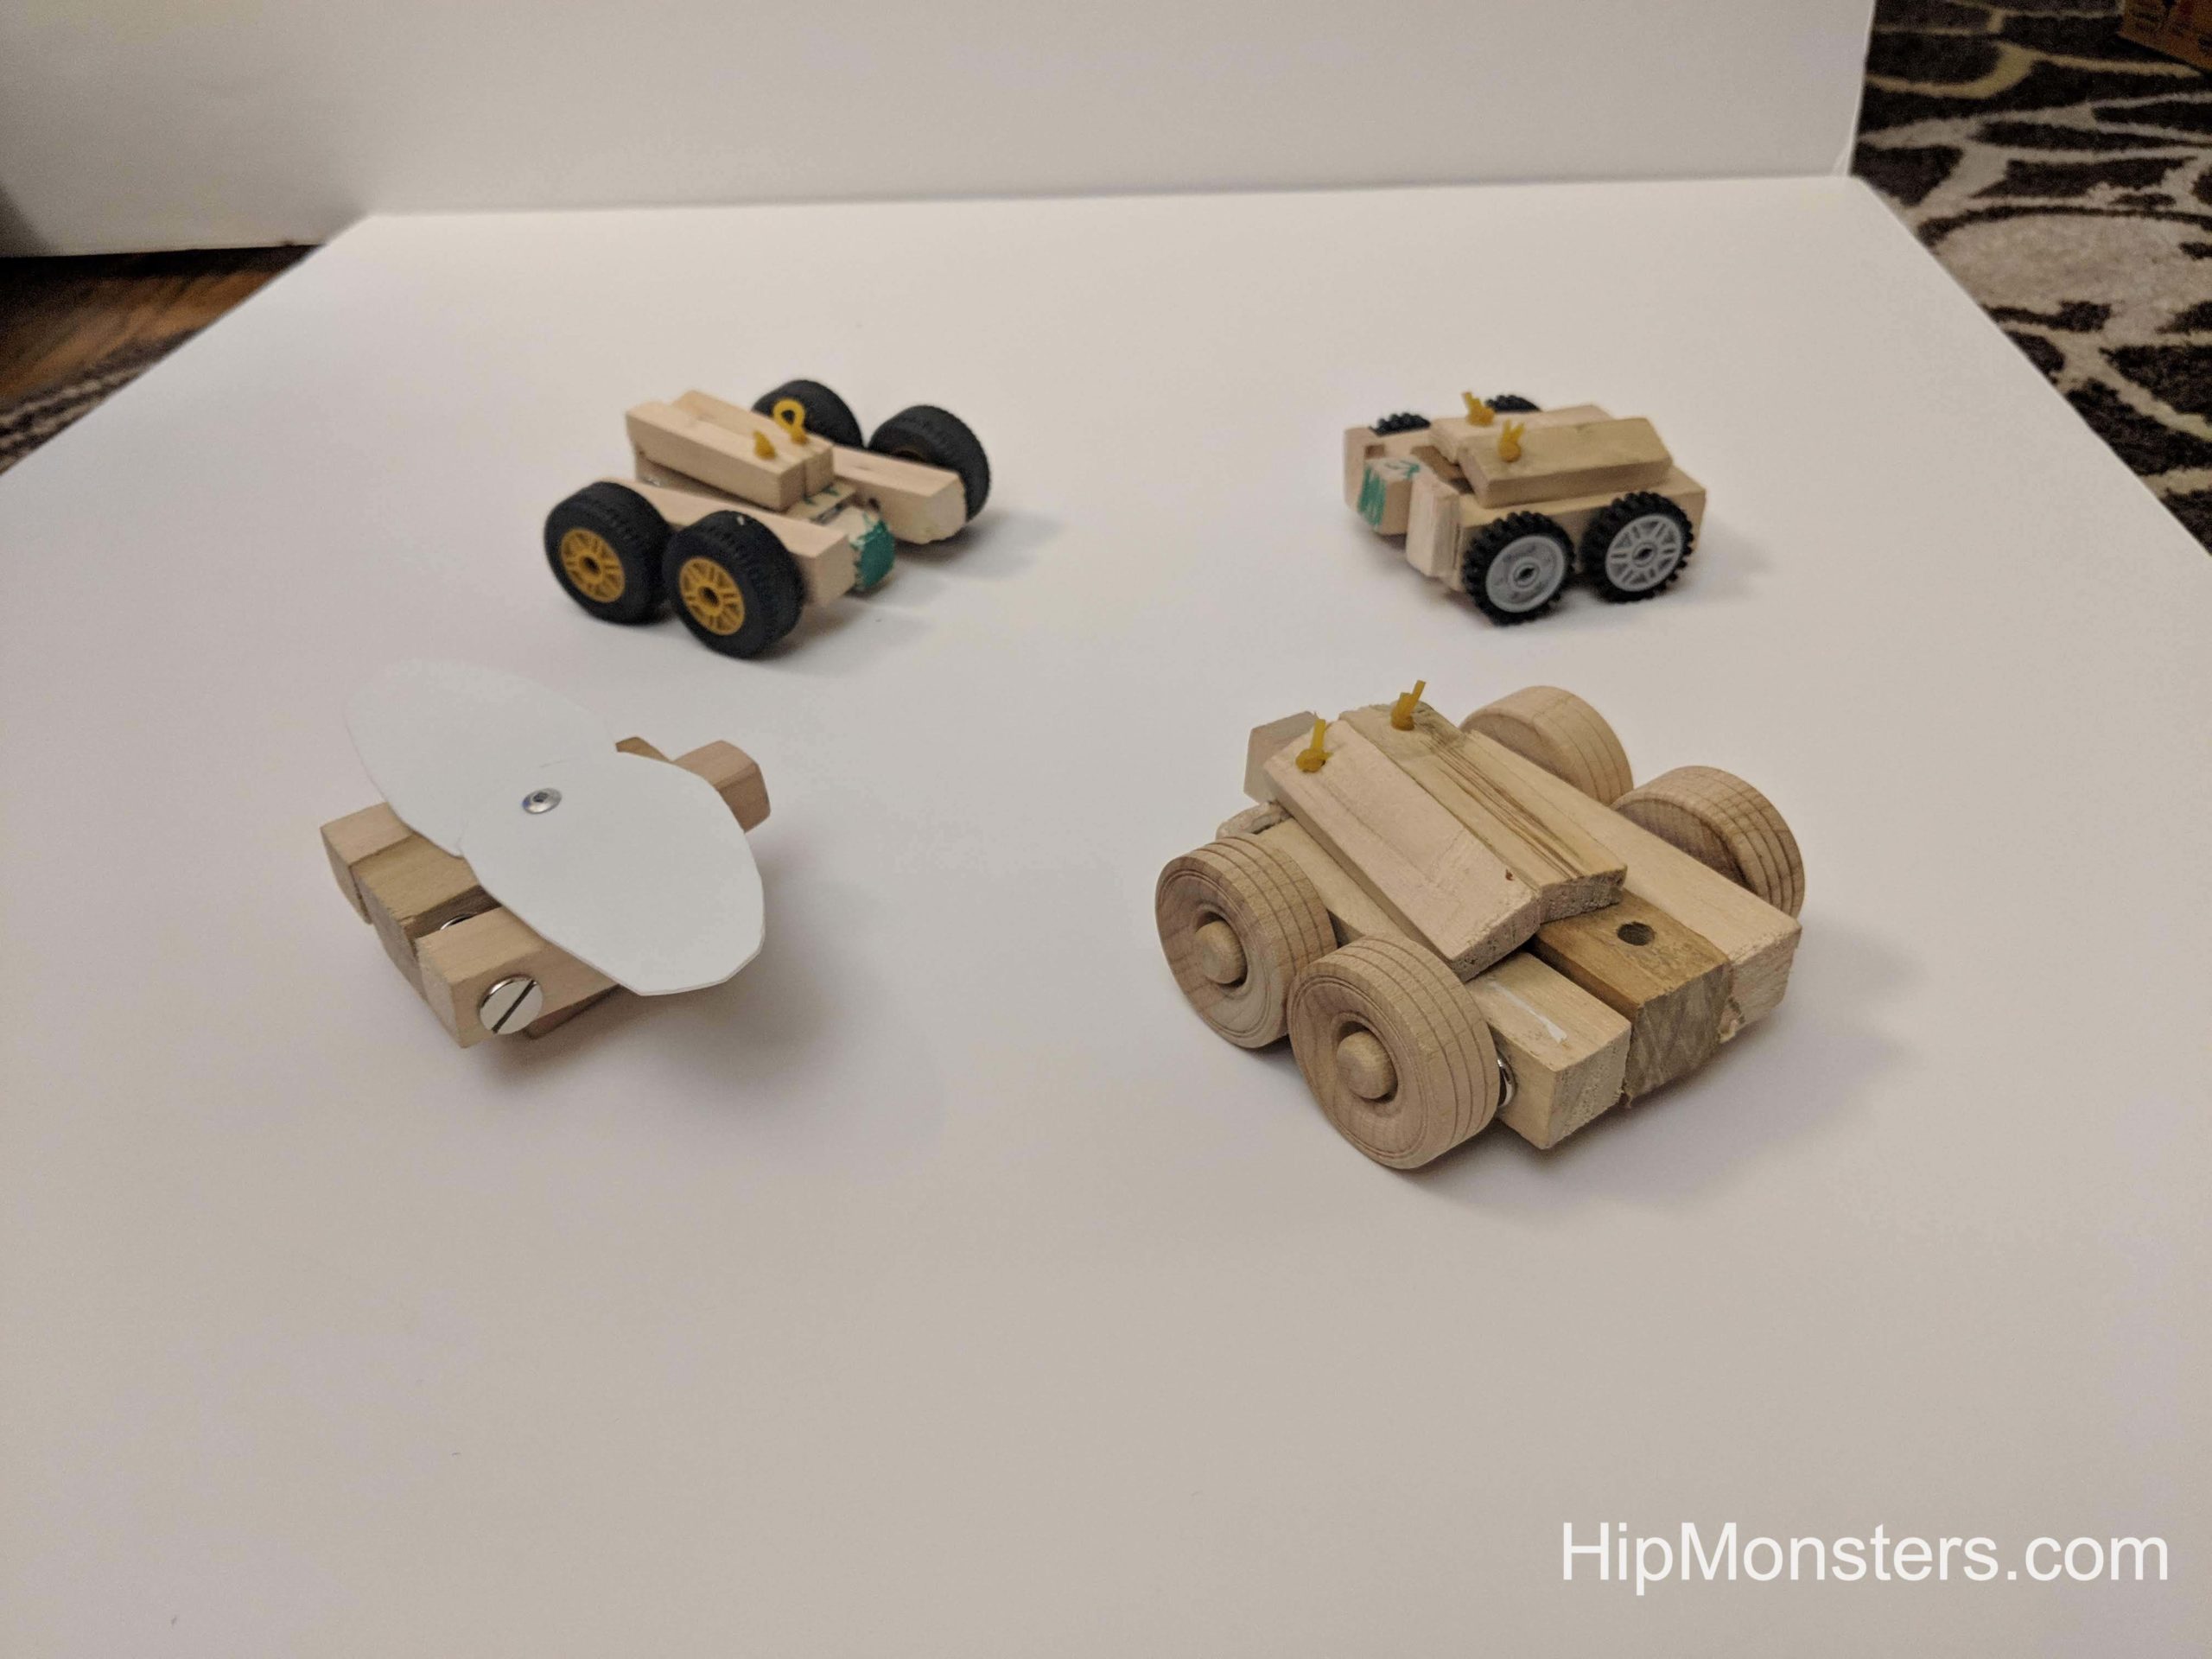
These are some of the parts that we used. We gathered most of it from unused parts from other projects. This project ended up being a great way to recycle old parts and scraps and it made it look even more steampunk-y.

Odd and ends for the steampunk inspired robot
Scrap parts

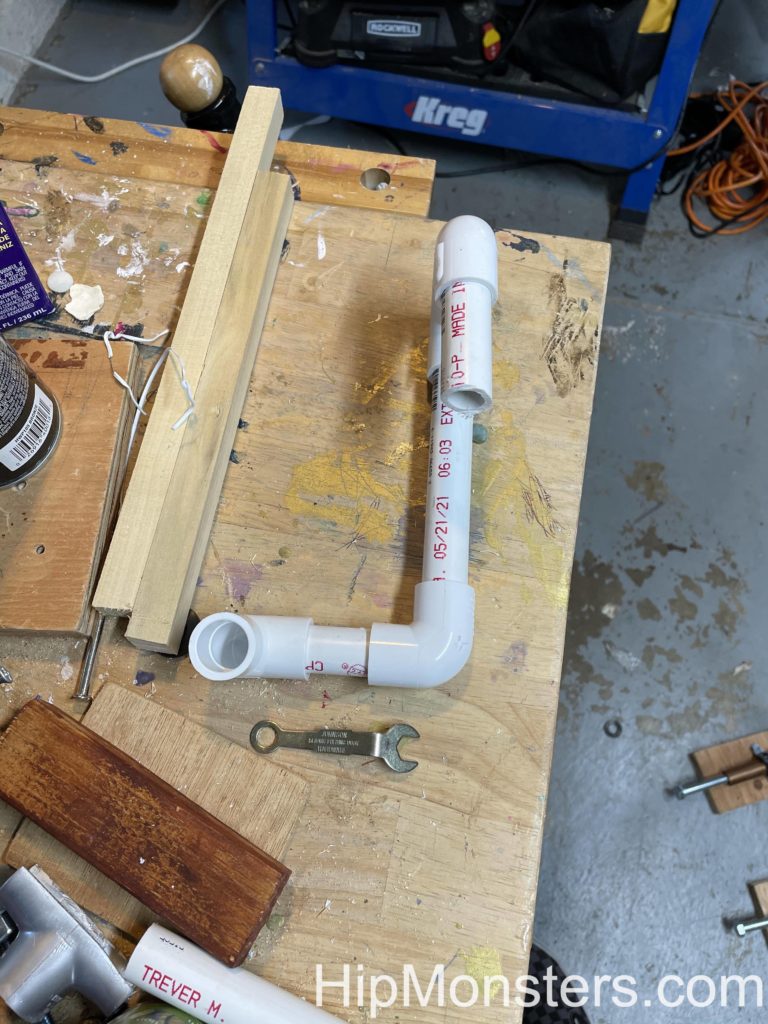
We used PVC pipes for the skeleton of our robot because its strong and lightweight. Also we had fitting from remodeling that would attach to the pipes and let us hangs details. The pipes are standard so if we did need to buy anything it would be easy.

Completed steampunk inspired robot
Completed Robot

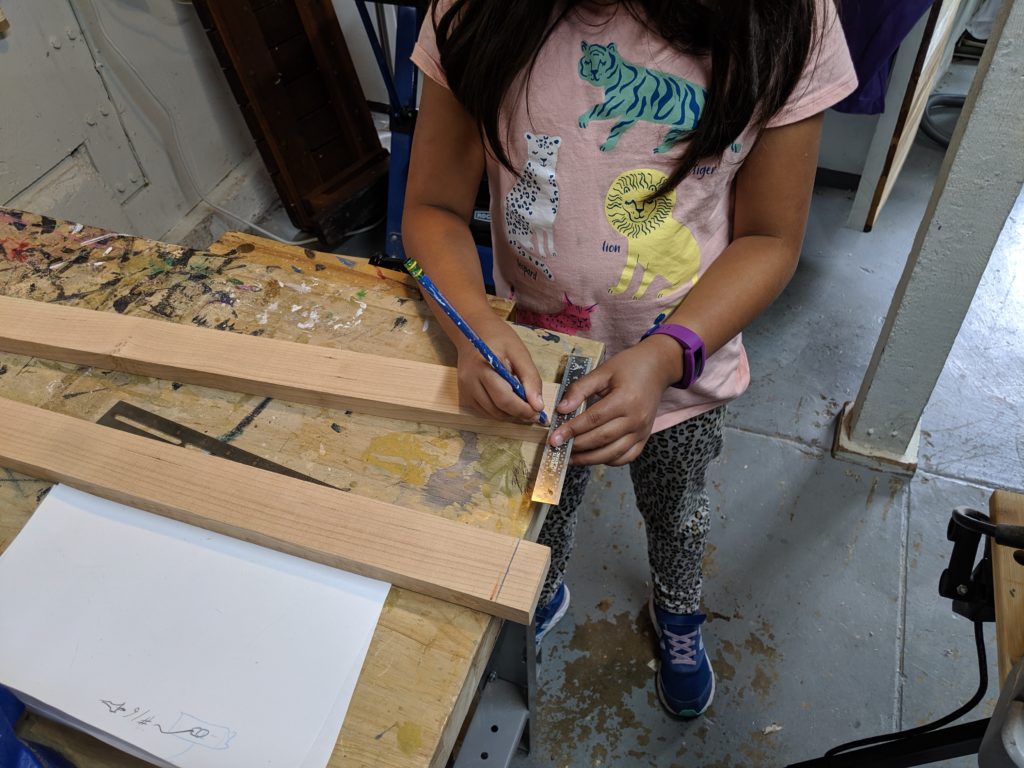
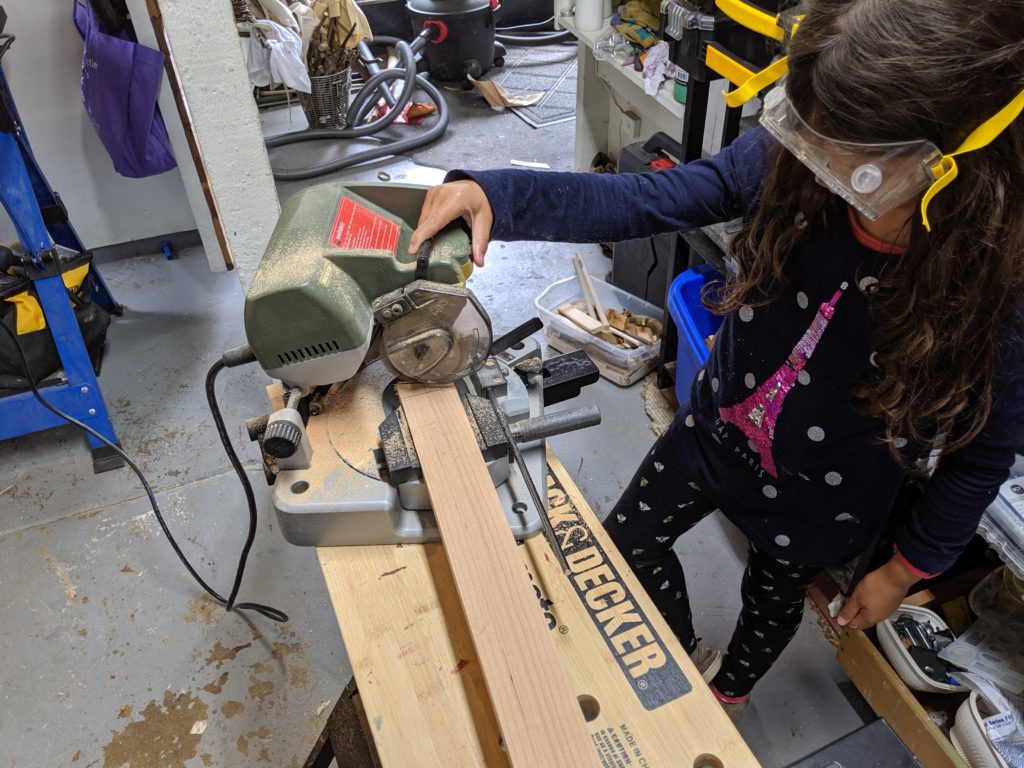
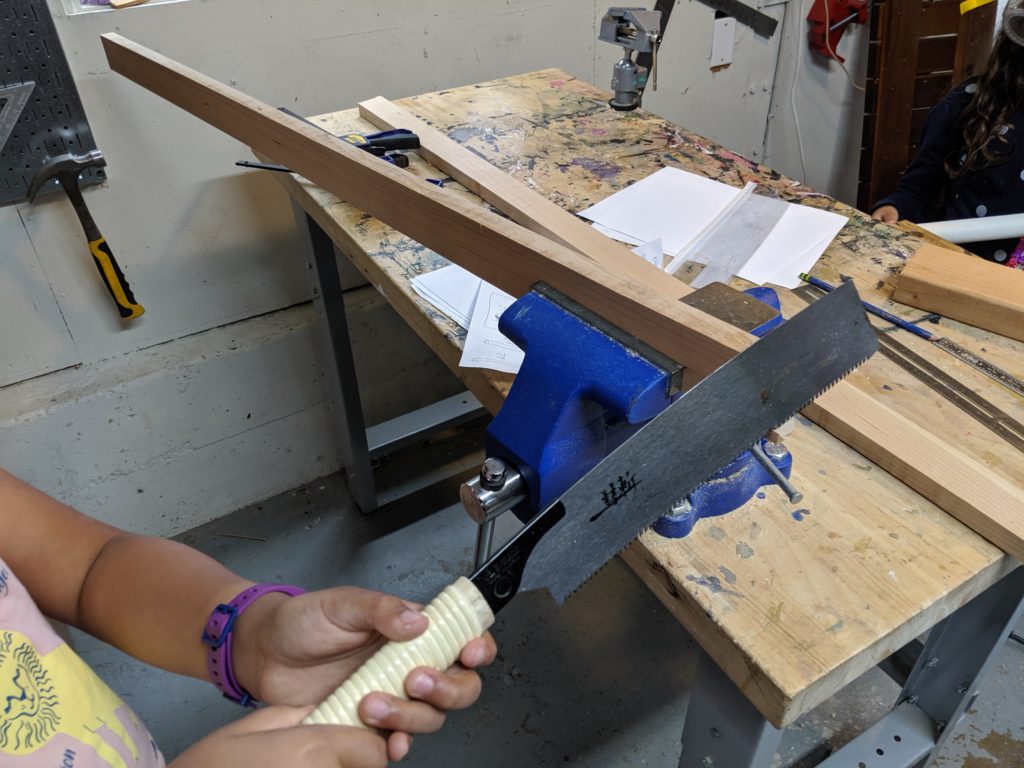
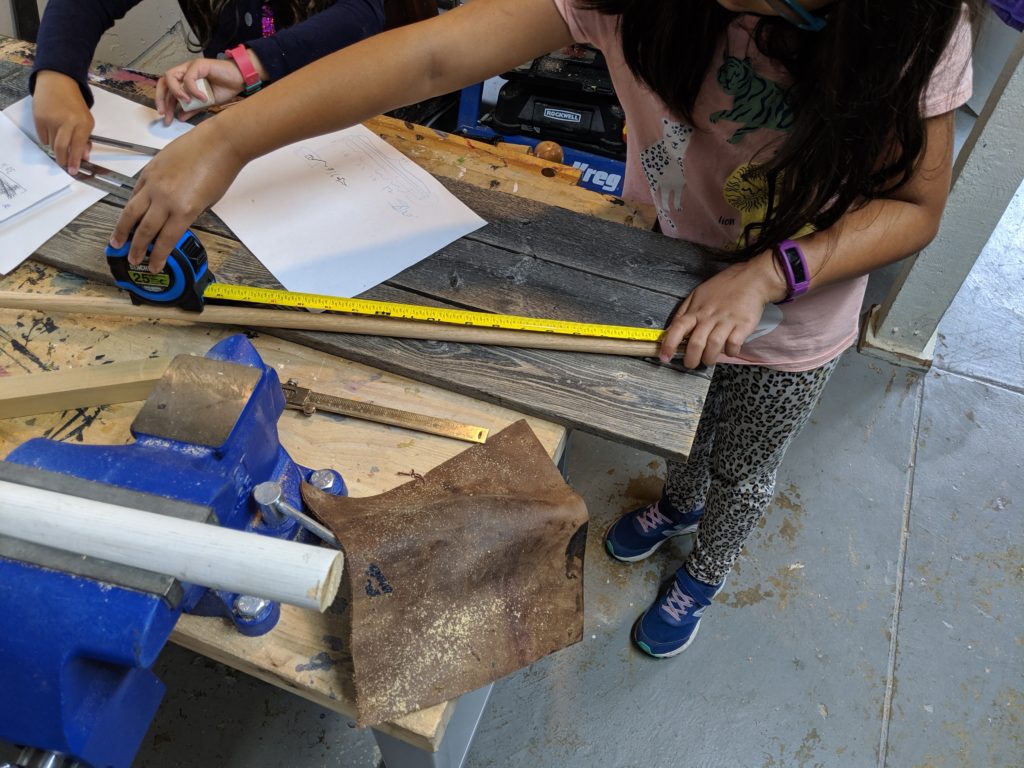
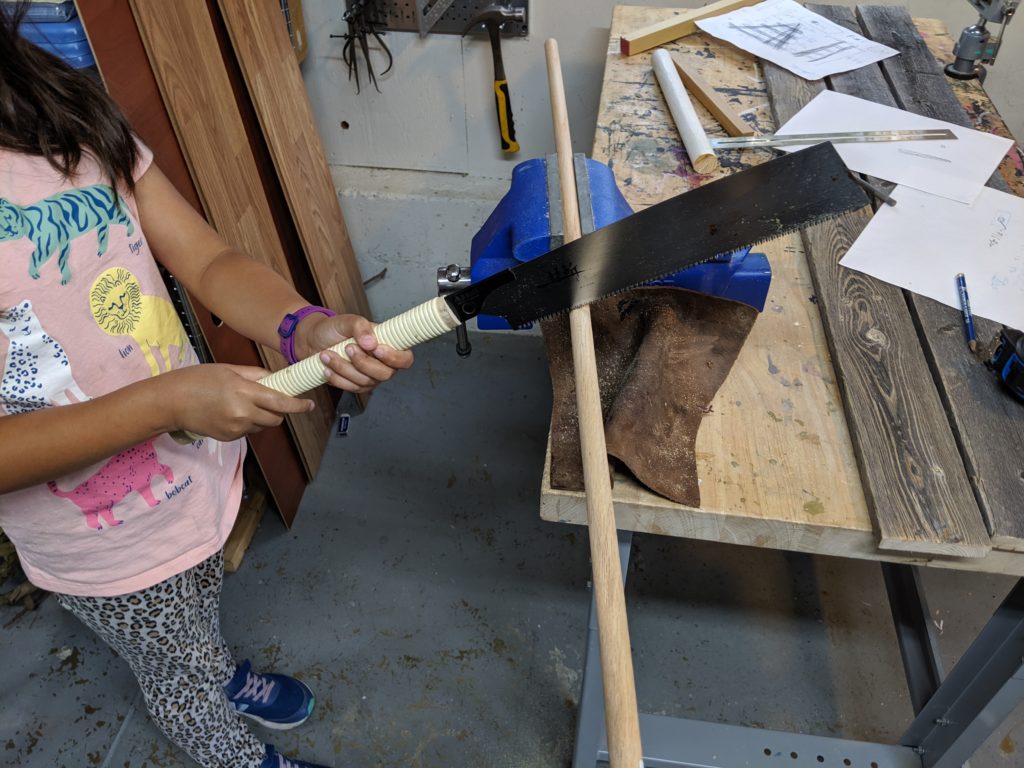
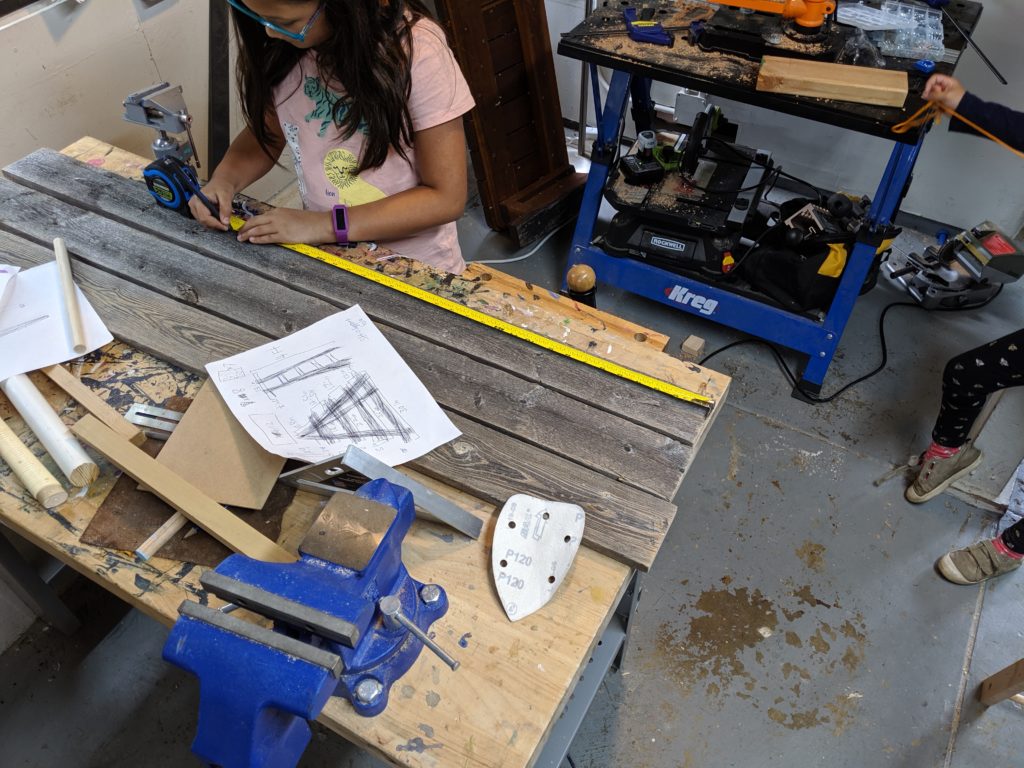
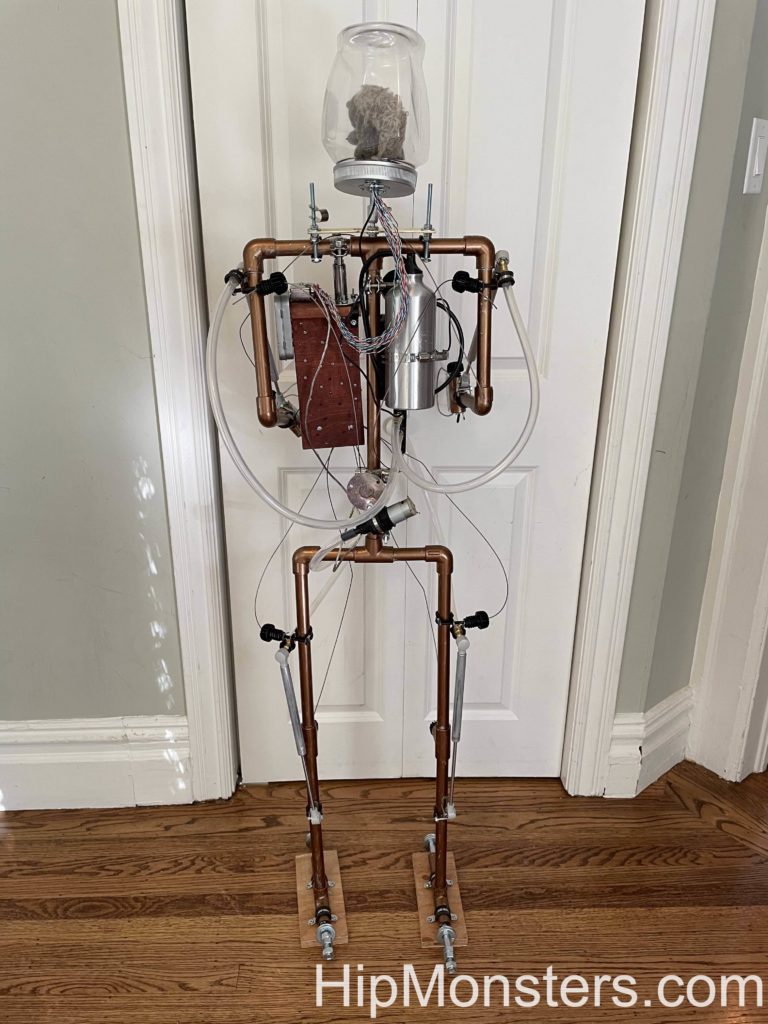
The image to the right is the completed robot. The starting images ended up not as good as we expected so the final image was the best to show how the tubing was used. First, we cut the pipes to the right size using one of us to figure out the length of the arms, legs and spine. Then we assembled it and added feet to keep it stable as we worked. Getting the right balance and weight for the feet was harder than expected. We used concrete bolts with extra washers as needed to weigh them down.

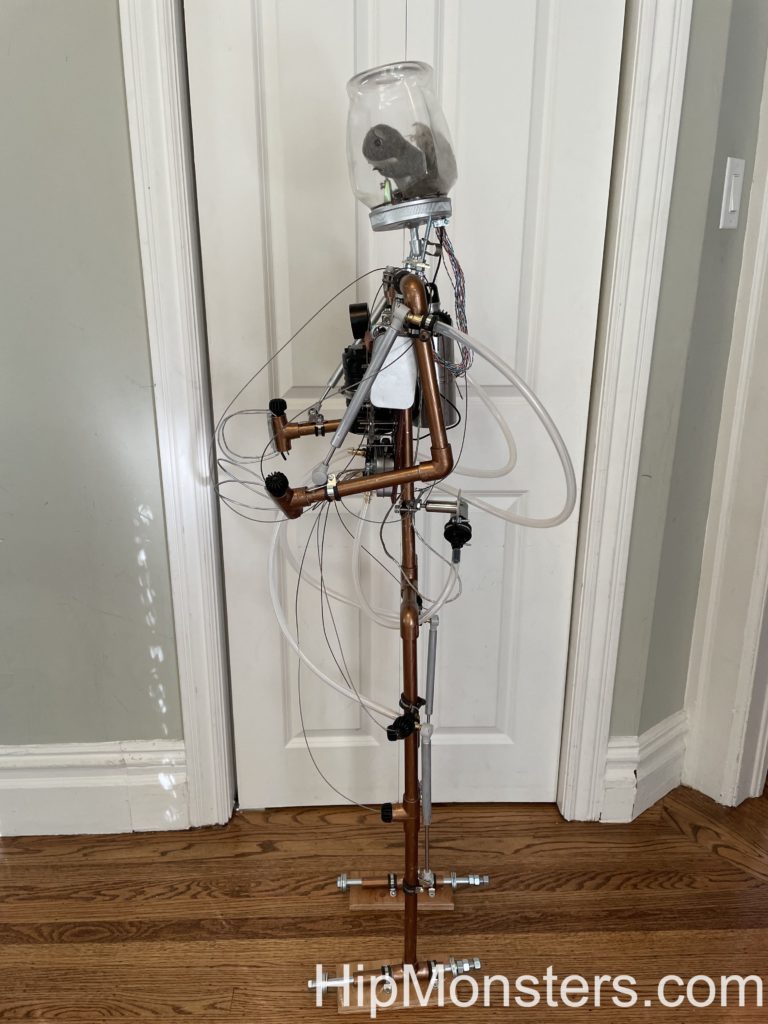
Then we assembled the PVC pipes and painted it with two coats. The first was sliver spray paint; the second was bronze. We did this so when the bronze paint chipped off it would still look like metal instead of plastic. Next, we used an old security camera mount and attached a plastic jar on the neck. We added a toy squirrel inside and a few parts that looked like little controls for it. We named the squirrel Professor Brookenhoff.

For a fake engine core we used an old battery powered lantern connected to an old water bottle.

Building the gear box for the steampunk inspired robot
Assembling the gear box

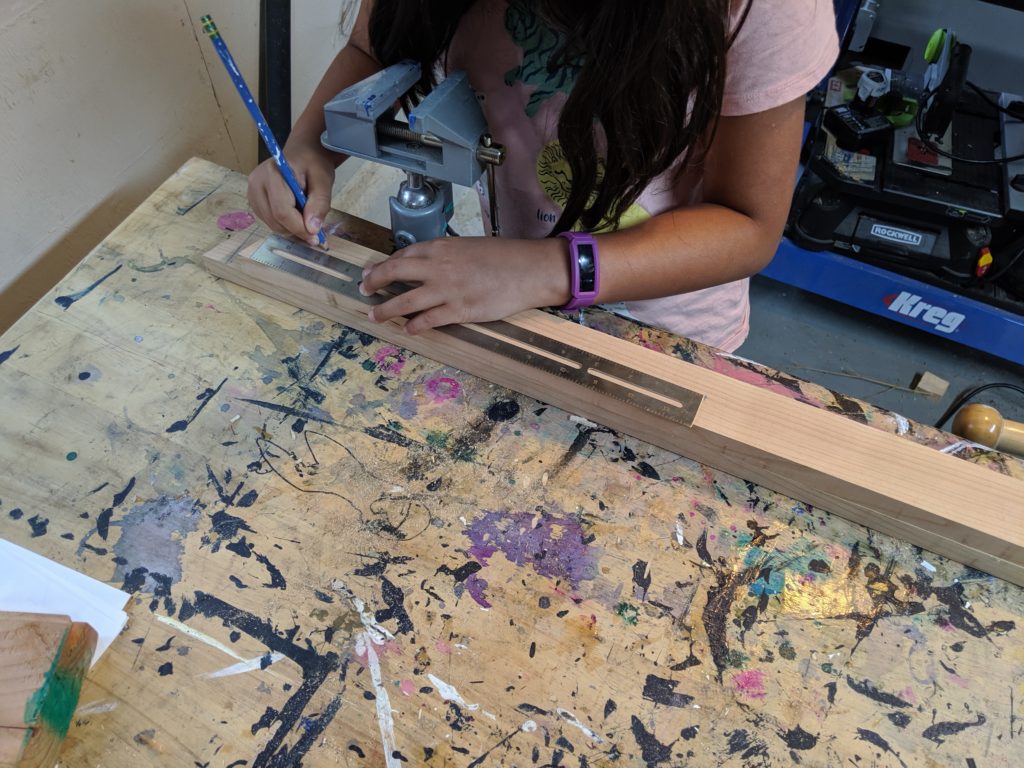
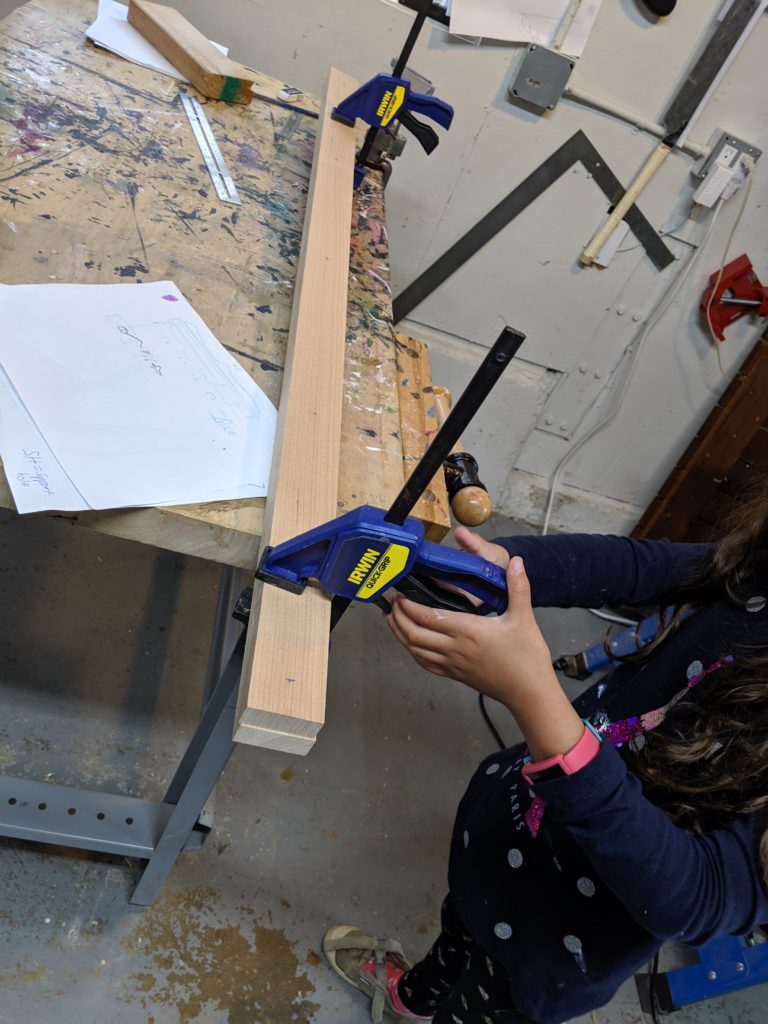
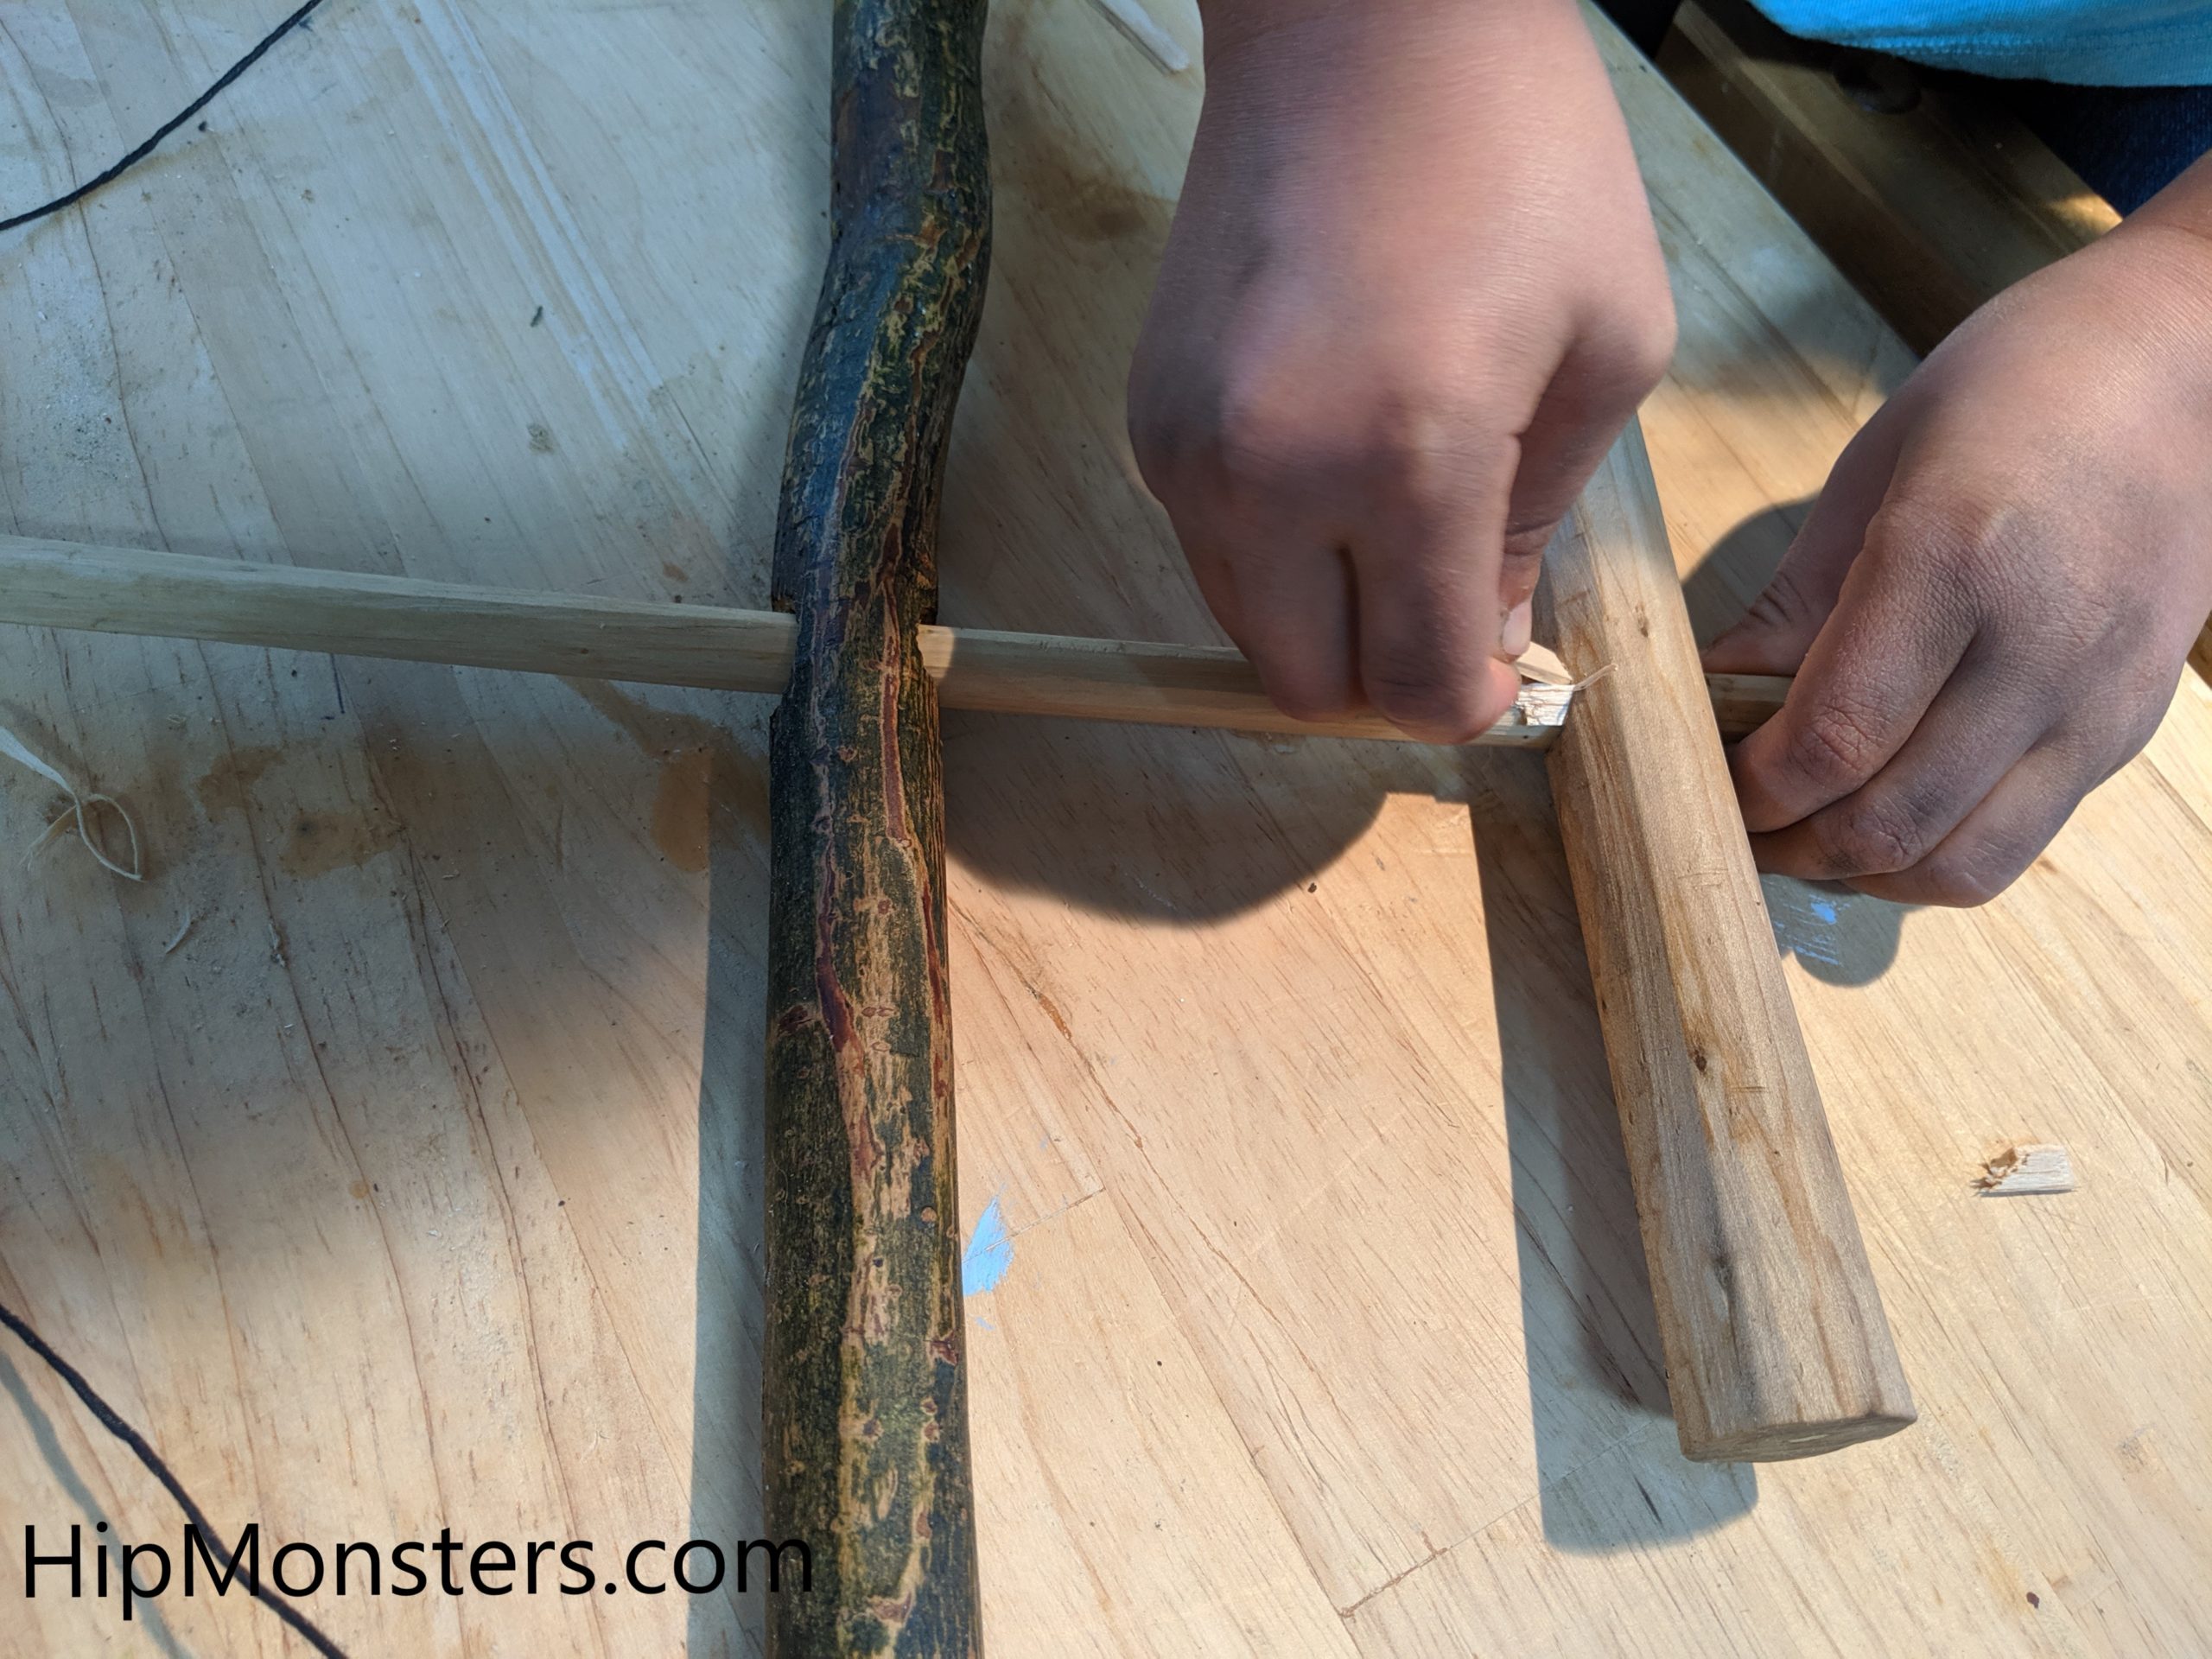
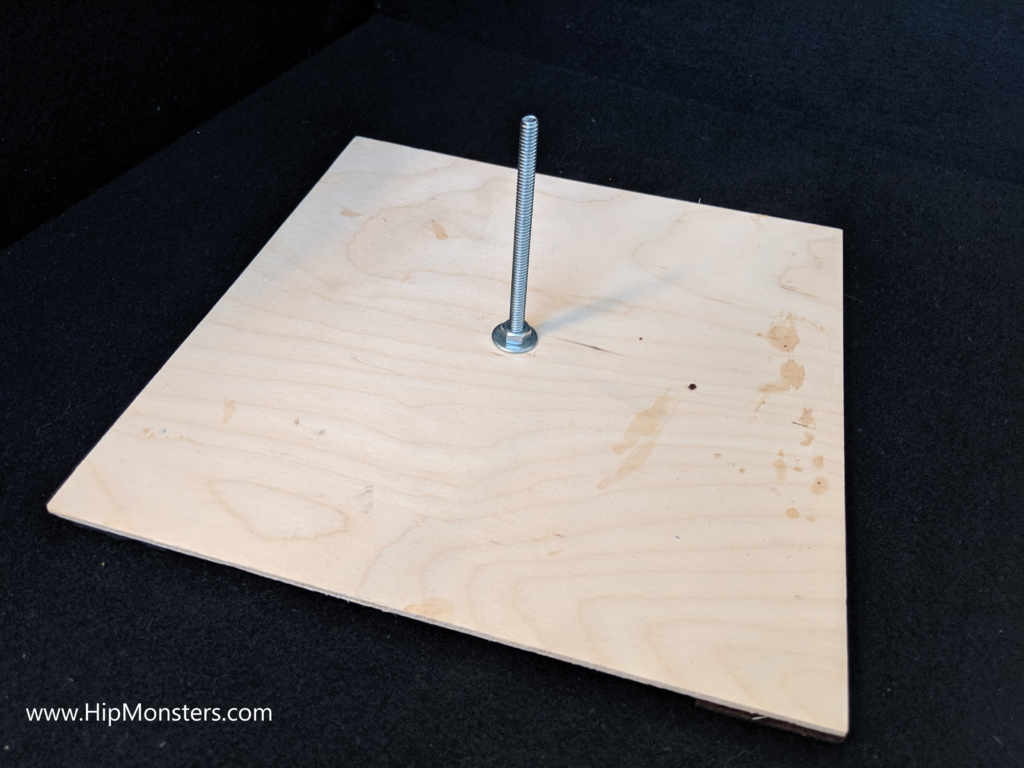
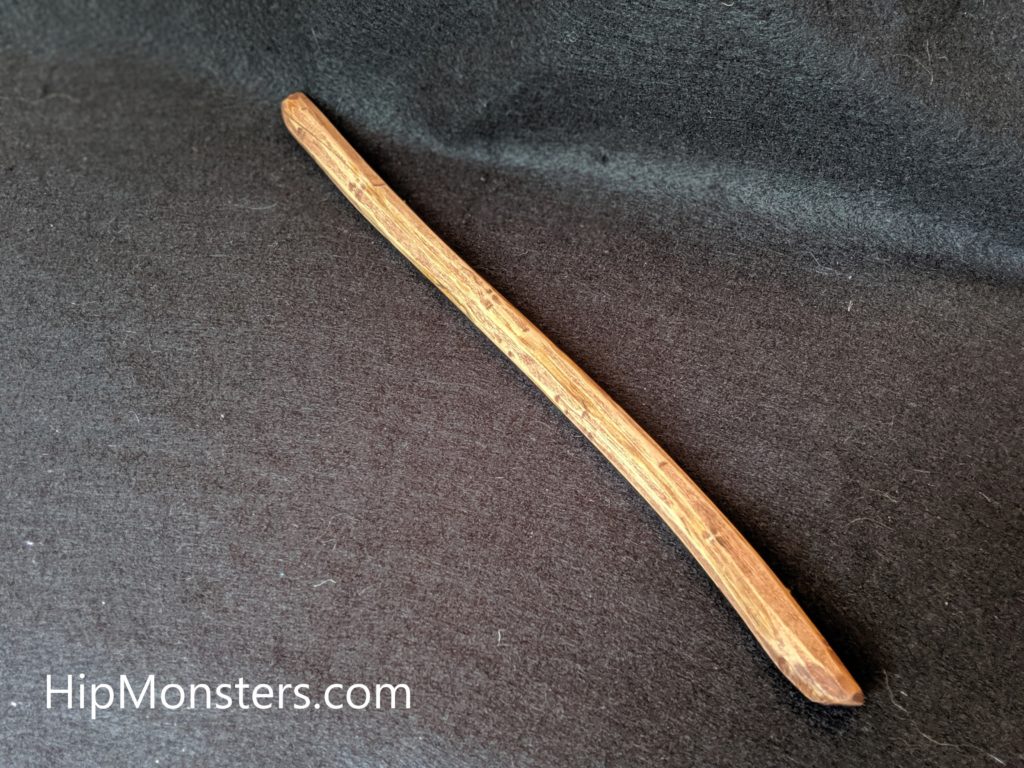
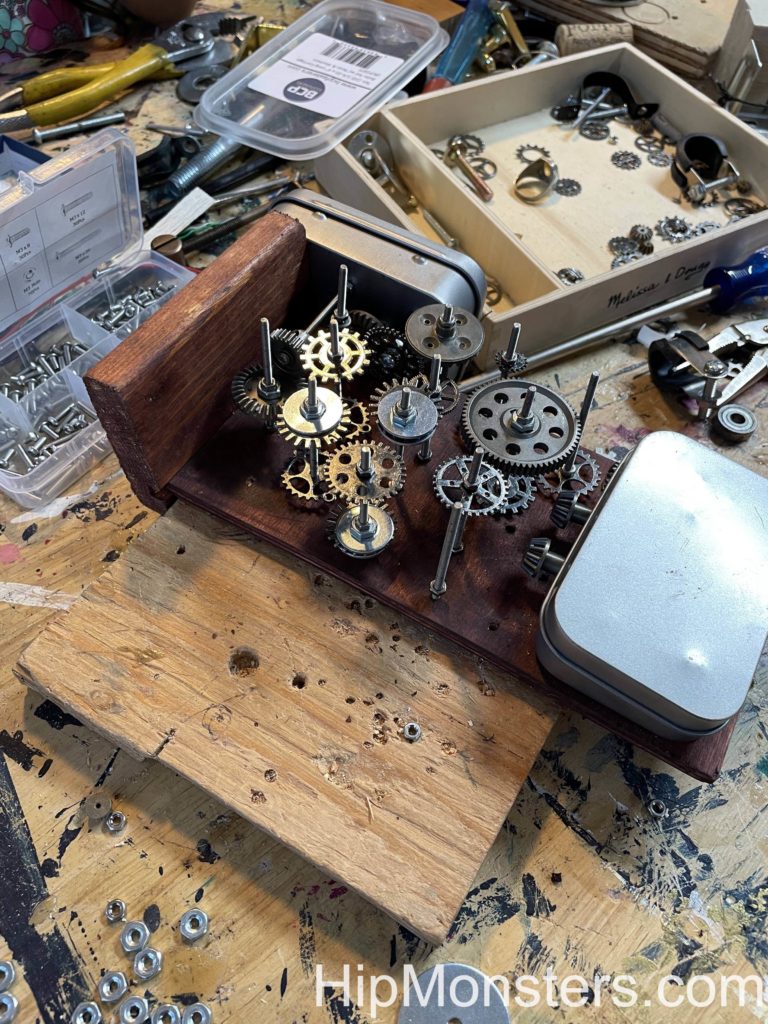
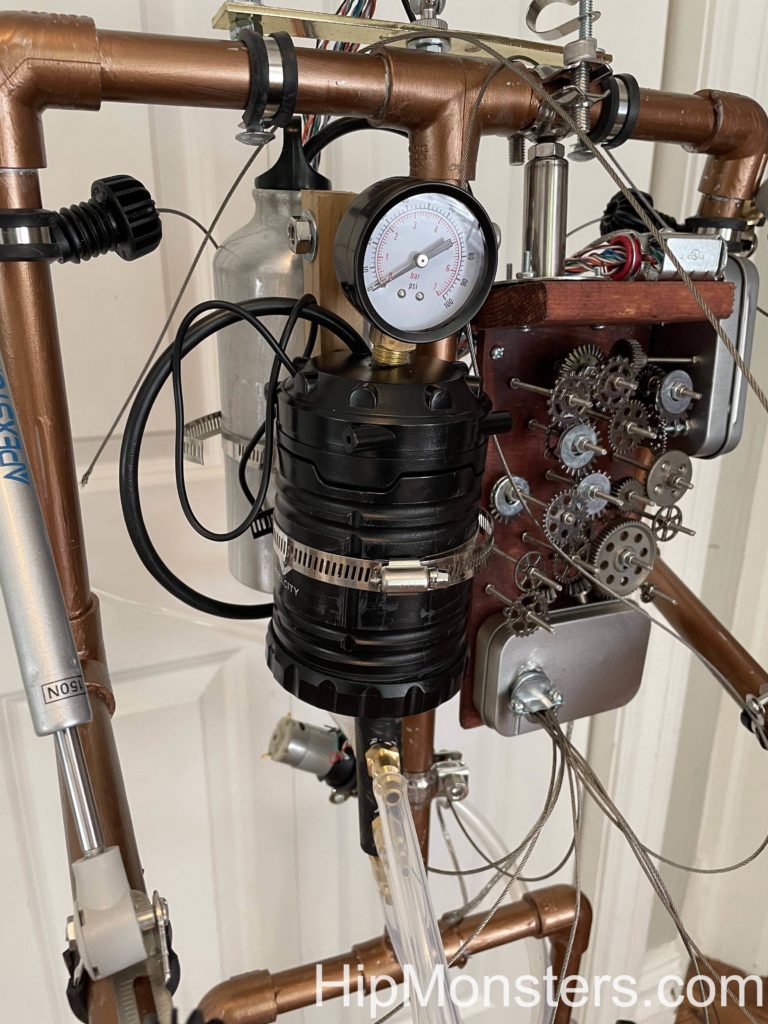
Now we started on the fake control box. To make is steampunk we used gears and only a few wires. Then we assembled the gears to control the robot. We used old wood as a base and stained and distressed it by hitting it with a hammer.

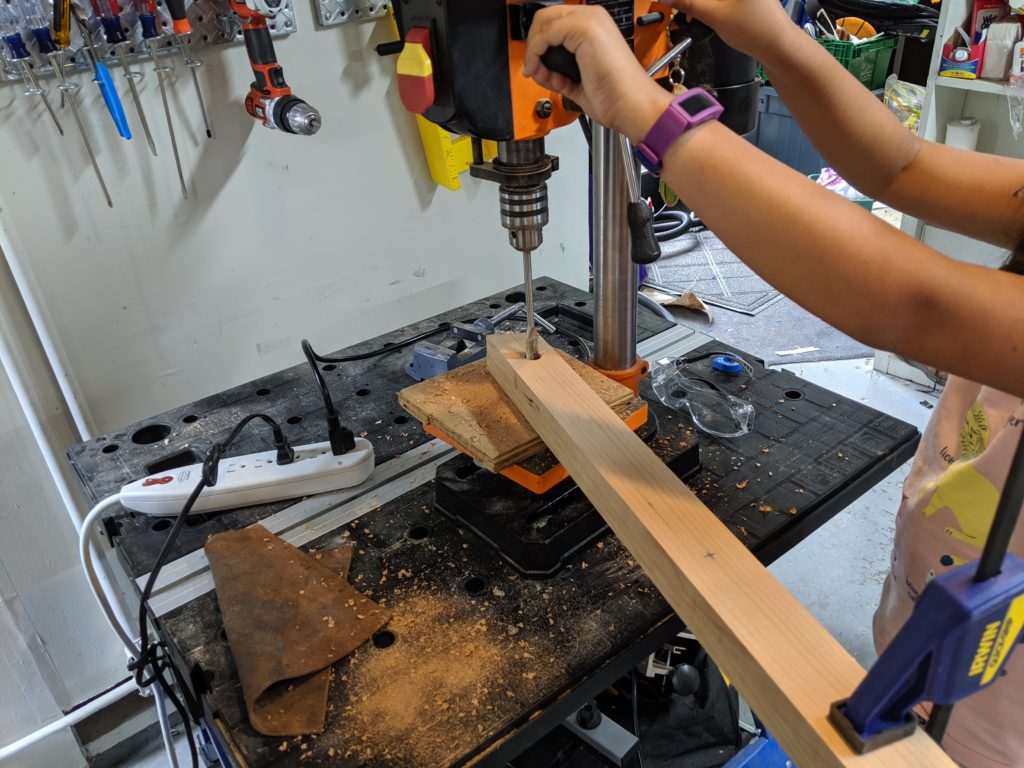
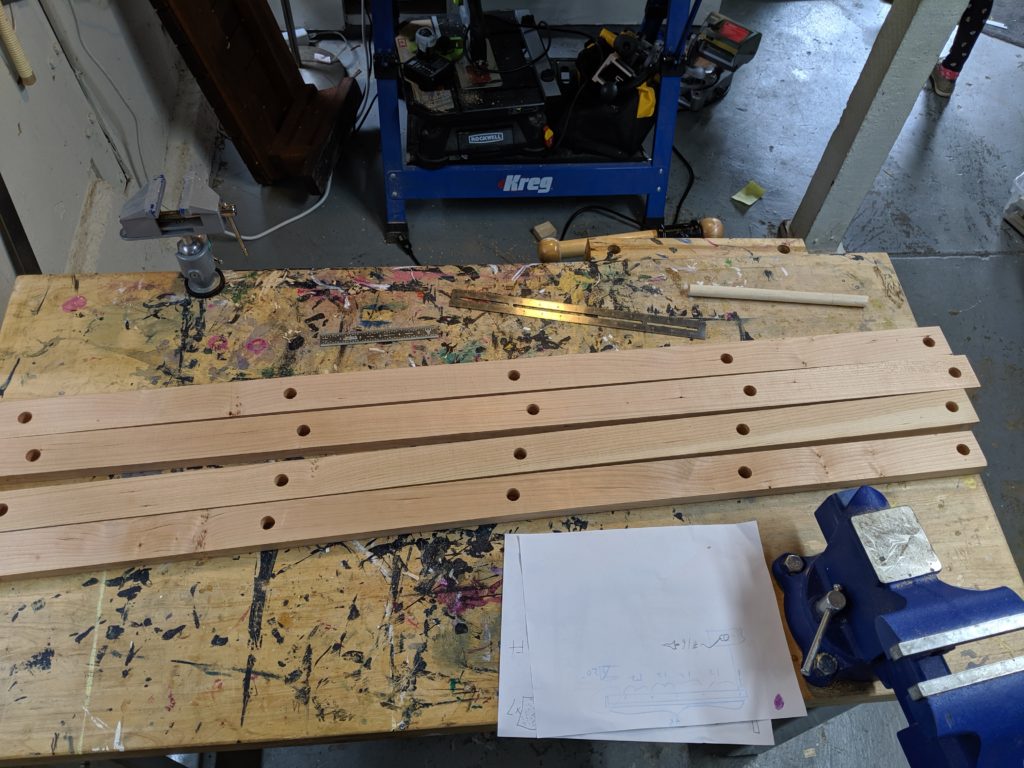
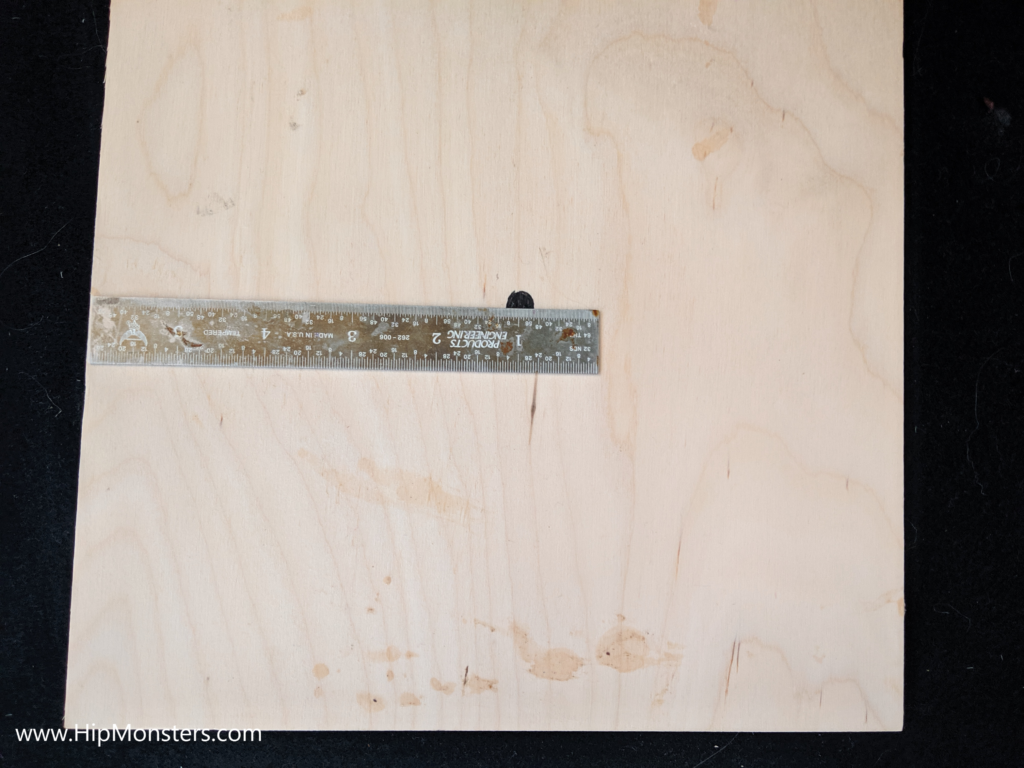
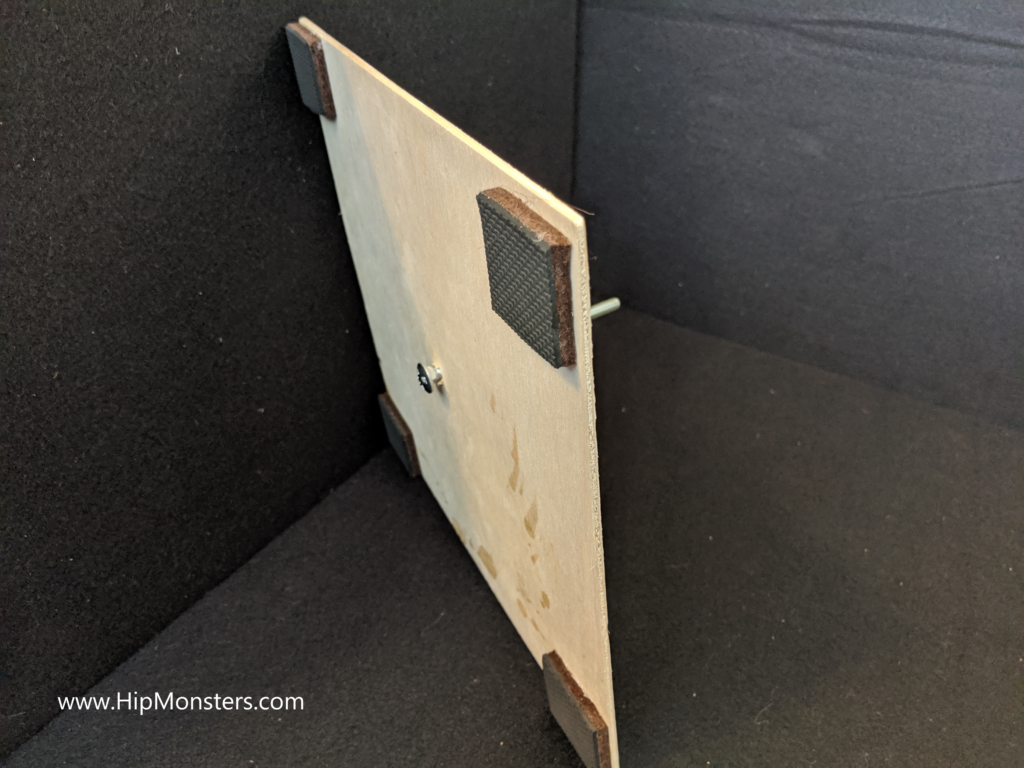
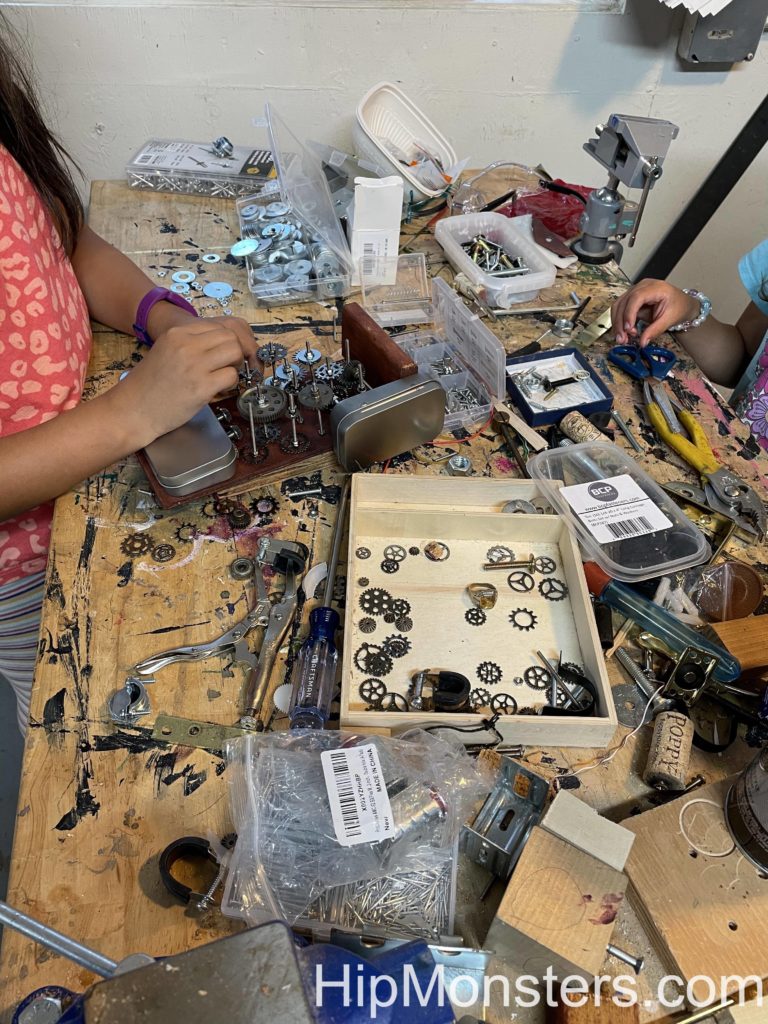
After that, we drilled a bunch of holes on the back and put thin, long bolts through them to create a framework for the gears.  Before we assembled it we laid out the gears on the table in the pattern we wanted then transferred the gears to the rig. Remember to lay out the gears in the opposite way you want them in the rig.

Gear box side view for steampunk inspired robot
Side view of the gear box

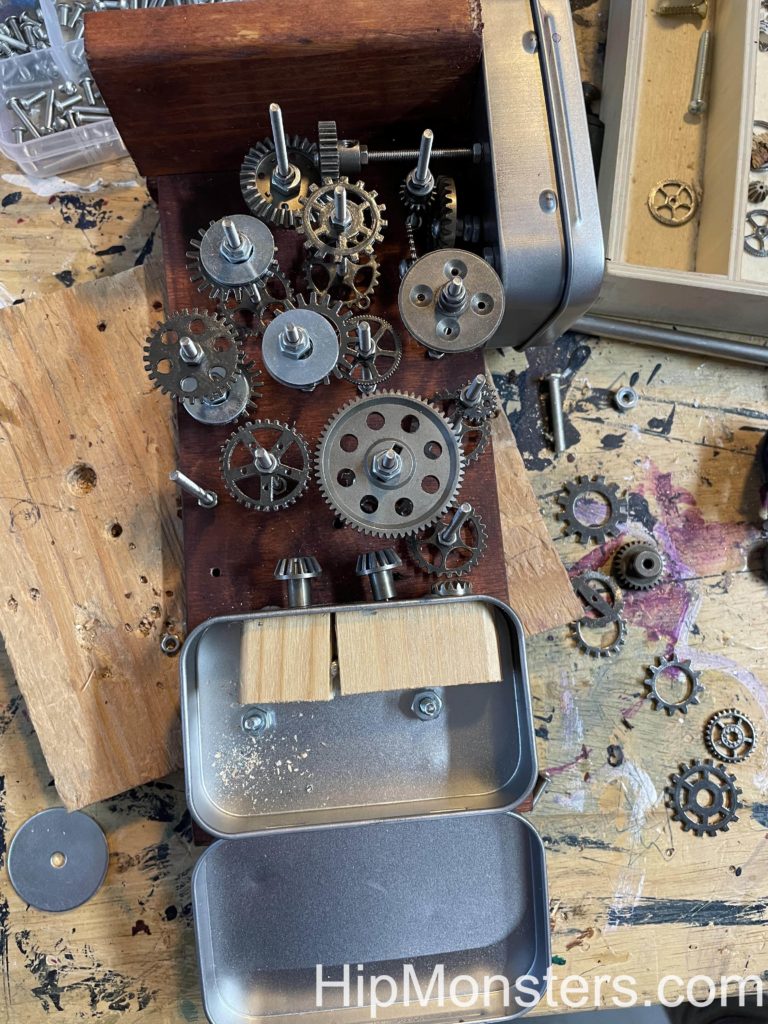
Here is a view of gears completed with the control boxes on each side.

The gears took the most time and ended up being a lot harder than we imagined. It was difficult to screw the tiny nuts into place to give it a 3d look. Also, the bolts proved to be sharp. We attached some gears to the side of the control boxes so it would look like they actually controlled the gears.

Close up of the gear box to the steampunk inspired robot
Close up of the gear box

Then we attached a box to run the wires through. We had a plan on the gears, engine, wire, pistons that we made before we started work that was our best attempt at design an honest working robot. The things we added is what Number Three would have needed if it was real.

Side view of the gear box for the steampunk inspired robot
Side view

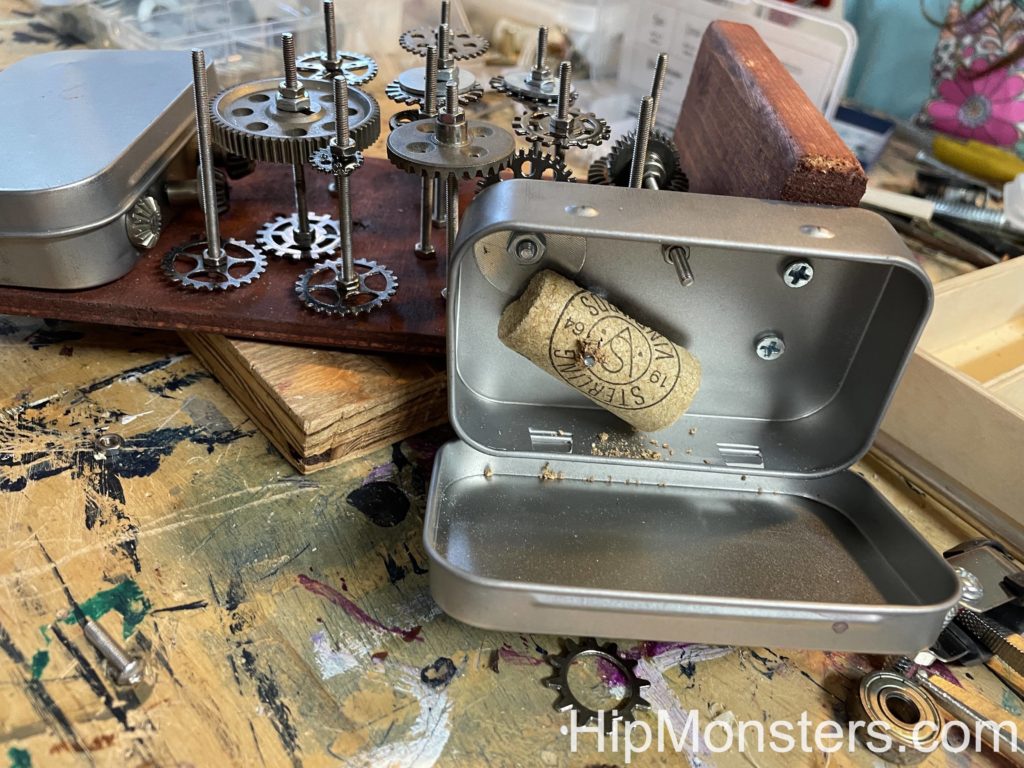
We then added a second box next to the gears for attaching the control wires.

Close up of the gear box for the steampunk inspired robot
Close up

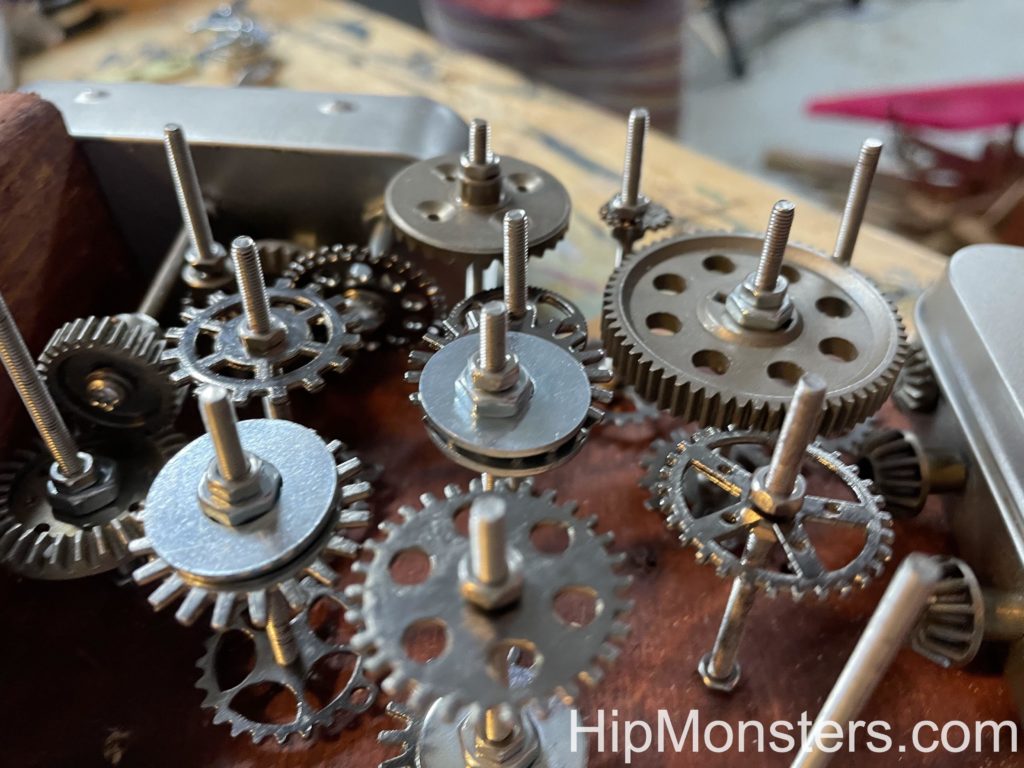
Here is a close up of the gears. Getting a 3-D design is important to make it look real. Each gear needs two bolts. One on top and one on the bottom. Make sure they are tightly screwed together.

Back view of the steampunk inspired robot
Back view

Now we focused on putting on details that would make it look like Number Three could move. Since it was supposed to be steam powered we used four left over pistons. We attached pneumatic tubing to the pistons then attached the other end to the engine. The idea is the power from the engine would create steam, and Professor Brookenhoff would give commands to the gears which would send the steam to the right piston to make it move. The idea of the head came from Carmichael from The Umbrella Academy.

Feet for the steampunk inspired robot
Close up of the feet

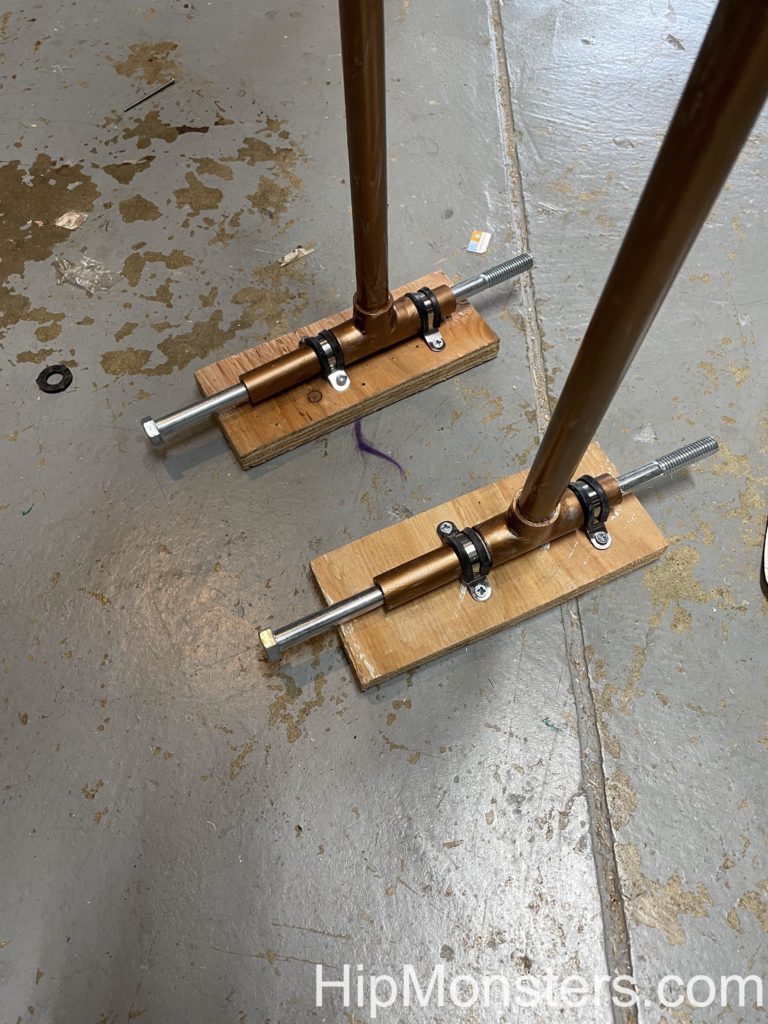
As we added more details to Number Three, we also needed to add more heavy things to the feet for stability.

Close up of the head of the steampunk inspired robot
Close up of the head

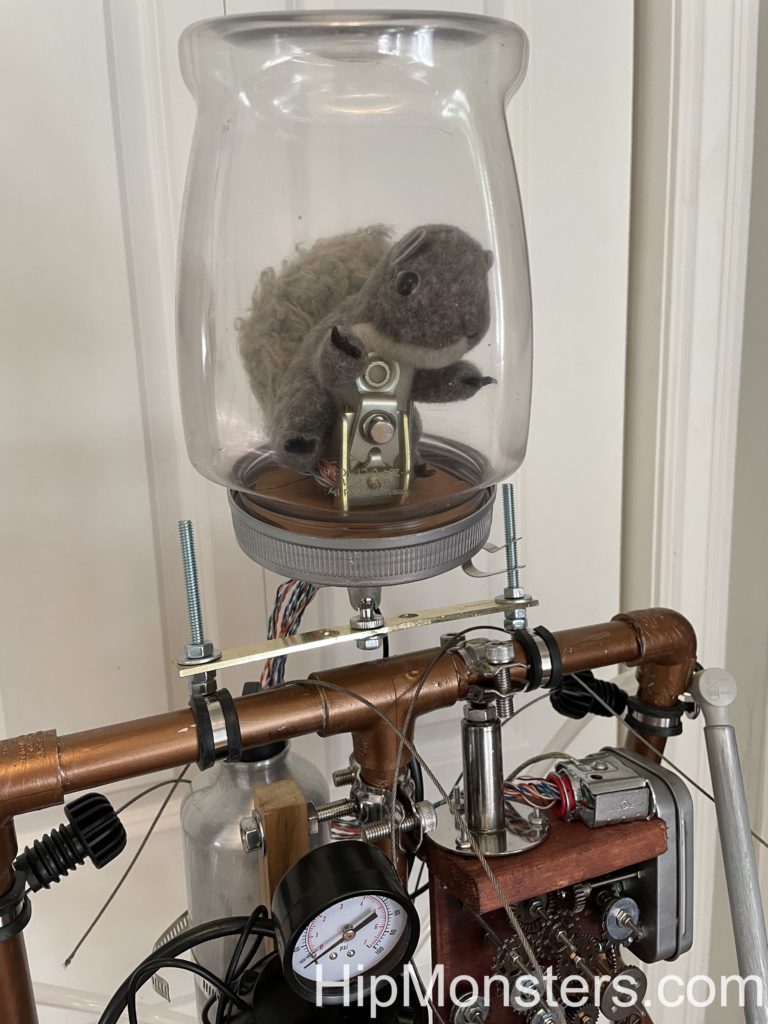
A close up of Professor Brookenhoff piloting Number Three.

Close up of the chest of the steampunk inspired robot
Close up of the chest

A close up of the tubing from the engine to the joints.

Side view of steampunk inspired robot
Side View

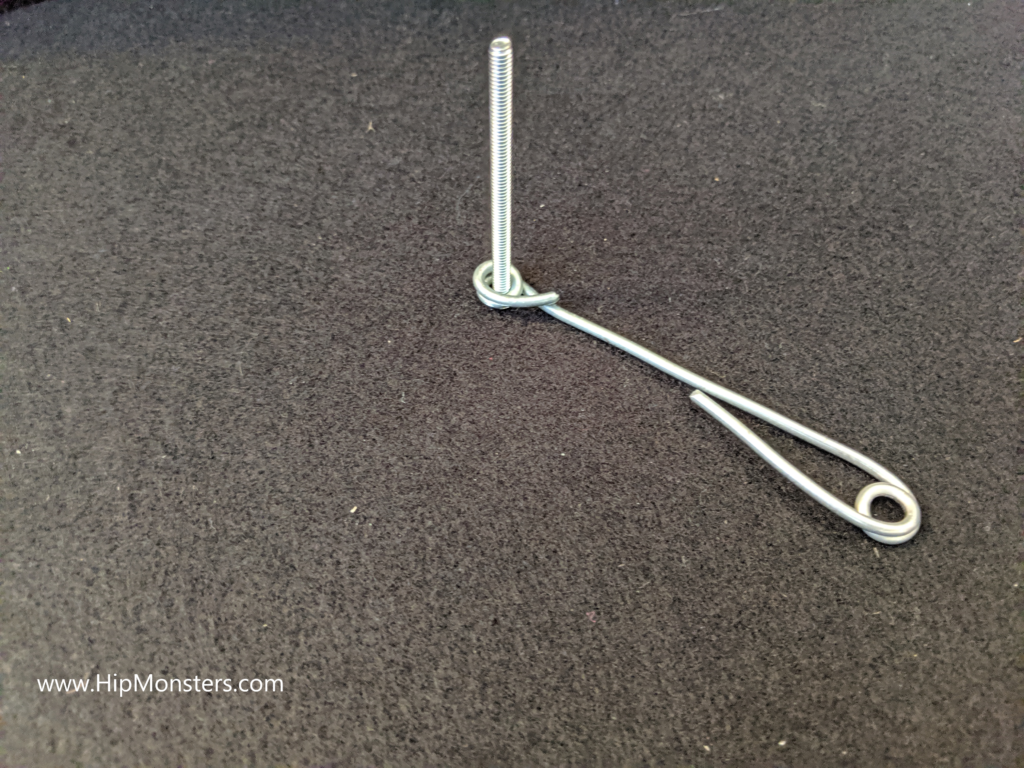
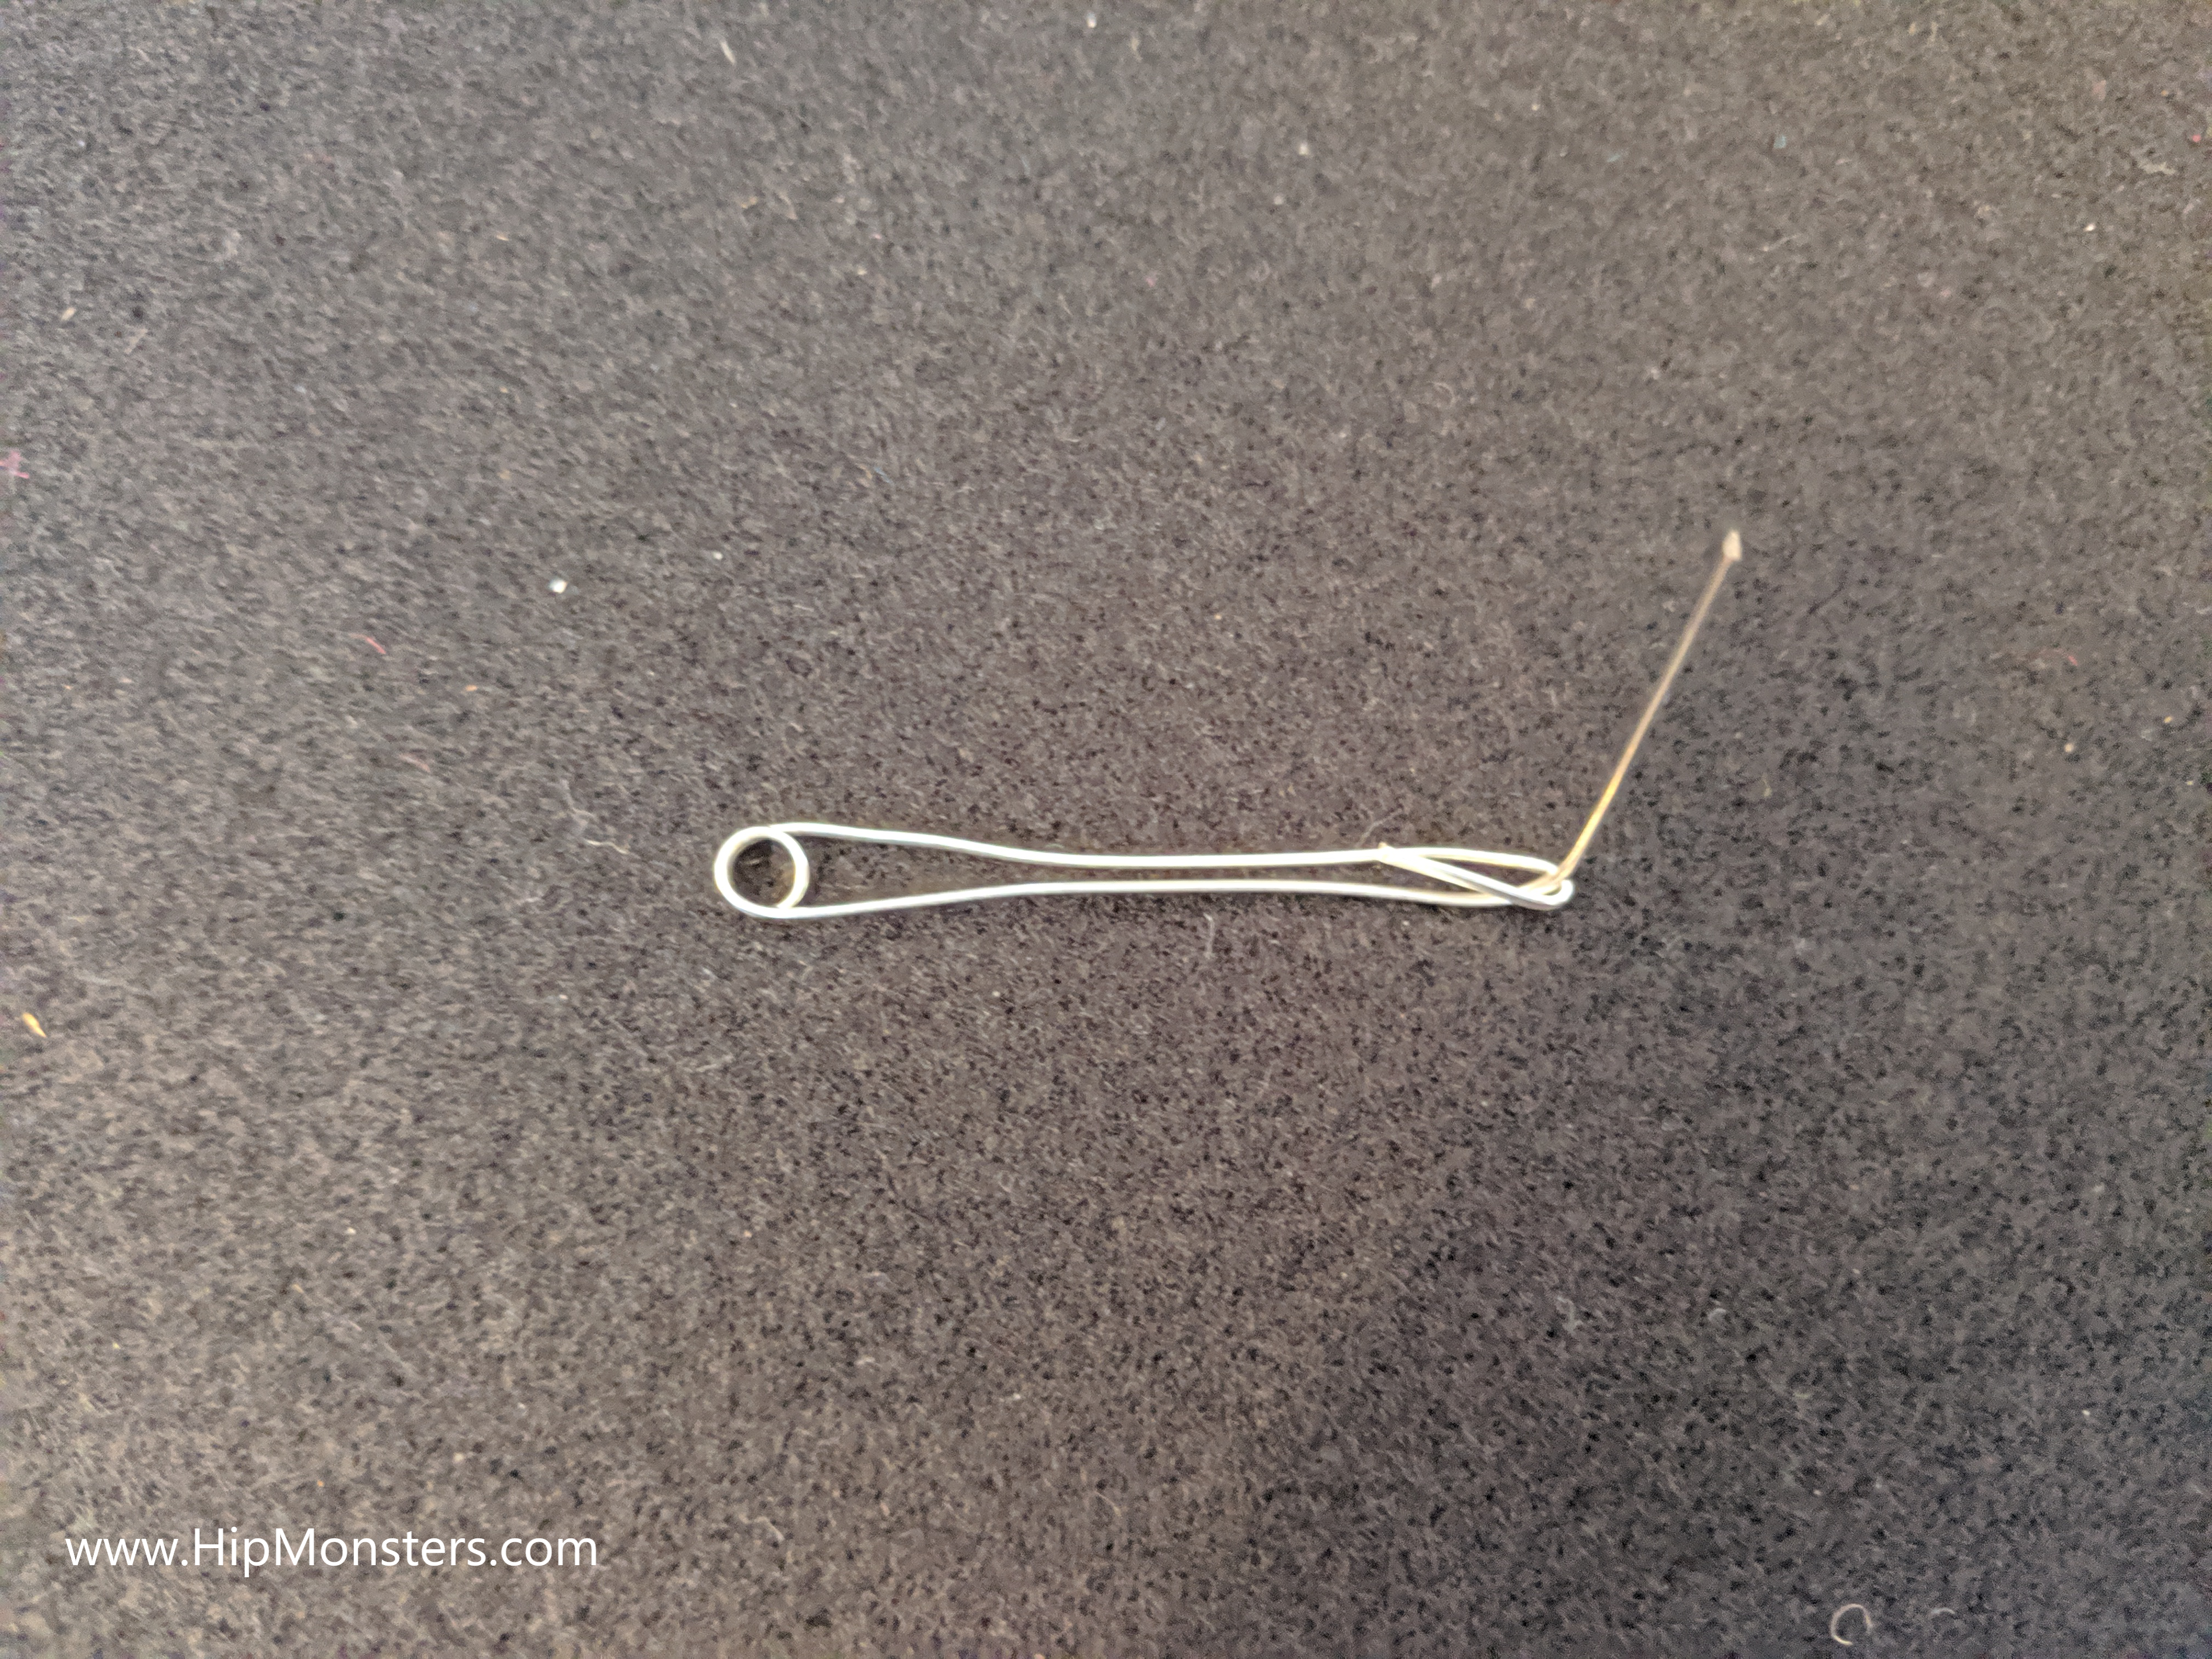
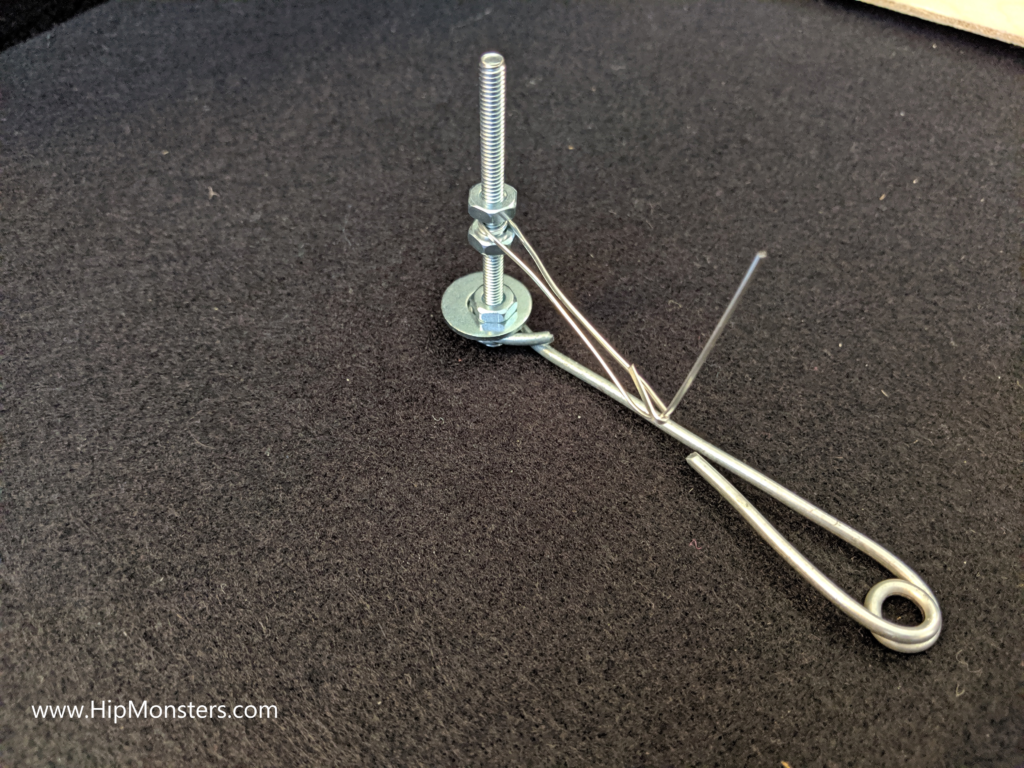
Number Three from side view. Here you can see the hands which also ended up being hard to make. Finally we made the hands out of wires and springs so it can hold things.

Front view of steampunk inspired robot
Front View

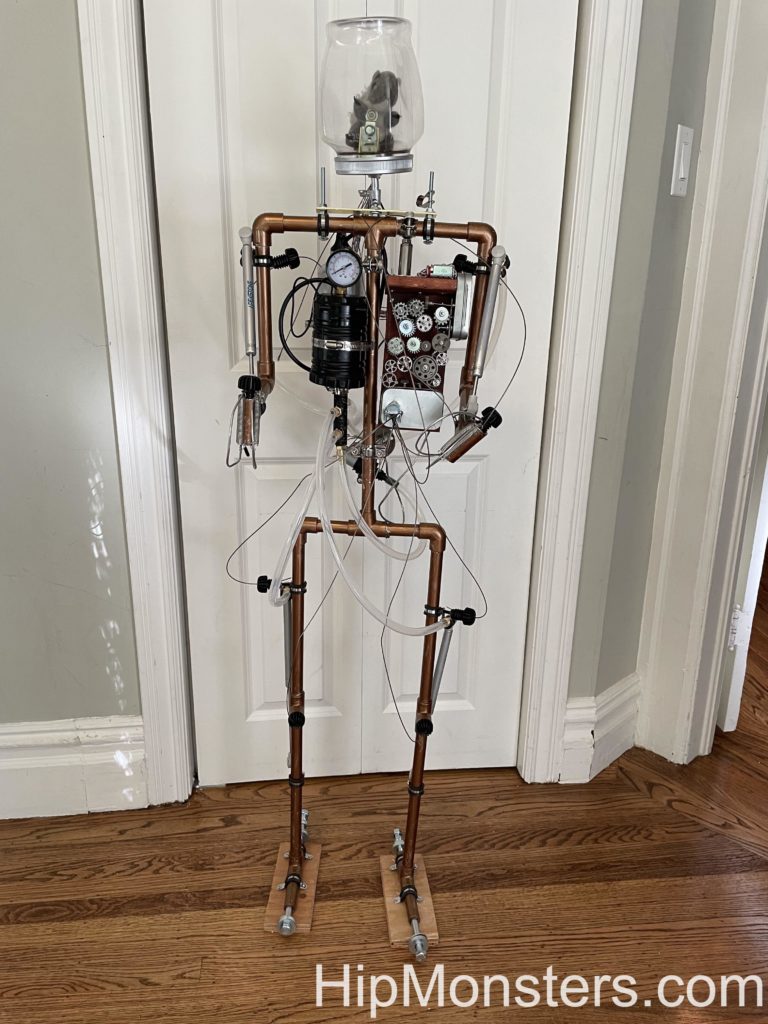
Here is the completed Number Three.

Happy Creating!

Ladder Bookcase

This project is about how to build a ladder bookcase. This bookcase has less room because its sides slope in towards the top but fit well into small spaces and is very sturdy, a perfect place for books! This design was inspired by a model designed by Vico Magistretti.

Please note, this material is provided for informational purposes only and is not a guide on how to create the designs. Please read our disclaimer.

Supplies required to build a DIY Ladder bookcase
All the Supplies Laid Out

First, you get all the materials:

    • 2 clamps
    • a bottle of wood glue
    • 5  48 X 3.5 X .5 inch wood planks (we used reclaimed wood)
    • 4  36 X 5/8 inch Oak Dowel Rods
    • 4 48X 2 X 3/4 inch cheery wooden boards
    • a saw
    • sandpaper (Course and fine grit)
    • drill
    • 3/4 inch bit
  • 4 MDF Wood Board 6x8x.0785
  • Wood Stapler
  • No Screws or nails!
Measuring for a DIY ladder bookcase
Measuring carefully

Now you can begin. First, on the 48X 2 X 3/4 inch cherry beam make a straight line one inch from the top. Line this up with the edge of the circular saw.

Cutting wood for a DIY ladder bookcase
Cutting carefully

Next, you cut a twenty-degree angle so that the tip touches the corner.

Using Japanese saw to build for a DIY ladder bookcase
Our Japanese saw in good use

Then cute off the excess without impacting the angle.

Measuring agin for building a DIY ladder bookcase
Measuring again

Then, you make dots 11 inches apart in the center of the 48X 2 X 3/4 inch cherry beams.

Clamping wood to align drilling for a DIY ladder bookcase
Clamping wood to align drilling

Next, you clamp both pieces of wood together, to make drilling more accurate.

Drilling holes for a DIY wooden ladder bookcase
Drilling carefully

Then, you drill a hole on all the dots while keeping the wood clamped together.

All the holes align for our DIY wooden ladder bookcase
All the holes align!

Put them aside to use later.

Planning out next steps for a a DIY wooden ladder bookcase
Planning out the next steps

Then, mark 3 of the 48 by 3.5 by 0.5-inch wooden boards at 22 inches.

Measuring the support for a a DIY wooden ladder bookcase
Measuring the support

Measure a 36 X 5/8 inch pole and mark it at fifteen inches.

Cutting the support for a a DIY wooden ladder bookcase
Cutting the support poles

Then, cut the pole at your mark 9 times. if the pole is too wide for your hole, drill a bigger hole or sand the wood. If it is too thin, then wedge some pieces of wood between the pole and the hole.

Partially asembled DIY wooden ladder bookcase
Almost assembled!

Next, stick the poles in the holes that you drilled so that it looks like this. After that, put the other two wood beams on the other side as well. Make sure not to alternate.

Measuring the shelves for the DIY wooden ladder bookcase
Measuring the shelves

Mark the other three 48 X 3.5 X 0.5 inch boards at 30 inches each.

Cutting the shelves for the DIY wooden ladder bookcase
Clamping the shelves for cutting

Finally, clamp all three of the boards together. Then, cut them at 30 inches while keeping them clamped, and remember to use both sides for shelves.

Cutting the shelves for a DIY wooden ladder bookcase
Cutting the shelves

Clamp the shelves together while sawing to make it much easier.

Finished DIY wooden ladder bookcase
Finished!

Now you have a amazing ladder bookcase! The finished shelves was quickly put into use for storing our large StarTrek and RPG book collection.

Happy Creating!

DIY Pump Drill

Comleted Pump Drils
Completed Pump Drils

The Hip Monster’s sister team has created a DIY pump drill.  Pump drills are ancient tools used by many cultures including Native Americans. The sisters got the idea from seeing pump drills made by the Miwok tribe who used to live in California.

Please note, this material is provided for informational purposes only and is not a guide on how to create the designs. Please read our disclaimer.

Supplies for a handmade pump drill.
Some of the supplies

Equipment:

  1. saw
  2. drill
  3. spade drill bit ~1 inch
  4. drill bit 1/8 inch
  5. spokeshave
  6. sandpaper
  7. strong string
  8. bee’s wax
  9. three long, straight branches

Branches:

1) shaft: the centerpiece of the pump drill. Look for a long, straight, and thin piece of wood.

2) spindle whorl: Attached near the tip of the shaft and makes the drill rewind. This piece should be heavy and thick enough the shaft can go through it.

3) handle: What you hold onto. This piece should be just thick enough for the shaft to go through.

First, you pick out three straight pieces of wood, one long and skinny, and the other two thick. Make sure the handle and the spindle ones are thick enough for the shaft to go through. Cut off the extra parts making sure to leave a bit extra on each end.

This se should look like this. The extra inch on each side of the sticks are so you can secure them to a vice for shaving.

The first one will be the spindle, the second the handle, and the last the shaft.

Next, spokeshave the pieces to make them smooth. Be very careful while spoke shaving you don’t want to make any of the pieces too thin or curved. Continuously flip the piece over to get to make all the sides are even. Sometimes when there is a knot or we accidentally cut into the wood, an adult can help smooth it out. If you have finished spoke shaving but don’t have enough time to stain or wax it, soak it in water so it doesn’t dry out to much.

For the main shaft, spokeshave till it is as straight as possible. To find out which side to shave roll the stick on a table and see which part is bent up. For the handle and spindle, you just need to get the bark off.

Now cut the piece to the right size. Make sure the thin one is the longest because that would be the main piece that supports everything else. Measure everything out the right size before you cut it.

Sand the pieces to make them really smooth. Spend more effort on the shaft. Remember, the shaft needs to be smooth and straight for the pump drill to work. They should look like this when done. Drill the holes in the two thick pieces. The with of the holes should be a bit bigger than the diameter of the shaft. When drilling, go slowly to avoid splitting. Make sure you drill in the middle of the wood. When done you should have two big holes in the large pieces big enough for the shaft. For drilling hole likes these where the edge of the drill bit comes close to the vice we let an adult do the final set up and test.

After you have drilled all the holes apply bee’s wax.  The bee’s wax makes them smooth and help avoid splitting.

To apply the bee’s wax use an old towel.  Since bee’s wax does not go bad, we use the same rag repeated for other projects.

Drill two holes at the tip of the shaft the same width as the string you will be using. Measure the string and put the string through it.

Now drill holes at both ends of the handle. Make sure the hole is in the same direction as the shaft hole.

Next, assemble the pump drill by sliding the shaft through the handle.

Then loop the string through the two holes you drilled in the handle.

Adjust the string so that the center stick if a little less than halfway down the pole. Then tied knots on both ends of the string.

Now slide the spindle onto the shaft.

Use a thin board of wood like the one shown in the photo and break off a strip.

Wedge the strip of wood in the gap to make the fit tight.  Add more strips of wood as needed. The spindle should not be able to move.

And finally, cut a slot at the end of the shaft by cutting two parallel cuts. Then use a chisel to clean up the notch. Secure a sharp stone shaped like an arrow tip with string.

Yay! You finished!

Now you know how to make a DIY pump drill!

You use the drill by first winding it up. Then gently push down on the handle. Let the string rewind itself (thanks to the spindle whorl). Do not push the stick up but let the pump drill wind back then, again, gently push down.

Happy Creating!

Sun-Moon-Earth Orrery

Getting started

Need to track the moon phases for that perfect time to cast a spell? Worried about when you are due to change into a werewolf?

The following instructions are for a quick DIY Sun, Earth, Moon Orrery we did for a school project. This is suitable for ages 6 to 12 but may need adult supervision. We were inspired by this article in instructables.com but needed a much simpler design.

This project was also the start of HipMonsters, and we still use some of the same skills for our robots and woodworking projects.

Please note, this material is provided for informational purposes only and is not a guide on how to create the designs. Please read our disclaimer.Equipment:

  • Drill
  • Pliers
  • Wire Cutters

Parts:

  • Plywood (10 X 10 inches)
  • 4 inch bolt with 3 nuts and 3 washers
  • 2 inch bolt with 3 nuts and 3 washers
  • 3 foam balls of different sizes
  • 9 inches of thick wire (may use coat hangers)
  • 5 inches of thin wire (may use pipe cleaner)
  • Foam padding
Step 1

First, measure the center hole for the main screw. This screw will support the Sun, Earth, and Moon.

Step 2

Next, drill the hole and push the large screw through the hole and secure it with a washer and bolt.

Step 3

Turn over the base and stick four foam pads on the bottom. We used one large foam pad for furniture and cut it into four pieces. These foam padding will prevent the center bolt from scratching the table when placed upright.

Step 4

Turn the base back over and make sure the foam padding is tall enough to prevent the bolt from scratching the table. If not, then add another layer of foam. Next, screw another a nut to the halfway point on the bolt and then put a washer on top.

Step 5

Now we need to make the support wire for the Earth. Take the larger wire and bend both ends using a screwdriver as shown. The goal is the make the loops tight enough so the bolts are secure when threaded through them.

Step 6

Here, both ends are ready to secure the Earth to the center shaft. Notice one loop is smaller than the other. The larger loop is for the center bolt; the smaller one is for Earth’s bolt.

Step 7

Now, thread the smaller bolt through the smaller loop.

Step 8

Secure the bolt to the arm with a washer and nut. Then screw a nut halfway up the bolt. This bolt will serve as support for the Moon’s arm.

Step 9

Next, create the Moon’s arm. Bend the thinner wire similar to the Earth’s arm but only put a loop on one end. Bend the other end up to support the Moon.

Step 10

Now connect the thin wire to the screw on Earth’s arm and secure with a bolt.

Step 11

And we are nearly there! Just connect the thick wire to the screw and put a washer and bolt on top. Make sure to screw on tightly, the weight of the arm can make it droop.

Step 12

And finally we are ready to add the Sun, Earth, and Moon. The smallest ball is the Moon and goes on the smallest arm. The Earth is the mid-sized ball and put onto the outer bolt. The largest ball is the Sun and placed on the center bolts. You can paint the balls as the final step if you want to.Putting it all together

The Sun, Earth, Moon orrery is almost complete, we just need to assemble! Here are all the pieces laid out. We substitute the foam balls in one build with a ping pong ball for the Sun and felt balls for the Earth and Moon.Enjoy

You now have your own Sun, Earth, Moon Orrery and predict the next eclipse or start planning for the next full moon! Keep a watch out for werewolves!

Happy creating!

Puzzle Box: Dovetail

This puzzle box was inspired by Roy Underhill’s Woodwright Shop. Based on an early American grease pot design, it is crafted out of poplar. It measures 8 inches by 3 inches, just big enough to hide special jewels or a secret treasure.

Handcraft Wooden Puzzle box DYI
Puzzle Box

The clean dovetail is essential to making this puzzle box work. Ideally, you want to use a harder wood than you used for the box.

Handcraft Wooden Puzzle box DYI
Dovetail close up
Starting a dovetail for a puzzle box
Measuring a dovetail

Use a chisel to measure the width of a dovetail. Cut two sets of parallel lines and carefully remove the outer edges, then cut it off the wooden beam. To help draw the parallel lines, we used a marking gauge. This also made sure that all of the dovetails we made are the same size.

DIY wooden puzzel box
Cutting the lid and lock.

Make use to secure the wood and cut very slowly to get a clean cut. If using a Japanese saw let the weight of the saw do the cutting, instead of using lots of force.

DIY wodden puzzle box
Drill a hole after cutting off the lid

We tried drilling the hole before cutting and found out the pieces did not align tightly.  Even a thin blade takes a lot of material from a piece of wood.

DIY wodden puzzle box
Finished box

Remember to carve out the dovetail before cutting the lid and lock. Be prepared to make mistakes- that is all part of the process. For the locking slider make sure it is angled to secure the lid. We made that mistake more than once, so we used the wood that we made mistakes on for other projects.

Handcraft Wooden Puzzle box DYI
Fully opened

To make the dovetail pop, we typically use a darker stain. To make it harder to unlock, you can paint the whole piece to hide the locking mechanism. We also made a small indent on the bottom of the box so that the bolt doesn’t stick out. 

Happy Creating!


Shape Shifting Toy Robots

When the sisters team discovered Transformer comics (go WindBlade!) they wanted a whole city of Transformers to play with. While that was way too expensive, they could build their own shape-shifting toy robots out of wood.

Supplies for a hand crafted DIY robot that transforms
Getting Started

Inspired wooden dolls, we settled on a design with rubber bands attaching the arms and head to the body and a bolt to attached the legs enabling the robot to shift forms.

Making DIY wooden transfromjng robots
Drilling to holes

First we cut and drilled all the wood based on a working design.

Assembling a hand crafted DIY robot that transforms
Assembling Begins!

We used Lego wheels for the robots that transformed into cars for easy attaching.

Fitting rubberband a hand crafted DIY robot that transforms
Fitting the rubber bands

Attaching the rubber bands proved difficult. We used a jewelry tool to thread the rubber bands through the holes in the wood (many broke in the process).

Assembling a hand crafted DIY robot that transforms
Final Touches

A few more adjustments, including sanding the edges and widening holes.

A hand crafted DIY robot that transforms
The robot is complete!

By using springs in the legs, the toy robot can hold a standing position.

DIY wooden transfroming robots
The assembly line

After we perfect a design, it was just a matter of creating a assembly line to crank out droids! We did some that turned into cars, some that turned into bugs, and some that turned in to other forms!

DIY Wooden Transfroming Robots.
Transformed

The robots in alt form. For the ones with wings we cut two wing shapes out of a thin sheet of plastic and attached them together.

DIY Wooden Transfroming Robots.
Robot form

The robots transformed!

Happy Creating!

Staff – Twisting Wave

When we go hiking, we sometimes pick up some good pieces of wood to make into staffs or other creations. We found this one in a park close to our house, it was made from a fallen eucalyptus branch. Every staff we craft has a unique mythos and special spell. This staff is called the Twisted Wave.

wooden diy staff, woodcrafting


Mythos

The staff Twisted Wave craves unexpected journey and visitors. Travelers should only journey with Twisting Wave if they want to encounter potential friends, it is a peaceful staff, and does not like engaging in battle.

Special Spell

Amicitia (Friendship)


wooden diy staff, woodcrafting on a blanketwooden diy staff, woodcrafting,on the floor

Twisting Wave is 5 feet high, perfect for navigating tricky terrain. The wood was spoke shaven, soaked in oil with a red clay then polished with bee’s wax. 

Happy Travels!


Wand: Crimson Lava

Every wand we craft has unique mythos and a special spell. This wand is called the Crimson Lava.

Handcrafted DIY Wooden Wand on a crystal

Mythos

The wand Crimson Lava pulls in the magic of volcanos so needs an especially strong witch or wizard to wield its power.  It is said to have been crafted on the Big Island of Hawaii during a large eruption.

Special Spell

Accive Sassa Liquefacta (Summon Lava)

It is 13 1/2 inches long. Made of poplar grown in the Hip Monster’s realm. The wood was spoke shaven straight, soaked in oil with a red clay then polished with bee’s wax. 

Happy Casting!

Handcrafted DIY Wooden Wand with a crystal

Handcrafted DIY Wooden Wand