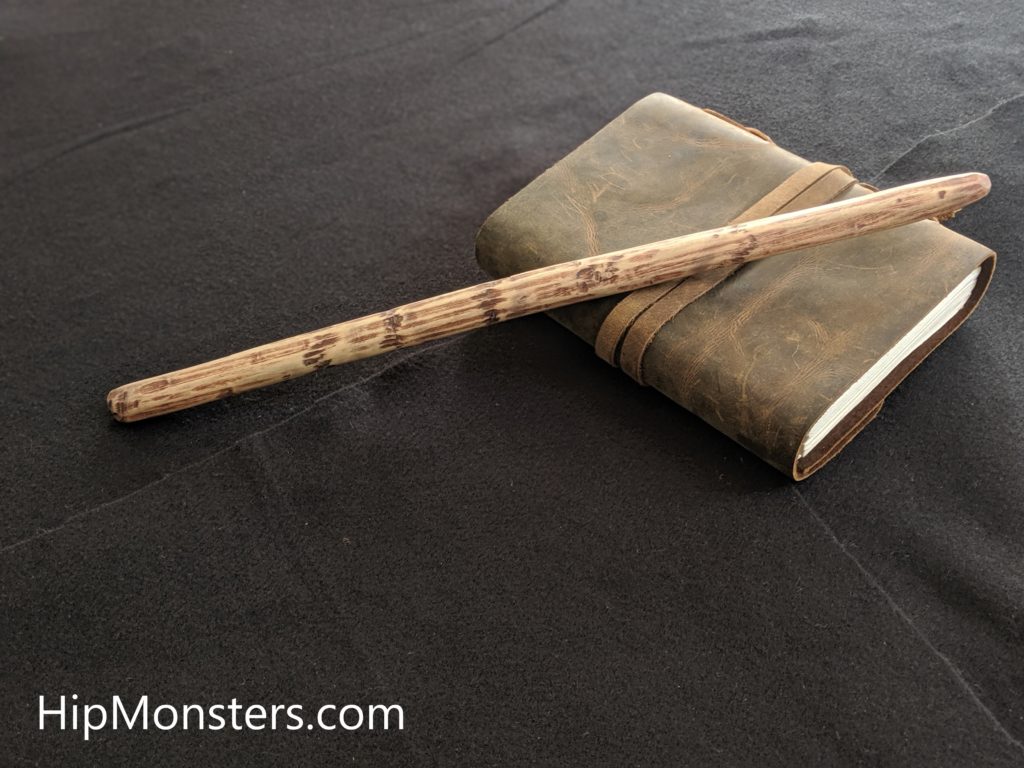

The Hip Monster’s sister team has created a DIY pump drill. Pump drills are ancient tools used by many cultures including Native Americans. The sisters got the idea from seeing pump drills made by the Miwok tribe who used to live in California.
Please note, this material is provided for informational purposes only and is not a guide on how to create the designs. Please read our disclaimer.
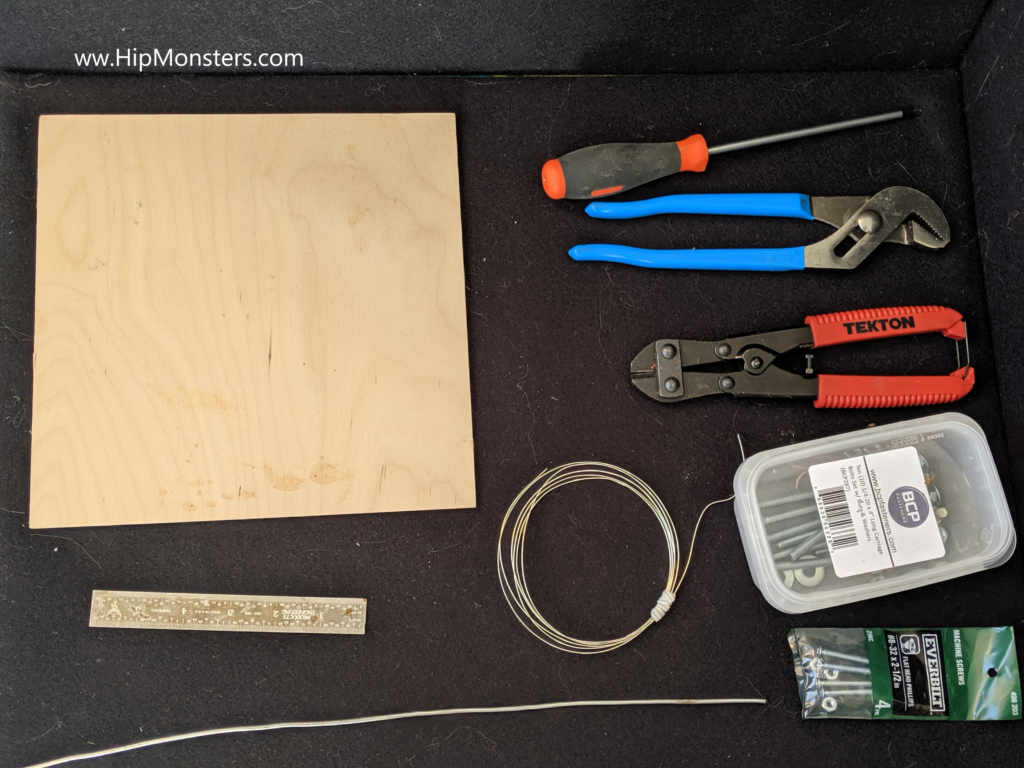
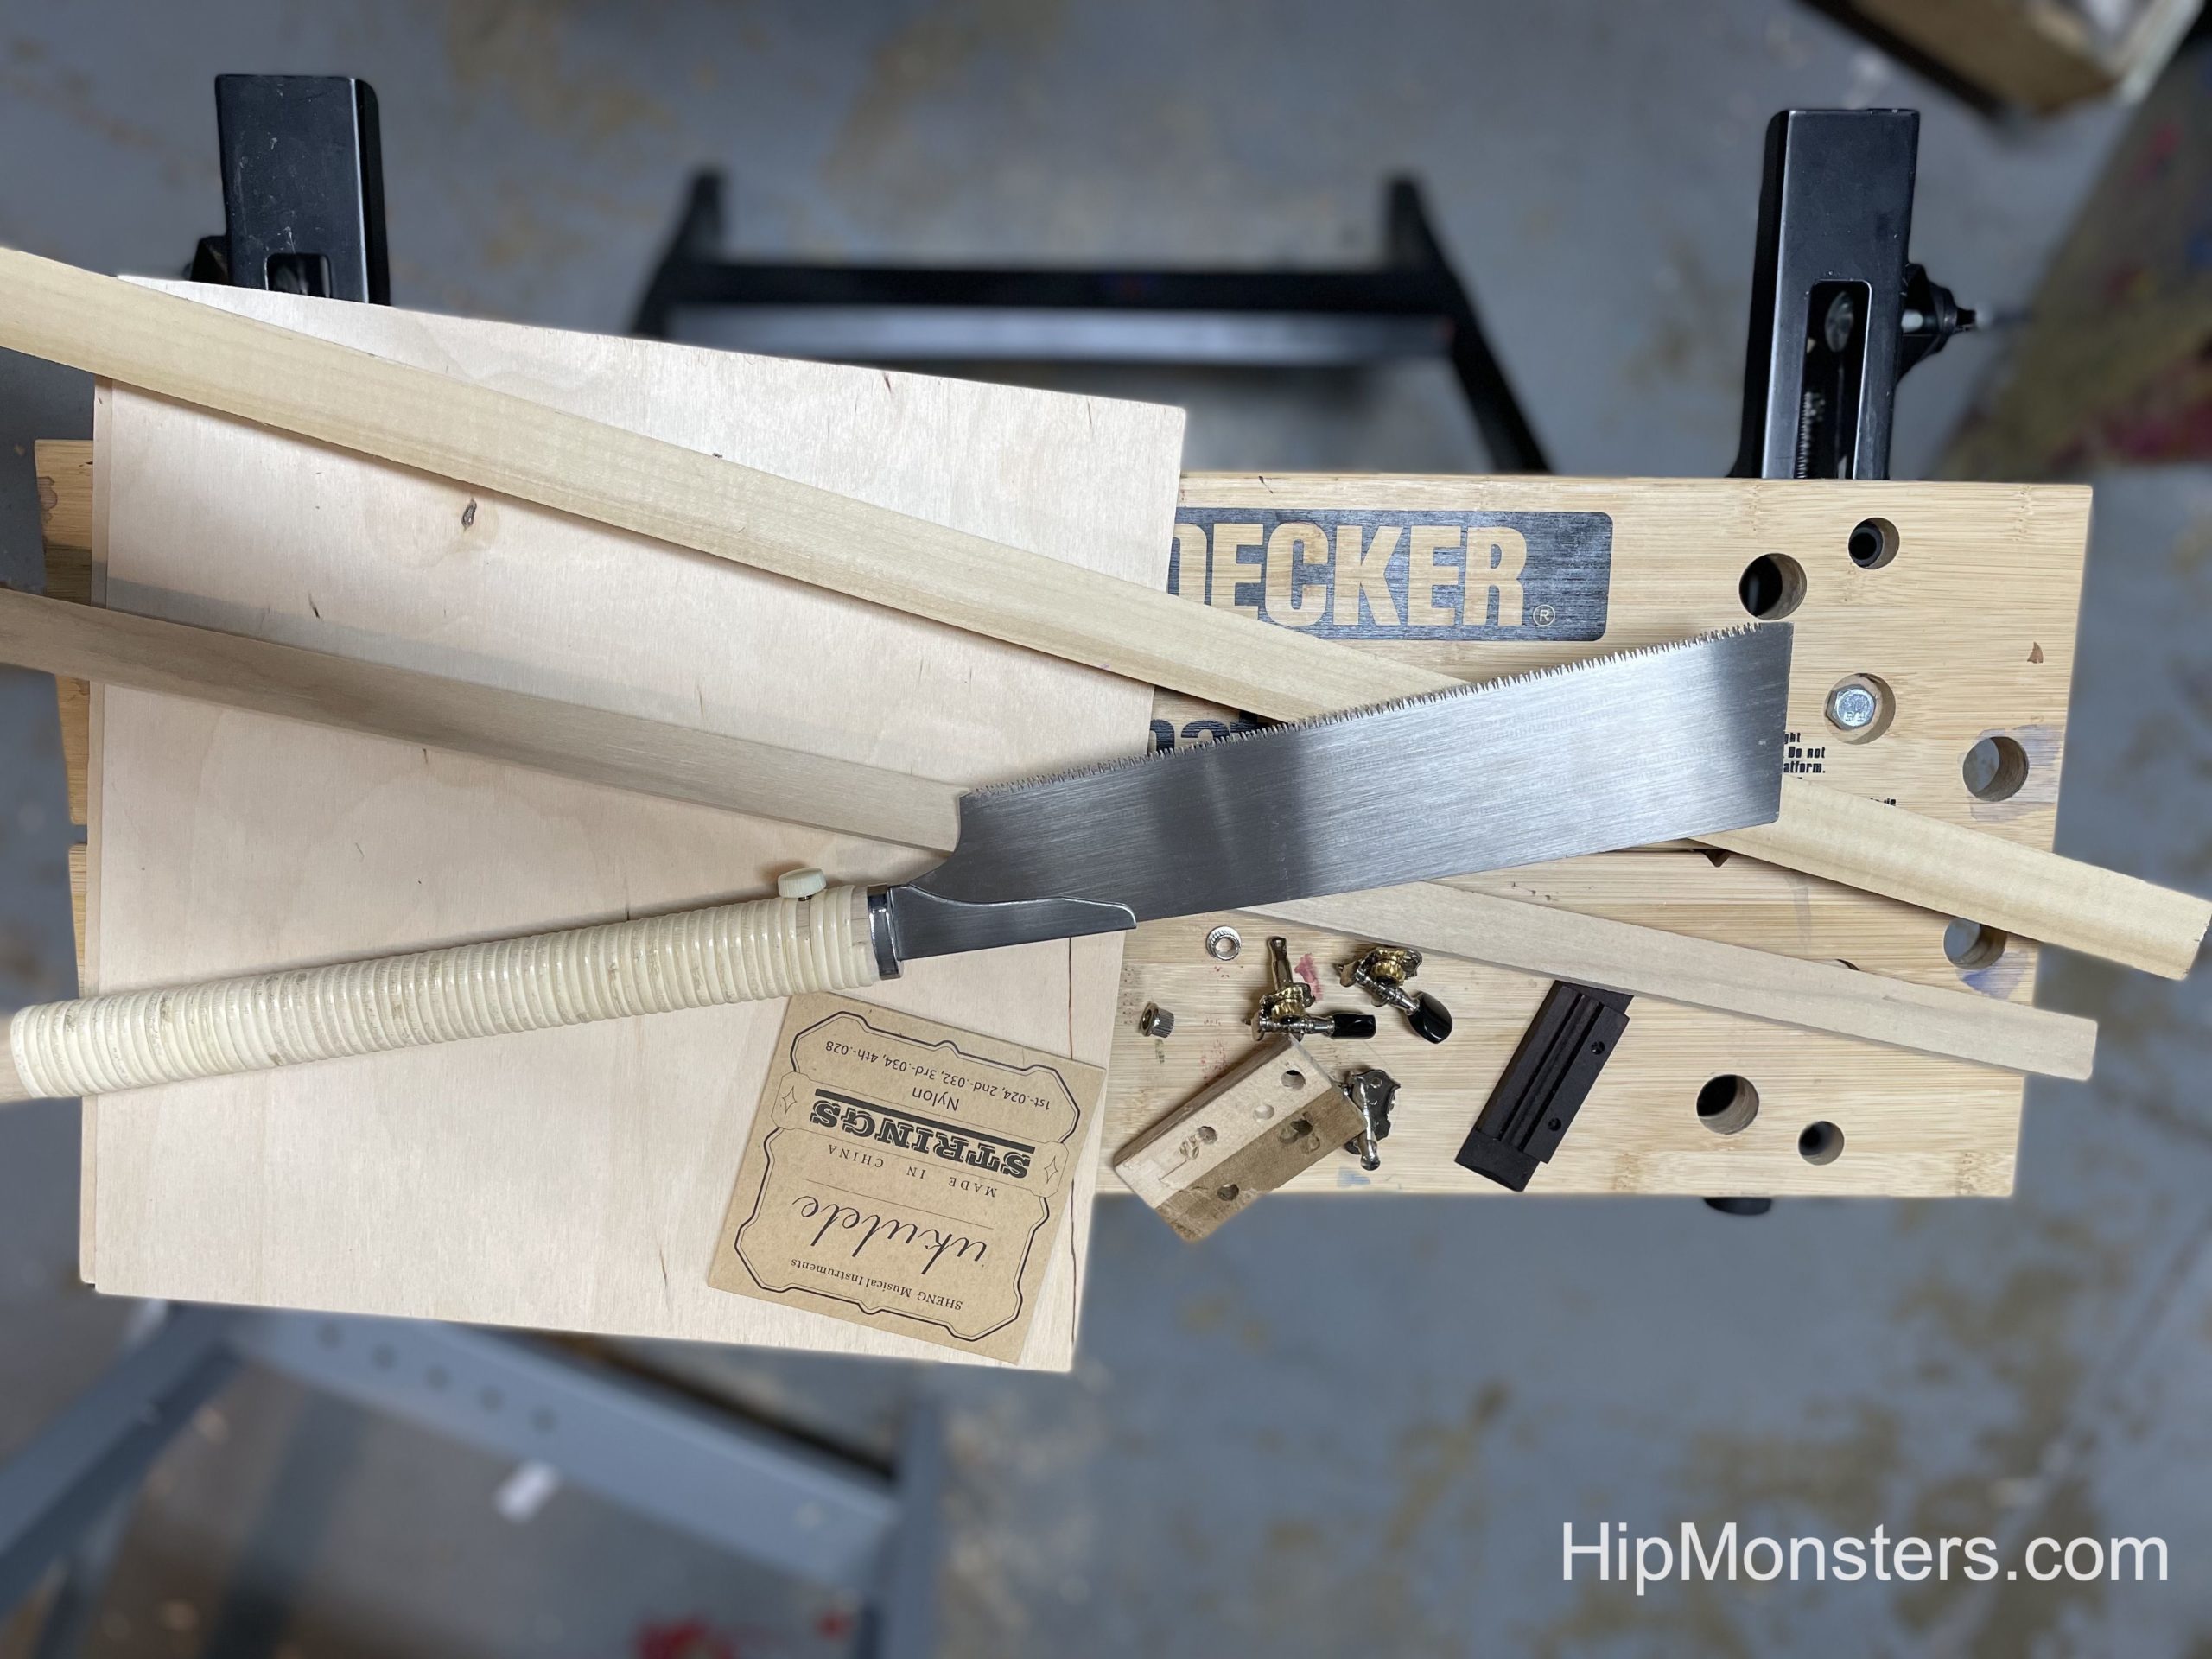
Equipment:
- saw
- drill
- spade drill bit ~1 inch
- drill bit 1/8 inch
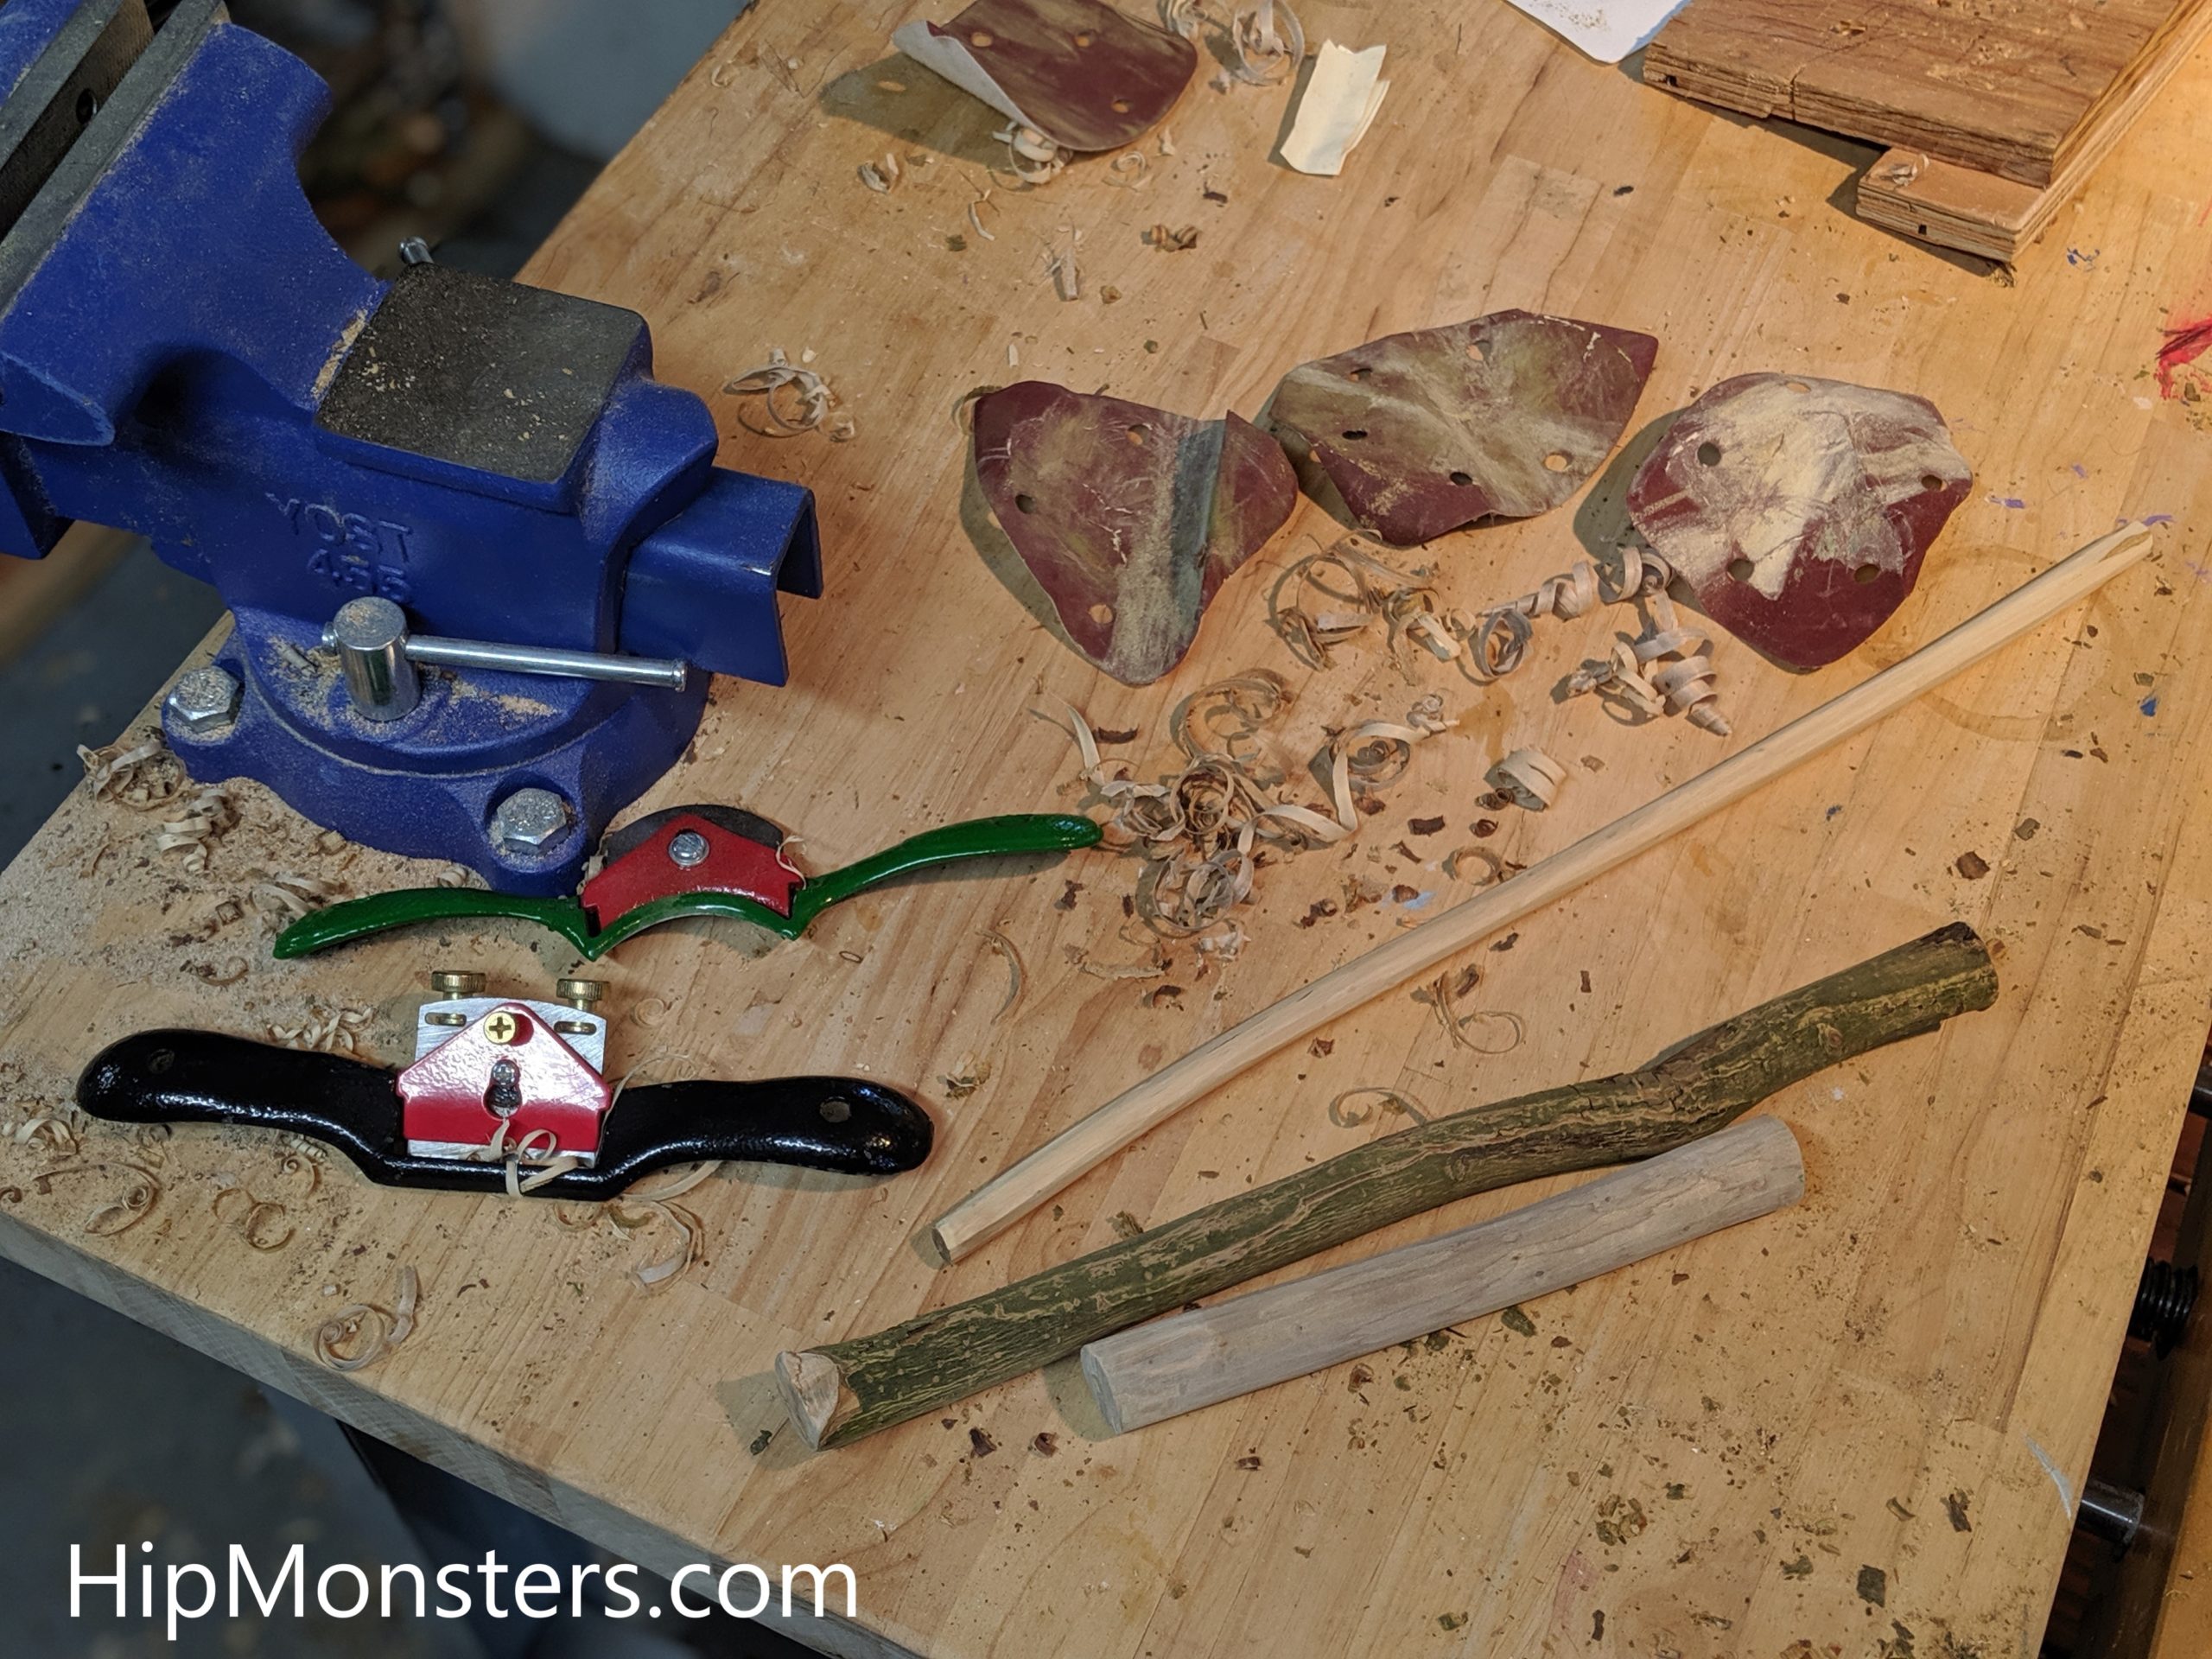
- spokeshave
- sandpaper
- strong string
- bee’s wax
- three long, straight branches
Branches:
1) shaft: the centerpiece of the pump drill. Look for a long, straight, and thin piece of wood.
2) spindle whorl: Attached near the tip of the shaft and makes the drill rewind. This piece should be heavy and thick enough the shaft can go through it.
3) handle: What you hold onto. This piece should be just thick enough for the shaft to go through.

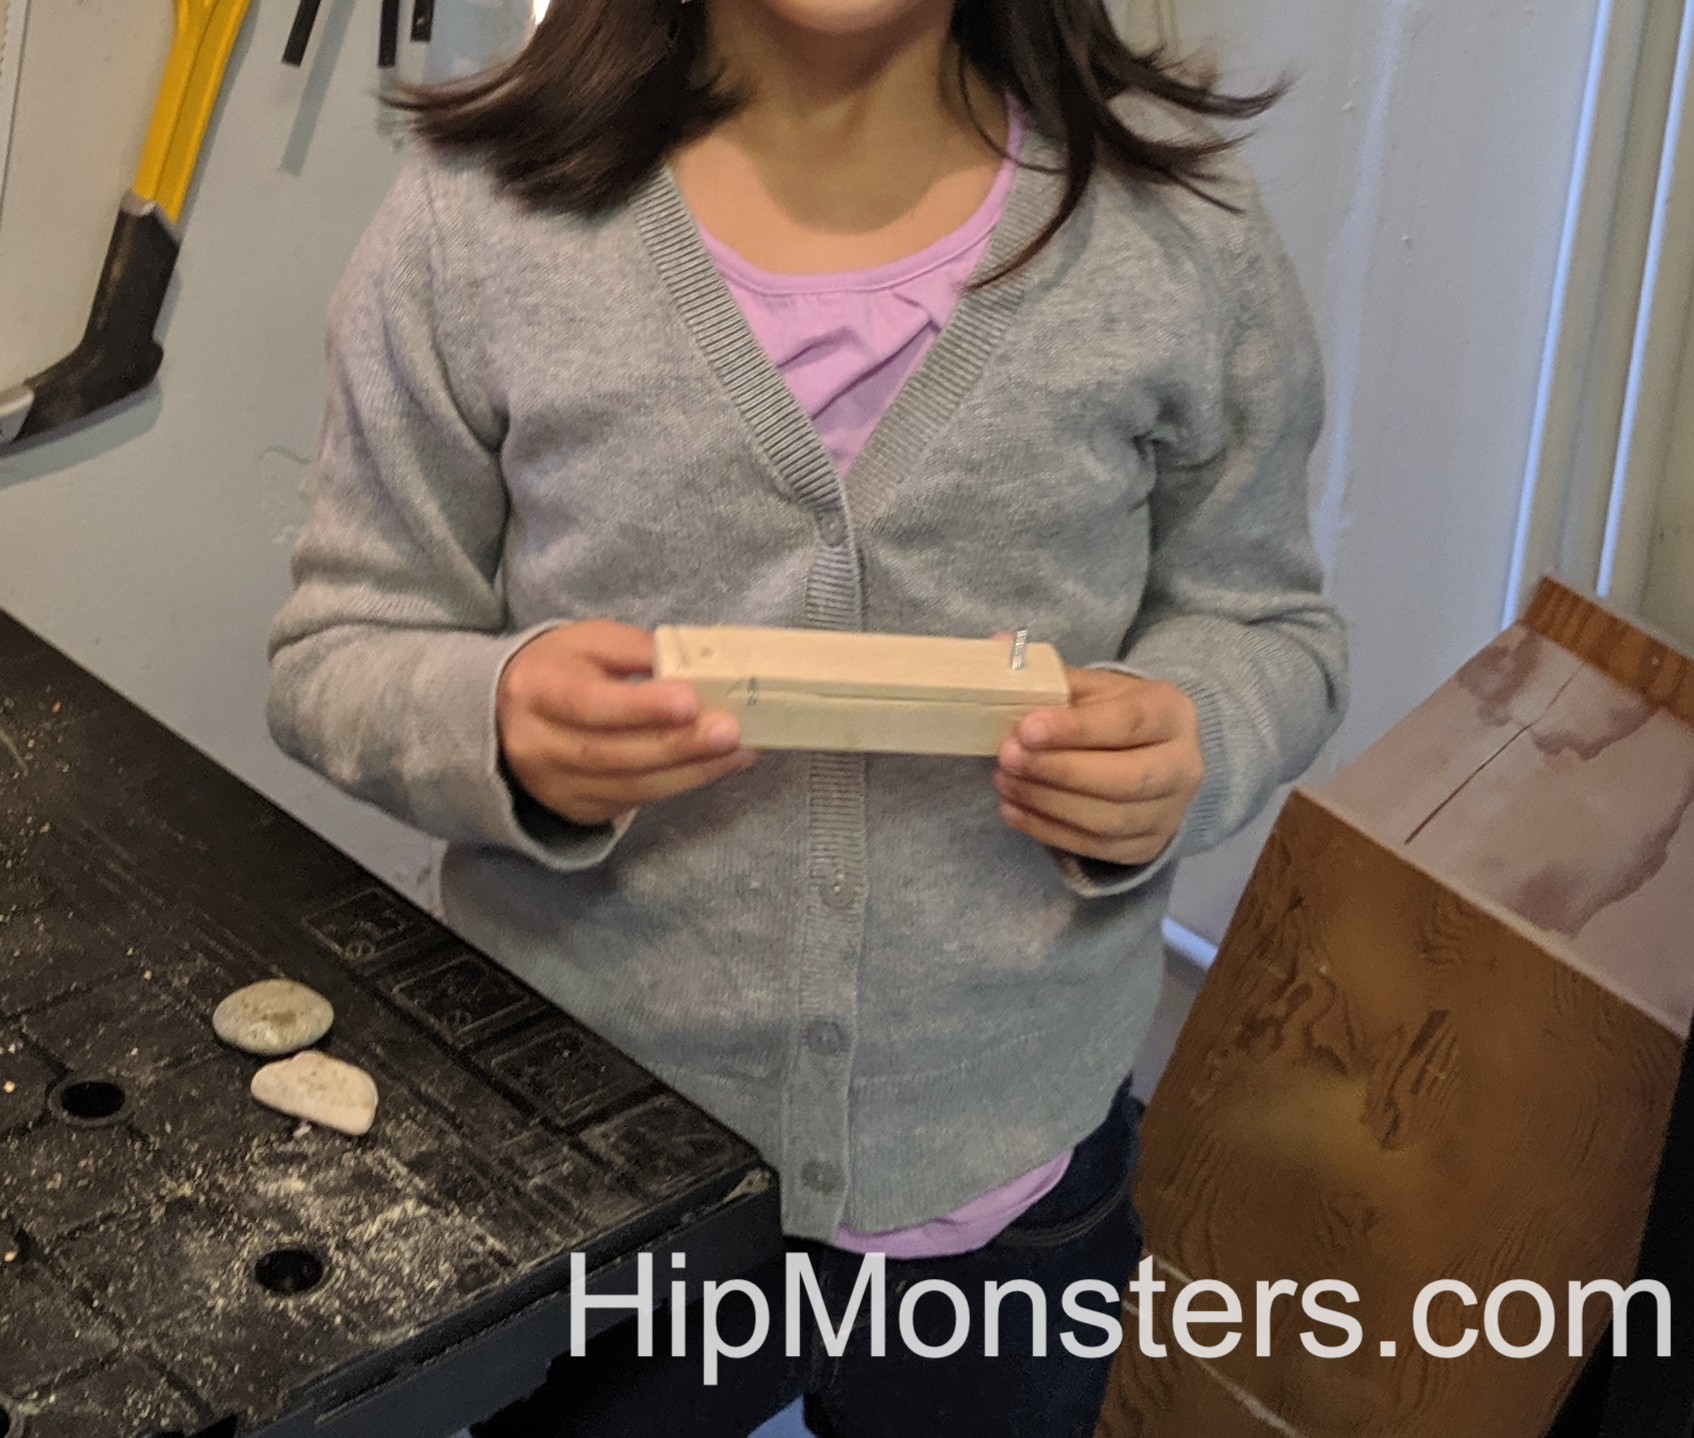
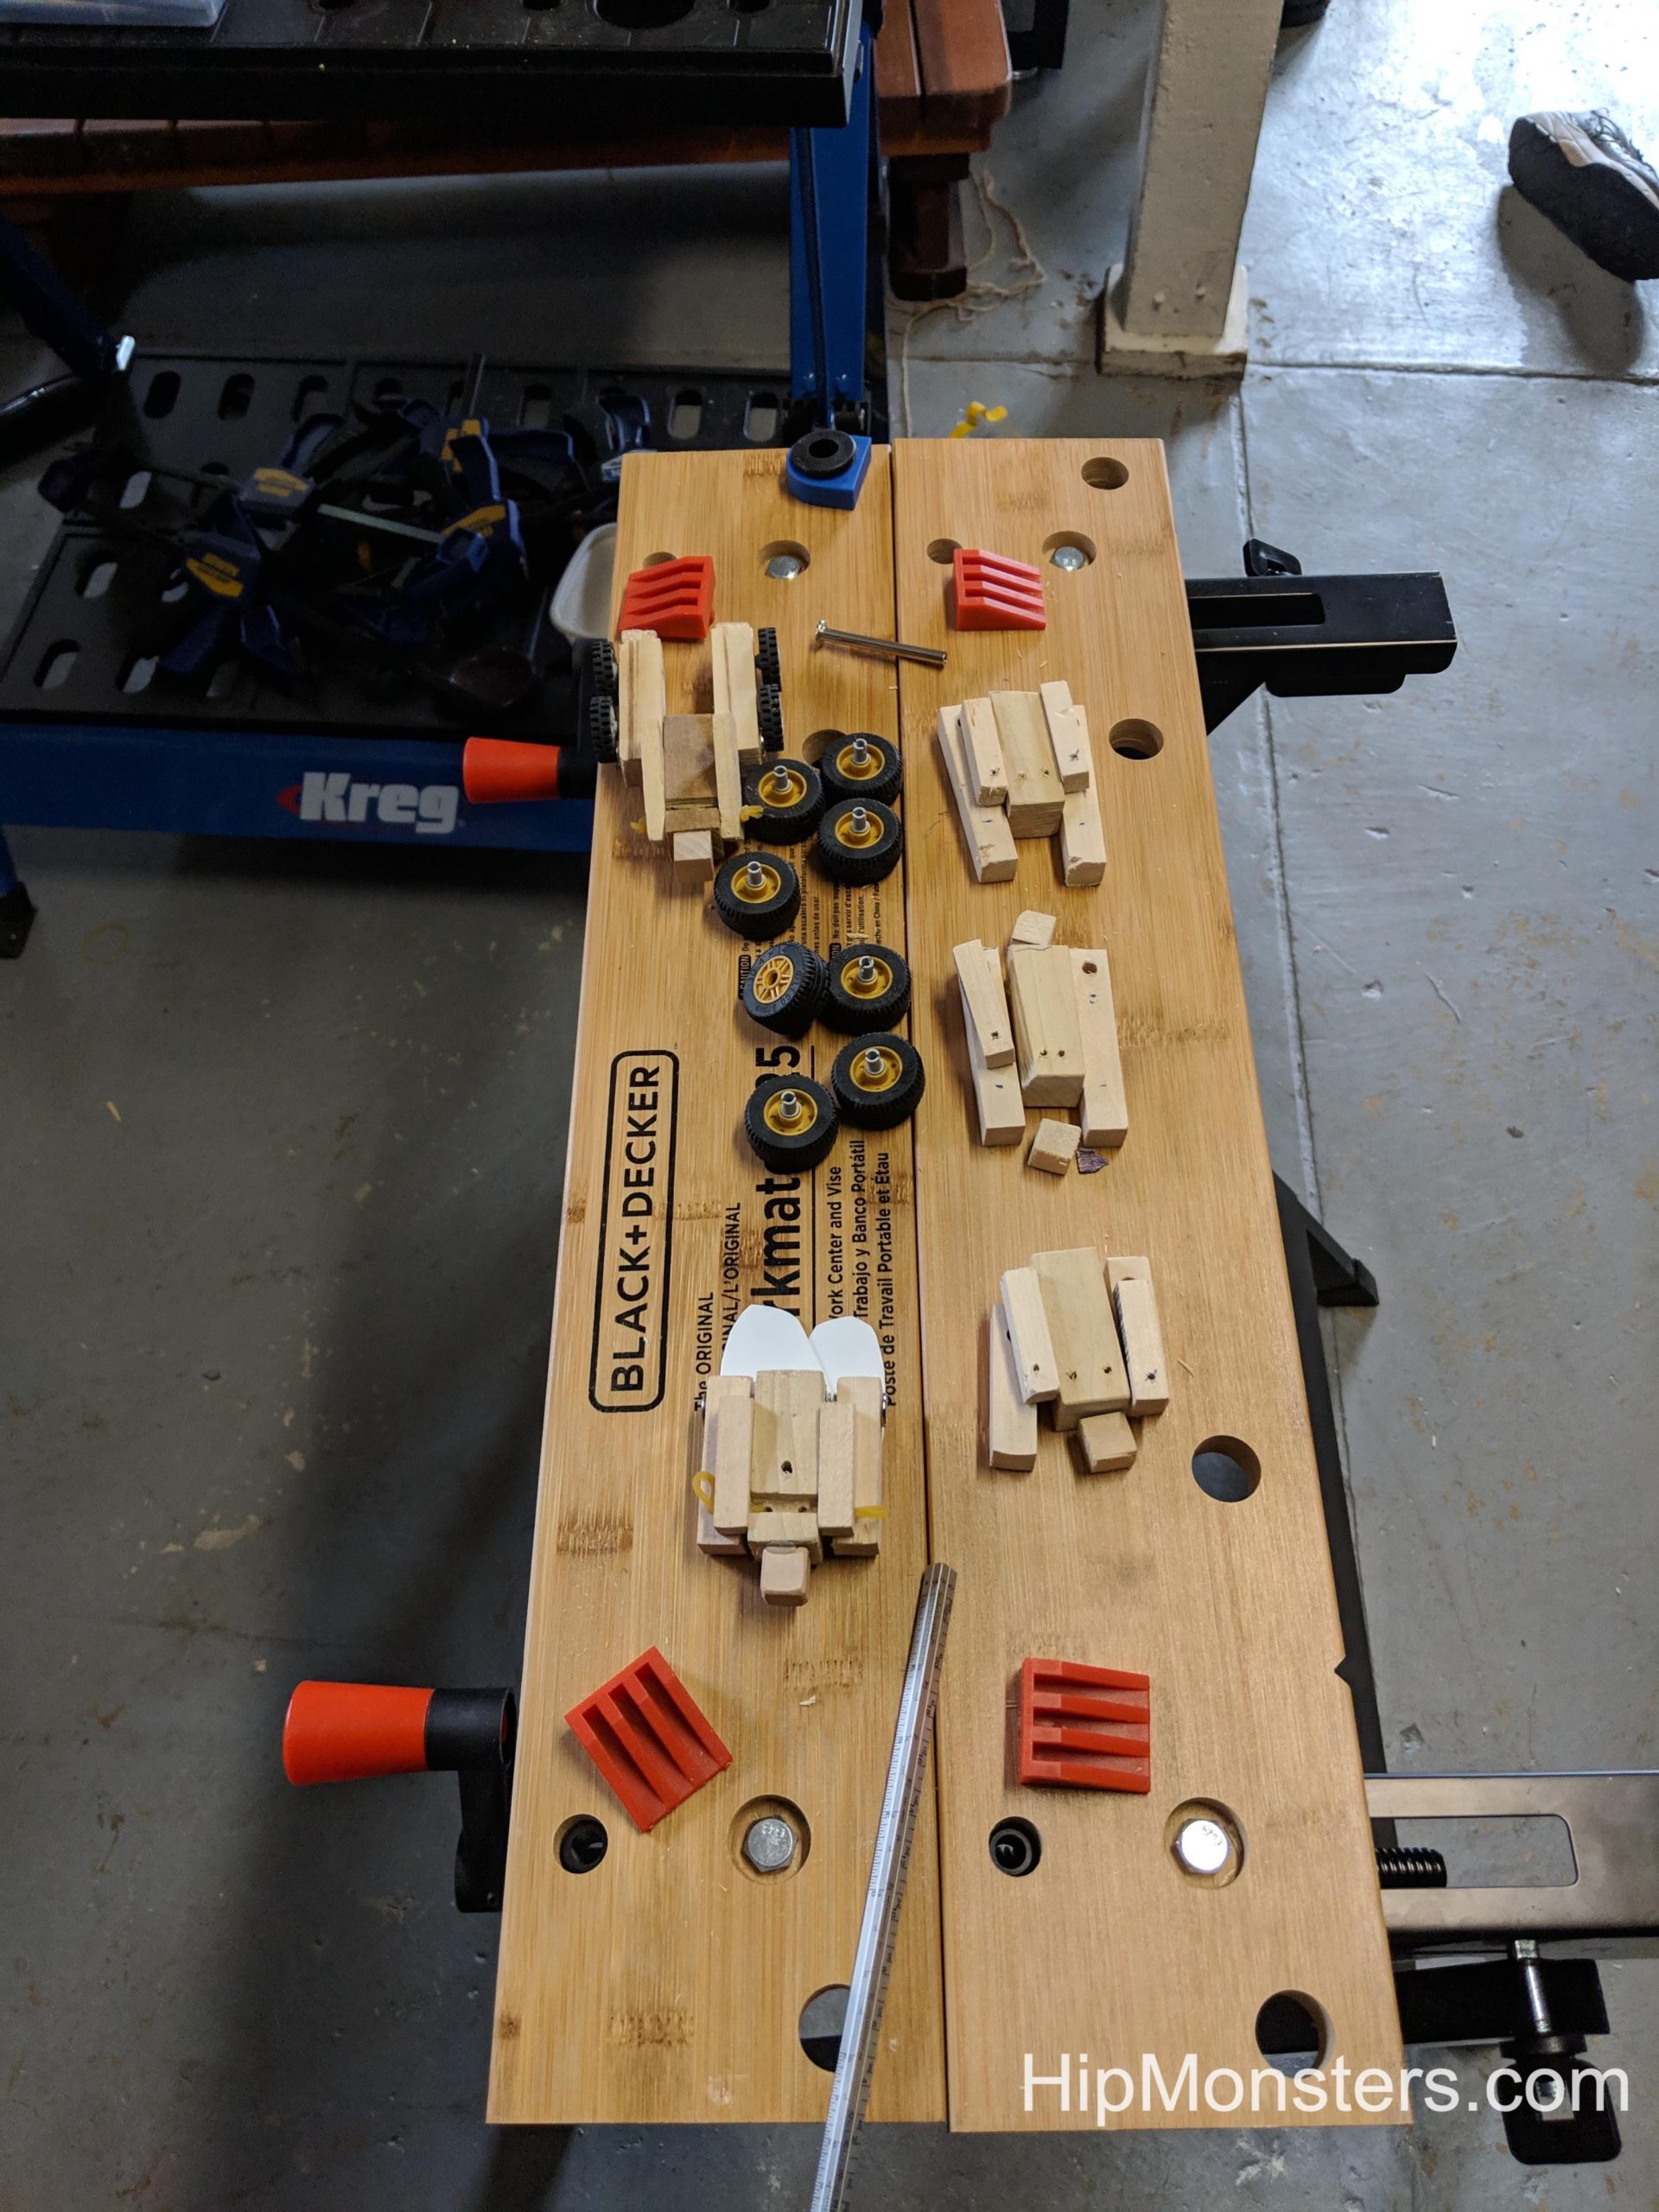
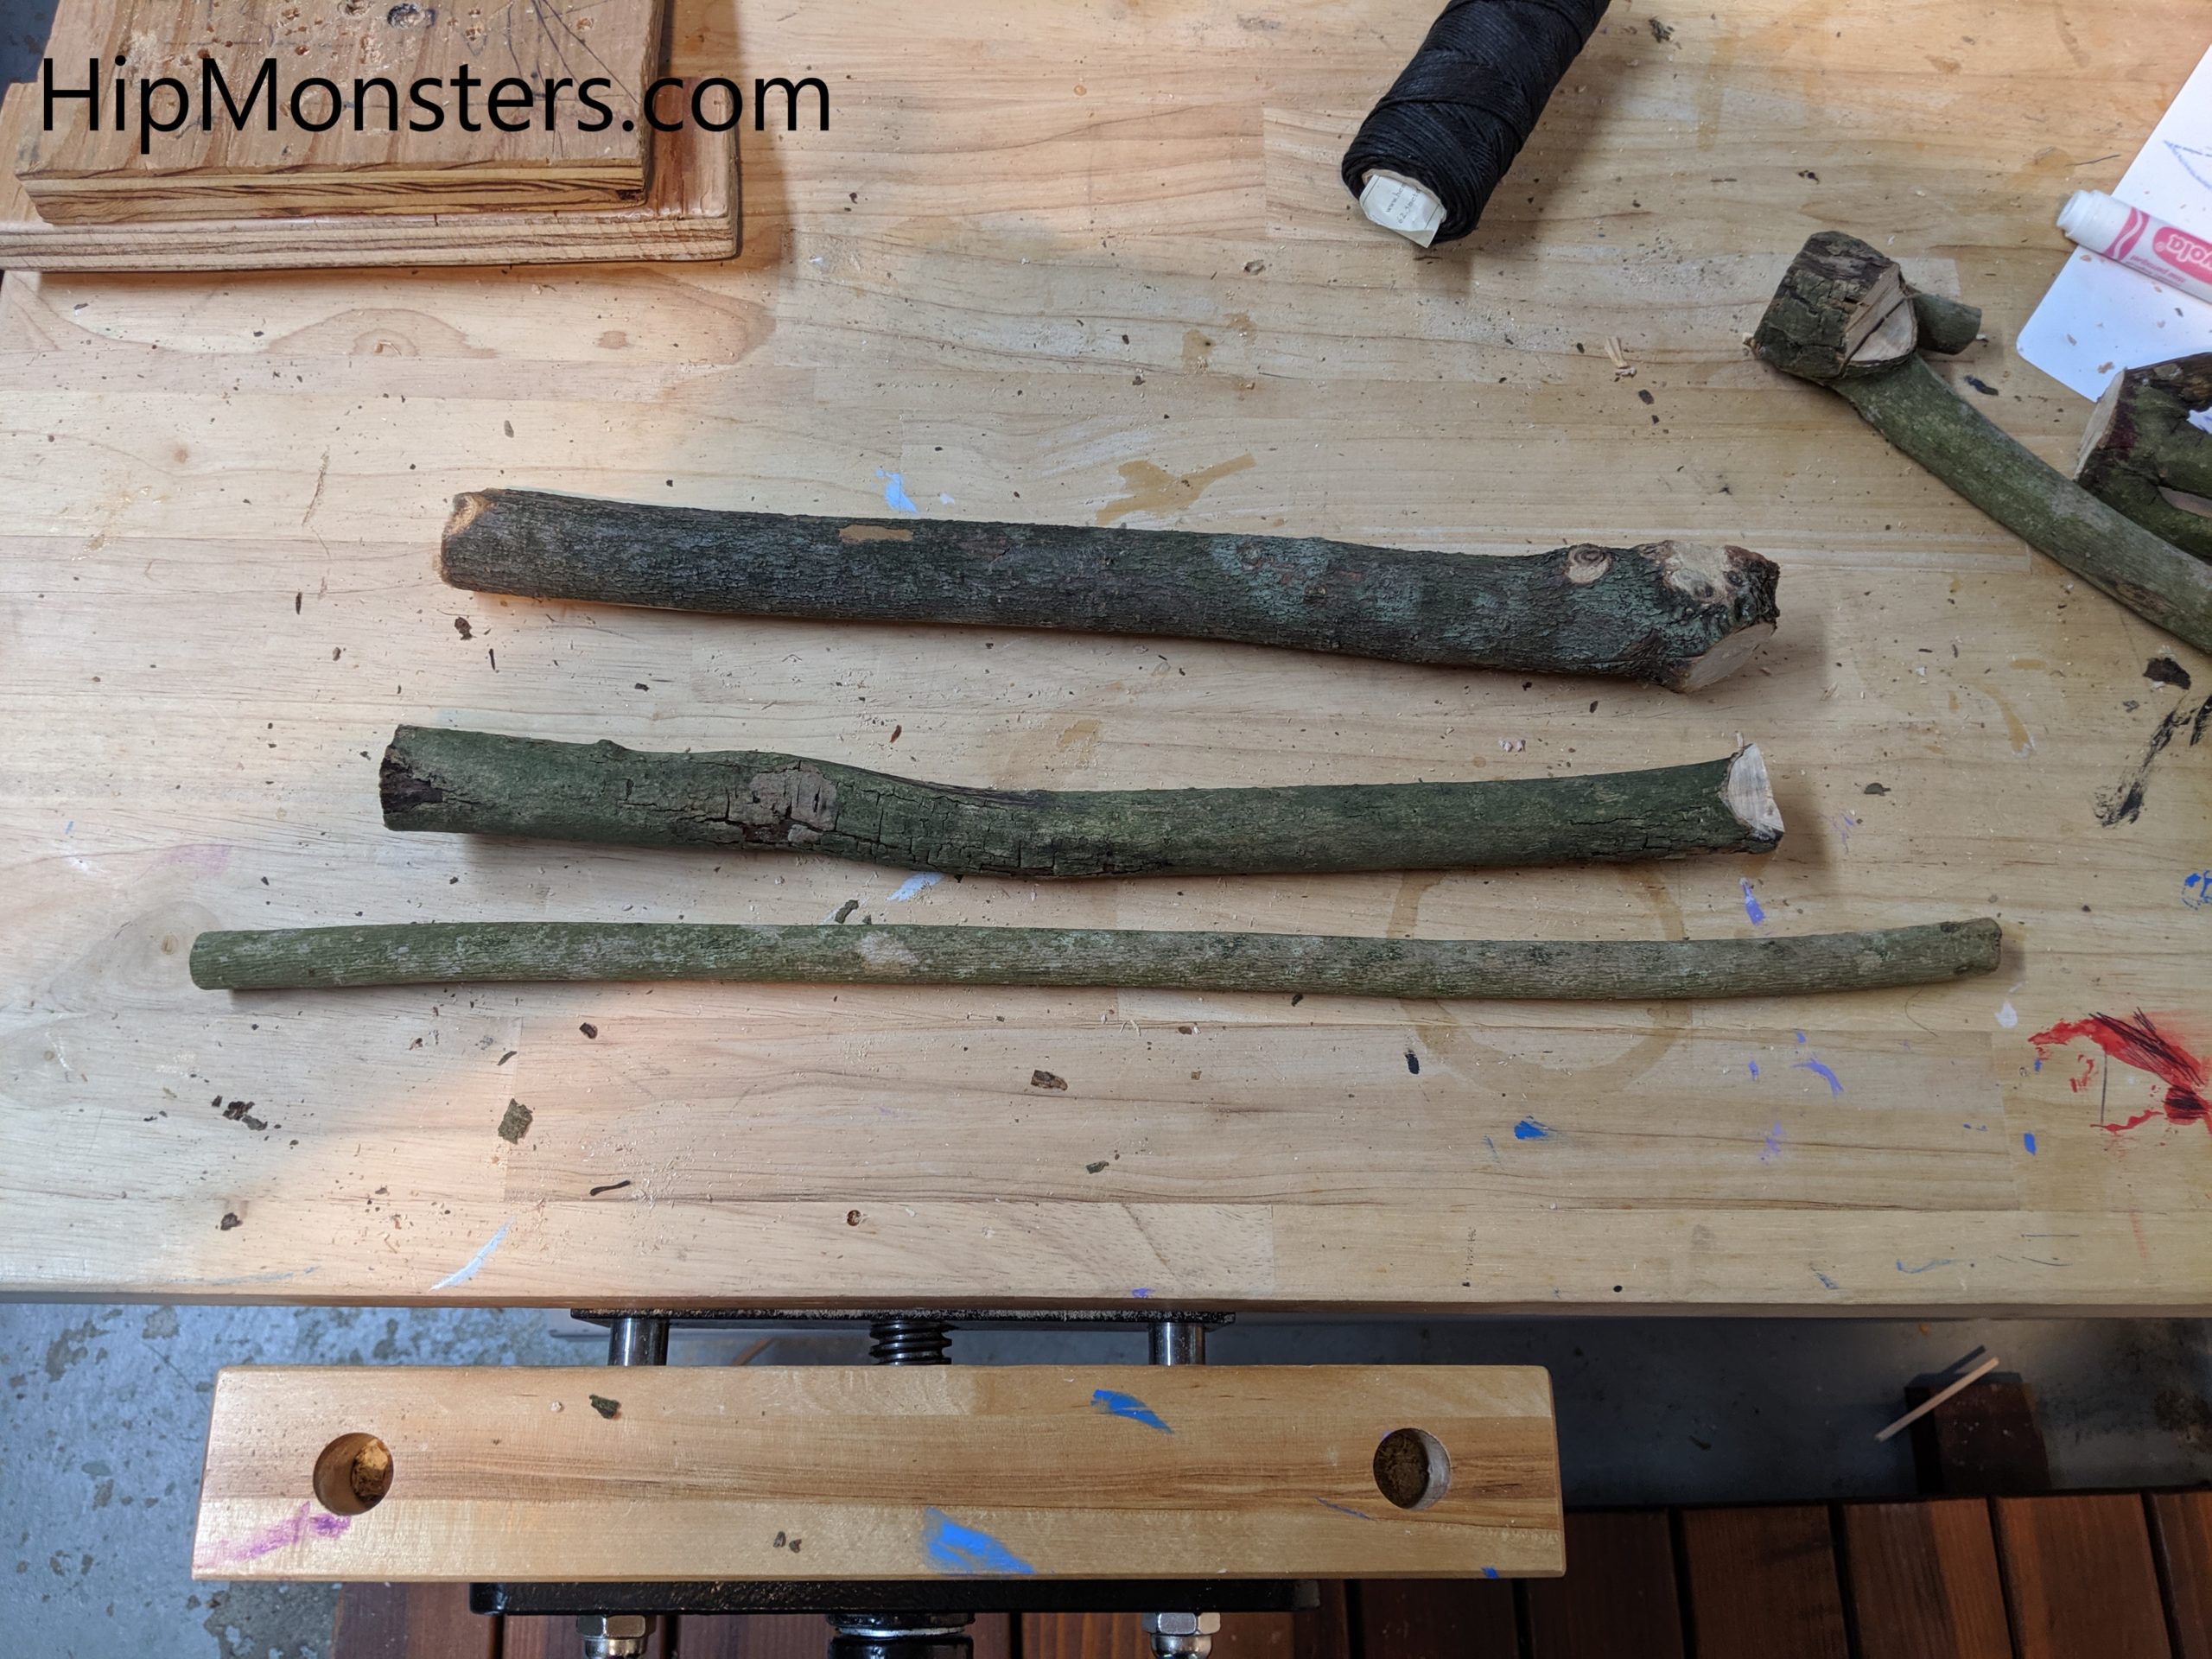
First, you pick out three straight pieces of wood, one long and skinny, and the other two thick. Make sure the handle and the spindle ones are thick enough for the shaft to go through. Cut off the extra parts making sure to leave a bit extra on each end.
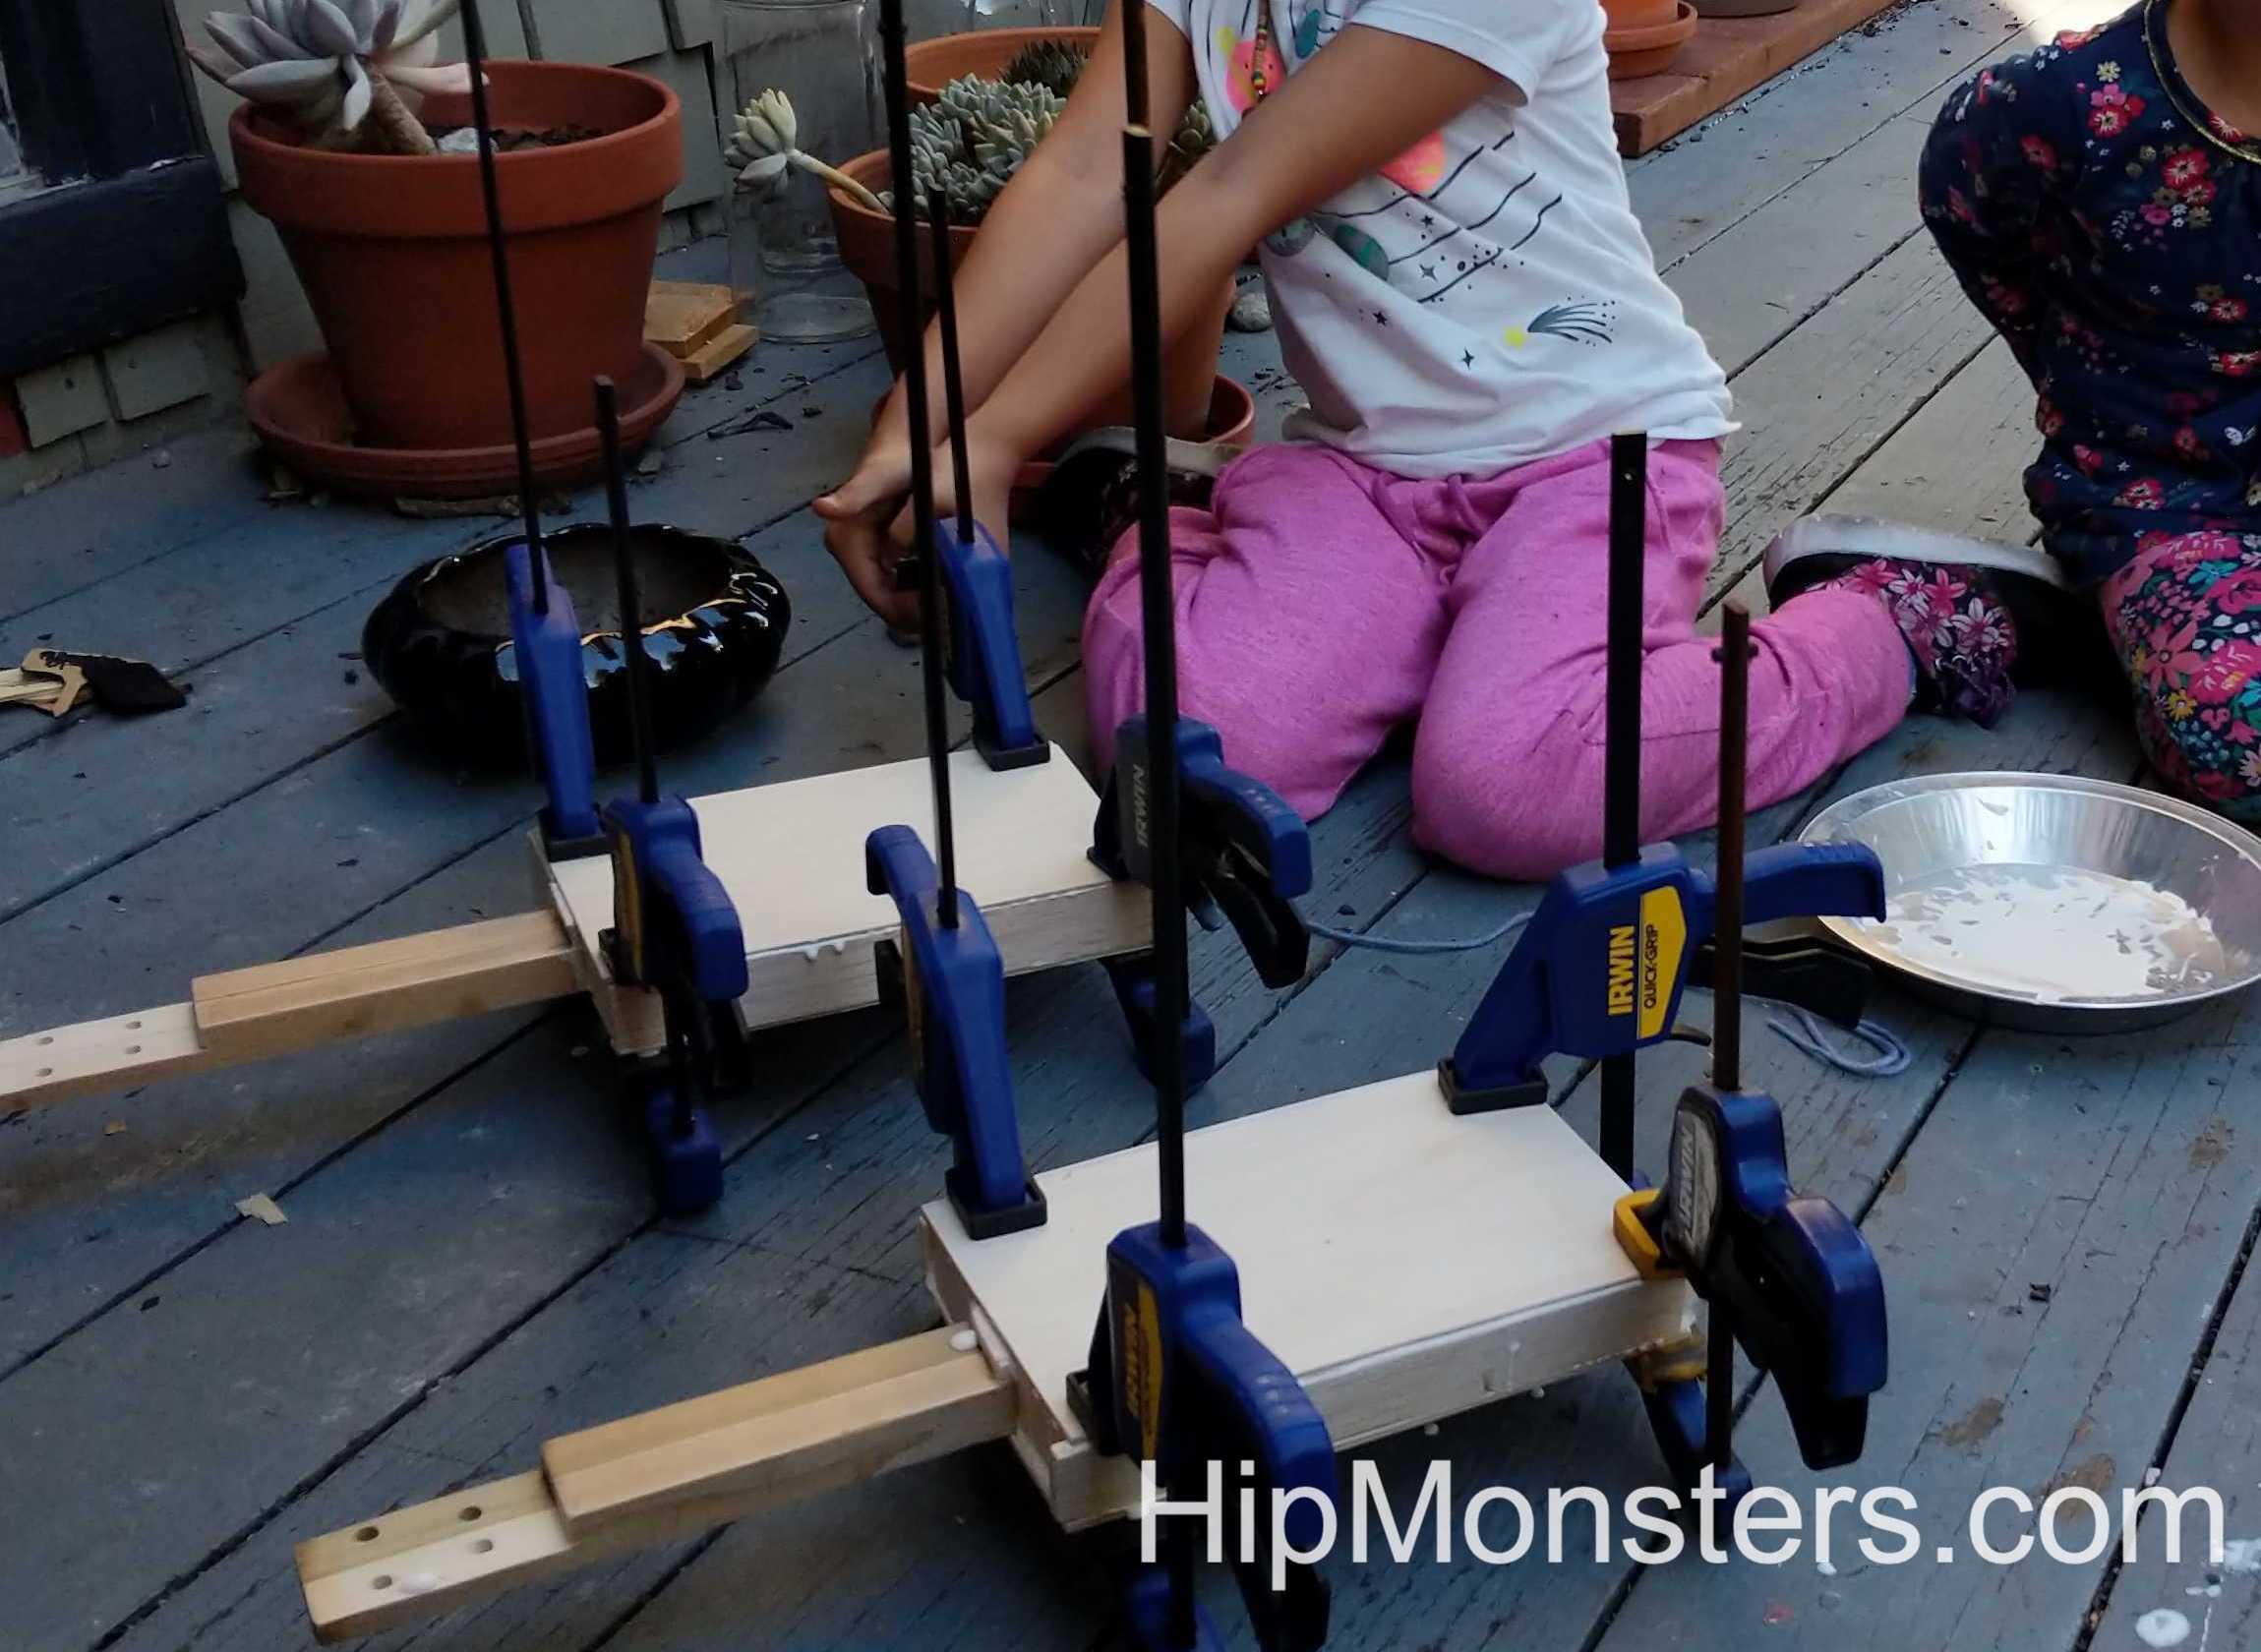
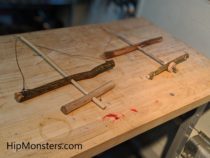
This se should look like this. The extra inch on each side of the sticks are so you can secure them to a vice for shaving.
The first one will be the spindle, the second the handle, and the last the shaft.

Next, spokeshave the pieces to make them smooth. Be very careful while spoke shaving you don’t want to make any of the pieces too thin or curved. Continuously flip the piece over to get to make all the sides are even. Sometimes when there is a knot or we accidentally cut into the wood, an adult can help smooth it out. If you have finished spoke shaving but don’t have enough time to stain or wax it, soak it in water so it doesn’t dry out to much.

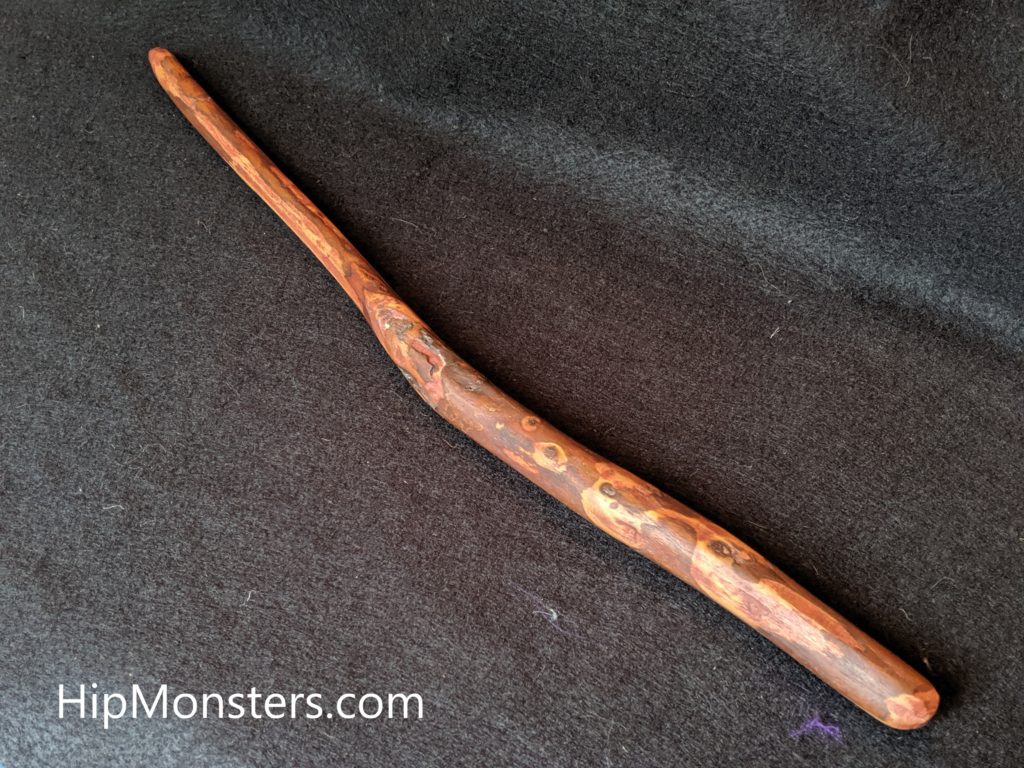
For the main shaft, spokeshave till it is as straight as possible. To find out which side to shave roll the stick on a table and see which part is bent up. For the handle and spindle, you just need to get the bark off.
Now cut the piece to the right size. Make sure the thin one is the longest because that would be the main piece that supports everything else. Measure everything out the right size before you cut it.
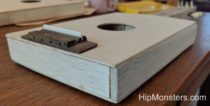
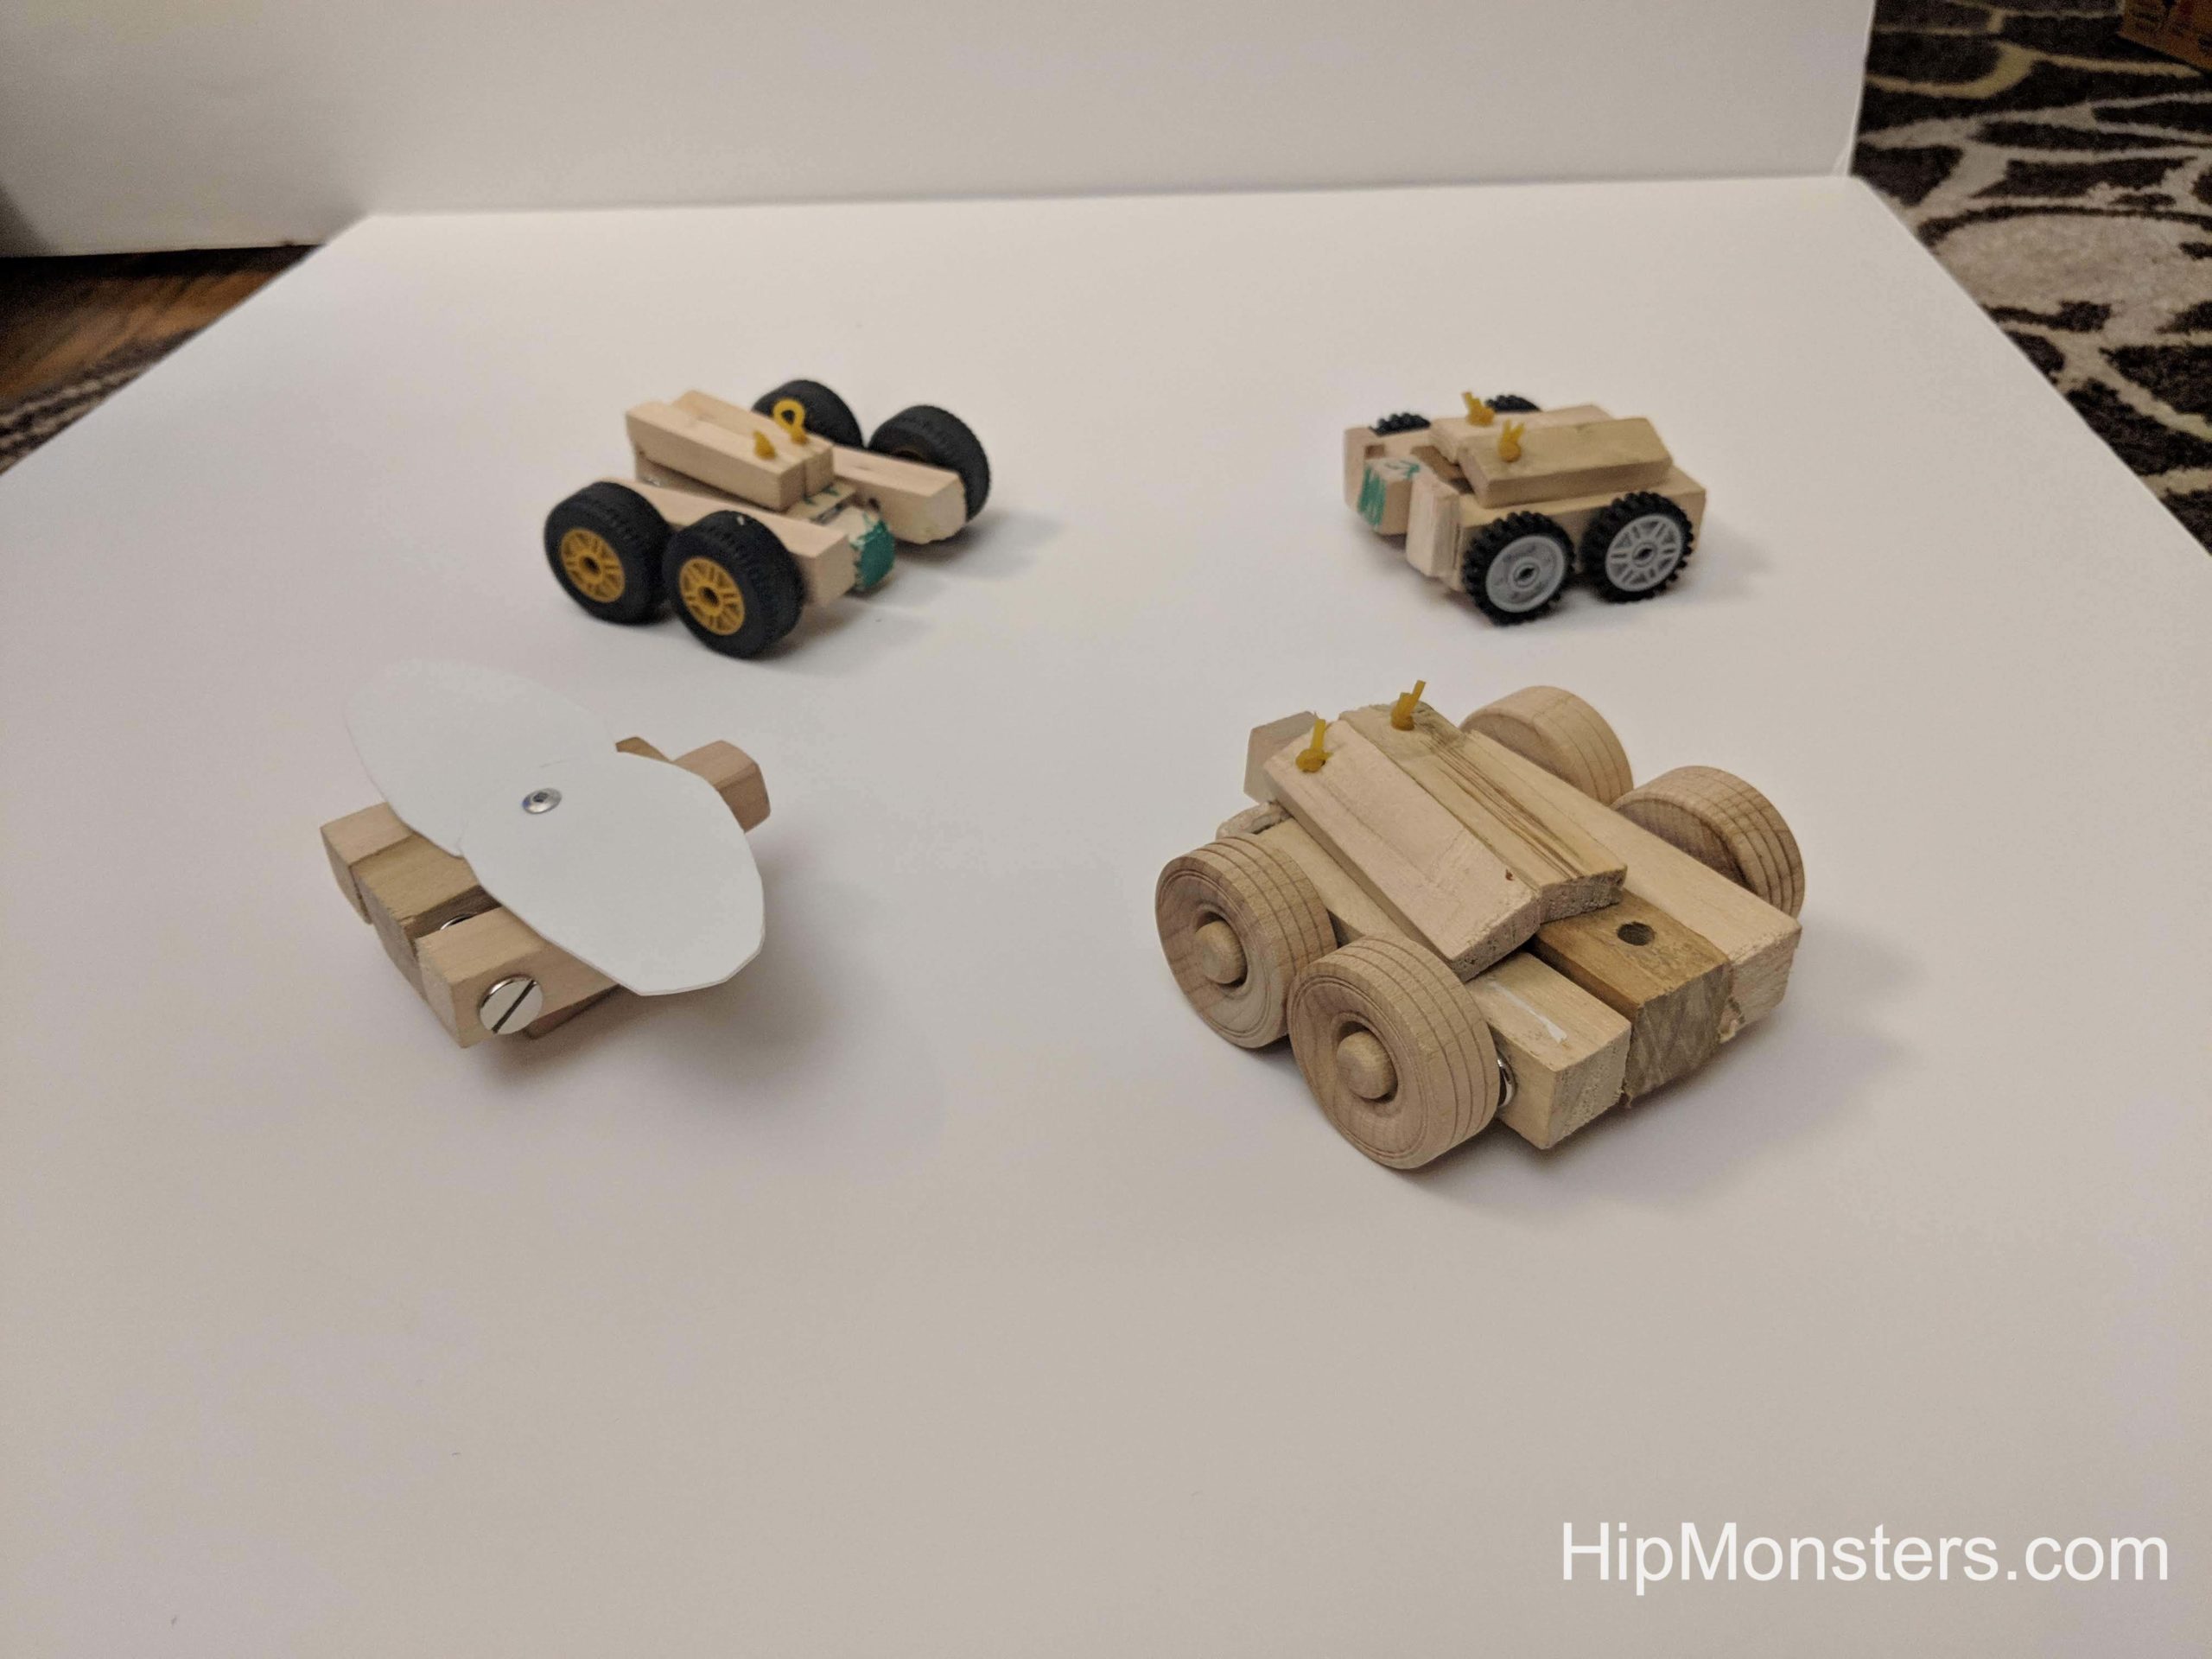
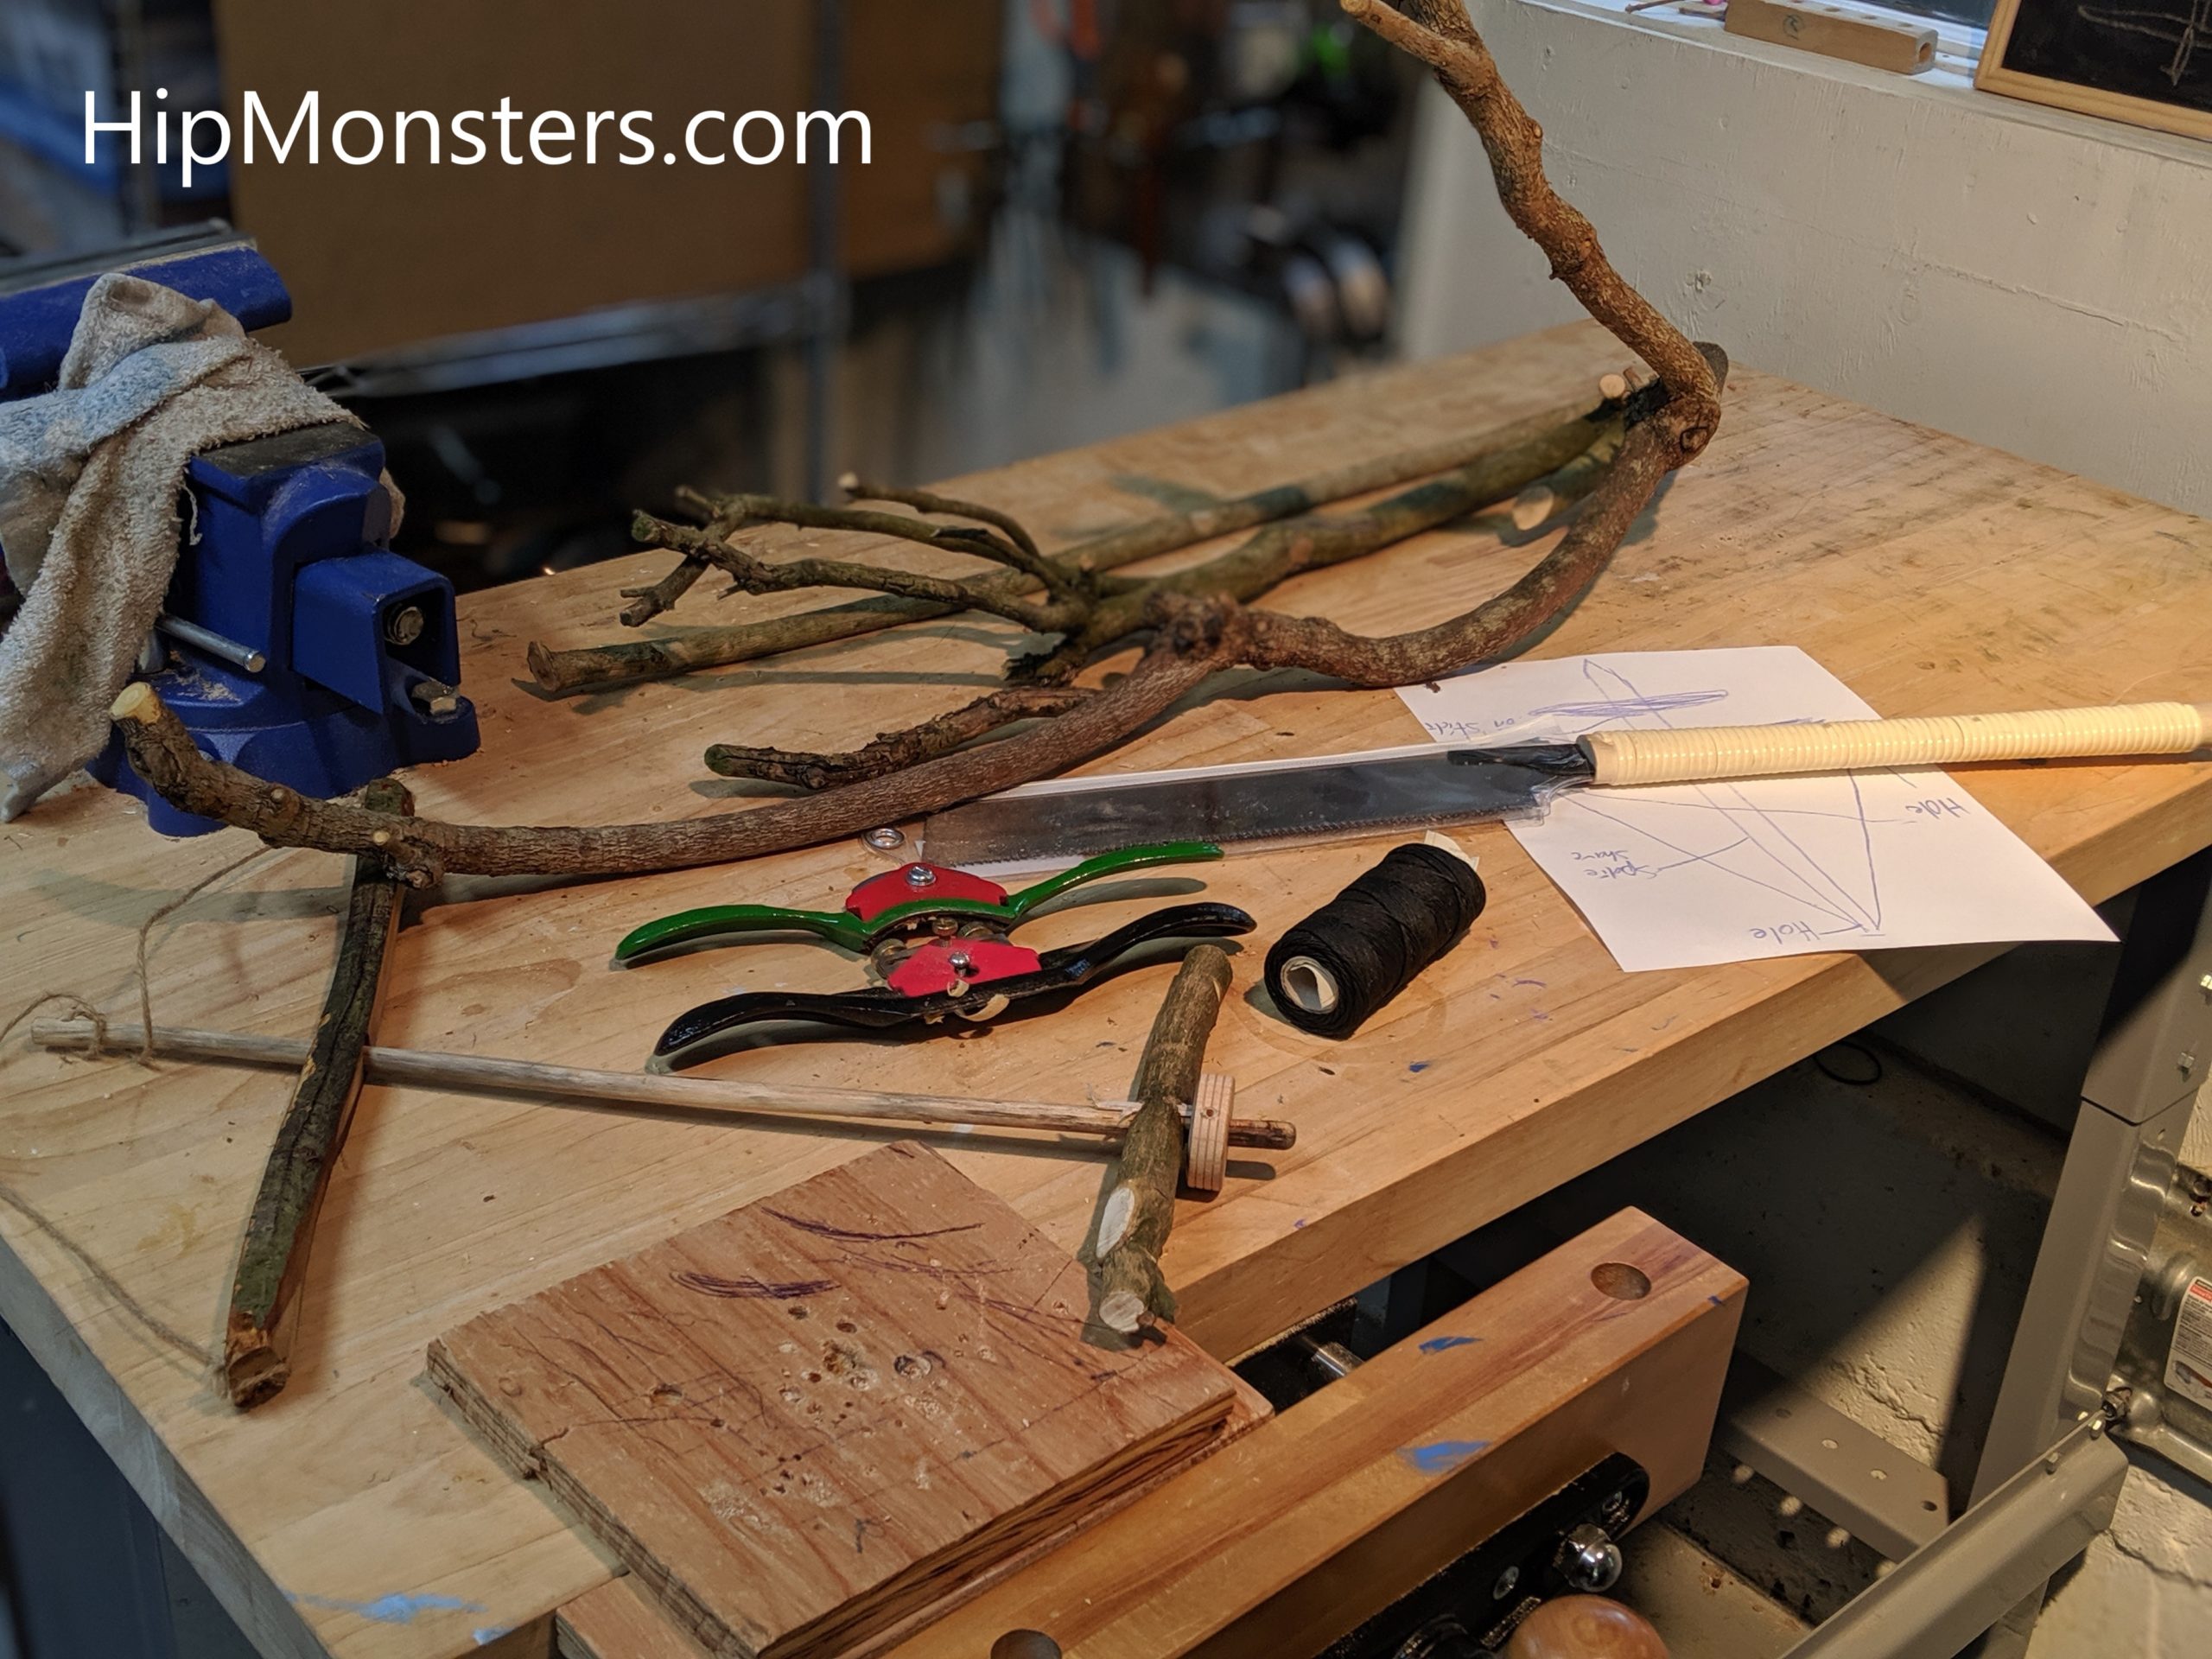
Sand the pieces to make them really smooth. Spend more effort on the shaft. Remember, the shaft needs to be smooth and straight for the pump drill to work. They should look like this when done. Drill the holes in the two thick pieces. The with of the holes should be a bit bigger than the diameter of the shaft. When drilling, go slowly to avoid splitting. Make sure you drill in the middle of the wood. When done you should have two big holes in the large pieces big enough for the shaft. For drilling hole likes these where the edge of the drill bit comes close to the vice we let an adult do the final set up and test.
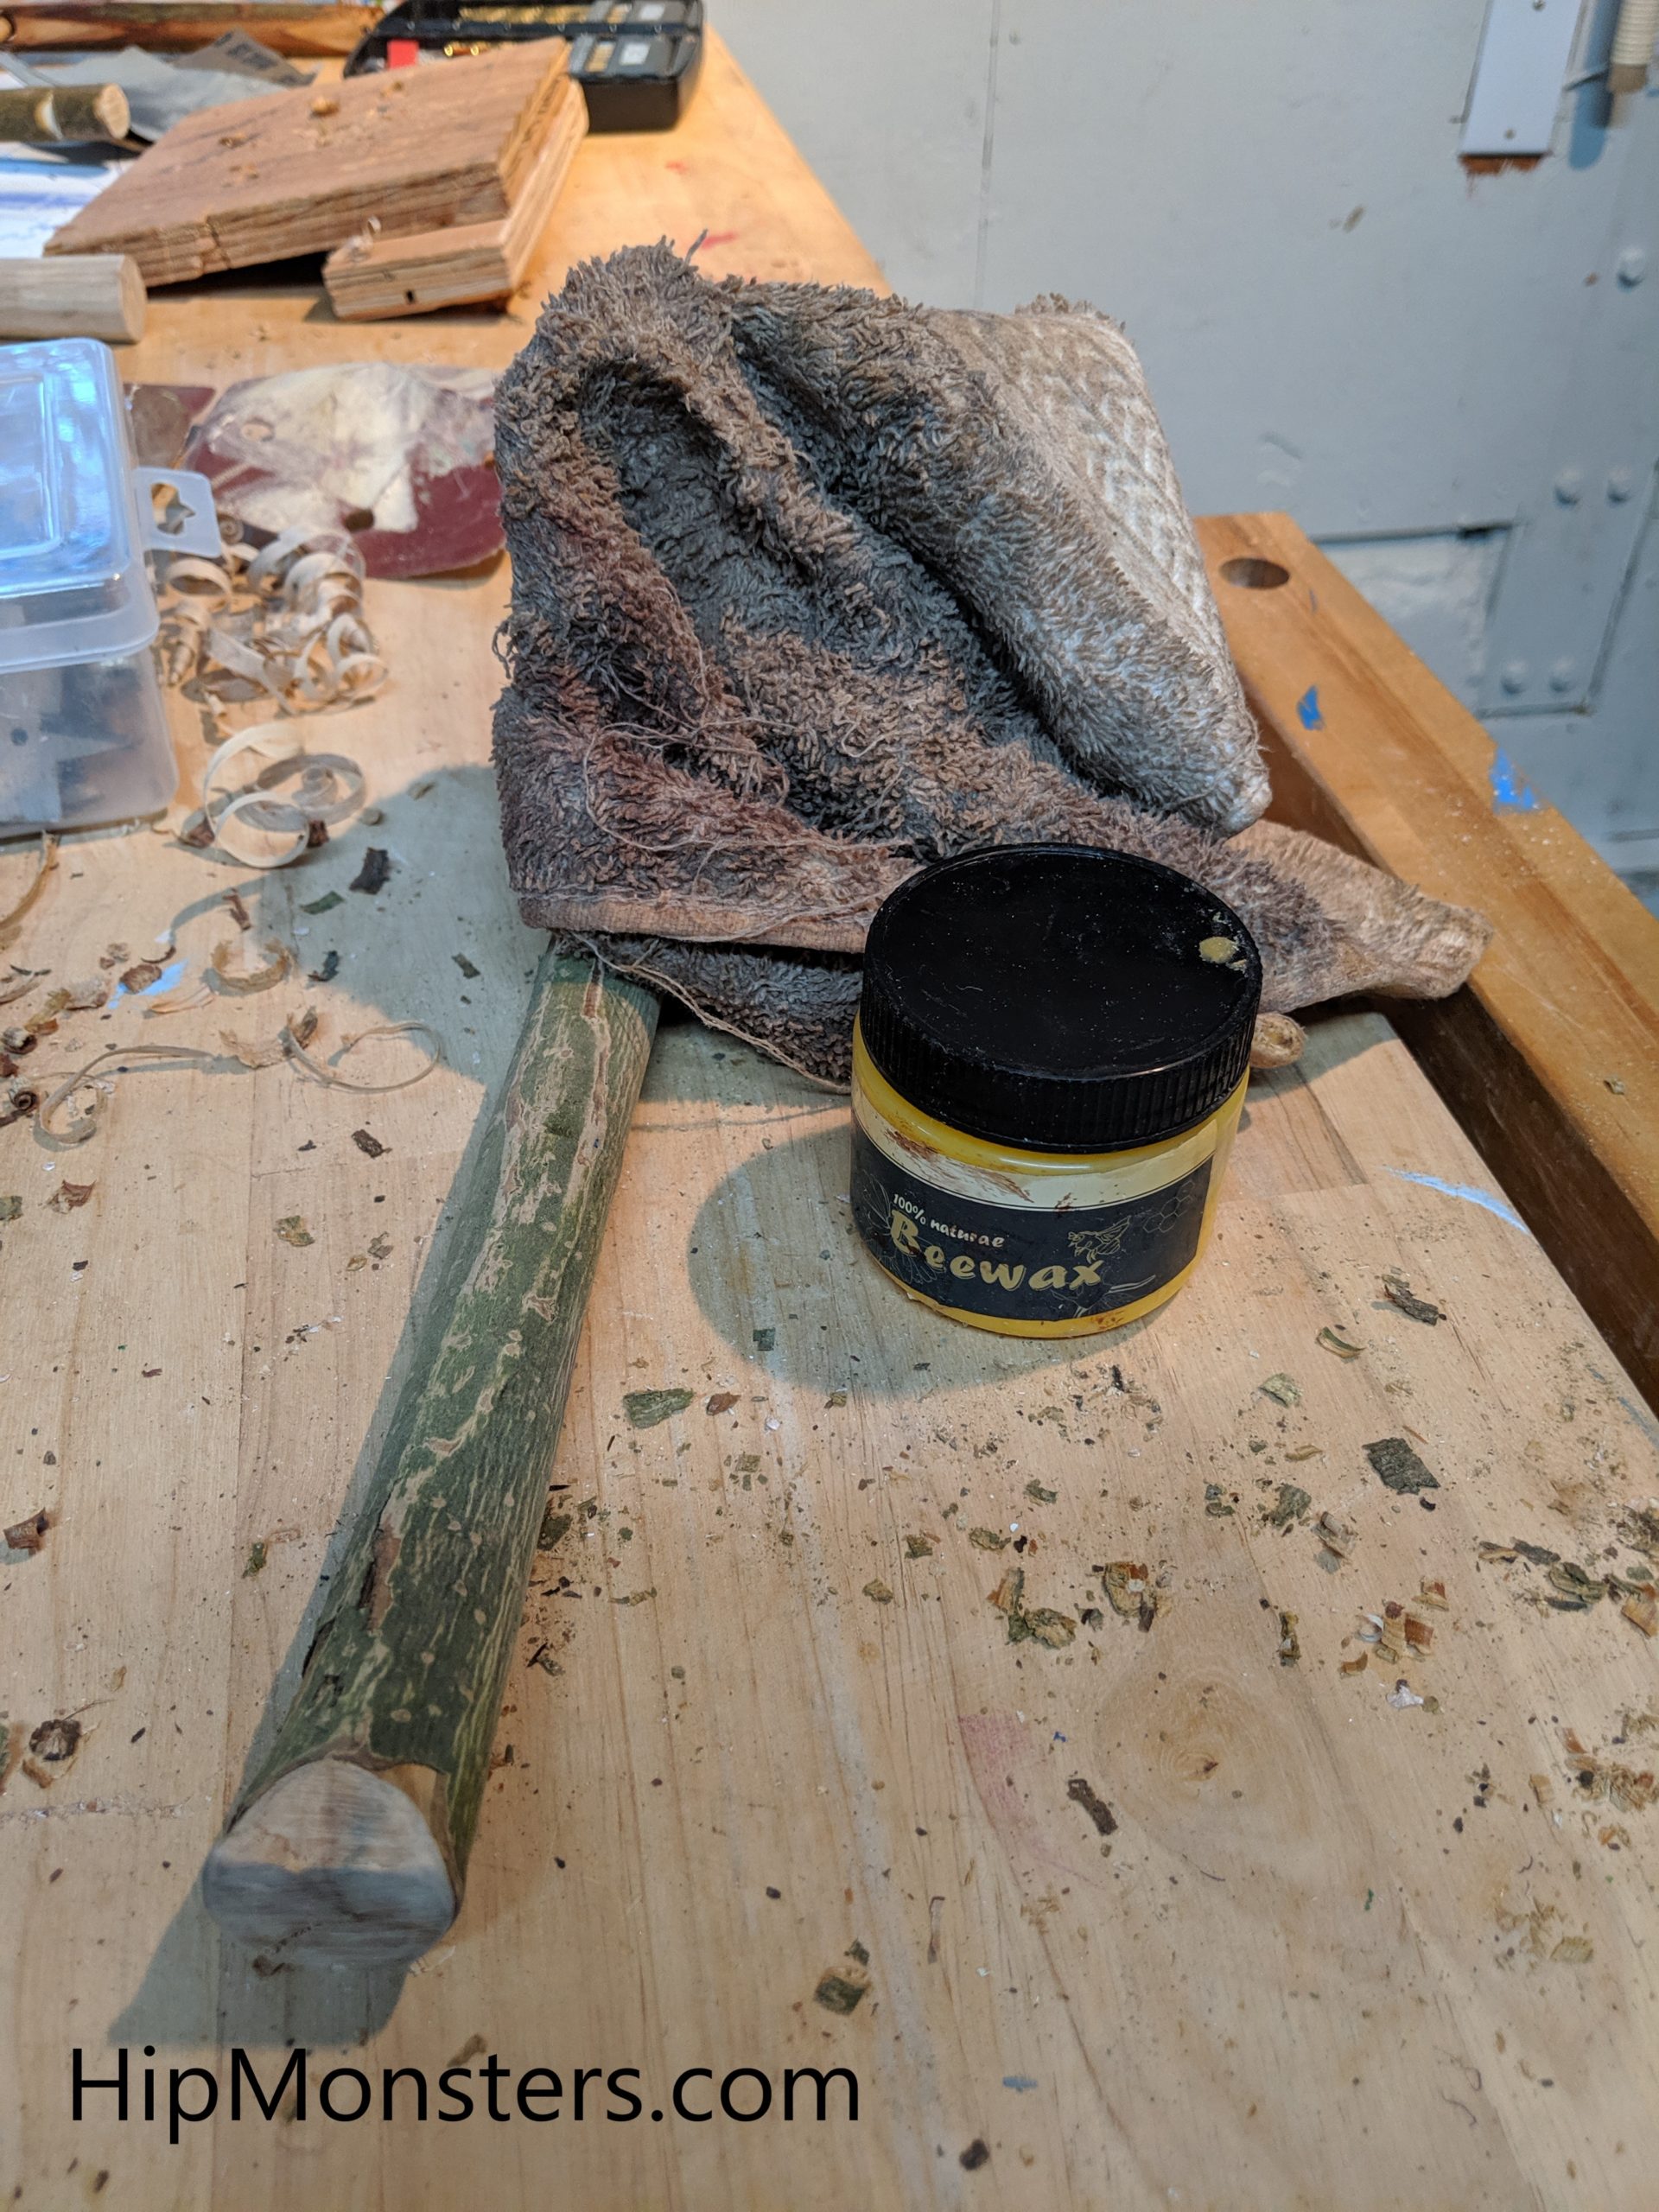
After you have drilled all the holes apply bee’s wax. The bee’s wax makes them smooth and help avoid splitting.
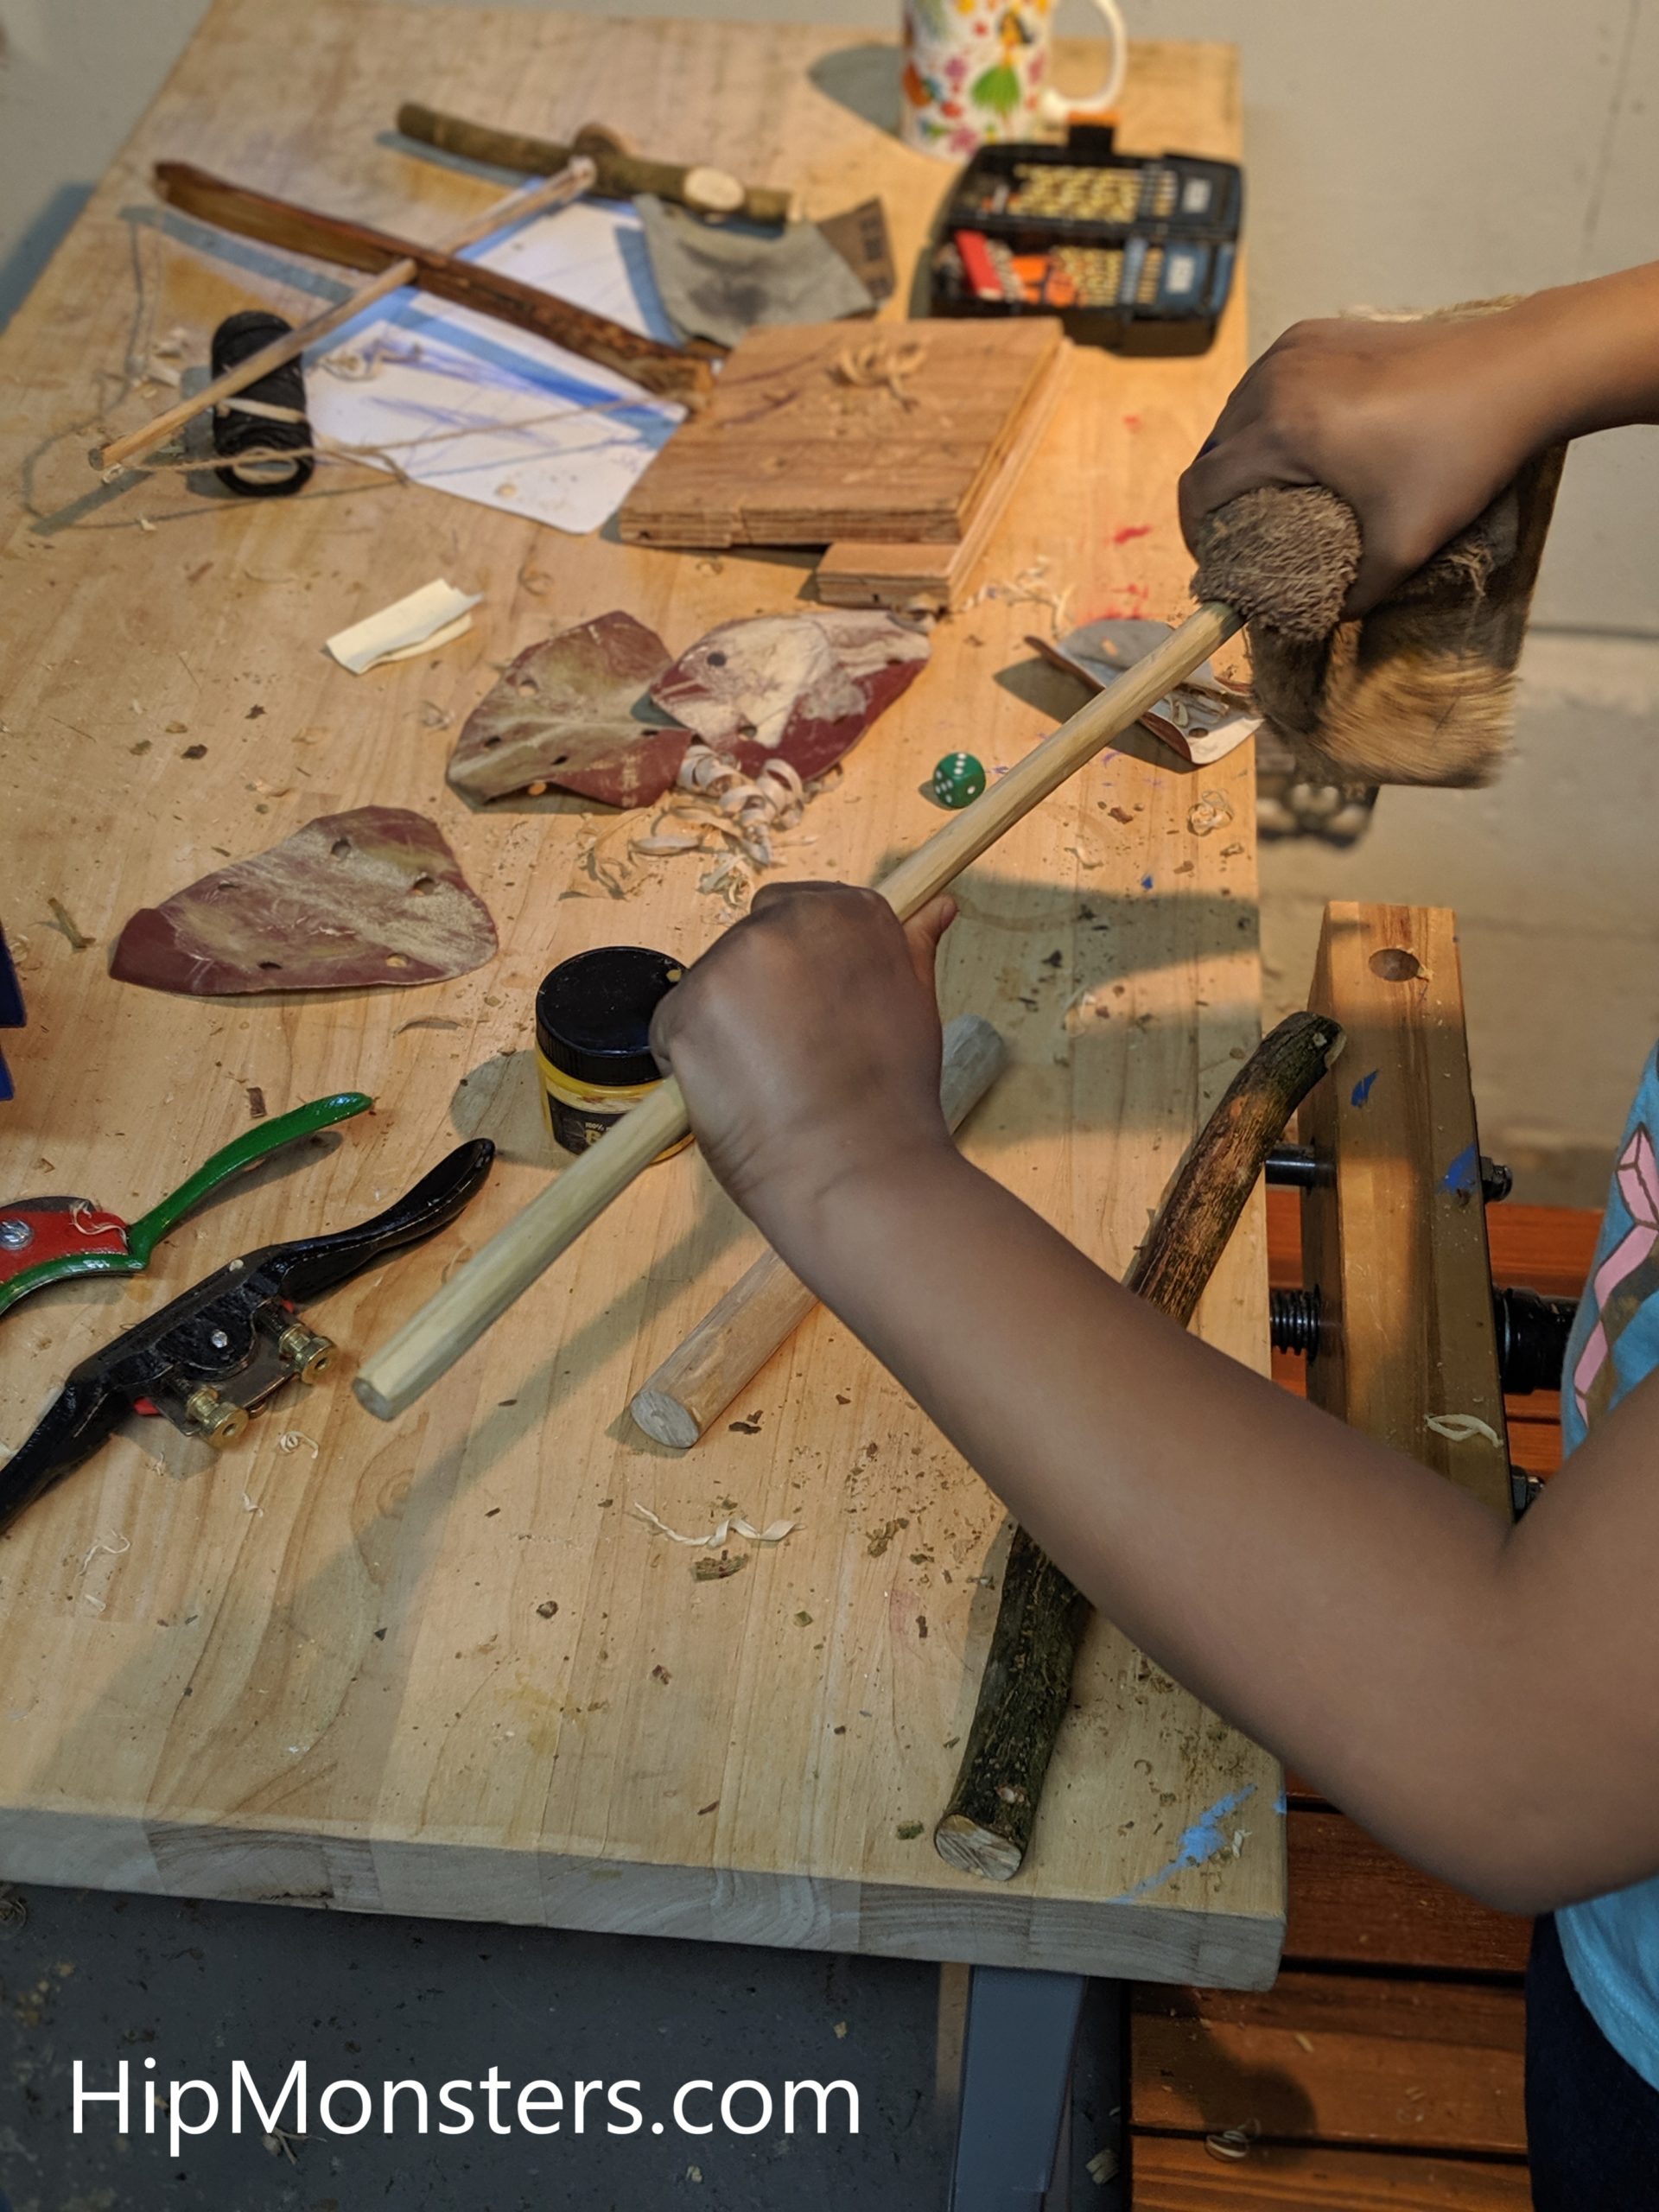
To apply the bee’s wax use an old towel. Since bee’s wax does not go bad, we use the same rag repeated for other projects.

Now drill holes at both ends of the handle. Make sure the hole is in the same direction as the shaft hole.
Next, assemble the pump drill by sliding the shaft through the handle.
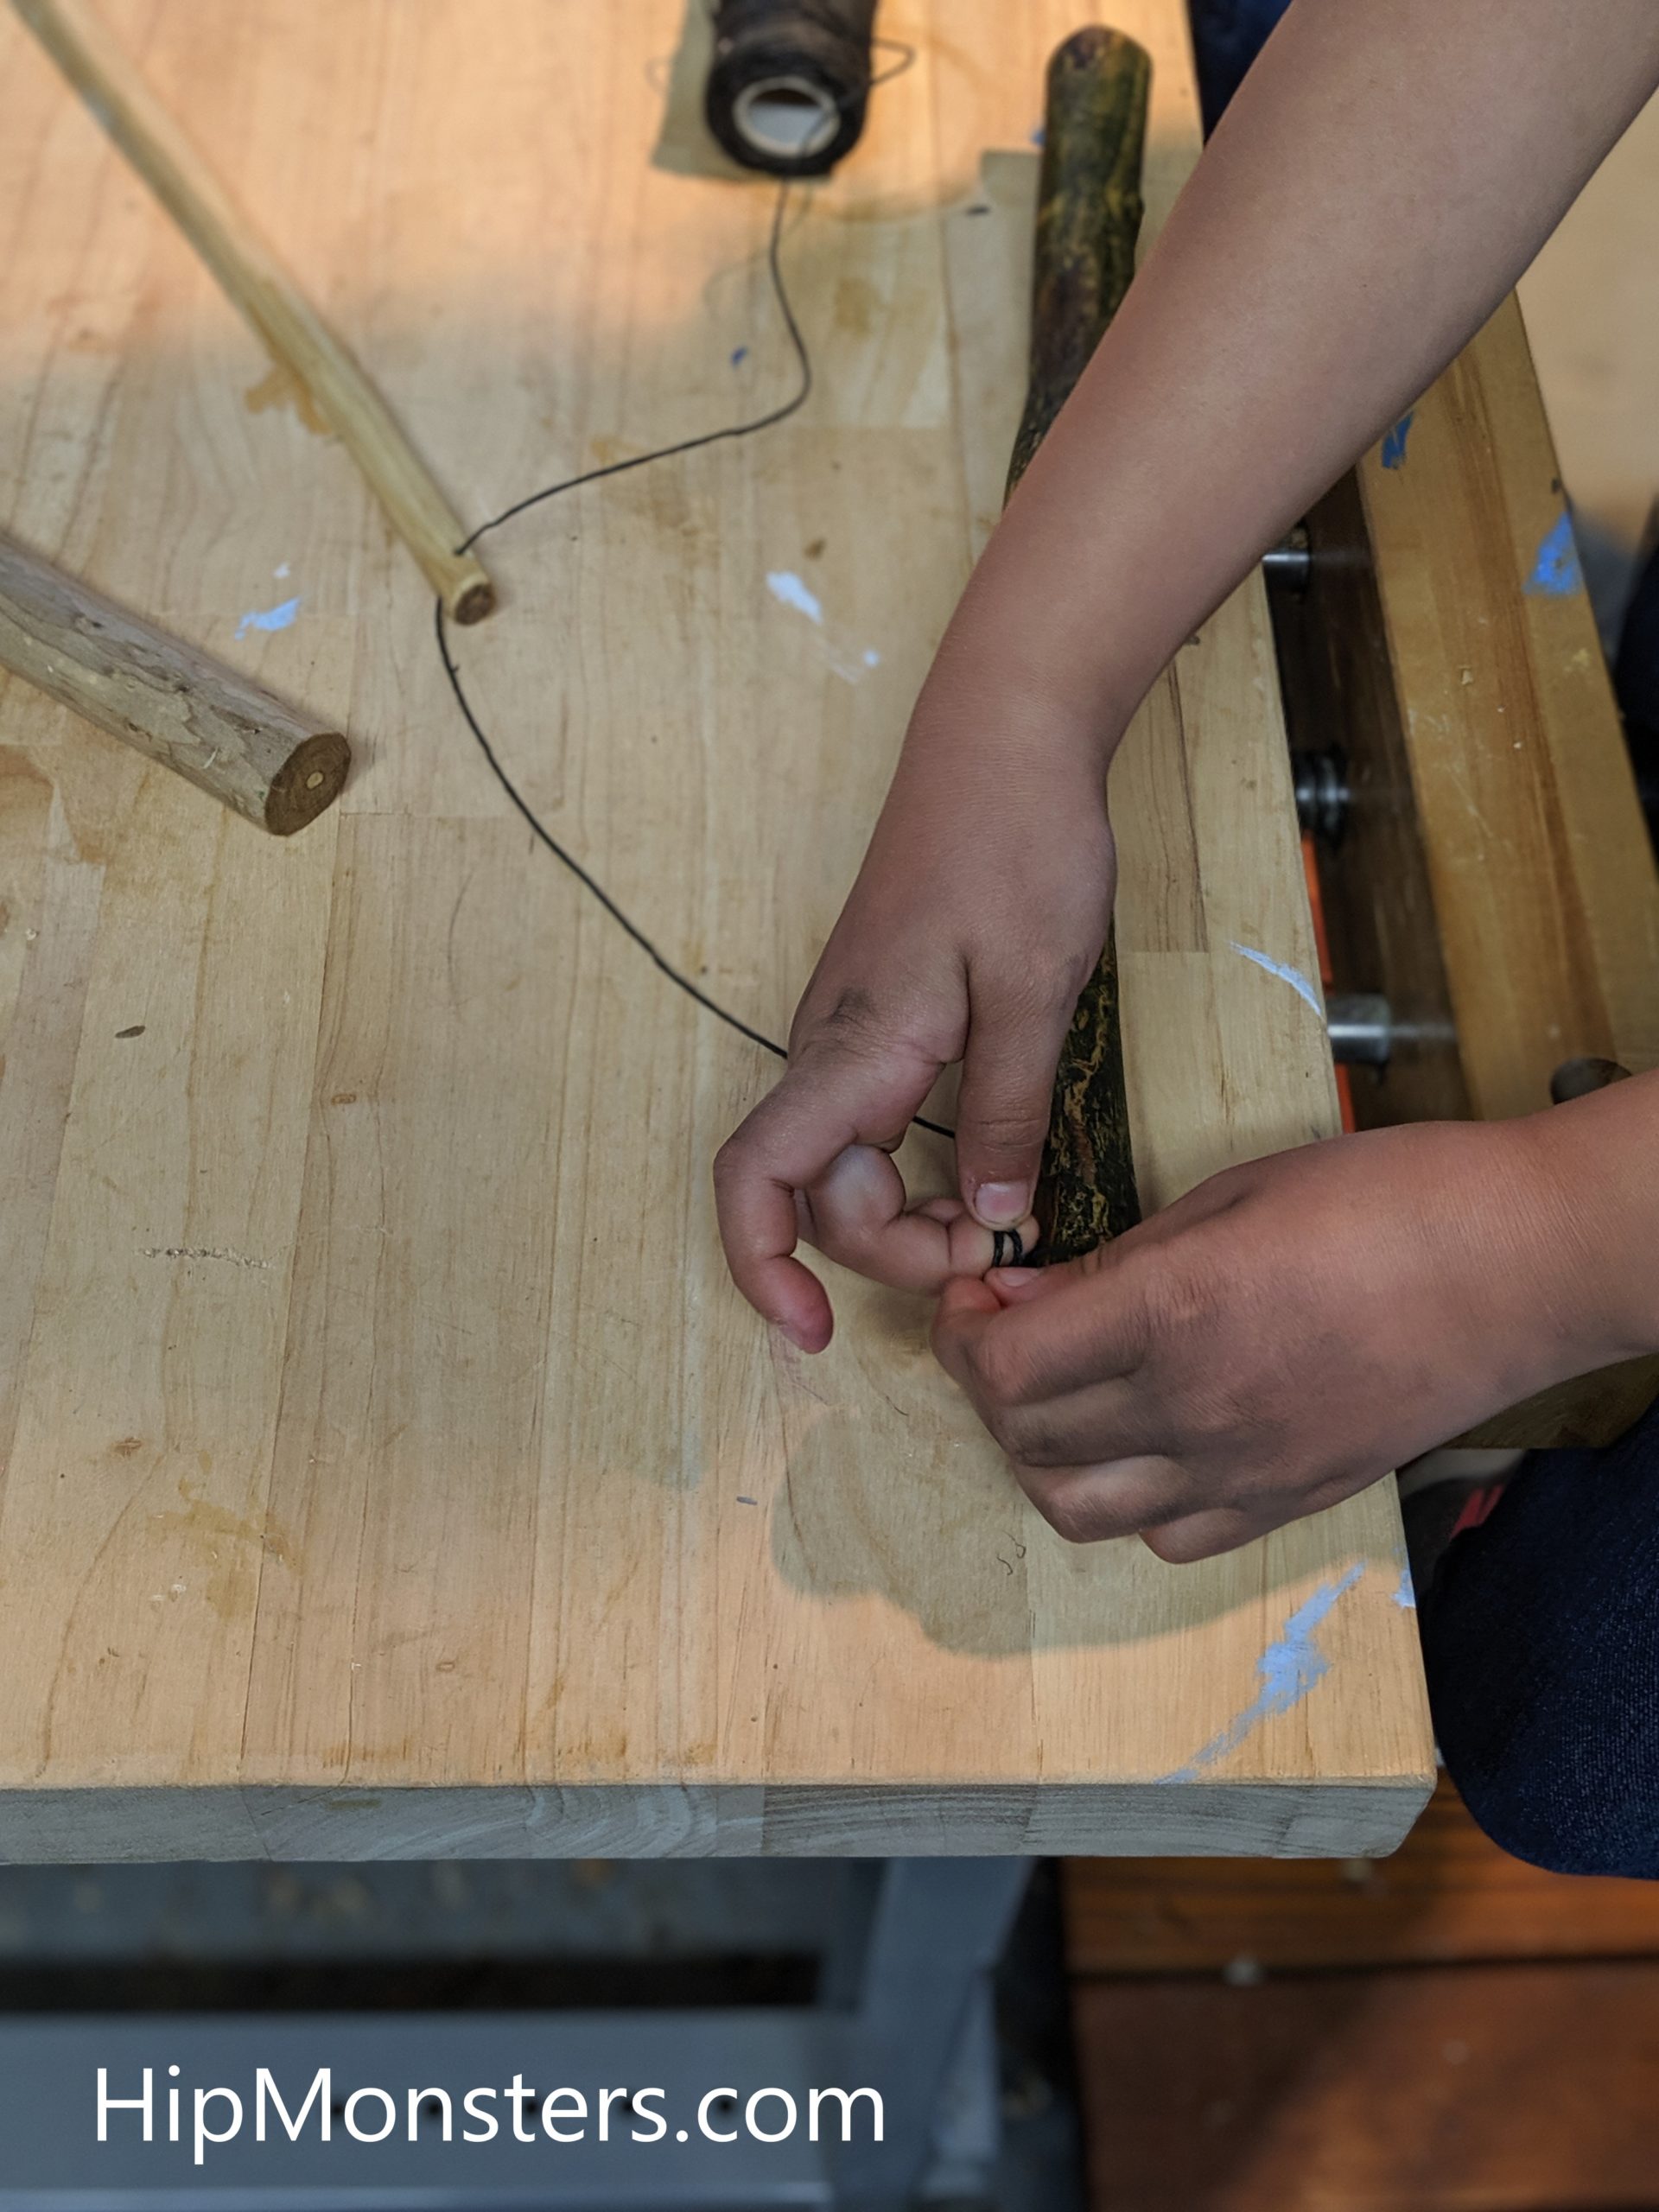
Then loop the string through the two holes you drilled in the handle.
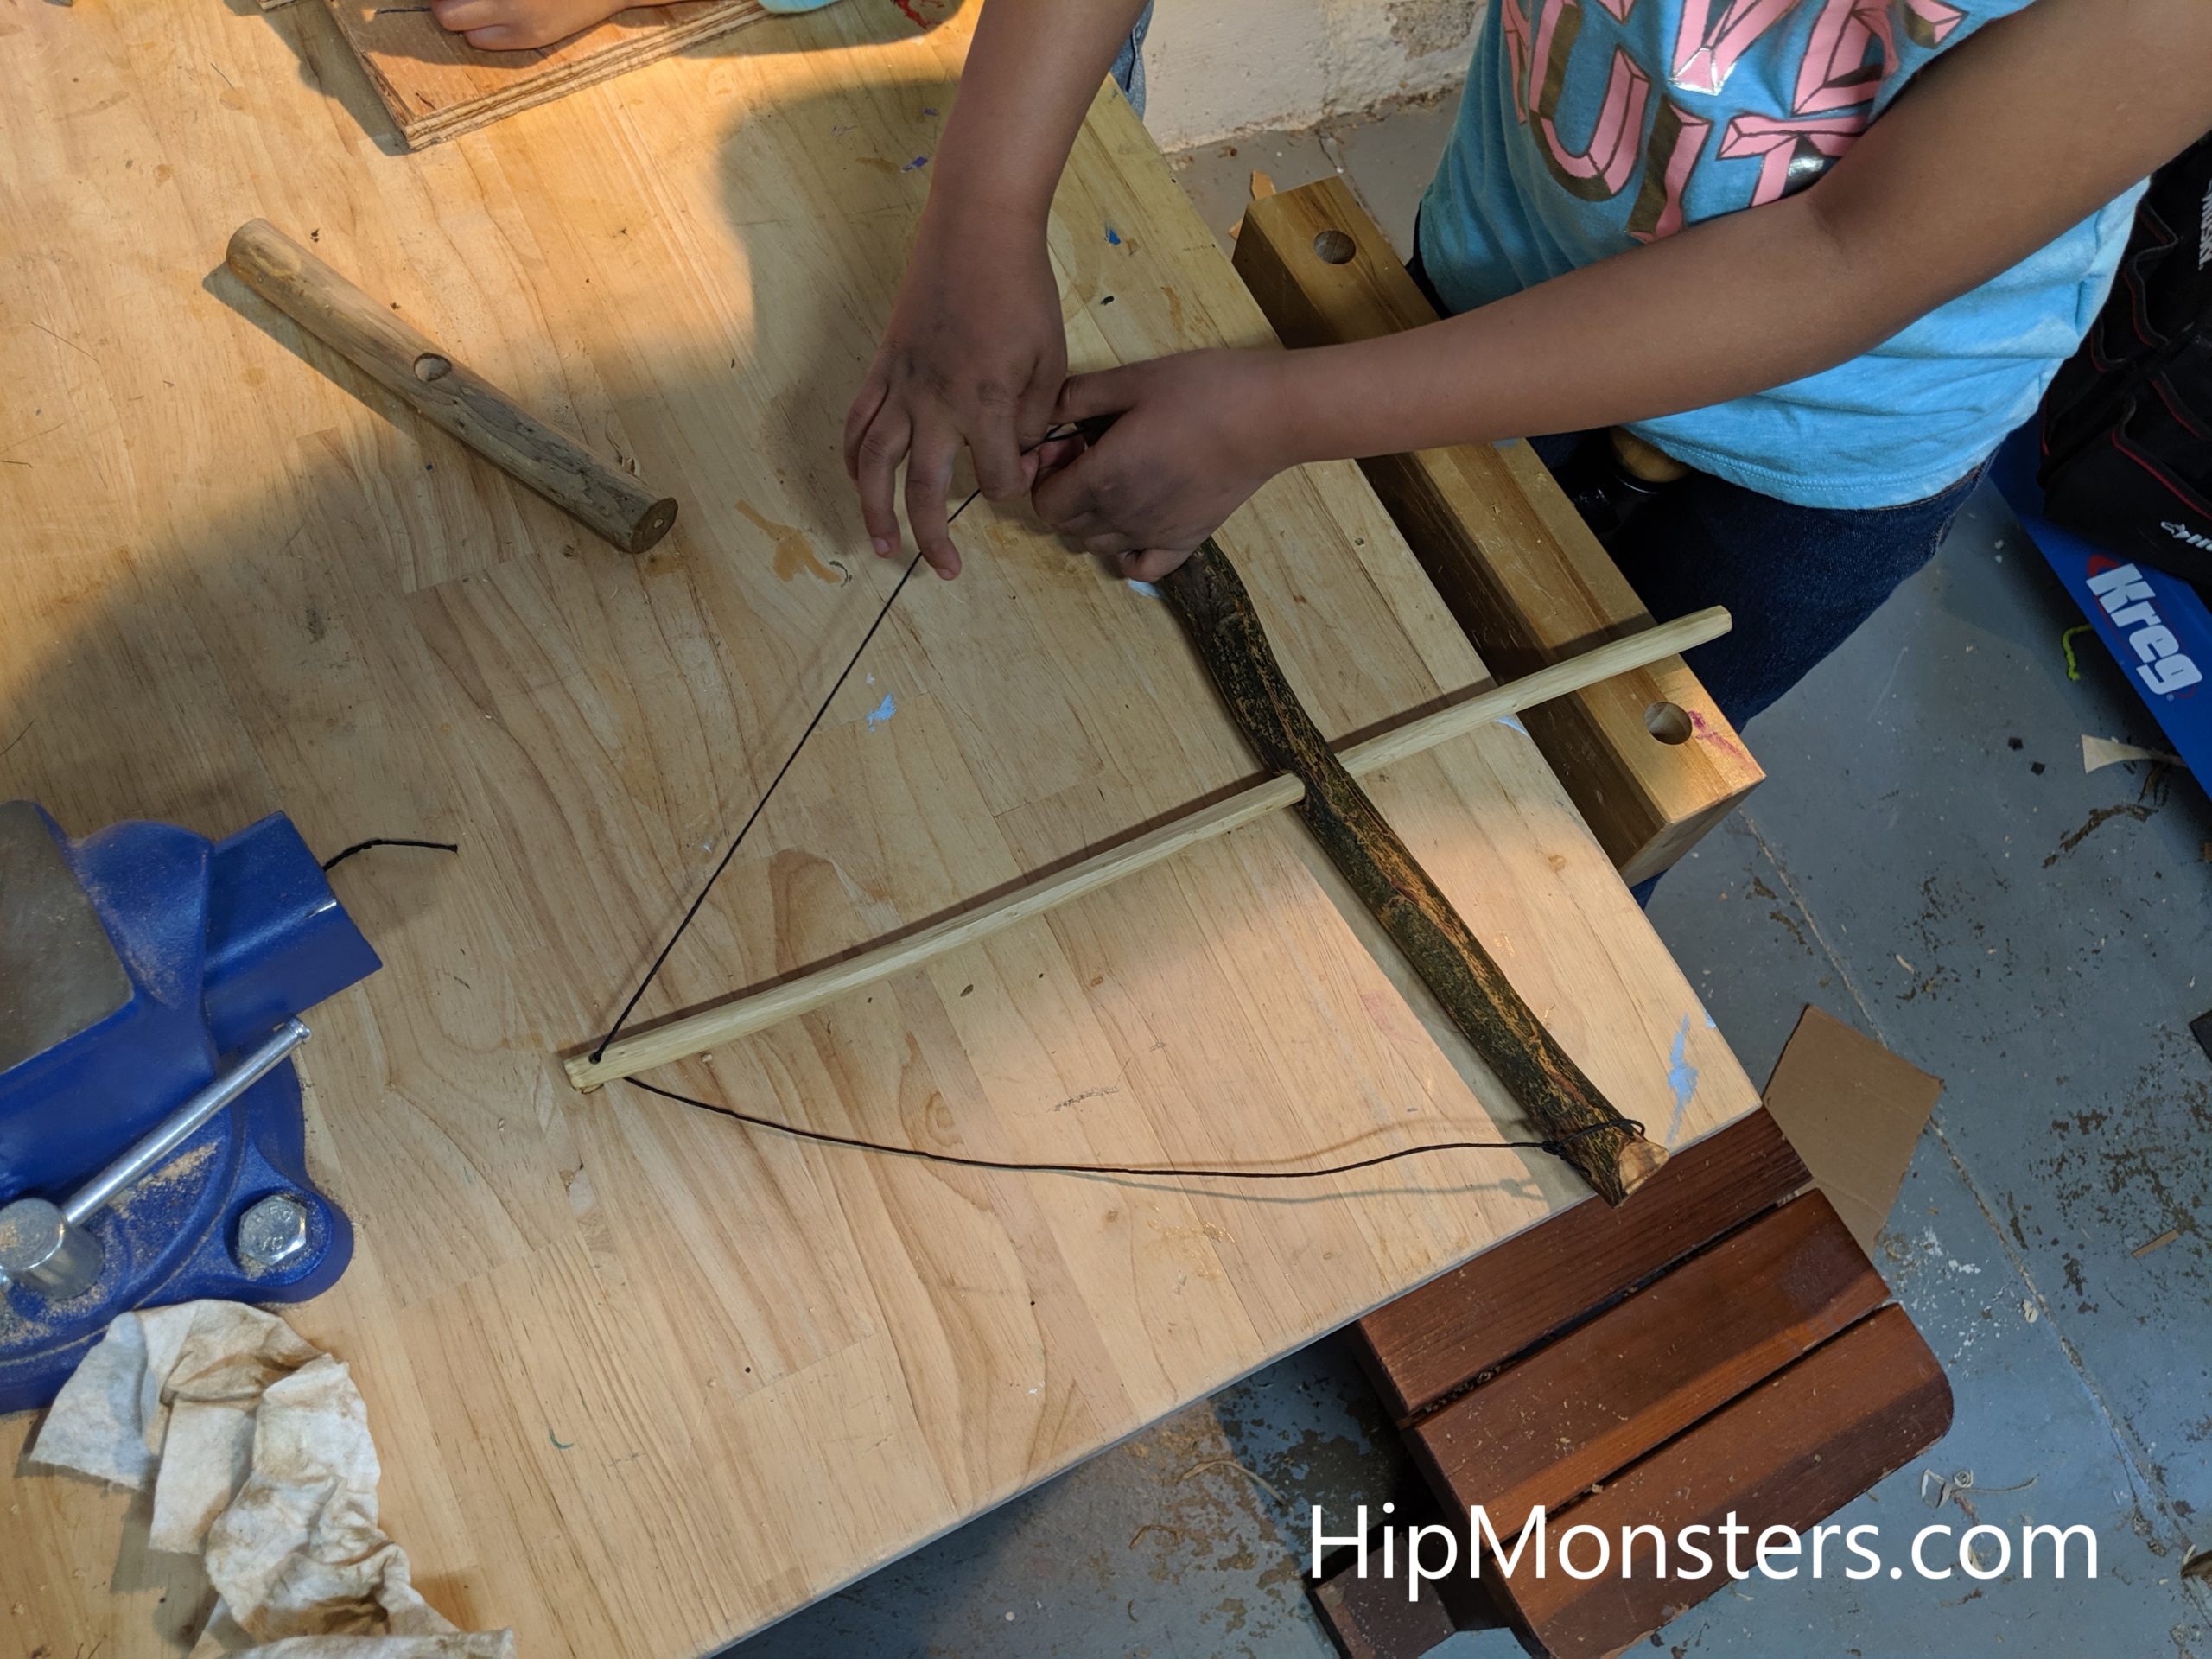
Adjust the string so that the center stick if a little less than halfway down the pole. Then tied knots on both ends of the string.
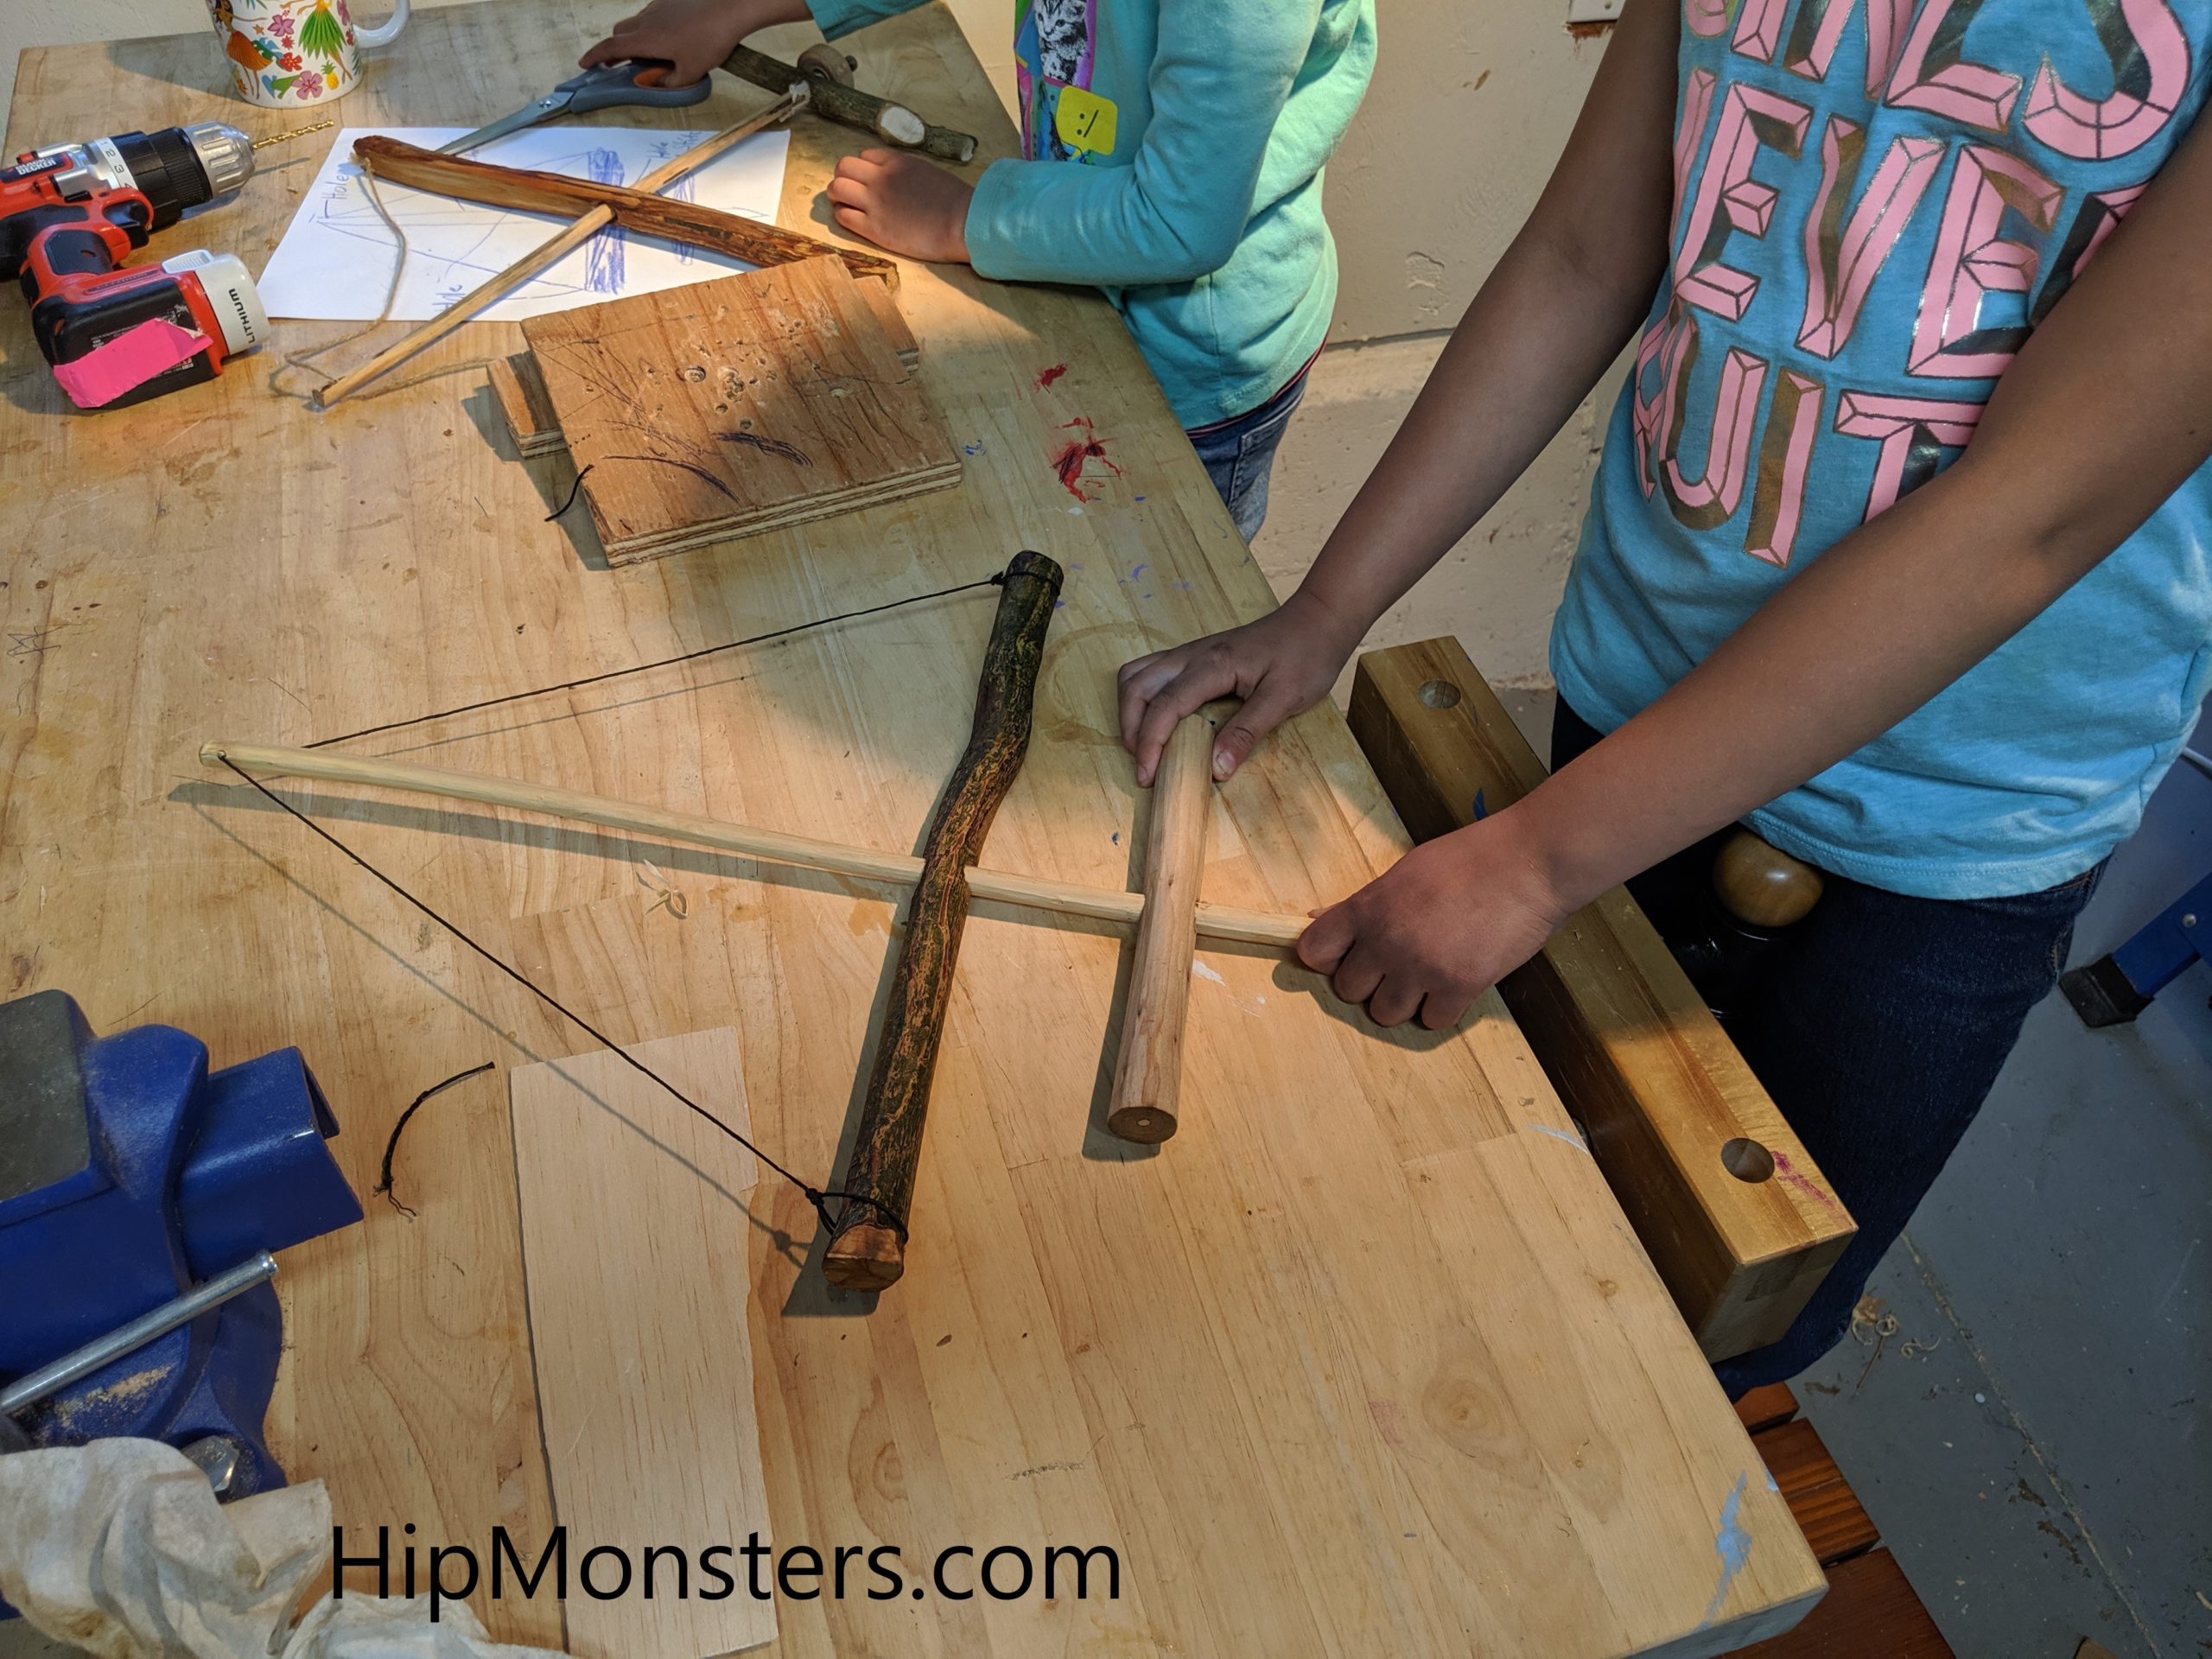
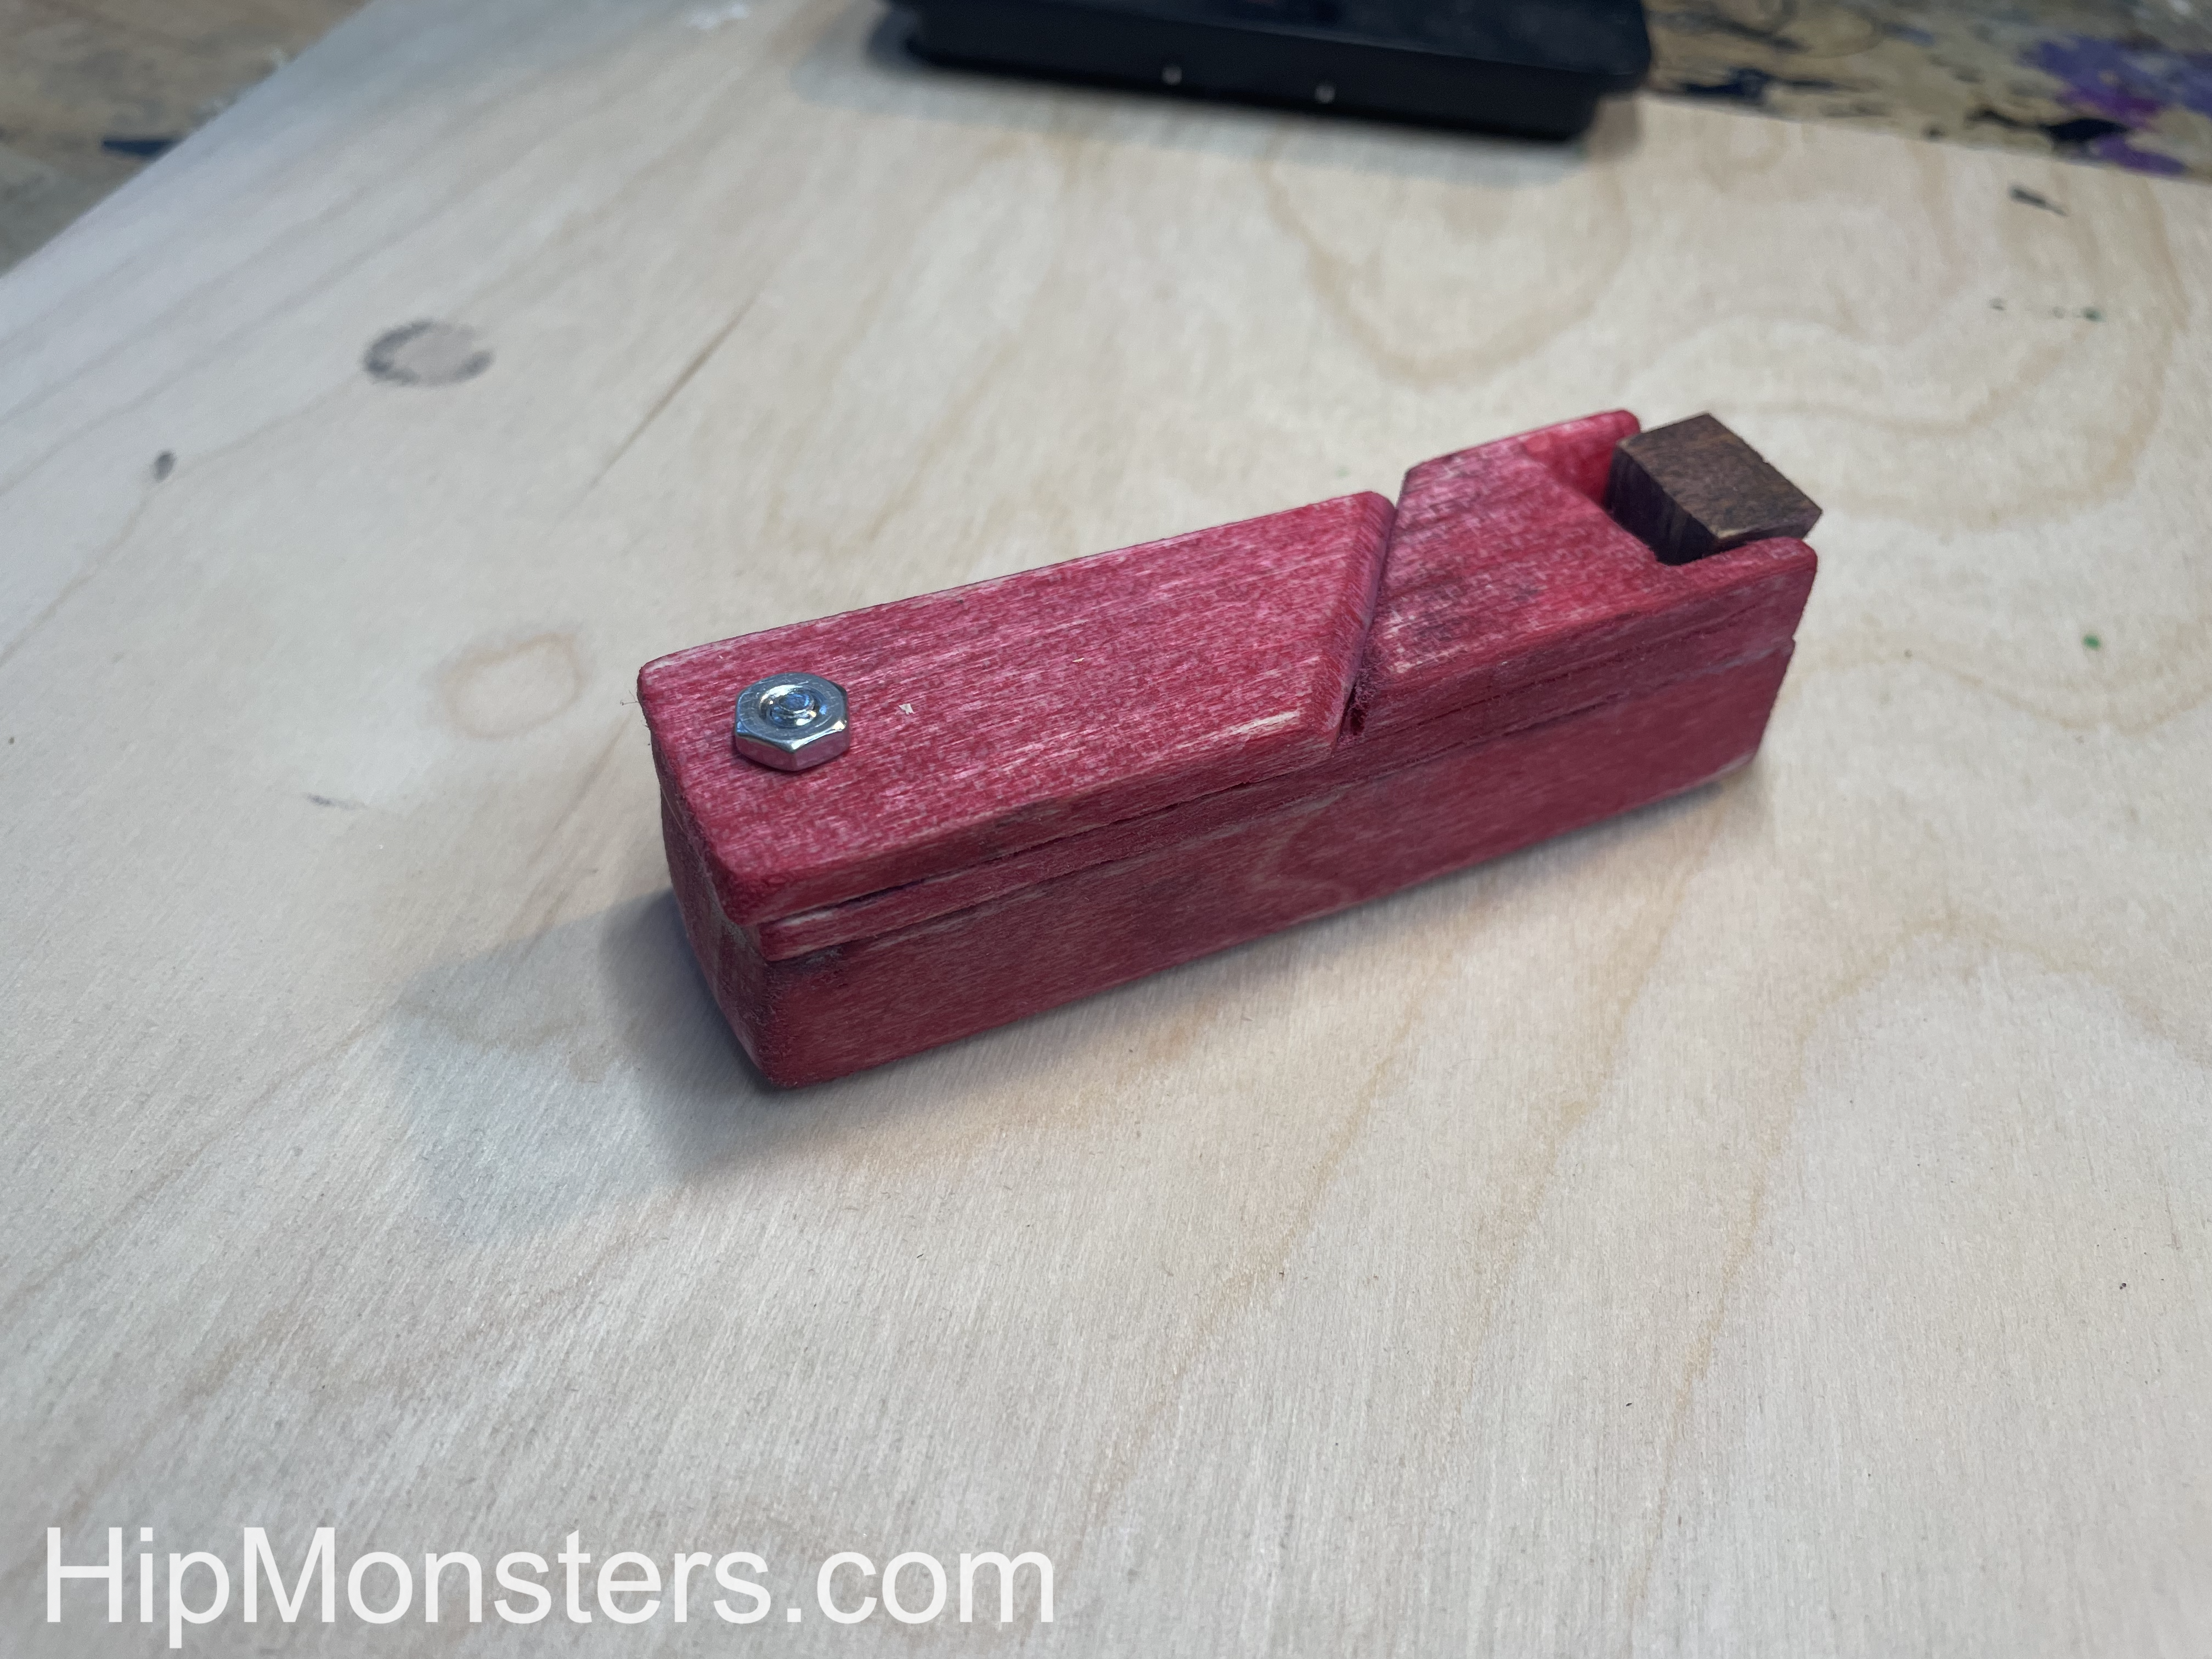
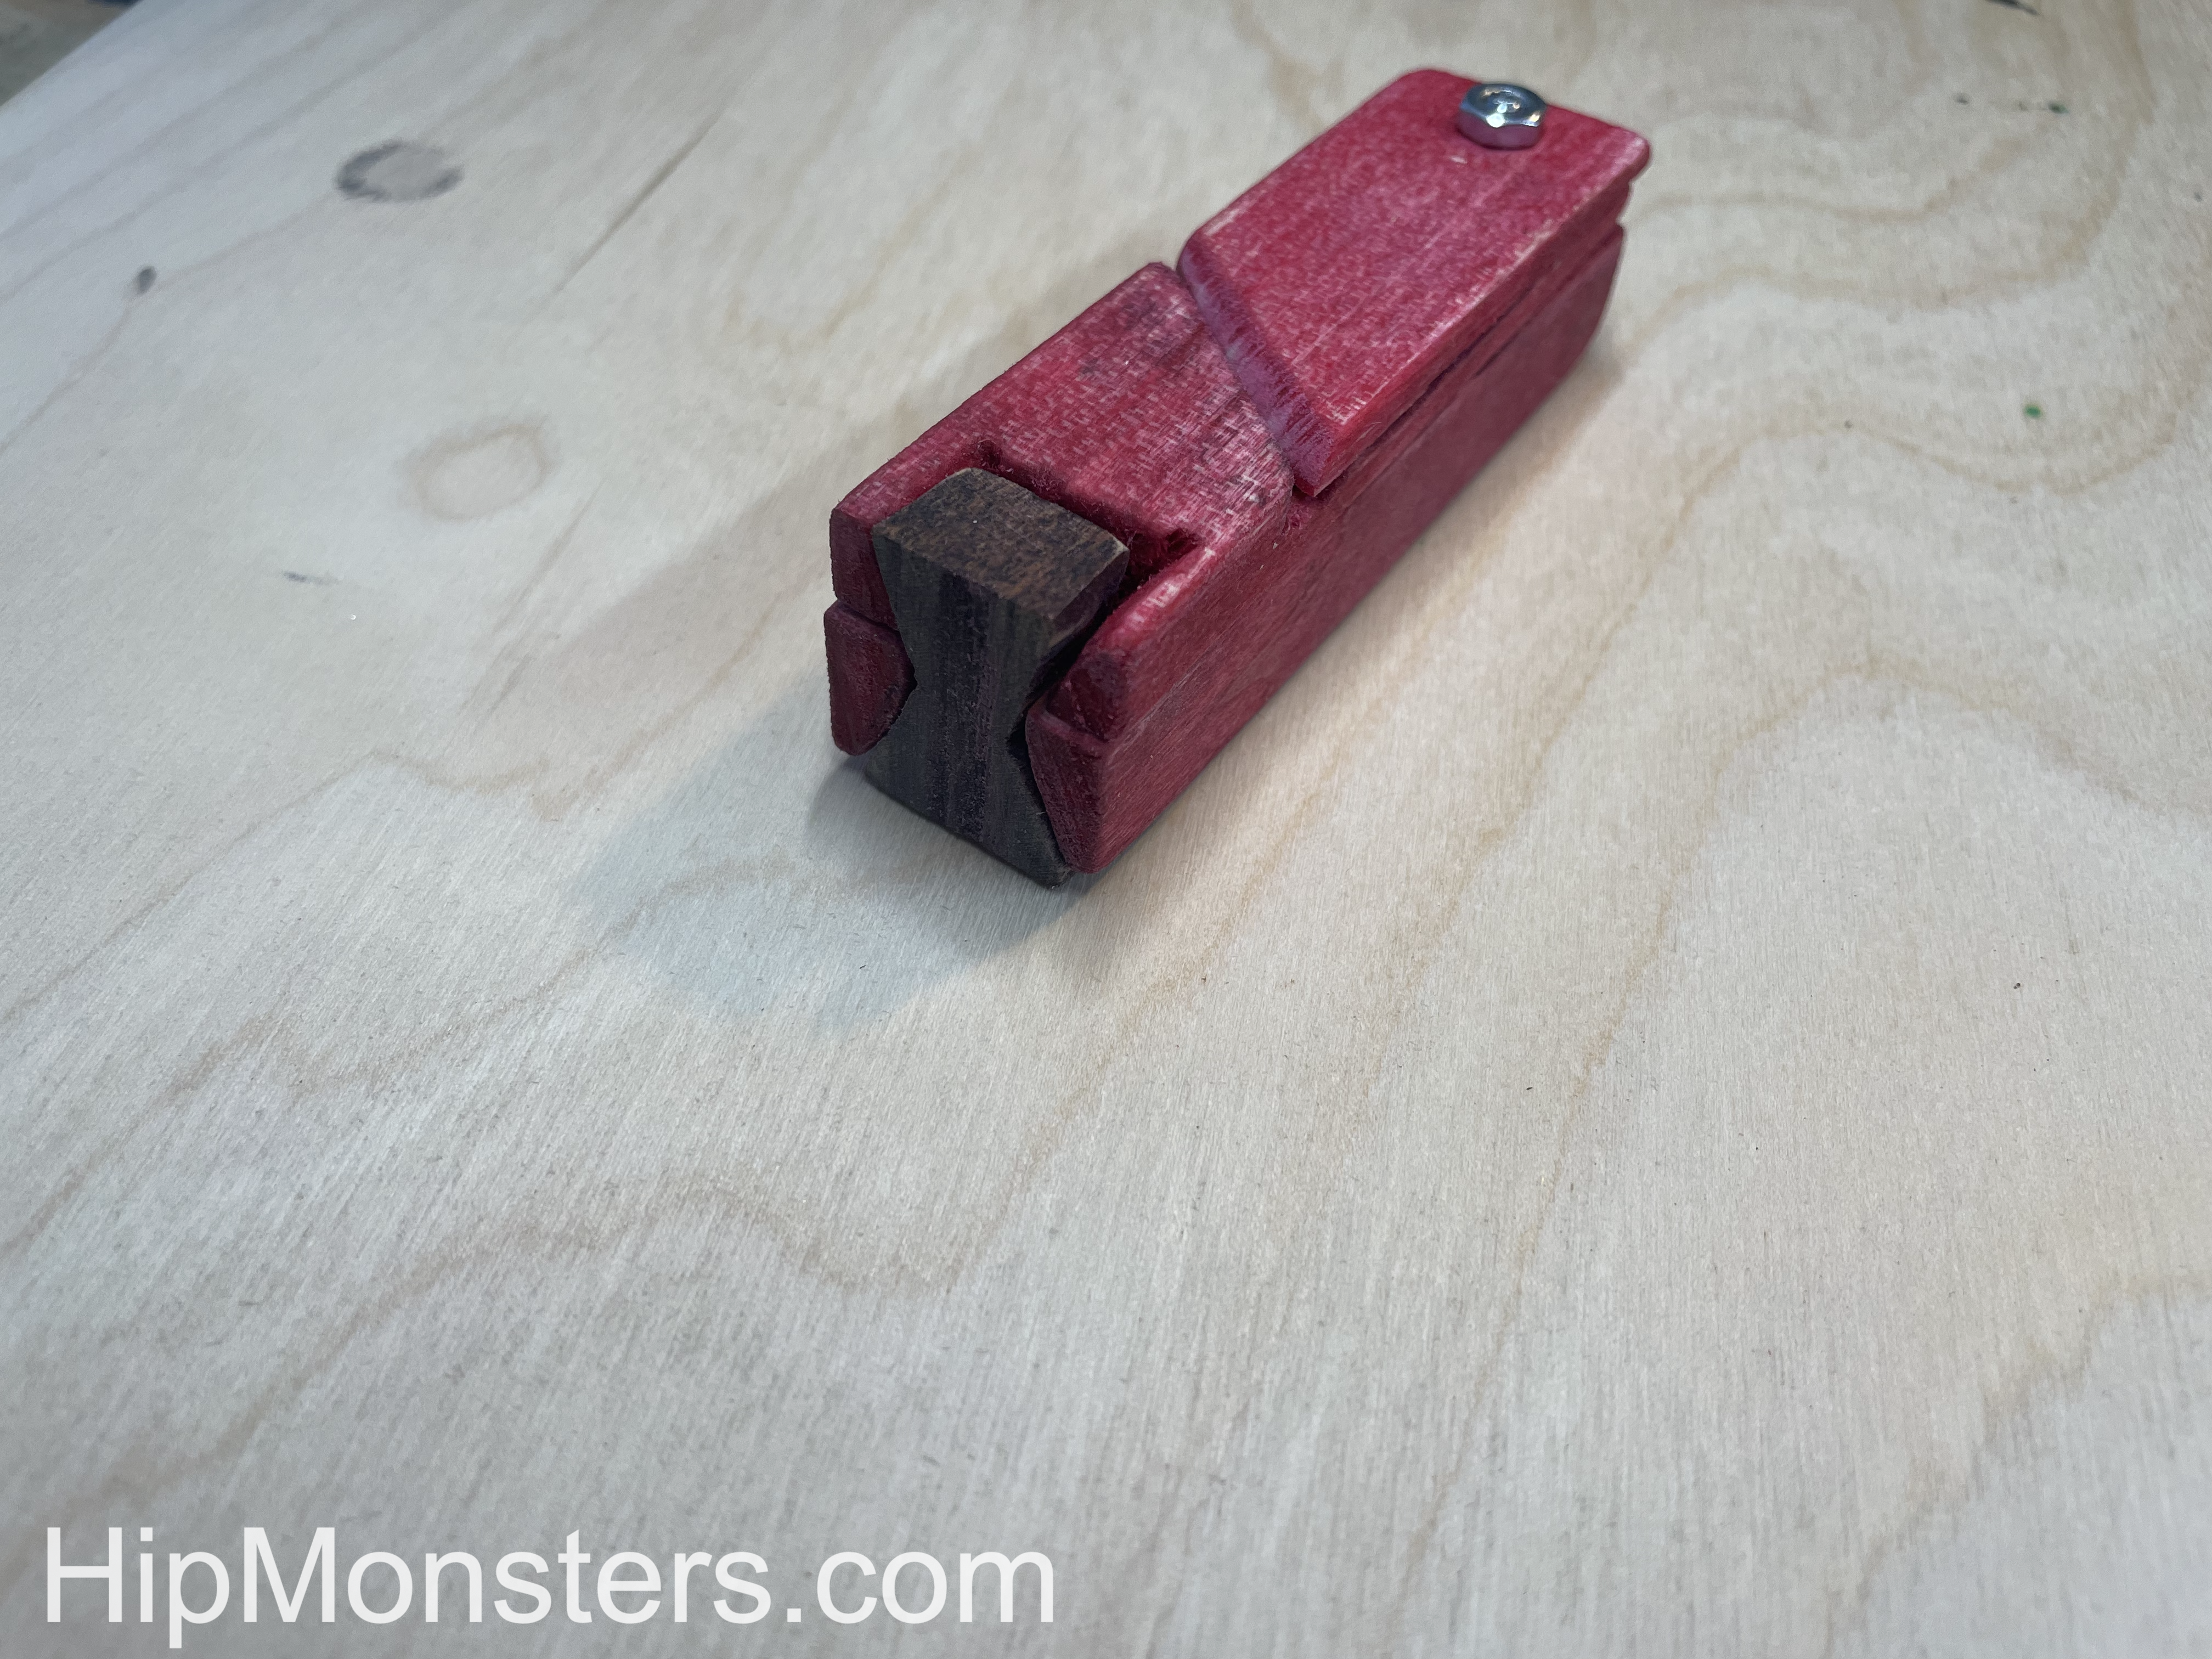
Now slide the spindle onto the shaft.

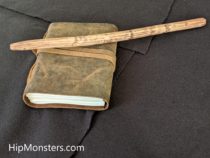
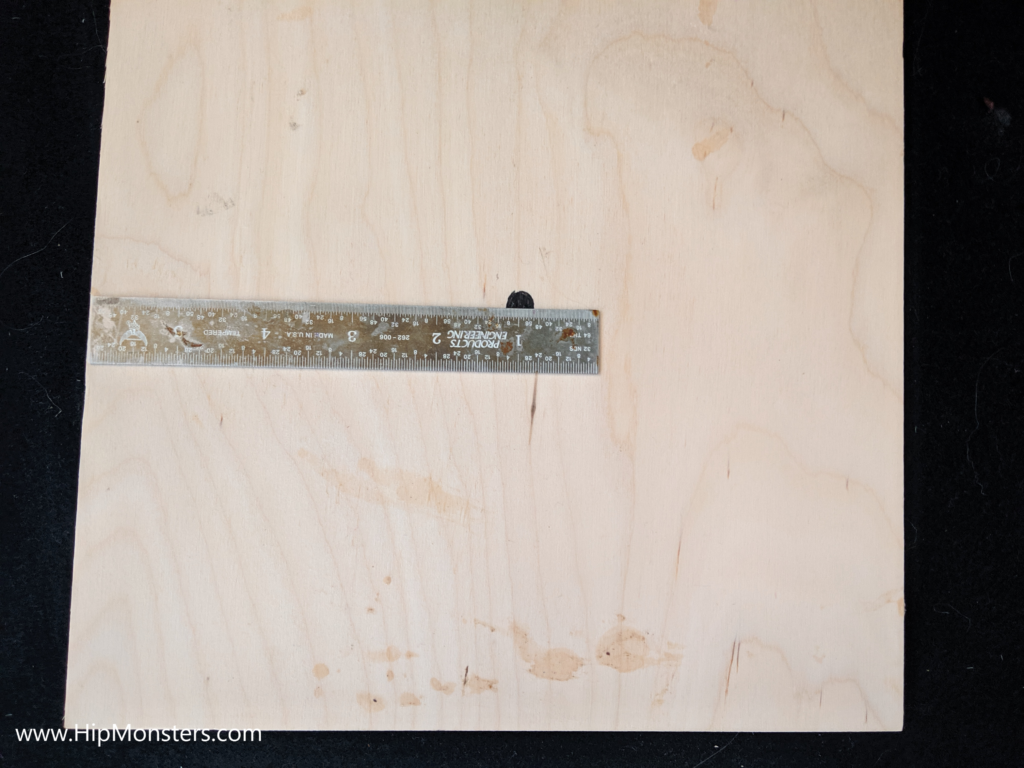
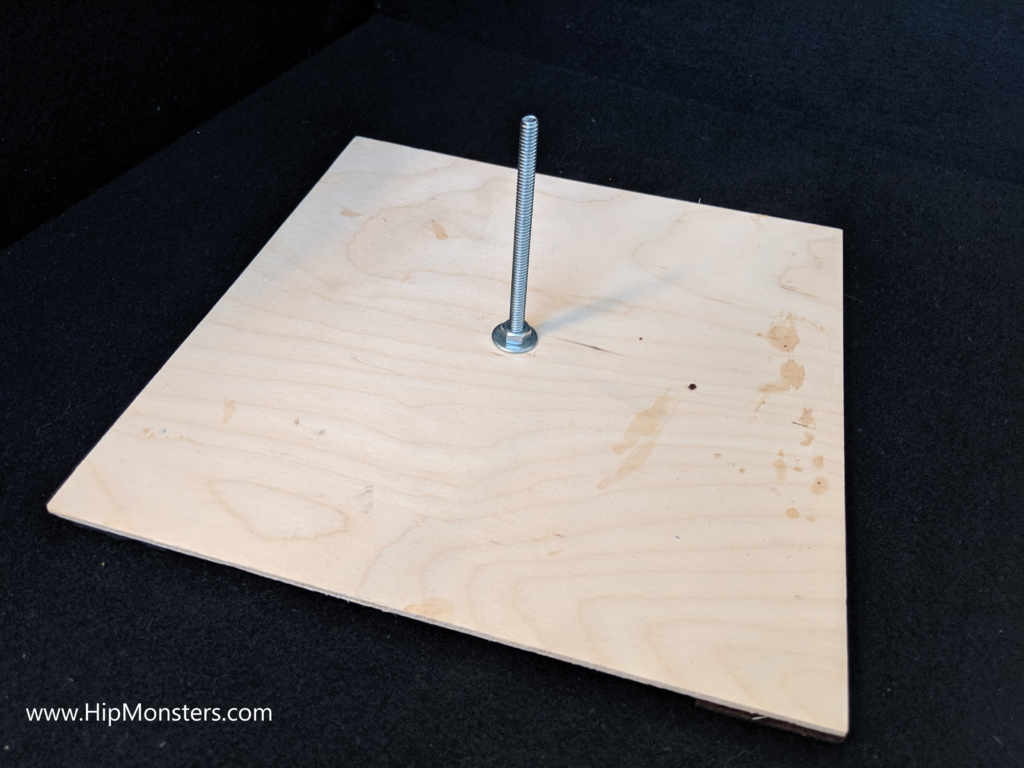
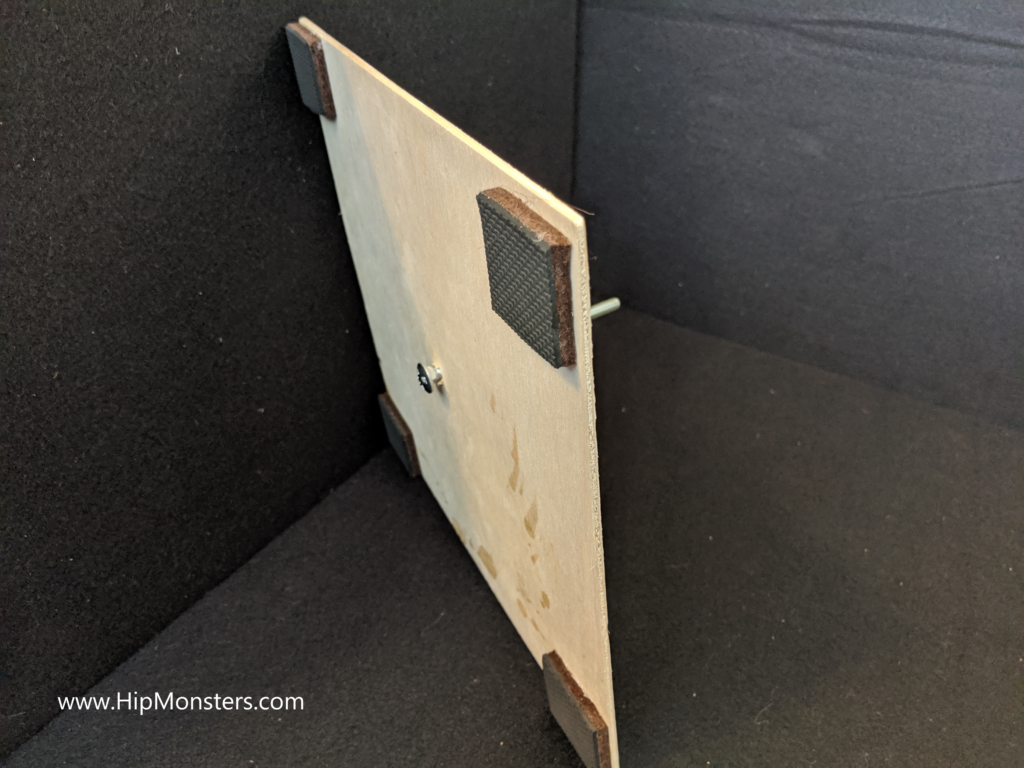
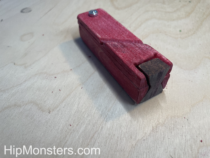
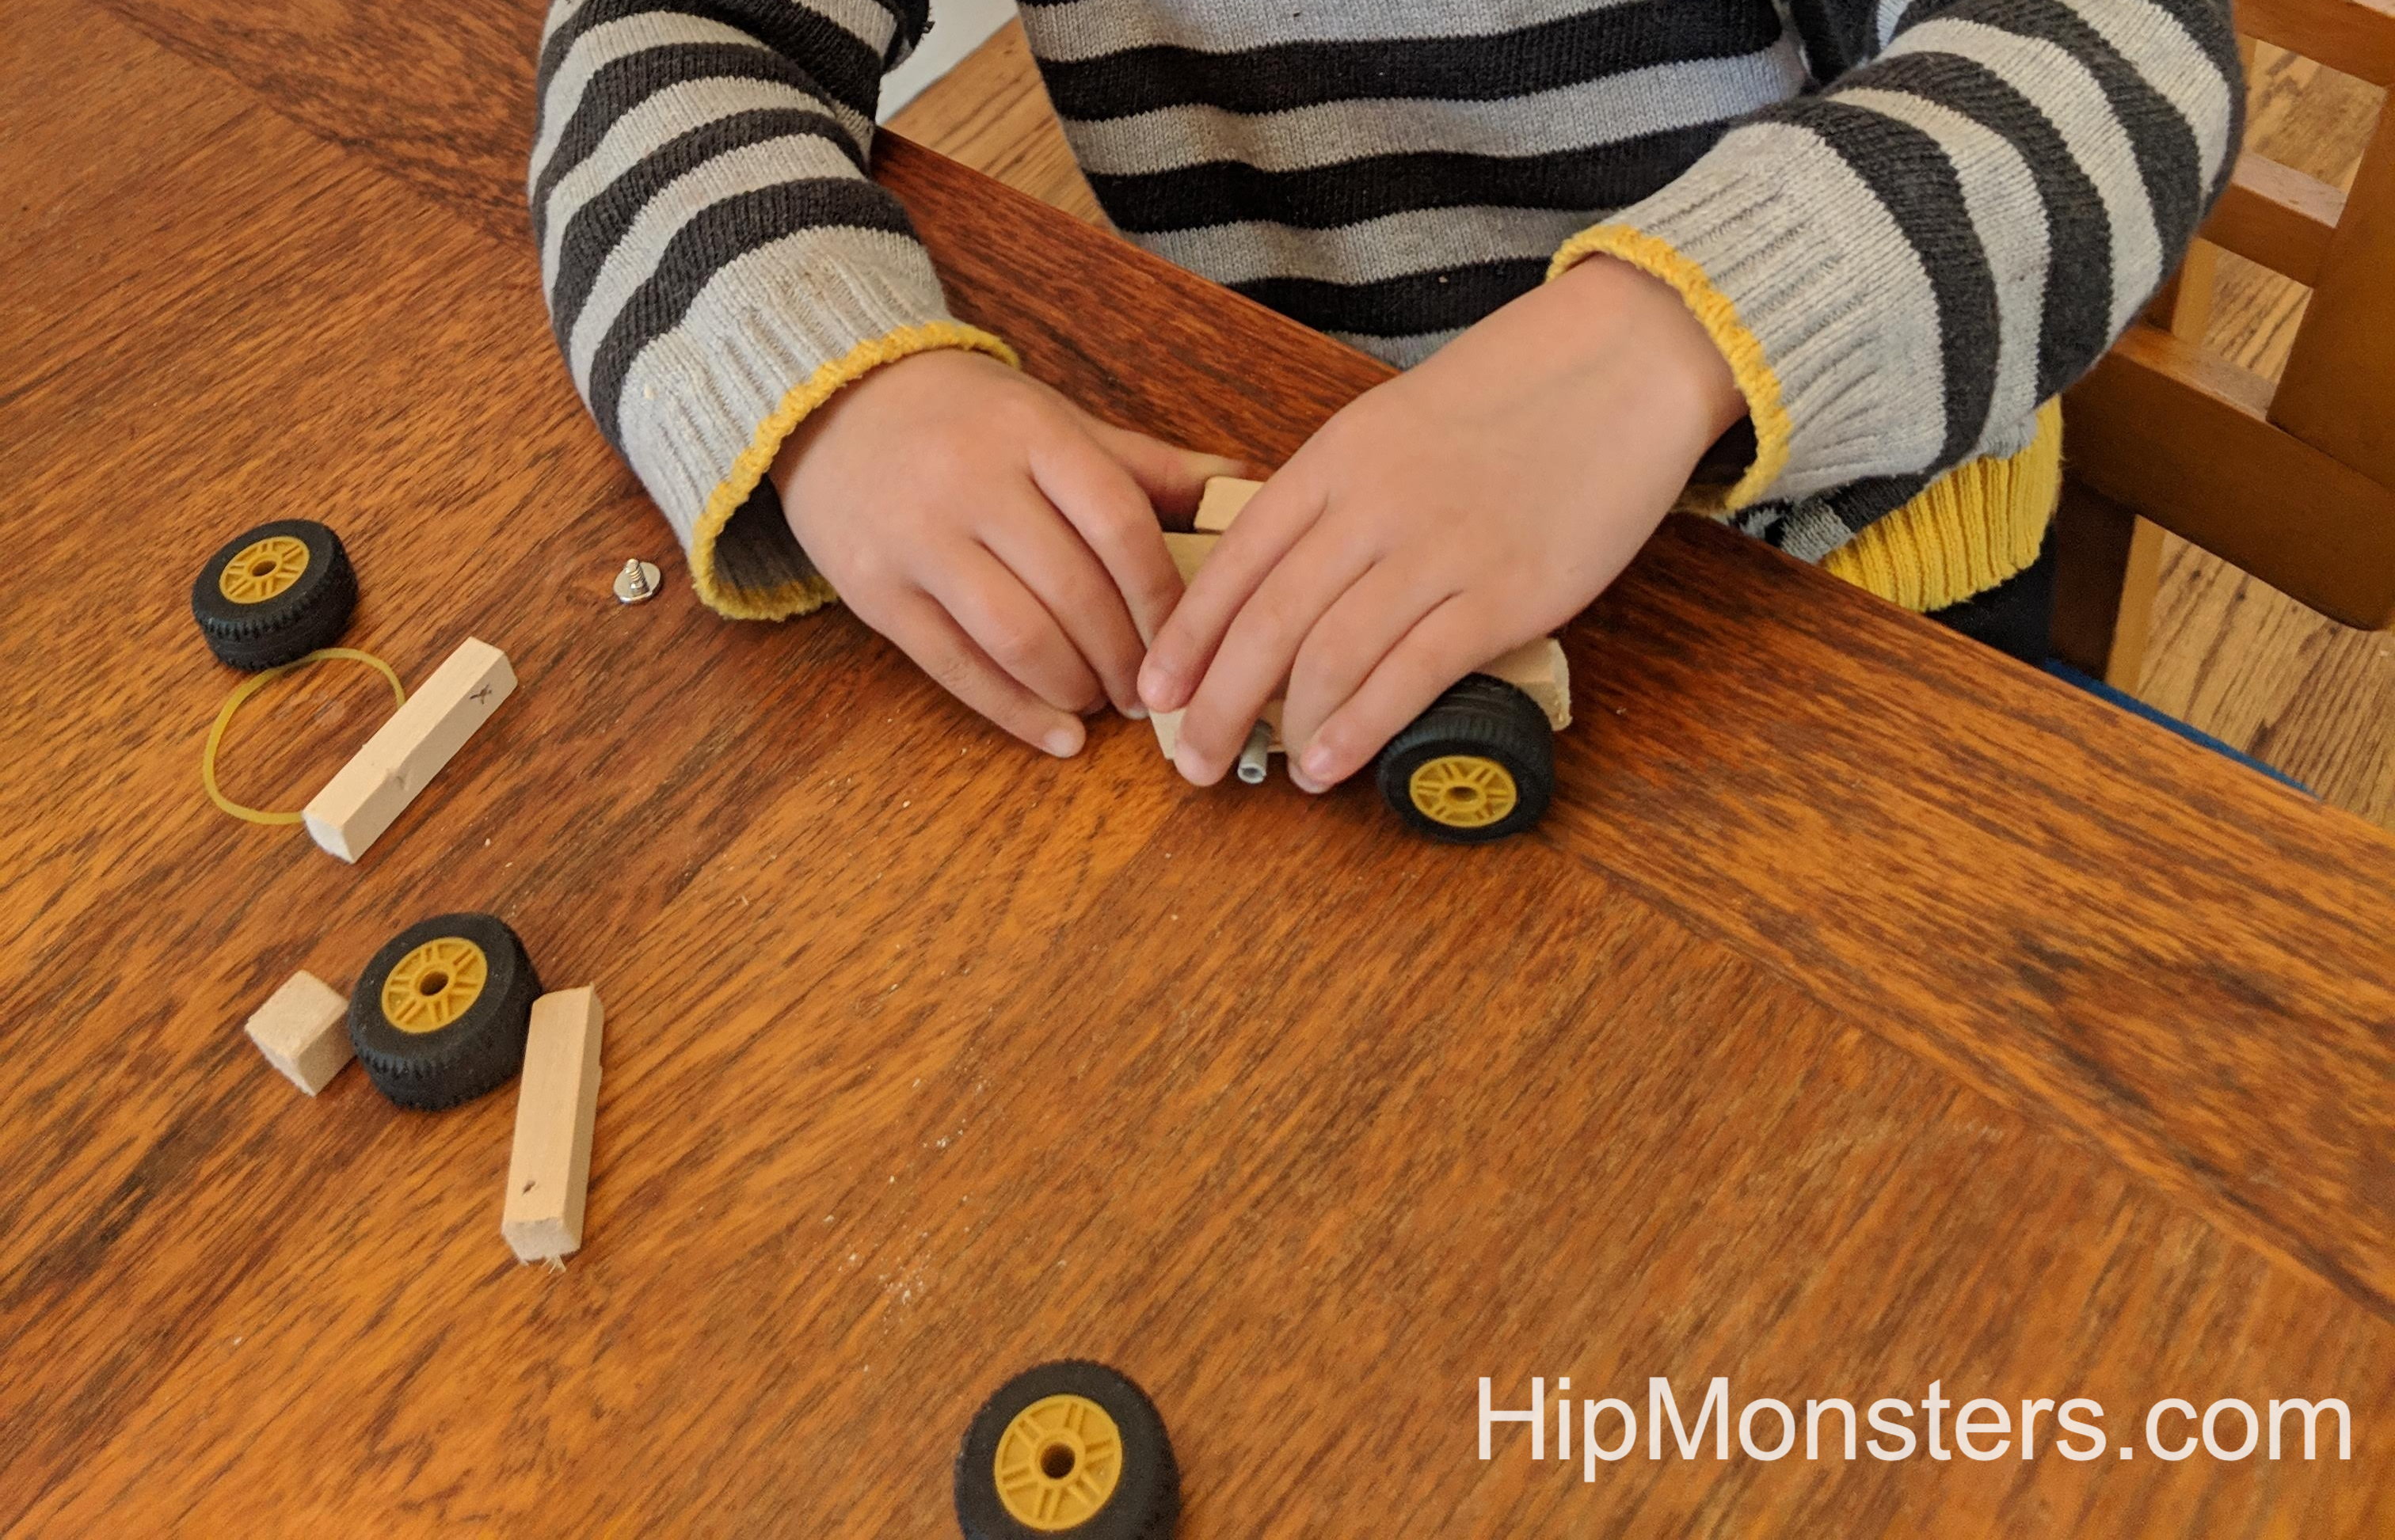
Use a thin board of wood like the one shown in the photo and break off a strip.
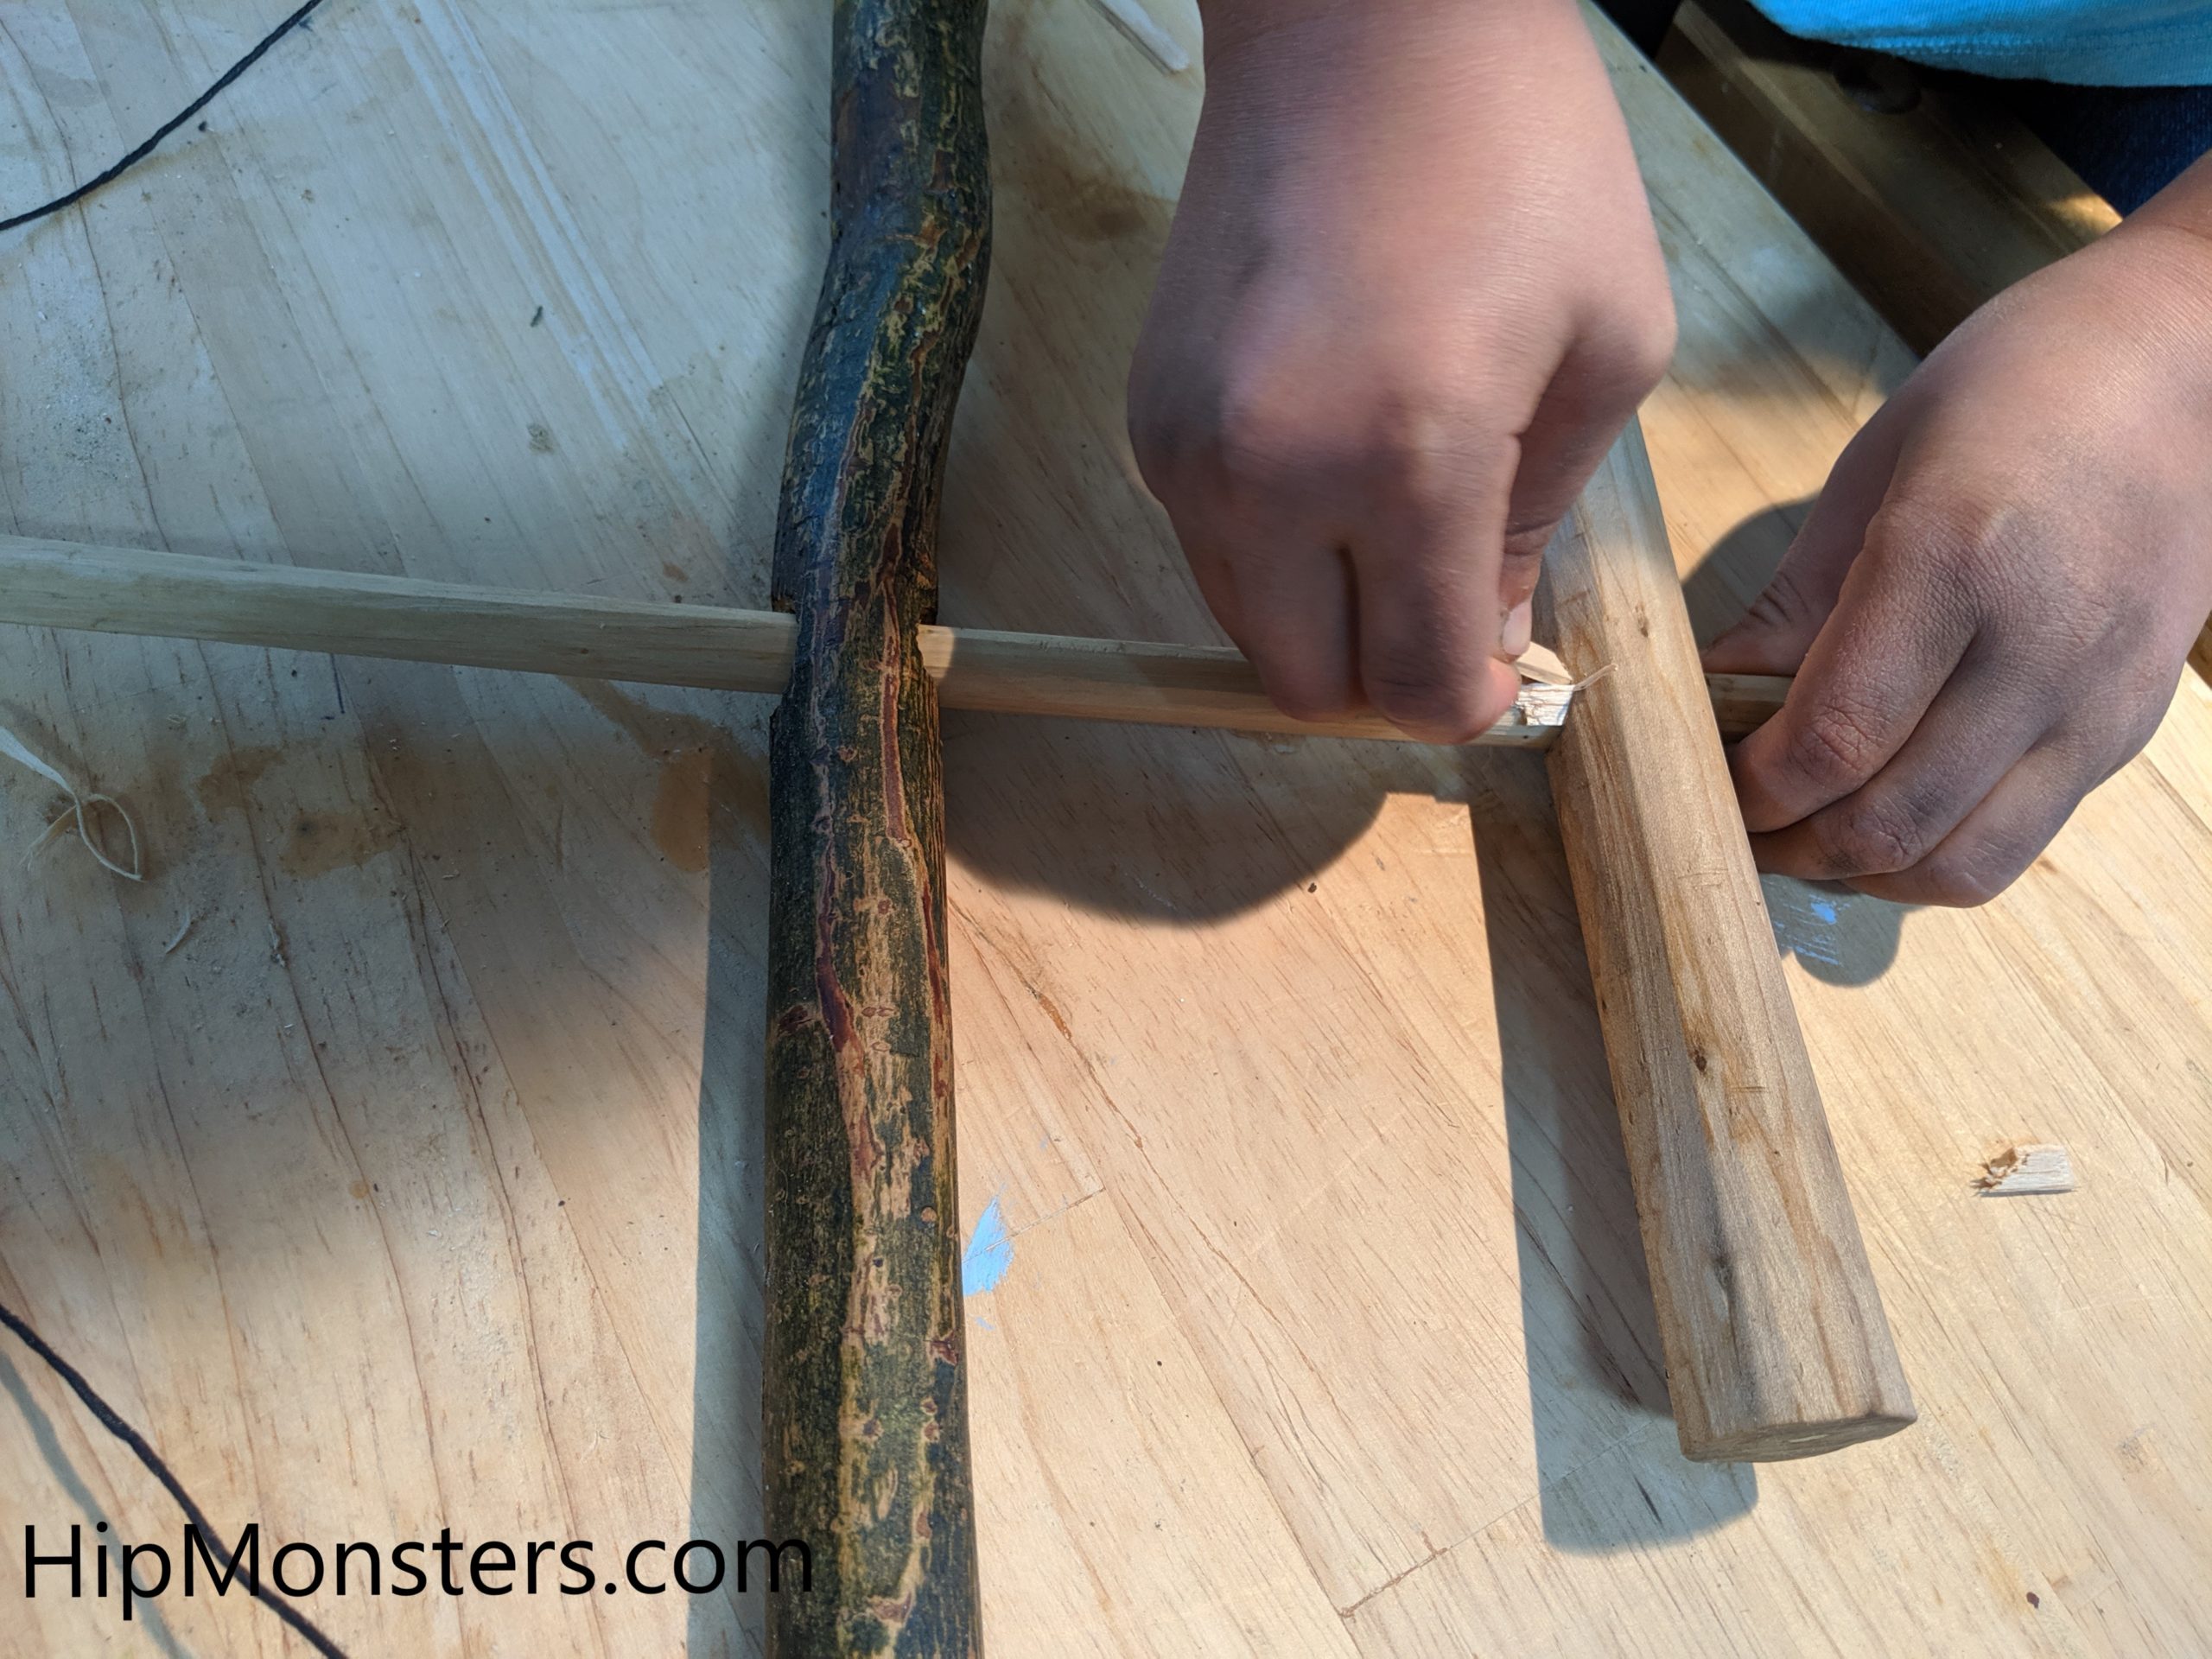
Wedge the strip of wood in the gap to make the fit tight. Add more strips of wood as needed. The spindle should not be able to move.
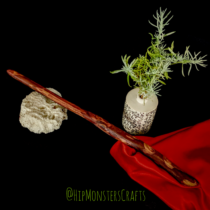
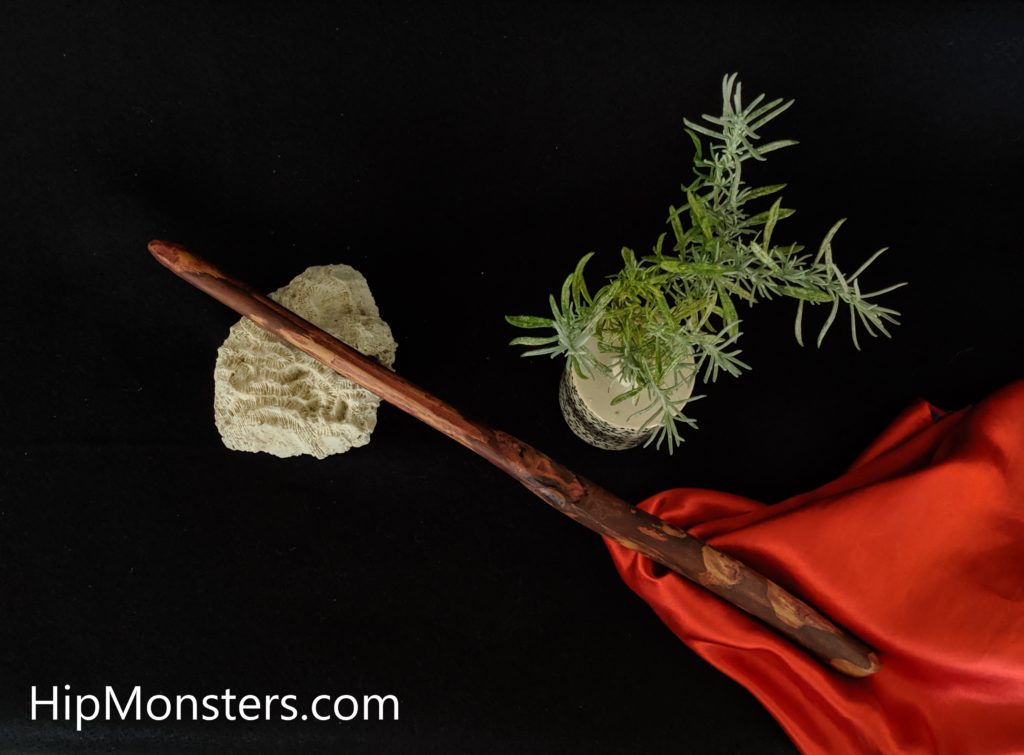
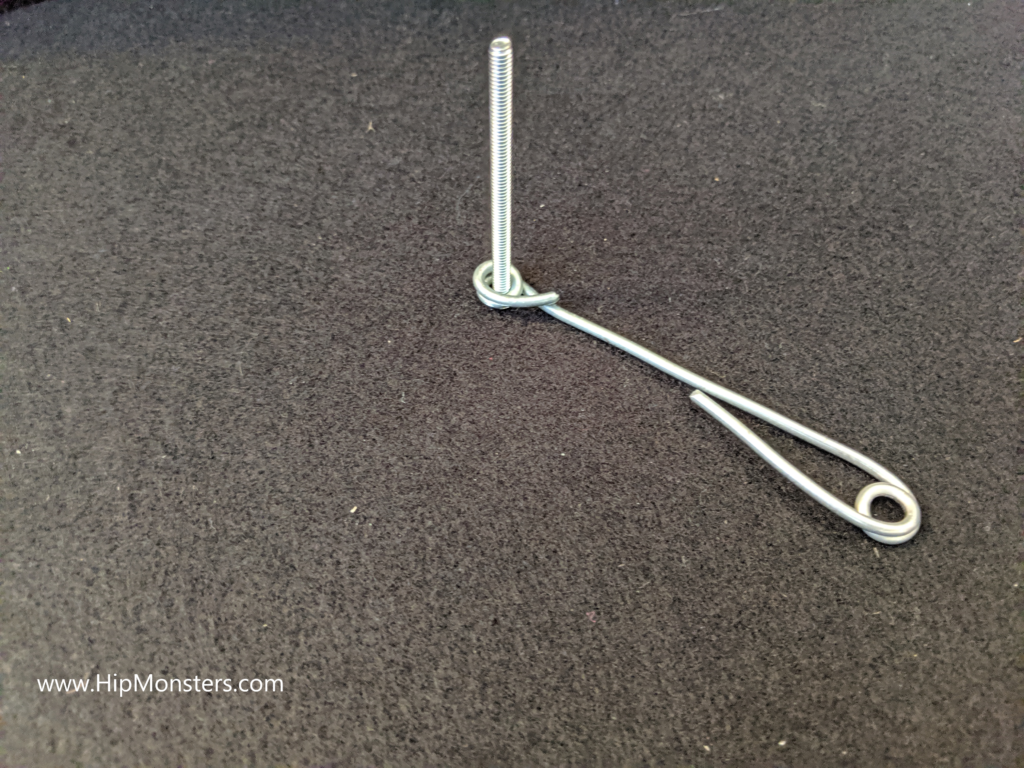
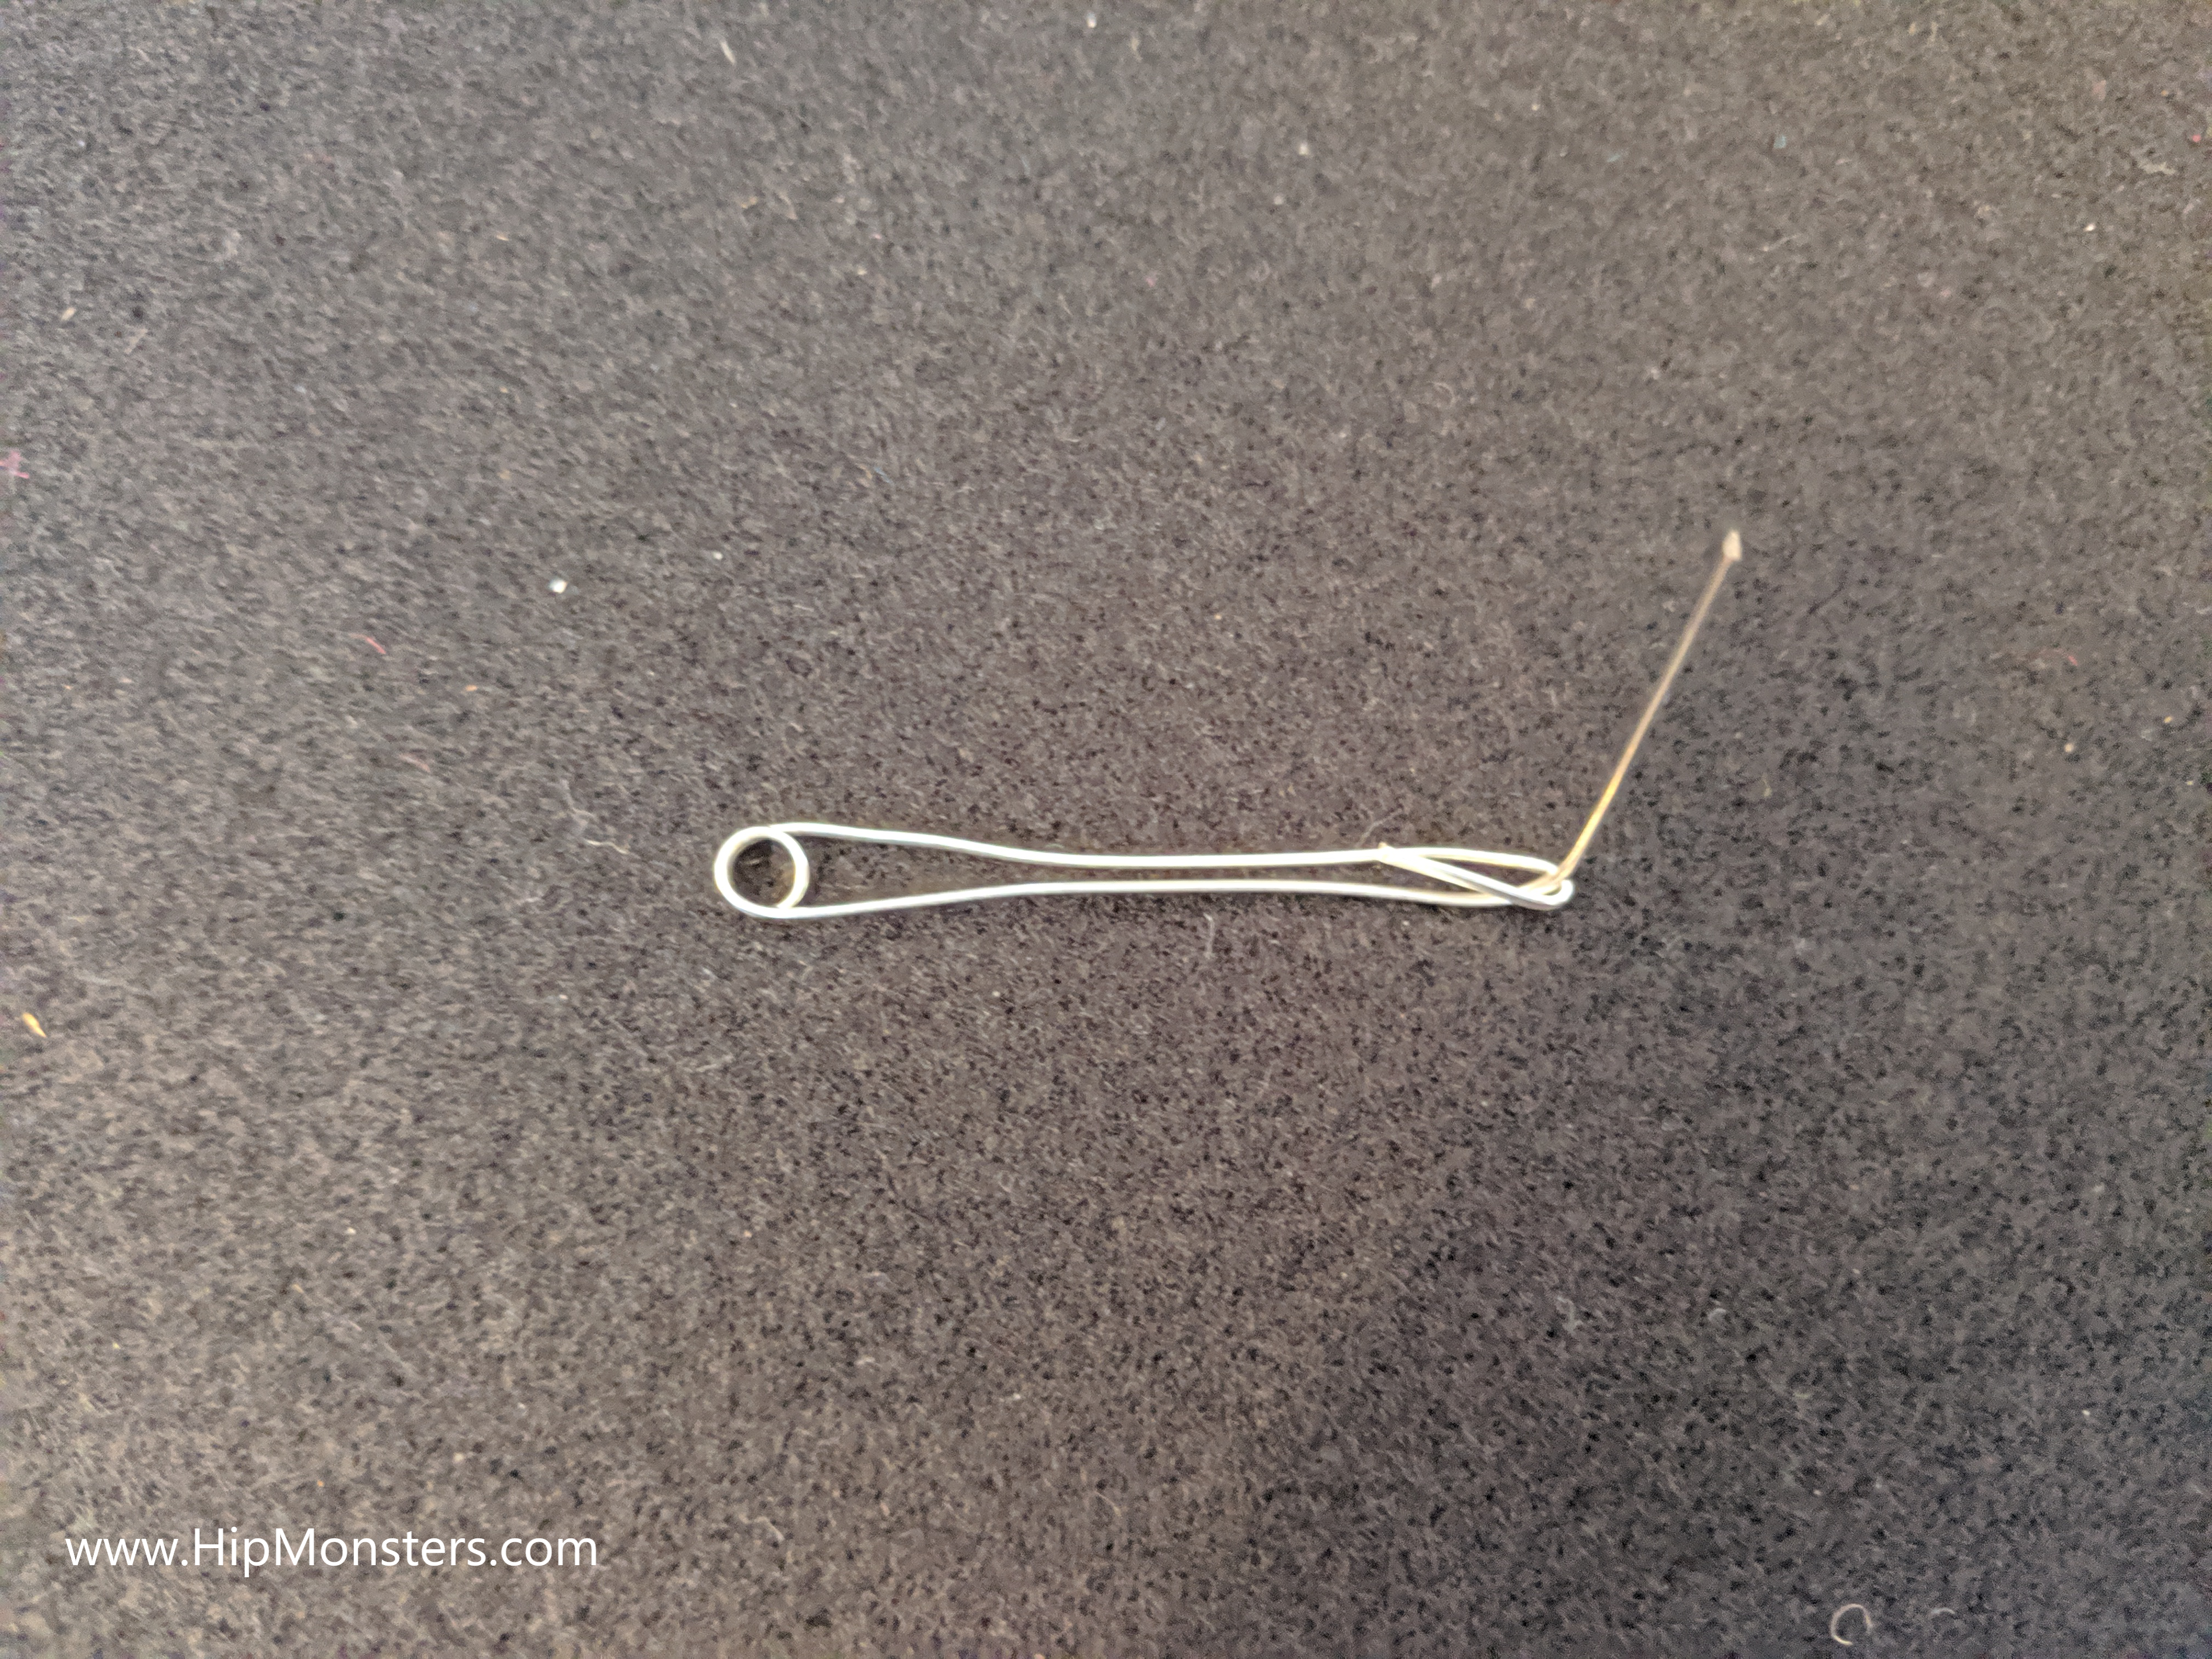
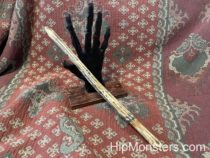
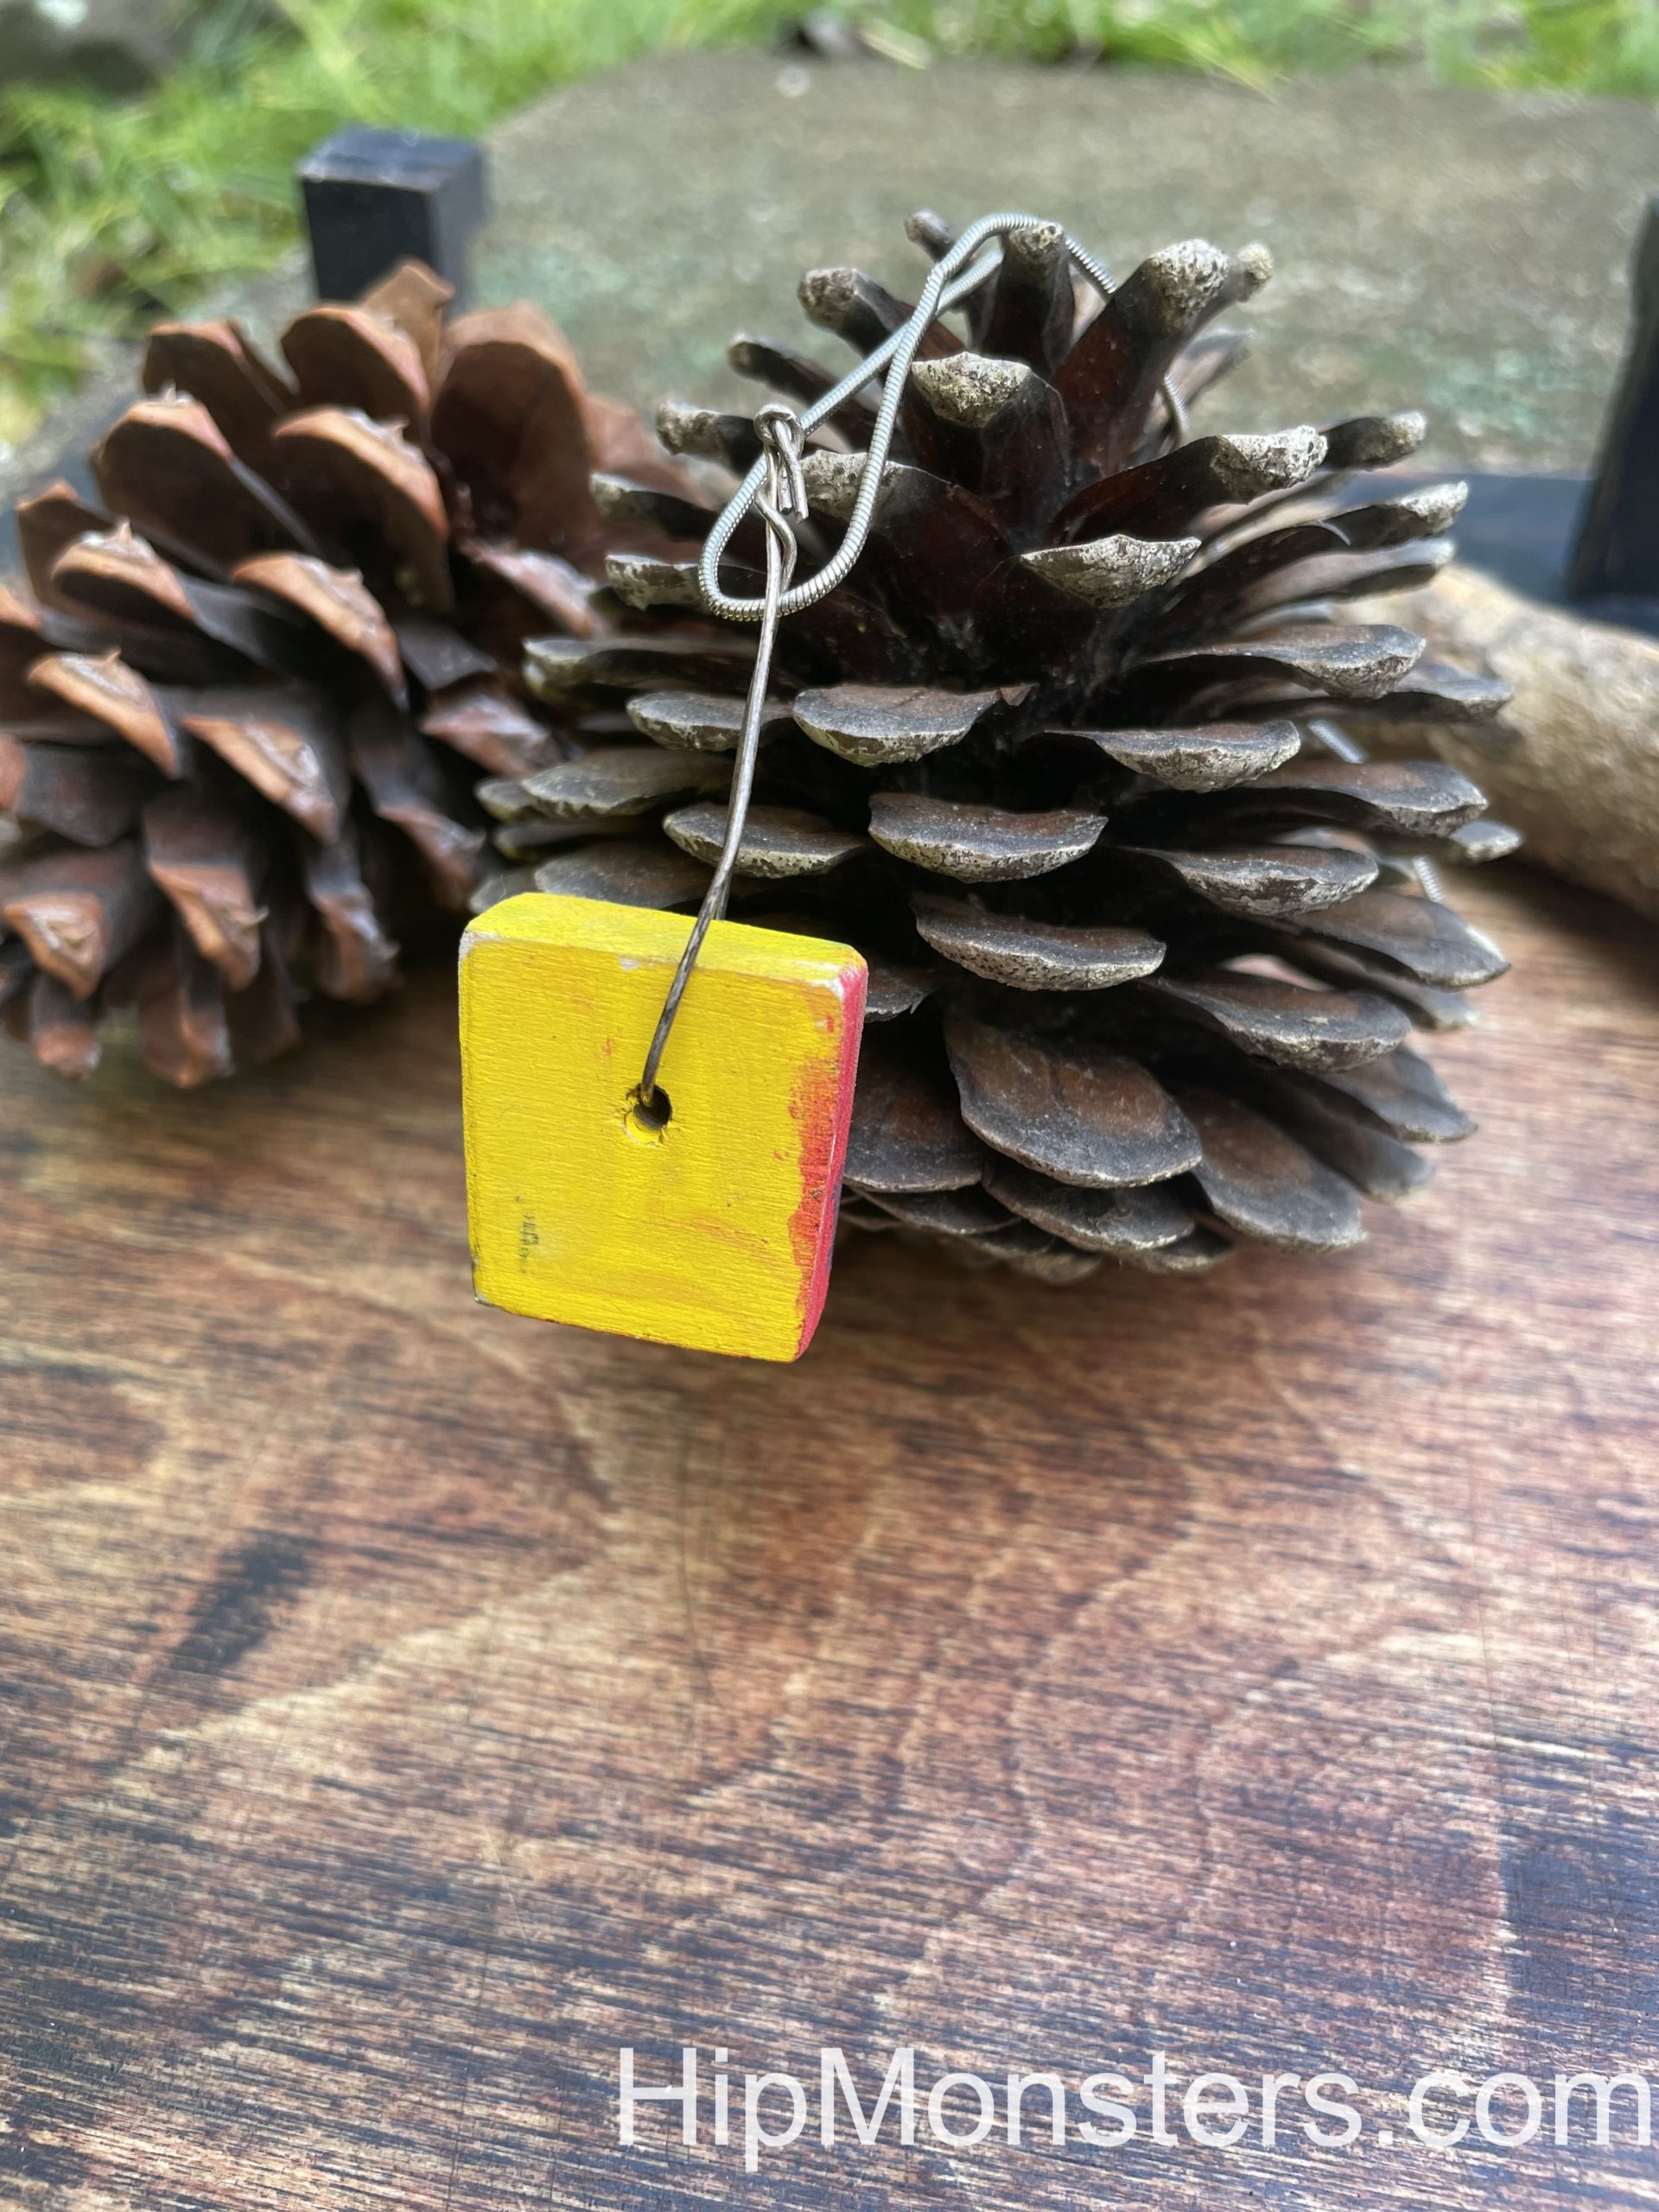
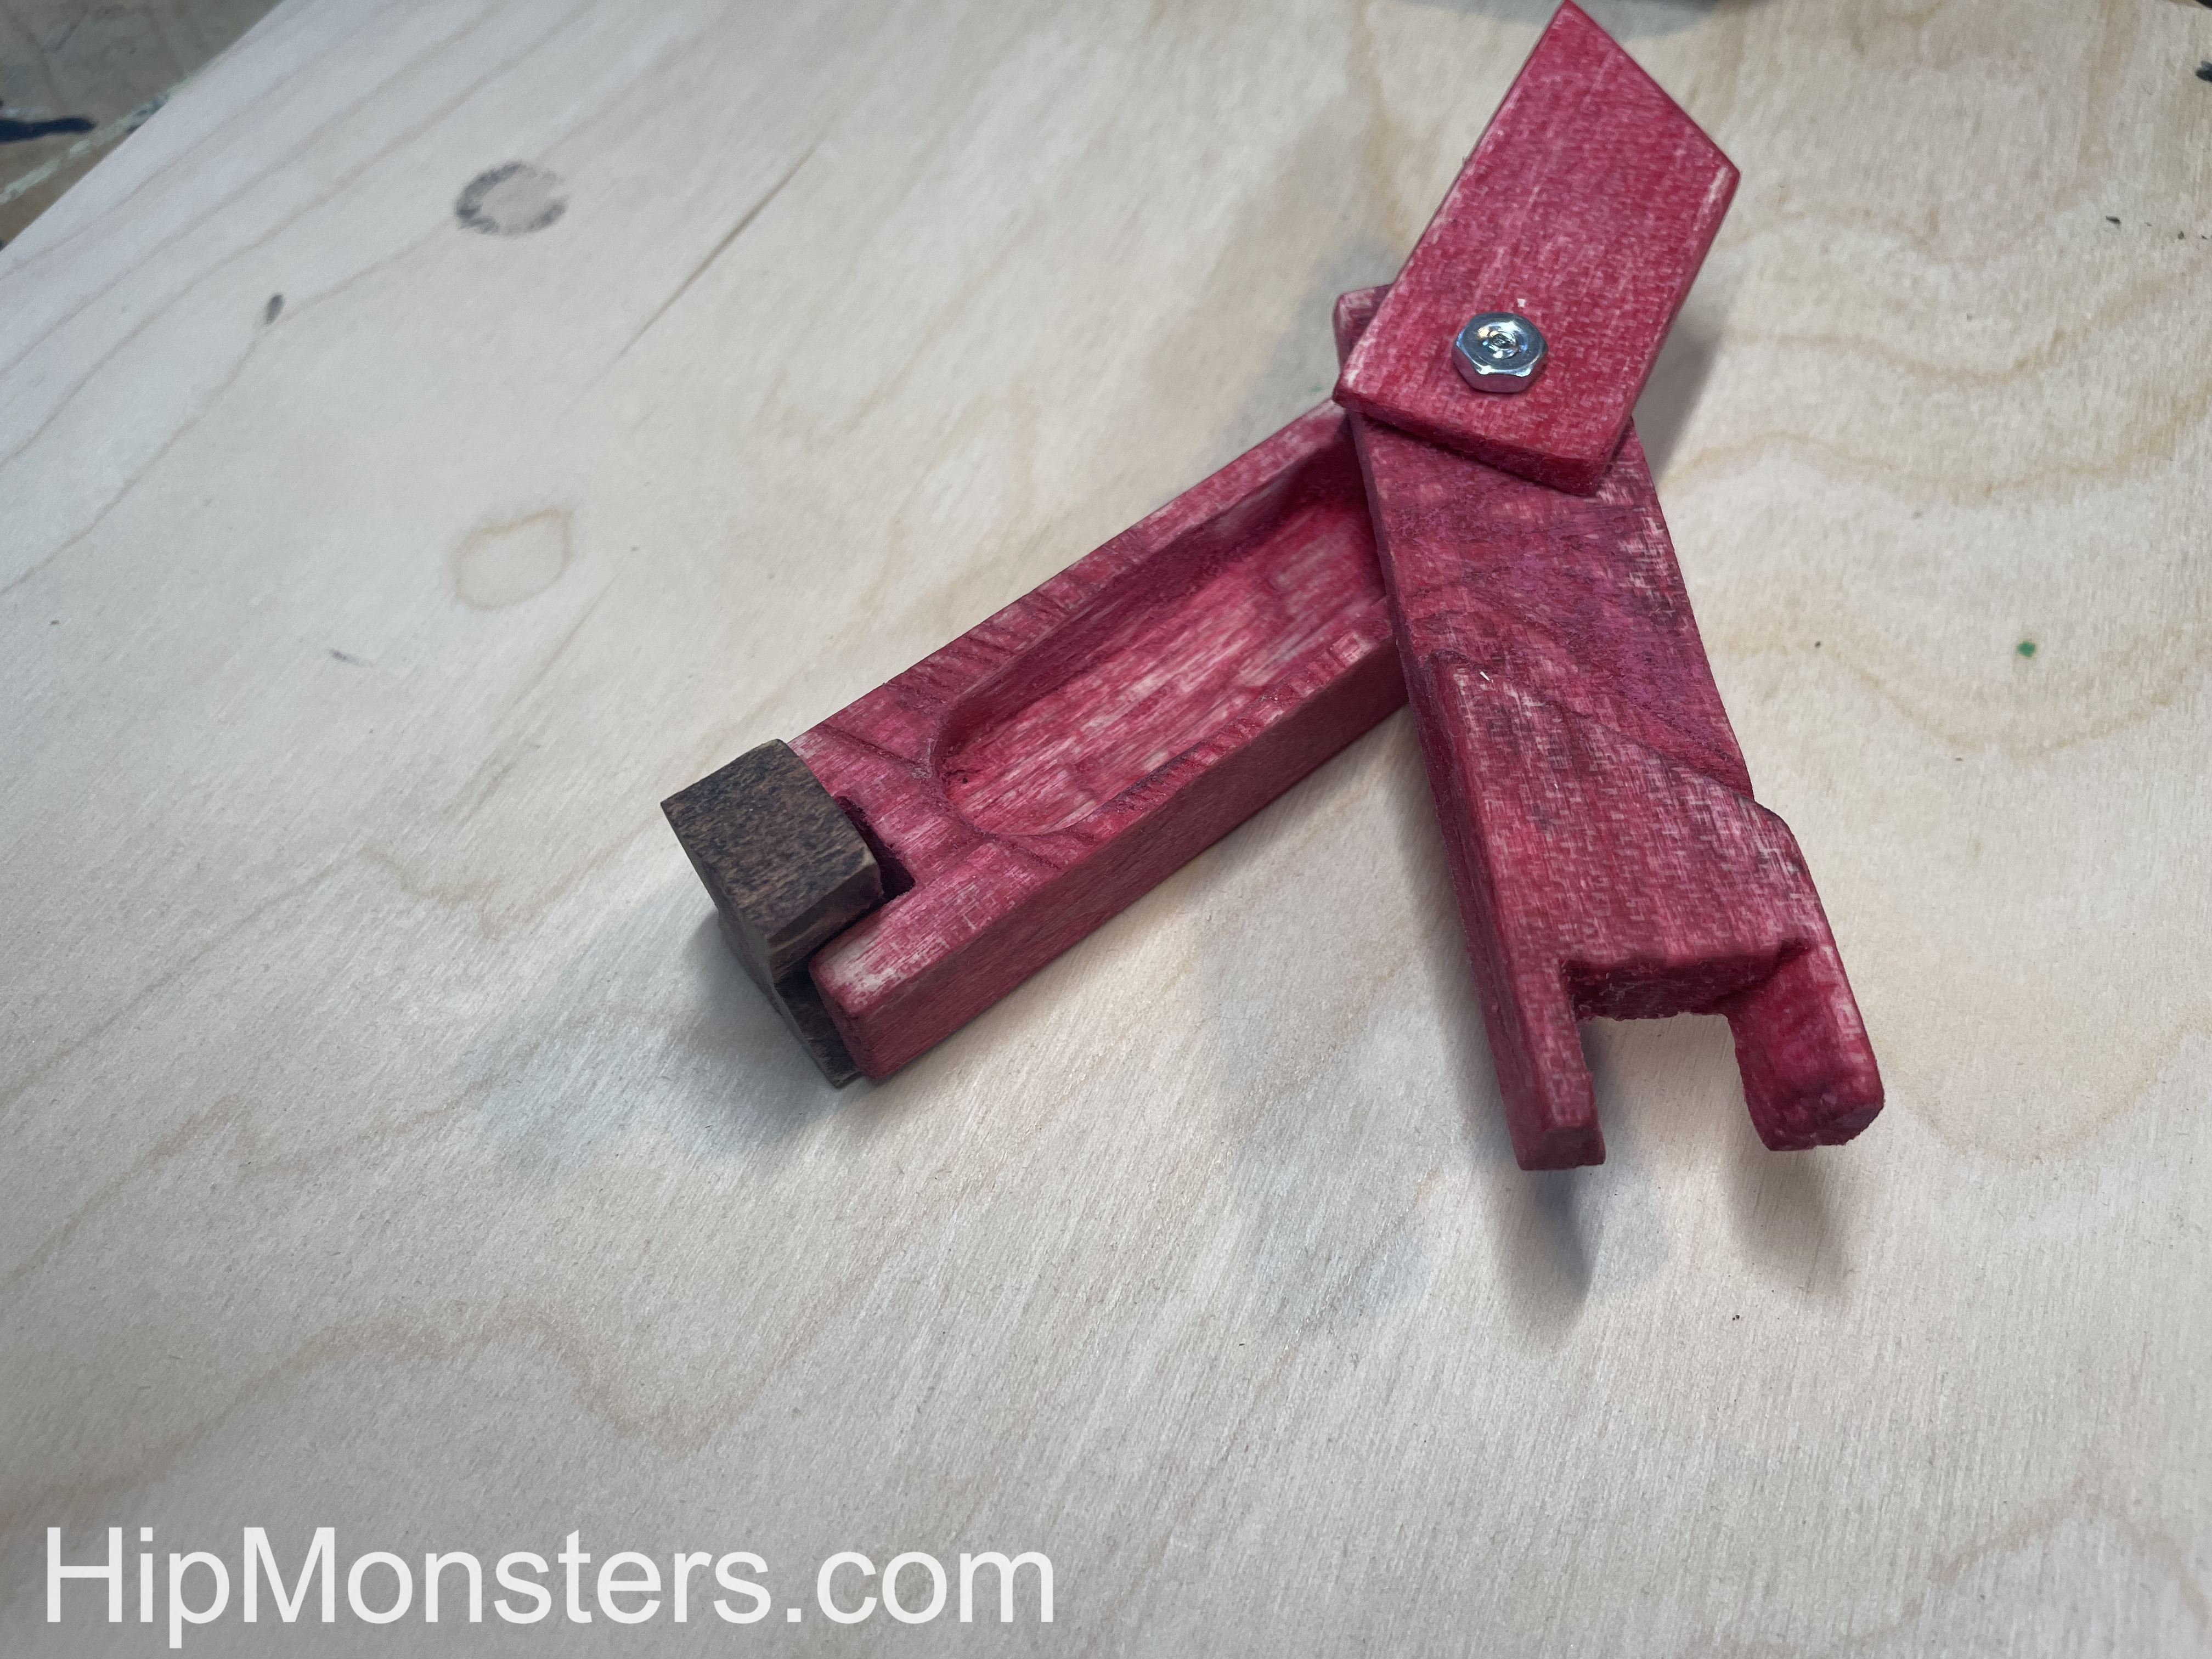
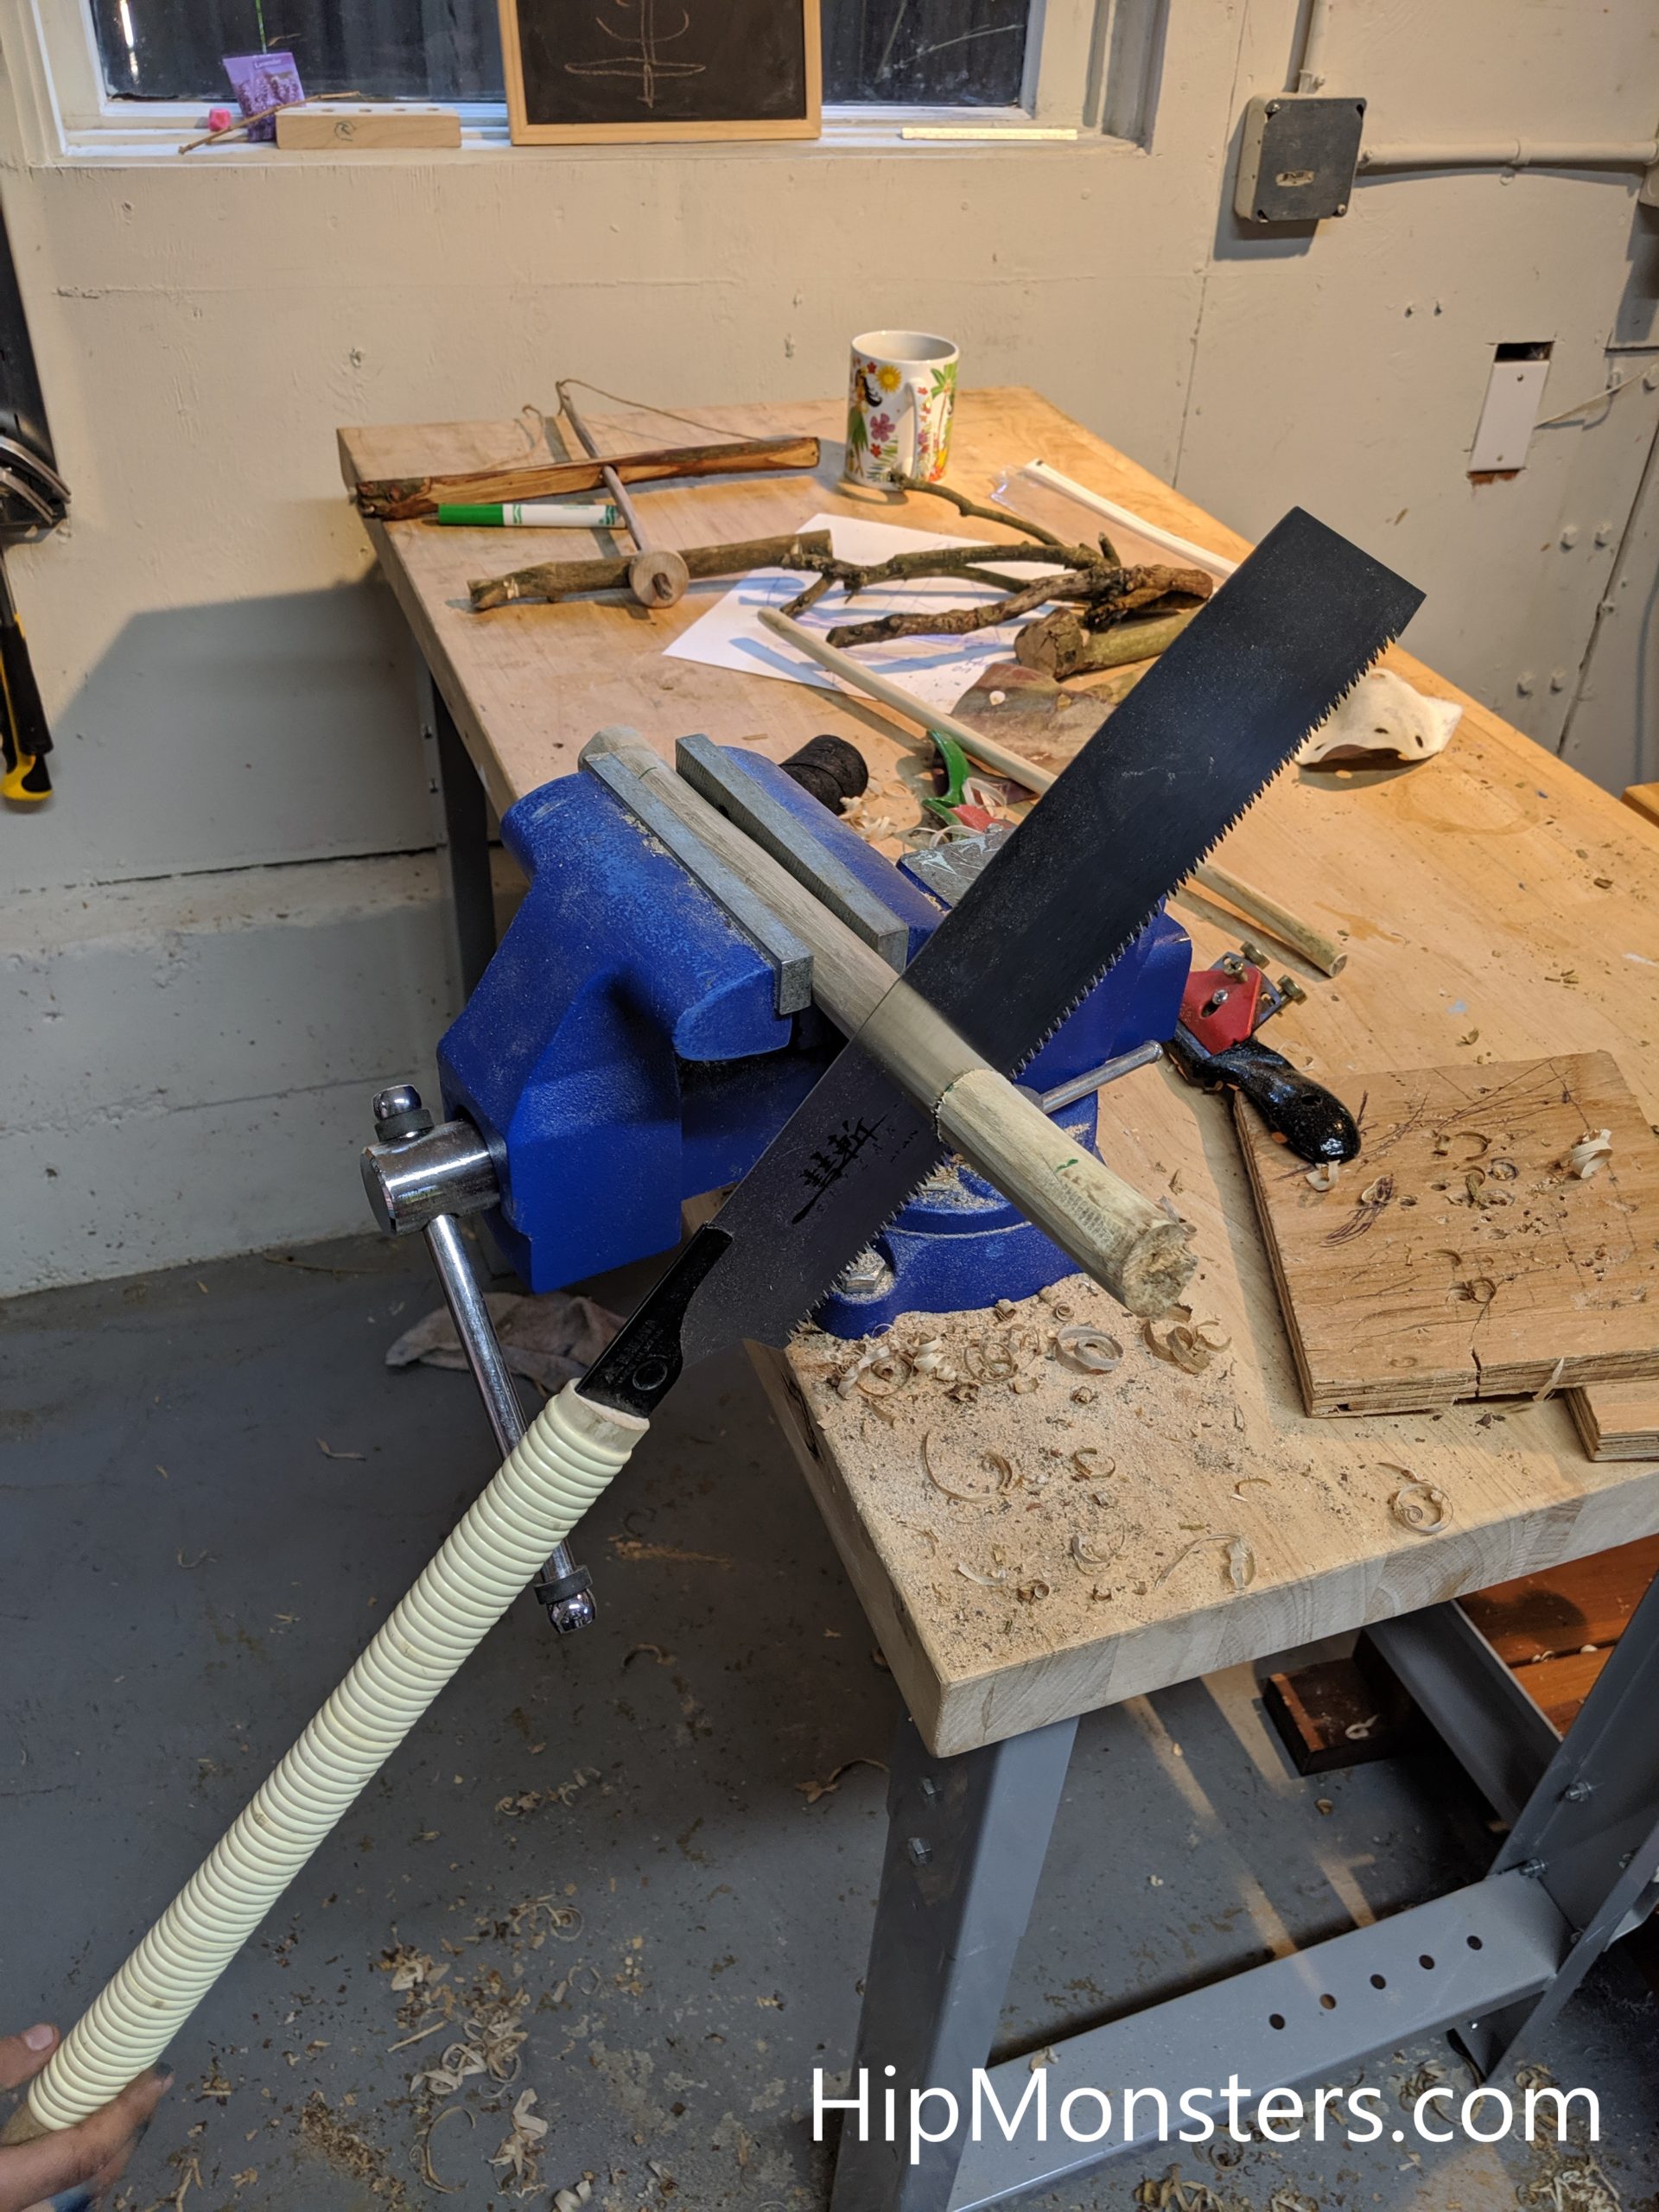
And finally, cut a slot at the end of the shaft by cutting two parallel cuts. Then use a chisel to clean up the notch. Secure a sharp stone shaped like an arrow tip with string.
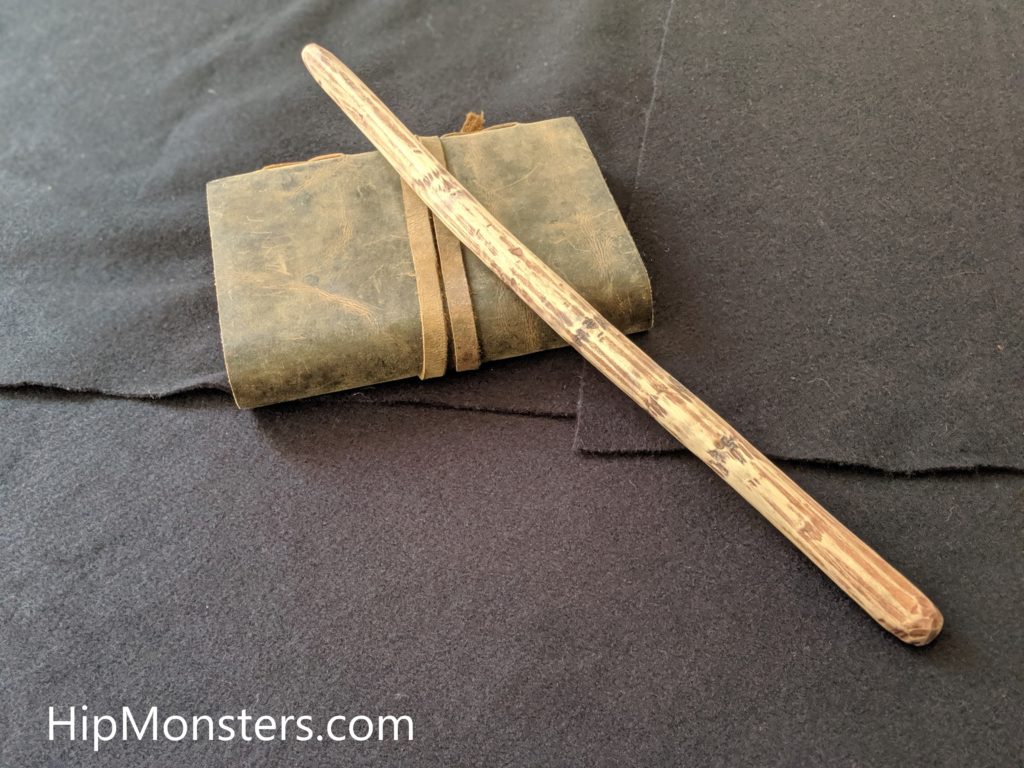
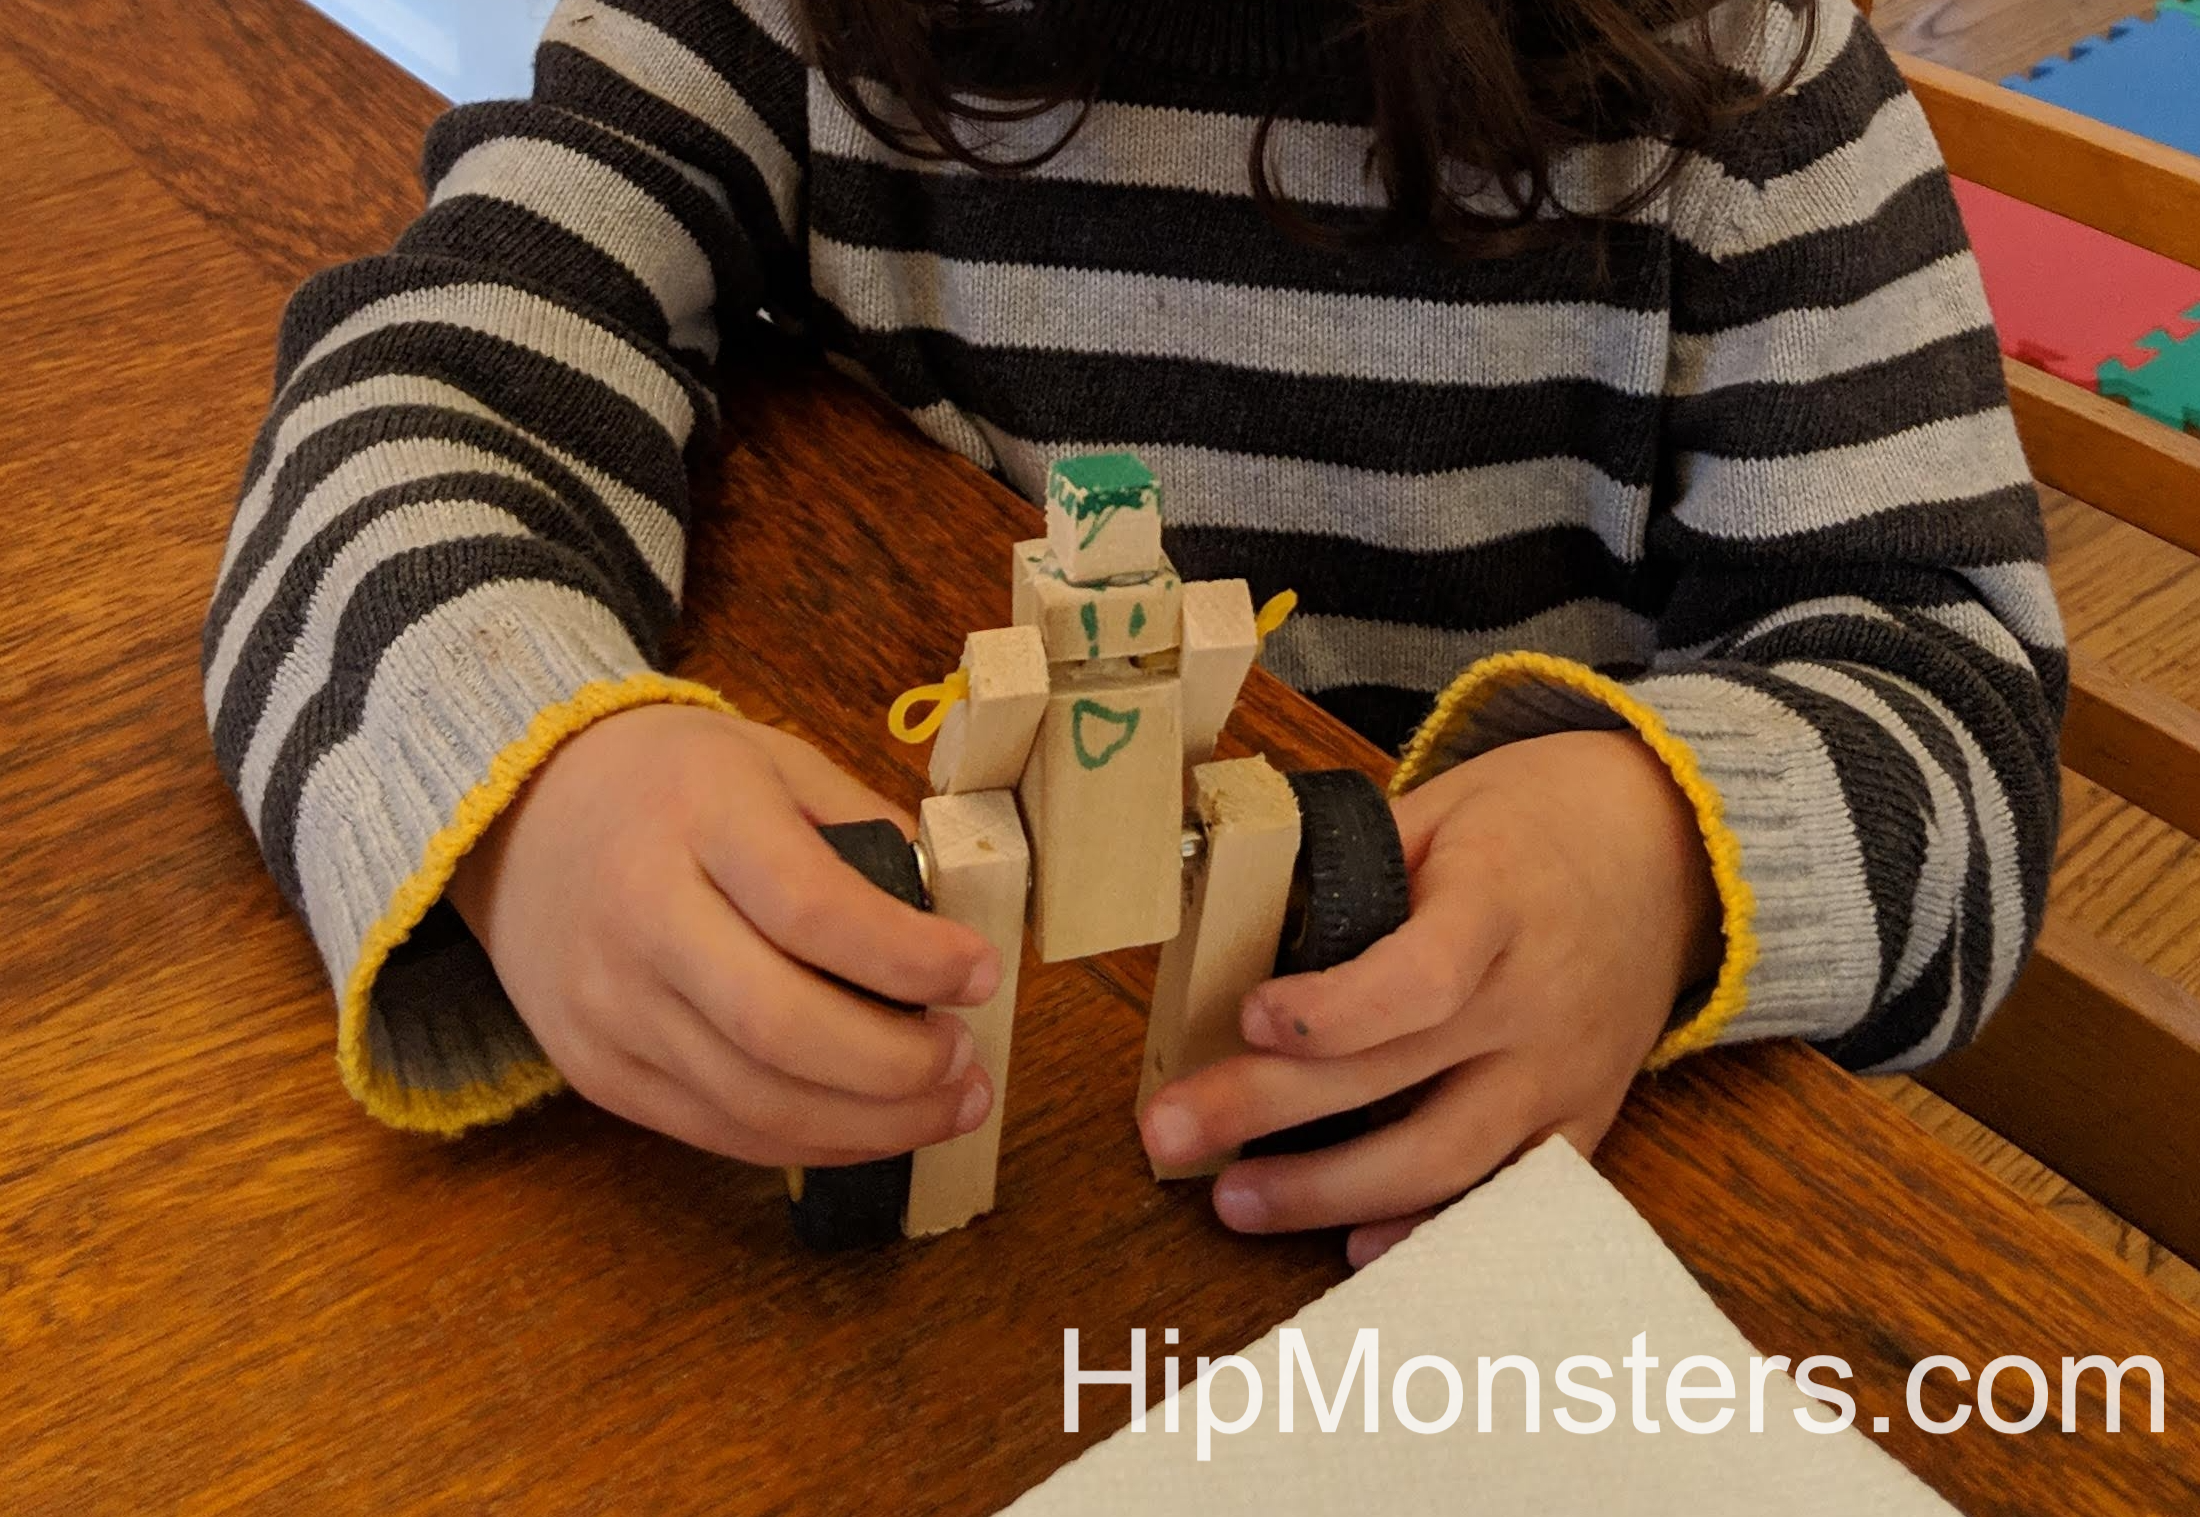
Yay! You finished!
Now you know how to make a DIY pump drill!
You use the drill by first winding it up. Then gently push down on the handle. Let the string rewind itself (thanks to the spindle whorl). Do not push the stick up but let the pump drill wind back then, again, gently push down.
Happy Creating!