After finishing Number three, we wanted to make smaller and lighter walking robots. Leveraging what we had learned from building our first walking robot, we made two mini robots, Number Six and Number Seven!
Please note, this material is provided for informational purposes only and is not a guide on how to create the designs. Please read our disclaimer.
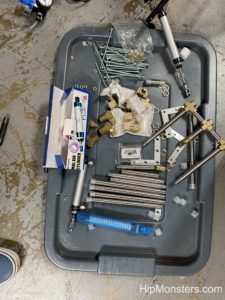
Because we had a completed robot design it was easy to make sure we had all the parts we needed before beginning. Since Number Six and Number Seven were smaller we were able to spend about the same amount of money but use lighter steal parts. We hoped the reduced weight would make for better walking performance.
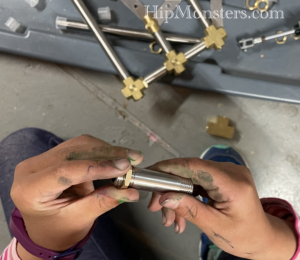
The steal tubes also had bolt threads as apposed to pipe threads. Pipe threads are “V” shaped which made it difficult to get a piece tightened pointing the correct direction. With bolt threads we could use a nuts to tighten the connection between the tube and the pivot joints however they were positioned.
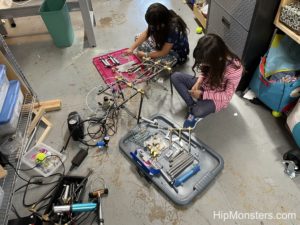
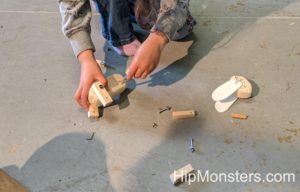
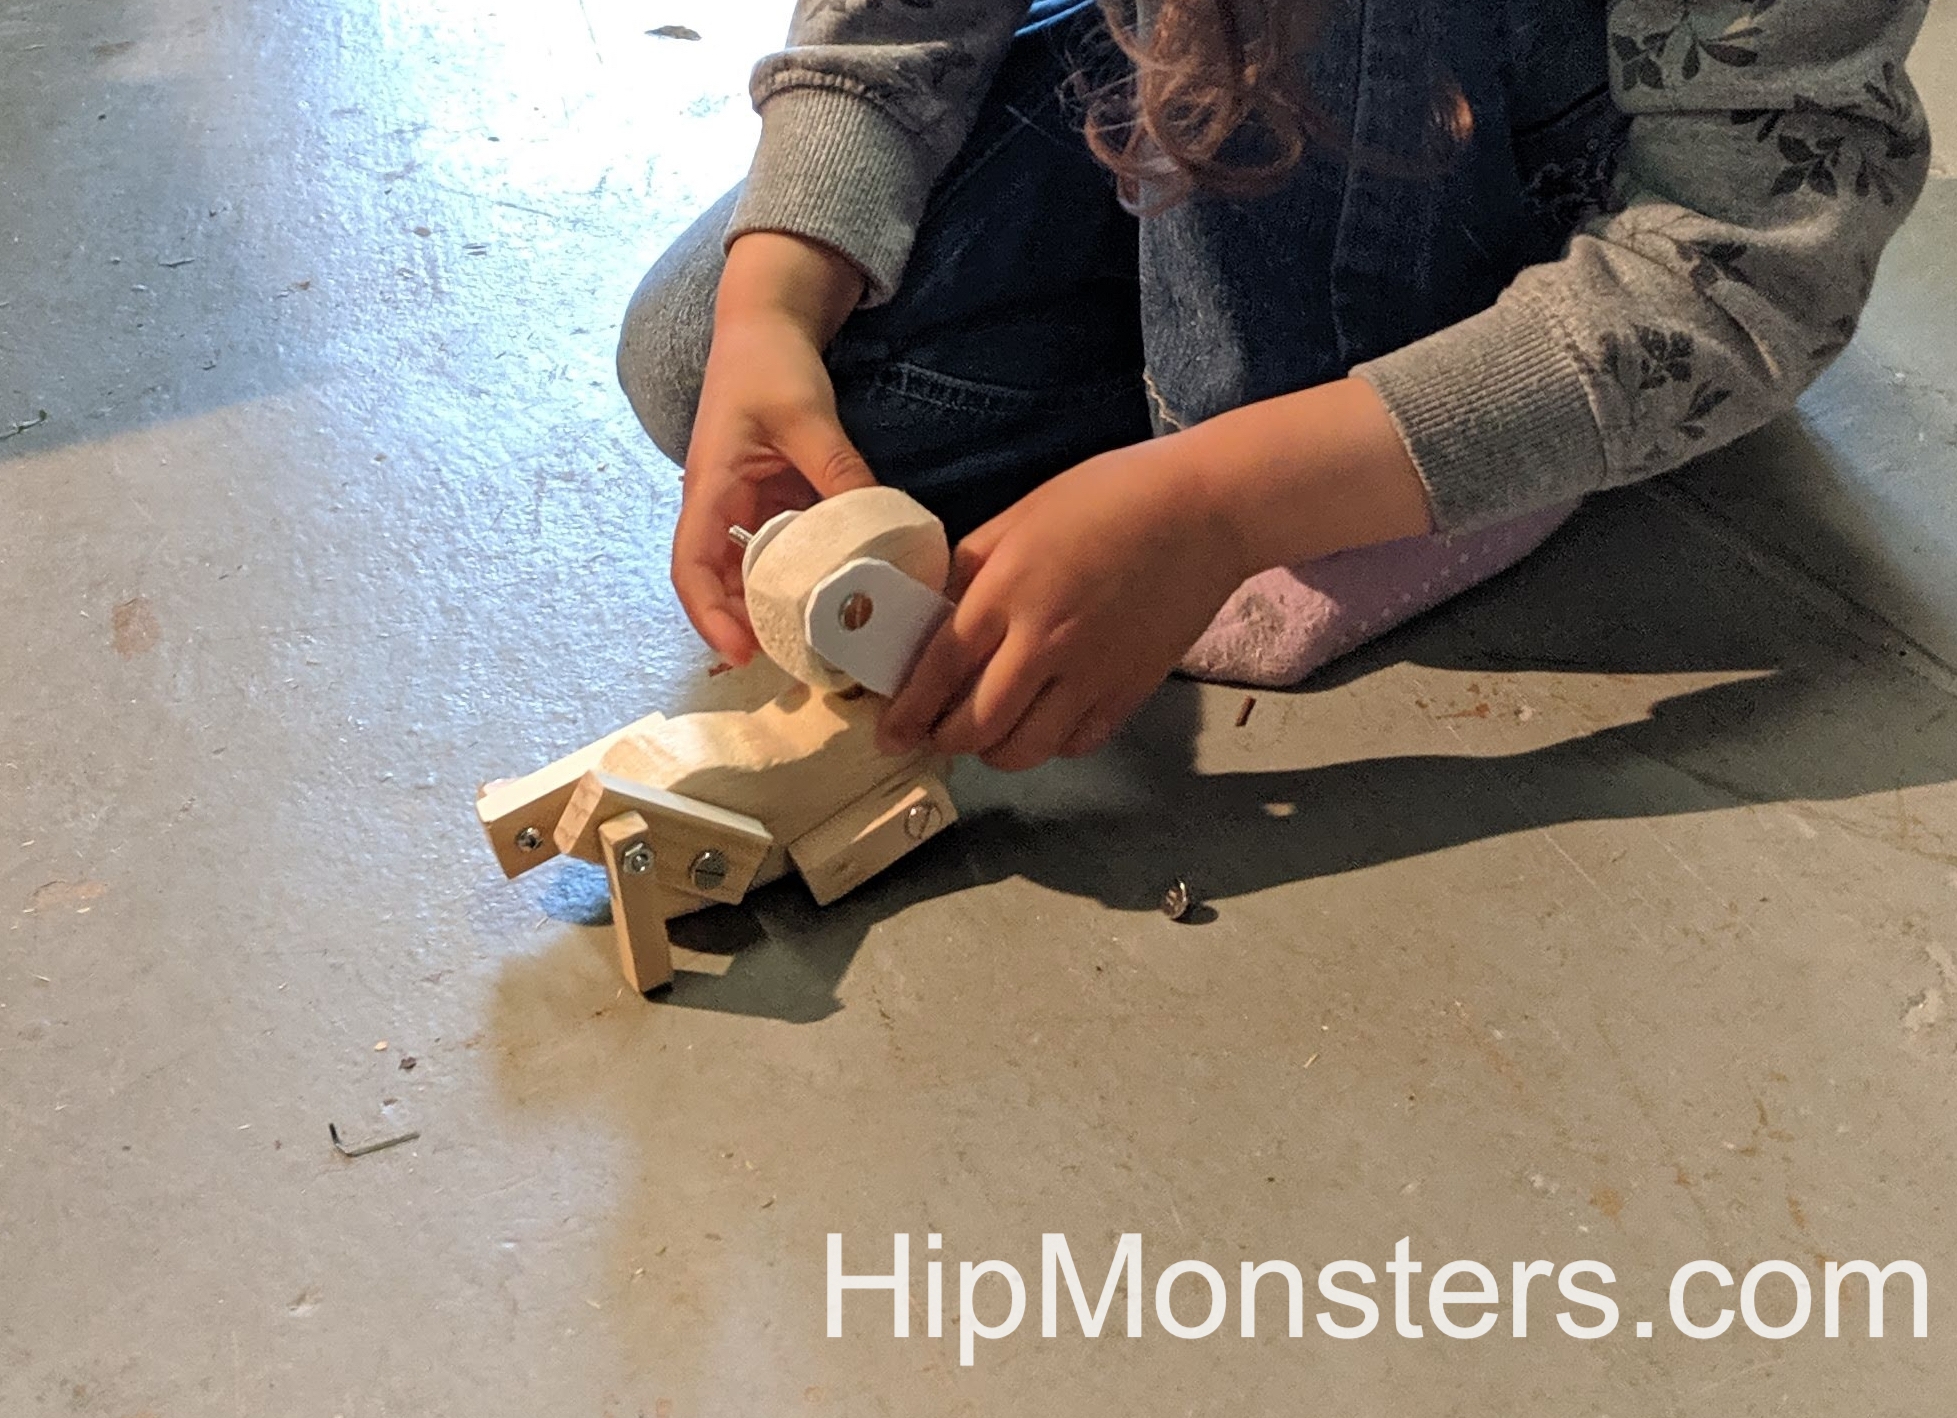
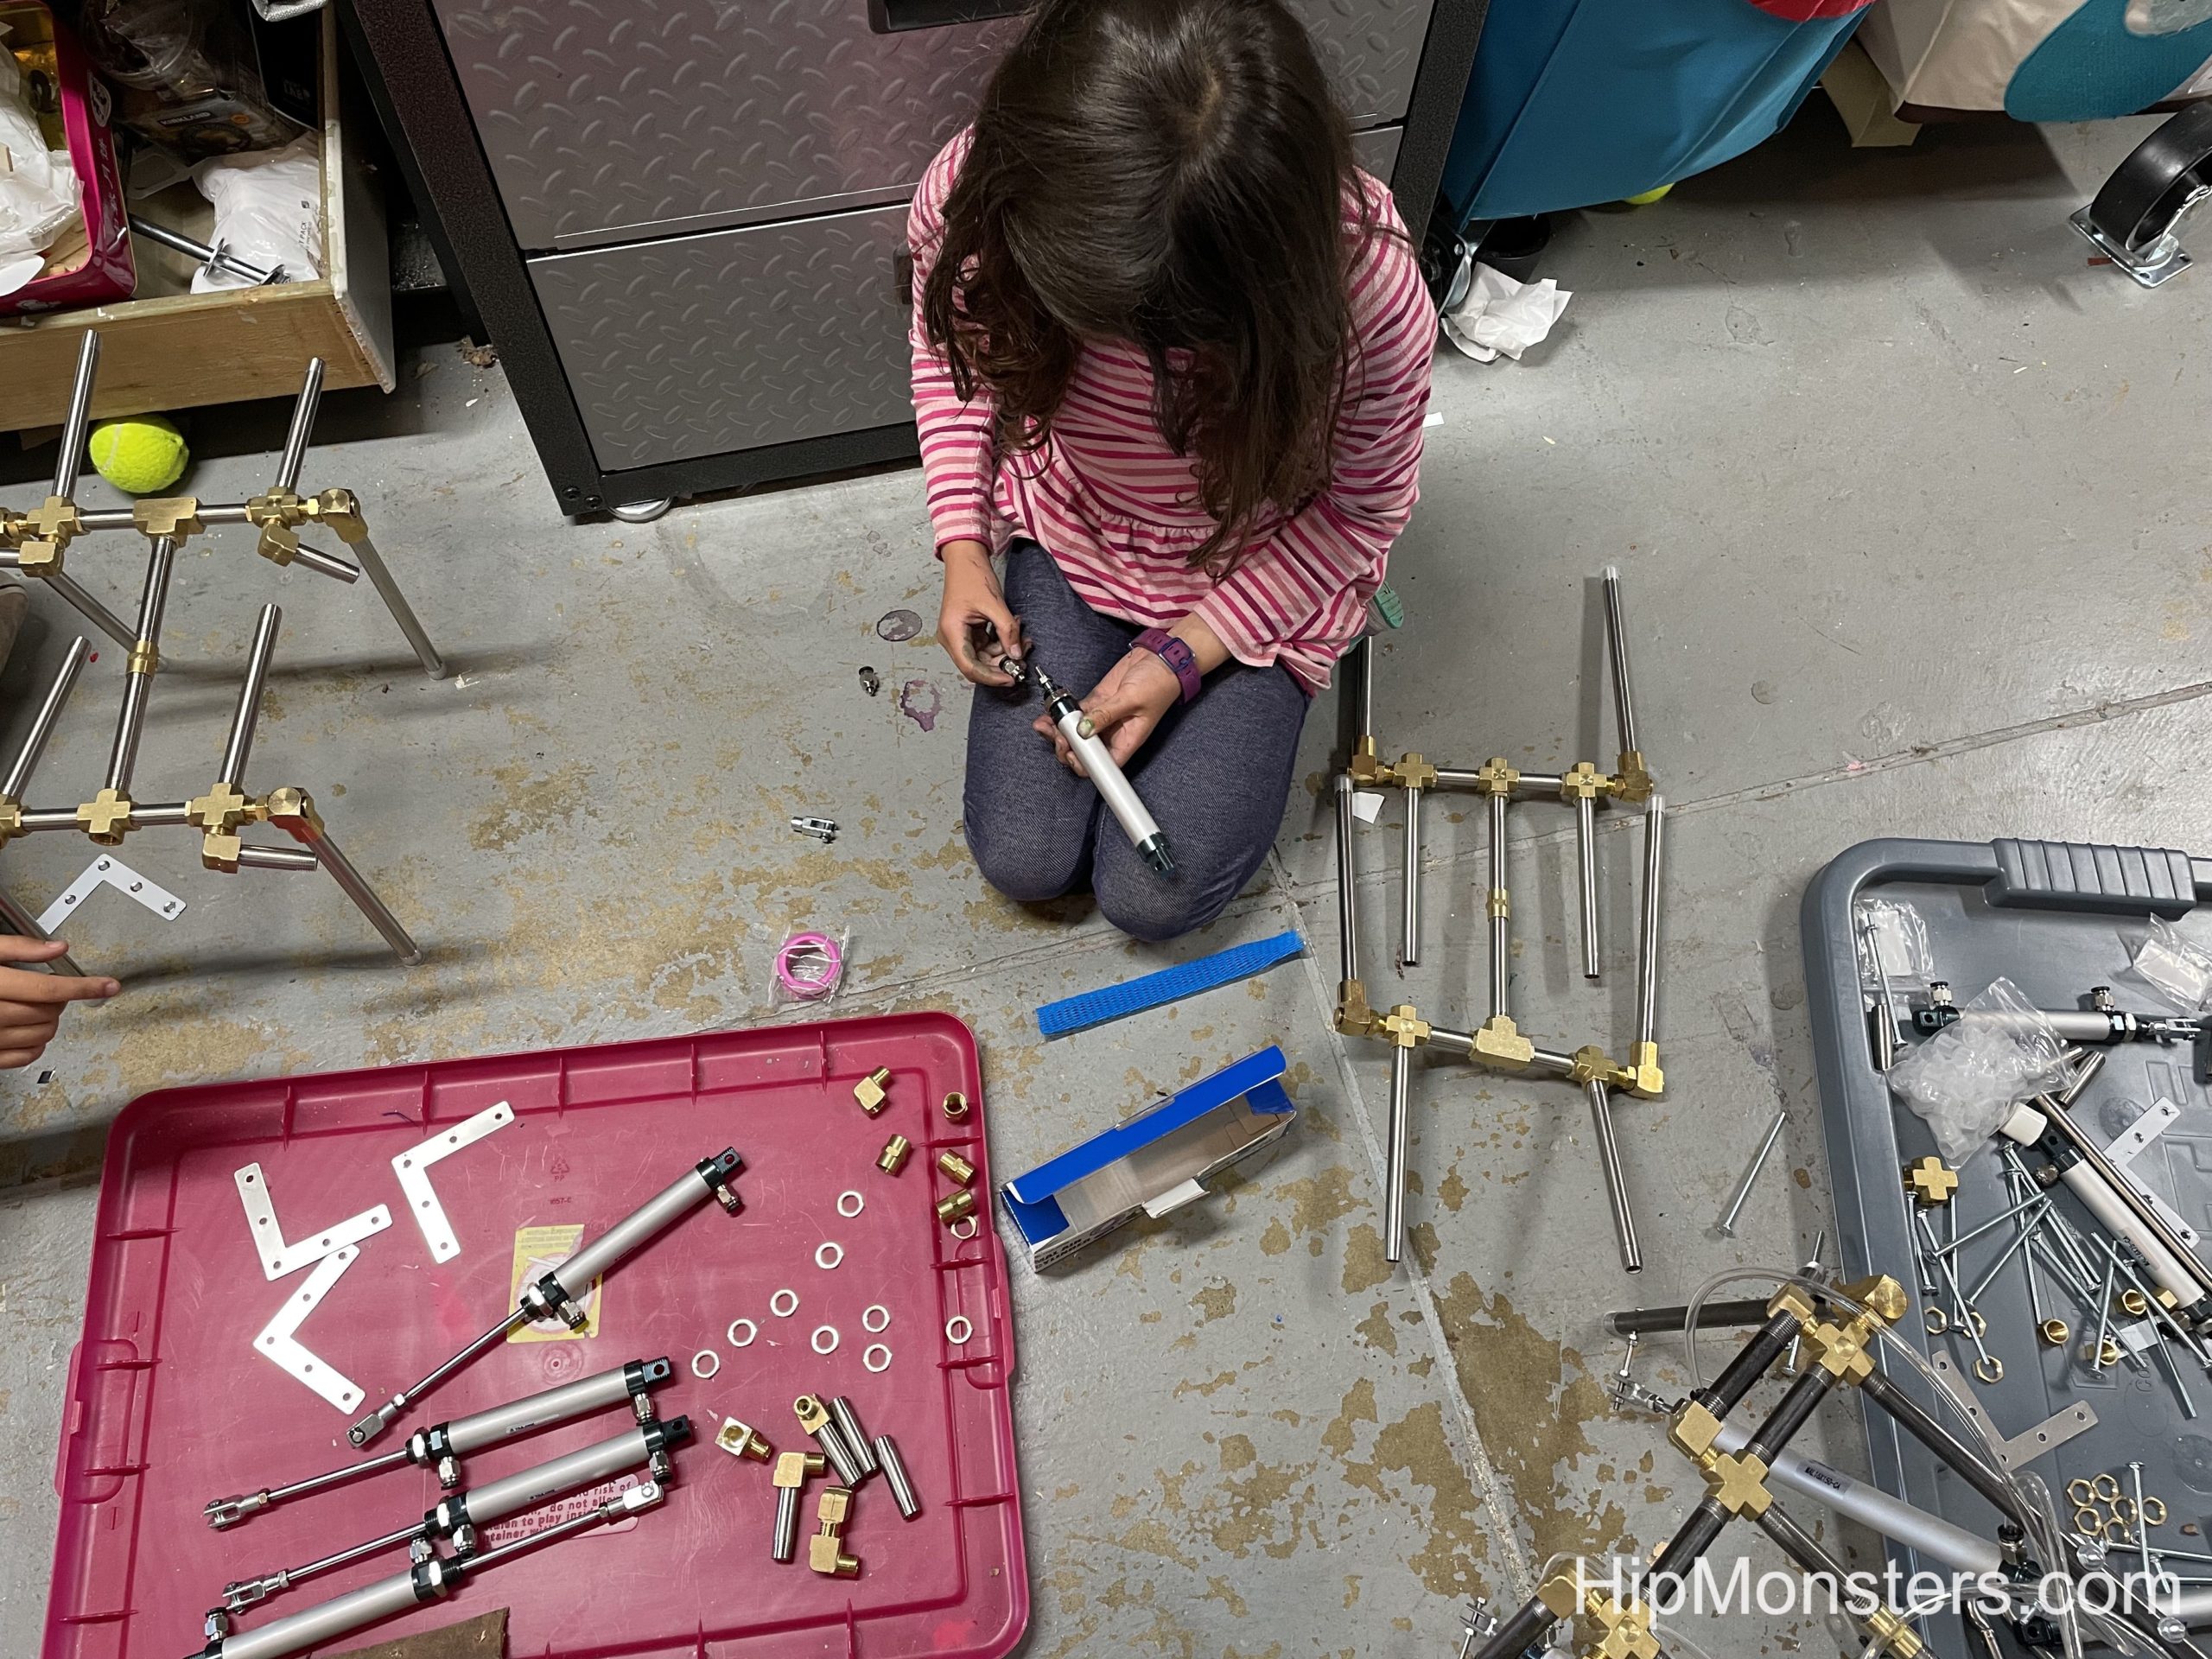
Working as a team the assembling went fast and in less than a day we had the beginnings of two robot. One trick we have learned is to use the floor as an assembling space. We are cramped for space and using step stools can be tricky in a workshop so the floor tends to be safer.

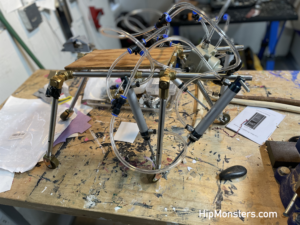
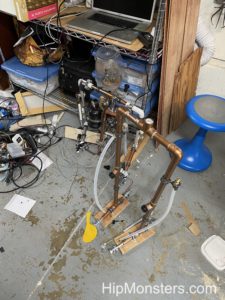
Here is a completed frame. It cannot stand yet and has to be held up. Here we had the initial knee designs. The knee design was important when we were developing the first walker. Later we switched to a tube in the piston rod that acted more like a spring to prevent the leg from over extending. What is critical in our approached is letting the robot fall forward but stop the fall before the robot is in a position it cannot recover from. The sister team learned this trick from a class at school where the teacher said when humans walk forward it is more like a controlled fall.

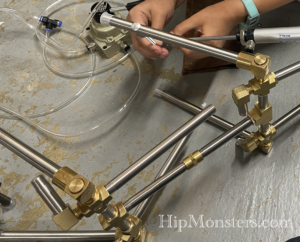
Now we start on installing the air pistons. We had to repeat this process many time because we kept switching around to position of the pistons and the direction of the air tube couplings. If the pistons are not the same on both side the robot will veer to one side and if the coupling are facing apposing ways the tubing becomes impossible to arrange. We have found facing the coupling up is typically the best orientation.

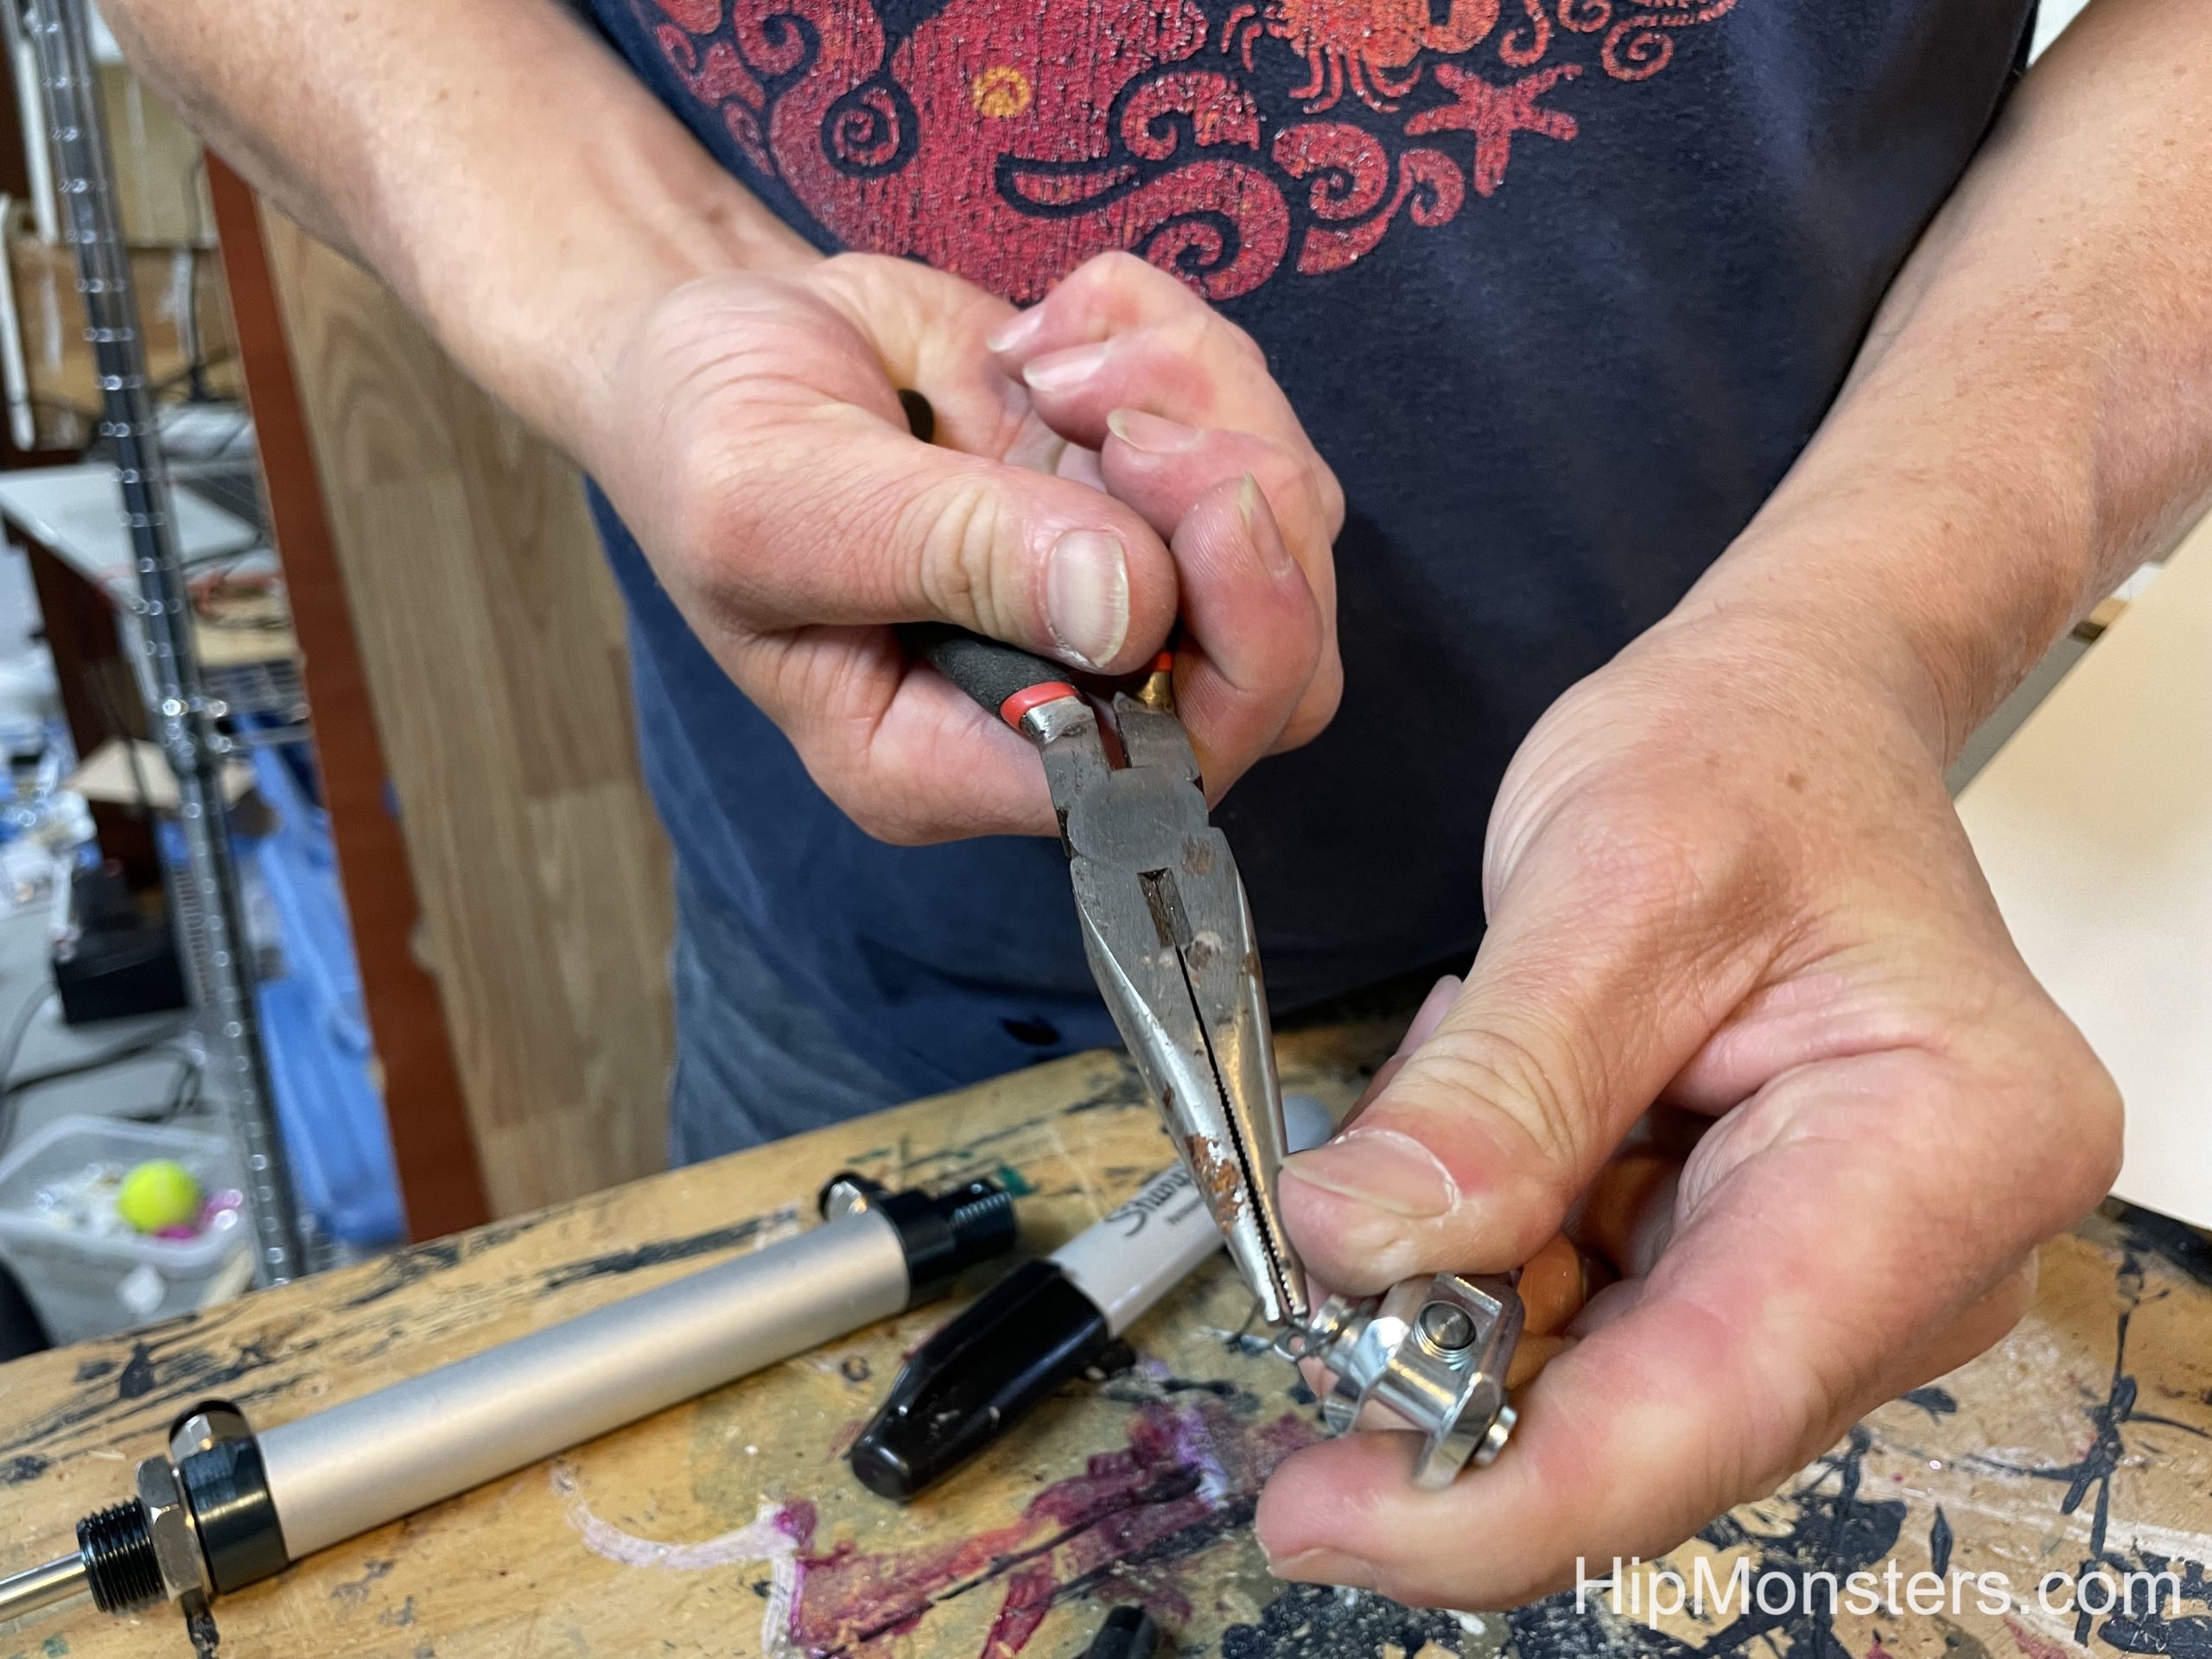
We did have to modify the piston attachment by removing the peg. This did require a parent’s help as the clip that secured the peg was difficult to remove without breaking it.
Next we began attaching the pneumatic air tubes. When measuring make sure to know were the pneumatic solenoid valve will be attached and account for the full movement of the legs. It is best to do one tube, test it, then do the opposites side. We found as we added tubes we had to change the initial lay of of the tubes. The tube work is a bit of an art form much like wiring a control unit.

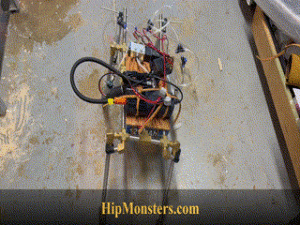
Here is a close up of the all the piston installed.
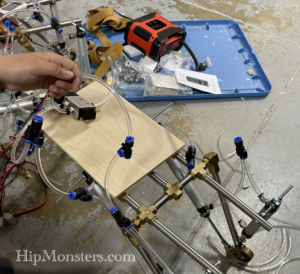
Here is another view of the tubing being fitted and a close up of the pneumatic solenoid valve. Make sure to do clean, straight cuts with a sharp scissors to assure not leakage when attaching to the couplings.
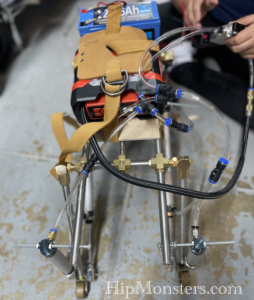
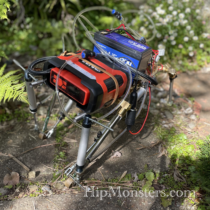
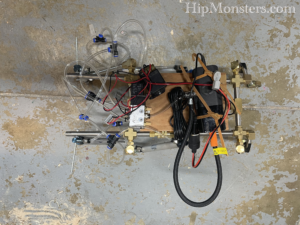
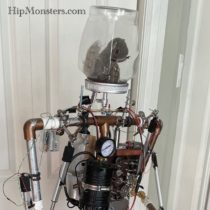
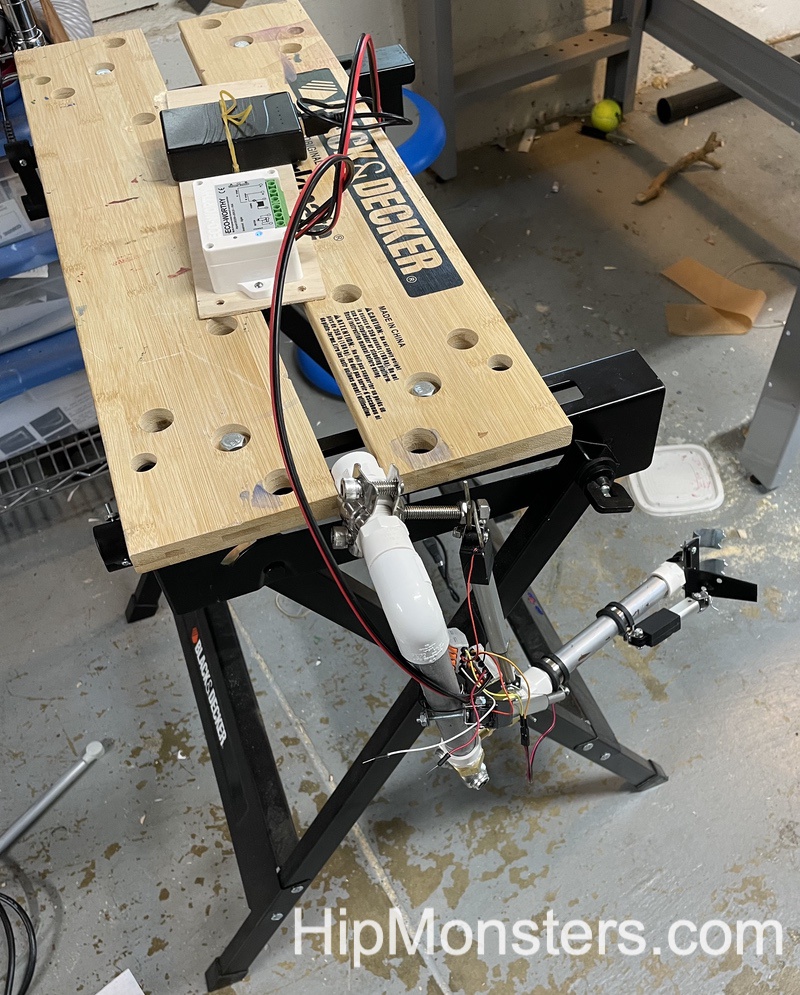
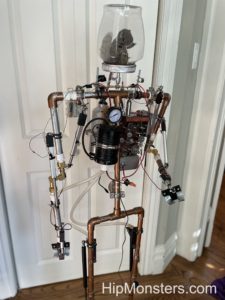
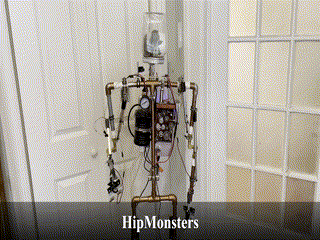
Here is a front view of a completed design for Number Six and Number Seven. For testing we used a leather book strap so we could reposition the components as needed. We also tested a number of different air pumps. This pump, which we did not use in the final design, was the quietest and used the least amount of power. Latter, we switched to another model because this model kept shutting off after prolonged use.
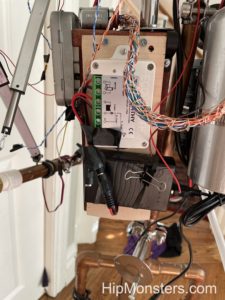
Like with other designed we used a garage door remote controller because it reverse polarity to the pneumatic solenoid valve which switches the air flow from one leg to the other enabling the robot to walk. It is the small black box in the center of the robot.
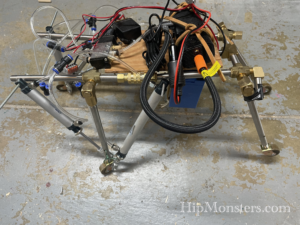
The battery we secure to the underside for protection (the light blue box under Number Six). Instead of doing lead acid battery for Number Six and Number seven, we switched to a 12V 6Ah Lithium Iron Phosphate Battery from our lead-acid battery due to it much lighter weight and increased amps.
 Here is Number Six walking in our yard.
Here is Number Seven walking in our workshop.

And here we have all three robots, Number Five, Number Six, and Number Seven going for a walk together! The larger robot is Number Three. Number Seven is in front and Number Six is on the left.
Happy creating!


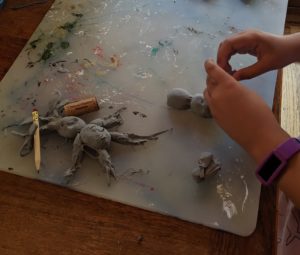
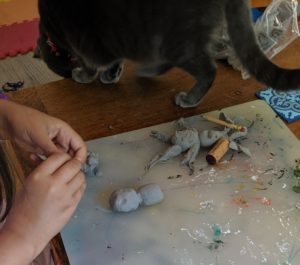
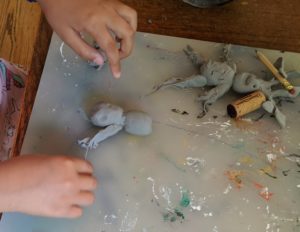
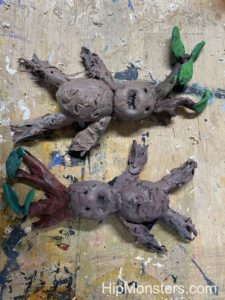


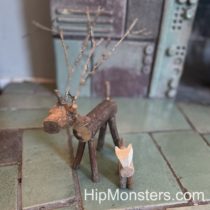
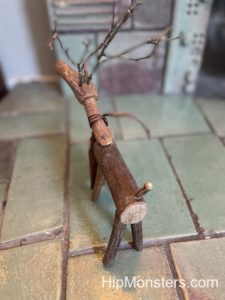
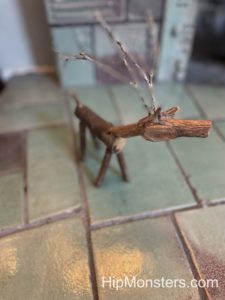
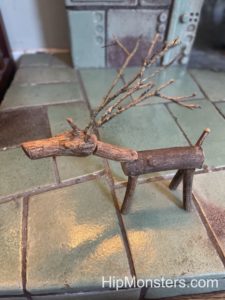 We attached the antlers of the deer by taking small branches from our birch tree and putting them in the holes that we drilled on the head. The antlers were very important because it would help people recognize this as a deer. We had to find branches that were strong so they won’t break, but small enough to look realistic. Luckily, birch trees shed a lot of branches, so it wasn’t too hard to find perfect branches.